The first project of 2021 could go down as the easiest, quickest and most fun DIY this year. I shared it live on my Instagram stories and couldn’t believe how many of you loved it!

To be clear, this DIY does not include a light component so it’s not technically a “chandelier”, but it can easily be turned into a chandelier and I’ll share how at the end of this post.
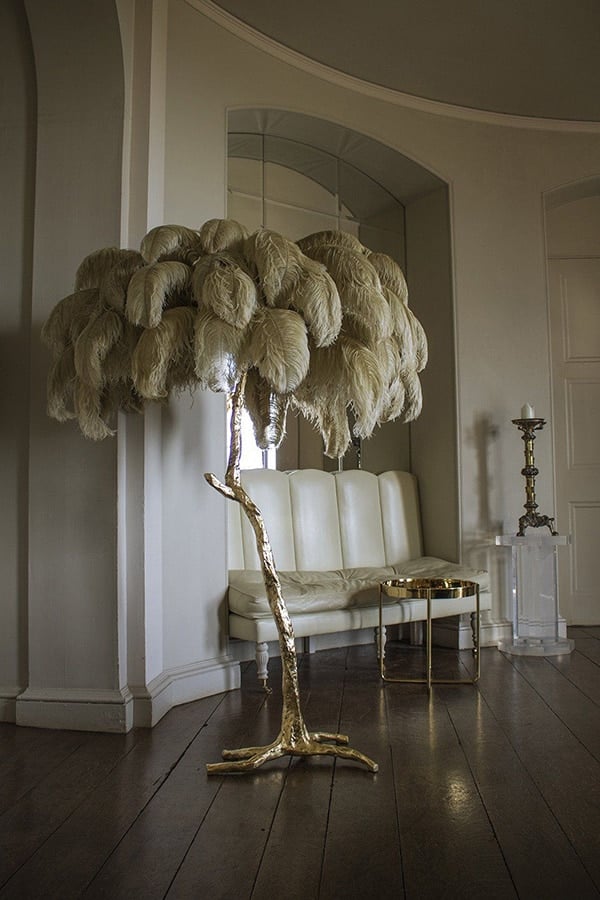
Let’s start with a few inspiration photos that planted the seed. I stumbled upon these gorgeous works of art many months ago and decided to figure out how to make my own version, as I was not about to drop $1400 on a light.
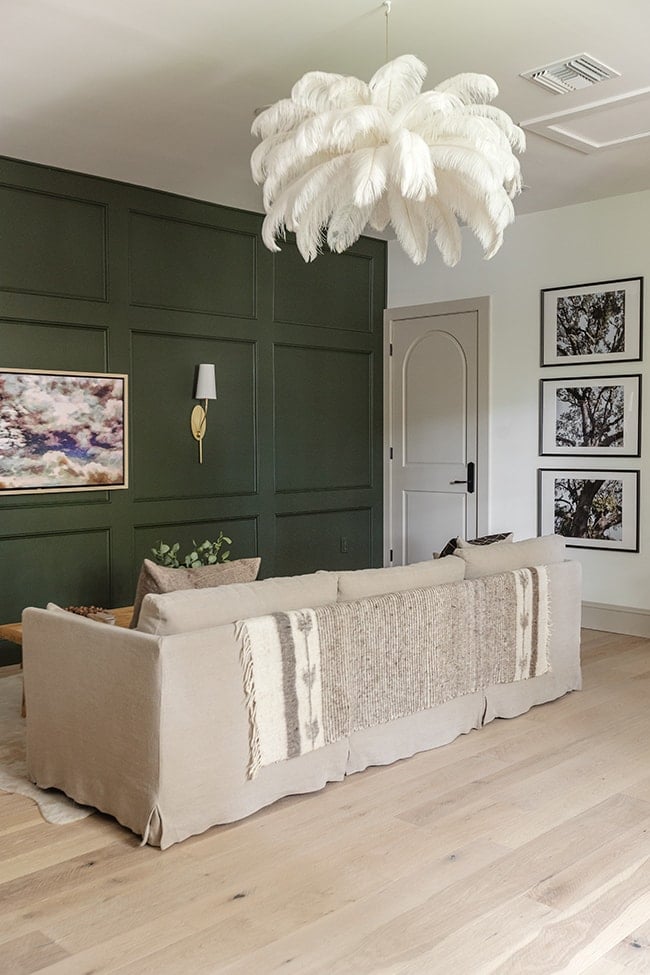
I knew the playroom would be the perfect place to hang a fluffy, whimsical yet elegant piece to help bring the storybook setting to life.
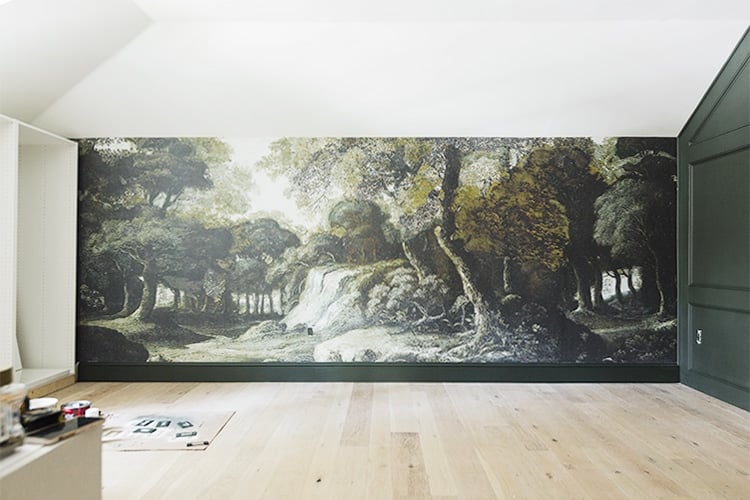
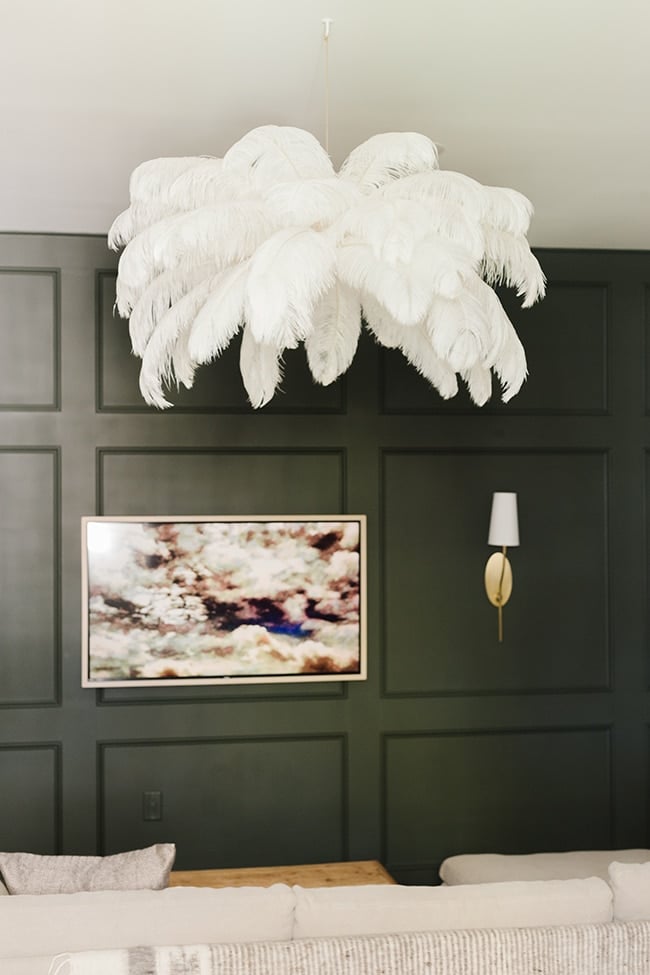
With multiple light sources already in the room, we didn’t need to add a chandelier, so instead I opted to make it a “ceiling hanging” or faux chandelier, if you will. This just required a few simple materials:
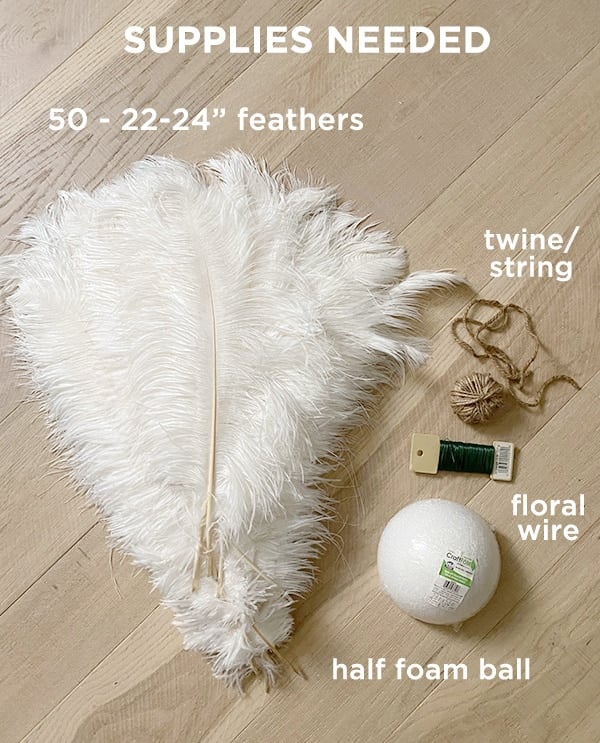
The feathers were the most important component of course, and I spent some time researching the best and most budget-friendly option. Eventually I settled on these ostrich feathers found on Etsy ($2.60/feather) and ordered 50. As an aside, I contacted the seller to ask about how the feathers are retrieved and she stated that they fall out naturally without harm to the bird. I didn’t have any luck finding artificial feathers in this size but if anyone has a source, please share and I’ll update the post!
For the centerpiece, I used this 6″ half foam ball to hold the feathers in place, and grabbed some florist wire and jute twine I had on hand (you can use any string for this, even fishing line if you wanted the chandelier to “float”).
First, I had to figure out how to hang the thing. I started by inserting an anchor and screw into the top and tying the twine around the screw, but that just made it hang crooked…
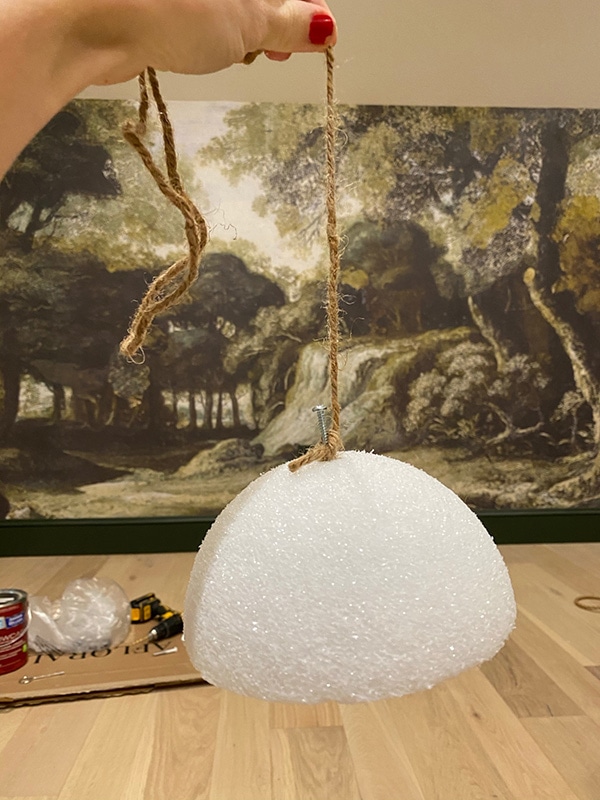
If I could do it over, I would have used a screw eye inside the anchor (instead of a screw) but I didn’t have any and wanted to finish the project that night. So, Plan B was to insert floral wire directly into the foam—I cut a strip and doubled it up to make it sturdier:

Then I pushed it down into the top and through the other side, and wrapped it into a loop at the top.

This foam isn’t very dense so this would not support much weight, but fortunately, feathers are light! Next it was time to sort through the feathers and find the fullest, best looking ones for the bottom row. I arranged them side by side around the centerpiece.

Then I simply pushed each feather in along the bottom edge, keeping them relatively parallel to the ground.

I tried to keep the spacing somewhat even but it really isn’t noticeable in the end. They had no problem staying put in the foam, but you could also add clear glue if you wanted to reinforce them. Bottom row done!

A quick test to see how it looks…

Next came row #2, same process as before and I placed the feathers between the gaps of the bottom row, about 1″ higher.


These were tilted upwards a bit to give the chandelier some height.

And finally, row #3, pointing these even higher.


Looking good!

At this point I had several feathers leftover, so I decided to use them all to fill any gaps and make the chandelier as full as possible. Even with all 50 feathers it was still super lightweight and difficult to hang level with the twine tied to the wire. I had to keep making adjustments and eventually, I wrapped the twine around a couple of the feathers to balance the weight properly.

I’m sure there’s a better solution somehow, but this worked out just fine and a month later it still looks great!

Someone suggested covering the bottom of the foam in paint or fabric, which is a great idea if you want to make it stand out. I actually prefer the plain white, and you wouldn’t know it was foam unless you studied it up close.

If you want to turn this into a chandelier but don’t have existing ceiling wiring, you could use the magic light trick with a battery operated puck light. However, you’d have to attach your string directly to the light somehow because a hook screwed into foam would not hold the added weight.
Honestly I think the easiest option would be to replace an existing light fixture. You can pick up one of these inexpensive pendant cord kits, drill a hole through the foam for the wire, and the foam would just sit on top of the bulb housing holding everything in place (just make sure to use an LED bulb!)

Then you wouldn’t have to worry about hanging it level (as long as your hole is drilled straight). Can someone give it a shot and tell me how it goes? I’d love to update this post and share with everyone how you’ve used the tutorial in your own home!
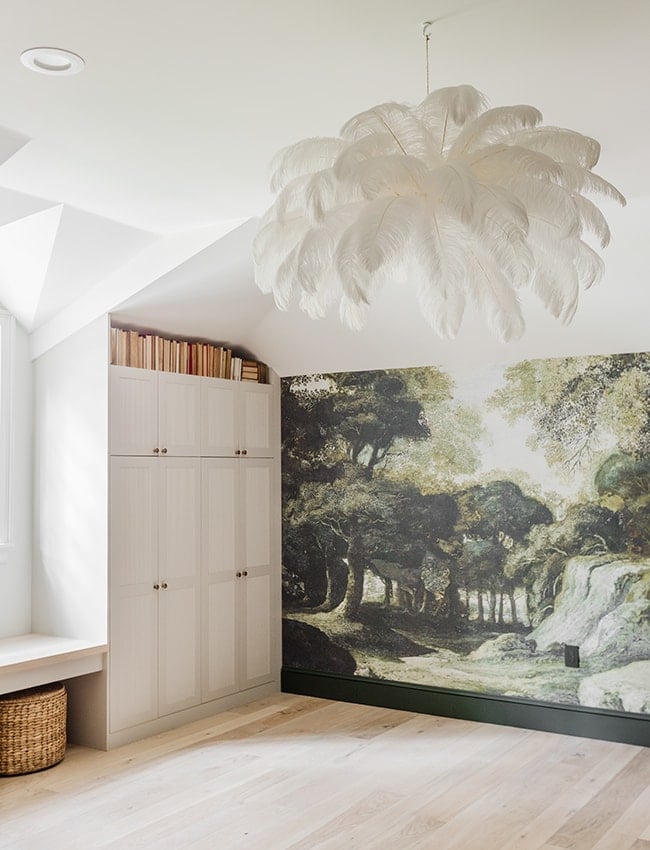
This was such a fun little experiment that turned out to be one of my favorite focal points of this room. A feather chandelier (or “ceiling hanging”) is a unique way to add personality to a play area, office, kids room—even somewhere unexpected like a dining room, foyer or bedroom.
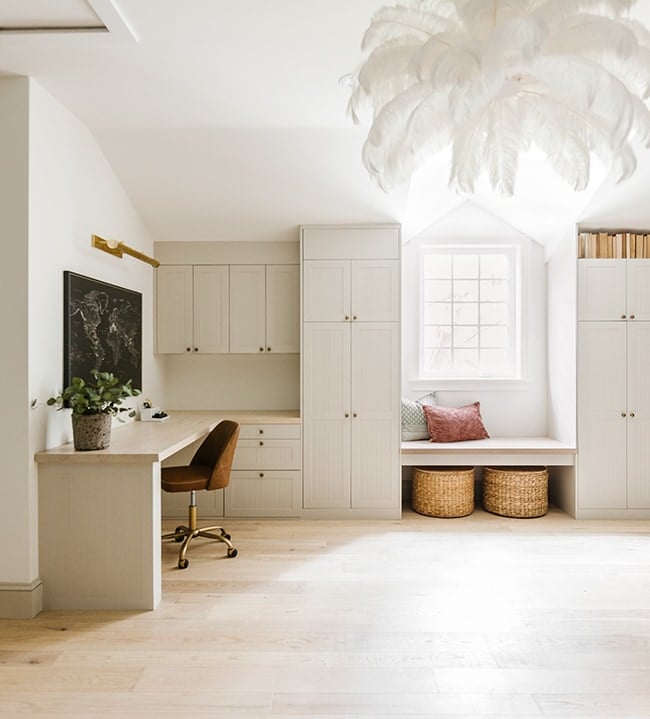
Where would you add one in your house? Let me know in the comments, or over on Instagram! And make sure to check back next week for my highly requested DIY TV Frame tutorial,




vicki says
Love this room! Beautiful–
do you think the feather chandelier would work with 8′ ceilings?
Jenna Sue says
Thank you! As long as you can walk underneath without hitting it I think it will be fine — or if it’s over a table of some sort then most definitely!
jaime says
Thank you for ensuring the feathers you used were ethically sourced. I hope anyone who tries this tutorial will do the same.
AnnTN says
It is so very pretty, but it will be a dust collector. 🙁
KathyU says
Can you tell me what paint finish you used on your dark green wall? I’m doing something similar and don’t know if I should go with a flat finish like the other walls in the room, or go to a semi-gloss.
Jenna Sue says
Hi Kathy! We used eggshell, and you can find all the details in this post: https://www.jennasuedesign.com/2020/08/diy-recessed-panel-wainscoting/
Monica says
This is such a genius and well done knock off! I love it.
Jenna Sue says
Thank you so much Monica!
Ivory says
Beautiful and fun, but I have one question. Is this safe once the light get hot? I am sorry if I missed something, and that’s very possible. However, I really love this post
Jenna Sue says
Hi Ivory! You’d need to use LED bulbs which do not get hot like incandescent. Thanks for bringing that up, I will go ahead and update the post!
Charisse says
I absolutely love this. It really echoes the trees in the wallpaper, delicate but substantial. Well done!!
Jenna Sue says
Thank you Charisse! I really love the way it complements the mural as well. Such a fun addition 🙂
jan says
You are always a WONDER!! So beautiful!! You…..and the feathers!! LOL
Karina says
WOW ?
GREAT JOB
LOOKS AMAZING
Jenna Sue says
I’m so glad you like it Karina!
Jenna Sue says
Thank you so much, Jan!
Robin Ekblad says
This is so beautiful! Absolutely stunning. This is why you are my favorite blogger. This is a beautiful example of a budget friendly project that looks high end designer. Keep these projects coming!
Jenna Sue says
I really appreciate that Robin! Looking forward to tackling many more of these projects in the future 🙂
Teddee Grace says
Thought this was beautiful last week and think so today! Your instructions are great. These may take over the internet!
Jenna Sue says
Thank you Teddee! I can’t believe I haven’t seen one before with how easy they are to make. Hopefully we’ll see a lot more this year 😉
Dolores says
I think this is gorgeous, and you are amazing! Thank you for sharing!
Jenna Sue says
Thank you Dolores, I’m so glad you like it!