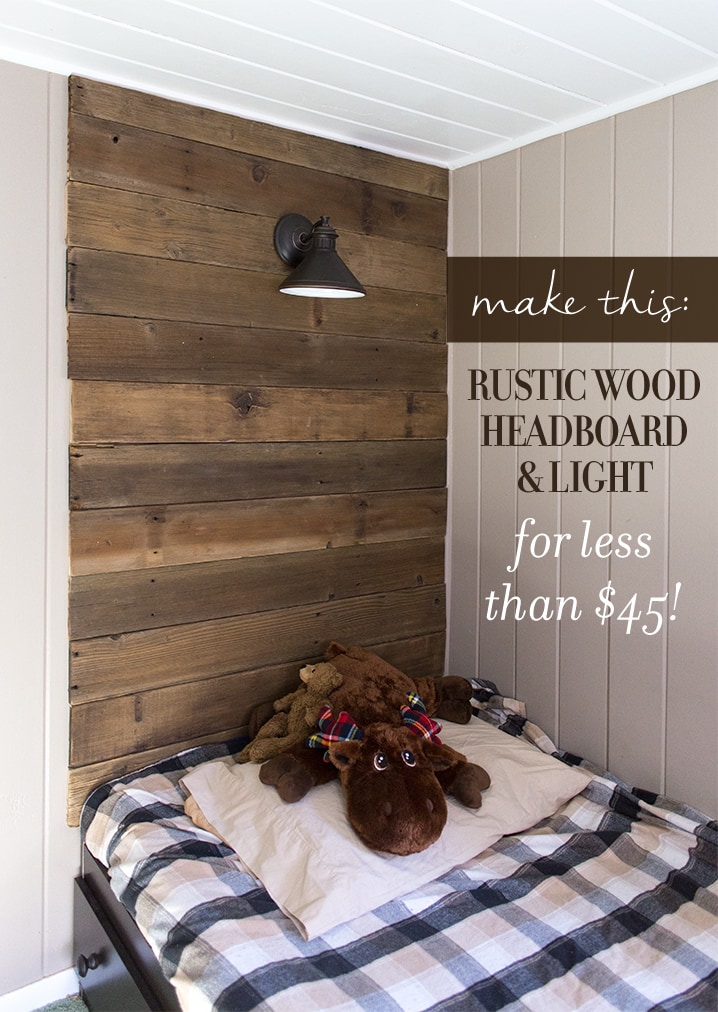
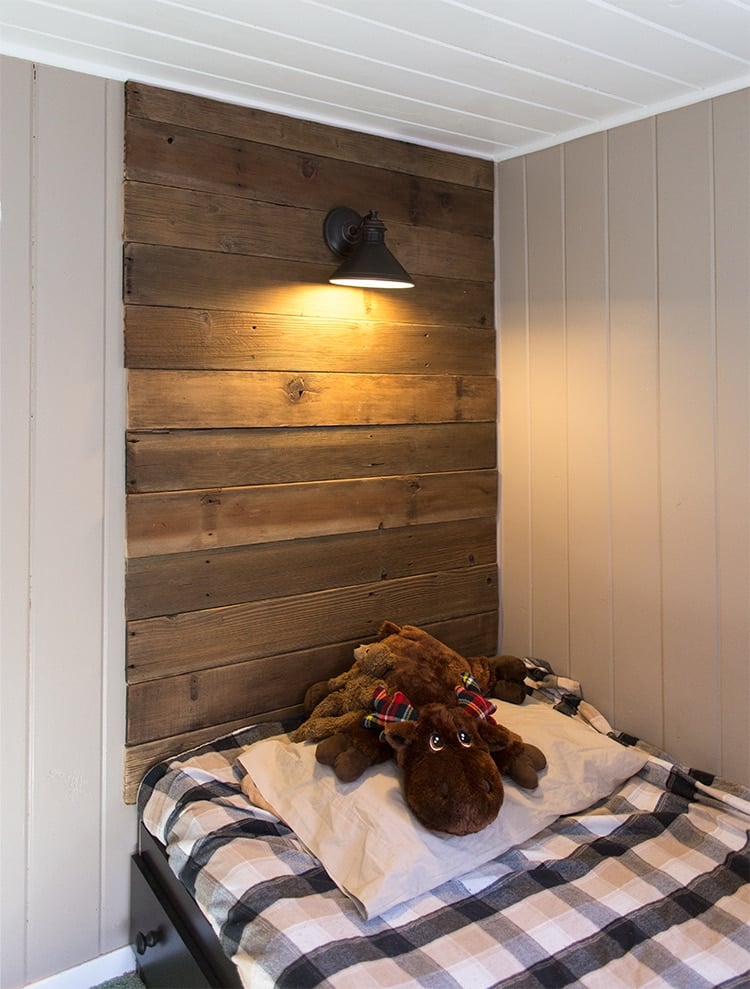
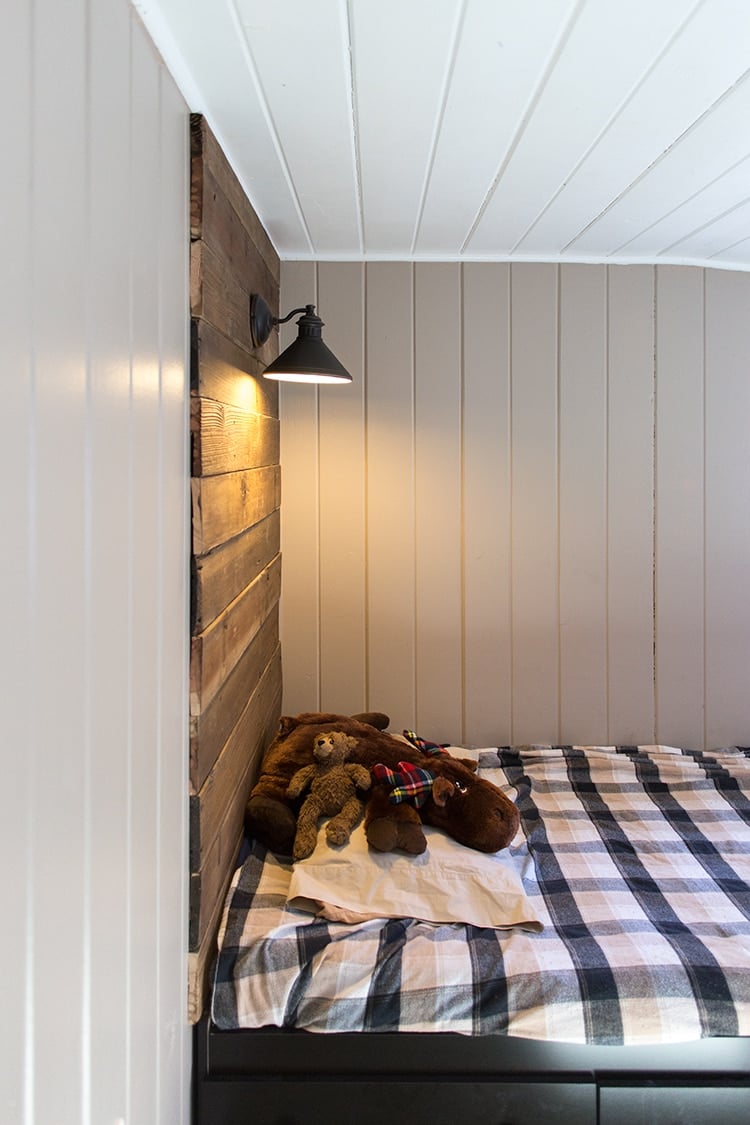
Now that I’ve got the ball rolling on my budget boy’s room makeover and the first inexpensive DIY project out of the way, next up is perhaps my favorite addition to the space—creating a simple rustic wood headboard with a built in lamp:
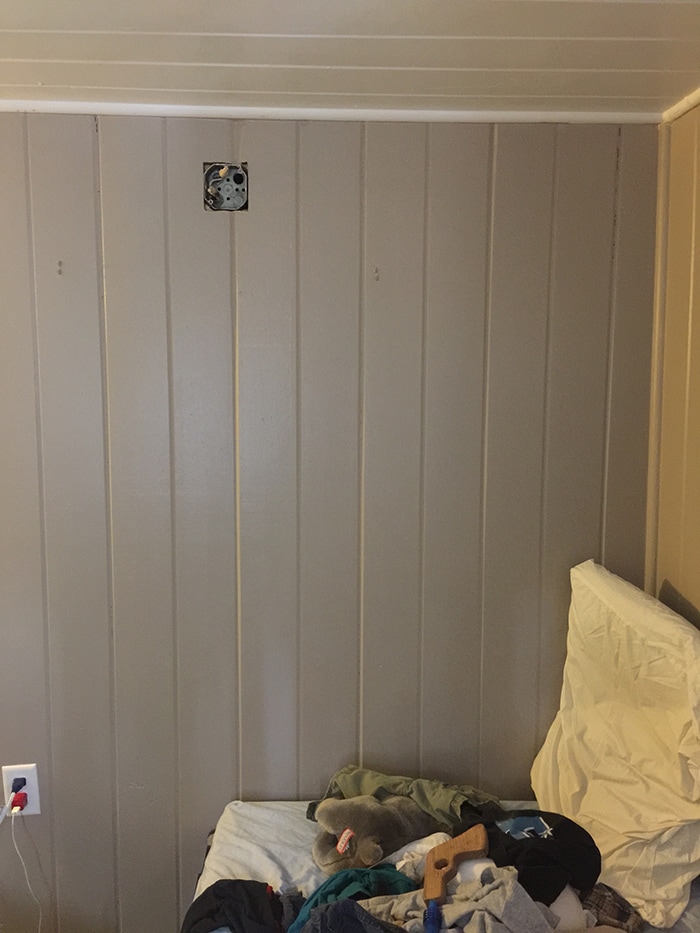
Here’s how the space looked before:
There were a few problems to solve here:
1. The existing bed had to stay but there was no headboard so I needed a way to create a focal point in the room on a very small budget
2. This room used to be a porch and one of the lights was removed, leaving an unsightly exposed electrical box that couldn’t be removed.
3. There’s only one small light to illuminate the entire room by the door so there needed to be another light source.
My best solutions often involve lumber because it’s readily available, inexpensive (or free), is timeless and can be styled in so many different ways. This time was no exception, and I decided a wood planked headboard carried up to the ceiling with a built in lamp would cover all my bases.
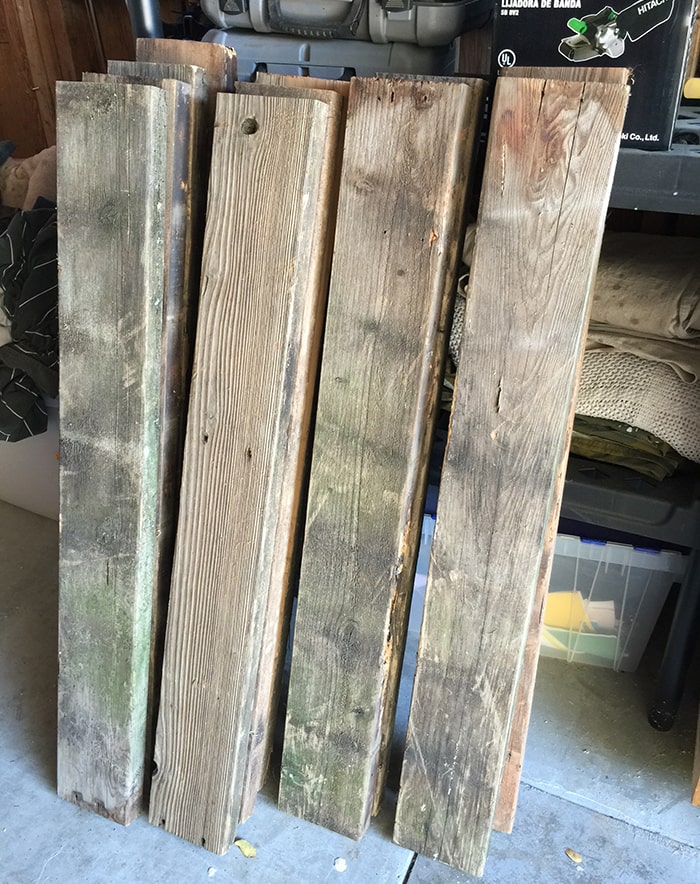
Step #1: Gather wood. I was planning on heading to our local lumber yard, but as luck would have it, a neighbor was ripping out his old deck and left a pile of old 2×4’s on the side of the road. Don’t you just love it when that happens? The size actually wasn’t ideal as I was hoping for 1″ instead of 2″ wood… but free is free and I figured I’d make them work somehow.
I measured the width of the bed and chopped my boards down to size.
I didn’t have enough to reach the ceiling, and the 2″ thickness was bothering me so I decided to utilize my table saw and rip them into halves. The blade doesn’t rise 4″ so I ran each board through halfway, then flipped them upside down to slice the other half. There were old nails and some of the wood was really dense and tough to cut so it was a challenge—I had to deal with a couple power outages and lots of smoke (hopefully not from the saw’s motor burning out) but I was determined to make it work, and my persistence paid off!
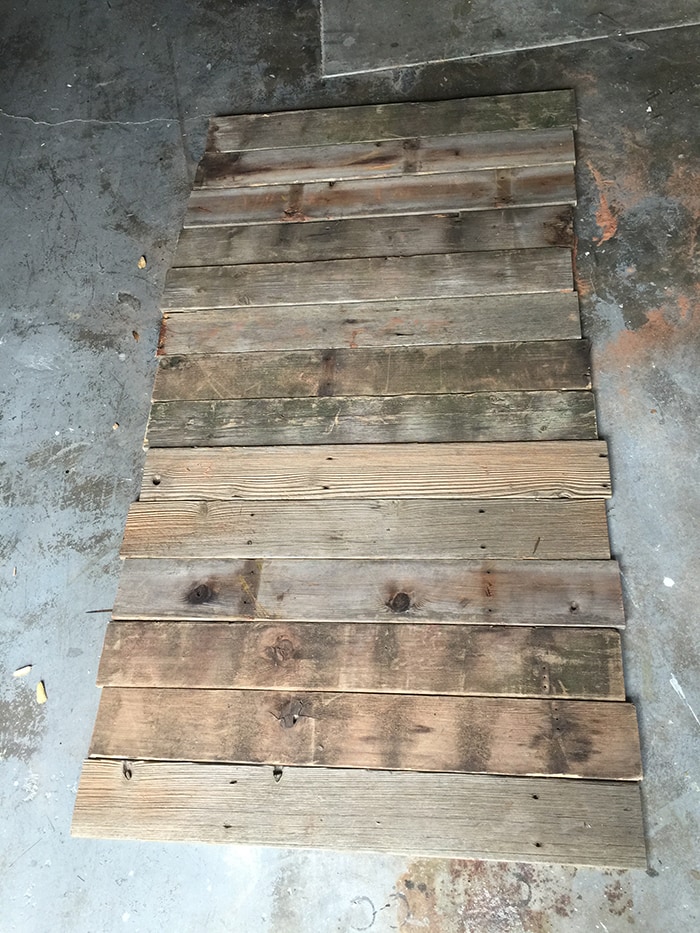
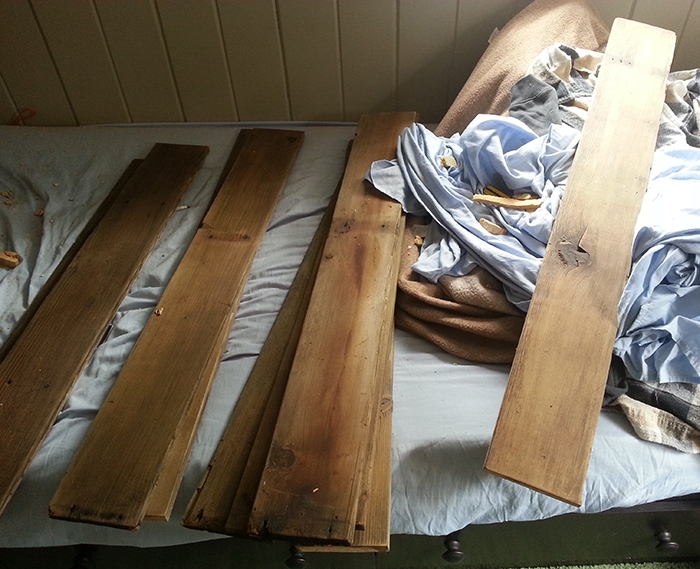
Here’s all the boards lined up after they were ripped in half. Perfect…
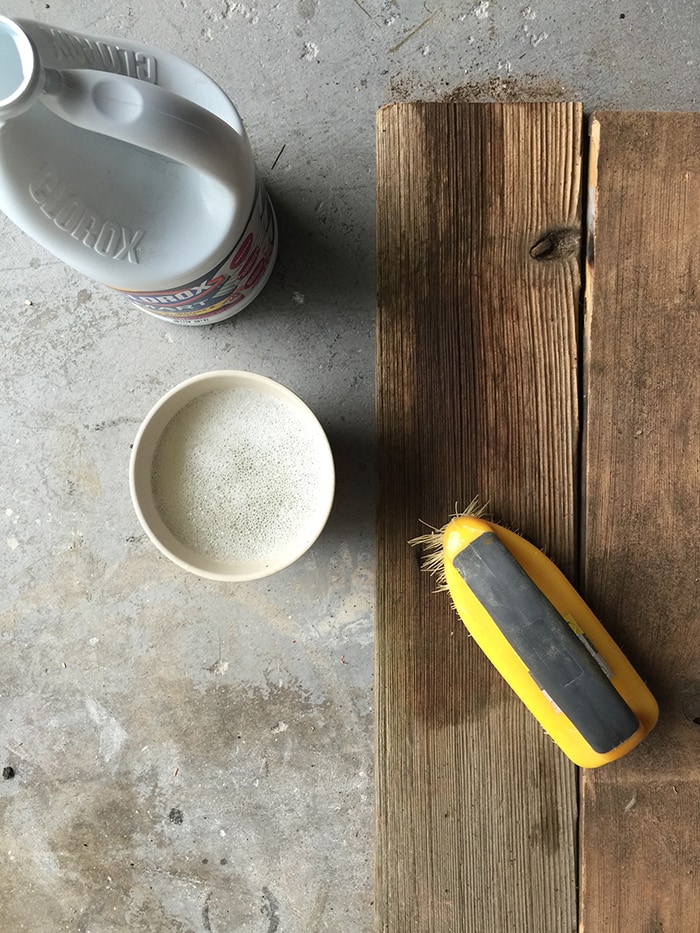
Since this wood has been exposed to the elements for who knows how long, they needed a good deep cleaning and sanding for safety. A quick google search confirmed that soapy water, bleach and lots of elbow grease would do the job. I used a stiff bristle brush dipped in a soapy bleach water mix and thoroughly scrubbed each board.
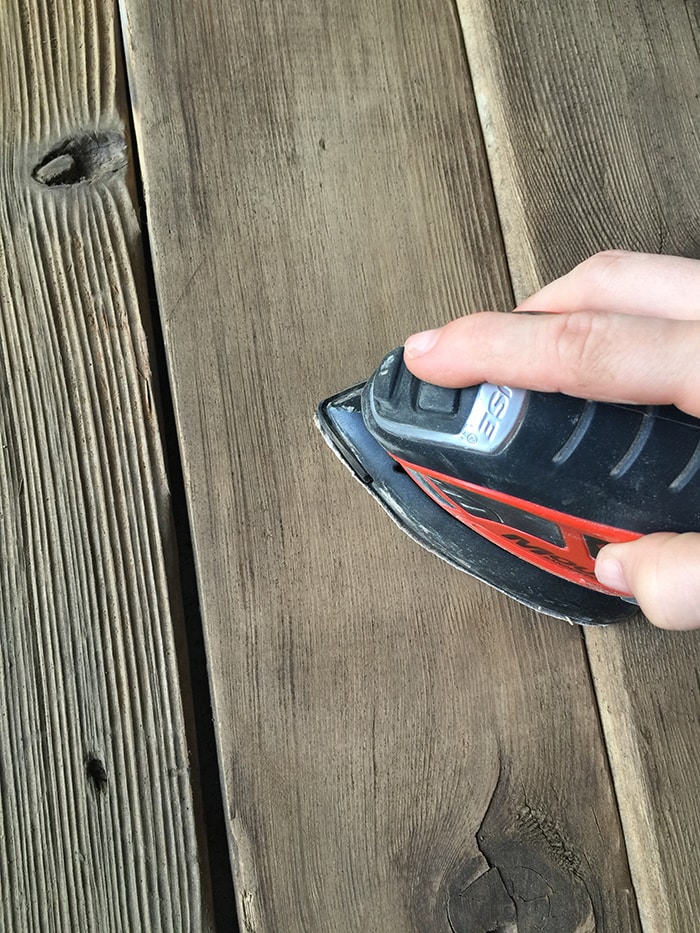
Once dry, I sanded each board down, making sure to eliminate any splinters.
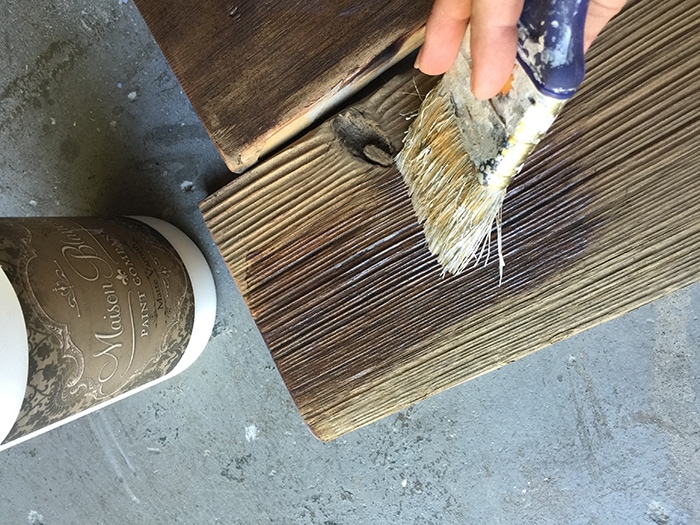
Finally, I coated them with Maison Blanche Paint Co’s clear matte varnish to protect and seal the wood.
Now that my boards were ready to go, I had to figure out my lighting situation. The budget takes precedence here but fortunately since I picked up the wood for free, I had a little wiggle room.
It came down to two suitable candidates from Lowe’s.
At just $30, these are the lights we have in our laundry room and they might be my favorite under $50 sconces ever:
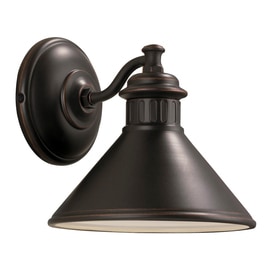
But then I spotted this light, also for $30 and equally as intriguing:
I love the barn style of the second one and would have been equally as happy with it, but in the end something just kept pulling me to Option 1—so that was our winner.
The most complicated part of this project, of course, was deciding how to wire this thing. Brad agreed to help and we tried to come up with a very cost effective plan (ie, not hiring an electrician). Keep in mind that this is also a rental so we can’t go ripping open any walls. We realized there was no way to hook the power up to the existing switch several feet away without opening up walls (no attic space) and didn’t want to create a new light switch, so we found a way better solution for just $11.50…
It’s a wireless remote we found on Amazon! You simply wire the little transmitter to the light (hidden inside the light box) and use the remote to control the light. Genius. And so much simpler and cheaper than wiring up a switch. The only other thing I had to buy was an electrical box for $2 and a $1 cover plate for the old outlet.
When we had our materials, we brought everything over and Brad drilled a new hole (using our arbored hole saw) and ran a new wire from the old outlet, behind the wall to the back of the new outlet. Then we attached the metal cover plate onto the old outlet (sorry no pics of this process!)
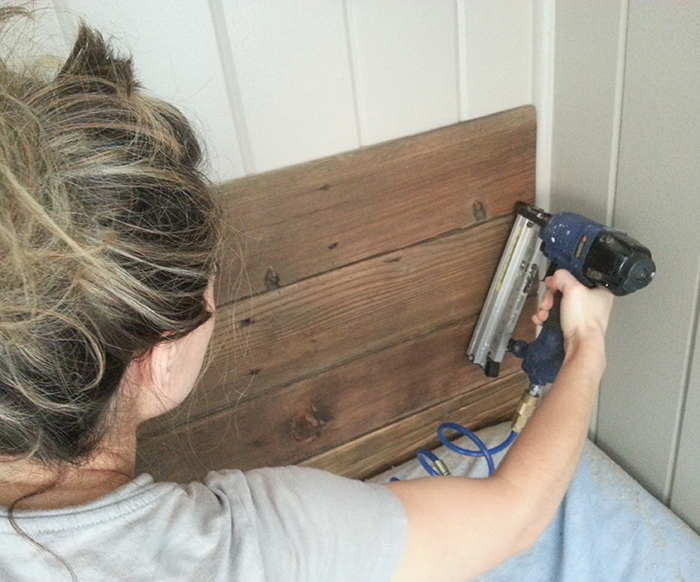
Once the new electrical box was mounted in place, I began nailing up our boards.
Since they’re super lightweight and I didn’t want to make this installation too permanent, I used finish nails & my nail gun and used a couple nails on each end.
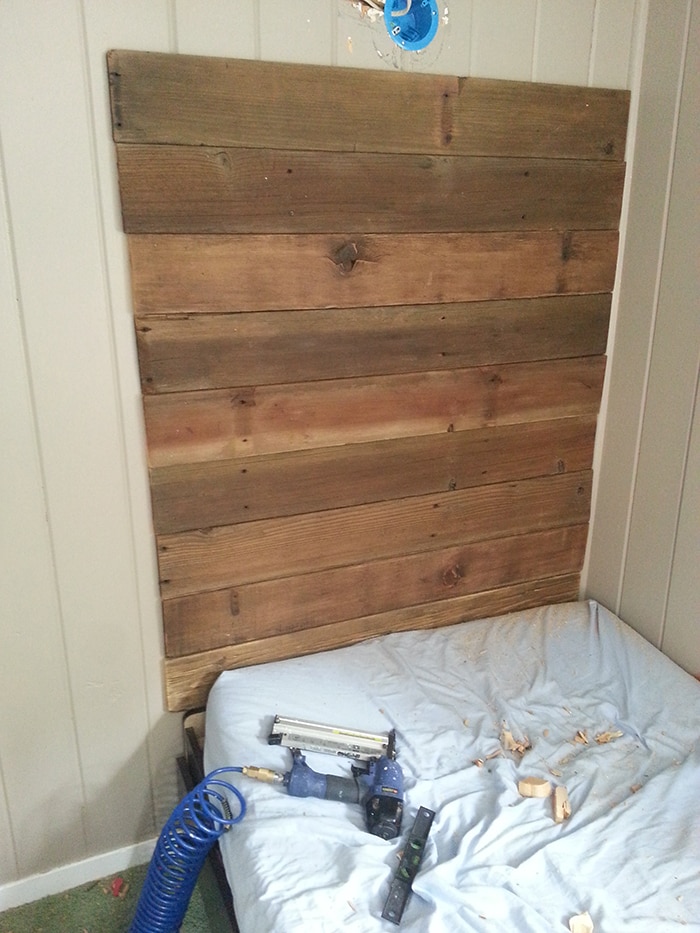
This is always the easiest part! It took just minutes to make it up to the electrical outlet.
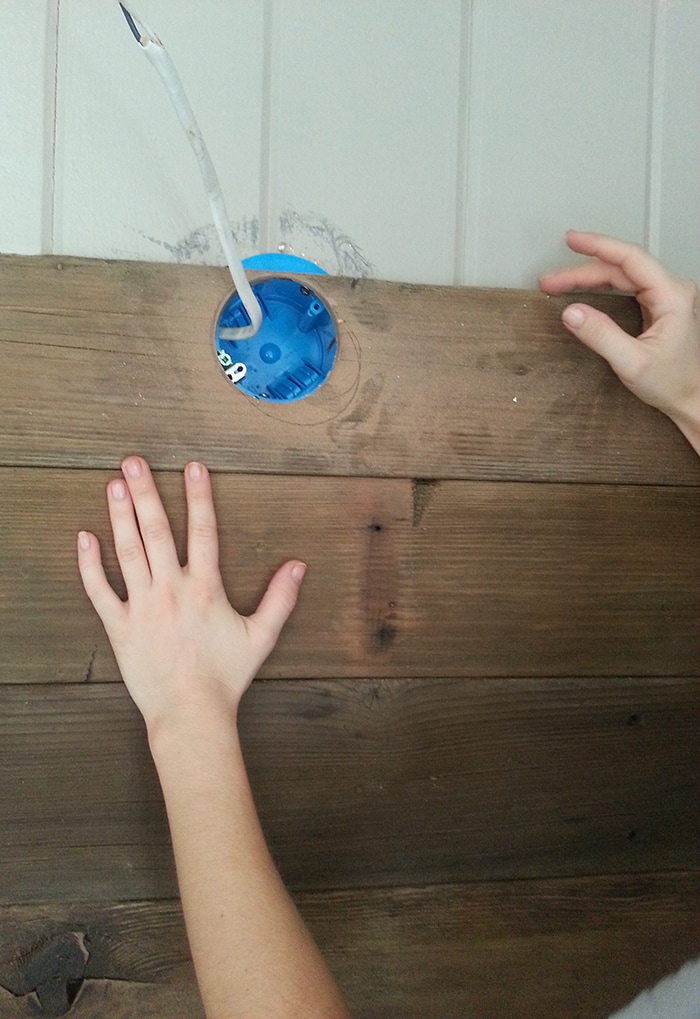
When we got to that board, I measured where the hole would fall and used the hole saw to cut our opening.
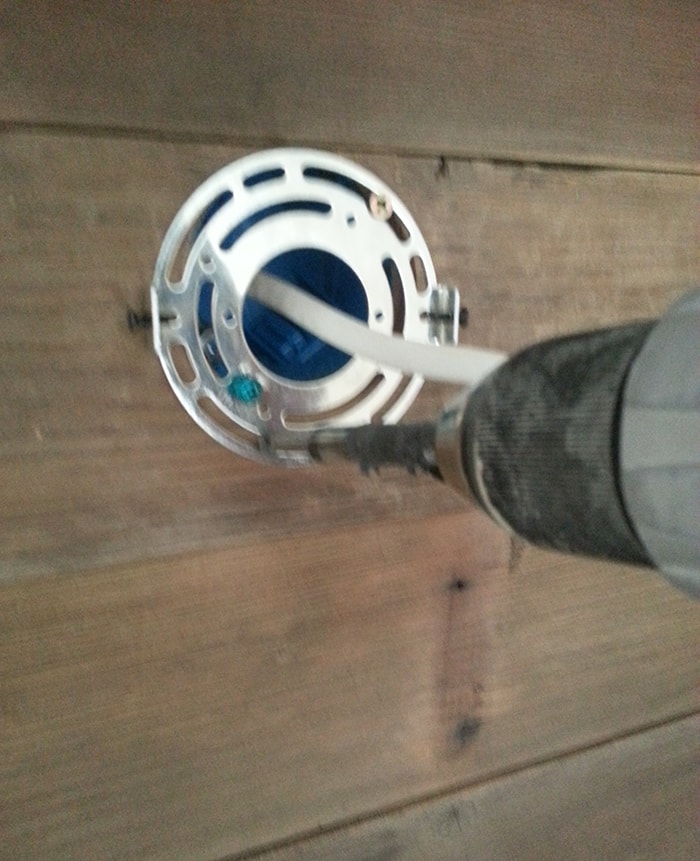
Brad then attached the wall sconce mounting plate—excuse the horribly blurry photo, but you get the idea:
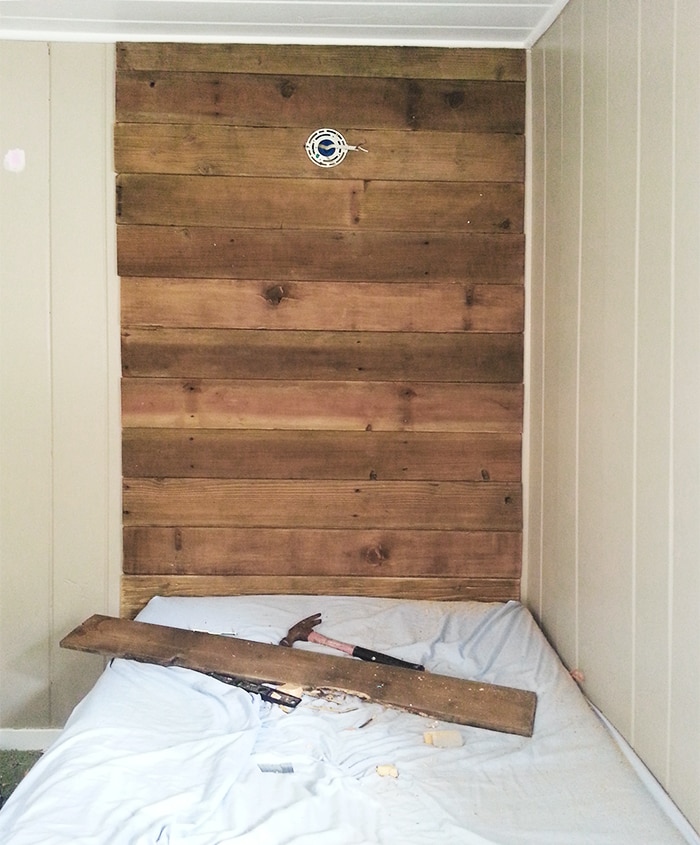
Then we finished with the last two boards (the top one had to be cut down with a jigsaw to fit the tilted ceiling):
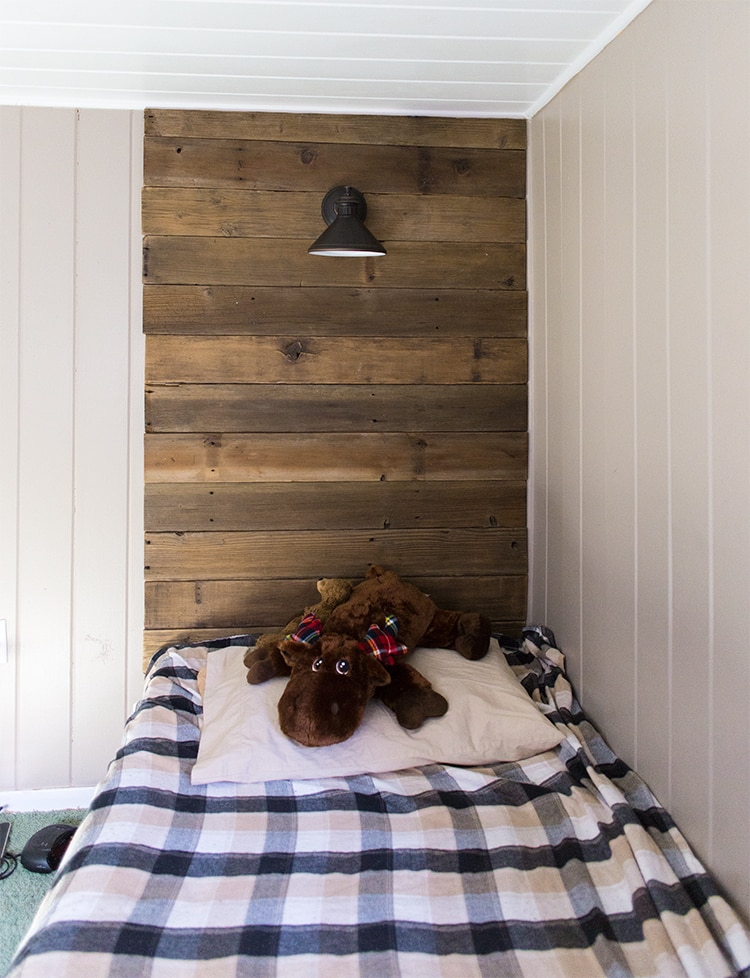
Finally, the sconce was wired up, attached to the mounting plate and tested out.
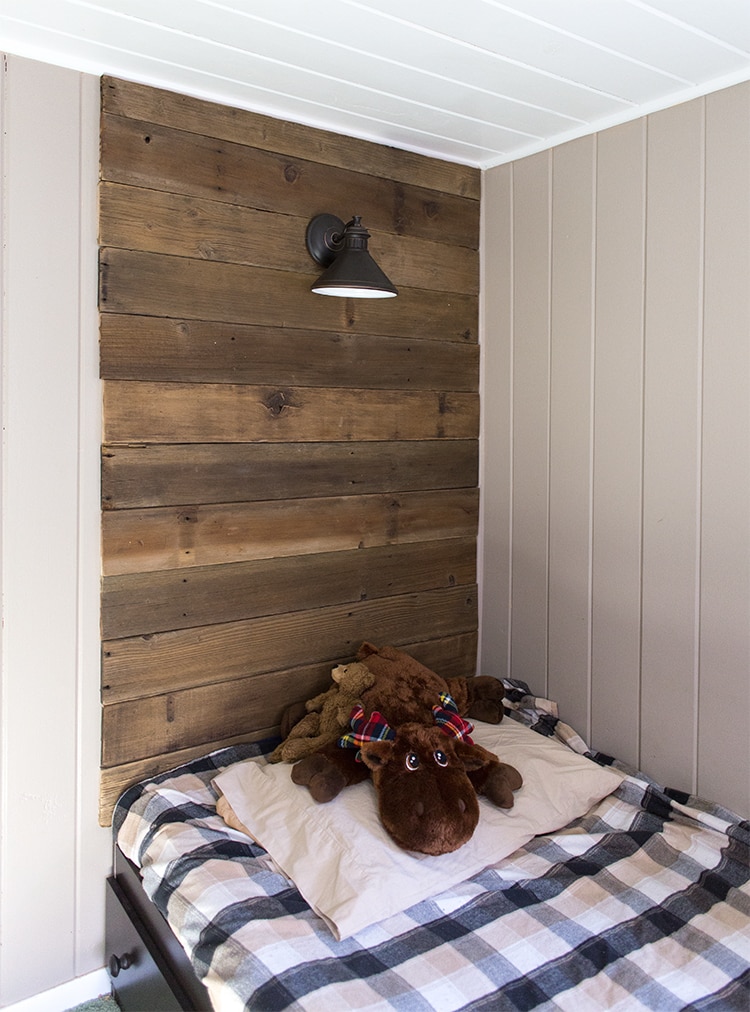
And then there was light!
I’m so pleased with the way everything turned out, and I know little Cruz loves having the extra light by his bed! This is just one piece of the bigger picture and I can’t wait for the entire room to come together. I have lots more planned for this space and am anxious to move onto our next challenge. $82 down, $168 left to go!
My next DIY project isn’t working out quite as planned so I’m hoping by sometime next week I’ll have it finished! I’ve been fighting off an illness and have family coming into town this weekend so the timing may not work out… but I’ll give it my best effort. Hope everyone else has a productive & happy week!





Nat says
Look amazing already Jenna.
debbi s. says
very awesome; I love that remote for the light, and discarded wood on the curb is always/usually a good thing
Mara says
Seriously?! You never cease to amaze me! If I remember correctly, there are two boys sharing this room, no? Will you be doing the same for the other bed?
jennasuedesign says
Thanks Mara! It’s just one boy 🙂
Melissa says
You’ve inspired me to try the headboard and roman shades in my sons room. Thank you!!! Would you share where the bedspread is from?