Want to transform your ceilings without blowing your budget or hiring a contractor? This DIY wood plank and beam ceiling adds timeless style, and by using pre-made wood beams, it’s a lot simpler (and more affordable) than it looks. Keep reading for the full step-by-step breakdown!

Over the years, we’ve done everything from DIY box beams to laminate beams, faux wood and more. Ceiling beams are one of the most impactful bang-for-your-buck upgrades, and I’m always looking for ways to improve the look, simplify the process and lower the cost.
This method is the best combination of all of the above. The wood beams are not only the most affordable I’ve come across, but they also look amazing and install in no time. Add plywood planks underneath and you’ve got a ceiling with major wow-factor.
I’m excited to share exactly how we did it so that you can recreate it in your own home! Let’s get started:
Jump to:
Supplies
- Ceiling beams
- 4’x8’ plywood
- Gel stain in Coffee and Mahogany
- Liquid nails
- Brown paint

The Plan
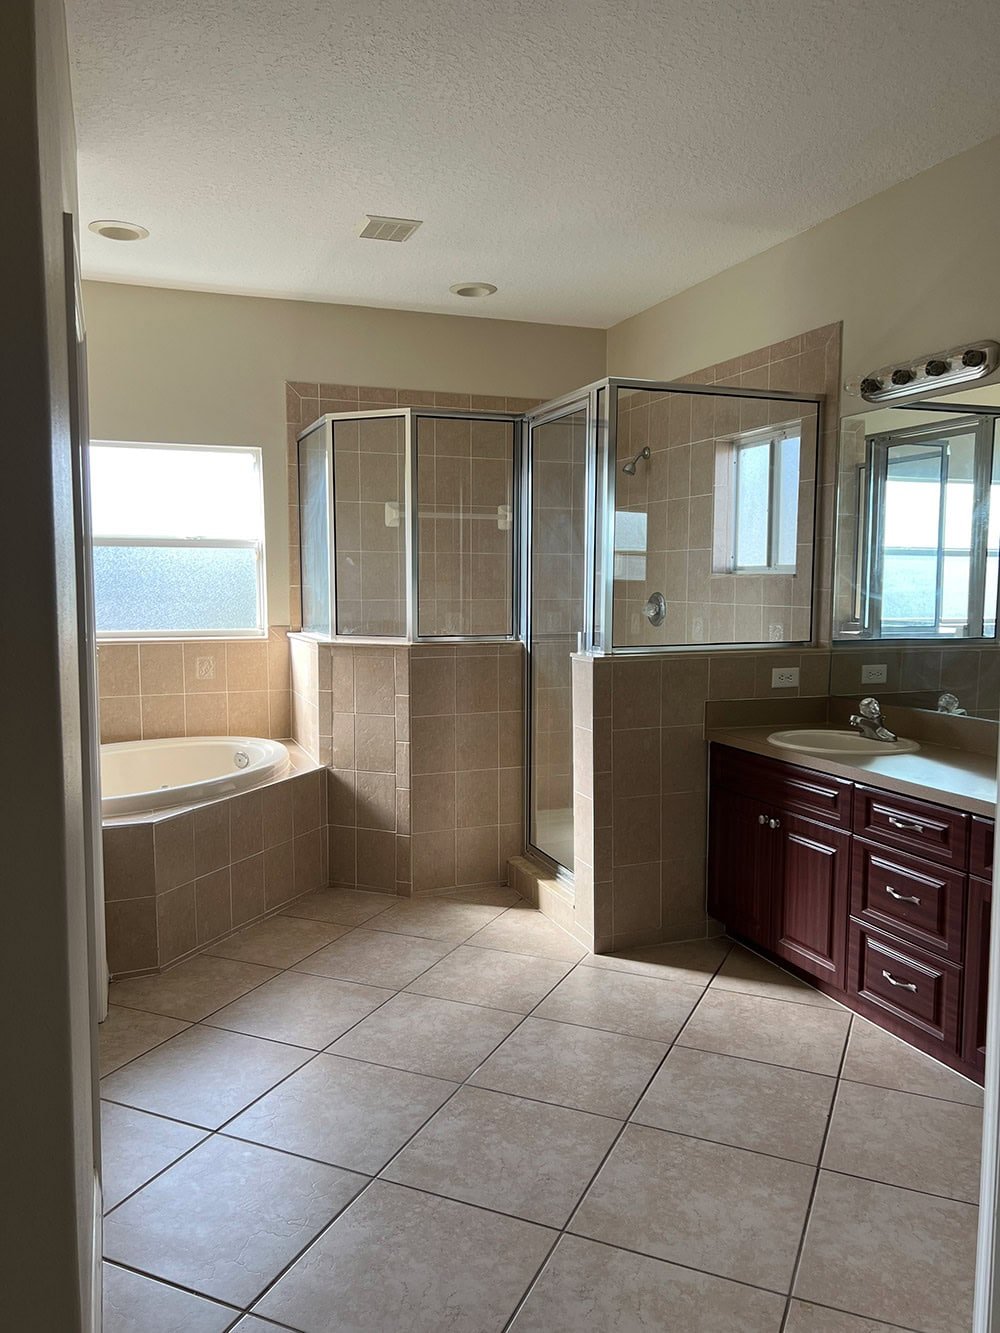
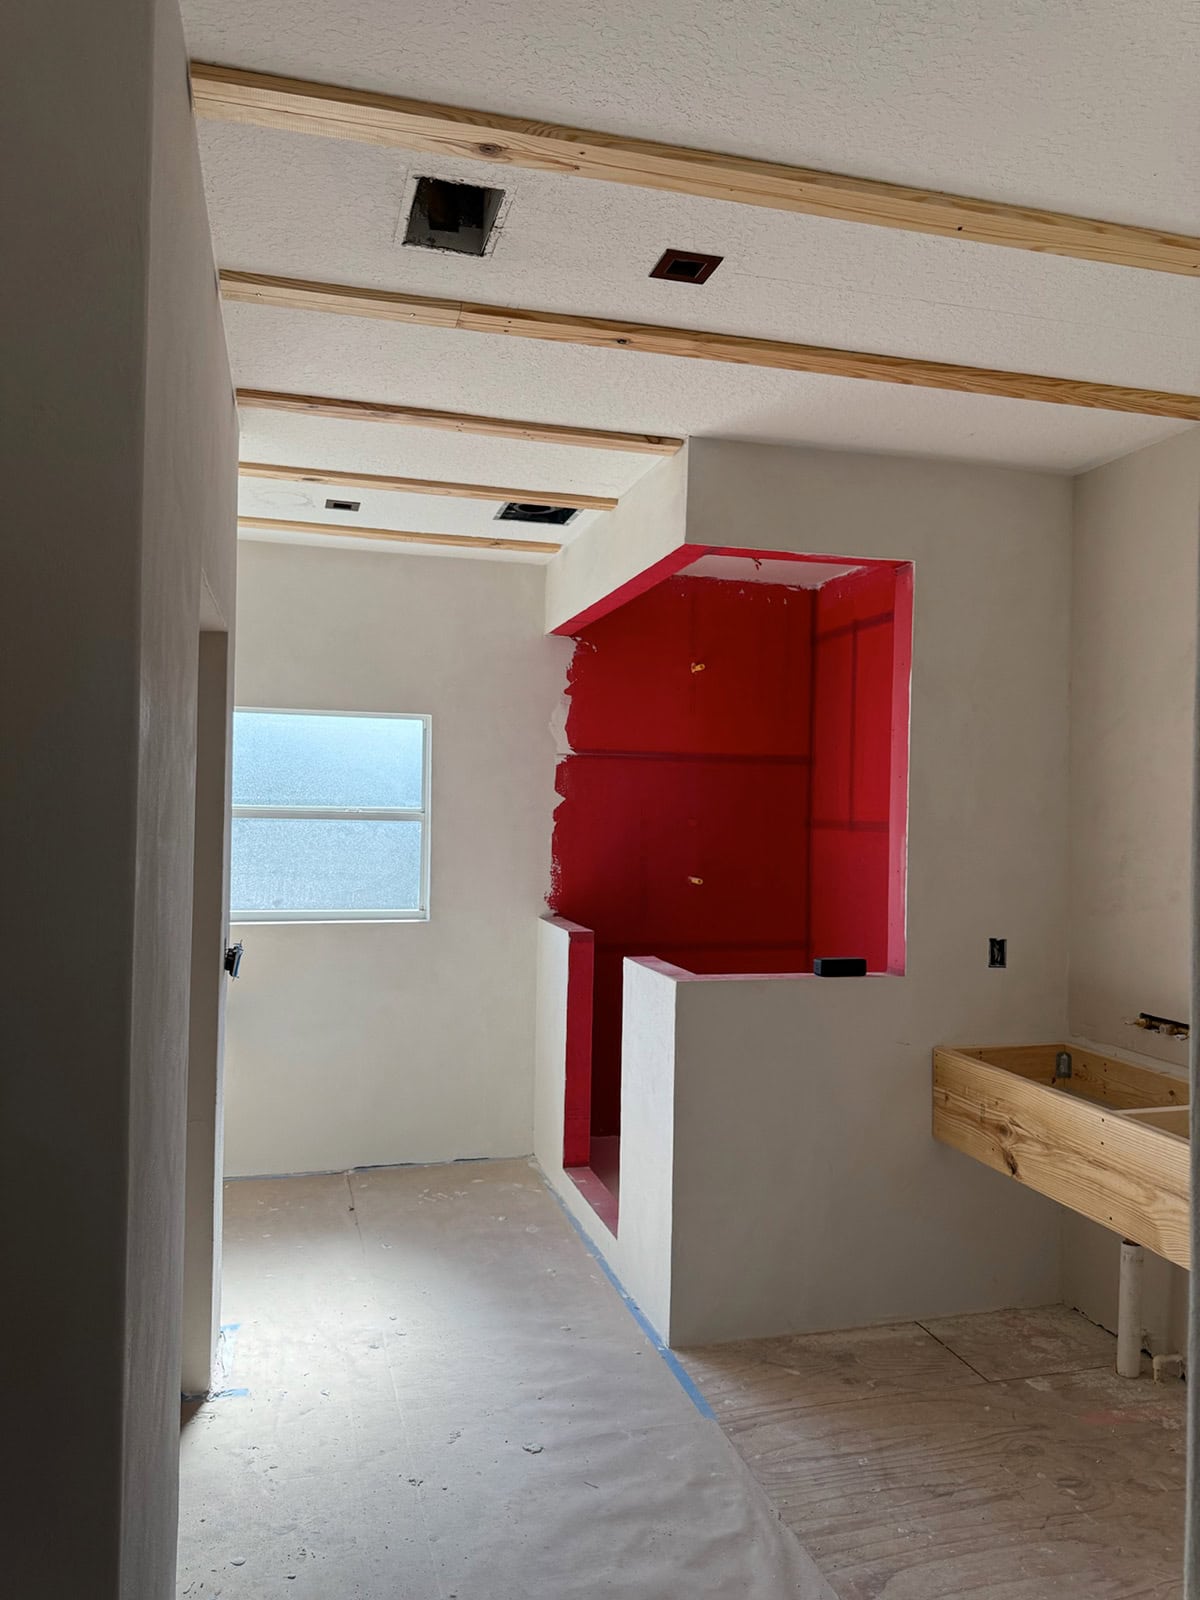
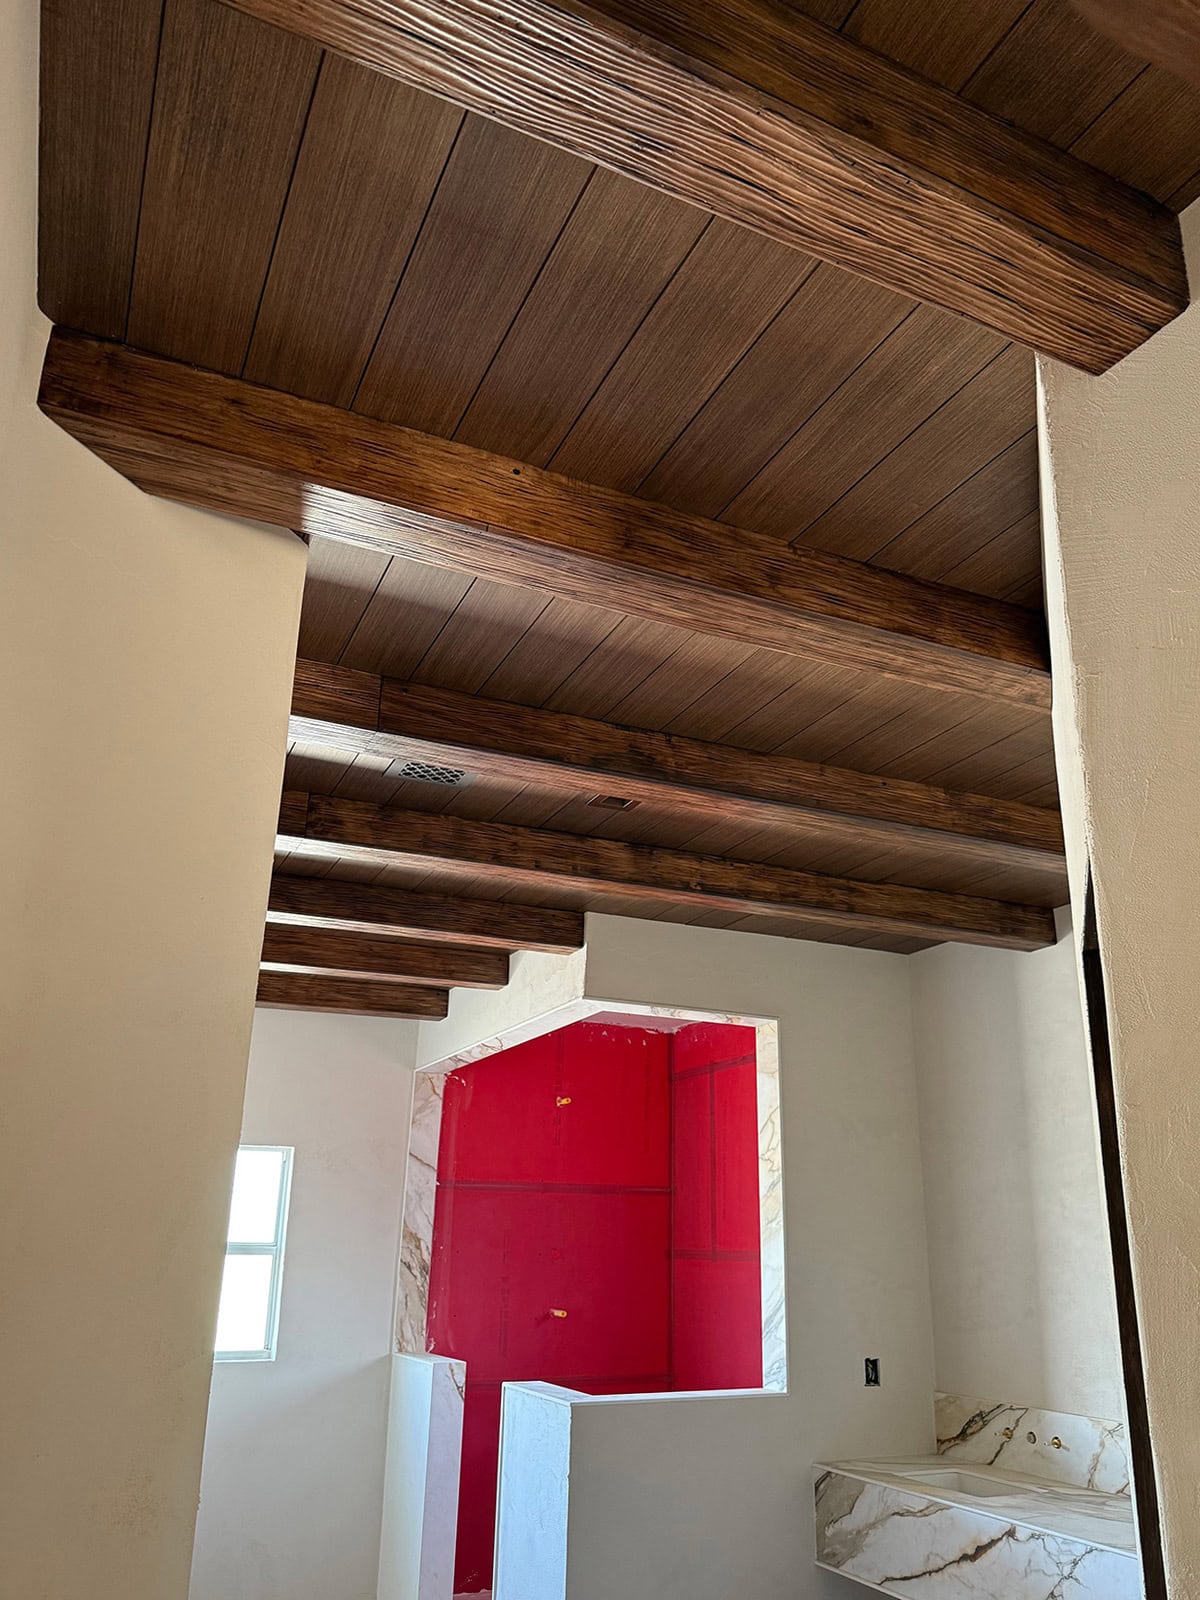
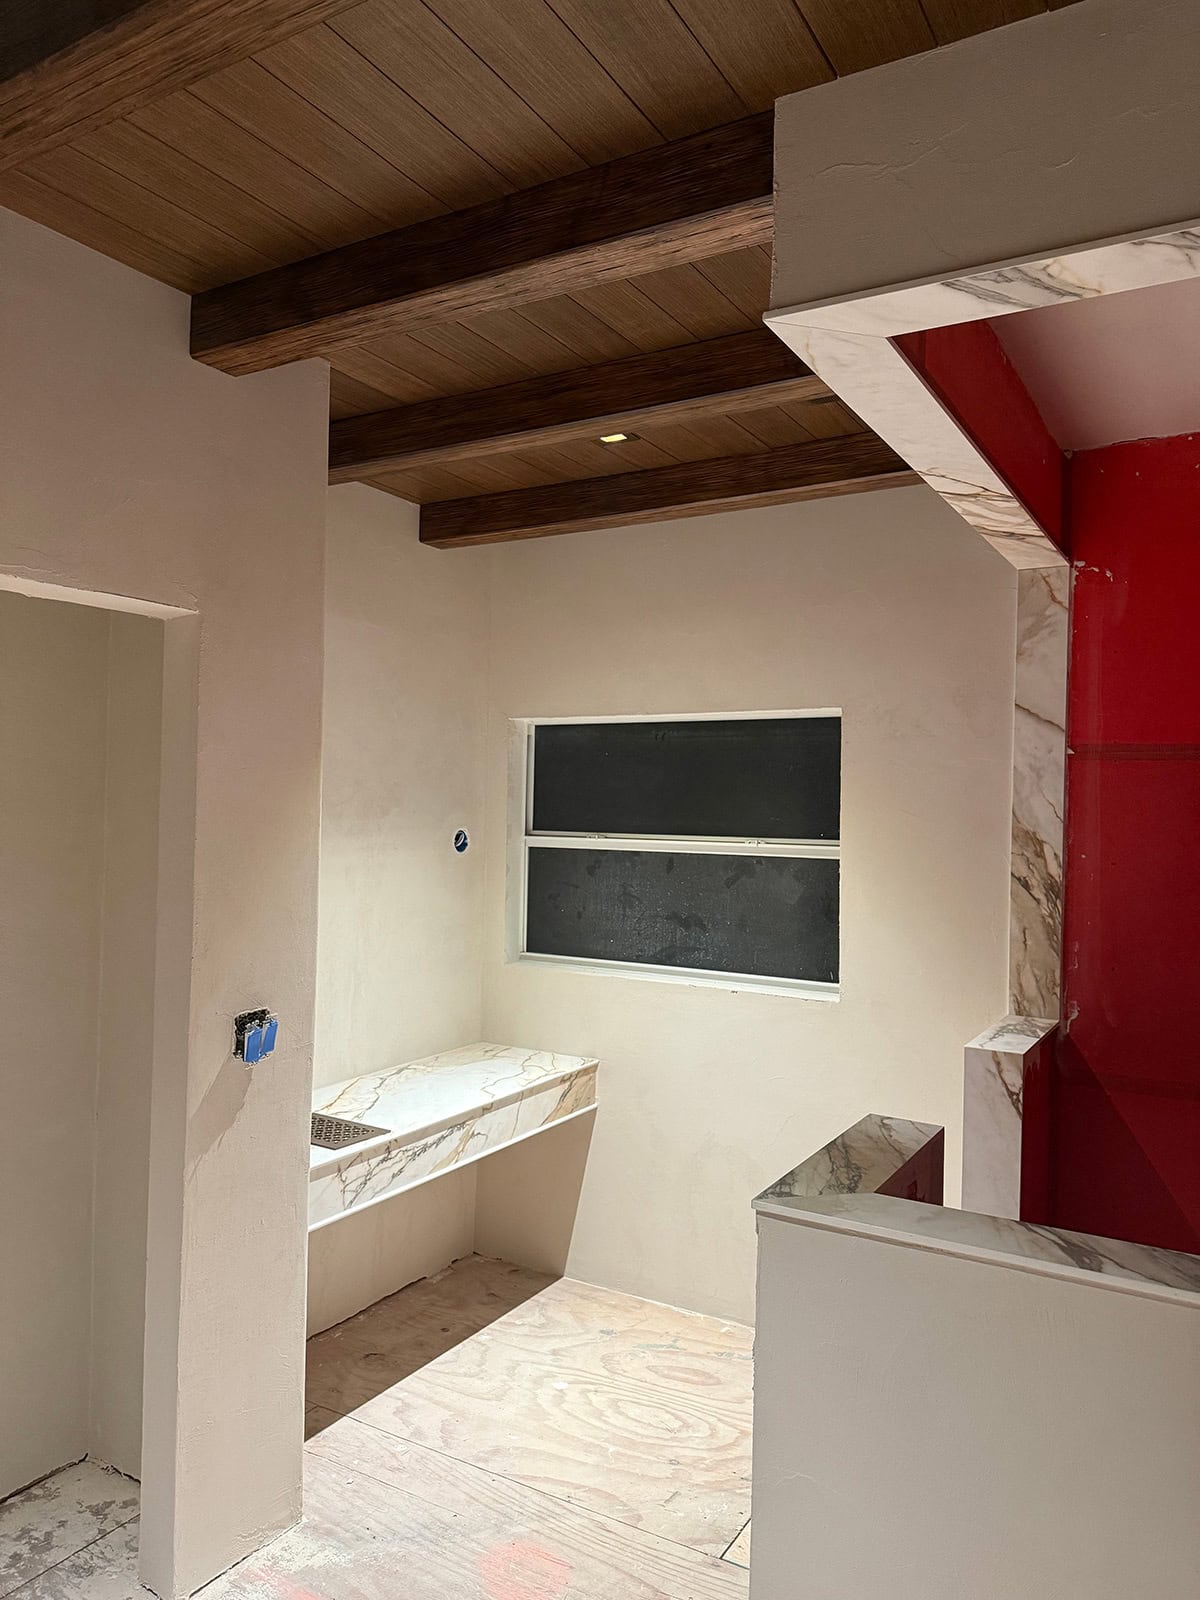
All of the bathrooms in our Spanish Sanctuary renovation will feature wood plank and beam ceiling, and today’s tutorial features our primary bathroom install. Here’s how it looked before:
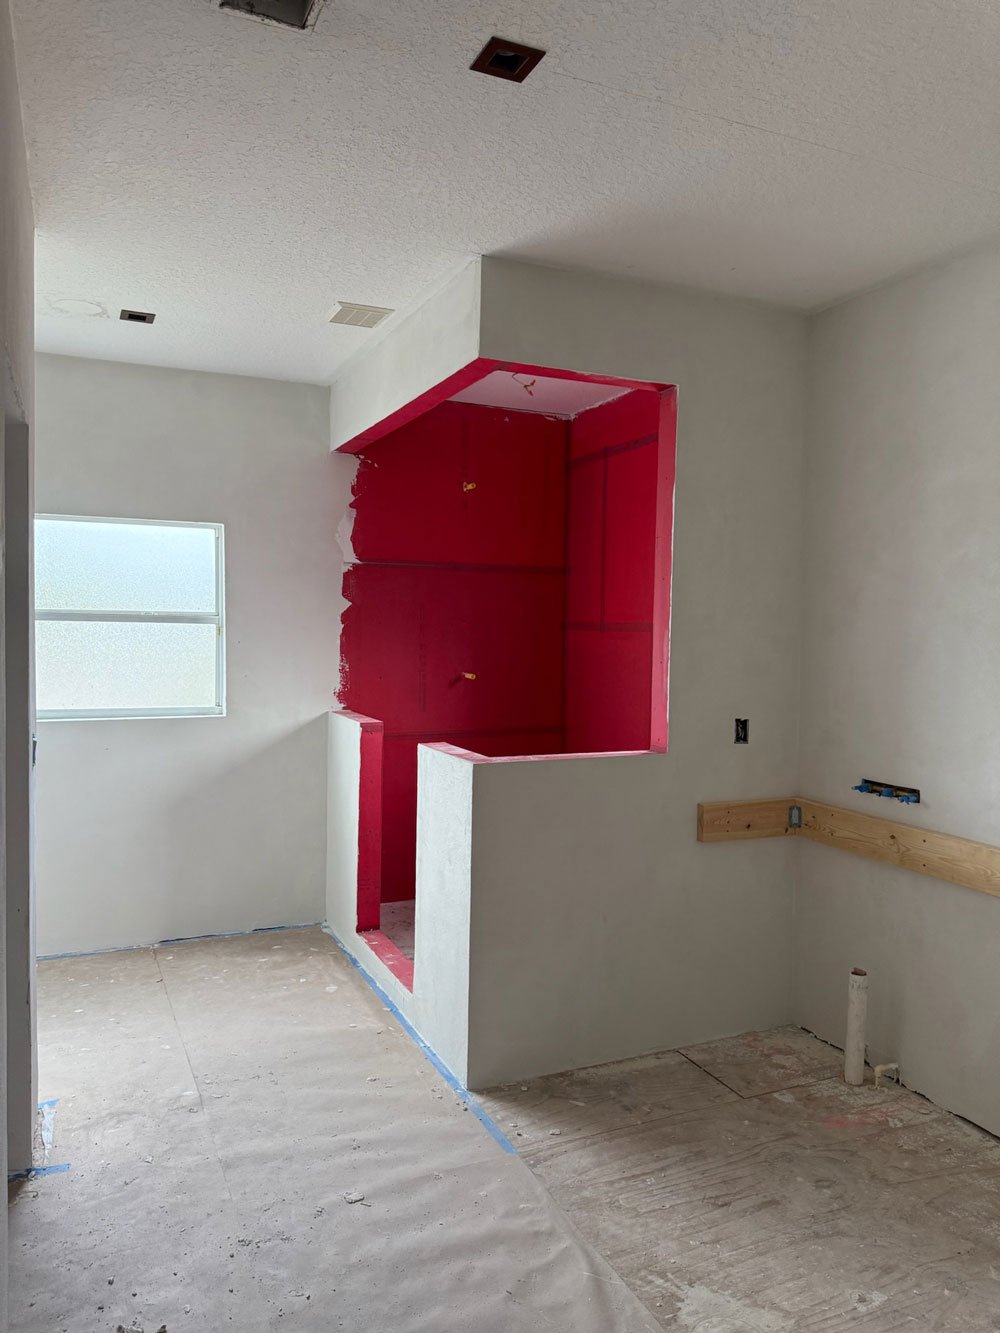
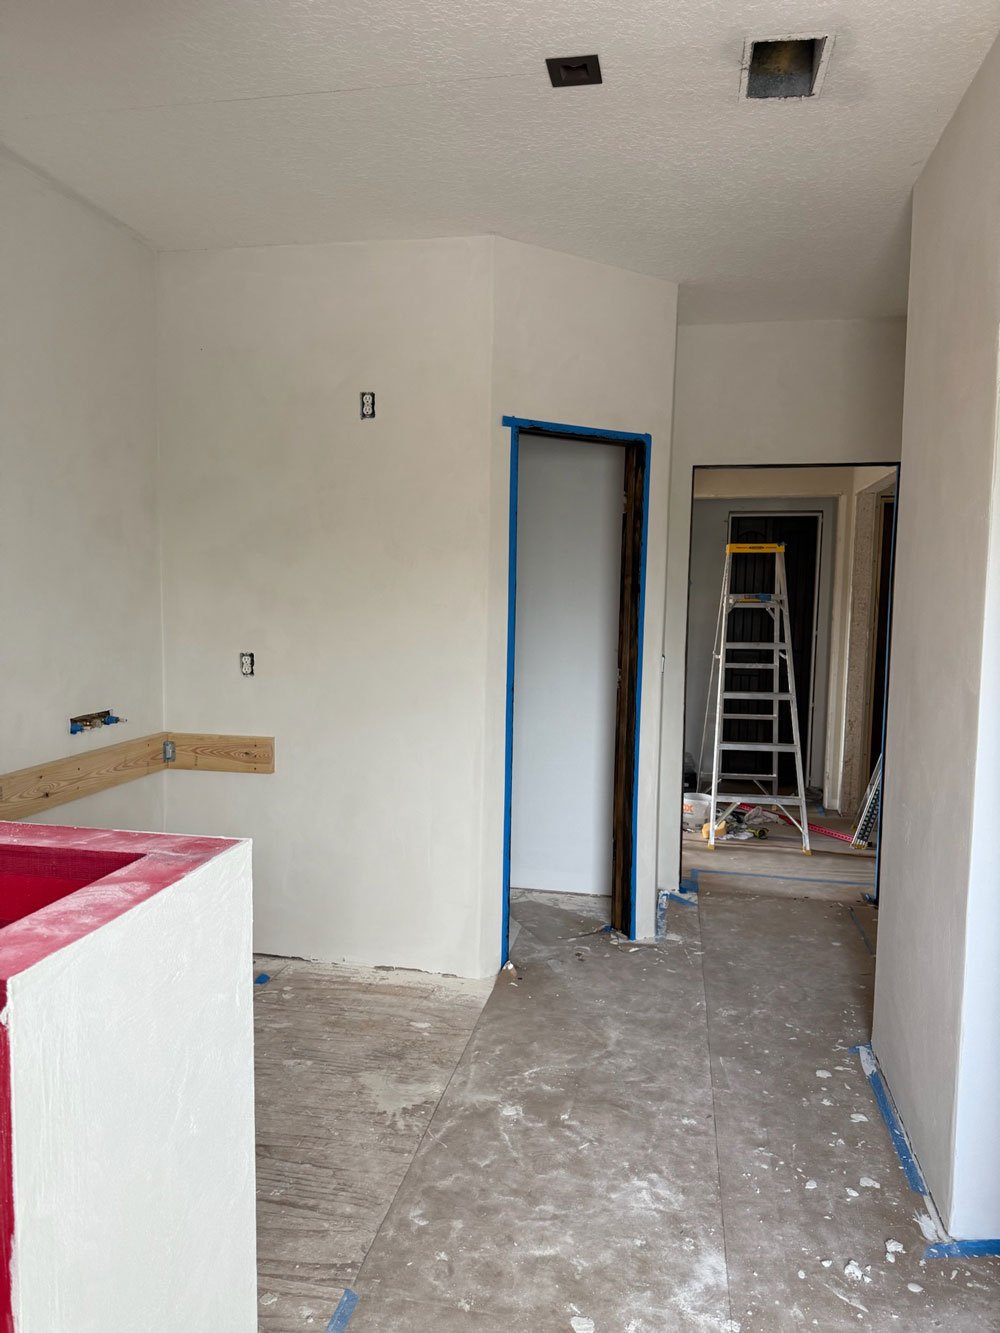
We demo’d and reconfigured the space according to our design plan, and created a blank canvas to work with:
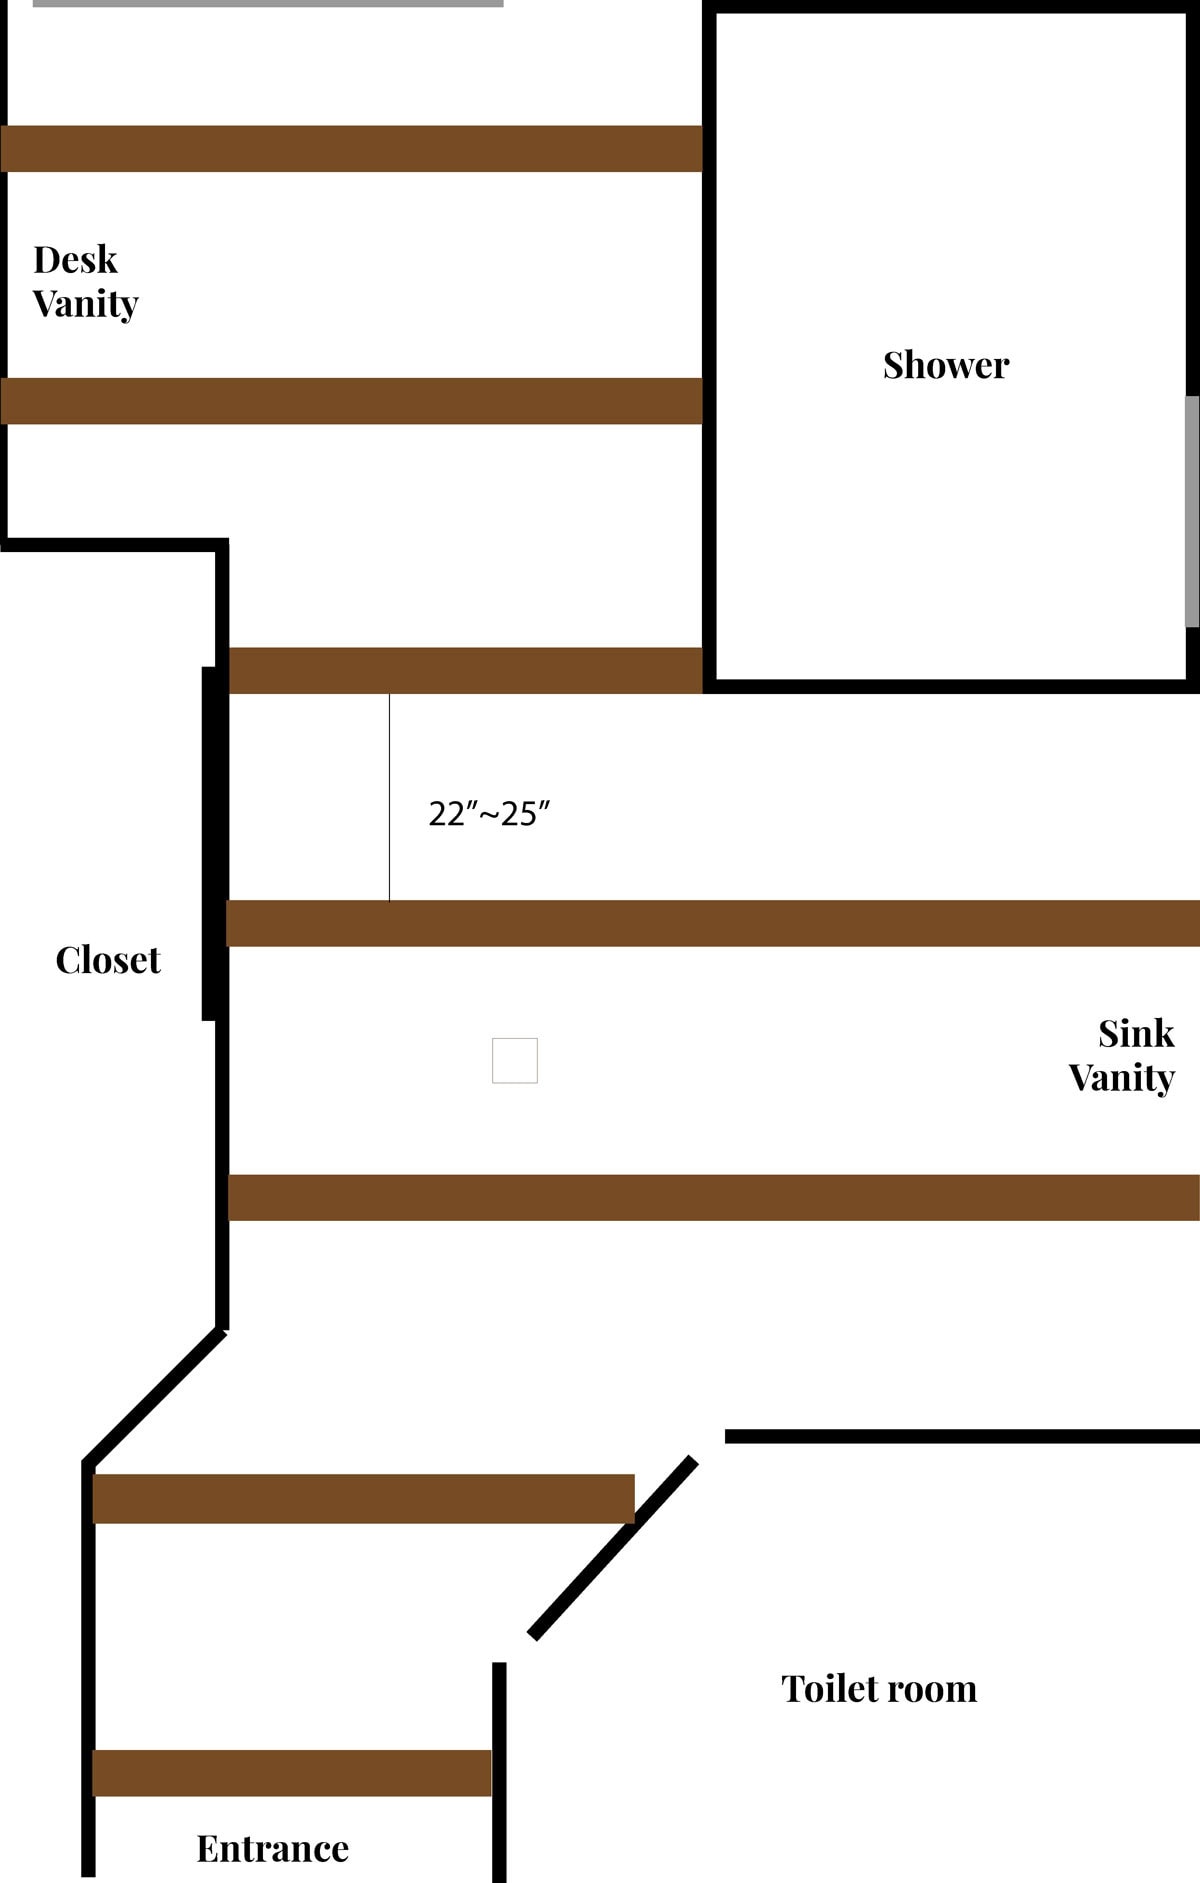
After measuring the space and mocking up the floor plan in Illustrator, I determined the layout of the beams in the room. We had quite a few angles and obstacles to work around and prioritized centering the beams on the vanity walls, so we ended up spacing the beams ~22-25″ apart.
With our plans in place, it was time to get started on the install! Here’s how we did it:
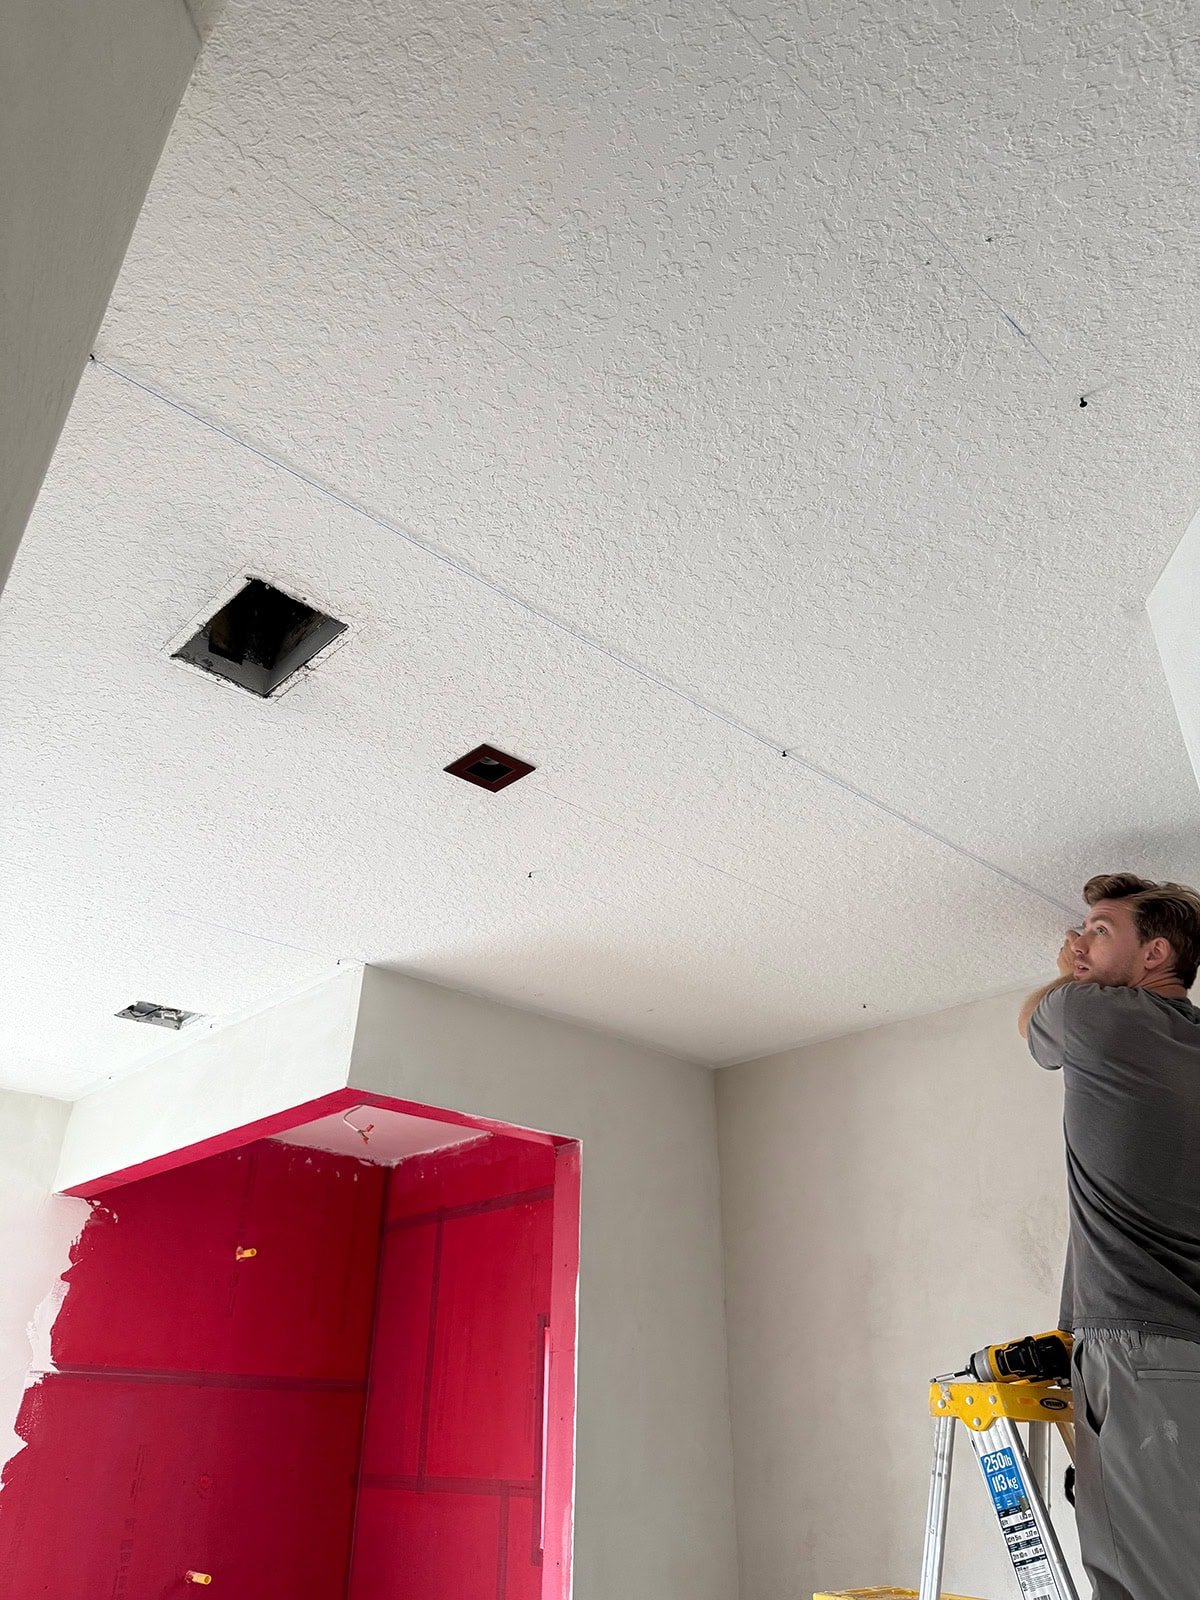
Mark beam locations on ceiling
Using your layout drawing as a guide, measure and mark the center of each beam location on the ceiling at the middle and both ends. Insert a screw 2⅛” from one side of each mark—this indicates the edge of the support beam pieces.
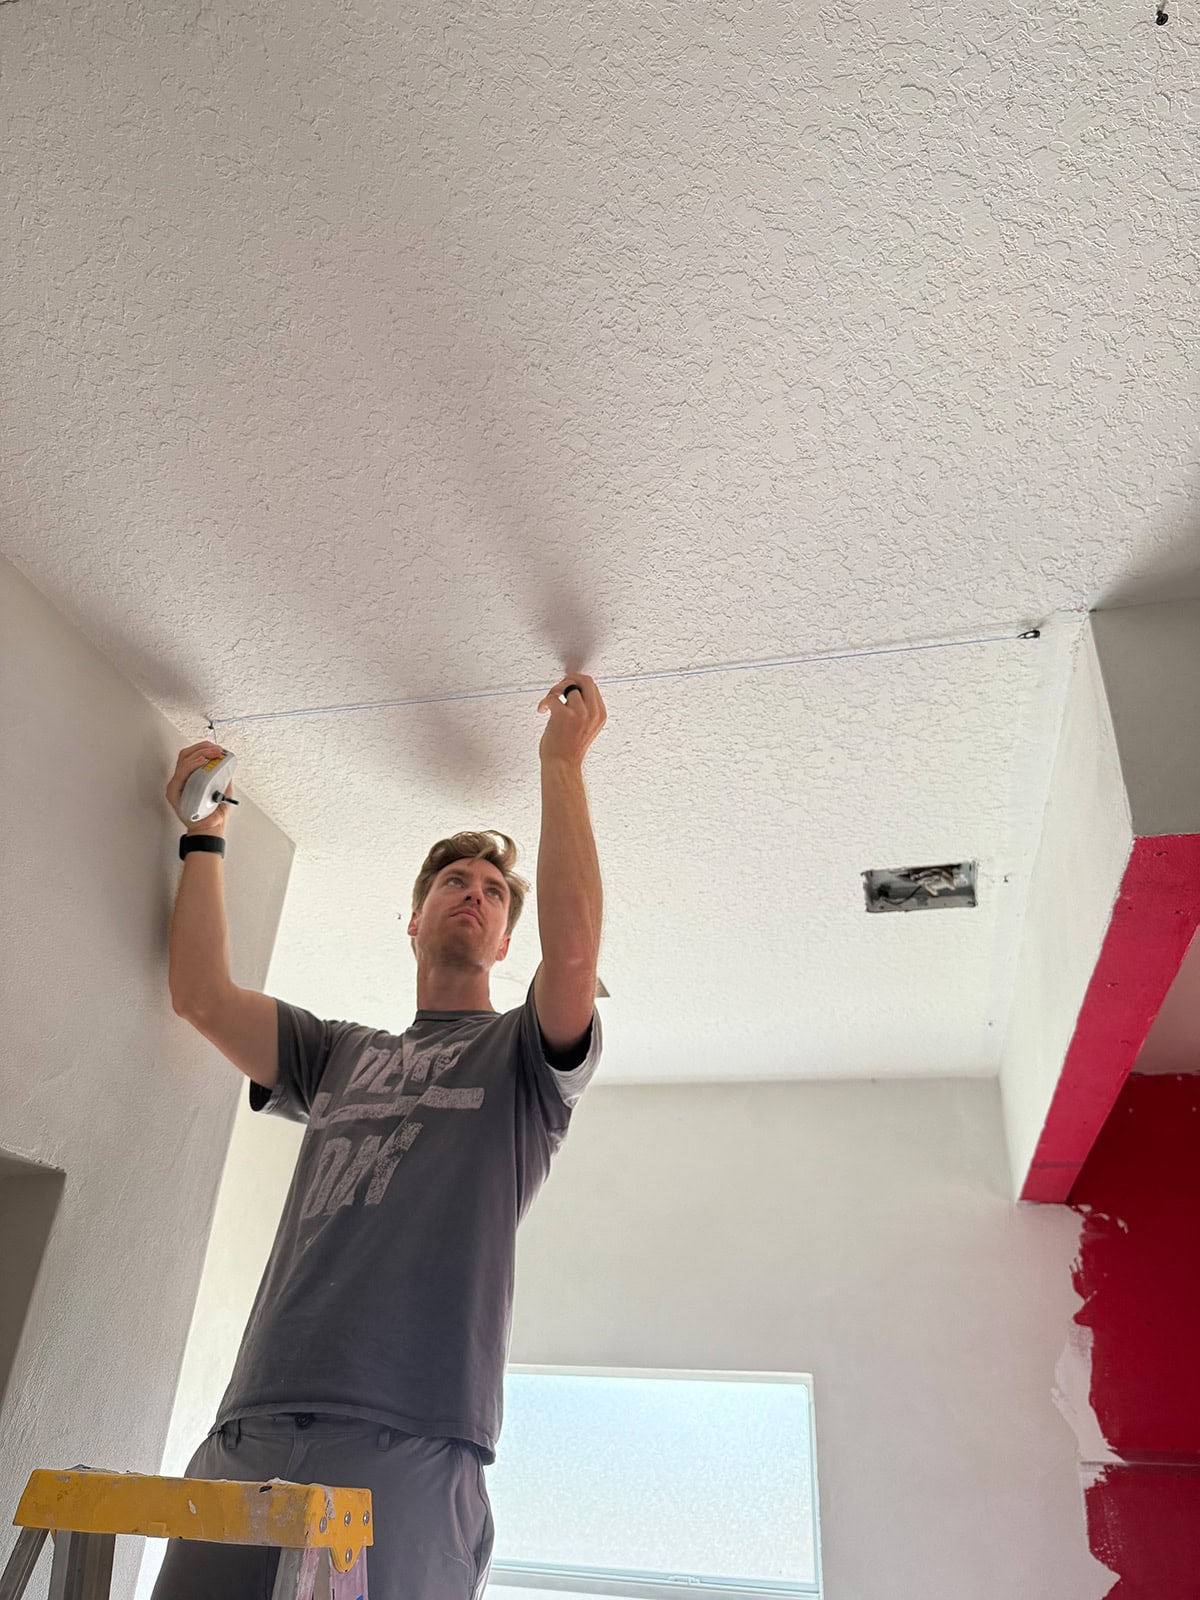
Connect a chalk line to the screws and mark the edge of each beam support. This will ensure that your supports are level and even across the room.
Attach beam support pieces
Cut the beam supports to length, within ~1 inch of the wall on each end. Use a stud finder to locate trusses along the ceiling, and screw the supports directly into those.
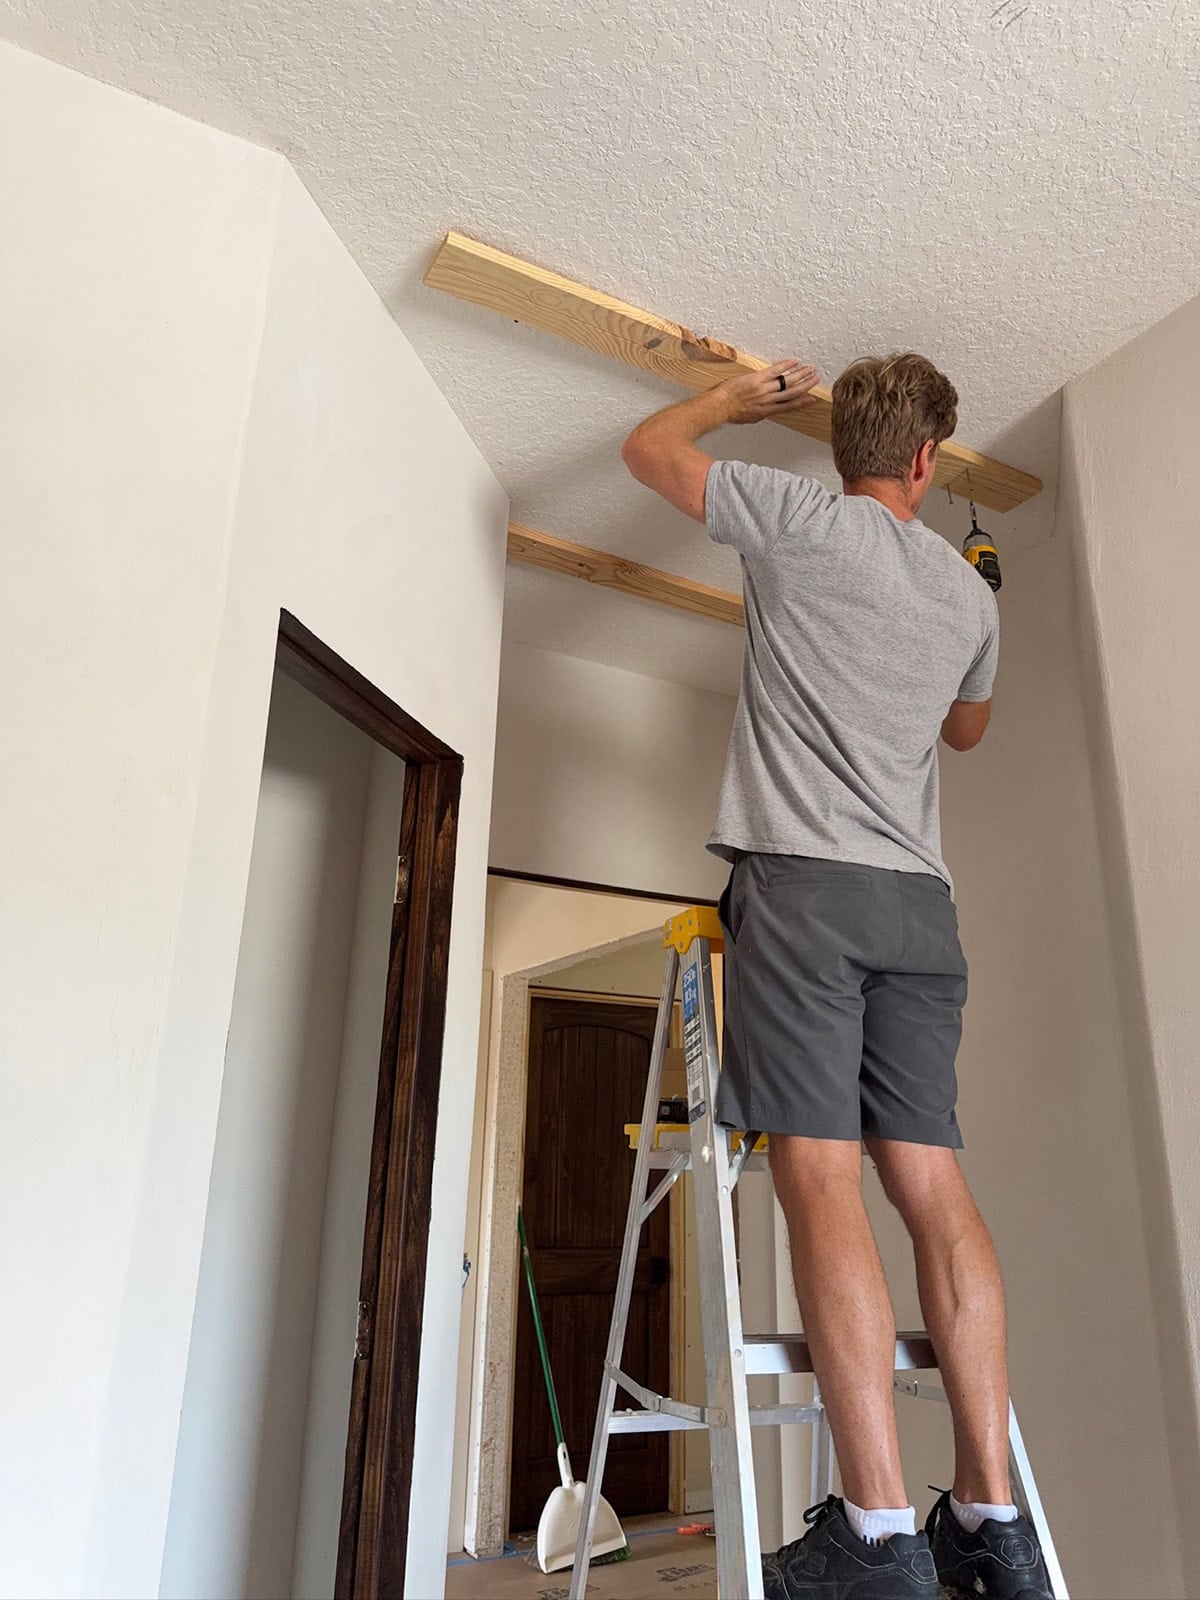
Where there are no studs, you can use the provided toggle bolts to secure it to the ceiling.
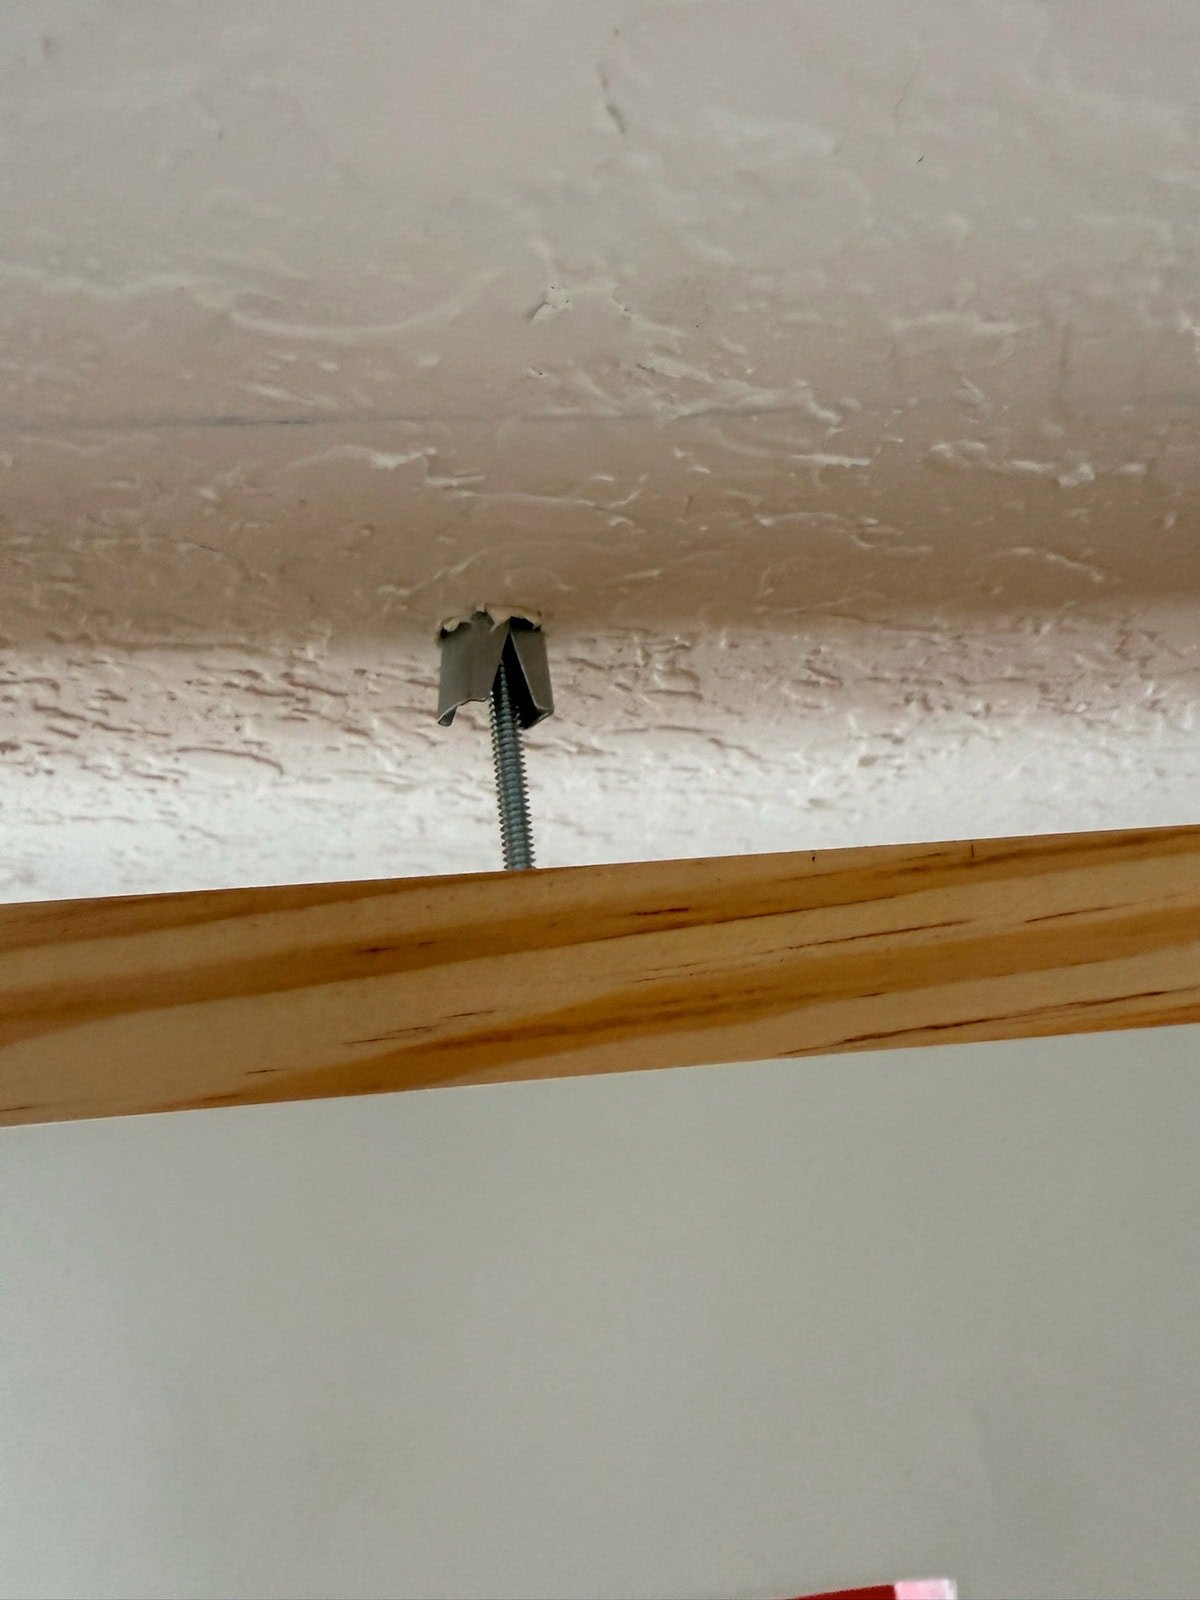
We used screws or toggle bolts every couple feet or so (~4 per 8′ piece).
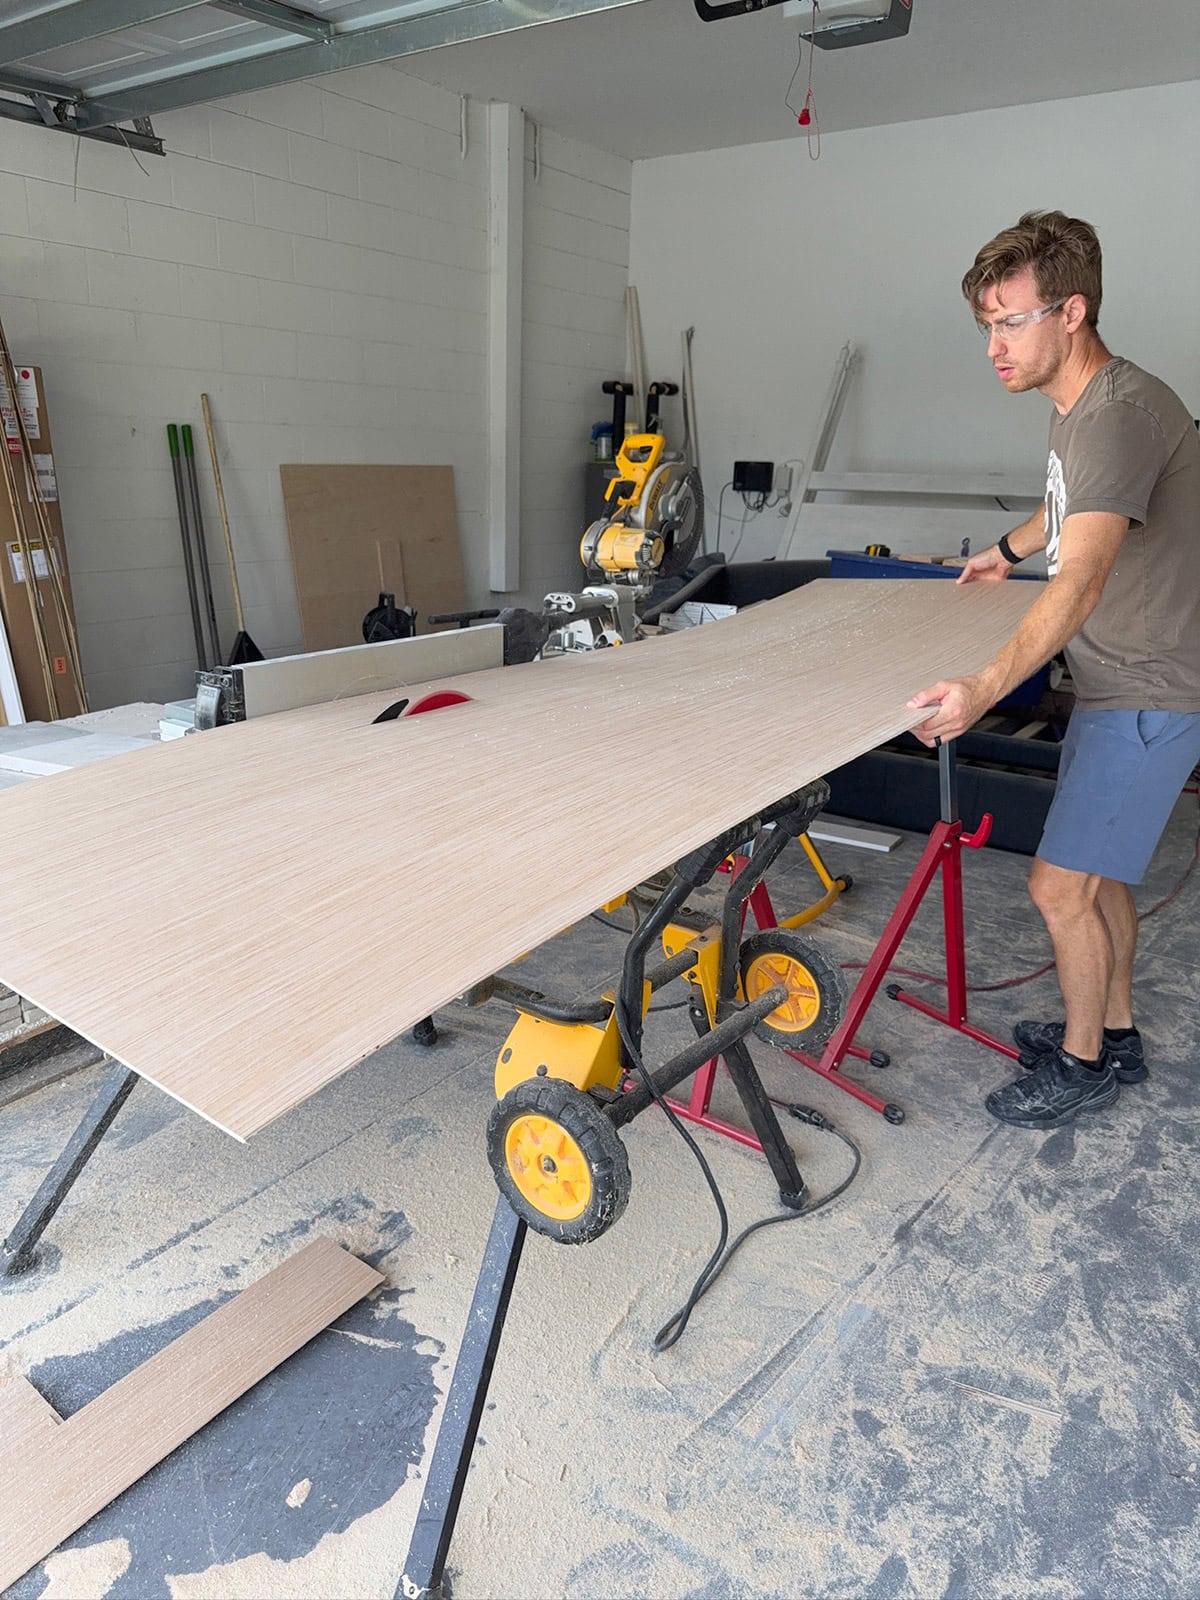
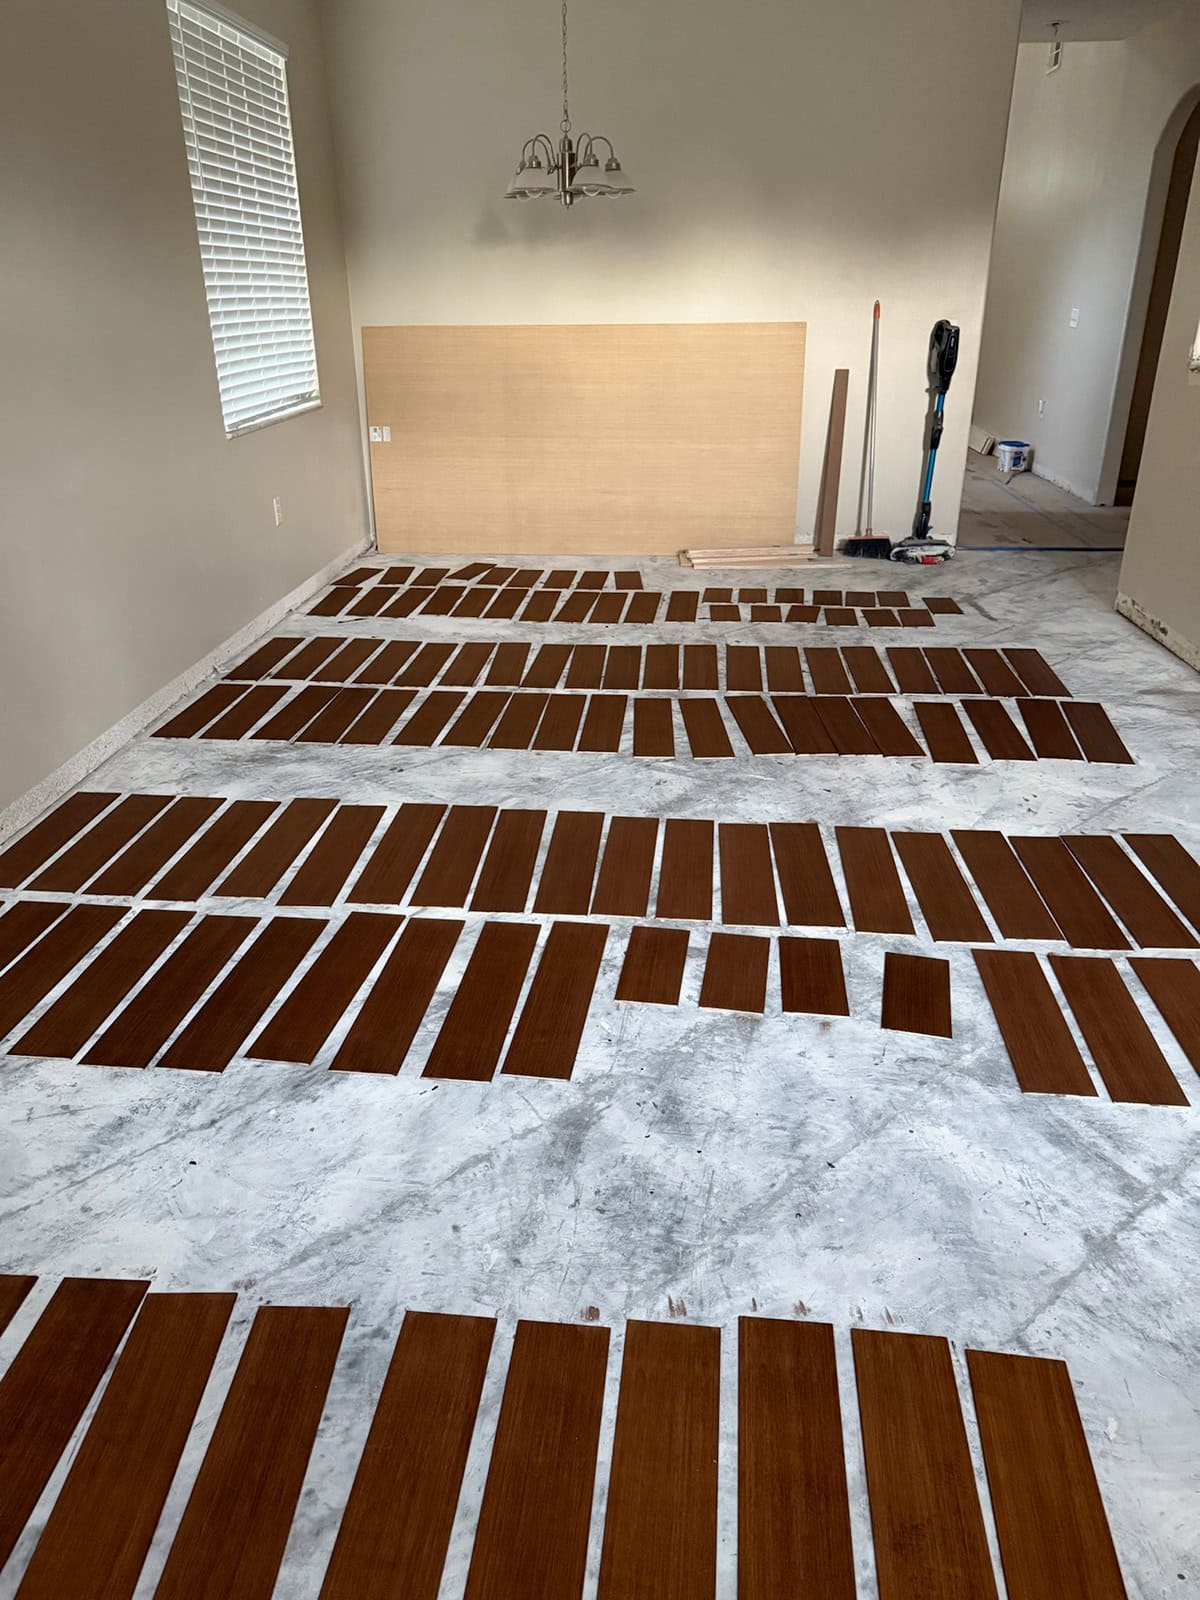
Rip and cut the planks
Rip your 4×8′ plywood sheet down to your desired width. We decided to make our planks 5.5″ wide, and ended up using four sheets to cover the entire room.
Once the planks are ripped down, cut each plank to length. We had 8 rows, with the lengths ranging from ~12-25″.
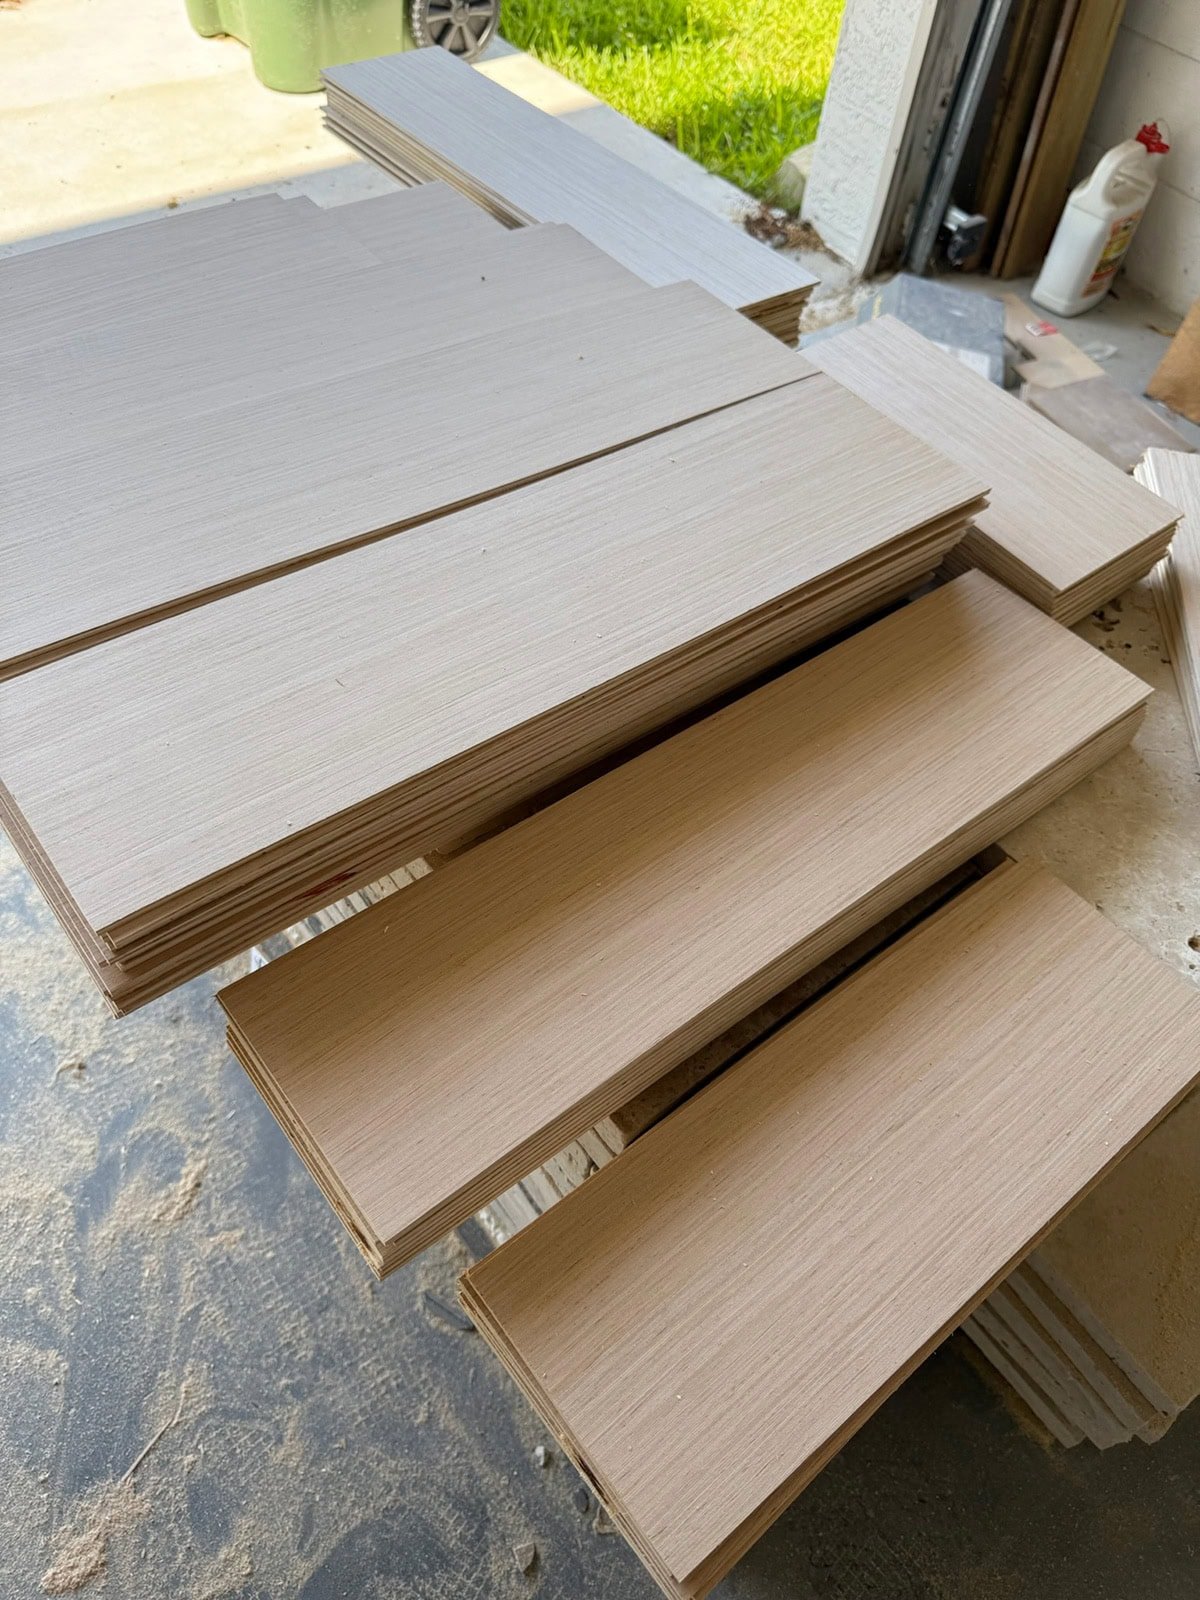
We tested a few different kinds of plywood (along with fence pickets and 1x boards), and this product looked the best after staining. Not only that, but plywood is the most cost effective, lightweight and easy to install, and you don’t have to modify your ceiling lights or vents to adjust for added thickness. Win-win-win!
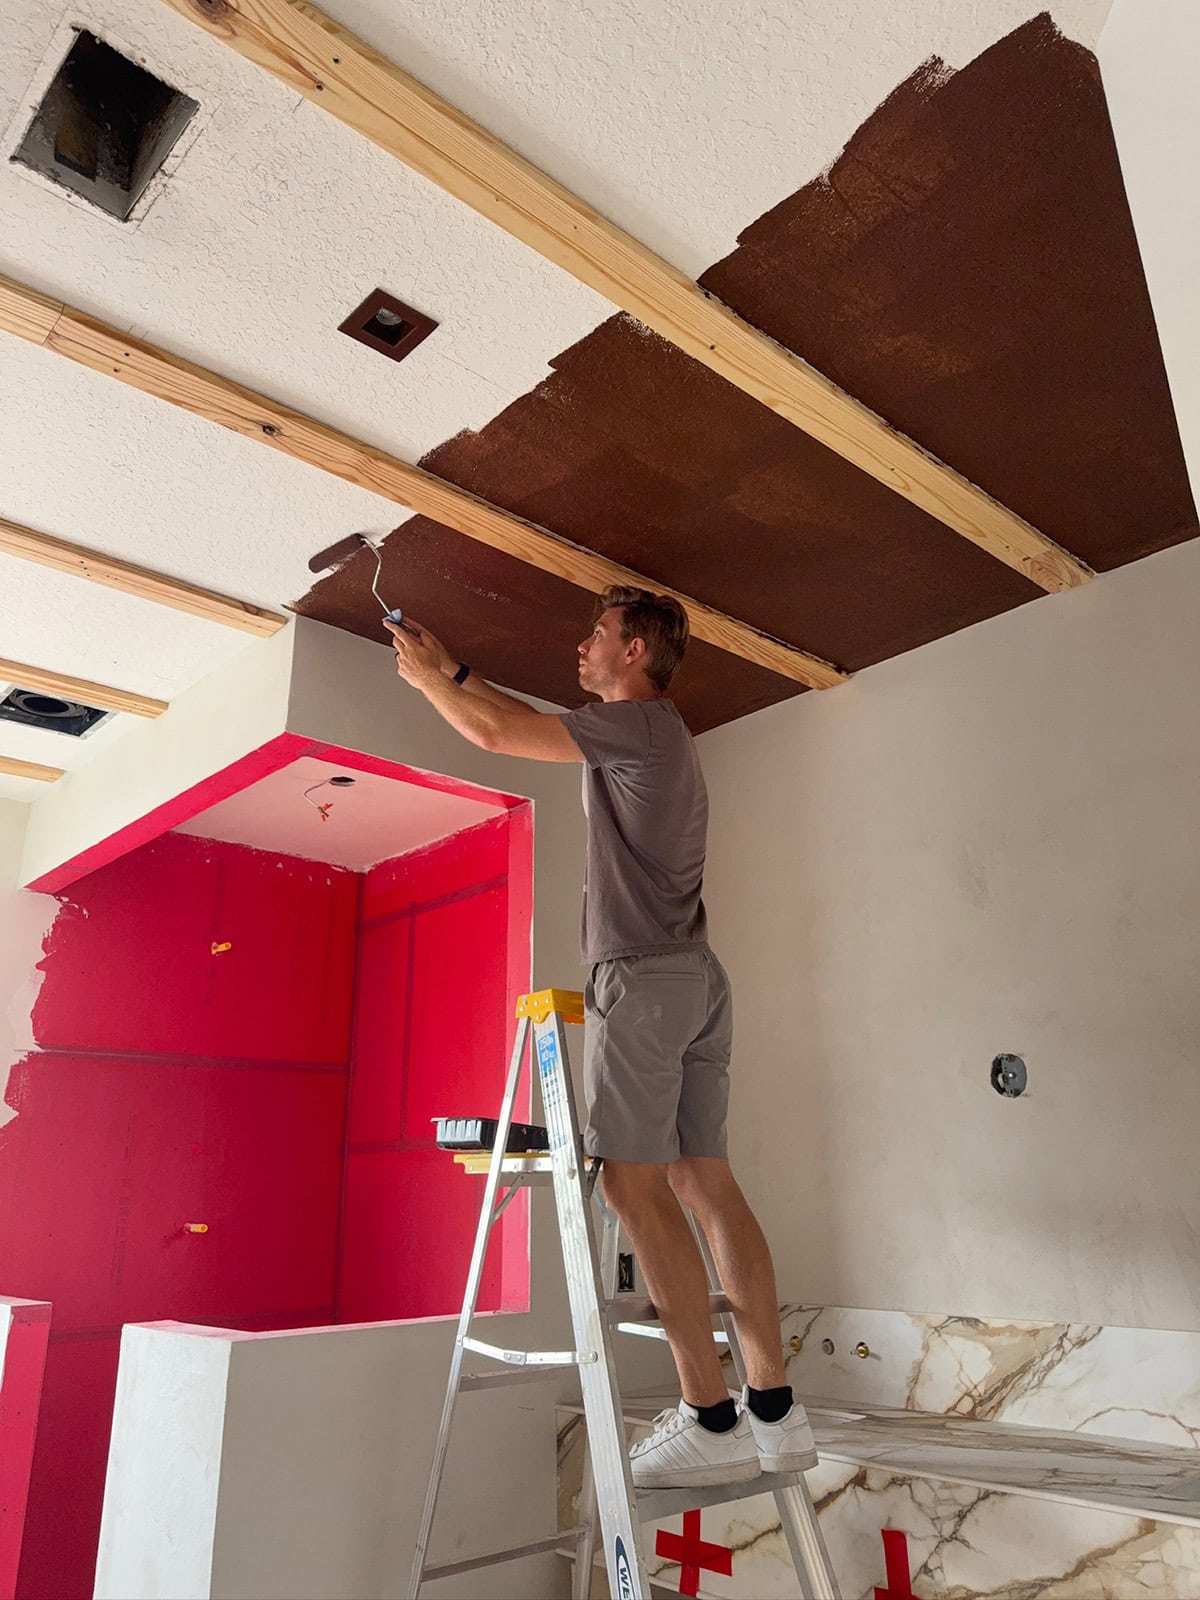
Paint the ceiling
The ceiling will be visible between the gaps of the planks, so it’s necessary to paint it dark to blend in. Any shade of dark brown or even black will work for this purpose.
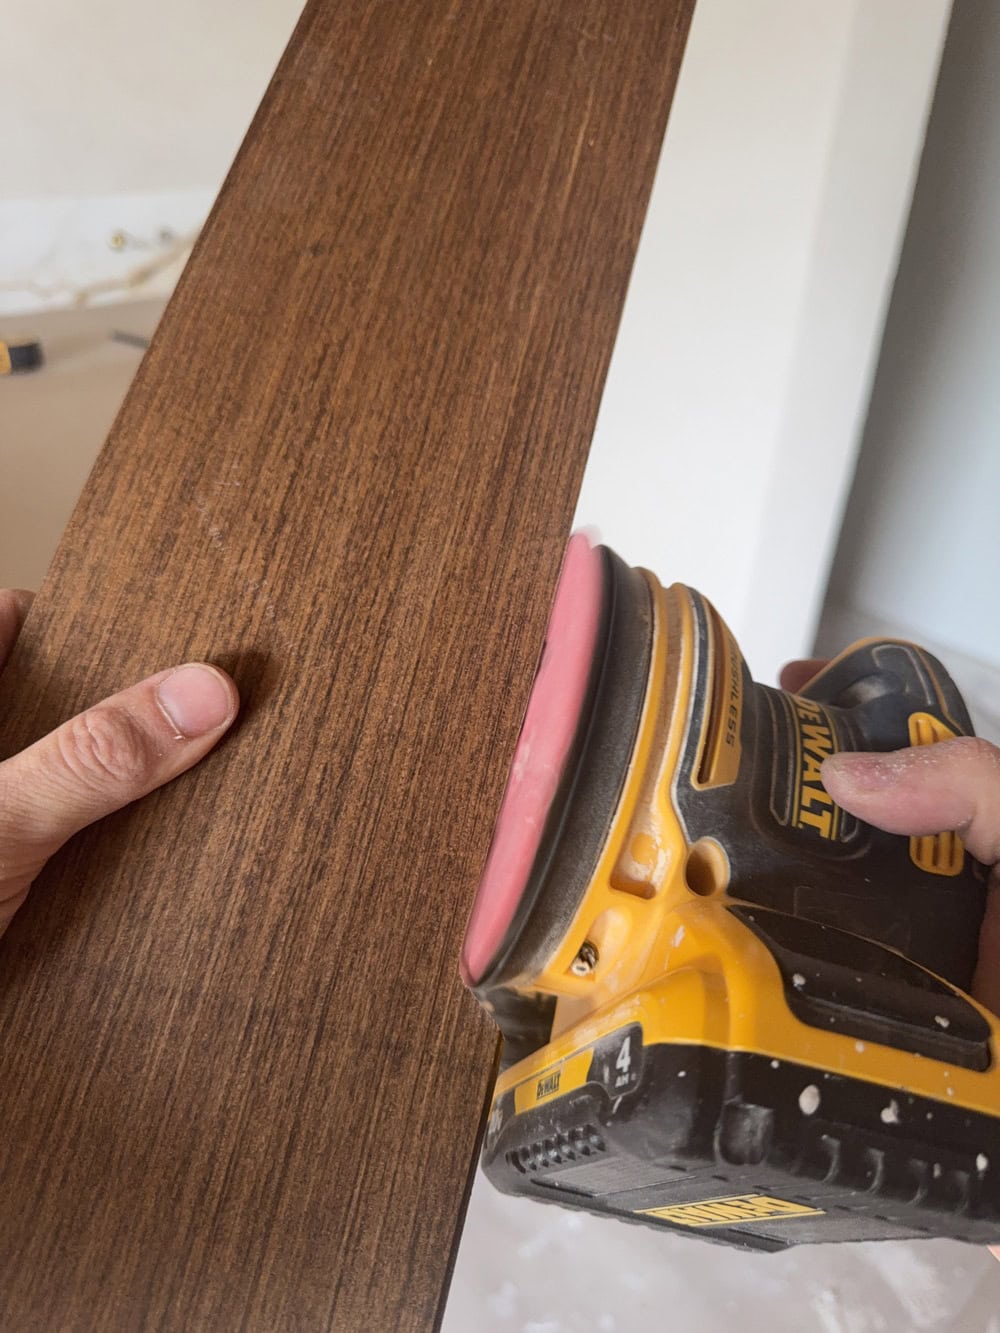
Stain planks and beams
For the beams, we used a 50/50 mix of Minwax Gel stain in Coffee and Mahogany. The maple wood doesn’t absorb stain very well, and I found the thicker gel formula provided much better coverage.
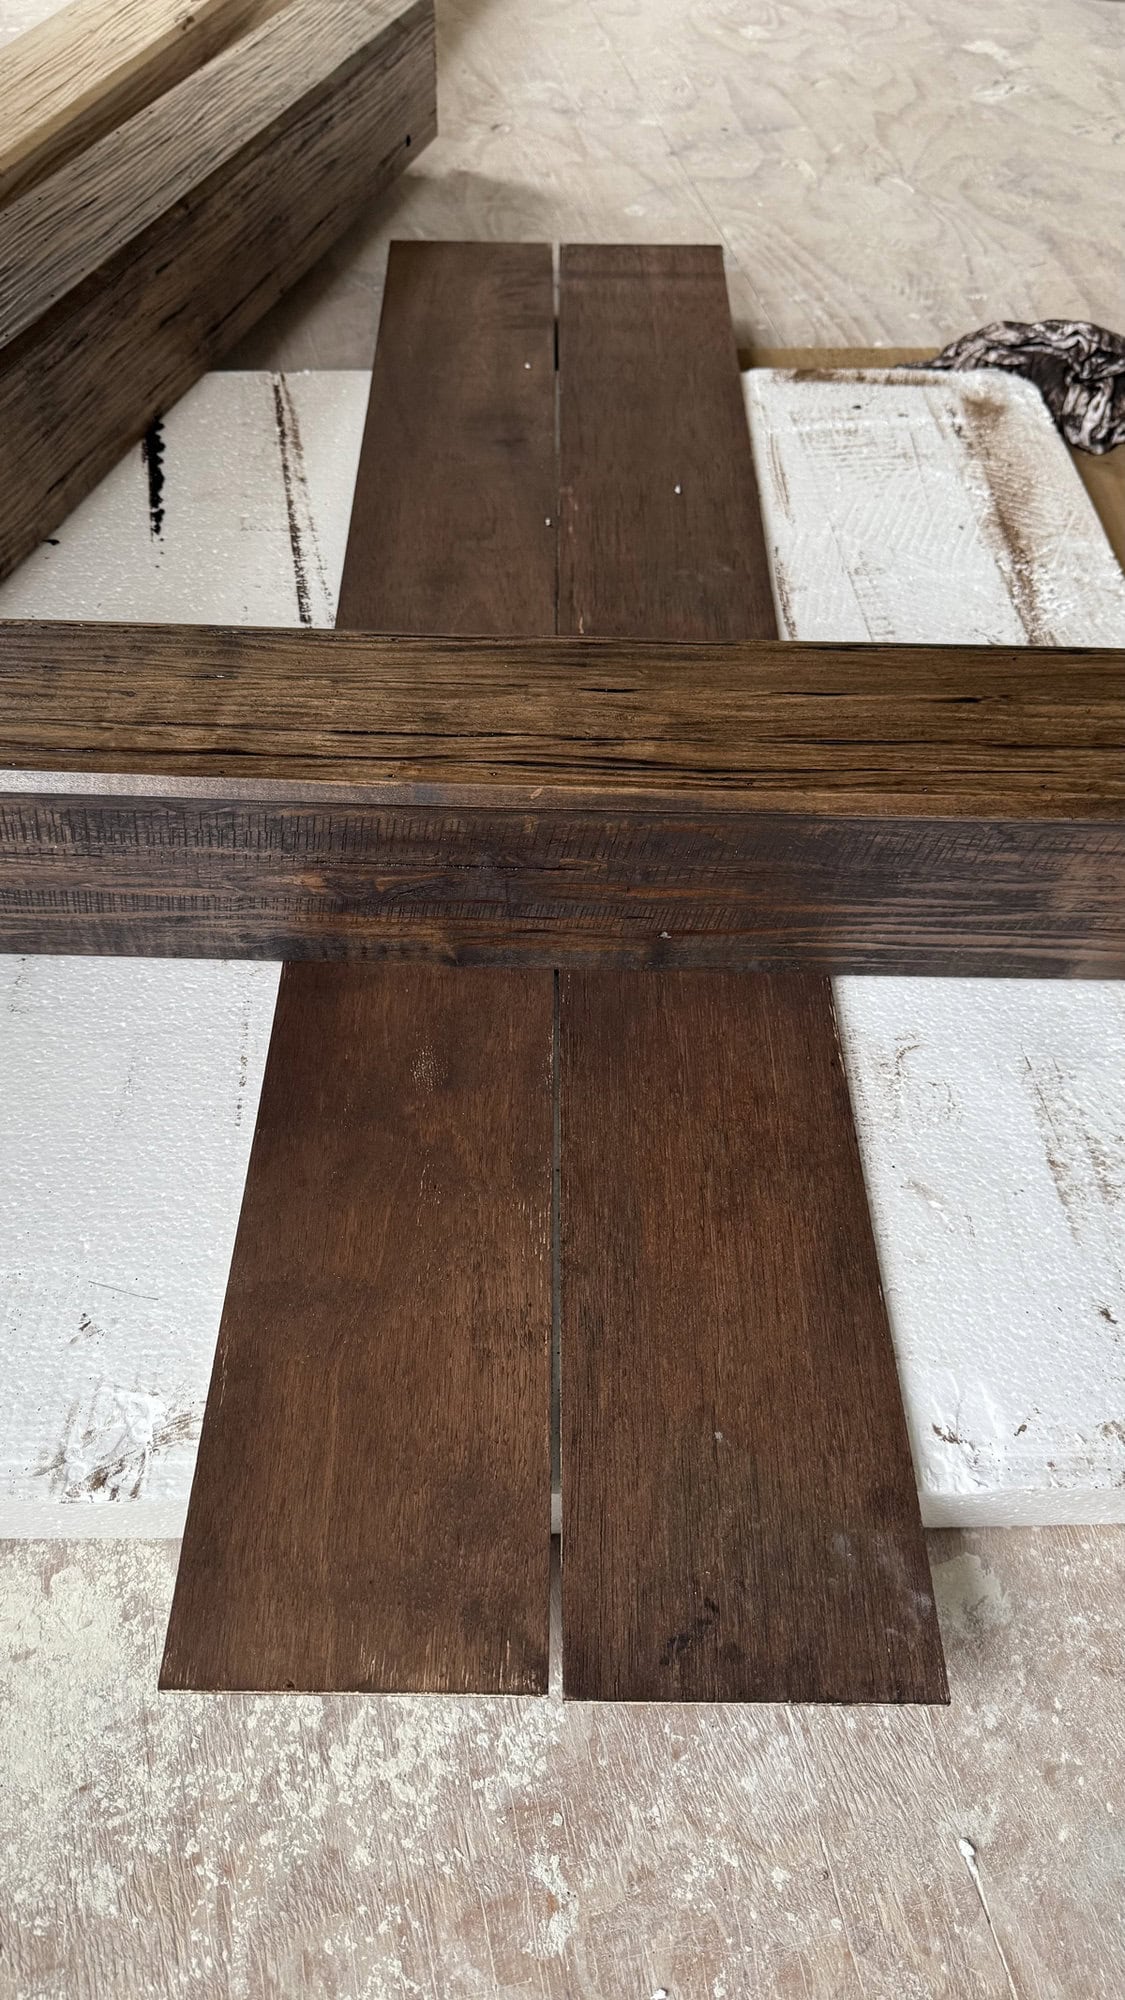
The porous material of the plywood soaks up the stain much easier, so we diluted the stain mix with paint thinner and wiped with a rag to prevent it from being too dark.
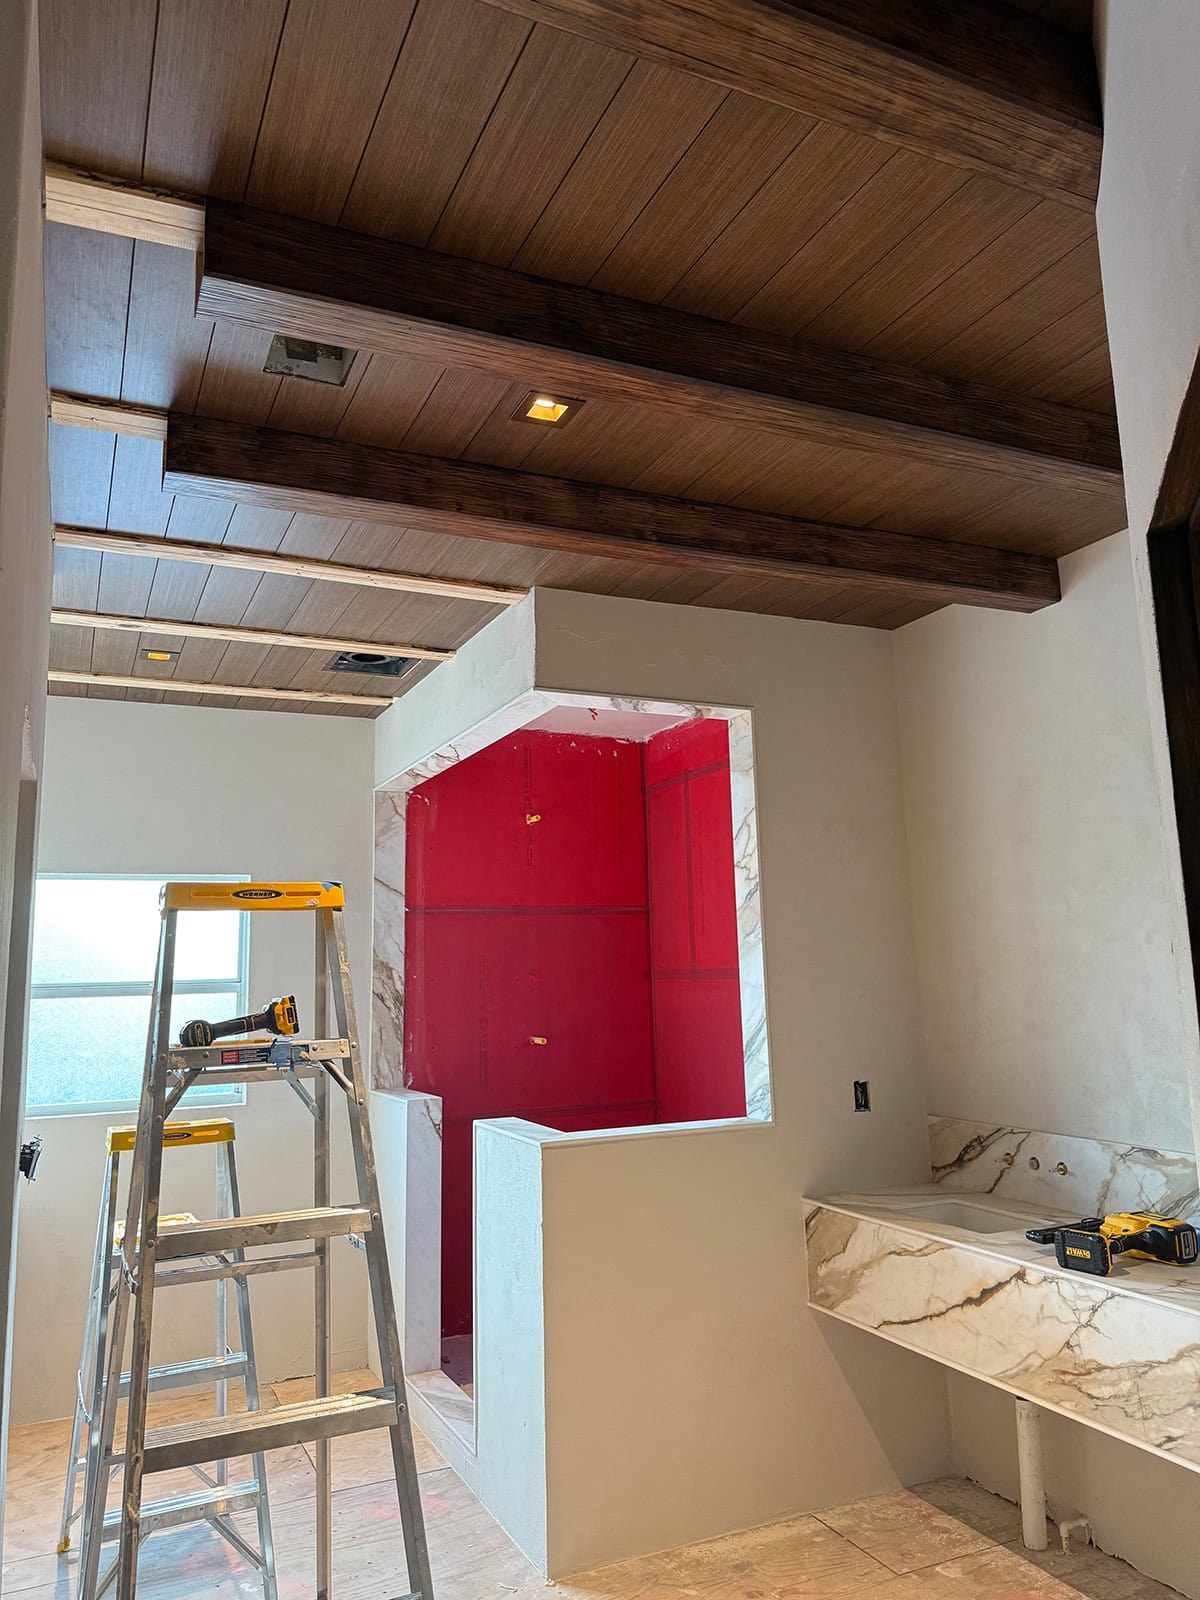
Install the planks
To make the plywood look more like real tongue and groove boards, we experimented with beveling the edges to form a V-groove between the planks (shown installed on the top row, below). We also installed a few with regular straight cuts and a ~1/8″ gap in between to compare the difference (shown in the bottom row below). There is no noticeable difference, so save yourself a step and don’t bother with the beveled edge!
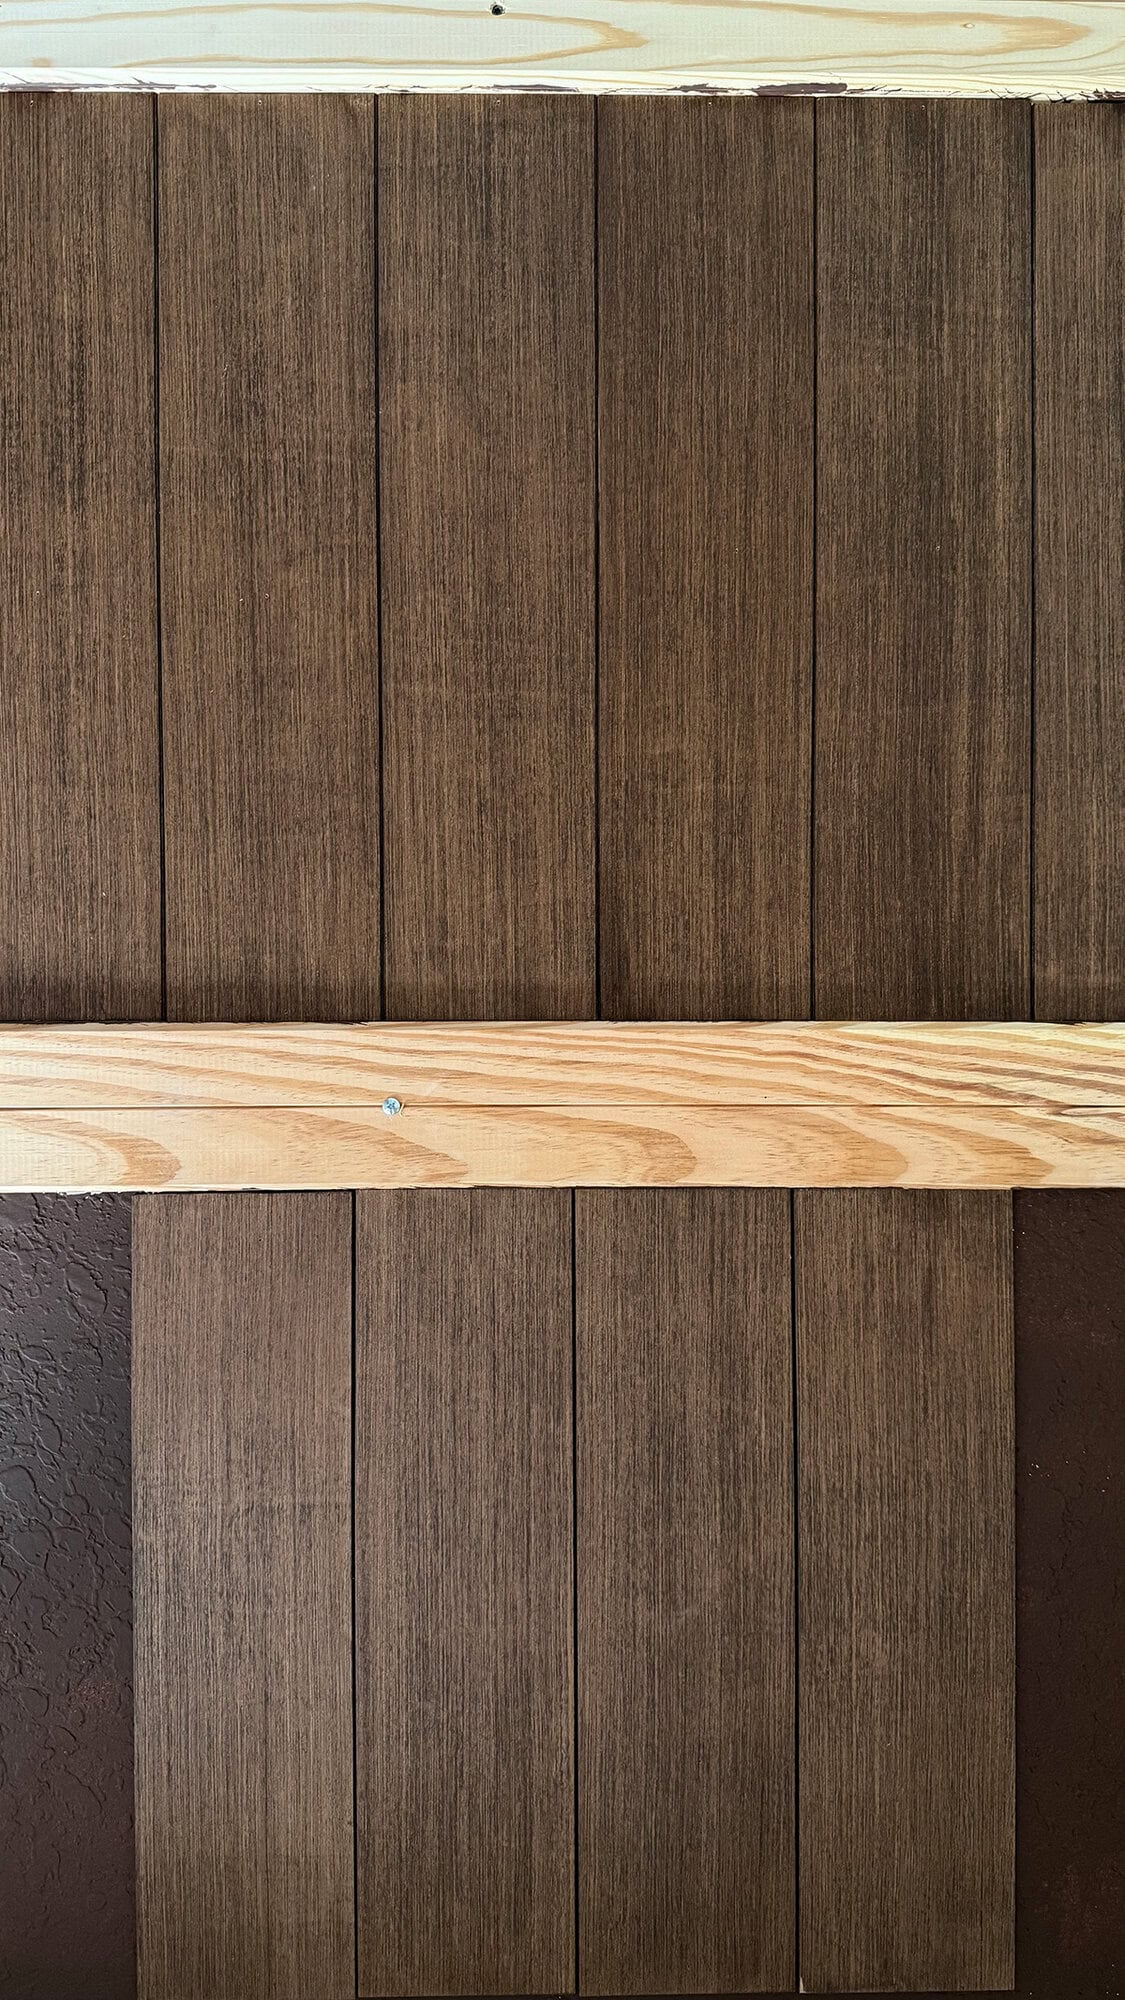
The planks were installed with liquid nails on the back and brad nails into the ceiling—one in each corner and at least one in the middle, or more of needed. We also used a matte polycrylic sealer to make them easier to clean (as this will be a vacation rental), but this step really isn’t necessary. You can use whatever you’d like as a spacer—I’d recommend something just under 1/8″ thick.
An oscillating tool was used to cut out for the ceiling vents/fan, and a hole saw attachment for the lights. If you have any uneven edges along your wall, you can use an electric sander to get a snug custom fit.
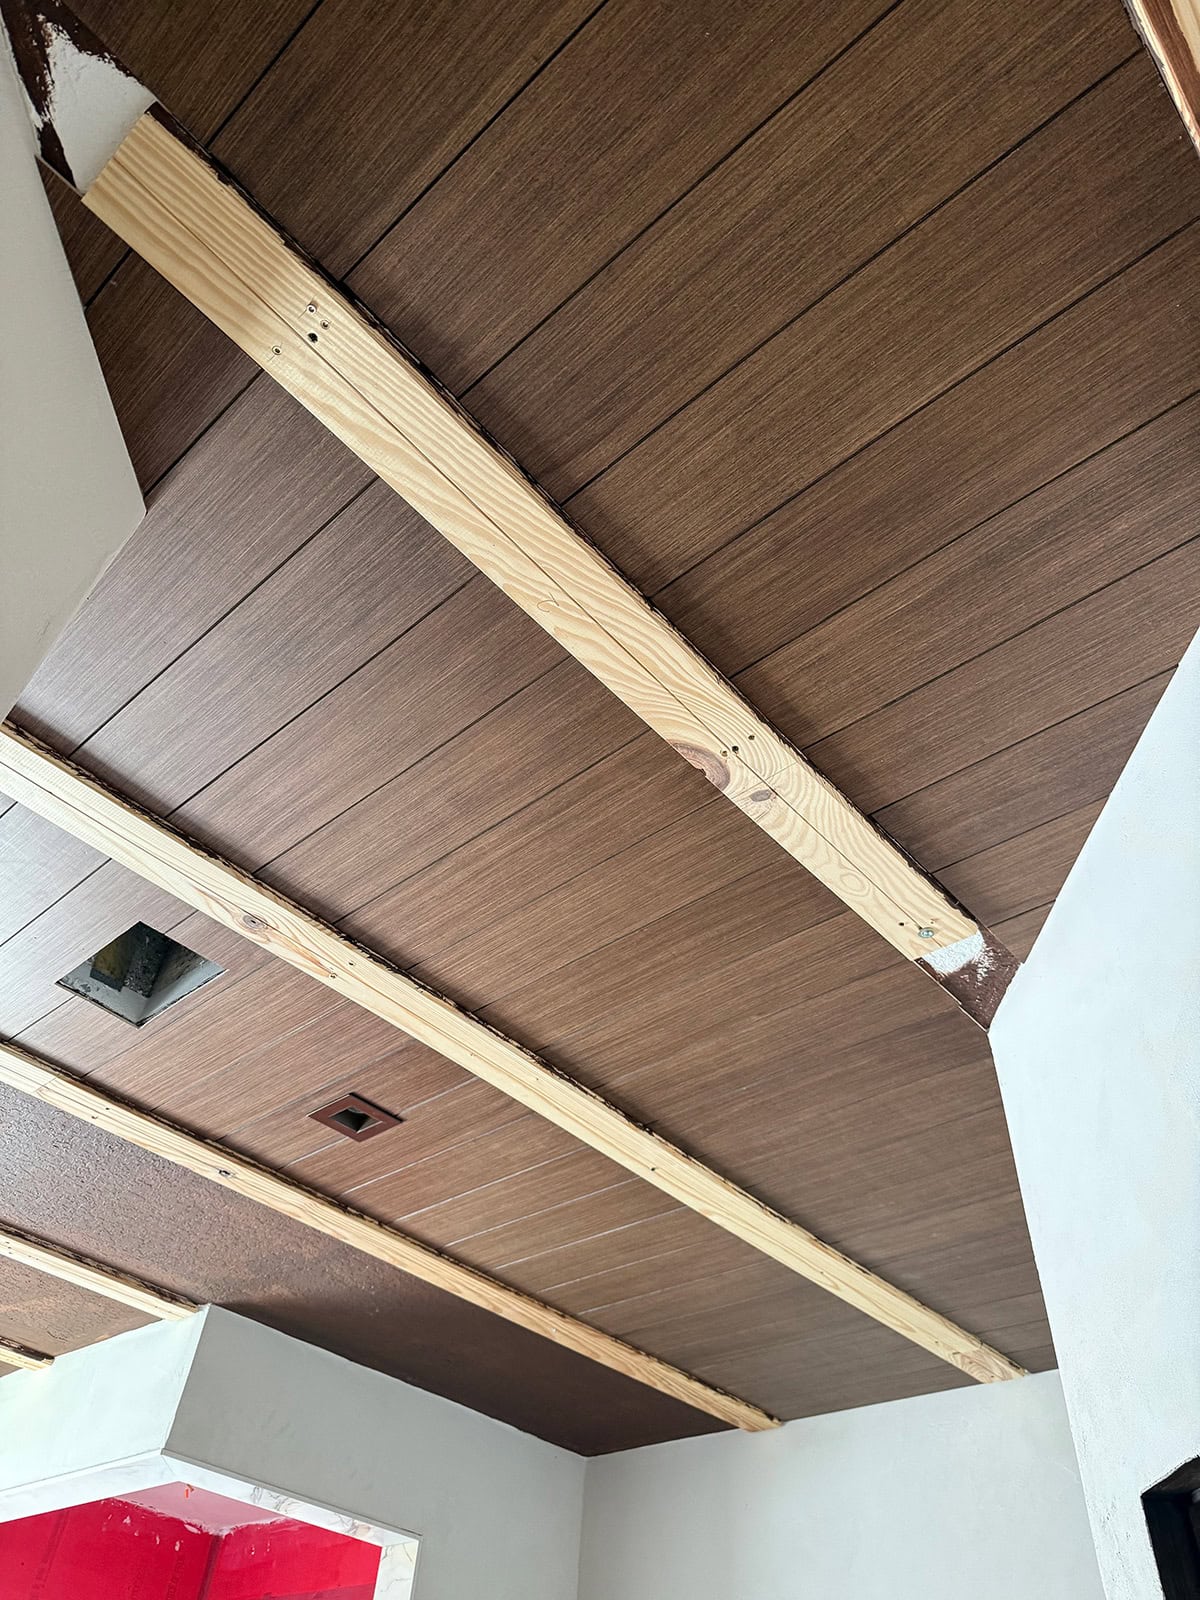
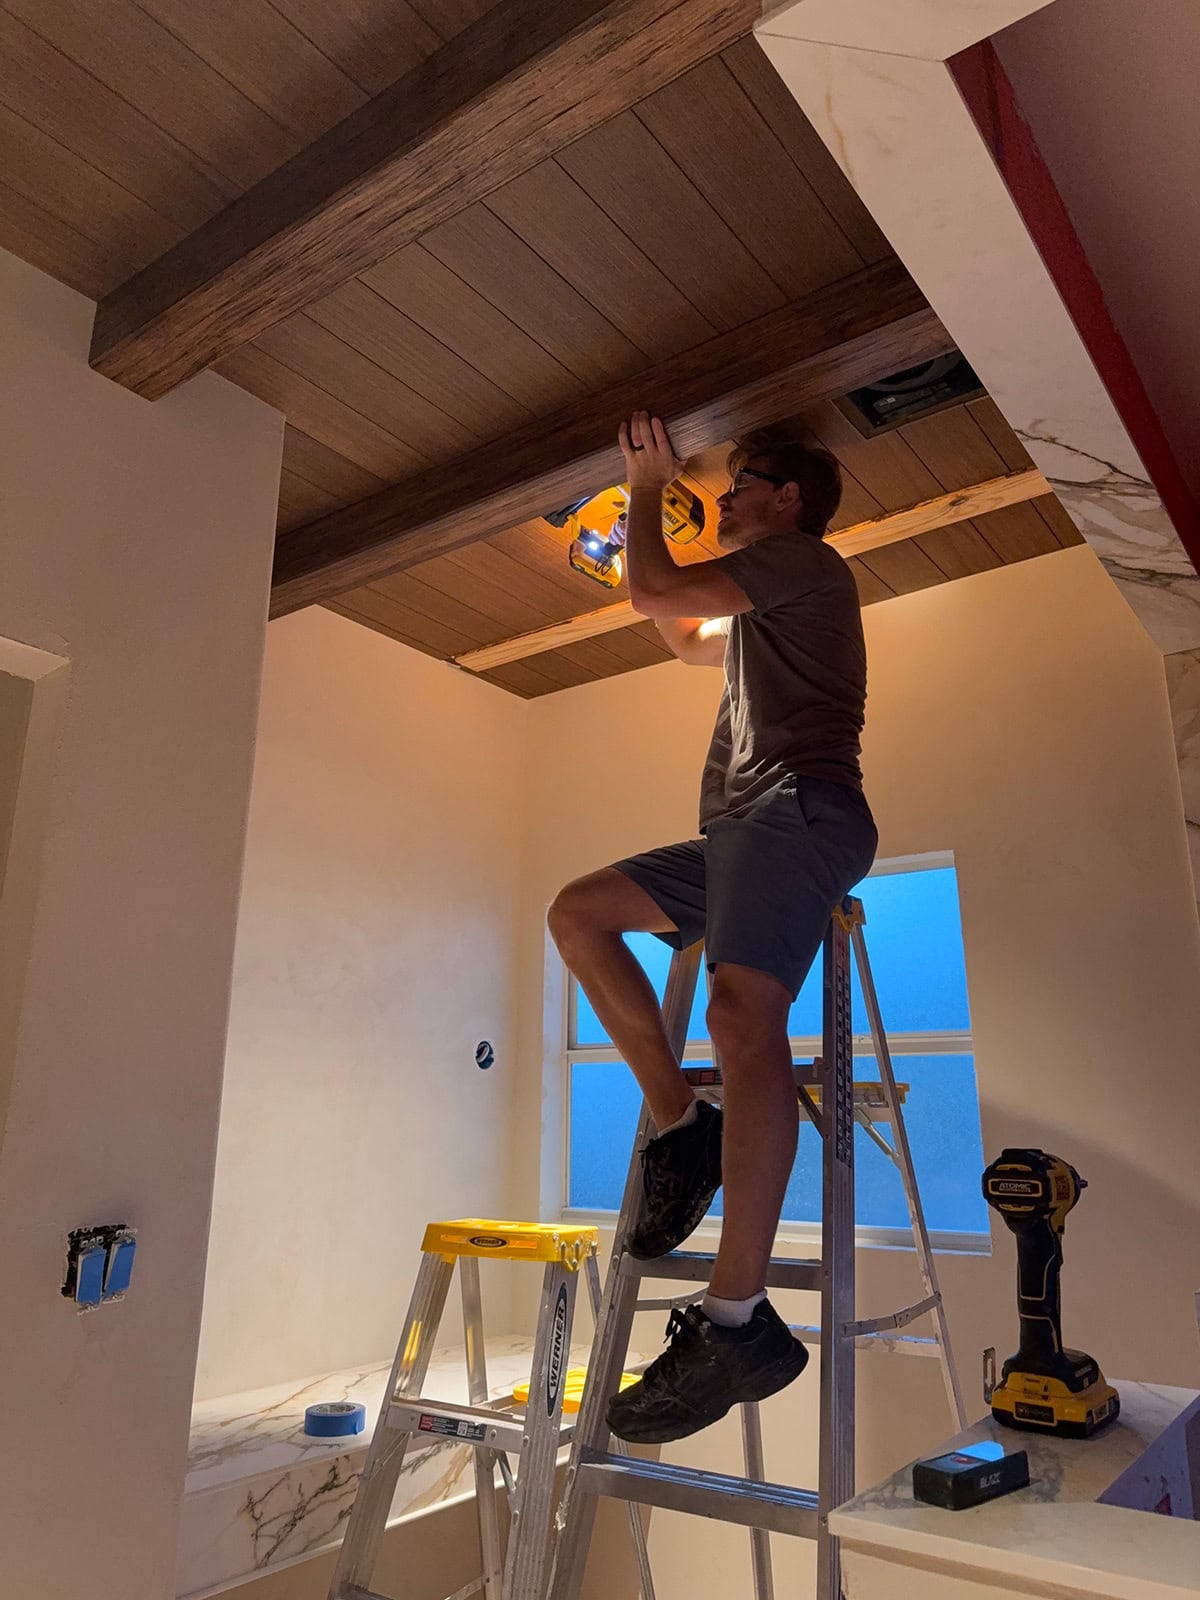
Cut and install the beams
Now it’s time to cut each beam to length using a miter saw. Our room has a few angled walls so those cuts involved a bit more precision.
The beams come with screws and pre-drilled holes (three on each side) that go into the support pieces. We also used 1.5″ brad nails along the length of the beam to make sure they were extra secure.
A couple of our beams were longer than 8′, so we had to join two pieces together:
We simply butted the two ends side by side for this. To help keep them lined up, we glued and nailed a scrap 2×4″along the bottom where the two boards met, then positioned the second beam and glued and nailed it to the 2×4′.

The seam is still visible, but it honestly doesn’t jump out at you once everything is complete. That’s one benefit of embracing the rustic look 😉
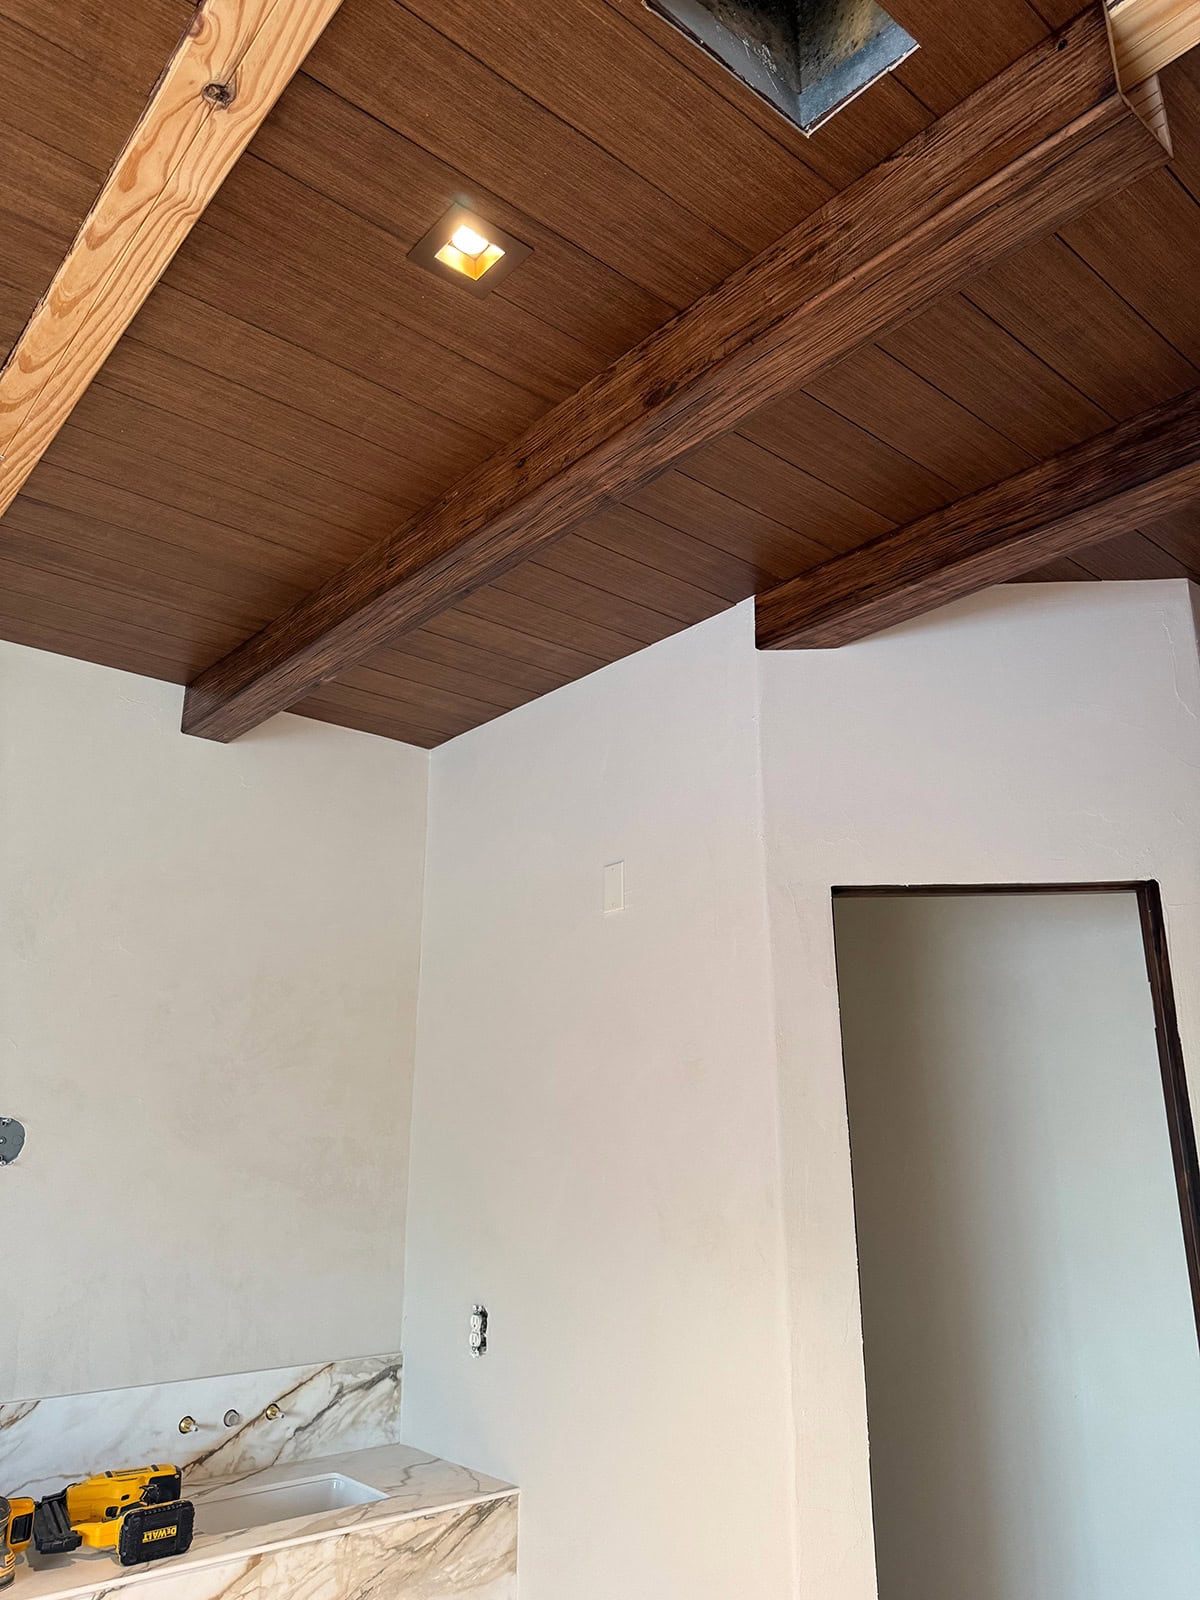
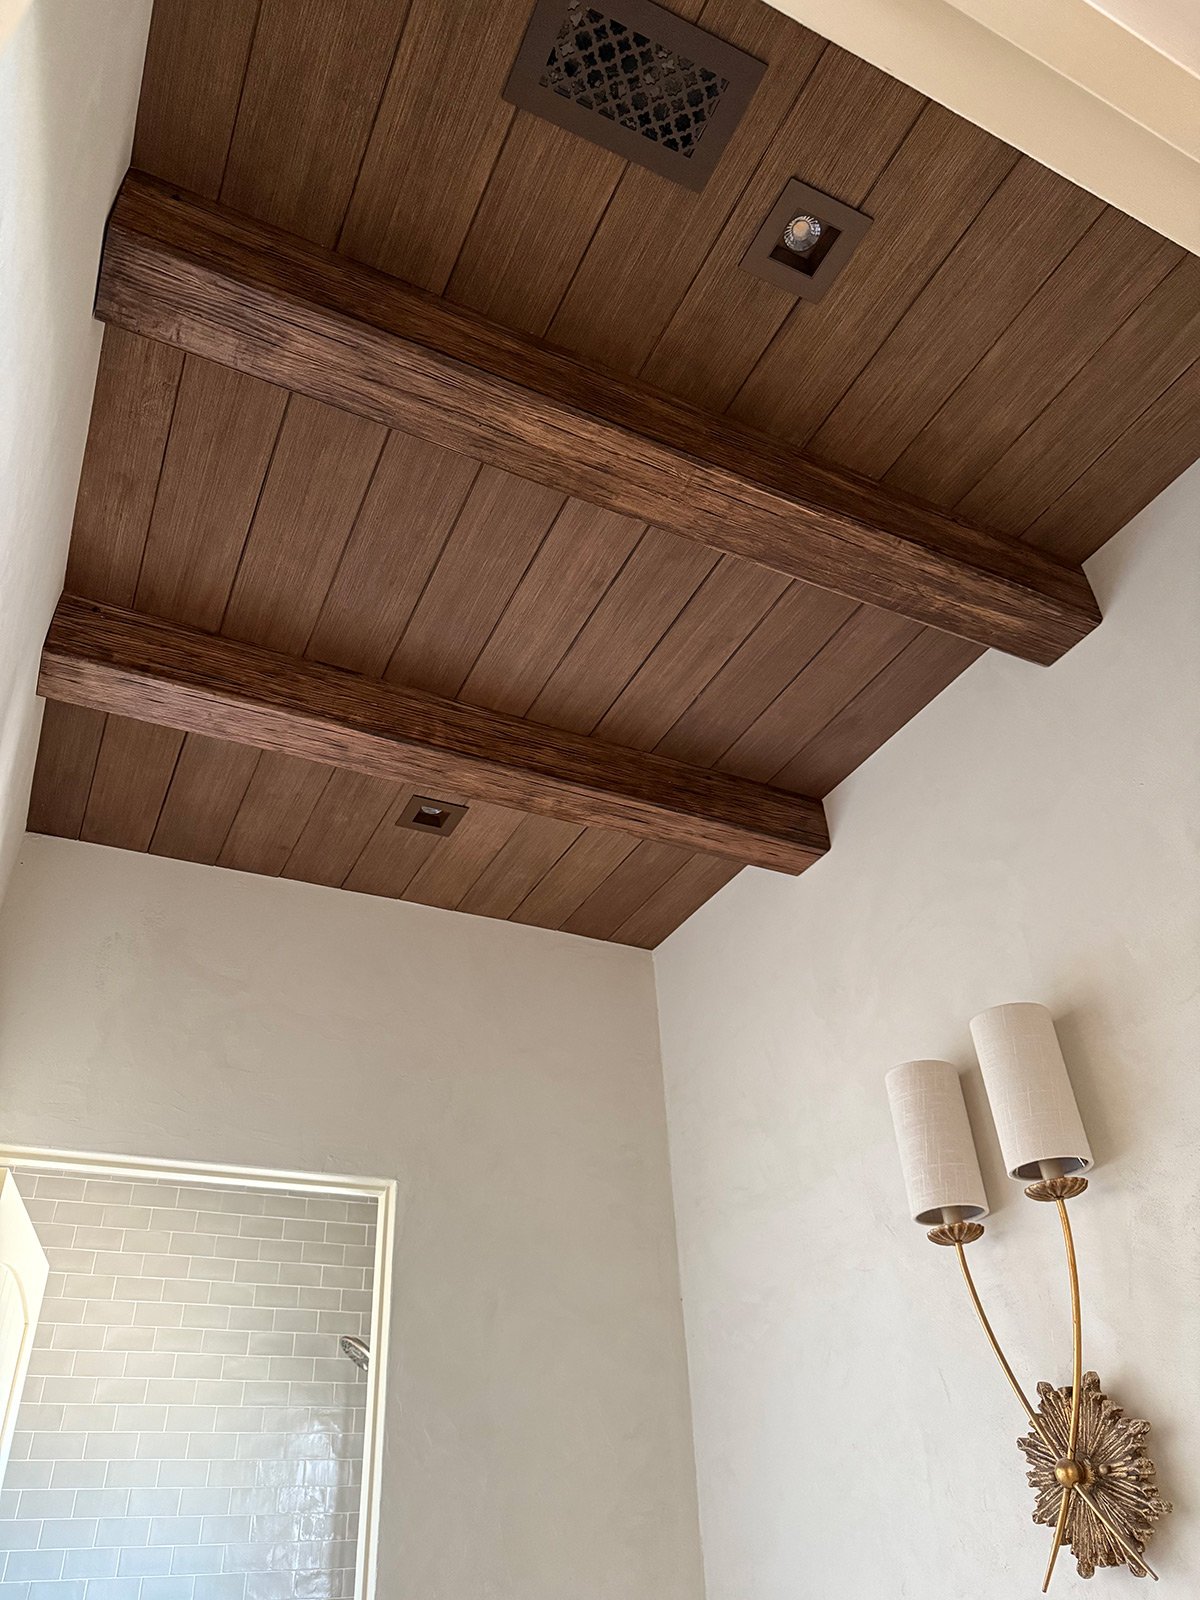
Finished ceiling
This ceiling truly transforms the room like nothing else. Photos don’t do justice to capture the feeling they bring to the space—and all for around $800 in materials!
The dark stain adds so much richness and really brings my ‘rustic luxury’ vision to life. We still have a ways to go, but this is shaping up to be my favorite bathroom to date.
We did the same in our jack and jill bathroom, and will be installing them in a couple more rooms in this house as well (including the large kitchen/dining area!)
Is anyone else loving the Modern Spanish design style as much as I am right now? I’m fully committed—and now we’re starting to get to the fun part of the renovation. Lots more to come when we return from our summer vacation. You can follow the latest updates on my Instagram, and make sure you’re on the list to get notified when new posts go live!


Van says
Did you mix the two stain color containers or did you alternate painting?
Jenna Sue says
Mixed them together first.
Mary says
Hi, I love this and can’t wait to do this in our bathroom! Thank you for the lighting links in comments. Where did you find your decorative vent cover?
Jenna Sue says
Hi, we used this and spray painted the cover! https://shoplowes.me/4oIZPZu
Julie says
How is Lucas’s neck and shoulders holding up after all that ceiling work?!?! Amazing job! I love your tutorials because you try it all and always share your best.
Jenna Sue says
Just fine! He spread the project out over several days and the material is lightweight. And he’s been going to the gym to prepare, haha 💪🏼
Karla F says
Great tutorial! I’m going to give this a try in my bathroom. Can you share sources for ceiling lights and vents/fan?
Jenna Sue says
Glad you like it! I used these lights: https://amzlink.to/az0v1c6PmruGK and this vent (painted): https://shoplowes.me/3UwgL7B
Shaun says
These look great! Is there a minimum ceiling height you would recommend for installing this type of ceiling? It may be the camera angle, but your ceilings look really tall!
Jenna Sue says
No minimum! Ours are just over 9′ but this treatment makes any ceiling appear taller since it draws your eyes up. I’ve installed beams on standard 8′ ceilings and it still looks great.
Lani says
the links weren’t working for the plywood you used. what thickness do you think is best? ¼” or ½”?
Jenna Sue says
So strange, it’s working for me! Try this link again: https://shoplowes.me/3HTWxlk
You’ll definitely want to use 1/4″, otherwise you’ll most likely encounter issues with attaching the lights/vents.
Jennifer says
Beautiful! Such a great tutorial – a bit more than I could ever do but always enjoy your posts for inspiration. Question: how tall are your ceiling? We live in an older 1960s home in Southern California and the standard for ceilings are 8 foot – this type of treatment I believe needs a much taller ceiling to have a grand effect. And I’m always surprised of the deep texture treatment in the close ups! I am a follower of many years – thanks for all the great inspo and fun shared over the years! -JS
Jenna Sue says
Ours are just over 9′ but this treatment makes any ceiling appear taller since it draws your eyes up. I’ve installed beams on standard 8′ ceilings and it still looks great. I’d absolutely do it in your home!
Cindy says
These look amazing. Will you have some info on the marble counters? I want to do that super thick counter look on top of a floating vanity in an upcoming bath project. It looks like you may have done a money saving trick there, so I hope you’ll share that.
I just finished using your Frameless Door tutorial to make a hall linen closet nearly hidden. It allowed me to keep the original smooth slab door with my children’s growth chart inside, which was priceless! So I’m thankful I saw that tutorial just as we were doing all the doors and trim in the hall.
Marble counter secrets, please!
Jenna Sue says
So happy you found my tutorial helpful! Love that you were able to preserve that piece if history 😉
I went with marble-look porcelain counters and I am obsessed! I shared the link in the design post: https://www.jennasuedesign.com/spanish-sanctuary-primary-bathroom-design-plan/
I just had our installers bullnose the edge and add an apron for that effect. I was honestly nervous about how it would turn out but I’m so glad I went with these instead of the Taj mahal. They are stunning!
Jennifer says
It is SO beautiful! Do you think the plywood would hold up under an outdoor patio? We live in AZ so moisture isn’t an issue but curious if you have a thought regarding it being an outdoor space. Thanks for all of your beautiful work, I have been a follower since your beginning in FL!
Jenna Sue says
As long as it is covered/protected from the elements, I don’t see why not! I would go heavy on the liquid nails and finish nails. Use a matte sealer too. Use a spacer to give the boards room to expand/contract. I think moisture would be a bigger issue than high temps.
Angie T says
Amazing as always! You’re brilliant!!
Jan says
See this is why I follow you!!! You and your husband do incredible works! WELL DONE!
Jenna Sue says
Appreciate you, Jan!
Rebecca Byers says
Love!! Funny question– How do you find a straight, level line to draw on the ceiling for the beams? Do you use a laser level? Thank you!
Jenna Sue says
Hi Rebecca, that was what the chalk line was for in the first step! You could also use a laser level but it would take longer.
Cindy Rafferty says
Looks beautiful, wish you could come do my house!
Jenna Sue says
Thanks Cindy! I wish we could finish our renovations in less than 3 years, hah!
Bev says
Brilliant! Your detail and photos are amazing. Thanks for sharing!
Jenna Sue says
So glad you like the way it turned out, Bev!
Gail W says
Looks FABULOUS! So much excellent detailed info as always.
(Did you just change your photo? Or have I not been ‘here’ in a while? You look so different!) 😆
Jenna Sue says
Thank you Gail! Yes I did a couple months back, my previous photo was from 2020 so it was time for an update!