After 2.5 years of putting off this project, the wait is over! It’s time for our little laundry room to get some love…
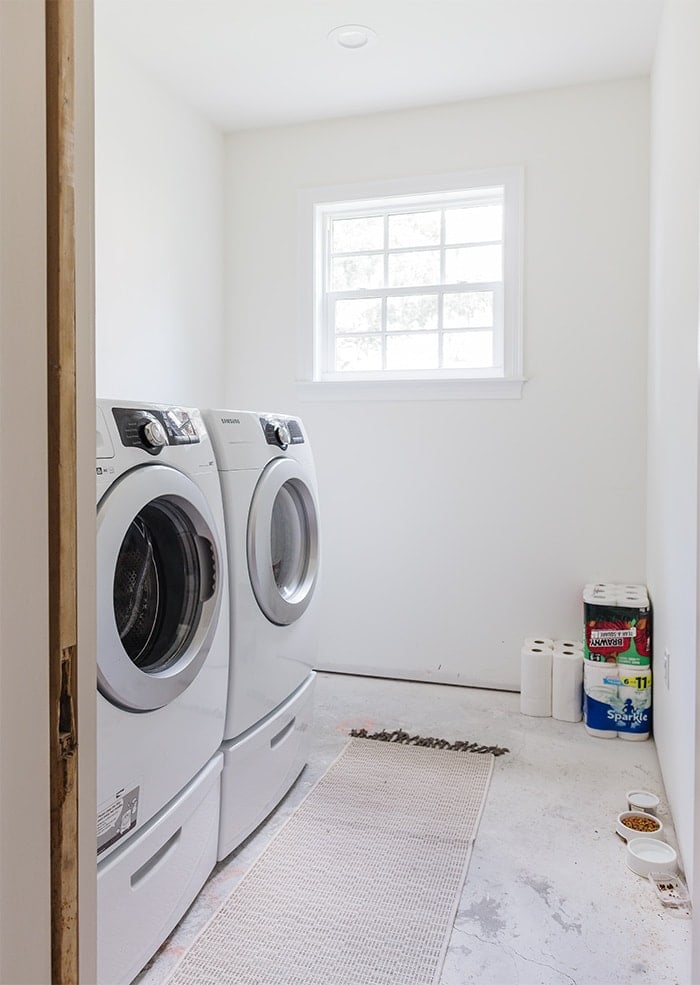
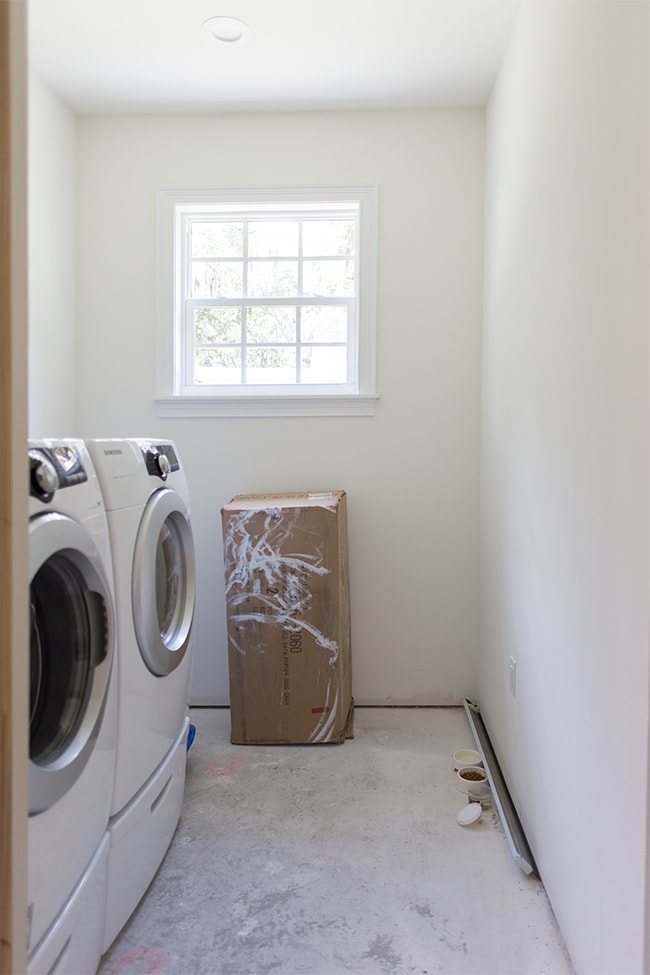
Still rocking the subfloor and no baseboards, this unfinished space has become our cat’s dining room/bathroom and random box storage area.
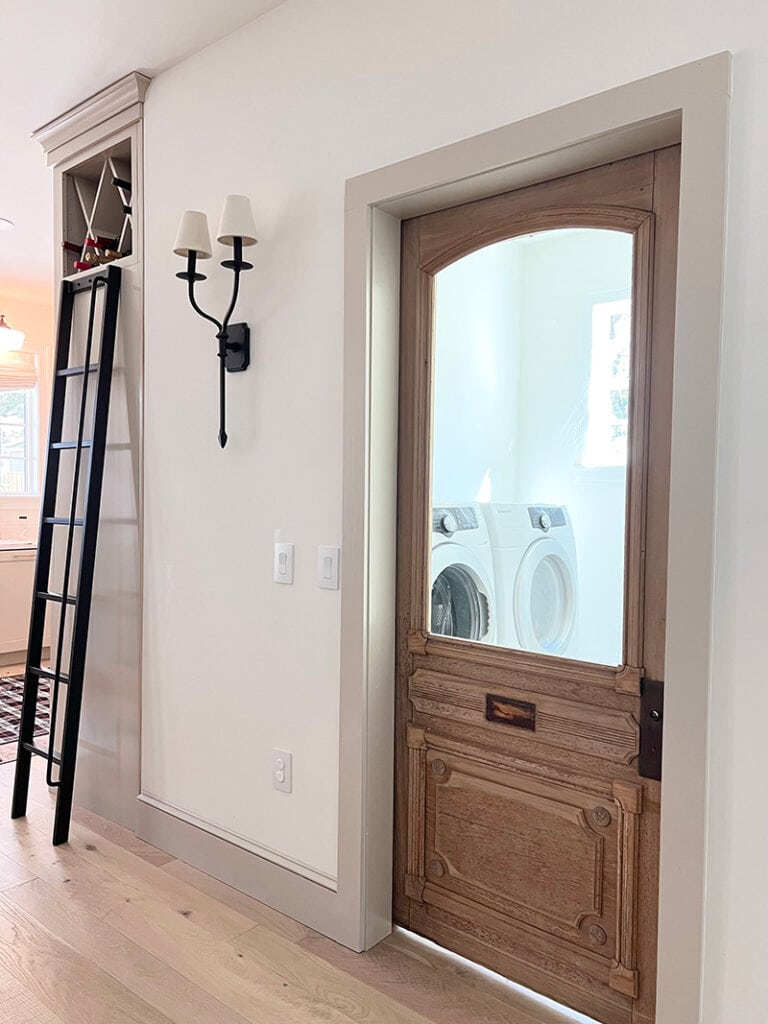
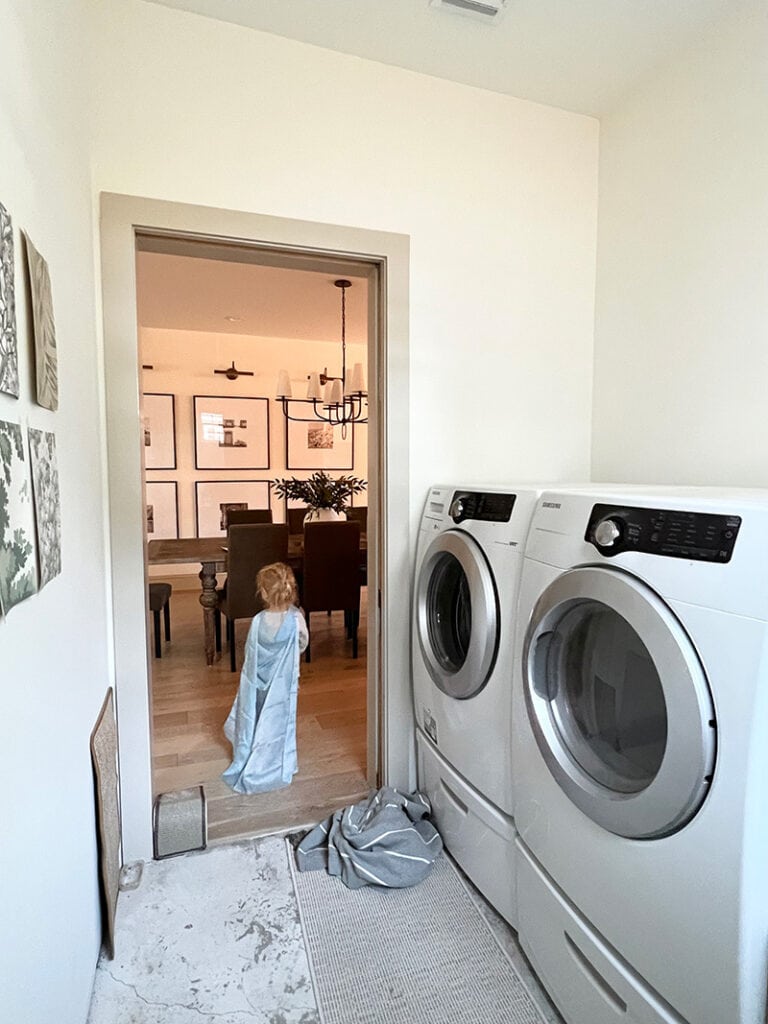
It’s located just off the dining room, right next to the kitchen (and quite the embarrassment with a glass door exposing our perpetual mess).
I never anticipated we’d still be living with an unfinished laundry room, but this is the year we’re finally making it a priority—and the renovation kicks off now!
Jump to:
Inspiration
I’ve had plenty of time to dream about what I wanted this space to look/feel like—here are a few images that stuck with me, and what drew me to them:
What I love: Muted green cabinetry, wood accents, herringbone brick floors, use of vertical space, overall feeling of warmth.
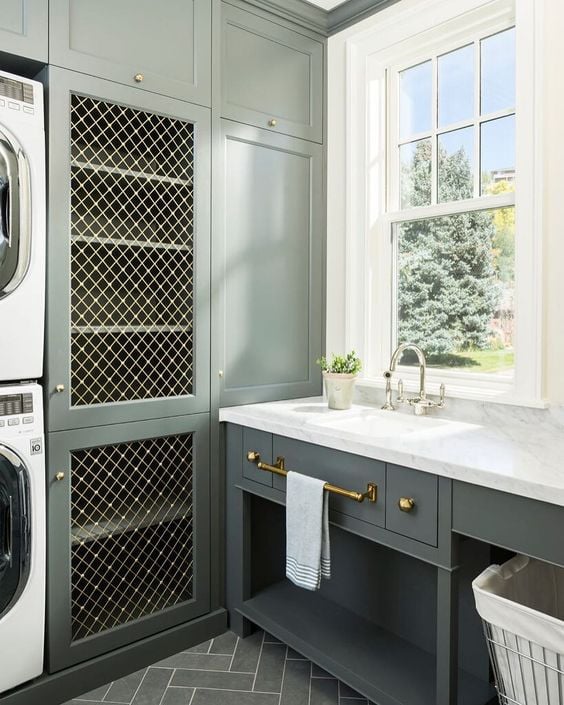
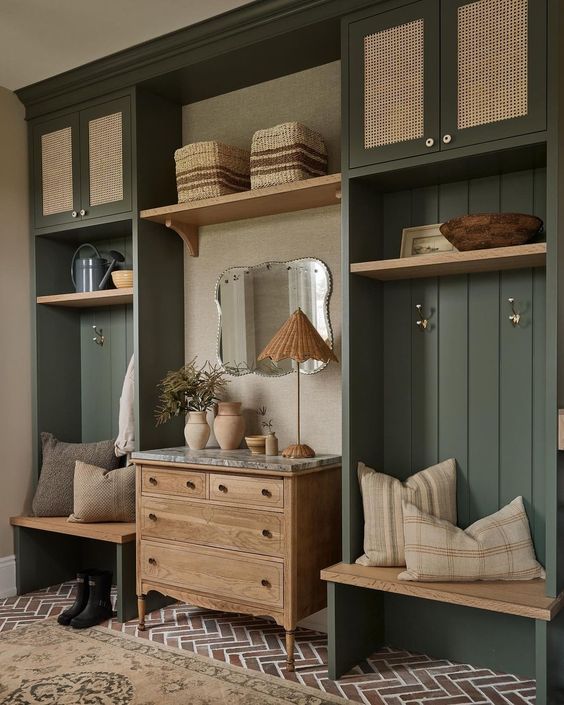
What I love: Sage green built-ins, brass hardware, herringbone floors, floor to ceiling storage, fresh clean feeling.
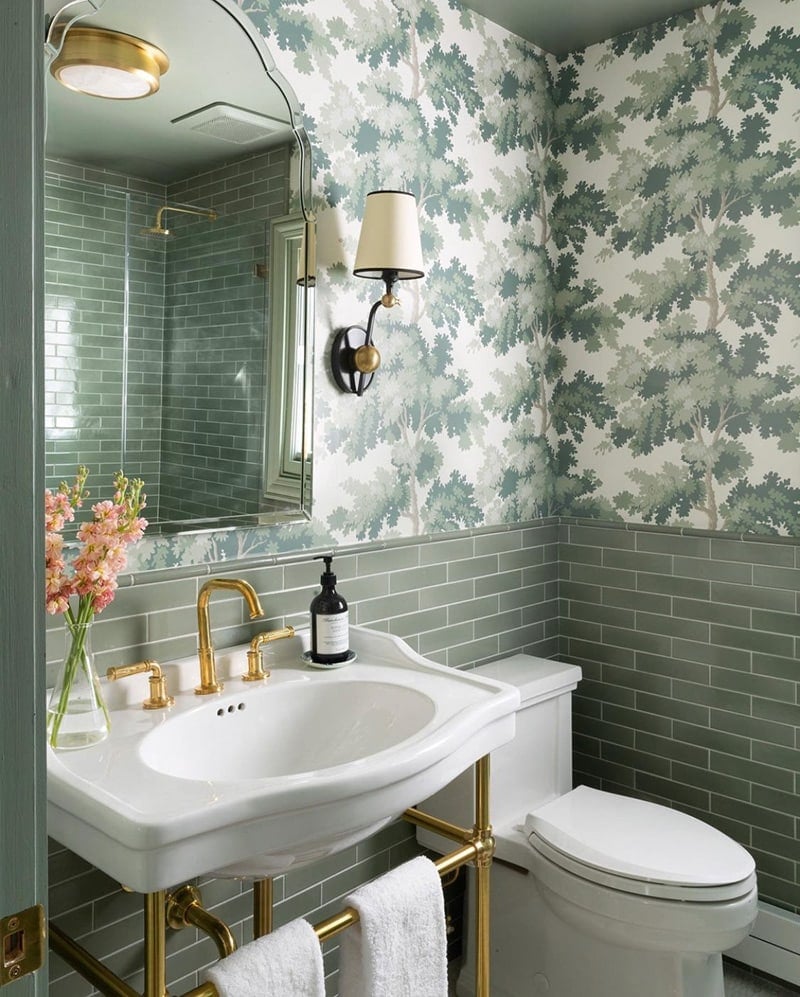
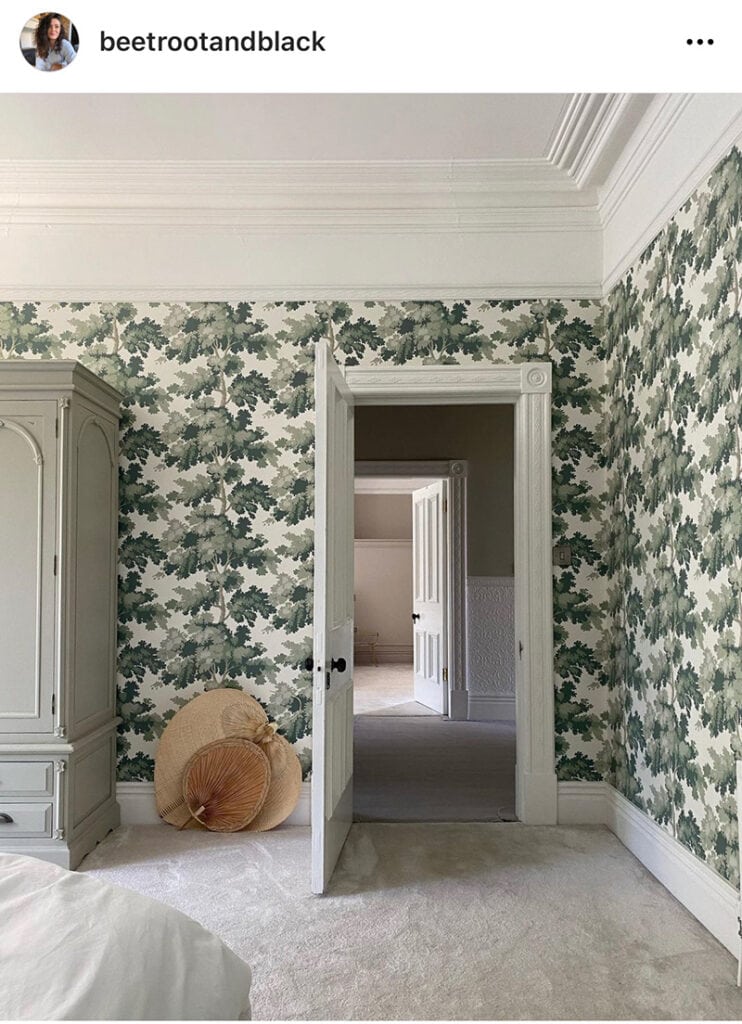
What I love: Wallpaper design, coordinating green walls and ceiling, clean white and brass accents.
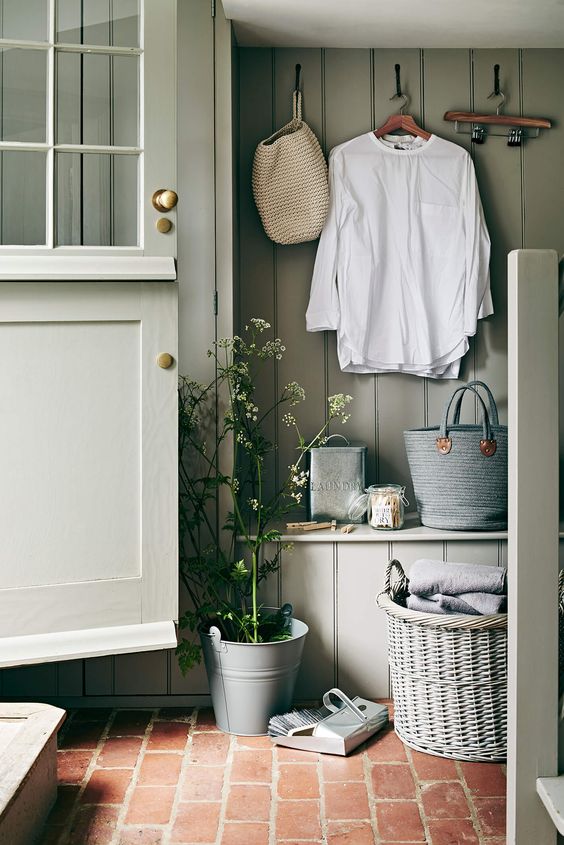
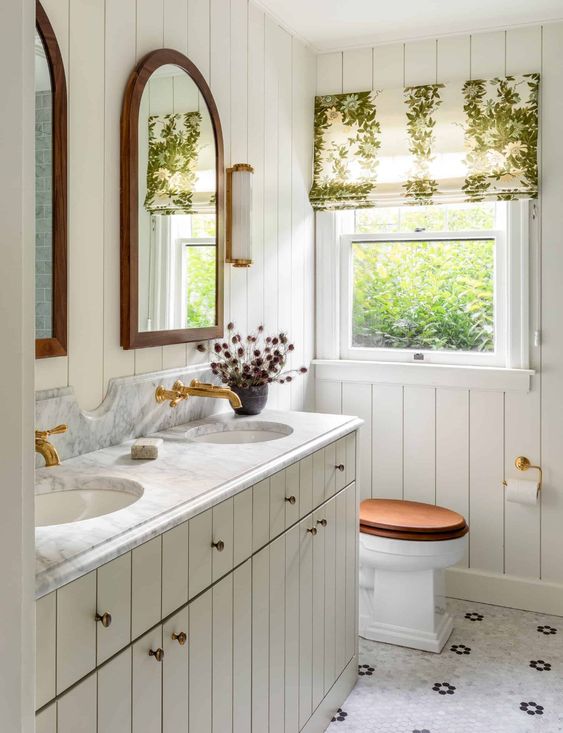
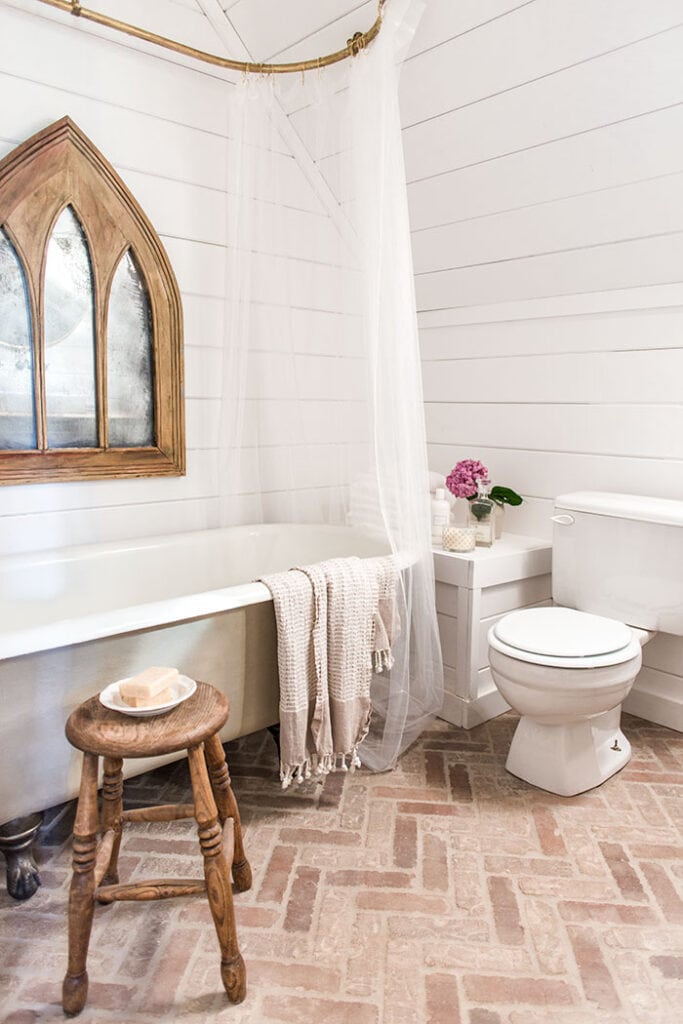
What I love: Pale gray-green walls/trim, old brick floors, vertical paneling, simple and classic design.
Layout + Design
At less than 50 square feet, this room is tiny, so we have to be very strategic about the layout. There are many functions needed from this space—laundry machines, beverage fridge, cleaning/household storage, pantry storage, cat litter/feeding station.
Here’s how we plan to do it:
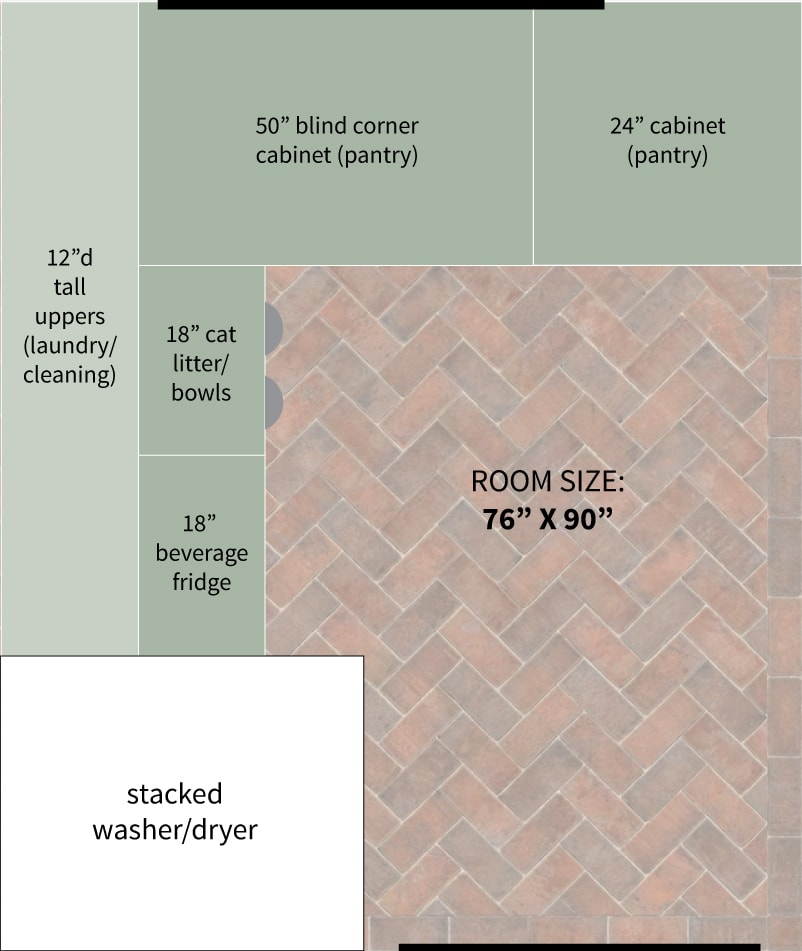
Right away, it was clear that a stacked/washer dryer was the best way to maximize the layout. The ceilings are 9’4″ so we have lots of vertical space to work with. We’ll add lower cabinets in an “L” shape, and 12″ deep upper cabinets along the left wall.
Ready to see the design? Let’s dive into each design element!
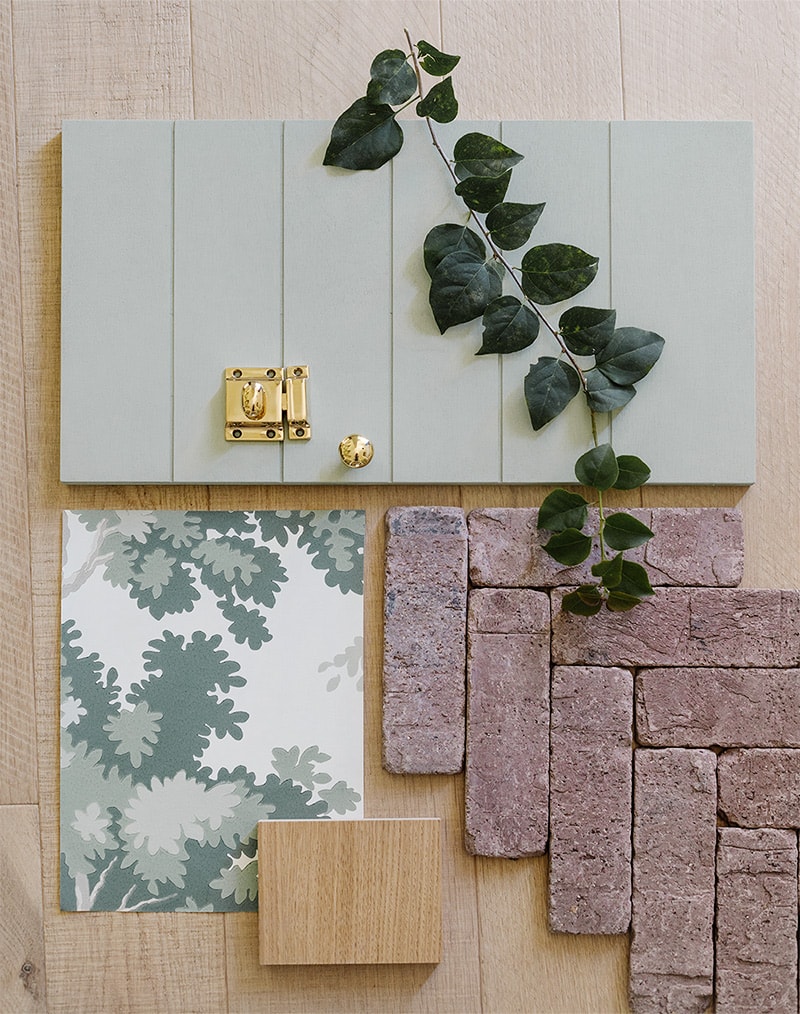
Cabinetry
After a lot of thought, we’ve decided to build our own cabinets completely from scratch. Lucas just finished building our garage cabinets so he feels pretty confident taking this on, we don’t have to wait on anyone and can make them completely custom to fit our needs.
More importantly, I want a very specific look for the doors and couldn’t find it available anywhere, so the only way is to make them ourselves! Have you seen these v-groove panel cabinet doors? They’re having a moment right now and I am here for it…
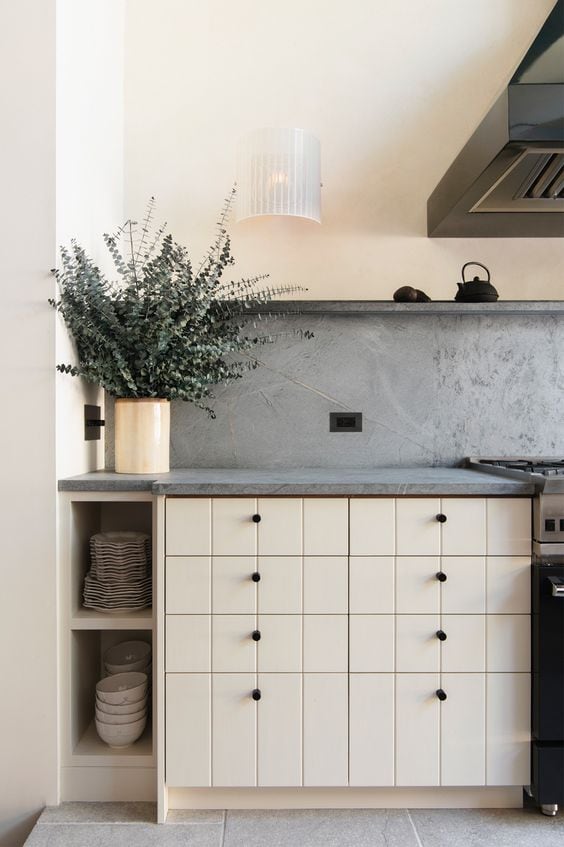
I’ve been saving and pinning this look for quite some time, but you won’t find this as option from most manufacturers.
Semihandmade offers this door style, but in pre-finished colors and only for Ikea cabinets:
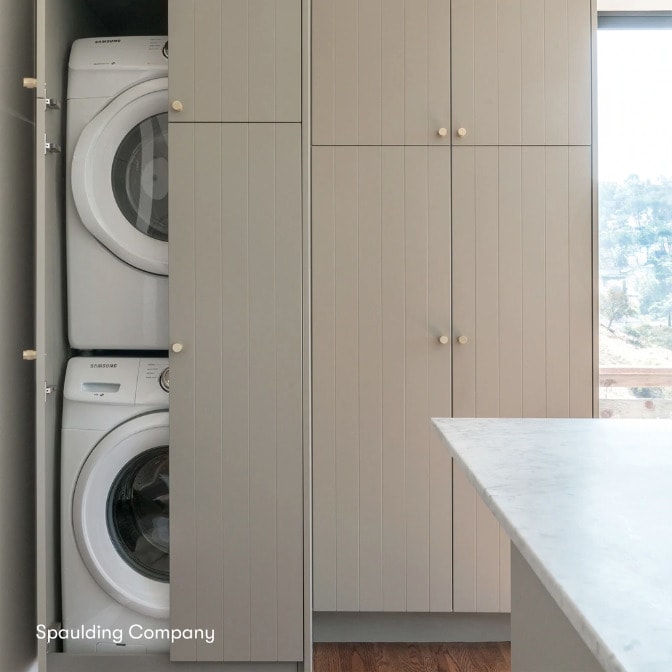
Here’s an example in a sage green, very similar to the cabinet color I plan to use:

The design seemed simple enough to figure out a way to DIY it, so I talked it over with Lucas, and we came up with an easy solution—run the wood through a table saw. IT WORKED LIKE A CHARM!
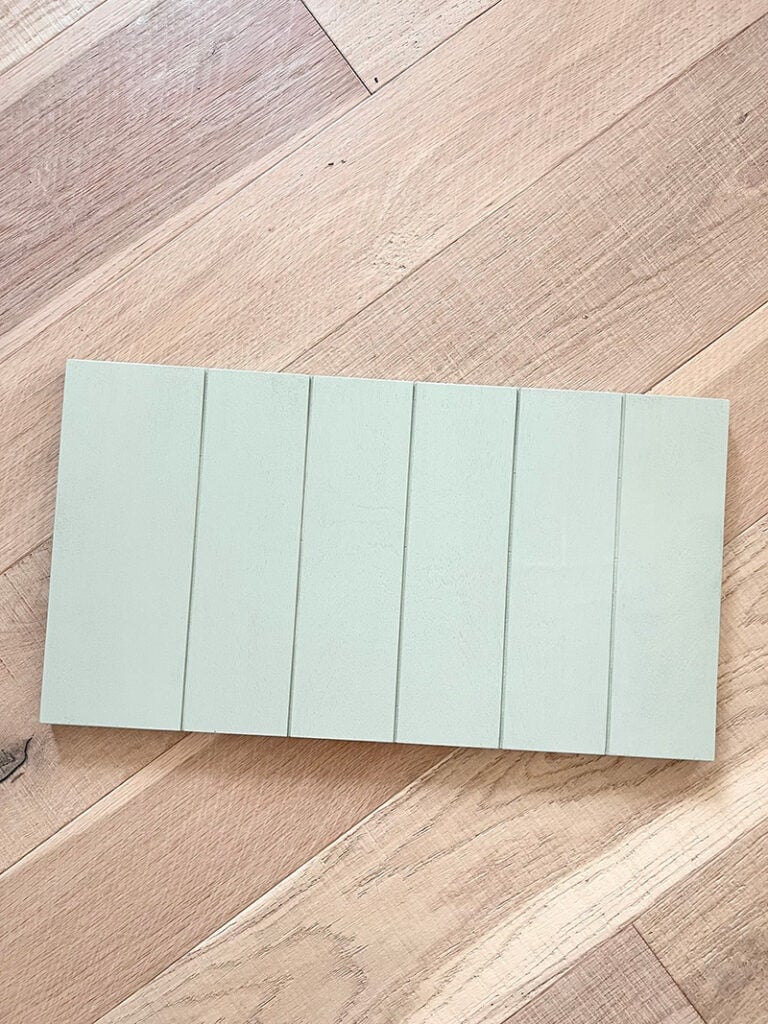
I can’t tell you how excited I am about this discovery. No router or fancy equipment needed—just lower your table saw blade, set the width and push it through. This is a game changer, fellow DIYers.
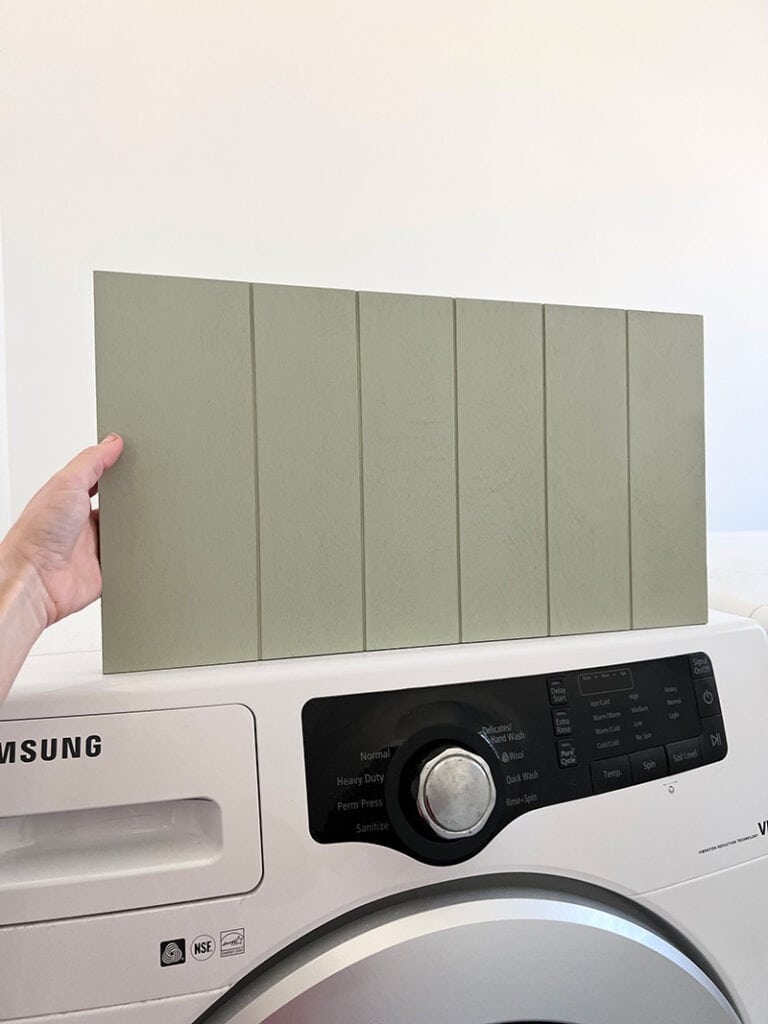
We used a random paint sample (SW Softened Green) and crappy scrap wood for this, but you get the idea.
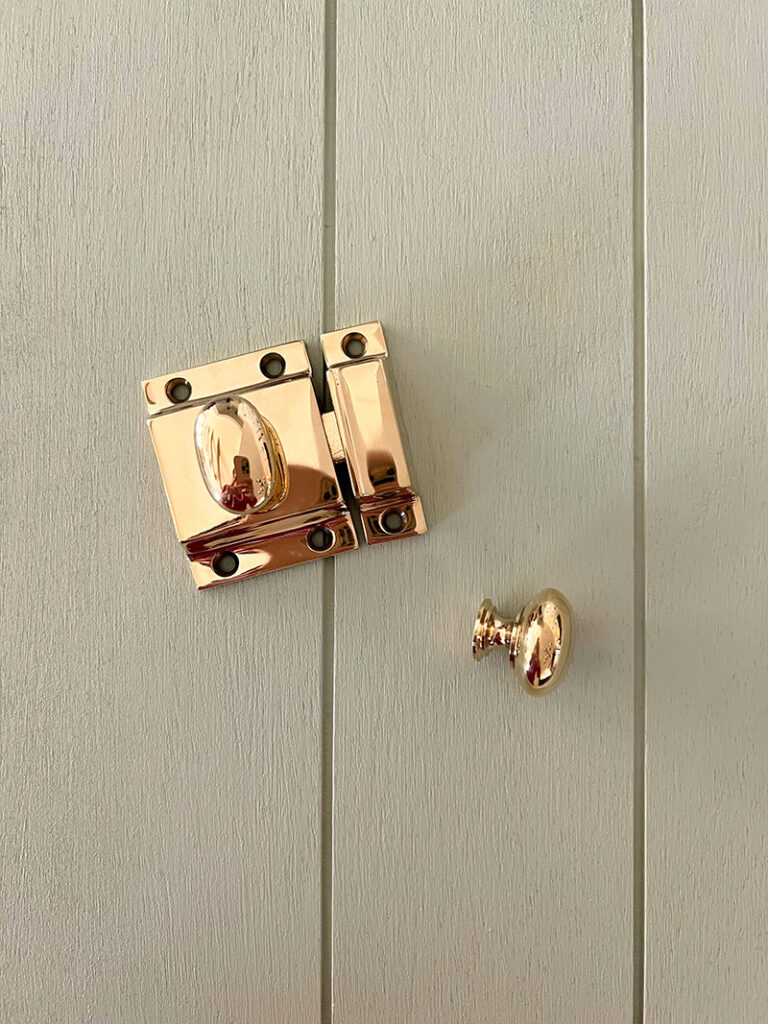
For the hardware, I’ll be using these unlacquered brass knobs and latches:
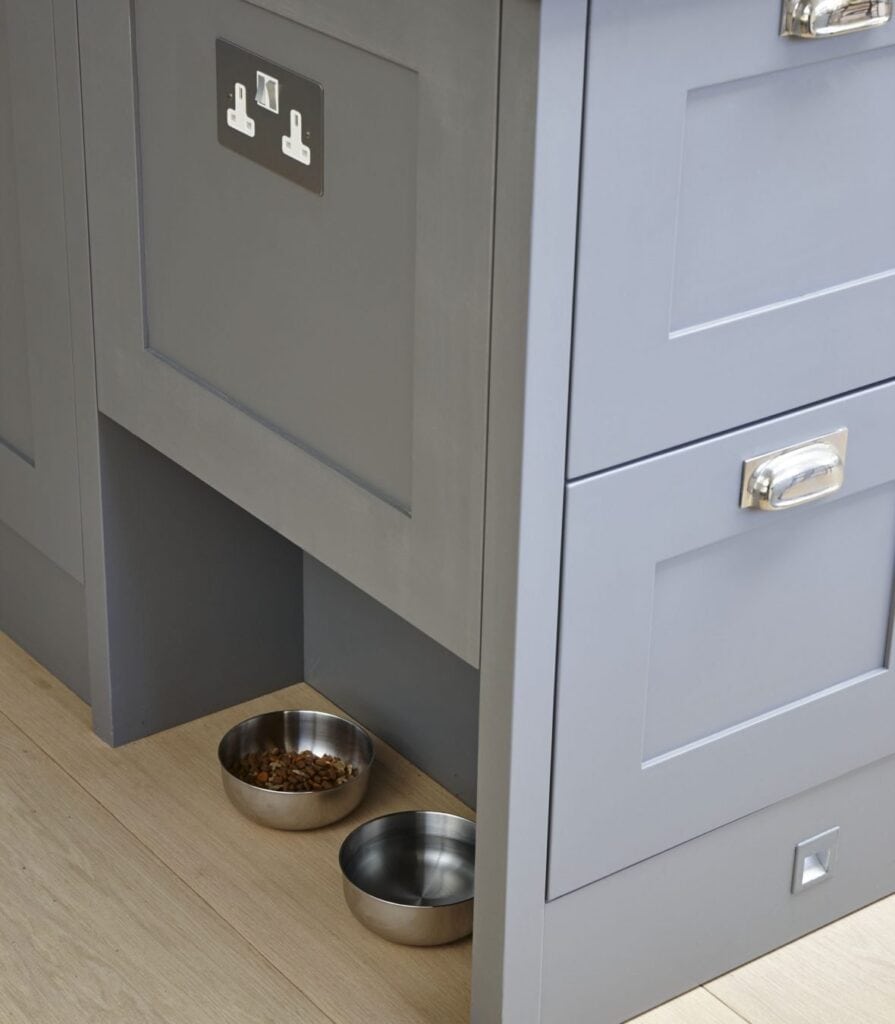
The base cabinets will consist of a panel-ready beverage fridge, two large cabinets for pantry items/storage, and a special cat enclosure with Susie’s litter box. We’ll cut out a little arched entrance for her, and below the door we’ll build in a feeding station—similar to this:
For the upper cabinets, I’m debating the idea of bringing them all the way down to the counter for additional storage—like this:
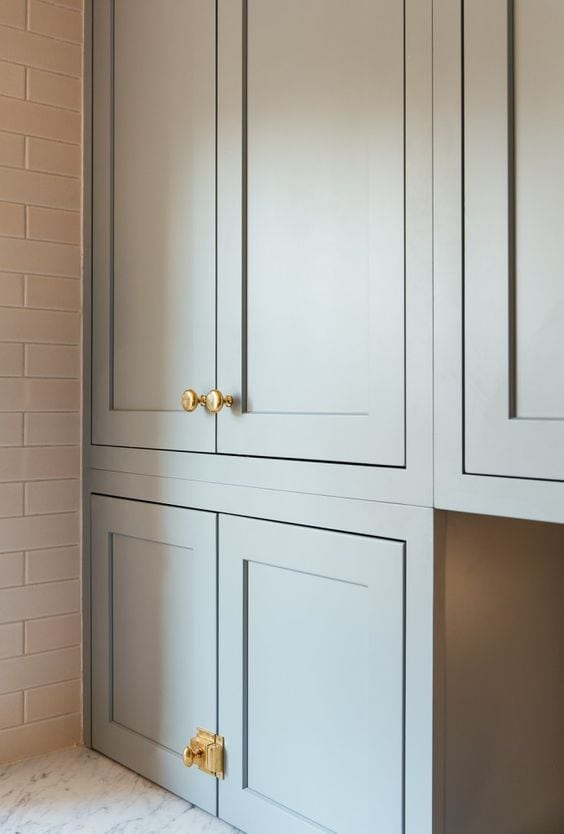
We’ll have to figure out if we really need all the extra enclosed storage, or if more counter space is better (or maybe a mix of both?) I plan to use this butcher block + a custom white wash stain for the counters—just like we used in our Playroom and Closet.
Walls
Now for the real fun! After a lengthy search, I narrowed the options down to a handful of my favorite green patterns from Sandberg Wallpaper:
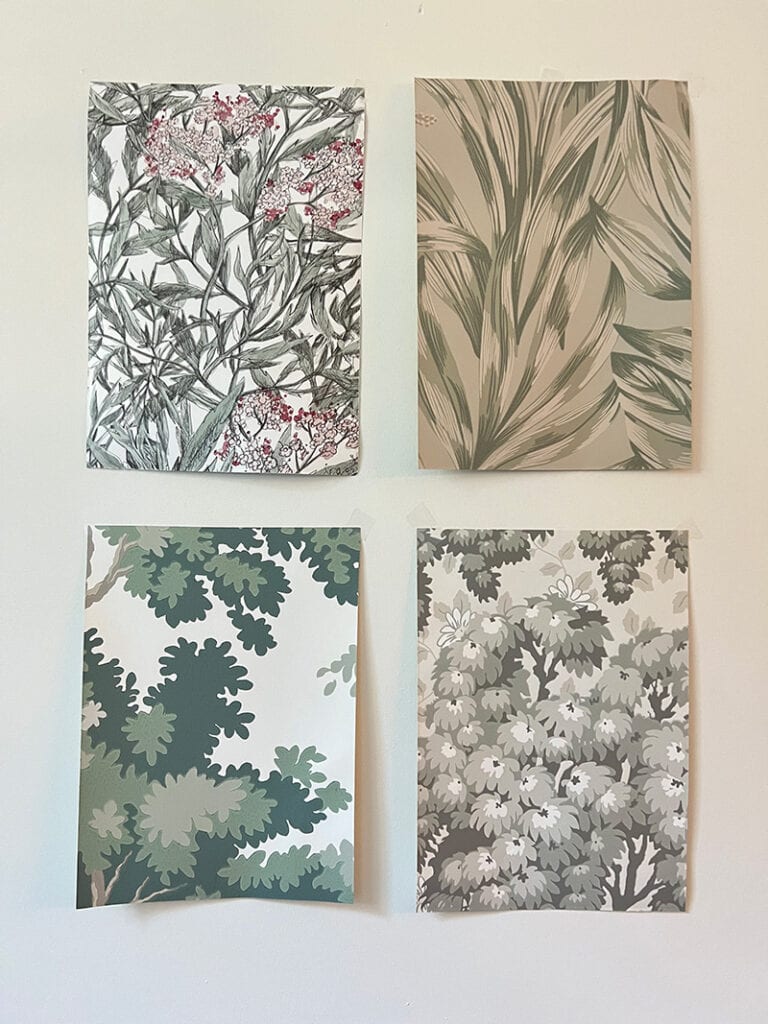
My immediate favorites were the bottom two. Here’s how they look from farther back:
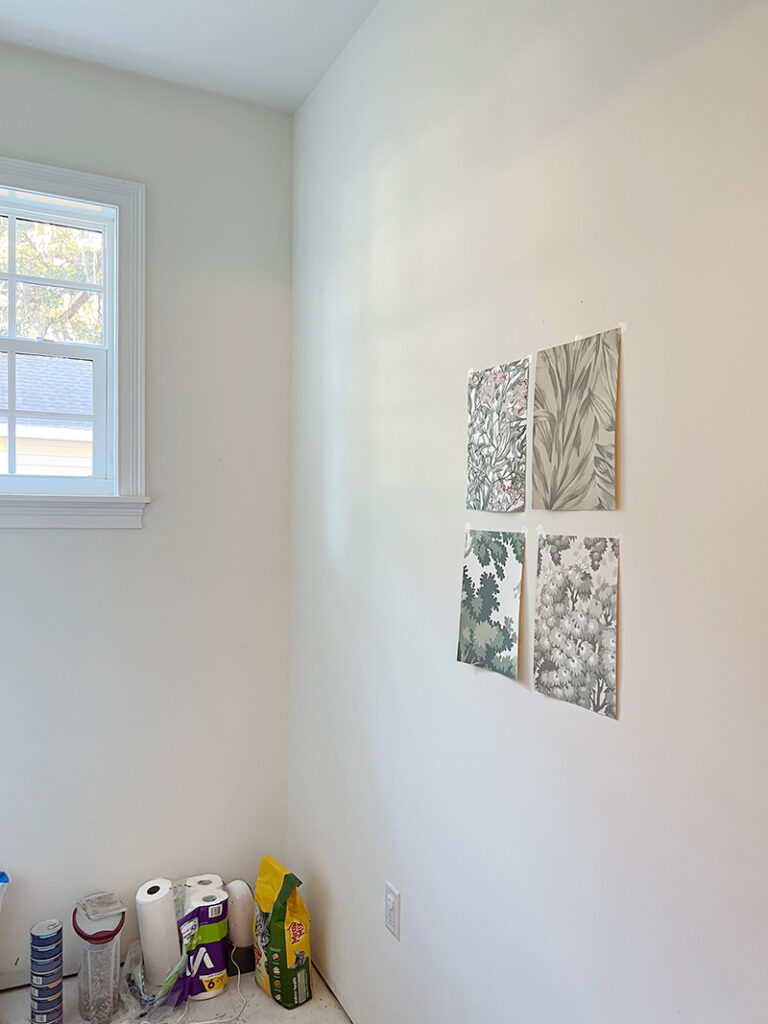
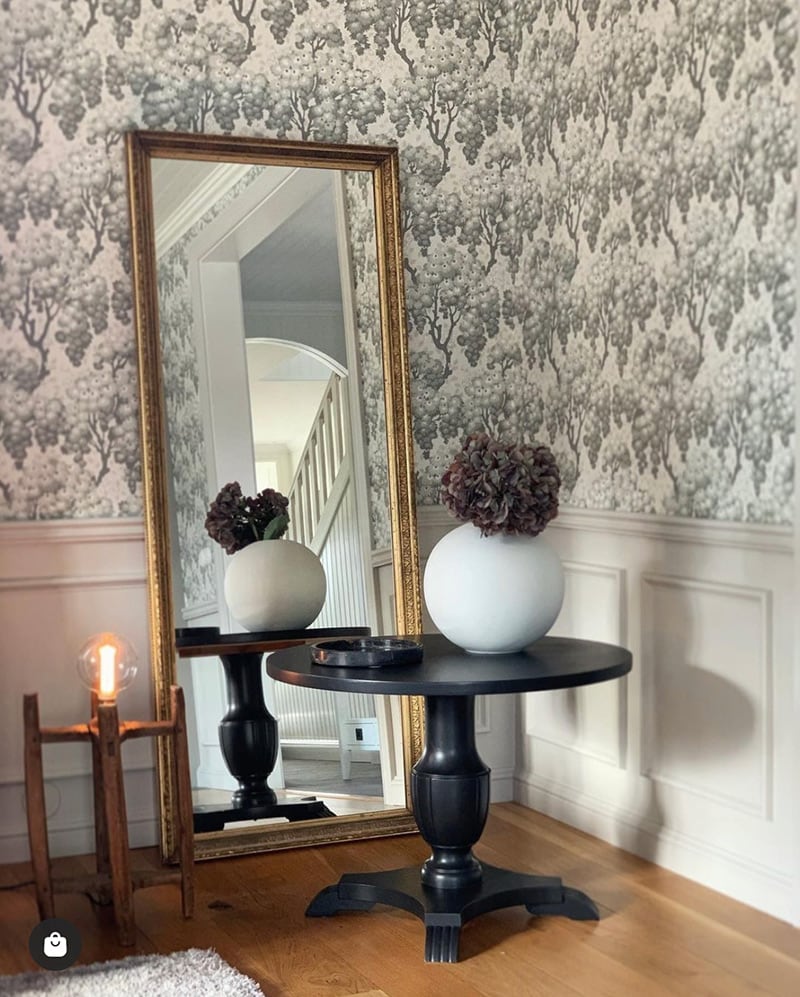
On the sample sheet, I was most drawn to the Ragnvi Spring Green, but the color is a little too gray for me. Here’s how it looks installed:
Truthfully, Raphael Green has my heart…
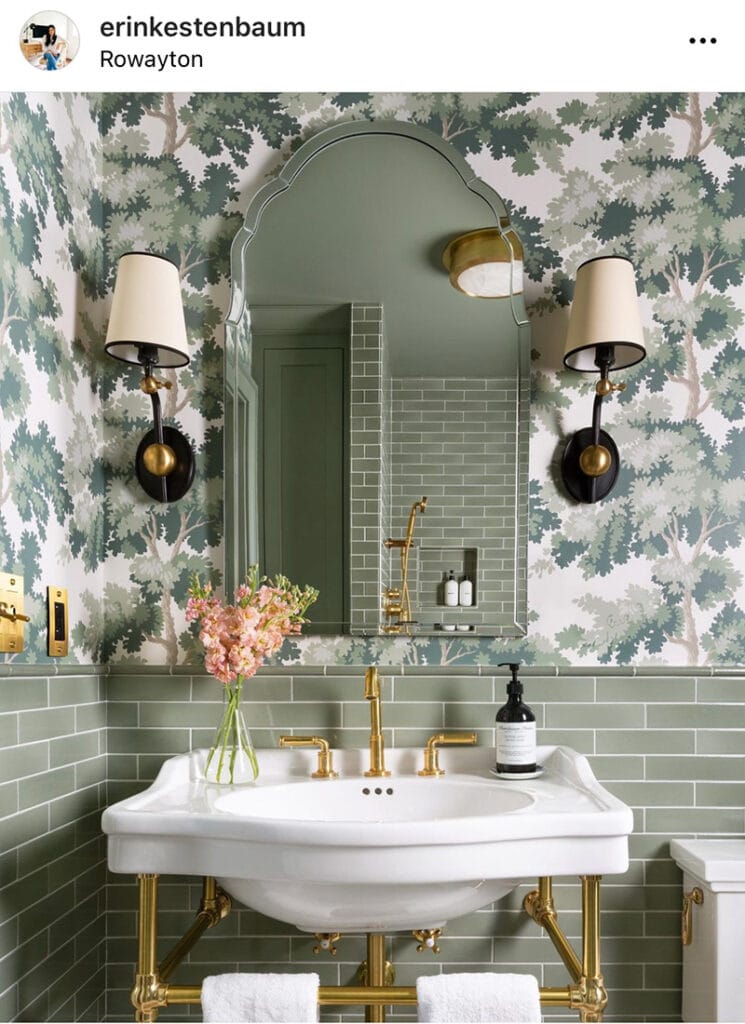
I know a lot of designers/bloggers have used it before and I typically try to do something different, but this paper is just so dreamy.
Can you picture it in our laundry room, surrounded by a coordinating sage green wall/trim/ceiling?
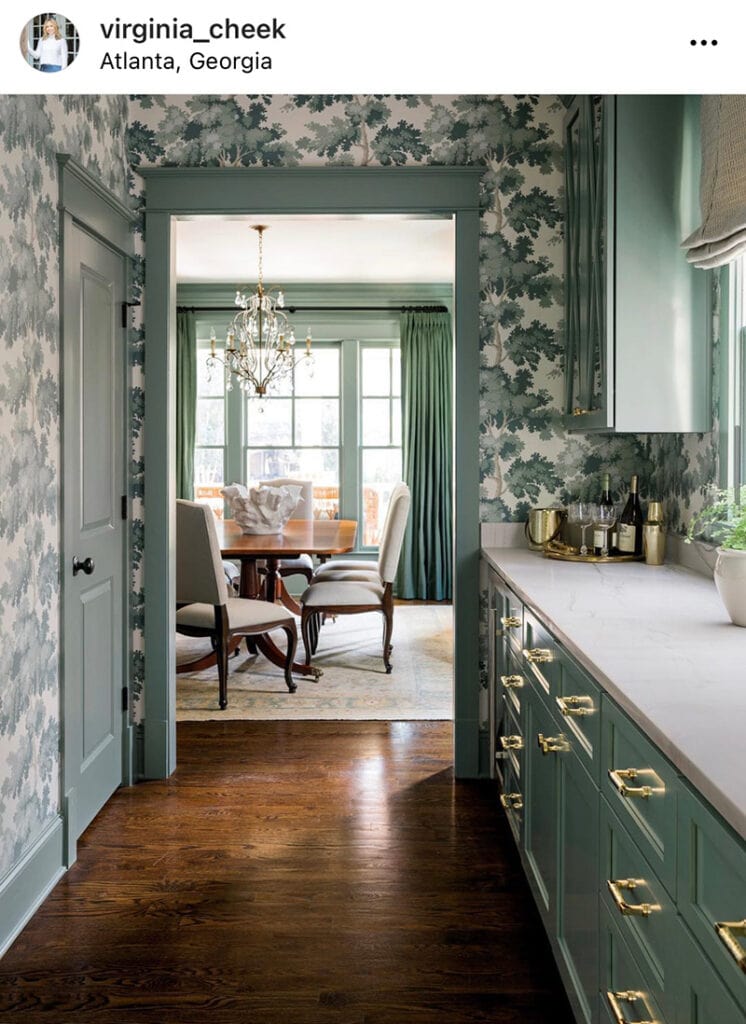
Bold wallpaper is always a good idea in small doses! I might end up frosting the glass door since this room is very visible from the rest of the house, but I think it will make me happy every time I walk in. #YOLO!
Floors
Ever since installing thin brick pavers in the upstairs bathroom and laundry room in the Cottage House Flip (five years ago!), I’ve been waiting for the perfect spot to use them again. This was the very first design choice made for this space.
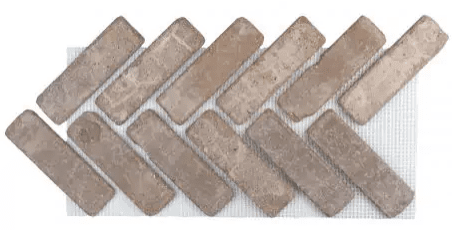
I loved the Old Mill Thin Brick product so it was an easy decision to use them again—and now it’s even easier because they sell these pre-assembled herringbone sheets!
This time around I chose the color Monument, which has more of a warm gray tone and slightly less color variation. I’ll be installing them in this pattern, with a single row border around the edge:
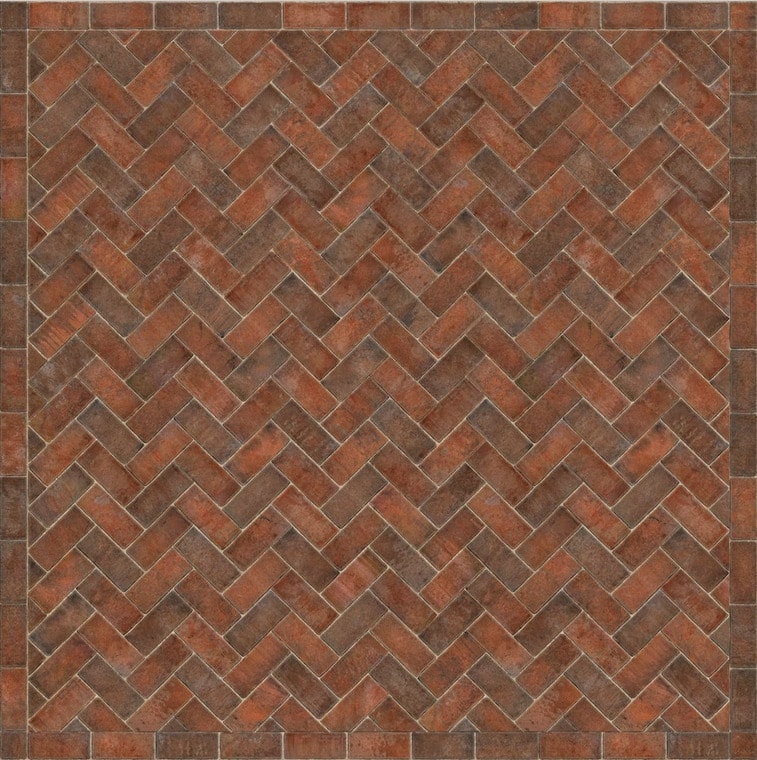
These floors will be our first project in this room, and we plan to install them next week. Make sure you’re following me over on Instagram to see the live progress! I’ll also share a blog tutorial soon.
I think that just about covers everything! I’ll share more details in future update posts, and try not to drag this renovation out for too long (we’re simultaneously working on projects at the Hacienda Hideaway so there’s a lot going on at once!)
Next week: Design plans for the Hacienda Hideaway bathroom…




Pily says
Jenna hi, my mom gave to me an old furniture 2 doors like cabinet its old fashion hand made but strong wood enough for plates salads and ceramics bowls storage, the first thing i saw there no knob or pull at door but a pair latches with keys (missed) but this post here gave the idea to replace latches for new ones thank you for the link and voila i found a pair oval knobs brass gold with a marmol stone in middle from zara home but guess what, i know now the reason there no knobs or pull are doors double walls with air in middle and the lenght is 3.4 cms for the knob screw its not large than wide door double wall and i´m here looking for inspirations or tricks at www, some idea? i feel confident to try install the knobs my self. This blog give me a lot inspiration. Thank you, Pily
Lana says
Hi Jenna – I also big fan of wall paper, in your samples I think top right and bottom right will work the best with you cabinet color and gorgeous floors.
Jen says
What type of wood will you use for the cabinet doors?
Jenna Sue says
Hi Jen, we haven’t sourced the exact wood yet, but it will most likely be the smoothest 3/4″ cabinet grade we can find.
Rachel says
The GREEN! I think I am in love with that color after your post it adds so much to the room without being too much. It’s a natural and homie feeling. I just got my cabinet refinished to save money on the remodel. Do you think that green would look good with dark brown cabinets?
Jenna Sue says
Hi Rachel, absolutely! It’s neutral enough to go with anything, I think. Especially wood tones. I hope it works out for you!
Lindsey says
Hi! The mood board and room inspired looks gorgeous and I can’t wait to see it.
One thing to consider – cats typically really don’t like eating near their litter box. My vets office says they routinely see cats completely refusing to eat when bowls are moved too close to their littler box. Looks like they are already in the same room now so might not be an issue for your cat.
Jenna Sue says
Thank you, Lindsey! A few other people brought this up too, so we’re changing plans and will relocate her food somewhere else 🙂
Maya says
Are you planning to cover the window with pantry cabinets?
Jenna Sue says
Hi Maya, no the window will not be covered. There will be shallow upper cabinets to the left of the window — I shared a rough mockup in the post showing the new layout 🙂