Back with an update! Our handyman started work on the ceiling Monday and it has been a slow and steady process ever since. If you follow me on instagram you know this already…
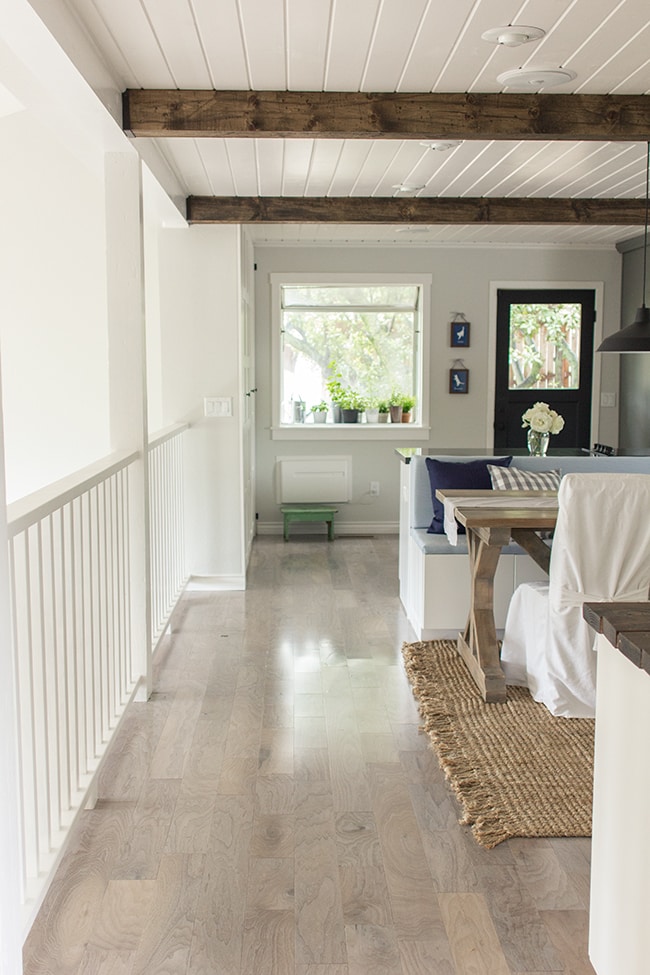
To recap—we decided to plank the ceiling and install beams to match the kitchen in the adjacent room:
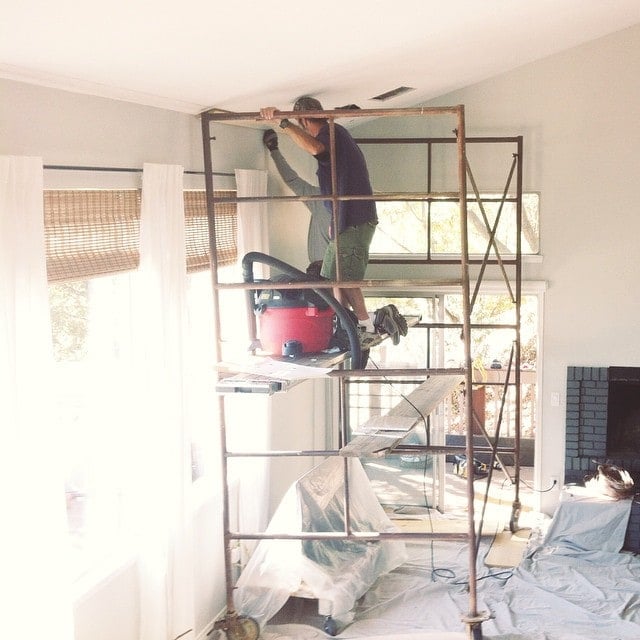
But since this ceiling is vaulted and 16′ high at the top, we couldn’t do it ourselves, so we hired our handyman (the same one who built our stair railing).
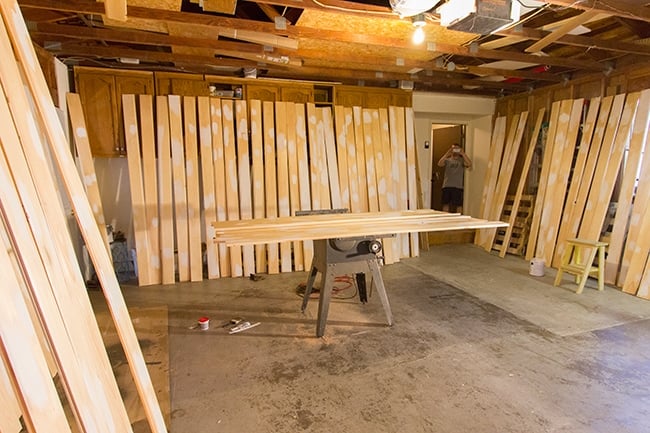
Step 1 was to buy our tongue and groove boards. I still had a stack leftover from the first purchase, so I bought 420 square feet to cover the ceiling (and it ended up being just enough, whew). It came to $570 after a 10% off Labor Day coupon.
Because the living room is a little under 24′ long and these are 8′ boards, we had to cut a few inches off each one. That was fun (not).
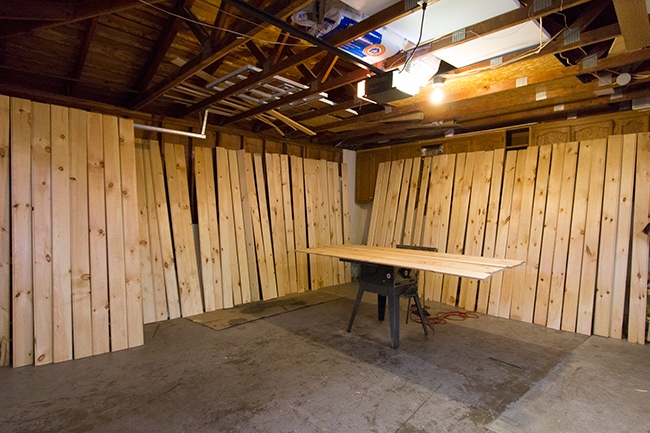
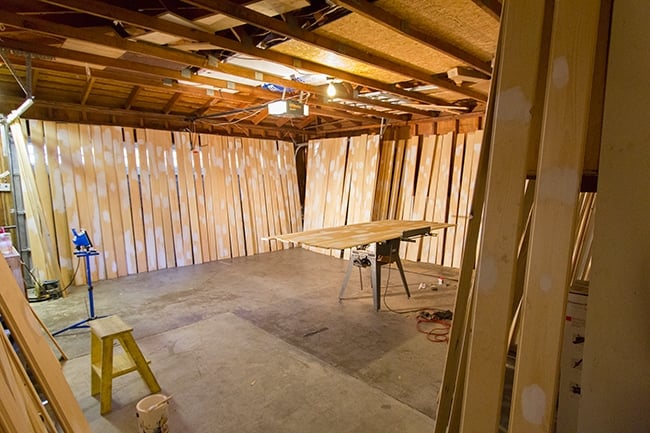
We covered the entire garage by standing them up to make them easier to prime.
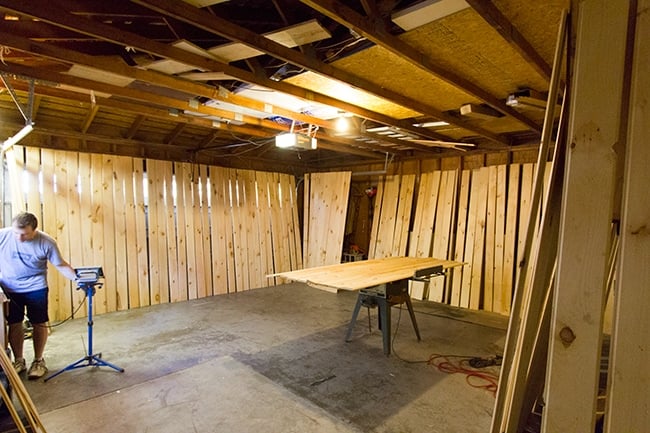
We didn’t have to prime the entire boards, just the knots. Let me tell you, these knots are a nightmare. We didn’t use any primer for the kitchen and living room and within a few months the tannins started bleeding through.
We later added both primer and paint on top of them with no luck… it comes back within a couple weeks every time. So when I did our foyer makeover, I made sure to cover the knots completely with Zinsser’s BIN shellac based primer (which is supposed to be the best out there)…
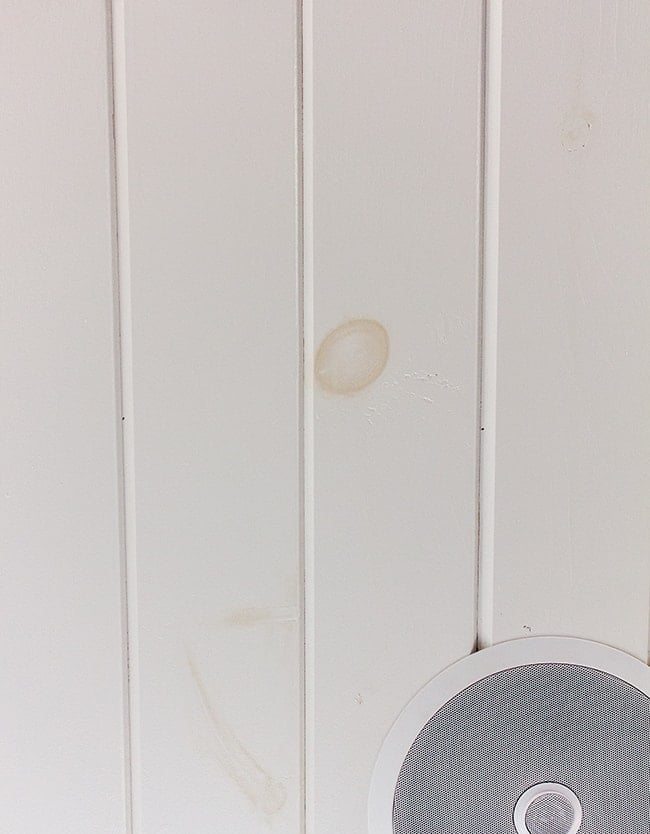
Sadly, a couple months later and I can say it made no difference at all. It even bleeds through on the dark painted planks:
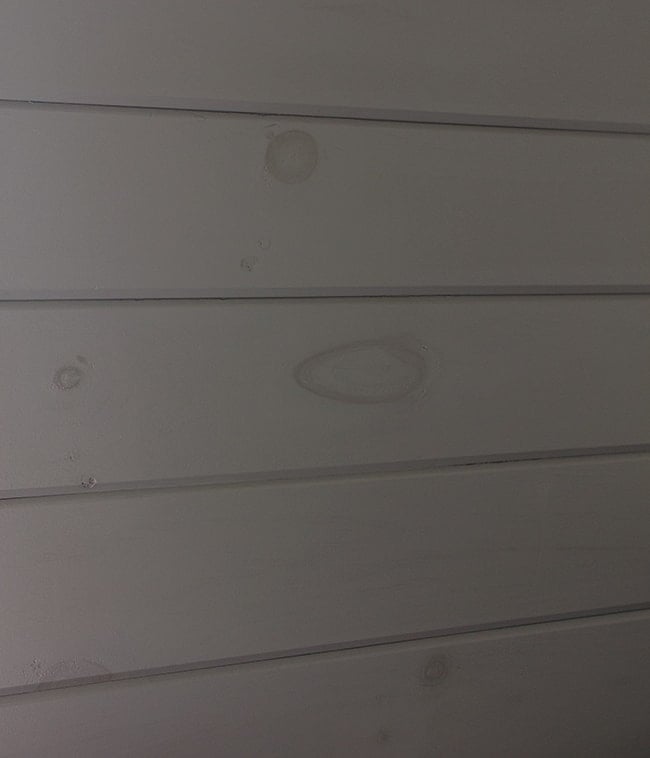
This was taken from my studio which wasn’t primed, but I’m sure it would have bled through anyway. You could argue that it just adds to the rustic-ness, but I’m not sold so we’ve been periodically touch up paint which only lasts for a couple weeks. It’s such a pain!
With this new ceiling going in, there’s no way we can get up there to touch it up so I wanted to make sure they didn’t bleed through. I called Zinsser and explained my problem, and they suggested trying to use their water based (1-2-3 in the blue can) first this time with the BIN oil based on top of it. I don’t trust water based primers to block tannins but I didn’t know what else to do so I gave it a shot.
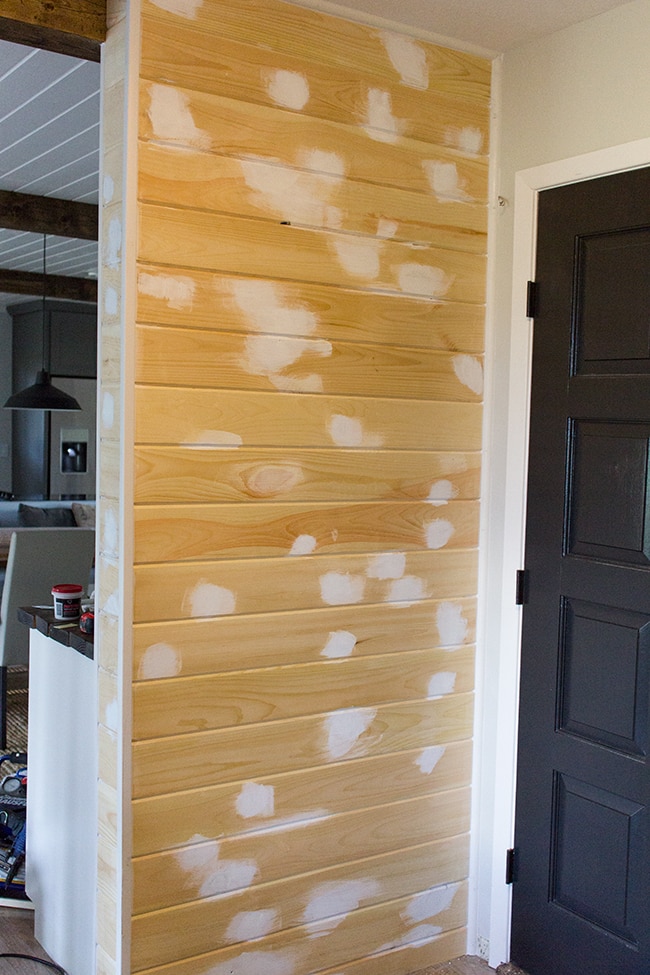
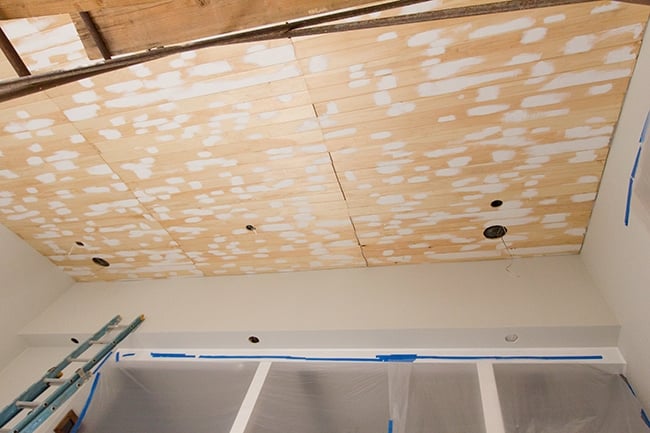
We applied four coats of the first primer on every knot…
And covered that with a coat of the BIN…
Whew, that was a lot of painting. And no, I don’t feel confident that it will work. I’ve since talked to more painters and after some online research, have discovered new primers that are supposed to be fail proof. We haven’t hired a painter yet so I may pick up a can of specialized primer and have them hit the knots one more time before painting.
Back to the living room. This was taken during Day 1. We’re adding six lights and surround speakers so we had them run the wiring and cut the holes while they were up there.
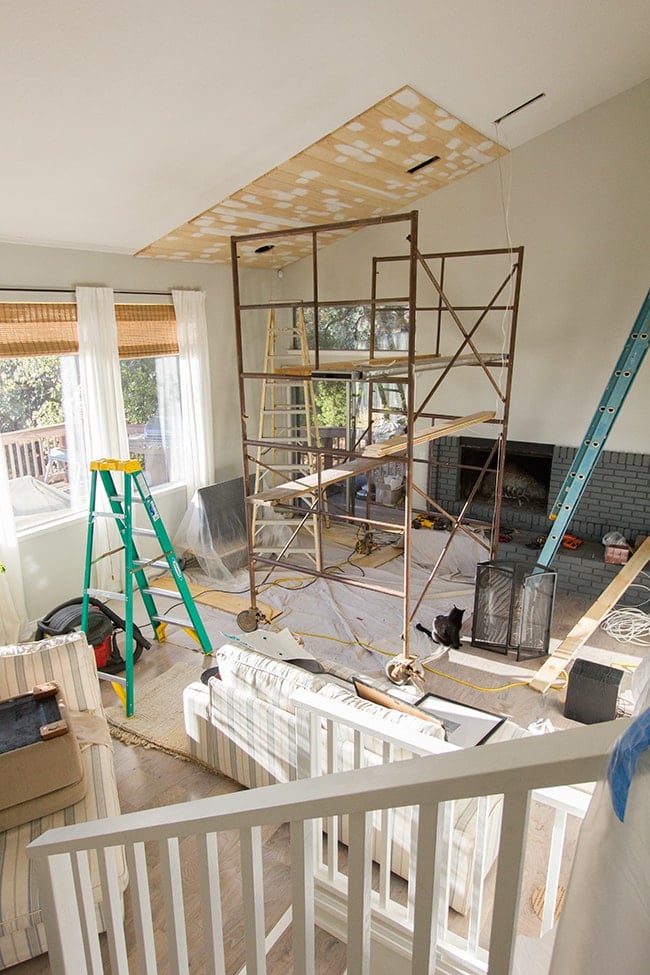
Currently, it’s a bit chaotic in here…
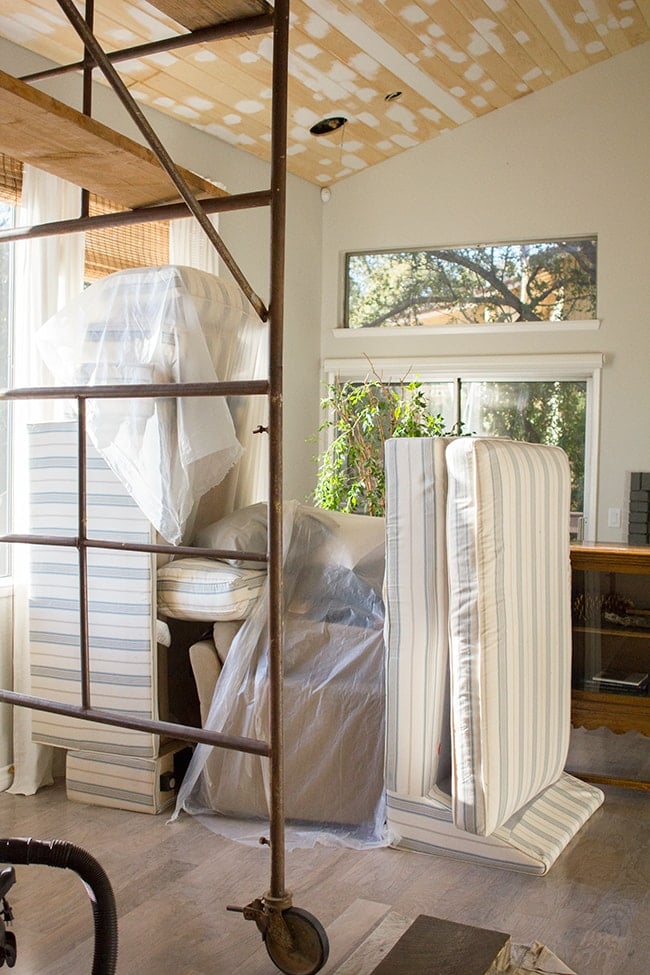
But the planking is done!
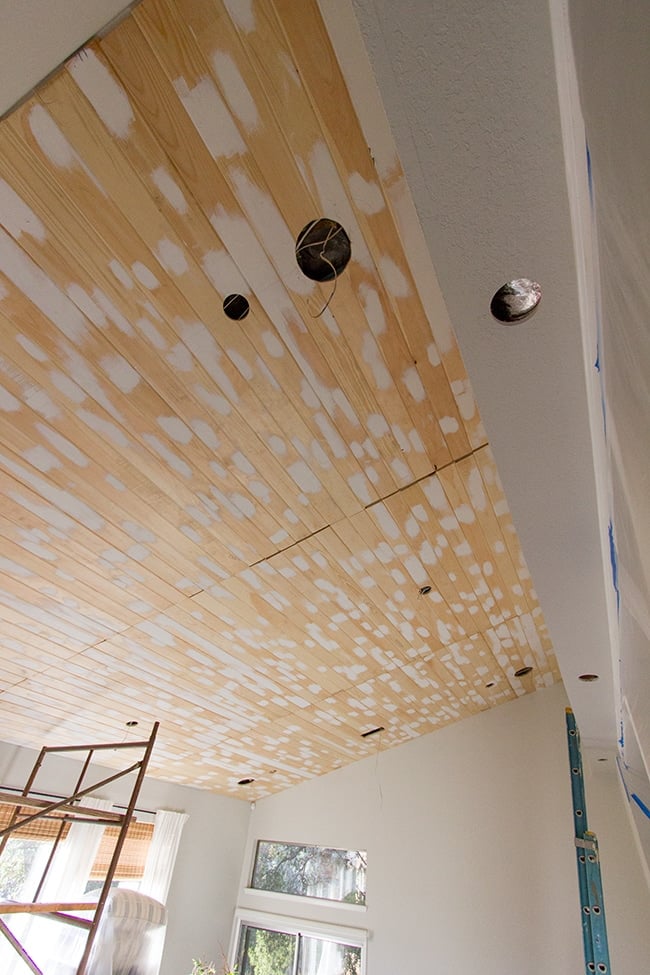
This is a shot looking towards the kitchen (the smaller holes are for the lights and the larger ones are speakers). The extra three lights along the soffit was Brad’s idea…
Here’s the perspective from the fireplace looking back toward the stairs and my studio:
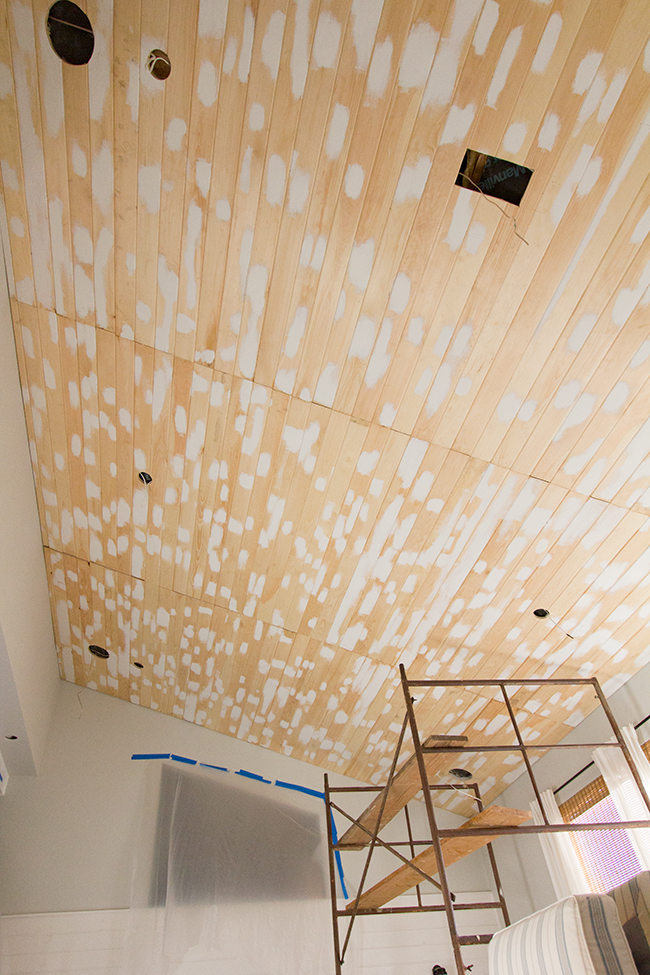
We picked up the wood for the beams yesterday so we’ll be building those soon and they’ll run along the two seams where the rows meet.
That’s all the progress I have at the moment. The guys are in the living room as I type working on framing out the firep
lace so that will be next! Unfortunately we’re having some issues with our mantel (the wood isn’t completely straight and we discovered it’s not deep enough) so I’m a little nervous about that. We’ll see how it all plays out.
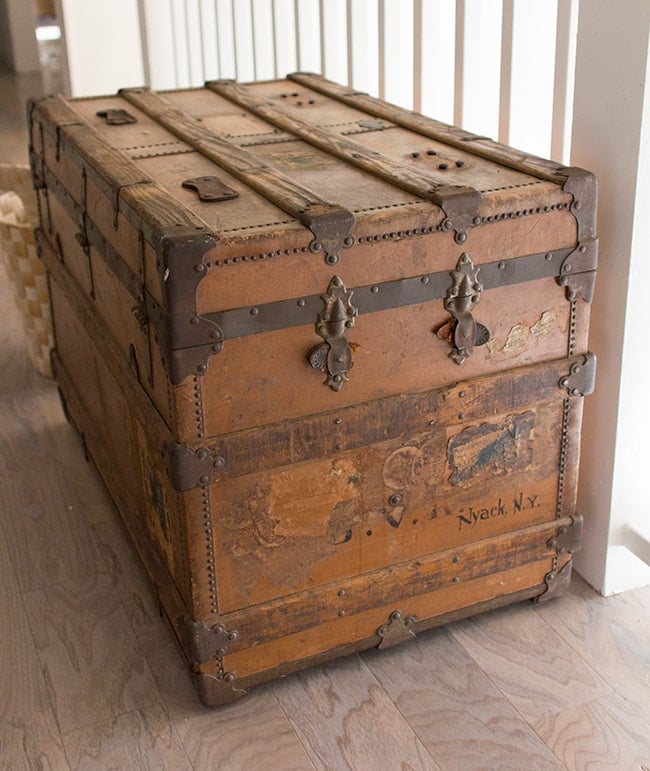
In the meantime, I’ve been having some success at the flea market. I found this large vintage chest for $60 which will make the perfect side table next to the couch:
I also picked up this 45-piece dinnerware collection for just $30…

We’re hosting Thanksgiving this year so they’ll be perfect!
From the same vendor I got this lovely King sized bedspread for just $5:

The tassels match our navy bedspread and I love it. I have a thing for old blankets.
This navy pitcher was just $1…

And last but not least, we finally got ourselves a grill.

$140 with tons of extras, what a bargain.
We broke it in Tuesday night by cooking for friends & family…

Grilling season lasts a bit longer here in California so it will be put to good use before the year ends (hello, football parties on the deck!)
That’s the latest around here… I’ll be back sometime next week with another living room update!


Pine Tree Home says
Always love your projects. I found that using the BIN shellac over the knots, then two coats of Zinsser 123 Plus and then top coat with paint with primer worked for me. I think the “plus” really helps. Areas where I used it have no bleeding. Best of luck!
adrienne says
Hi Jenna, I don't do much DIYing but I did repaint my bedroom set with chalk paint recently. The store I purchased the paint from recommends using Zinsser® Bullseye Clear Shellac over any knots. I haven't used it myself, but it is supposed to prevent any bleed through. Just a thought, good luck with those stubborn knots.
Nat @ This Little Yellow House says
Looks like a big job. We will be doing the same and I am not looking forward to all that painting. Will you be painting them? Or spray painting maybe?
Stephanie says
You got a great deal!!!
marty (A Stroll Thru Life) says
The ceiling looks amazing and I love the BBQ too. Fantastic price.
Jenna Sue says
Thanks for the info! I thought about cover stain (I've used it in the past) but everything I read said it doesn't work nearly as well as BIN for knot bleed through. I think I am going to buy a can of specialized primer and have our painter hit the knots with it one more time before they paint to hopefully fix the issue once and for all!
johnandmarysouth says
We did the pine planks on our ceiling in our front room, kitchen, family room and two bathrooms over a year ago. We primed the whole board with the Zinsser cover stain oil based primer and have not had the knots bleed through. I believe we did two coats because the primer was a lot cheaper than the Benjamin Moore paint we used to paint the boards. I normally don't make comments but I thought I would give you my two cents. I love your blog and can't wait for your latest projects.
Jenna Sue says
Thanks Isabel! They aren't wireless. All of our speaker wiring (now in every single room upstairs) is run through the attic and connects to a receiver located in our hall closet with a switchboard to turn each room on/off. Brad can go into detail if you (or your hubby) wants, that's about the extent of my knowledge—lol.
Isabel says
Hi Jenna, love were you're headed with the living room and also really love your kitchen. I had a question for you regarding the speakers: are they wireless? what do you hook them up to? hubby would drool if he saw the speaker set up you guys have!
Jenna Sue says
Yes! Our flea market is the bomb. I updated the post with a link to the set where you can buy it online 🙂
nahe1109 says
Was the dinnerware found at the flea market as well?? I've been looking for something like that, what a great find.
Jenna Sue says
I was so close to throwing in the towel and staining them instead, but I just think it would have looked odd next to the white kitchen planks (though I do love the way they look when stained). I'll definitely post any future updates!
Paulette @ Once Upon a Cedar House says
We have these same planks. We put them in our living room (but we stained those, so the knots were part of the “charm” (so my husband says!). But then we put them outside under our covered deck and painted them a light/pale blue. The knots are bleeding through like crazy! It also seems like the hotter it gets, the faster they appear. I will be anxious to find out if you find a solution to this. Love, love, love your house!
Jenna Sue says
Doh! It is, isn't it? Thanks for informing me, I've edited the post. I also just looked it up and found that the set retails for $200 at BB&B, so still not bad for $30!
Stephanie says
I have that exact dinnerware we purchased as our wedding dishes from Dillards in 2000, it is French Countryside by Mikasa. Not vintage, but I still love it!