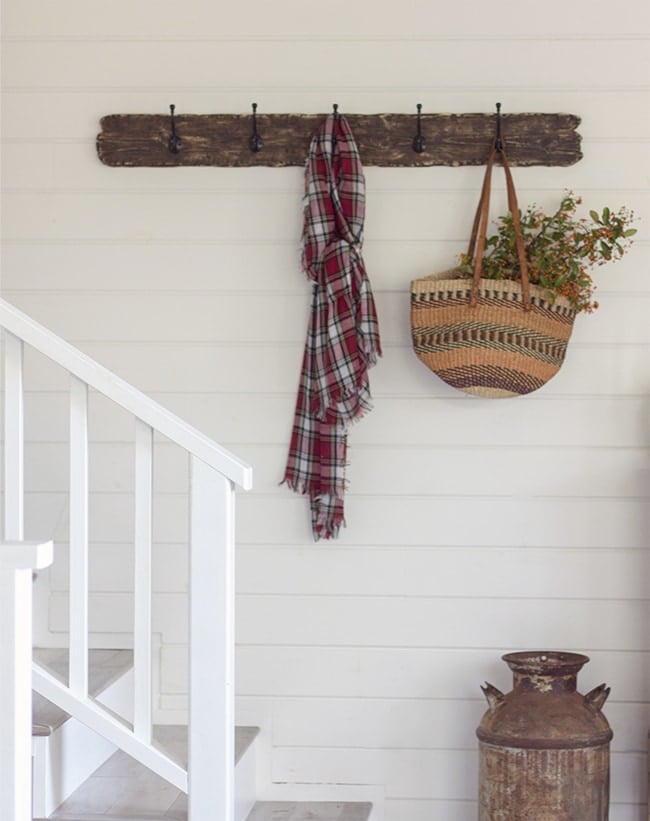
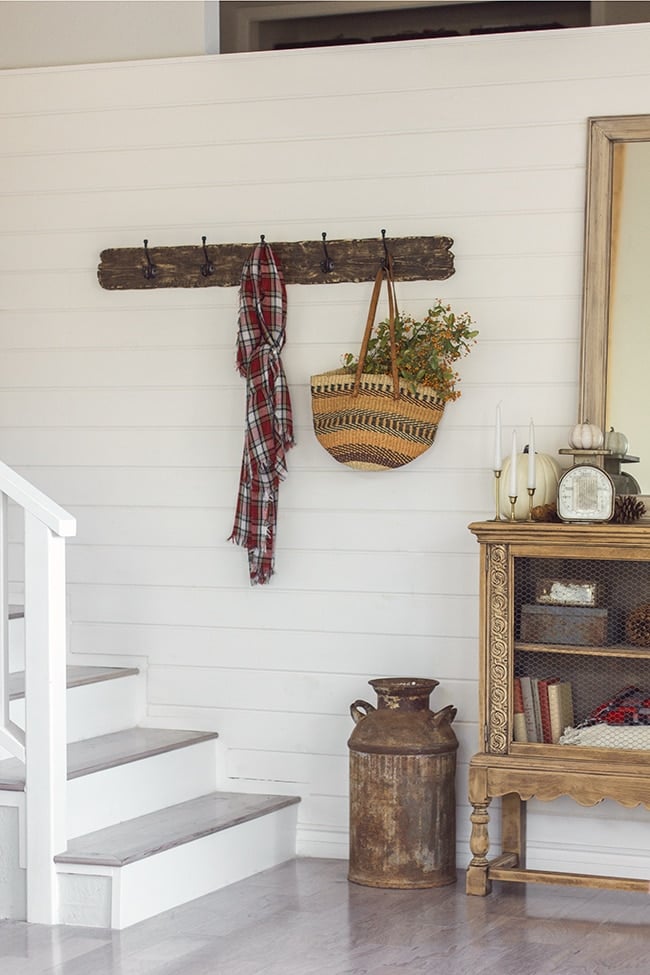
Monday mornings are most people’s least favorite time of the week… but to me, they’re inspiring and full of potential. I’m usually still riding the high from finishing the past weekend’s project—in this case, a weathered wood coat rack:
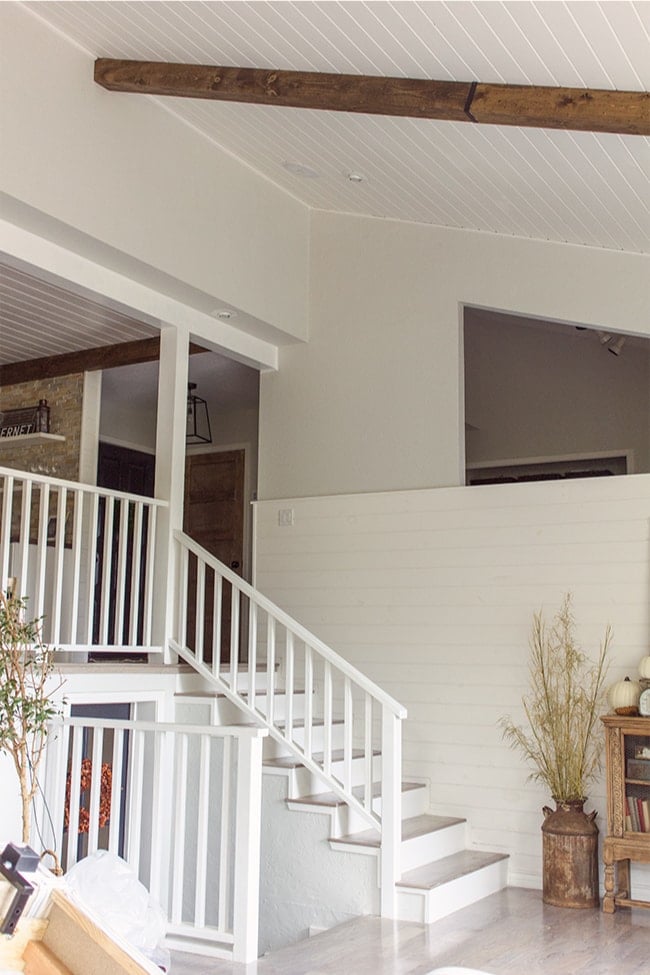
This project stemmed from an “A-ha!” moment when contemplating what to do with this big empty wall…
It was simple, easy, inexpensive, and can be used for both function and seasonal decor. The perfect solution!
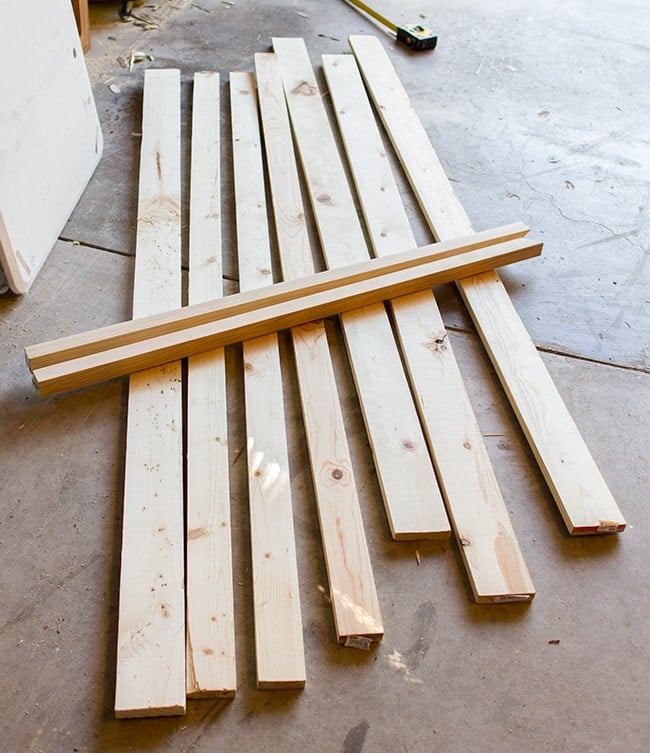
You’ve probably seen plenty of reclaimed boards with coat hooks on pinterest/blogland, so it’s nothing new here—the only problem is, I had no reclaimed board. I could have ran to the local lumber yard to find one, but I decided to skip the hassle and make it work with a 1×6 I had leftover from a bent beam in our master bedroom:

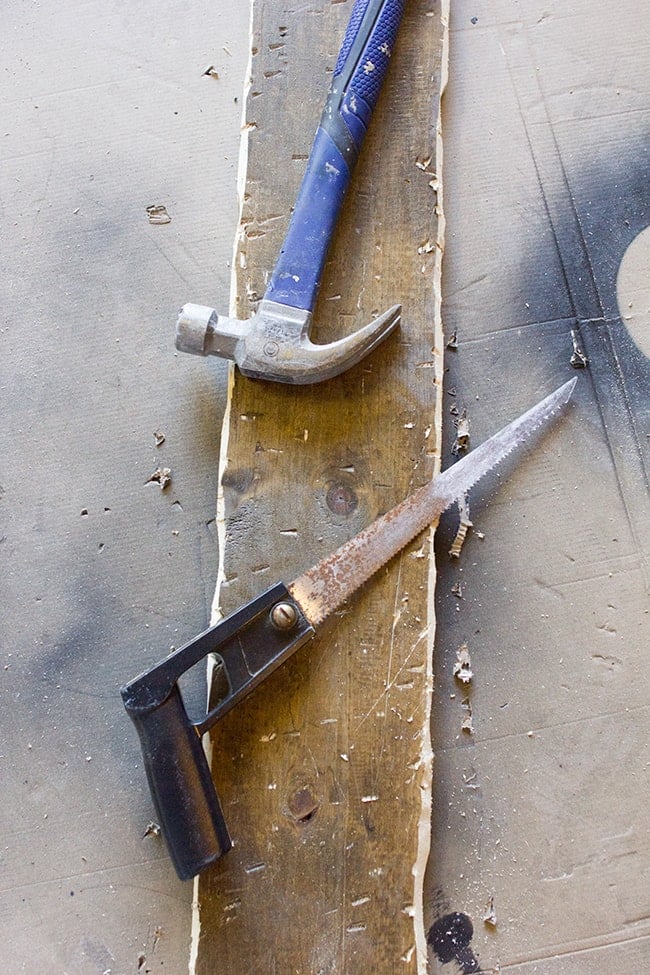
I wanted to go beyond my usual denting/scratching on the surface method, though, and make this thing more realistic. So I took a hack saw and started working at the edges…
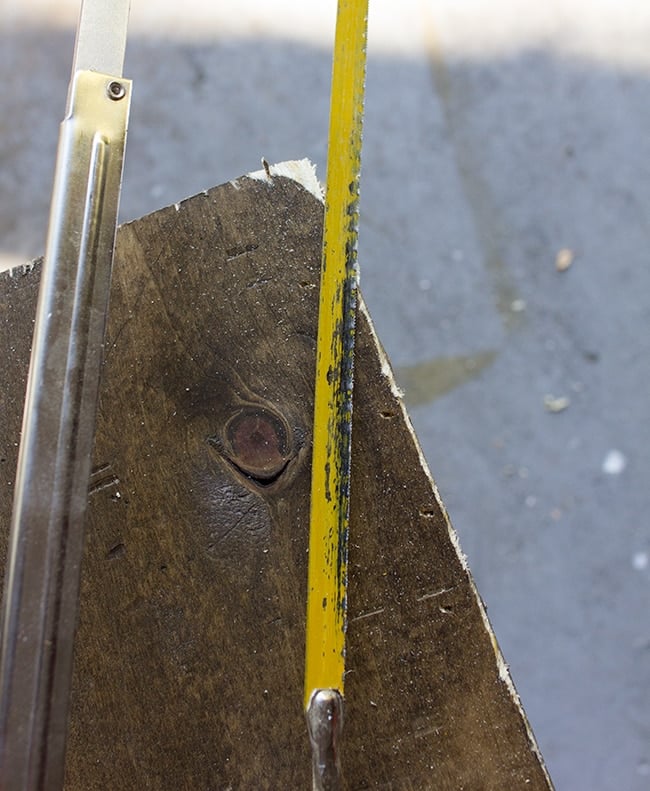
Progress…

It was getting there, but taking forever. Time to break out the power tools.
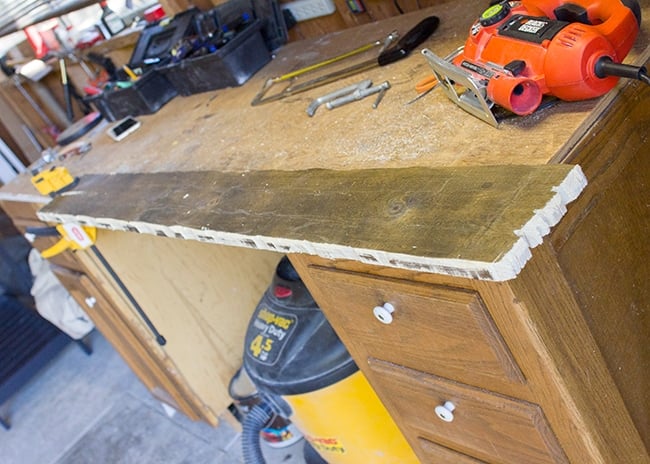
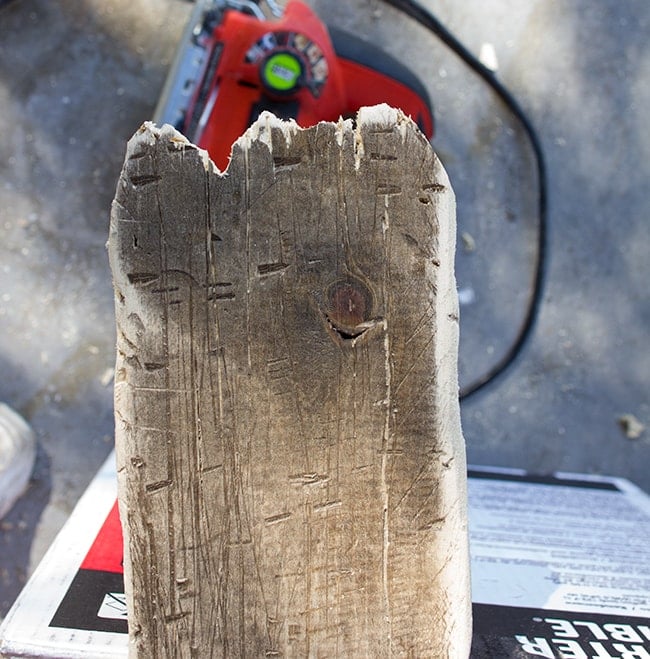
The jigsaw quickly sliced through the wood—just a minute on each side was all it took. After it was roughed up enough, I finished it off with a couple more sharp tools.
Once it was sufficiently weathered, I used my mouse sander to smooth out all of the rough edges.
Then I gave it a coat of stain (Minwax’s dark walnut) and let it soak in for a while (the longer the better!)

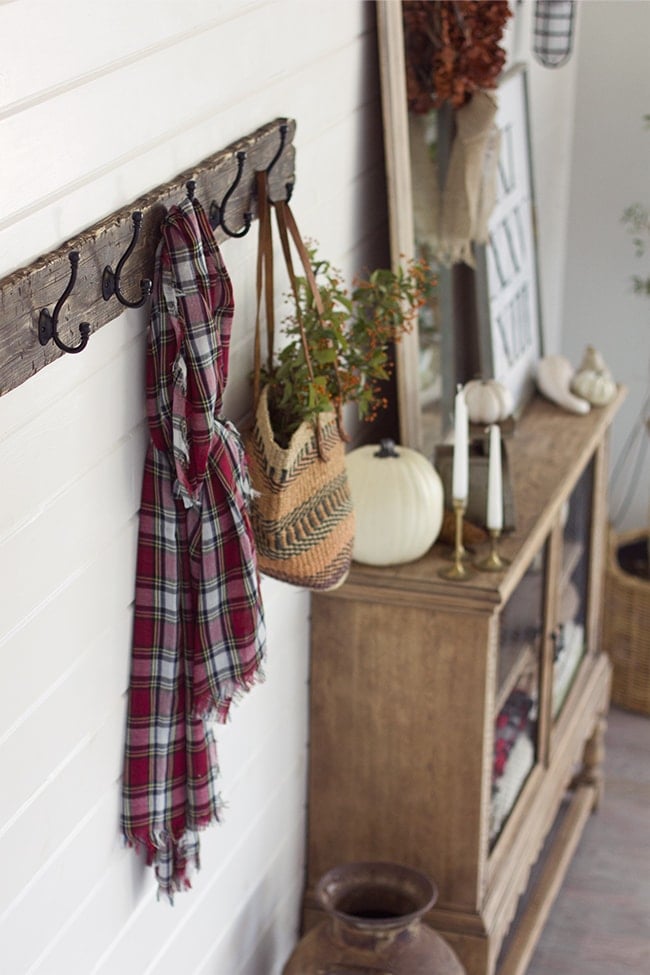
Finally, I hit it with the sander again, added coat hooks, and here it is:
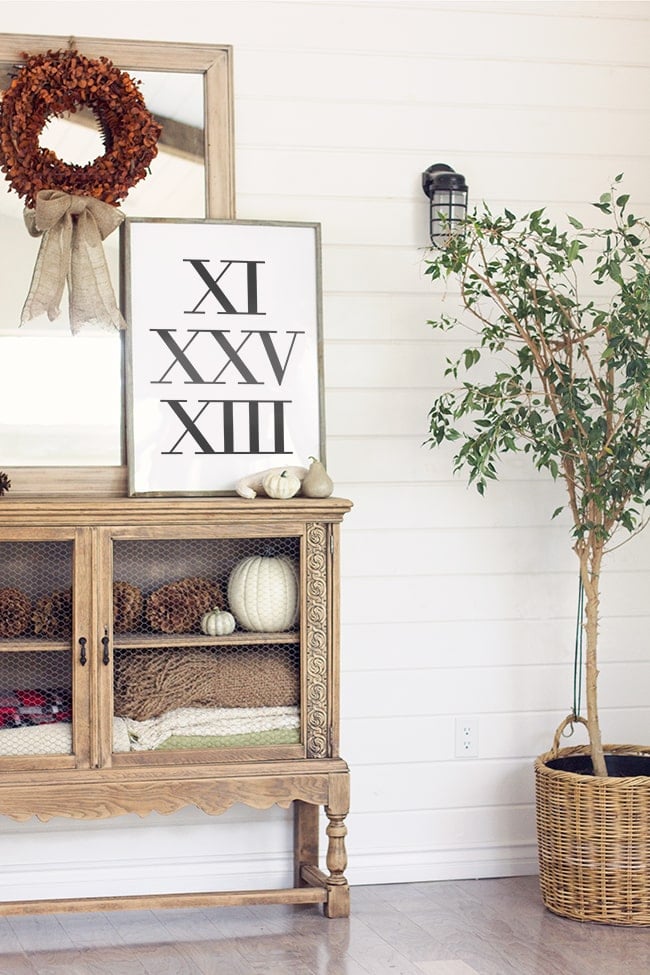
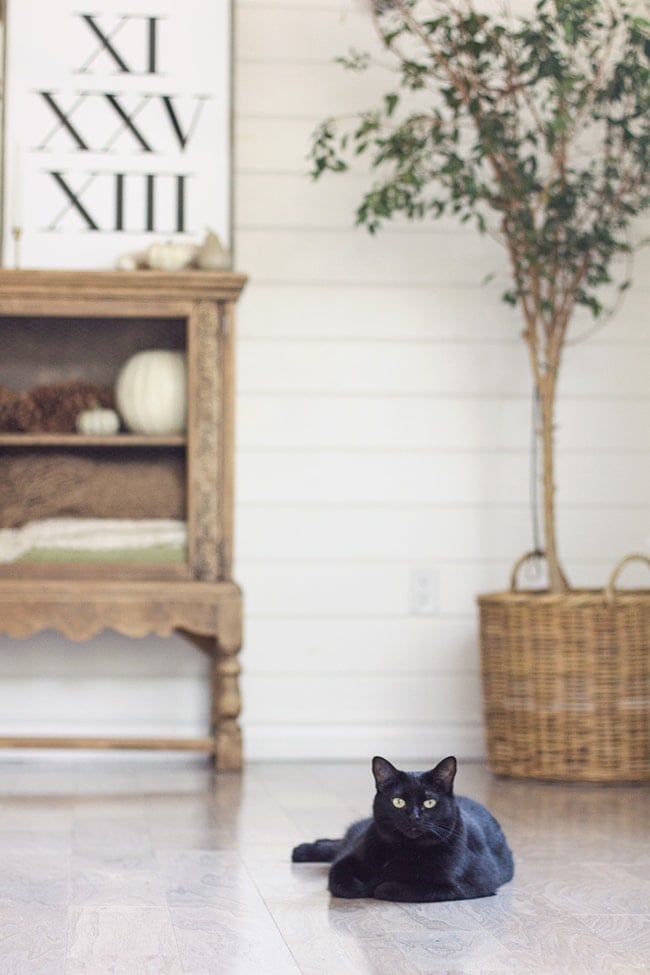
I also made a few adjustments to the back wall, like the addition of a new customizable Roman Numerals print which will be available in the shop tomorrow:
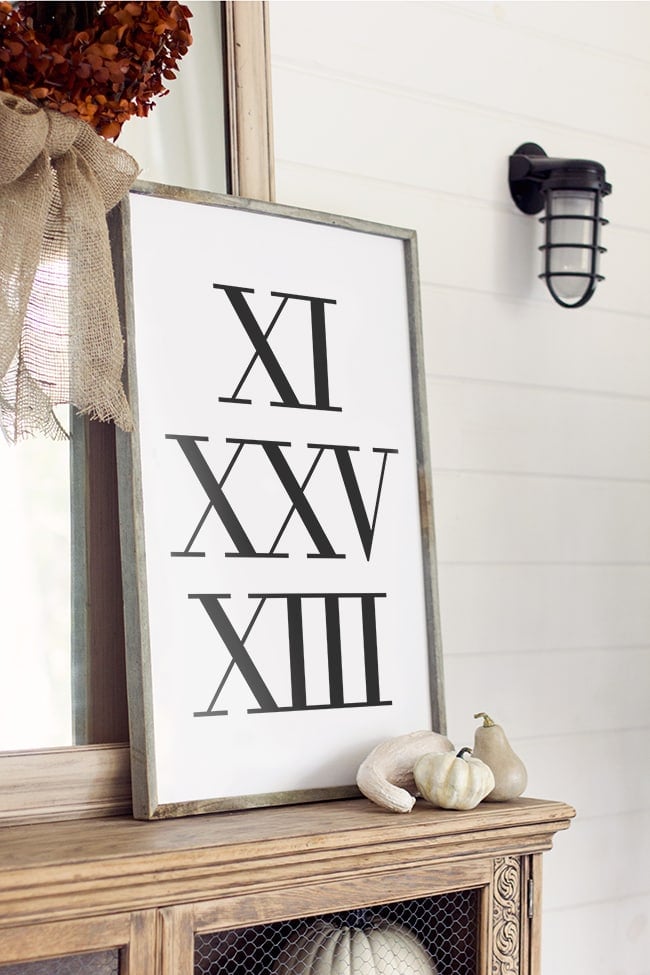
The date I chose has a lot of significance… it’s the day we closed on our home (November 25, 2013). I love the meaning behind it and the fact that it’s subtle enough that you wouldn’t know at first glance 🙂
That awesome barn wood frame is from The Summery Umbrella (the same shop that made my giant kitchen chalkboard) and one of you will get a chance to win both the frame and personalized print tomorrow—so stay tuned!
I’m quite excited for the possibilities with this coat rack… seasonal decorating will be so much fun!
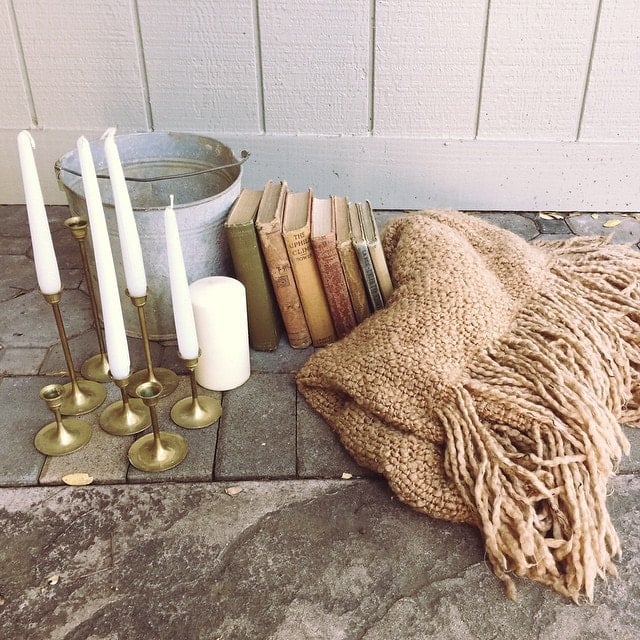
Although it’s still 90° here, I’ve been inspired lately to decorate for fall. It was on my mind at the flea market Saturday where I ended up with a nice collection of goodies for just $18…
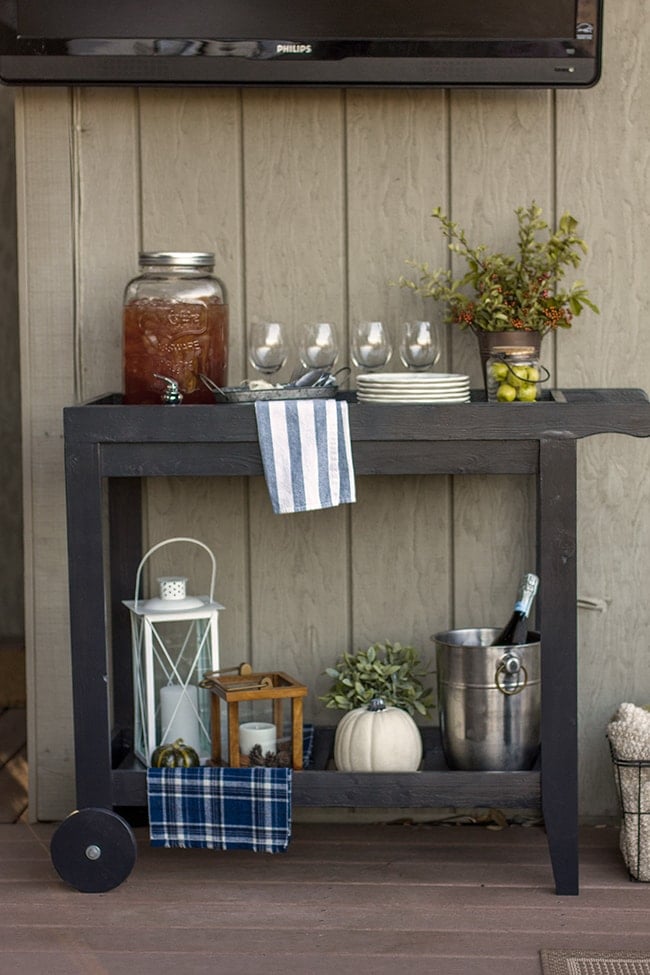
My recent fall obsession started with a few updates outside…
Then migrated to the kitchen…
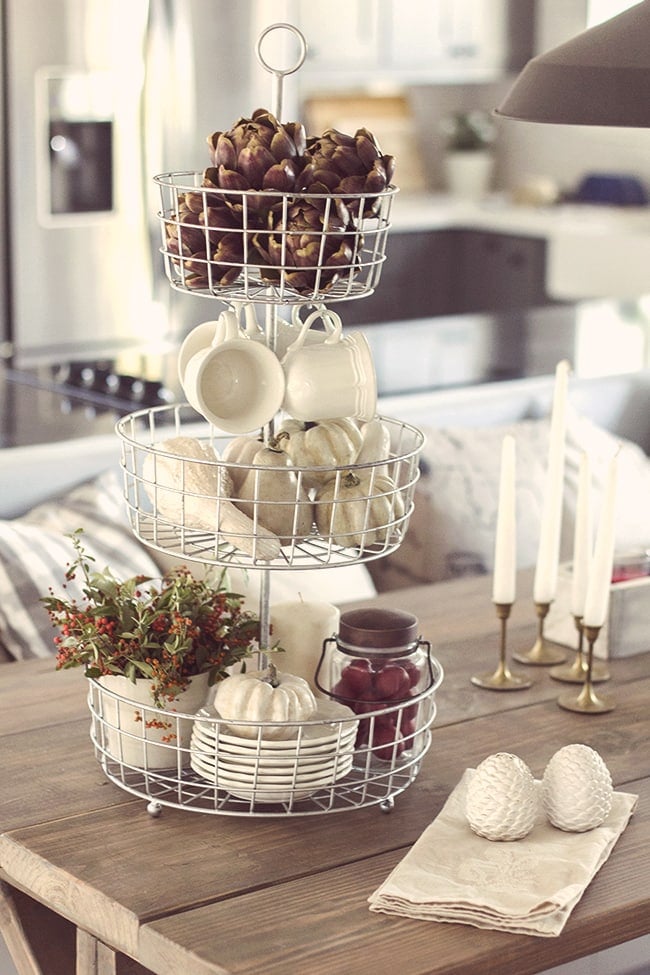
And now it’s spilled over to the living room. Complete with a full-time black cat.
Sadly, my autumn decor is only temporary—in the next week or two I’ll be making the house look like summer again. I won’t give any more details just yet… but feel free to make your guesses 🙂 You’ll find out in a couple weeks!
Next up is finishing this living room. We’re trying to schedule our fireplace tile installation for Wednesday and it’s expected to be finished by Saturday (everything crossed!).
I’m also in the middle of a couple DIY projects. Later this week I’ll reveal the rustic crate end table I made from this:
Don’t forget to check back tomorrow for the giveaway!


Kristen says
Id love this with our anniversary date. So awesome- thanks Jenna!
Snaffy500 says
Great! I was wondering that, too!
Sharon Wiseman says
Love this look! Great job!
Karen Peltier @ Well Gal says
Absolutely love the coat rack! Thanks for the inspiration.
Jenna Sue says
Home Goods!
Jenna Sue says
Home Goods!
Jenna Sue says
Nope, it's just the lighting/photo! There's an actual flea market here 2-3x per month and that's where I always go—there's tons of thrift stores here too but they usually don't hold a candle to our flea market.
Jac says
Love this! We have been searching for the perfect coat rack for our living room.
Can you share where you bought the three tiered stand?
natasha Tozzi says
Where did you get your three tier basket from?
Karen says
Love it! Is it my imagination/computer screen or did you put something gray or blueish on the board in the pic where it's leaning up against the doorway? You sure have much better luck than I do at flea markets. Maybe I'm shopping in the wrong places? I go to thrift shops. Is that what you mean by flea markets?
Jenna Sue says
I used three screws directly into the planks, hidden underneath the coat hooks 🙂
Julie M. says
Looks great! How did you fix it to the wall? Nail it directly or did you hang it?
Jennifer Jones says
Gorgeous as always and I love the edges. I bet my boys would have a blast distressing pieces like this. 🙂 xo!
Lisa {Gracie Blue ~ the Blog} says
Love it all!! So excited for the giveaway!!
Lisa @ Fern Creek Cottage says
Magazine shoot? Woot woot! Your “reclaimed wood” is so awesome!! You had me fooled!