Stopping in today with some way overdue living room progress!
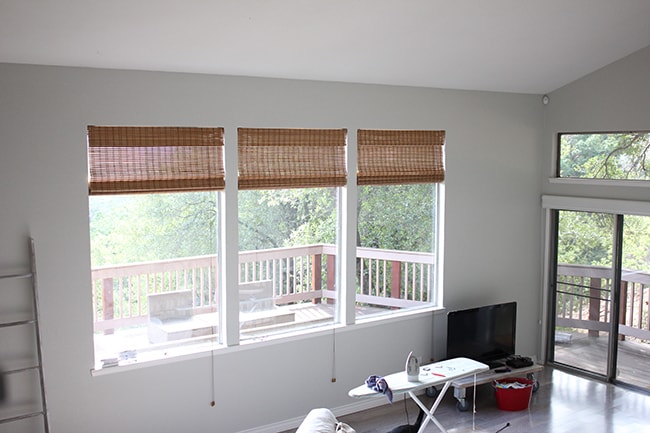
Last time you saw it, we had just painted it & finished the new railing and it looked a little something like this…
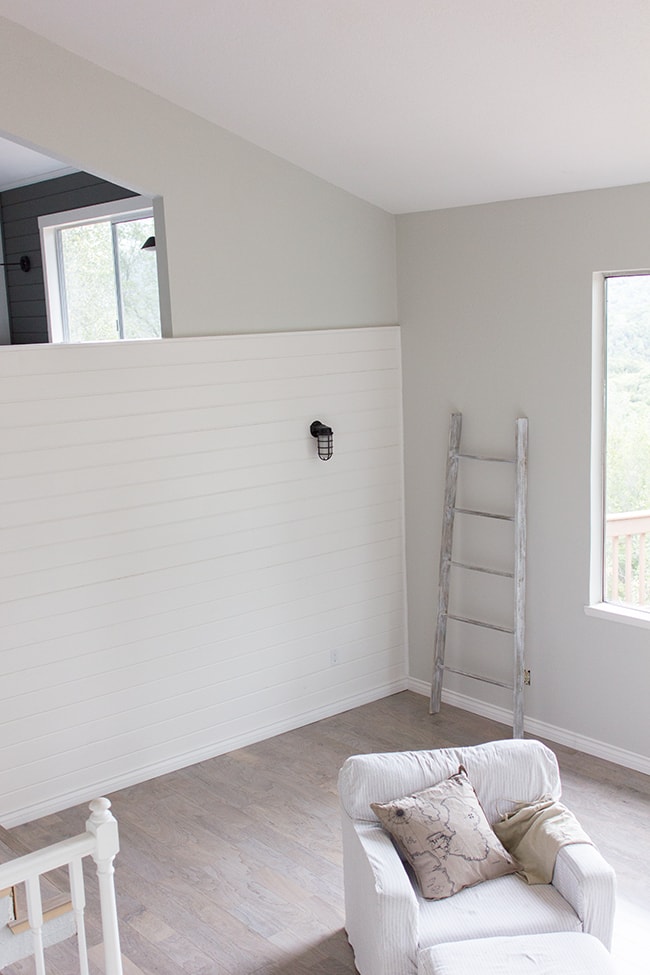
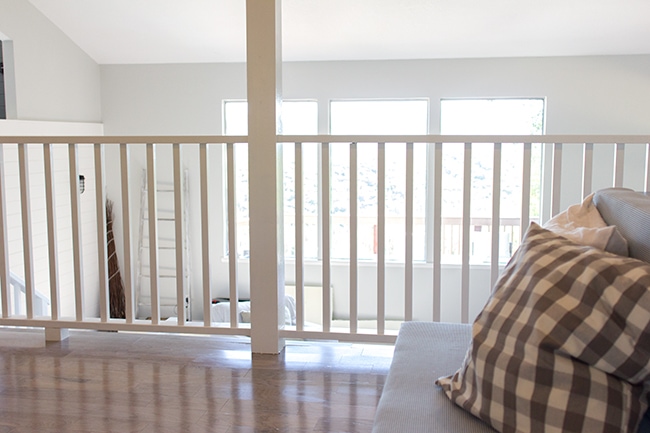
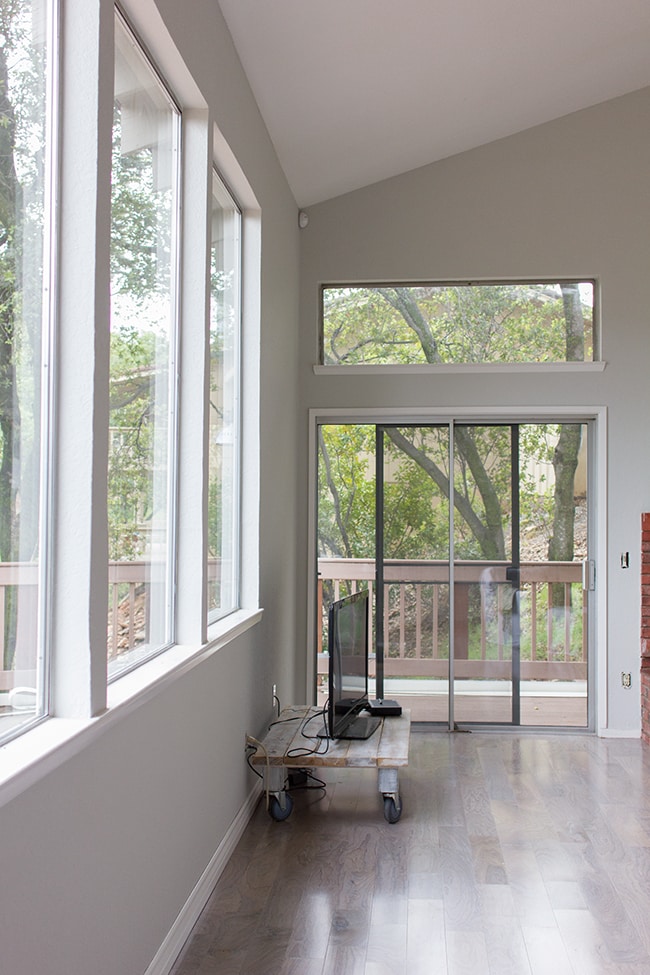
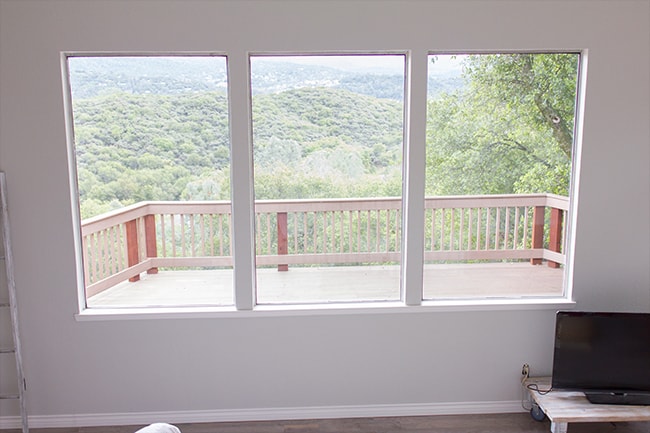
A big bright empty shell, basically. It had a view going for it but that’s about it.
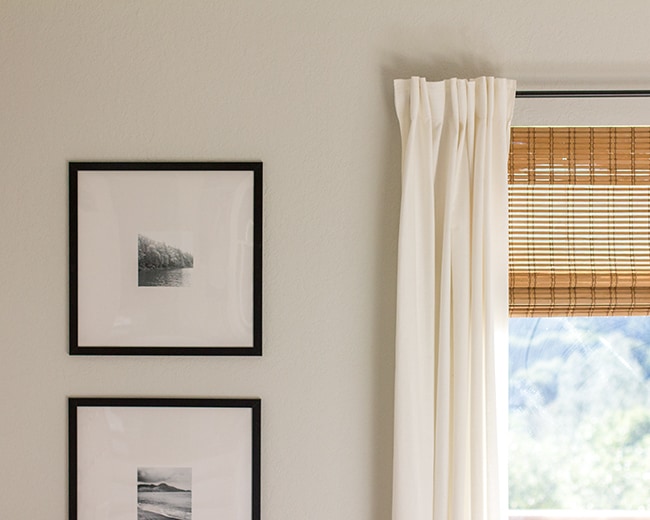
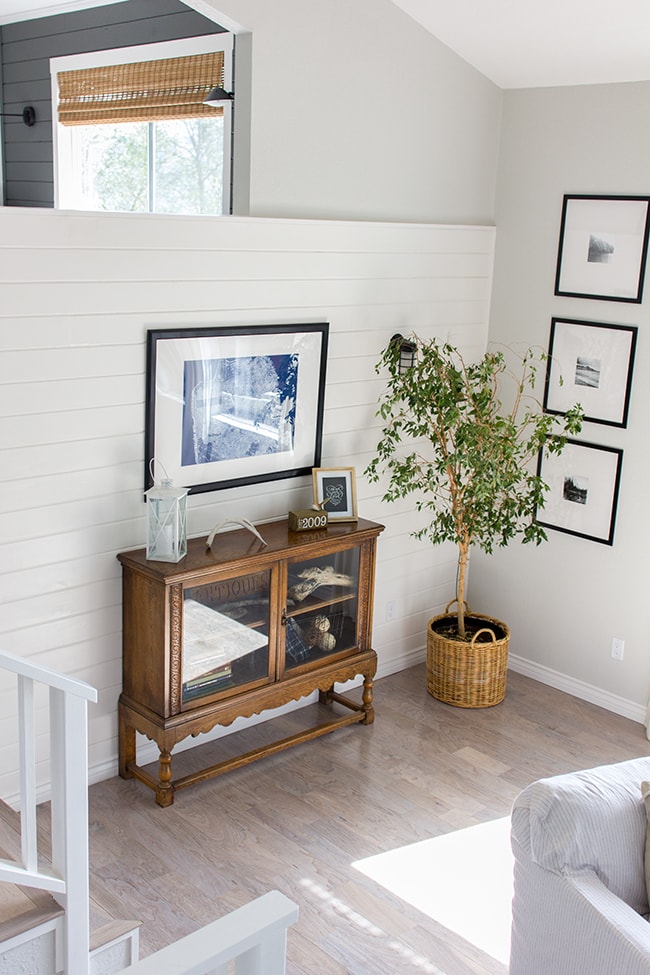
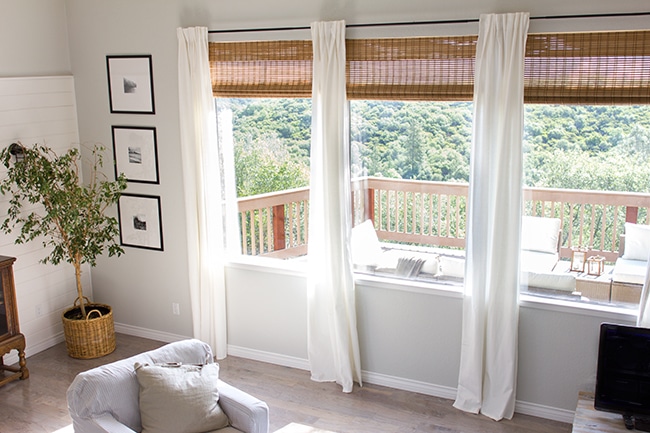
Step 1: Window treatments. When I ordered the woven shades for our kitchen, I picked up the same ones for the living room (the two rooms open to each other so I liked the consistency). They’re the Singapore Oak color from justblinds.com.
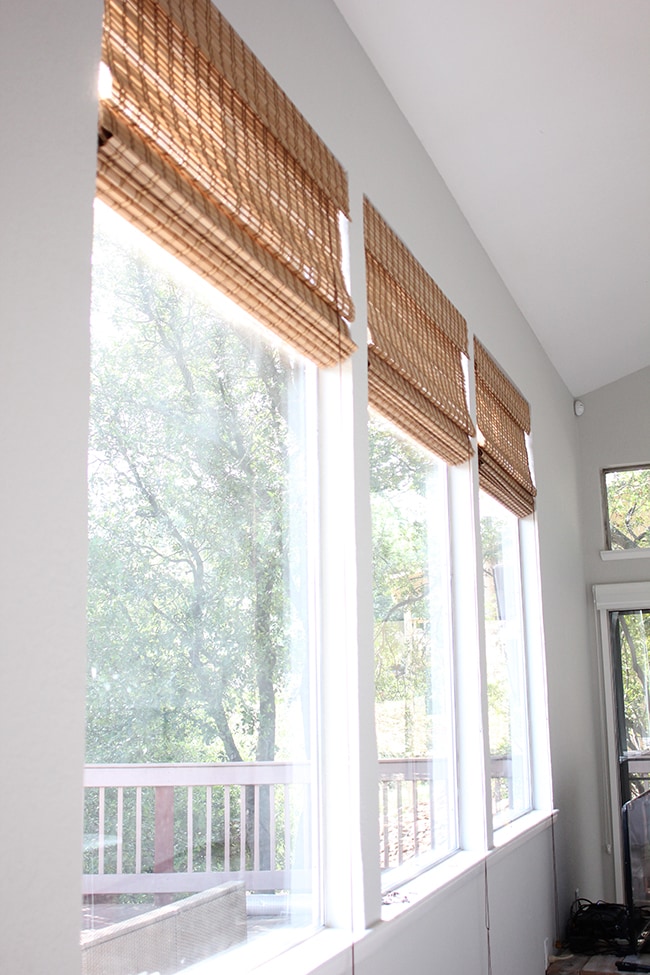

To add even more texture and soften things up, I picked up these 118″ long Ritva panels from Ikea, which I am loving (huge shout out to a sweet reader named Erin who saved the day & sent me an extra Ikea curtain rod bracket at the last minute!).

They’re a nice thicker linen weight, much more substantial than the Vivan panels I’ve used in the past.

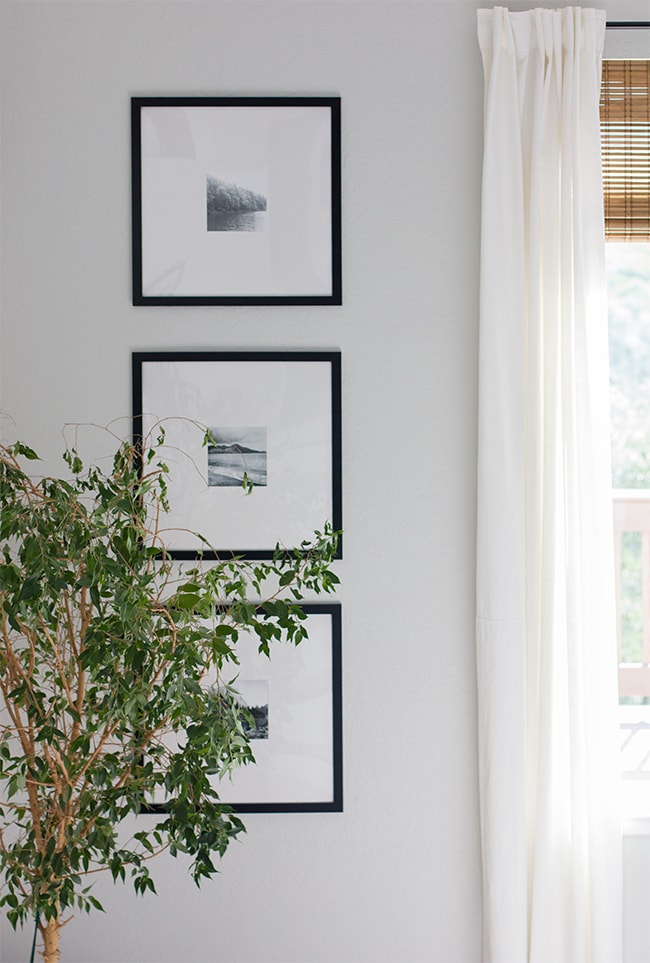
Step 2: Art. Remember this 20×20″ framed photo gallery wall I put together for $50 in our old bedroom?
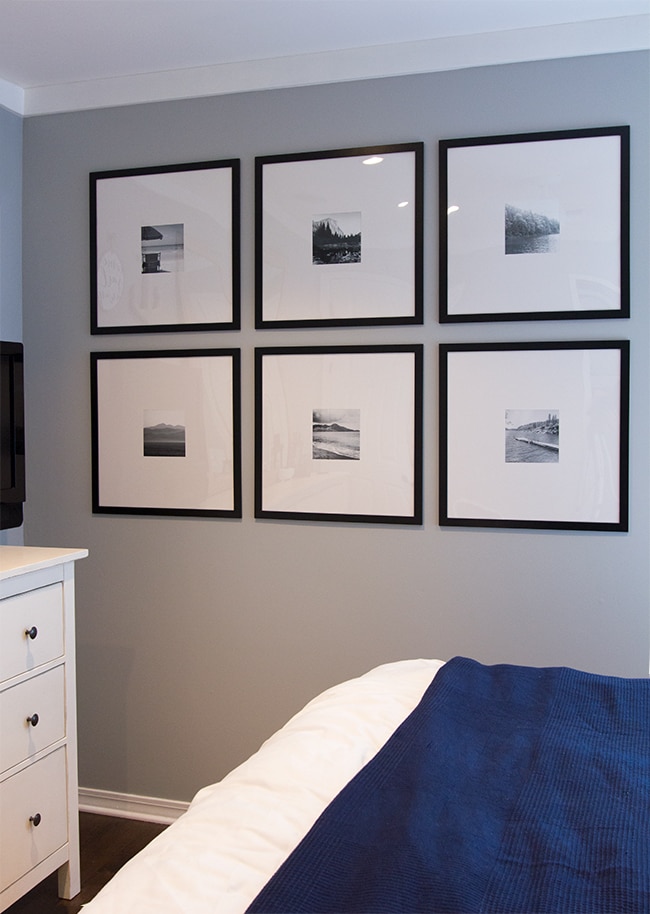
I thought they’d be perfect for the tall narrow walls on either side of the windows, so I switched up the arrangement and hung them up the other night…
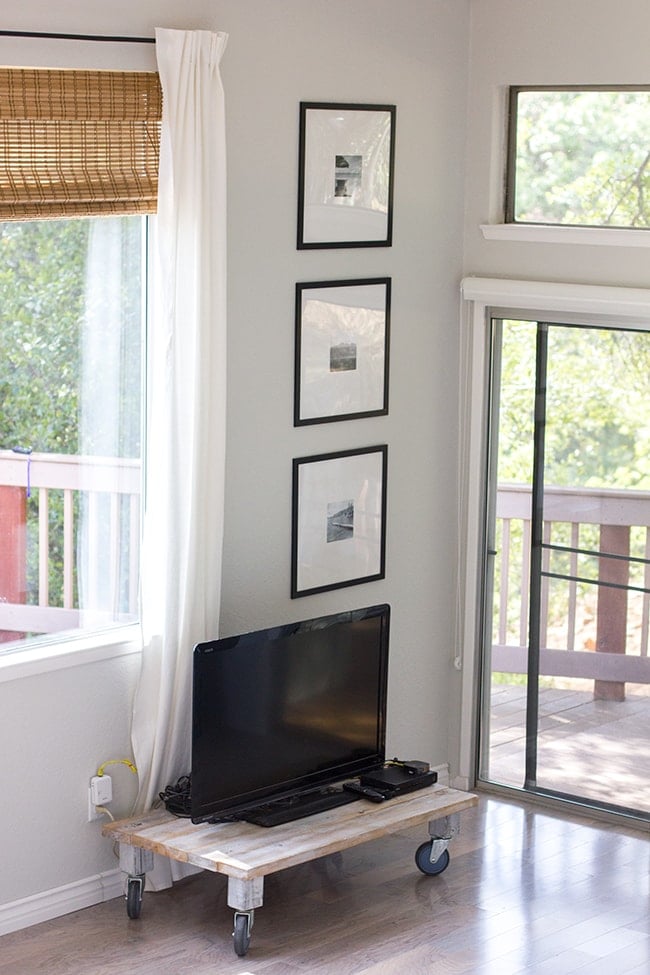
…ignore the awkward TV placement, that’s unfortunately where the cable jack is and we’re working on relocating it soon!
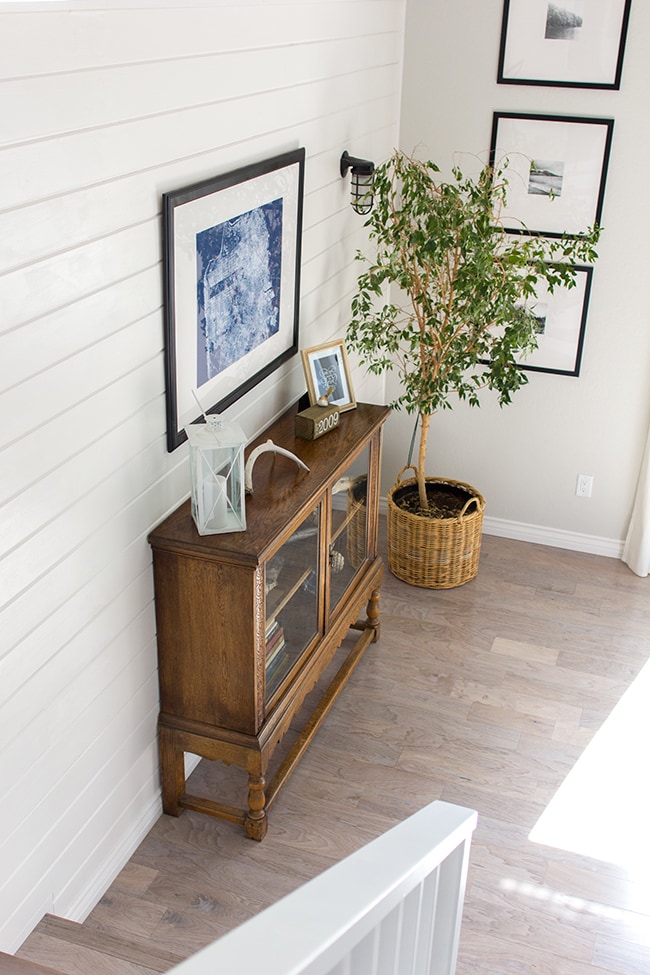
The next addition was a piece of furniture. I spotted this antique sideboard on our local Facebook buy/sell page and knew its was the one.
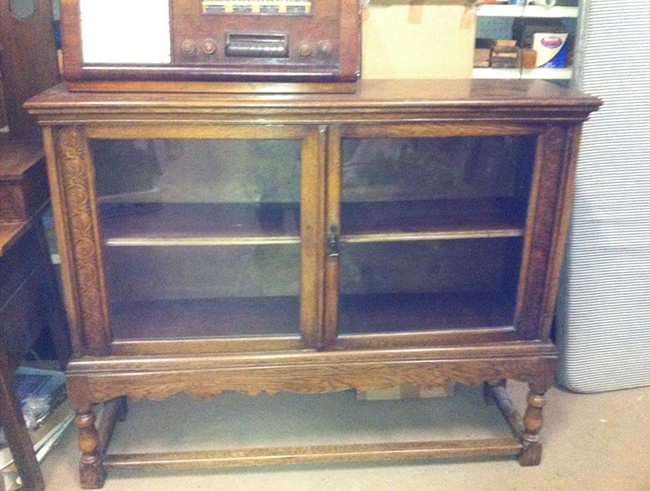
I think I talked them down to $220, but it was the perfect size and I had been looking for months (hard to find anything good up here), so it was worth the splurge.
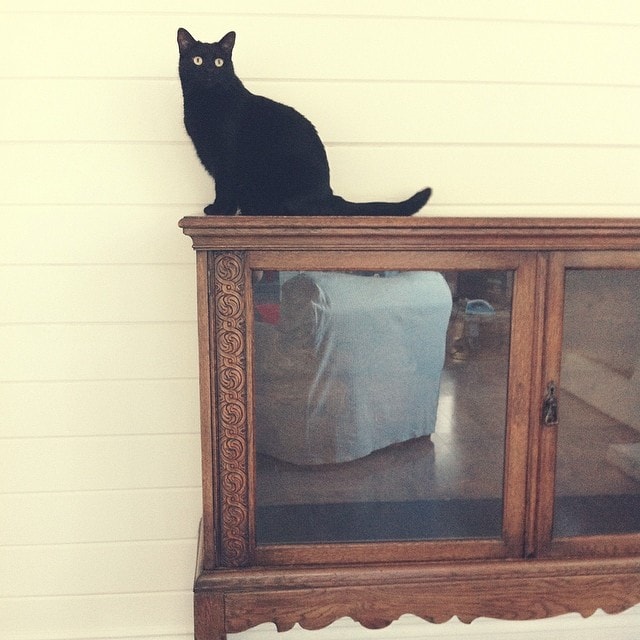
This was actually a month ago… remember the instagram photo I took of Susie modeling it the day I brought it home?
Here it is filled with treasures.
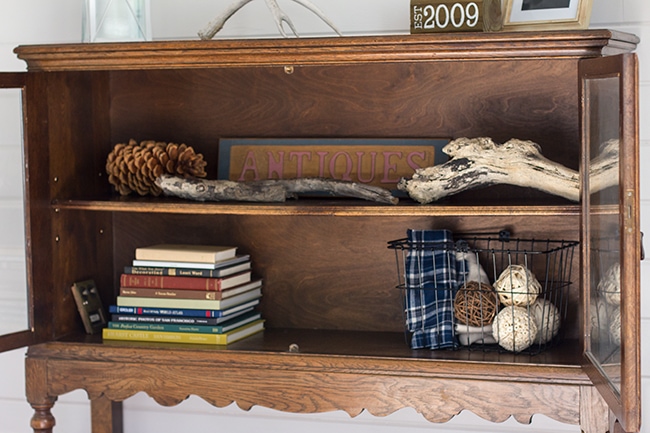
The top row houses artifacts from our travels, and I’m still working on the bottom row. I just threw a few items in there for now, but it will be fun to switch up with the different seasons/holidays.
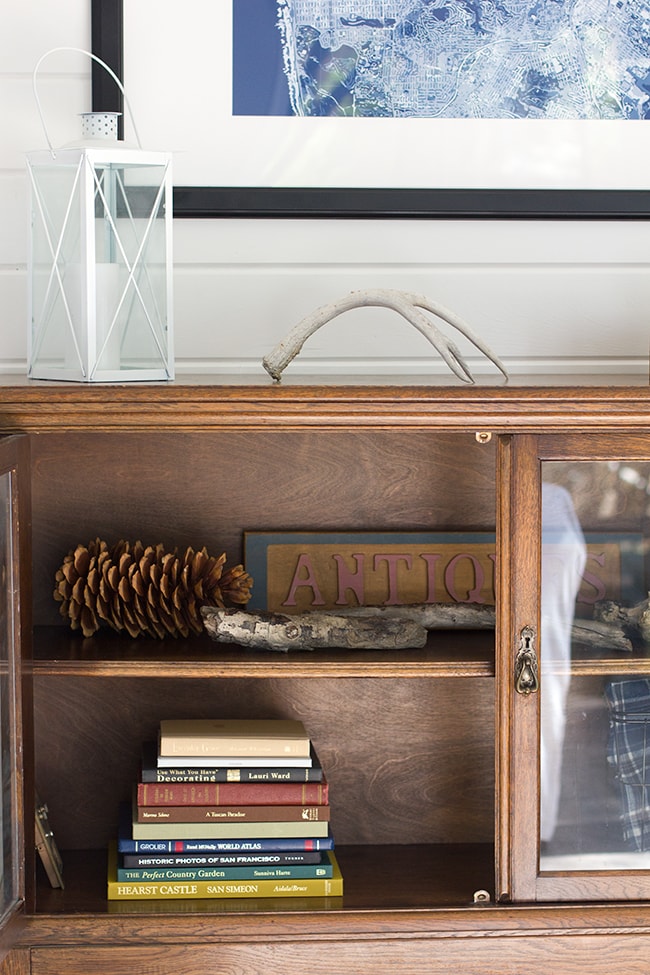
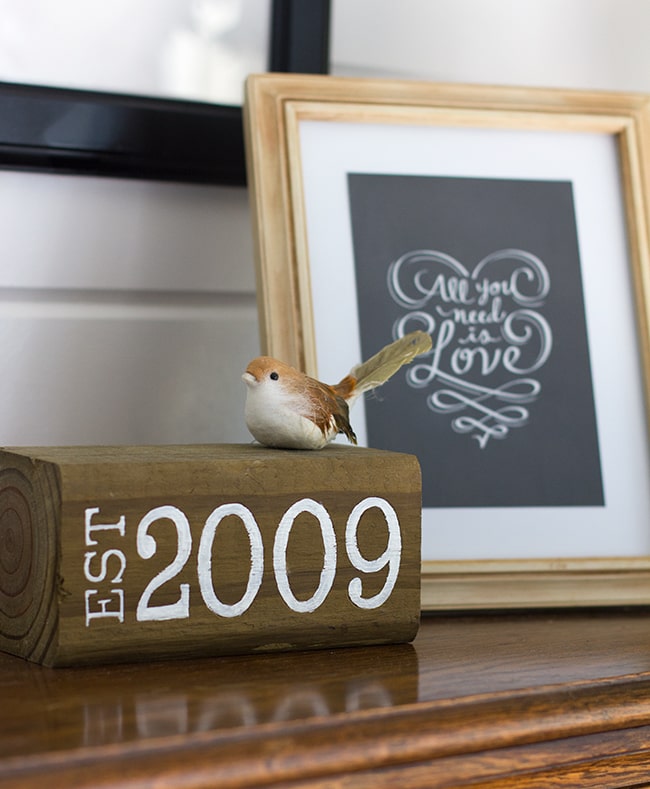
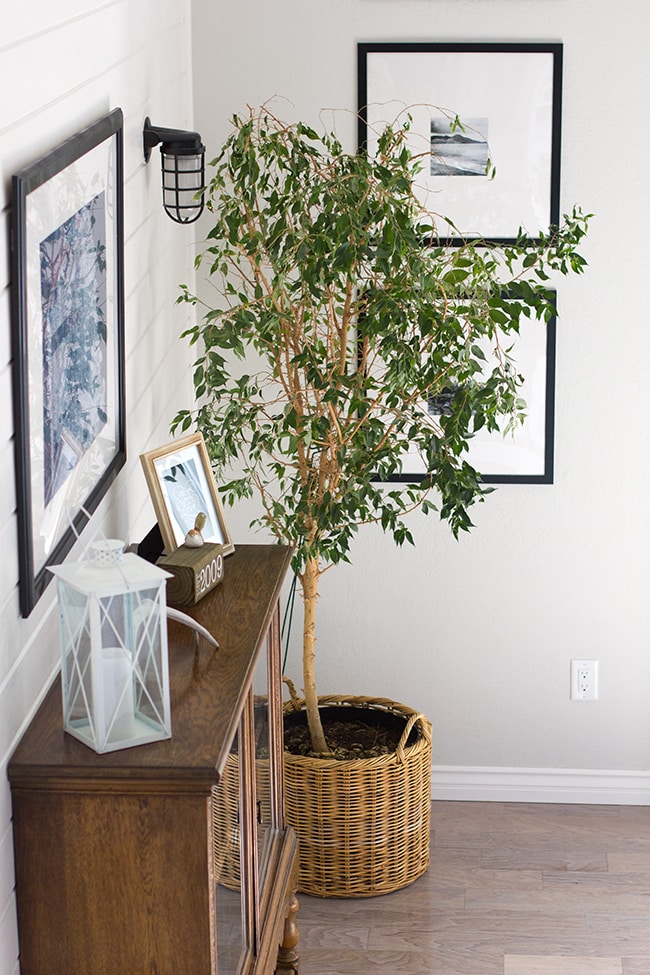
I also grabbed a few items out of storage for the top—this date wood block I made a couple years ago and a little birdie for spring, along with one of my newer chalkboard prints.
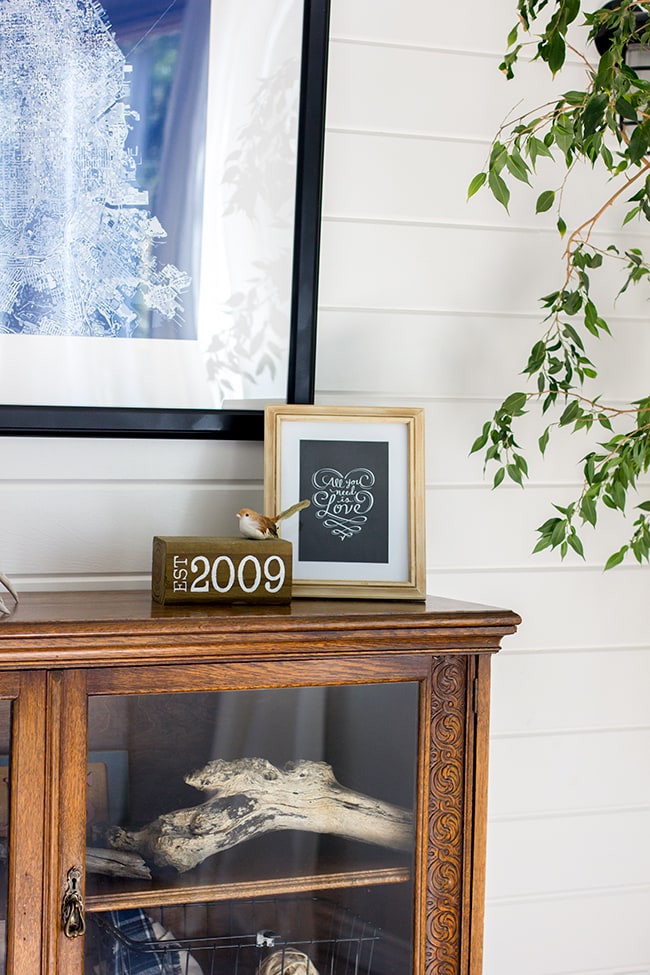
I love the hand carved detail on this cabinet.
To finish it off, I framed one of my prints in an old Ikea Virserum frame I painted black.
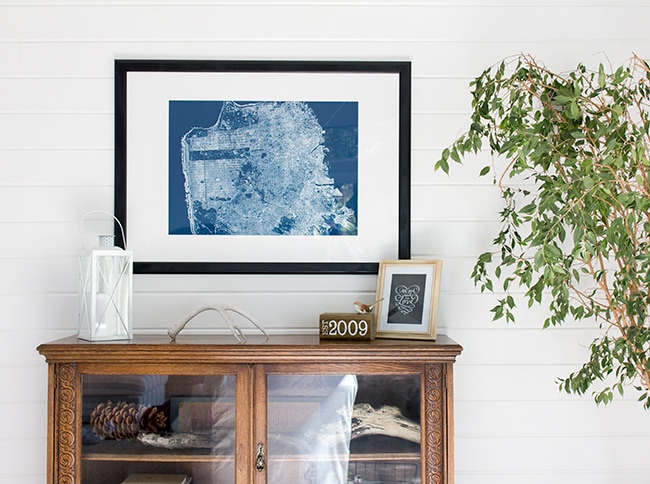
It’s a 20×28″ cityscape of San Francisco (my favorite city, and so far my favorite piece of art in the house) you can get your own (of any city) here 🙂
Not sure how I feel about the glass doors yet—I’m leaning towards replacing them with chicken wire for something a bit more rustic. As for refinishing, the wood is in great condition and I like the natural color, so I plan to leave it as is for now. I may do a light sanding and restraining in the future to something slightly darker.
And see that pop of greenery on the right? I found this ficus tree on the same local Facebook group and picked it up last Friday.
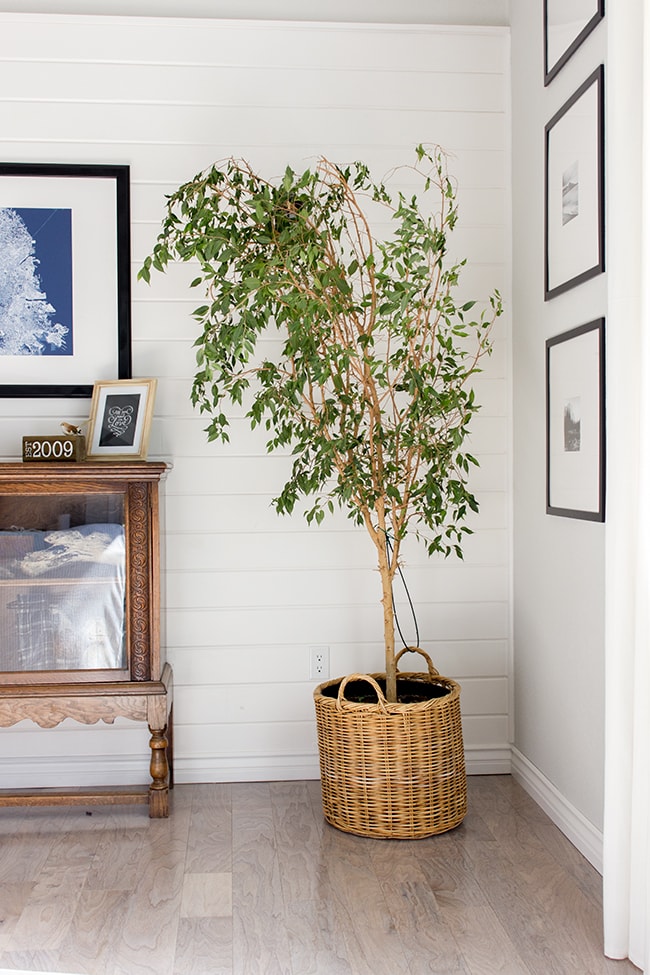
I haven’t had a lot of luck with indoor plants in the past, but I’m determined to make it work in this house. So I have high hopes for Fitzgerald the Ficus (I figured if I named him I’d be more inclined to try and keep him alive).
Now that the room has some personal touches, I feel like it’s finally starting to come together.
Starting being the operative word—we still have a long way to go.
But we’re getting there!
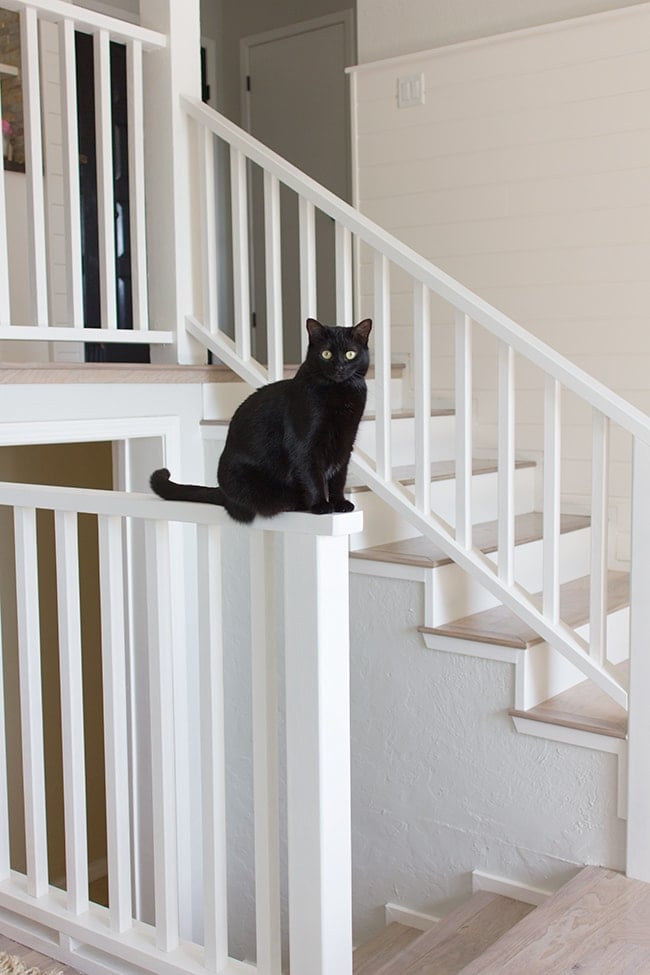
And Susie has become quite the gymnast since we put up the new stair railing. She’s been practicing her balance beam skills—running across the top level and jumping onto the couch below—and she’ll sit on this post for hours.
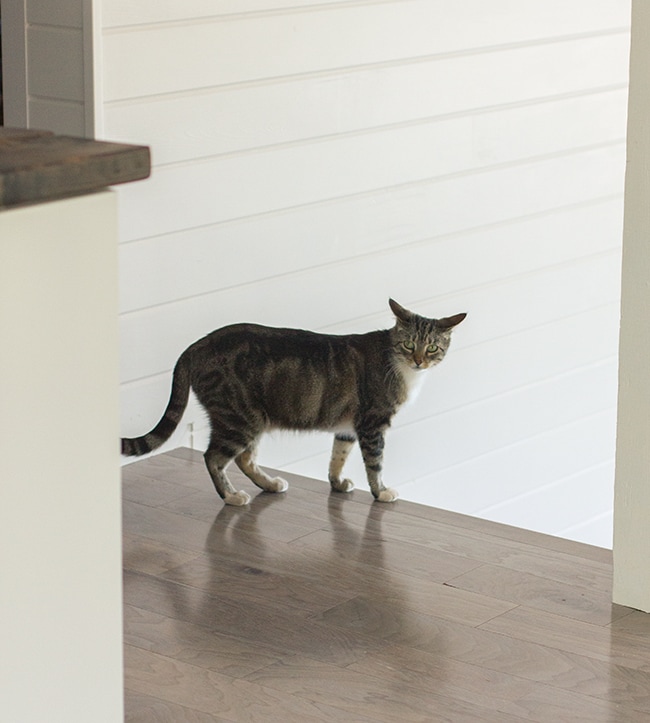
Biscuit, on the other hand, thinks it’s a scratching post. Bad kitty.
This weekend I’m turning my attention back to the studio for a few more updates, and by the end next week I hope to have it 100% done and ready for the official “After” tour. Time to get organized!


Jenna Sue says
I can't even remember now but I think it was the cheaper/thinner ones? It's the 48-100something inch. There are tabs on the back of the curtains (instead of one big pocket) so I placed those around the brackets so they are hidden (we never close them so they don't need to move all the way over).
Ann Koehler says
Love the room. It has really come together. Which IKEA curtain rods did you use? I'm putting up curtains for the first time in my bedroom and I love the look of yours. Also, how did you hang them so the brackets and finials are hidden from view?
Sherri says
Love it. The blinds, curtains, and ficus add so much. Please don't remove the glass from the sideboard. It brings a touch of elegance to the space. You just keep turning out one amazing space after another. It's fun to be a follower of your blog and come along for the ride!
Erin says
Thank you! This helps a lot and gives me hope I can successfully combine rods while having it look like a single one. Also the fact that you used IKEA products makes me happy to know it can work with my budget and still look fantastic. Do you happen to remember which of the rods you used? There are two and one is a bigger diameter; the Racka is $2.99 and the Hugad is 3.99. Just wondering if you felt the need for the larger diameter to support the weight? Your rod looks nice and thin, which is the look I'm going for.