Welcome to the latest installment of our laundry room reno! We made some great progress this week that has me quite excited for the end result. Everything (so far) is coming together as I had envisioned.
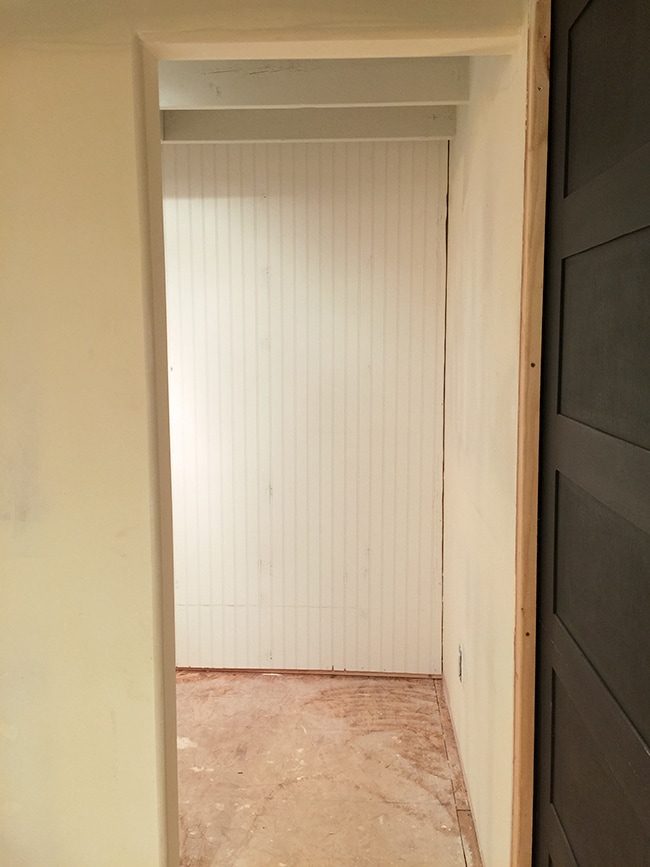
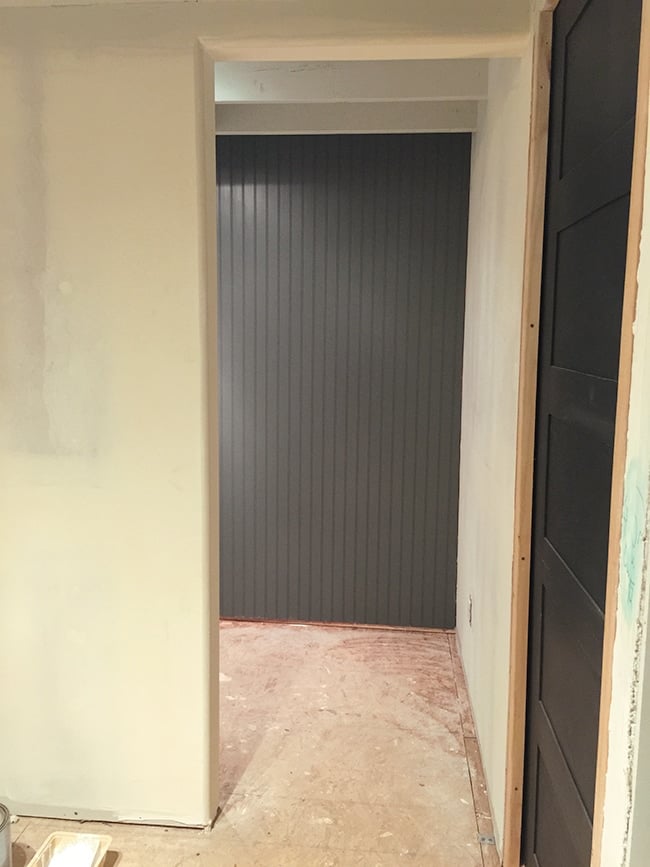
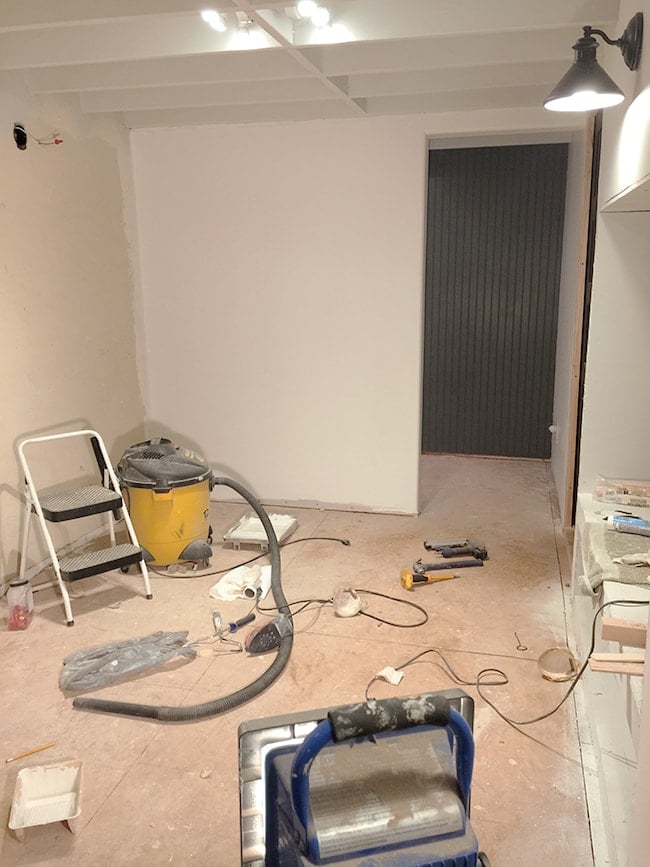
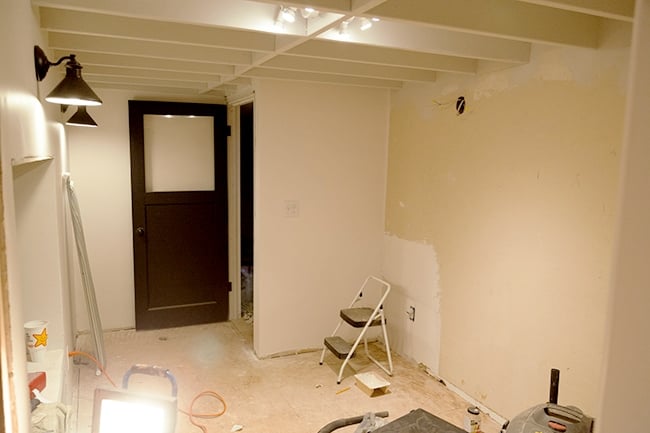
On Tuesday we left off with the storage room looking like this:

The original plan was to have a wall of Ikea Pax wardrobes but after purchasing them, I realized that I accidentally bought the 23″ deep model rather than the 14″ deep, leaving just 27″ of walking space since the room is only 50″ wide. Oops. Not only that, but the ceiling has to be a few inches taller than the wardrobe height so it can slide in after assembly and ours was an inch too short. So scratch that plan.
After some Pinterest-ing I came up with an even better solution of open wood shelving which I think will look much nicer and help the room feel more open (more on that soon).
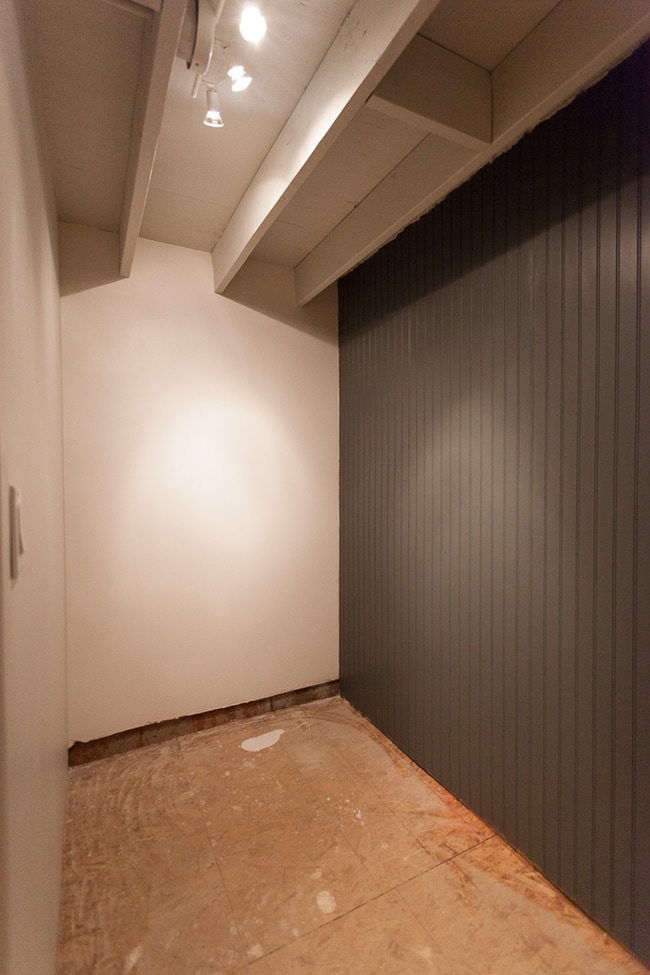
Instead of drywall (which requires several steps and more $) we decided to create a focal wall behind the future shelves with beadboard. Normally I would not recommend nailing headboard directly onto 2×4’s without any drywall or hard surface behind it for support, but since it’s not exactly a functional wall it doesn’t need to be reinforced.
All it took was two sheets of 4×8’s, cut to size and nailed up.
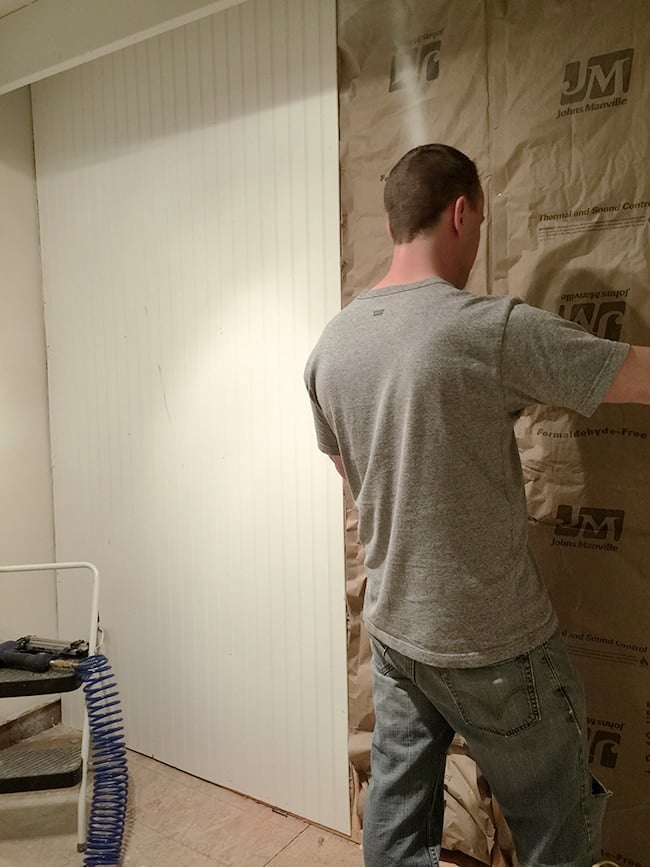
Done in an hour… easy peasy.
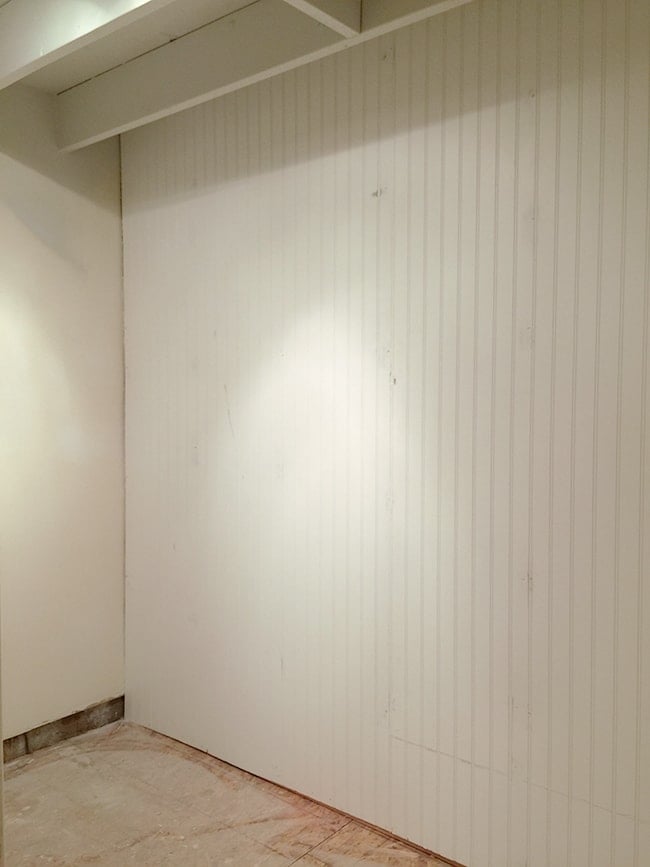
 |
| Don’t judge my crooked jigsaw cuts… it will be hidden with trim! |
After patching & sanding the nail holes, it was time for paint. To save money I grabbed the can we used on the plank and panel walls in our bedroom and the studio, Valspar’s Ocean Storm (in eggshell):
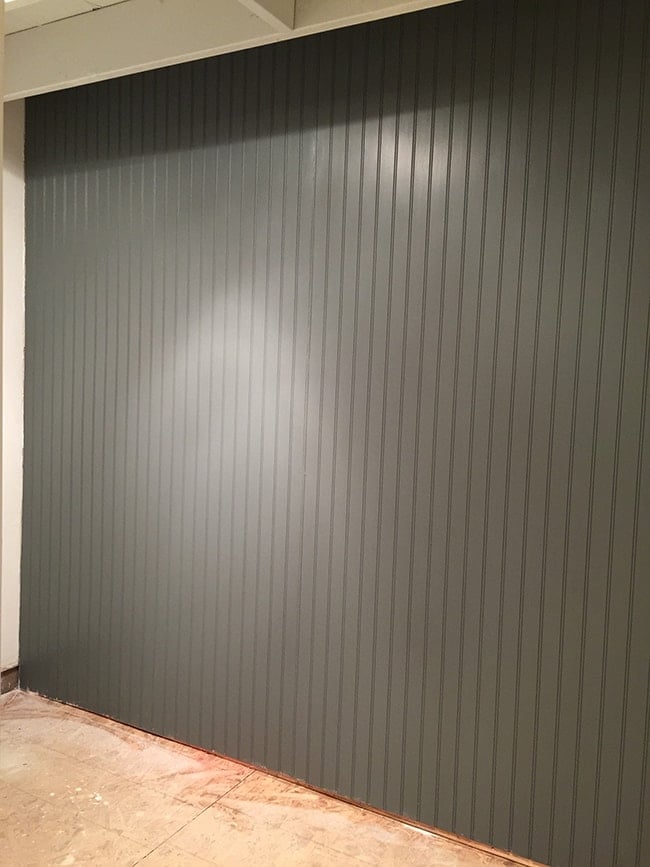
I think the contrast will be a nice break from all the white walls and allow the shelves and storage items to pop.
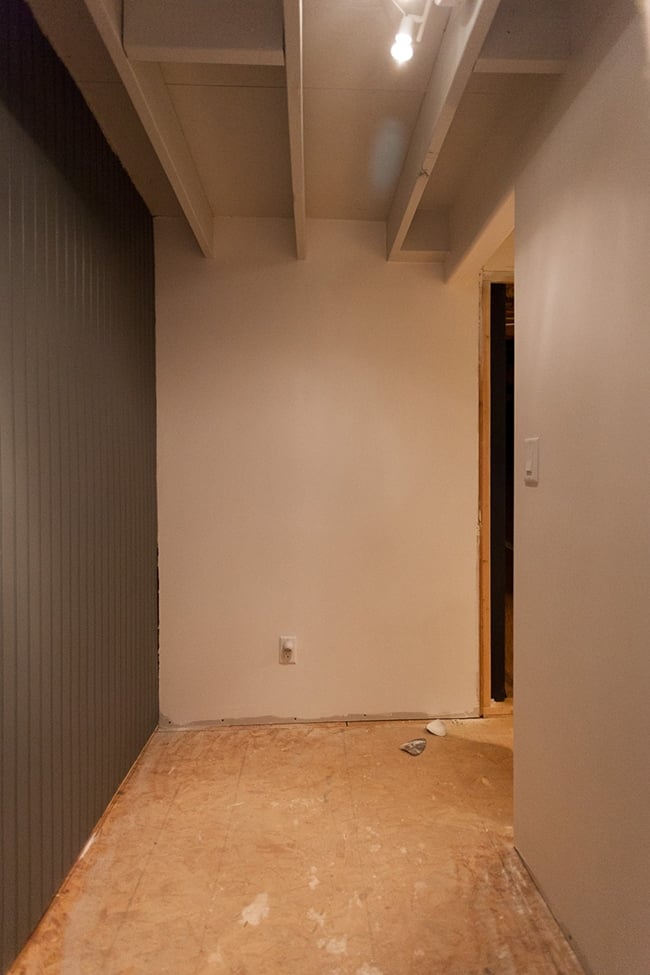
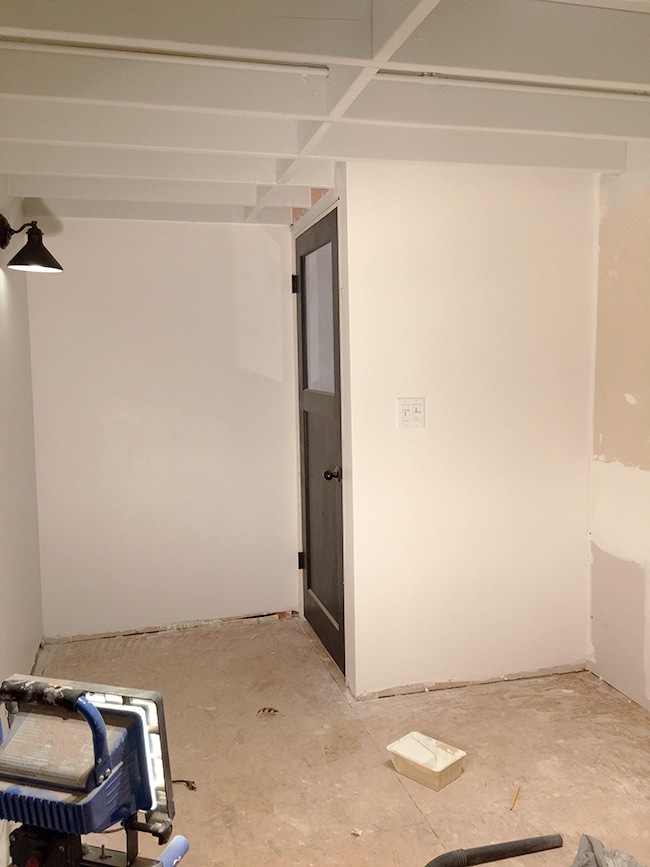
Once that was out of the way, it was on to painting all of the drywall. My vision for this room is airy, clean and refreshing (just like fresh laundry), so I naturally chose white for the wall color. We used Valspar Signature color matched to Kelly Moore’s Swiss Coffee which is a nice neutral white.
Goodbye off-white drywall!
PS—our photographer neighbor stopped by last night with his camera and took some wide angle shots for us, so all of the non-iPhone photos in this post are from him!
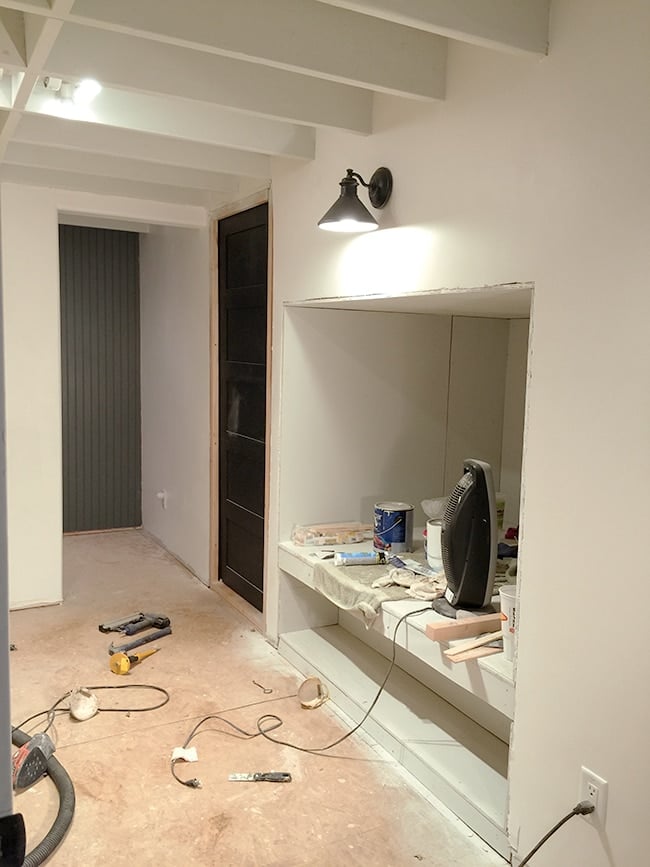
Here’s a never before captured angle from the back of the storage room:
And one of the entire cabinet wall:
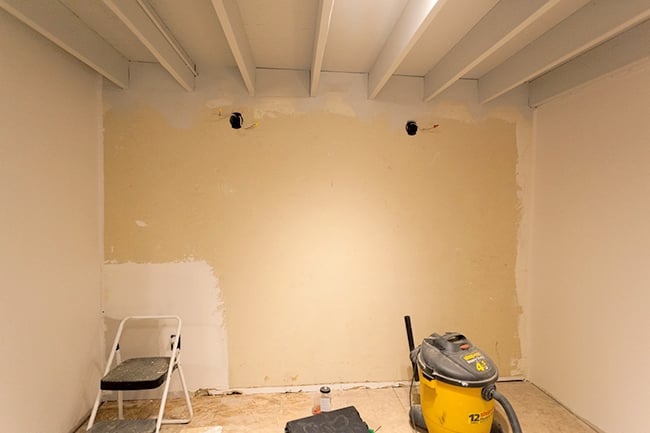
We skipped the paint here since we plan to tile over it. But oh, look at the difference. A breath of fresh air.
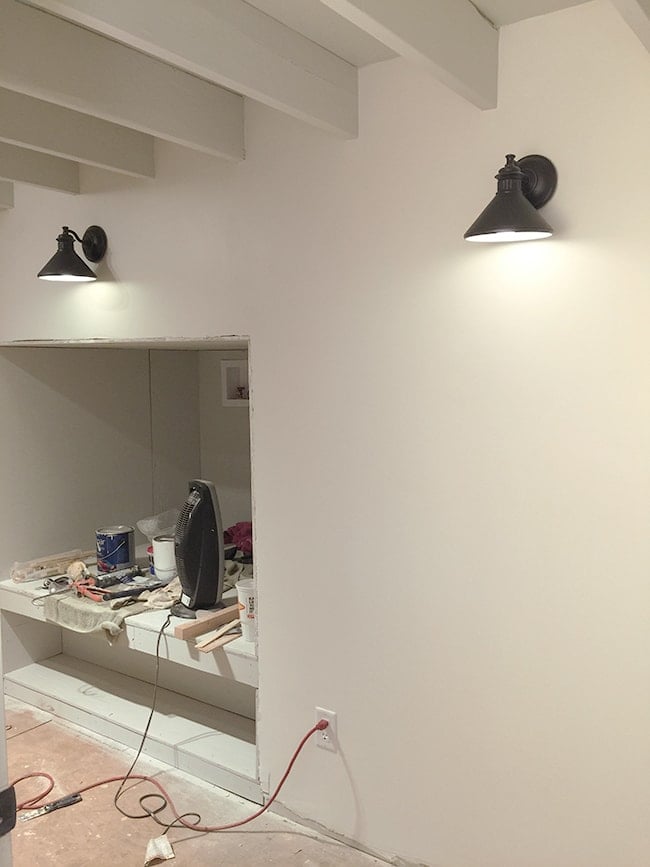
Brad also hooked up two of our lamps on the washer/dryer wall.
I picked up four in-store at Lowe’s in the outdoor lighting section. $30/ea—total bargain!
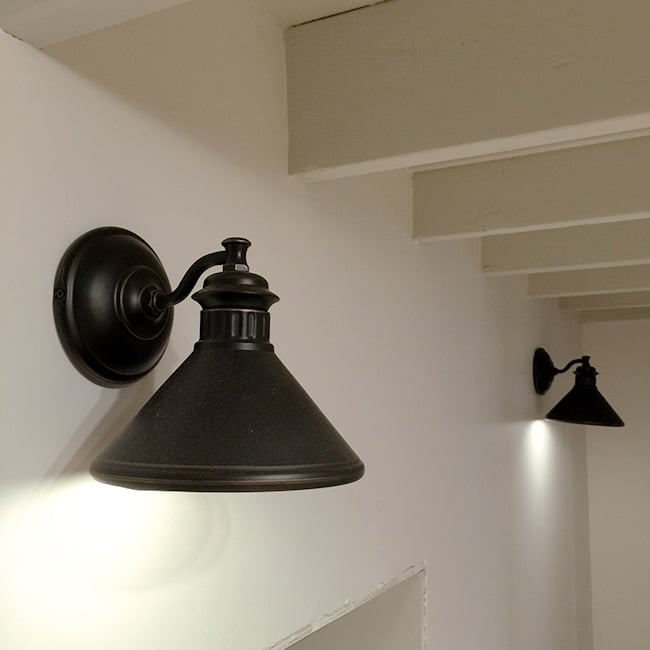
We have them on dimmers for a little laundry room “mood lighting”.


To The Moon and Back says
Hi Jenna, I am a new follower and so loving the progress of your laundry room. I am sure it will be spectacular when it is all done!
Dana says
I bought an inexpensive tile cutter to do our kitchen floor. we too plan on doing 2 bathrooms later. Then my cousin a contractor told me it was pretty worthless. so I took it back and we just rented a wet saw. In our area it was $50 so we were ok with that versus spending more money now. It was our first time to tile also and I was afraid but it was easier than I expected. I even used the wet saw and made corner cuts by myself !
Jenna Sue says
That is a great point Sara—one we didn't even consider! I am paranoid about fire and electrical safety so we'll have to take extra precaution to make sure something like that doesn't happen down there in the first place. Thank you for the heads up!
Sara says
Love how the room is coming together! But, I'm a little concerned, at least where we live building code requires sheet rock for all walls covering insulation as a fire barrier. Not having that barrier with the proper covering you risk a fire starting and easily/quickly burning into the wall and traveling up the walls to other parts of the house much faster–especially in a basement with a laundry room.
Traci@ Beneath My Heart says
I LOVE it! You are making great progress!! 🙂
Jenna @ Wife in Progress says
Can't wait to see how it turns out! I used the same beadboard sheets in my laundry…they are so easy to use and really transform the space. I love how you painted yours, though! Loving the sneak peak of your new design too!
Jenna @ Wife in Progress
Anonymous says
Fun to watch your progress! Can't wait to see the end result! I'm addicted to your blog! 🙂
Jenna Sue says
Interesting, thanks for the tip! We'll definitely ask Lowe's about that tomorrow.
Lindsay Ava says
The laundry room is coming on so beautifully, I get more excited each week to see what's next! Congratulatons on your new site, I take it I will be reading your new post there on Tuesday then! 🙂
Anonymous says
Can't wait for the final reveal. I tiled my bathroom and kitchen floors in both previous and current homes with 12×12 tiles. I was told that the only way to install was to apply cement board to my plywood flooring. I knew there had to be an alternative and there was. I bought a gallon of MAPEI additive from Lowes. This stuff creates a strong bond to a ton of different surfaces including plywood floors. You just mix it in with the powder mortar. It's been over 6 years and the tiles haven't budged.
Calypso In The Country says
It's looking beautiful with the beadboard in there. We have a beadboard ceiling in our laundry room and I just love that look. Love your lights too…
Shelley
Megan Taylor says
The space is really coming together, love the lights. I wish we were re-do our basement but need to save some $$ first, that's always a problem. Good luck with tiling your floor, sorry I have not done that one yet so I have not tips. But you guys will do great! Can not wait for the new blog! Have a great weekend tiling!
Jennifer K. says
I stumbled upon your blog last summer and I've been hooked ever since! I love everything about your style and design and I look forward to seeing the laundry room progression each week 🙂 Your house is beautiful and I'm sure the new website and blog will be as well! Can't wait to see more soon!
Jenna Sue says
Thank you Ann! Can't wait for Tuesday's debut 🙂
Ann Koehler says
This laundry room is really coming together. I wish I was able to re-do mine, which looks a lot like your before pictures of this space. I'm very excited to see the new redesigned website. From the preview, it looks beautiful and easy to navigate through. Congrats on all your success!