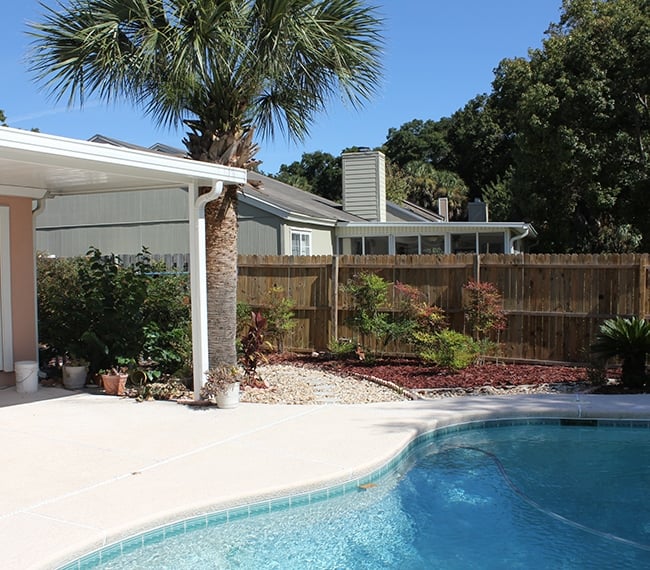
Summer is upon us and we’ve been turning our attention to the outdoors lately—prepping the backyard for pool parties and gatherings. The latest project came about when our neighbor had several large rocks he was getting rid of from his yard. We offered to take them off his hands which sparked the idea of installing a backyard pond with a fountain.
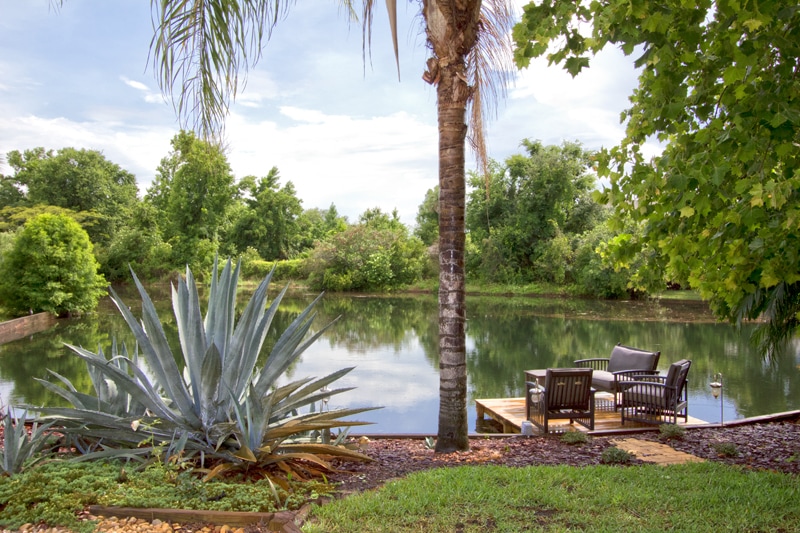
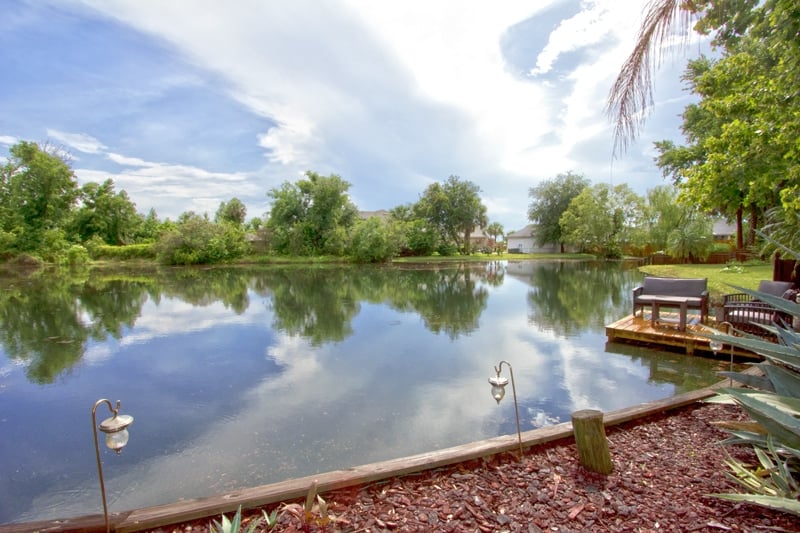
We already have one lovely pond back there (the real reason we bought the house…)
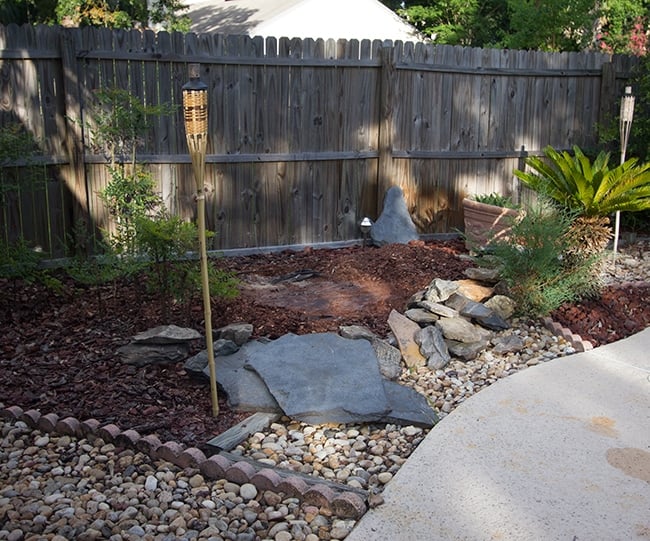
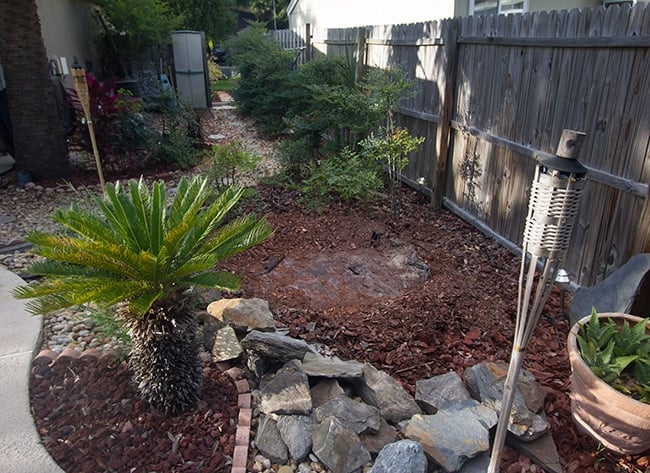
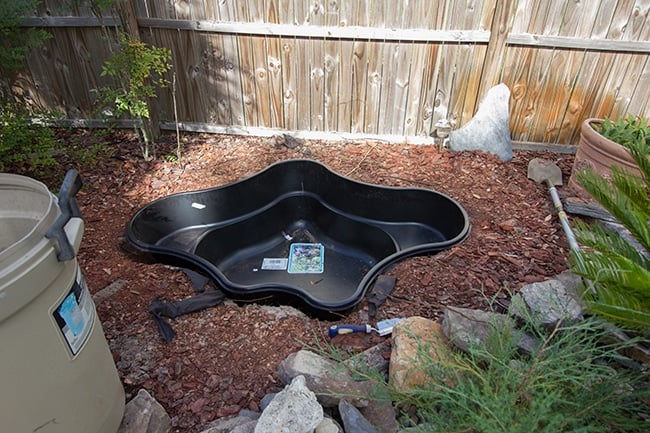
But you can never have enough water features, so we picked a spot and started to plan it out. This underutilized patch of bark and random shrubbery was the perfect location:

Here it is from a distance:
Here are the rocks we inherited, and the overall layout and size we thought worked best after clearing out the bark.
Mission #1 was to figure out exactly how to build the pond. We did some research and tossed around ideas of using rubber liner, concrete and liquid rubber, or a plastic pre-molded pond. After weighing the options, we both decided a plastic pond was the easiest way to go (and cheaper, too).
A quick Google search brought up this pond at Lowe’s for $99 (no longer sold, but similar here):
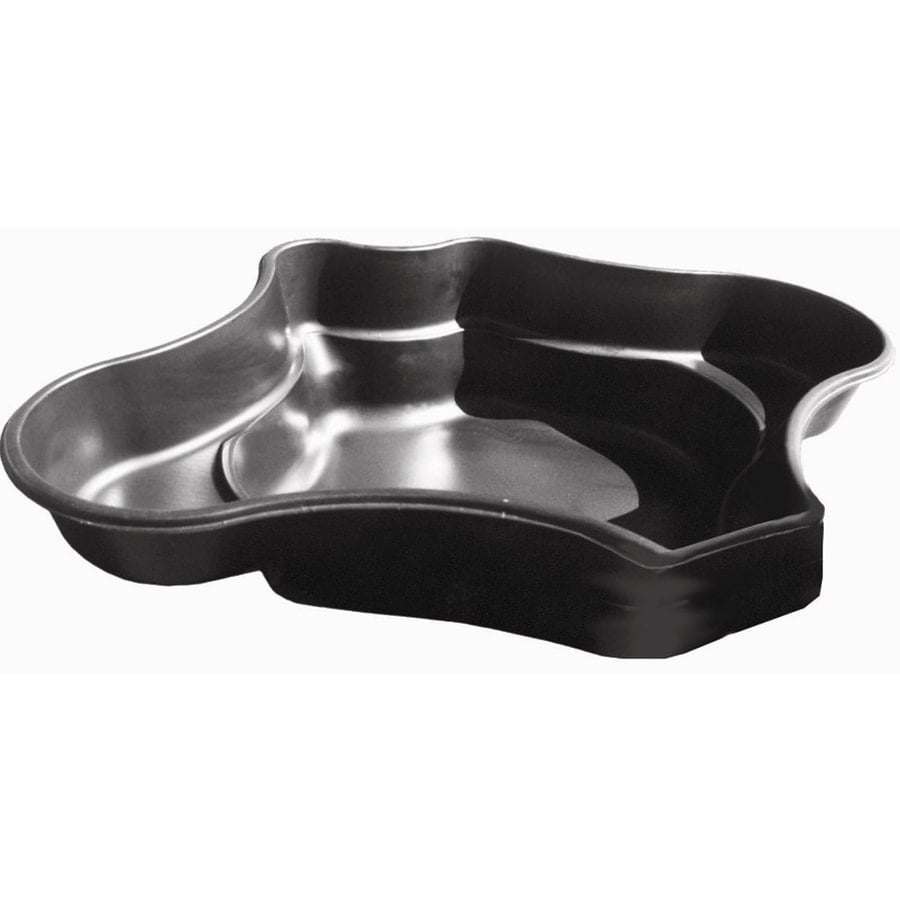
It was the perfect size and shape for our space.

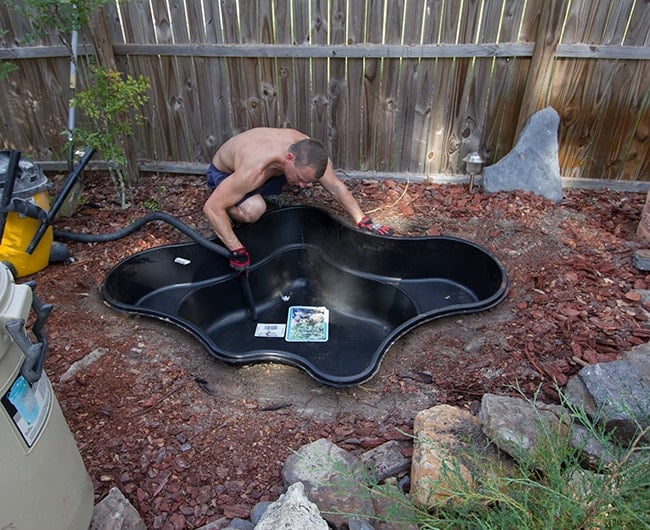
Then it was time to dig….
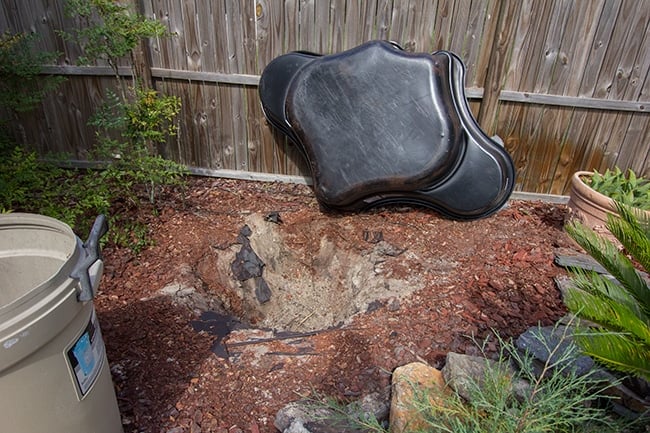
Not gonna lie, this part sucked. It was a painstaking process to dig everything out perfectly to the shape of the pond. The process was basically dig, test fit, dig, test fit, dig, test fit, dig test fit, repeated 300x for over two hours.
Lucky for us, we live in an area where the top layer of earth is just soft sand. We were also lucky that we didn’t run into any surprises… like roots or pipes. My shovel actually hit of one of our pool pipes but it was right on the edge of our pond area and just barely out of the way… whew! Make sure to consider what might be underground when planning.
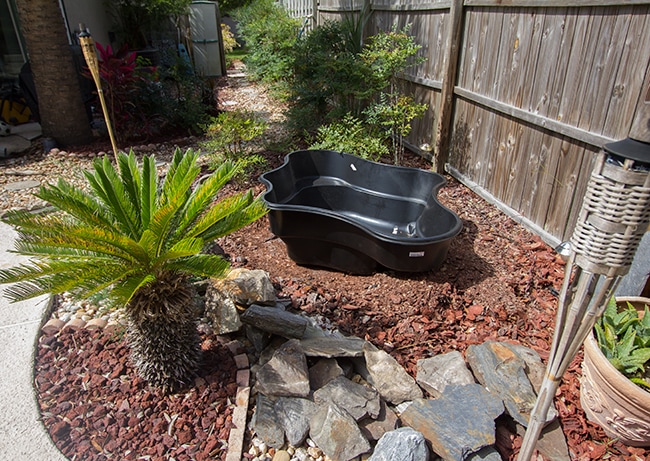
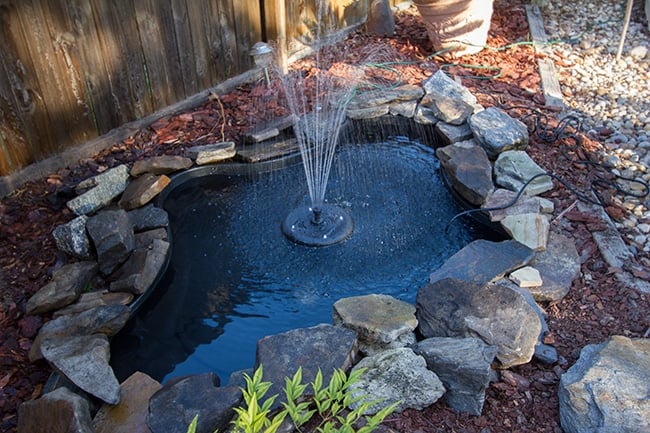
Finally, we got that sucker in.
After cleaning it out and replacing the dirt/bark around the edges, we started filling up and arranging the rocks around the edges.
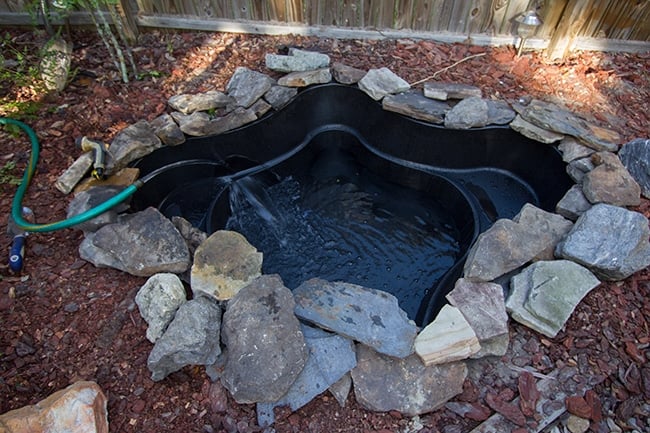
We quickly realized we didn’t have enough, so we went to the landscaping store the next day and bought an additional 160lbs of rocks. A rock pond is also not complete without a few things—a filter, a pump, and some plants.
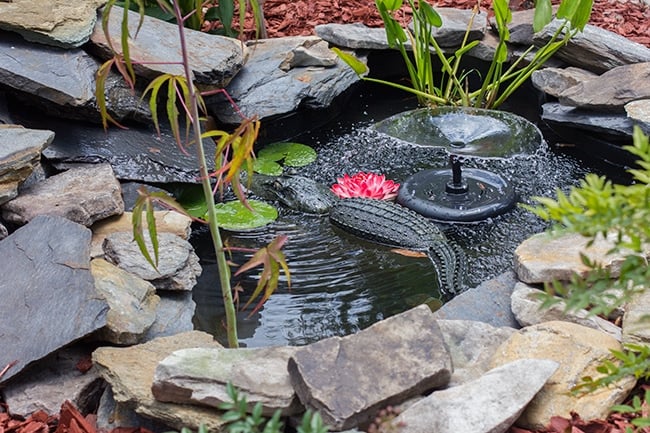
I purchased this floating fountain from Lowe’s for $129.
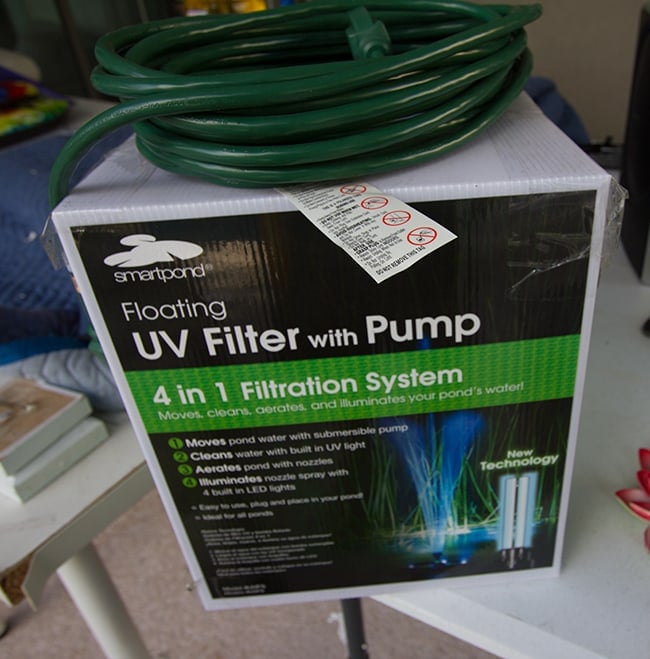
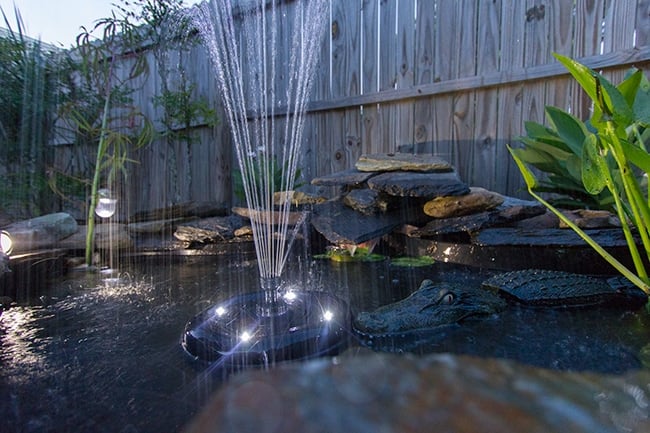
The UV light inside the filter cleans algae and keeps the water aerated. It also has a fountain and LED lighting, and you can even change the water patterns.
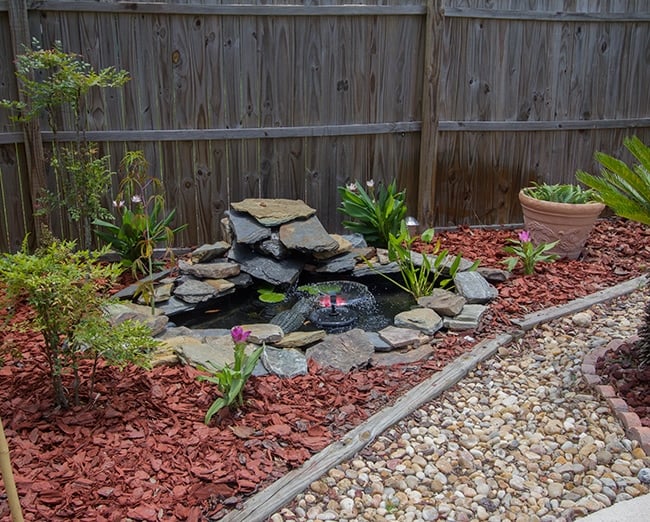
My favorite part is the waterfall. For this, we picked up a simple pump at Lowe’s and 5 feet of clear hose for $45:

To build the waterfall, we stacked the largest rocks at the back of the pond and strategically fed the tube up and over, (hidden by the rocks so you can’t see it) keeping the pump submerged at the bottom.
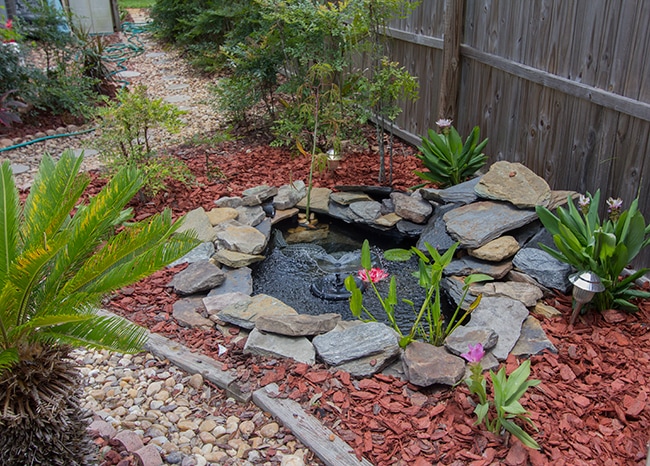
For the finishing touches, I got a few water plants as well as a handful of other plants to landscape the surrounding area. And after two afternoons and about 7 hours of work, our pond oasis is complete!
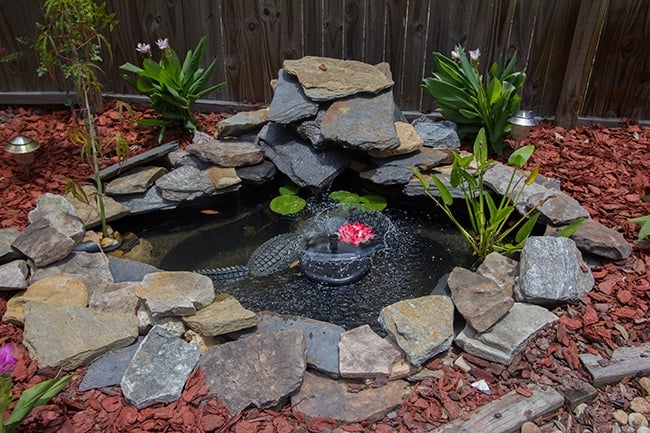
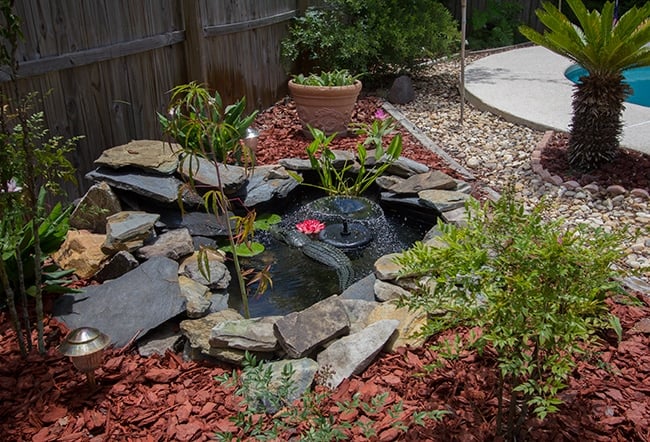
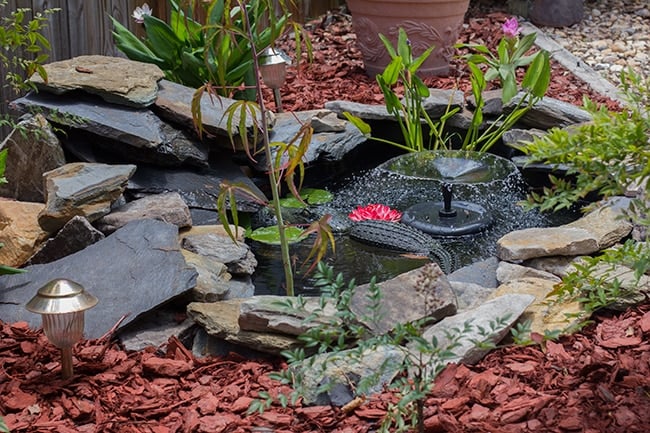
Don’t mind our gator… he doesn’t bite (too hard).
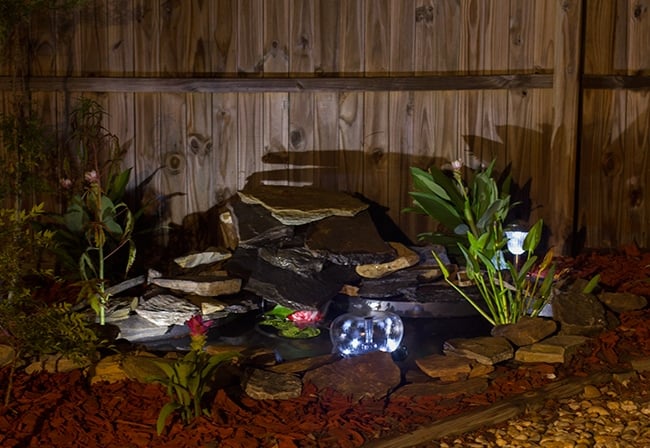
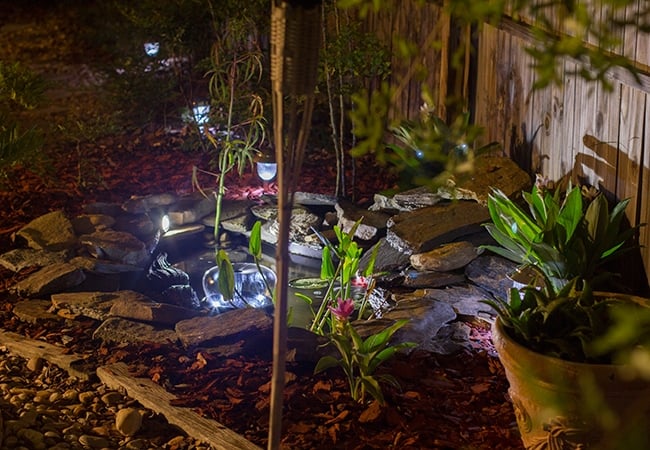
Here’s a couple evening/night shots to show off the lighting:


Amy B says
Love this! Keep playing with the idea of doing one but not 100percent sure…yours looks so good I might have to just do it!
Pat Morse says
This is beautiful! 'Wish I could get the rocks for that price…. I'd make one! Just a tip for you guys, tho…. The next time you have something odd shaped to dig a hole for, be sure to turn the object upside down and trace with paint or chalk. It would go a lot easier! Just some advice from a 72 yr. old gr-grandma….. LOL
Han @ Brooklyn DIY Designs says
wish we had room for a pond here in Brooklyn. This summer we decided to grow some water lilies in containers, they started off great, got some blossoms but going downhill now, maybe because i haven't been paying attention to them, gotta look into it this weekend.
Dakota Creek Chic says
Wow, this turned out great…that gator looks too real it gives me goose bumps just looking at pictures :-). I think I would have died at the digging part!!
Shawna
PS: If you are interested, come share at my first ever blog party ~ Weekend Beautiful. I'd love to have you.
Katrina Gelino says
So beautiful!!! I would love to have one like that , but with Turtles…no alligators…. haha
Ashley | Spoonful of Flavor says
I'll have to show my husband this, he is working on plans for a pond right now. Your pond looks great. I hope the real gators stay out of your pool and pond : )
Pine Tree Home says
Men and their ponds….looks great and you'll love the water trickling.