Today I’m sharing the dark side of DIY. It’s not often that a project completely fails to the point that it can’t be salvaged, so when it does it’s pretty upsetting.
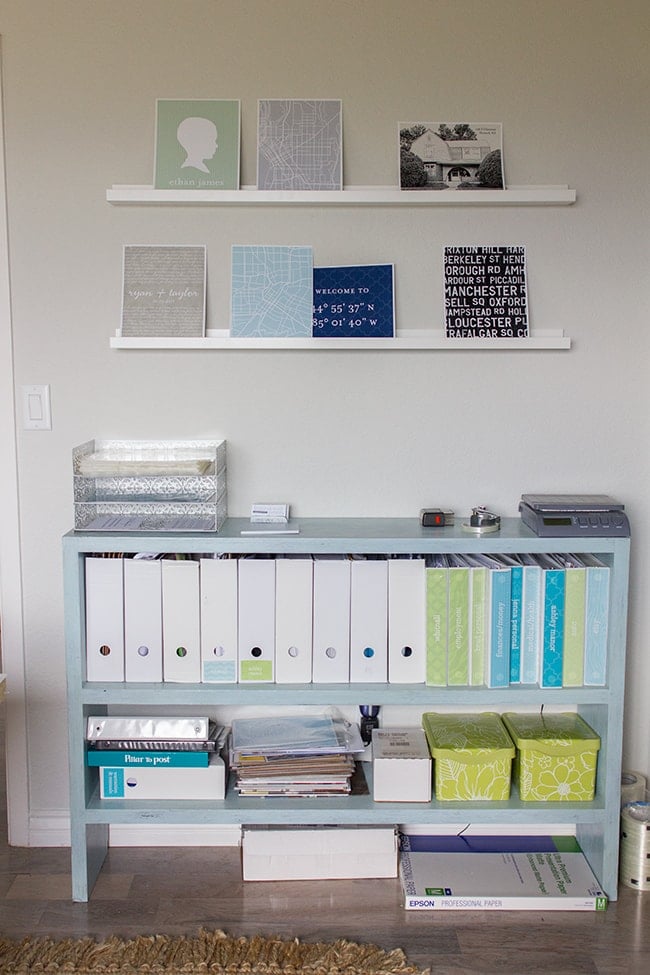
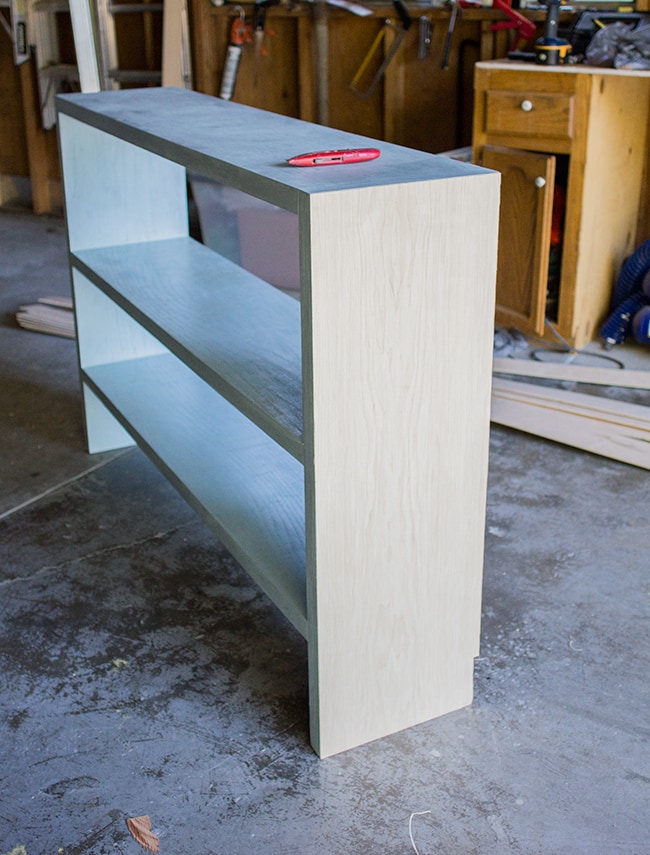
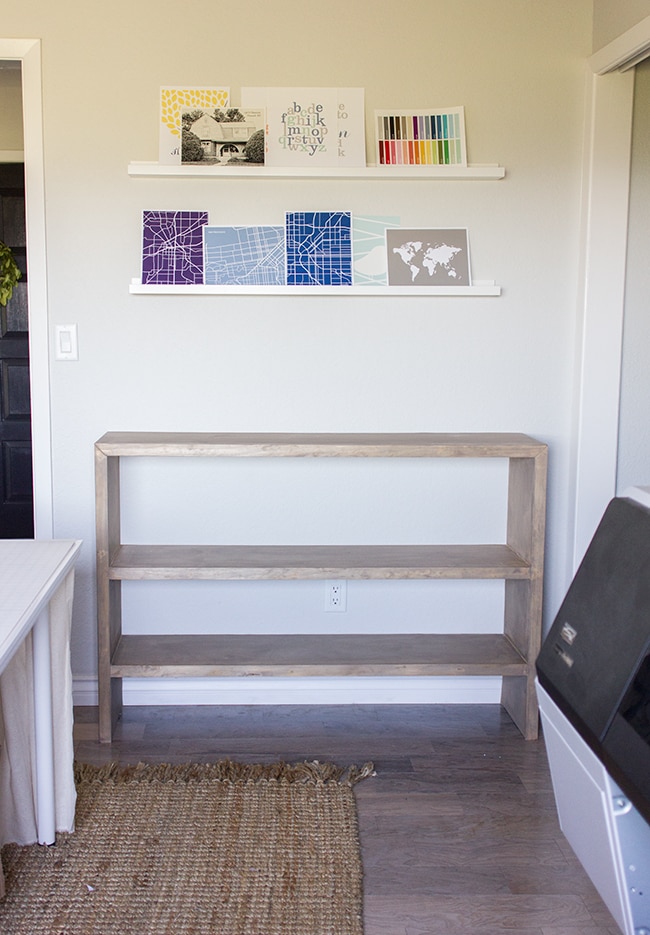
As you can tell by now, I’m eliminating all of the turquoise in this house. I had this console table in the studio because it was the perfect size and just deep enough to hold my supplies but not take up too much room in the small space:
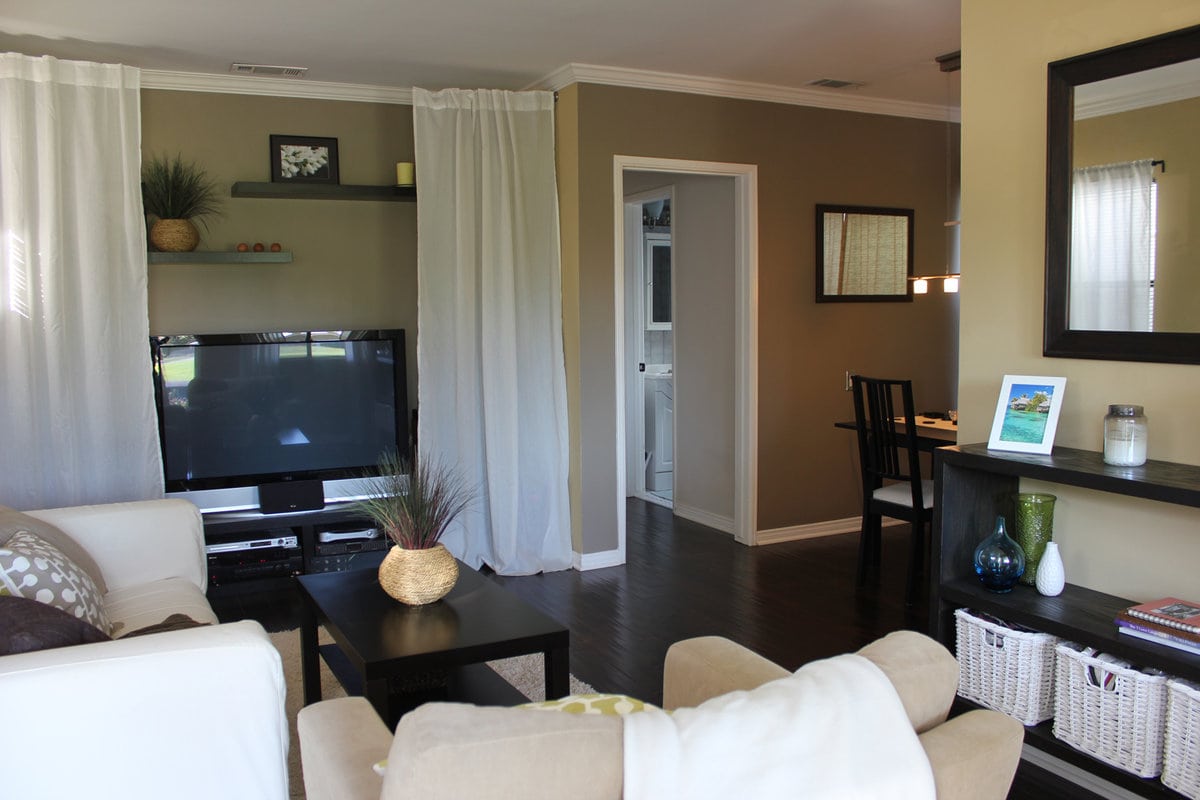
My dad built this piece for us years ago—here’s a glimpse of it in our first home (on the right):
A couple years ago I painted it blue for our Florida house…
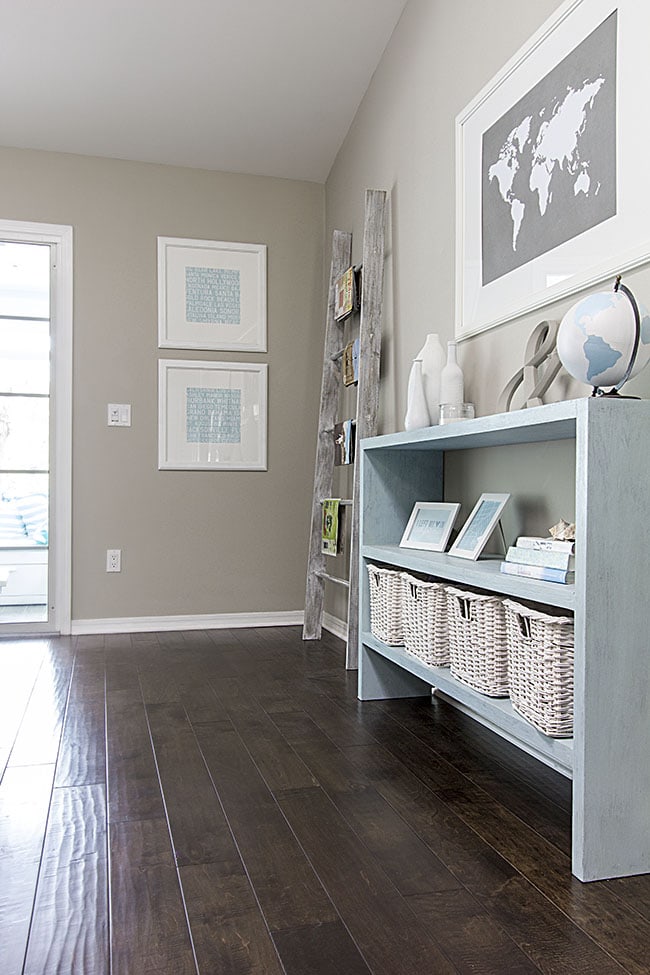
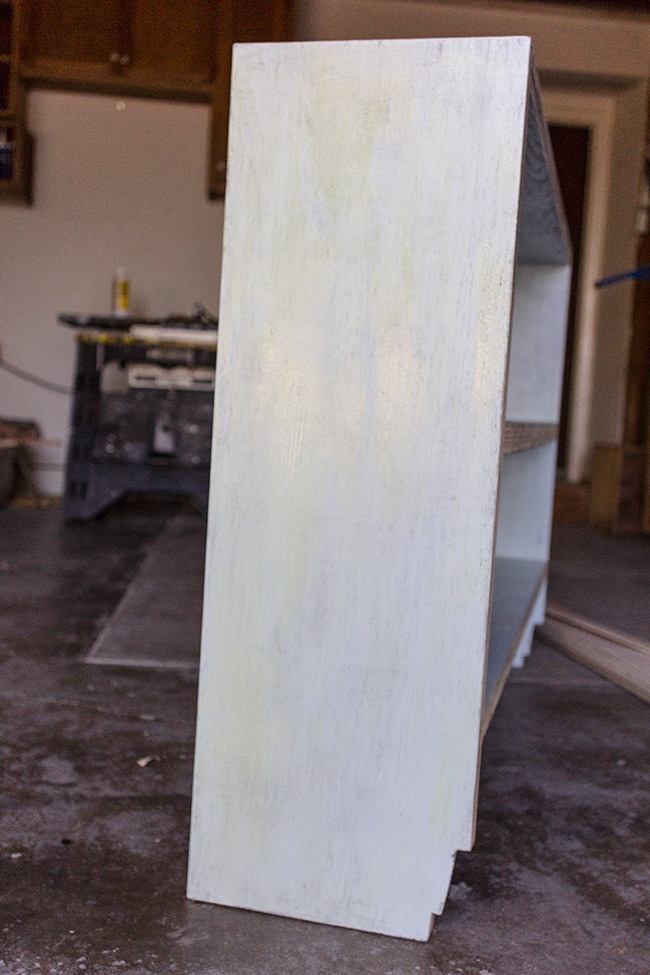
And now I wanted it a natural wood color. Problem is, the surface was veneered, and once stained and painted there’s no way it can return to its natural wood color.
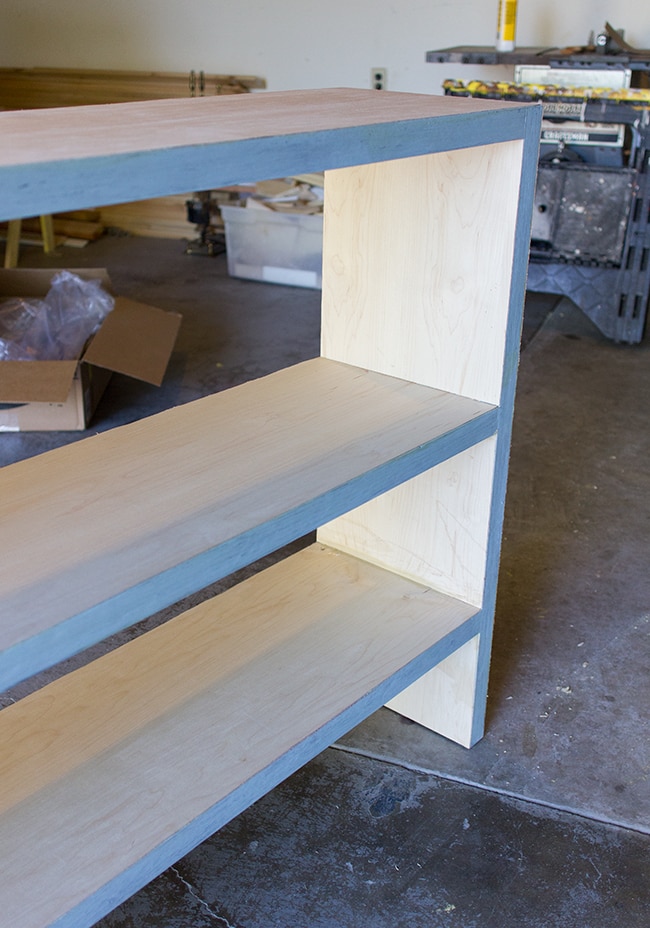
I really wanted to keep the table, so the only way to get what I wanted was to cover the surface with wood.
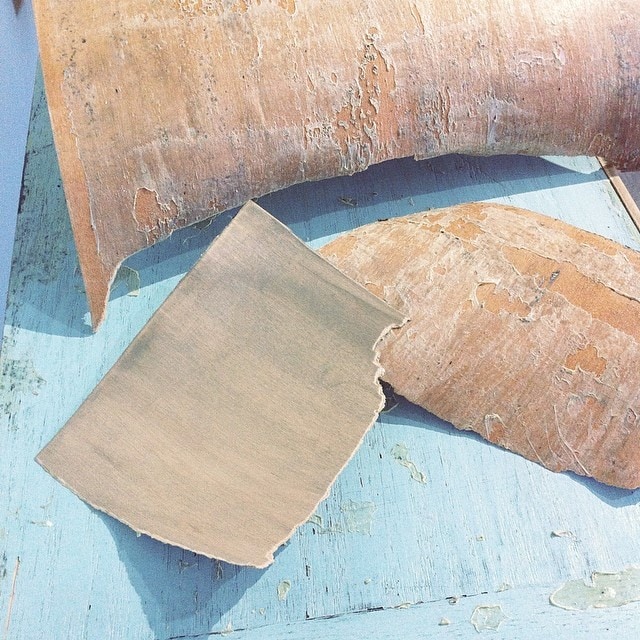
Enter veneer. Veneer isn’t cheap. The best deal I found was this on Amazon. And I had to buy two sheets so it ended up costing $70.
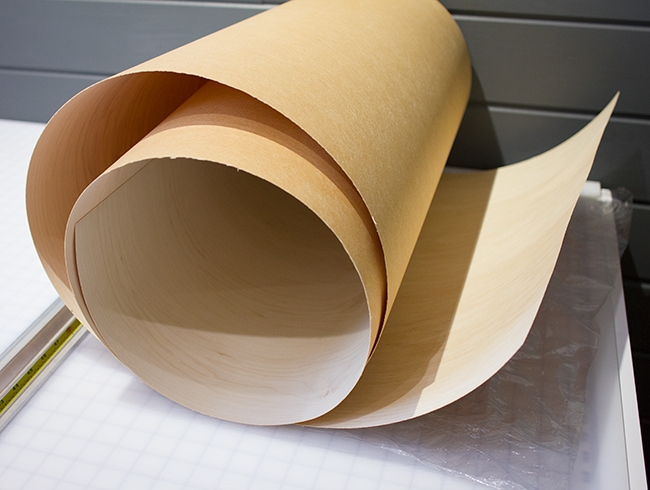
The material itself is like a really thick, sturdy paper. Seemed easy enough to install.
You can buy stick and peel veneer but it’s quite a bit more expensive, so I decided to just use contact cement.
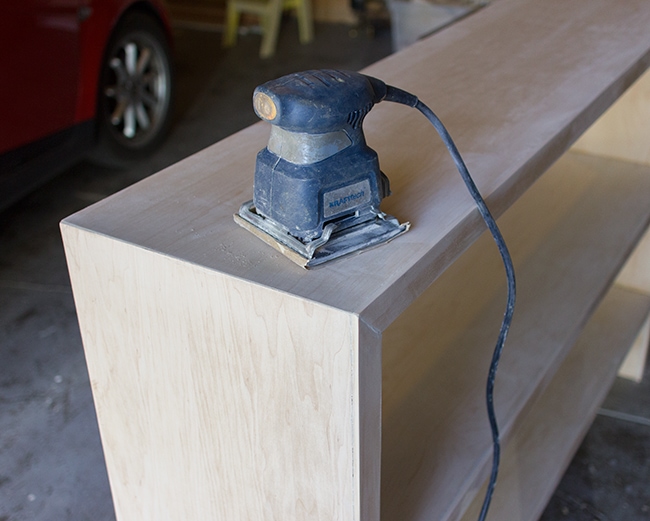
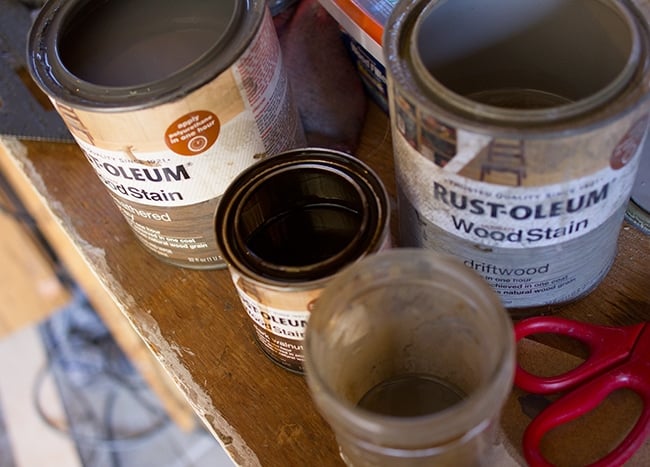
After lightly sanding the table, I opened my can of contact cement and read the instructions…
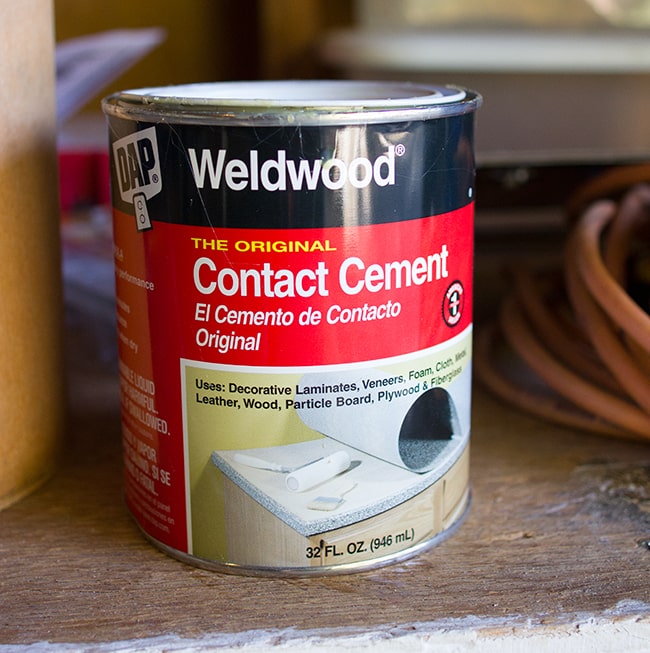
It said to apply it to both surfaces and let it dry for 15-20 minutes, which seemed long to me.
My first mistake was not applying enough (you can see the thicker areas above where it’s yellowish and shinier—the entire surface should have looked like that).
The veneer just soaked it right up so it dried up real fast.
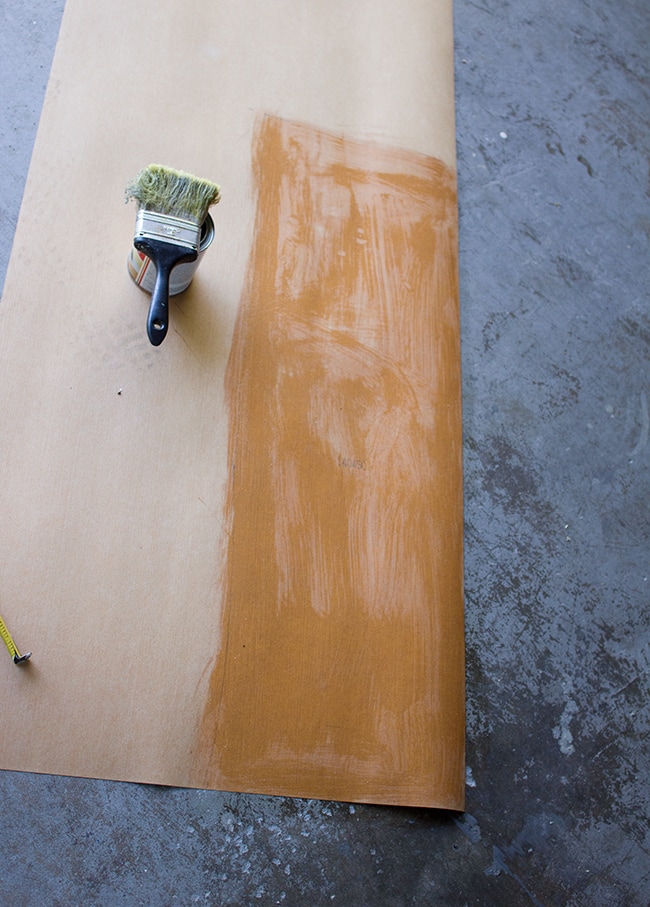
I figured that just meant I didn’t need to let it dry any longer, so I applied the veneer way too soon.
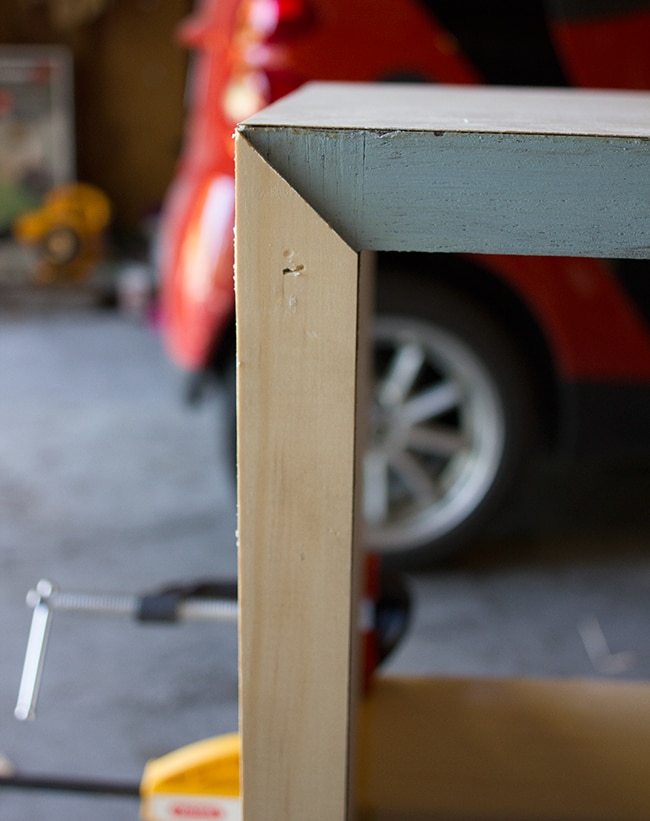
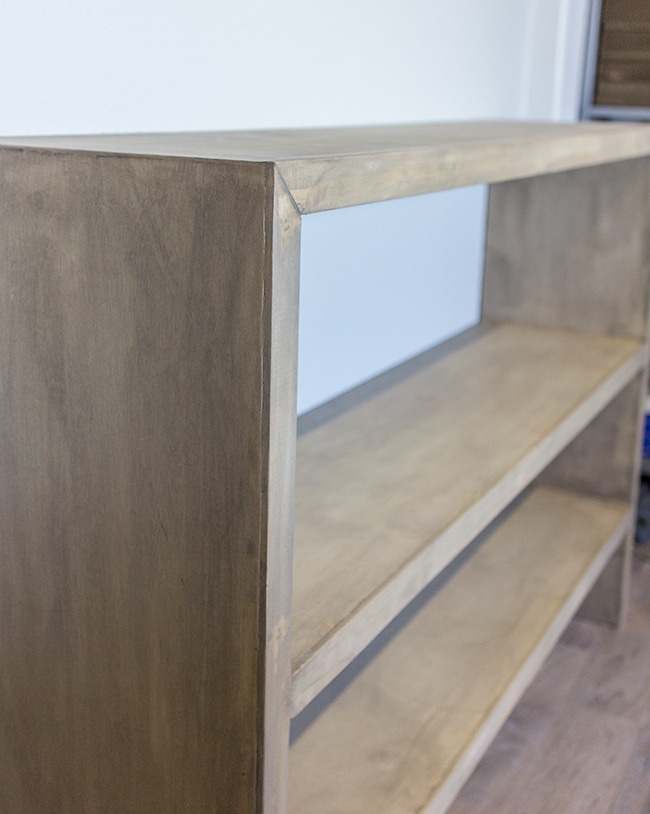
I didn’t notice there was a problem at first—it seemed to hold okay. The most challenging part of it all was trying to cut my piece to exactly the right size and apply it perfectly straight so it lined up evenly everywhere. That was my third mistake—you’re supposed to cut the veneer larger, apply it, and then trim the edges off. I didn’t have the proper tools to do this, just a dull utility knife.
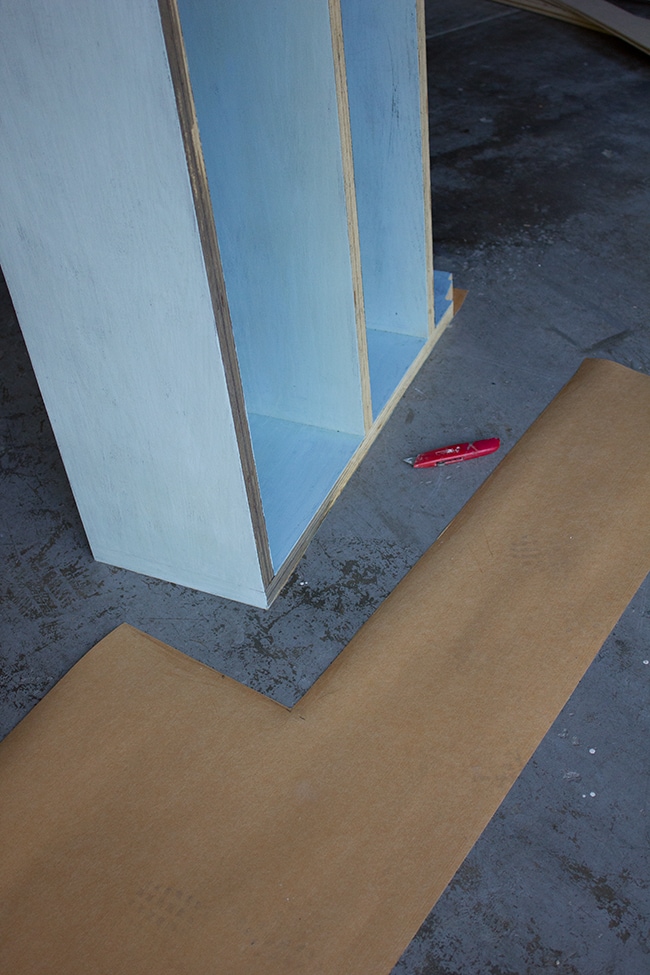
I tried setting the table on top of the veneer after both sides had the glue applied, and then cutting the excess off on the ground, but the table is very heavy so it was near impossible for me to lift it up and set it down while lining it up perfectly. This is definitely a two person job.
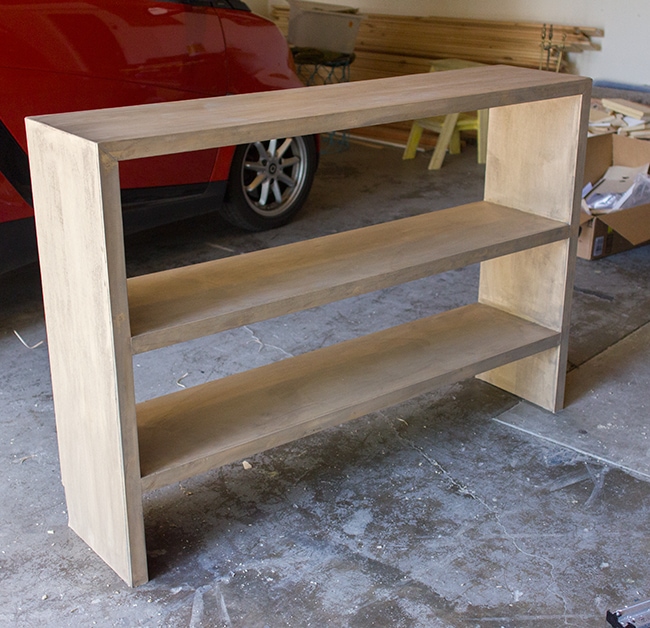
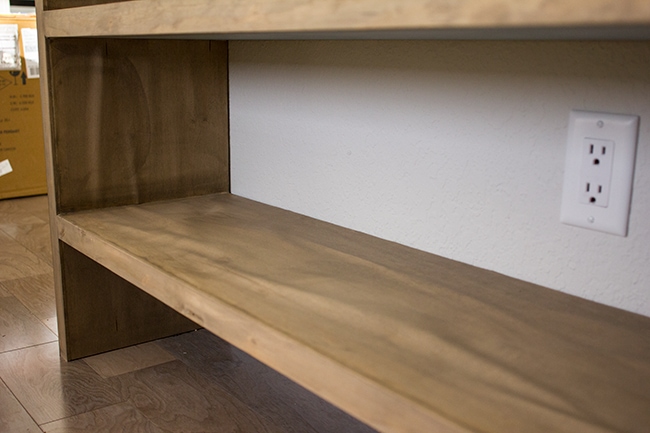
Still, I managed to make it work as best as I could and I thought it was coming along pretty well.
It was a lot of work and very time consuming, though. I worked on it over the course of 3 afternoons.

 |
| via Pinterest |


Jenna Sue says
That would look amazing—you have to link it to me if you end up doing that! I was also planning on using them as side tables in our bedroom once we start on it.
Jenna Sue says
Good to know! I wish we had a HD here! 🙁
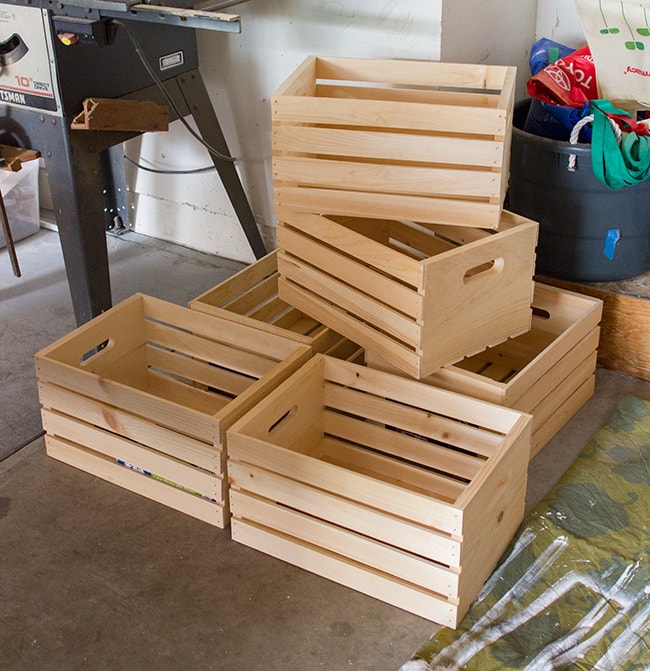
stephanie, sandpaper & glue says
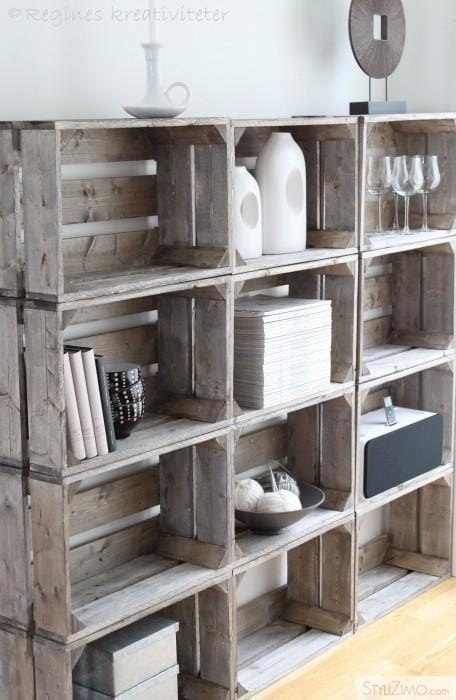
this look so good!! I'm thinking 3 of these crates secured to a MDF base with some hairpin legs might make an excellent DIY console table for my bedroom….. hmm….
stephanie, sandpaper & glue says
this look so good!! I'm thinking 3 of these crates secured to a MDF base with some hairpin legs might make an excellent DIY console table for my bedroom….. hmm….
lifeoflaurenlou says
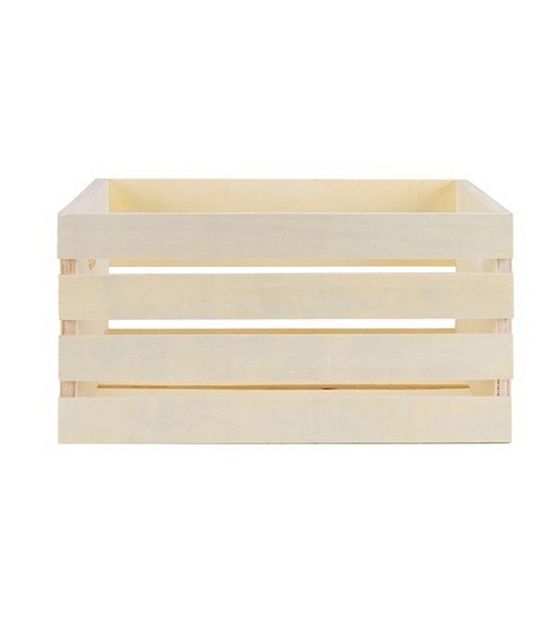
Just for future reference, Home Depot has those exact wood crates for only $5!
lifeoflaurenlou says
Just for future reference, Home Depot has those wood crates for only $5!! I saw them there one day and picked up a bunch : )
Kristina Terziiska says
Great ideas! I like very much the stand with crates 🙂 In fact you always have interesting ideas and articles 🙂 Go on and I wish you inspiration and fun of what you are doing 🙂
Jenna Sue says
Yes, I looked into that as well! They are insanely expensive though. It would have cost hundreds to refinish the table. Not worth it IMO 🙂
Anonymous says
Have you heard of Panyl.com ? They have faux wood veneers that upgrade IKEA products. They also sell their “panyls” in sheets as well, kinda like fancy contact paper. They have a weathered grey one that may work.
Also, Stikwood.com wood panel pieces could easily cover up all the imperfections from the old veneer glue. It has 3M double-sided peel and stick tape for easy re-positioning, as well as it cuts with a hacksaw or chopsaw.
Jenna Sue says
Thank you! It's the Maui Chunky Loop in beige from Rugs USA—my favorite 🙂
Anngela says
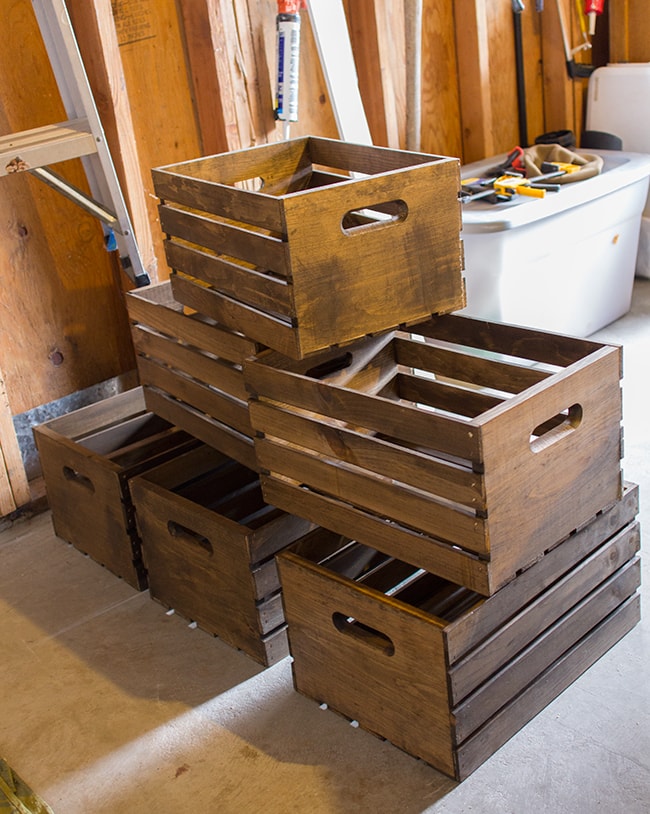
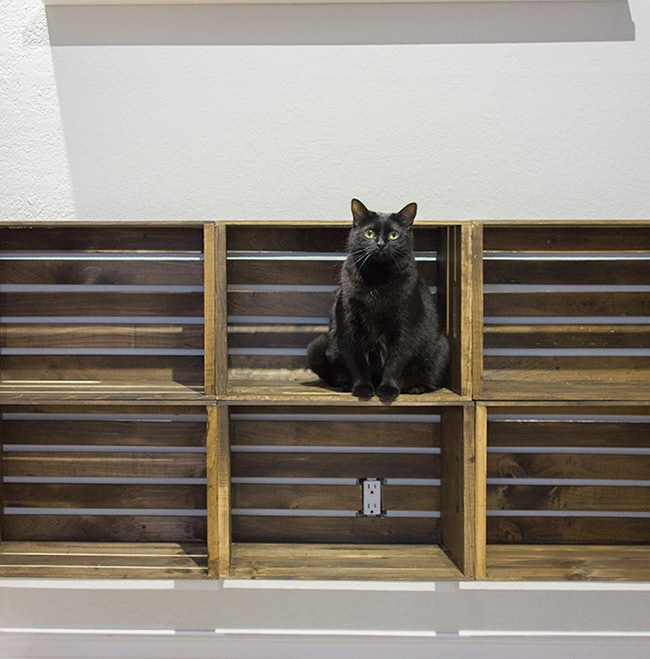
I absolutely love the outcome–especially since you made them floating!!!!
PS: I'm sure you've sourced it before…but where is the rug from?
Jenna Sue says
Our Joann's is just really strict 🙁 They wouldn't let me return a ton of leftover batting because I didn't have the receipt either. They aren't very nice here.
Jenna Sue says
I heard about the iron on type too. The one from Lowe's wasn't long enough unfortunately and after the second attempt failed I just gave up on the idea altogether 🙂 I hope you can learn from my mistakes though!
Mallory Serrao says
Oh I sure did loveeeeee that table your dad had built for you, I am so sorry 🙂 On another note, we used those same crates from Joann's to make DIY “fruit crates” for our wedding table centerpieces and they are the best crates available! So much better quality than Michael's!
Also, I wanted to mention that our Joann's (Chico CA) allows me to use as many coupons as I have items…I don't know if this is a store-to-store policy or not. But since the coupons do not state “one coupon, per customer, per day” as Michael's and Hobby Lobby's do, then I think it is up for debate!! Sometimes I go in and buy 6 things of yarn (crocheter) and they allow me to use a 40% off coupon on each one as long as they aren't on sale! This includes using paper coupons, coupons printed from the website and iPhone app coupons
Emily @ DavenportDIY says
I love the crate shelves!! And I would totally have cried about the veneer fail- so sad!! I don't know if this would work for you or not, but if you look on Lowe's site, they have iron on wood veneer for $20 for a 12″ x 4ft piece. I don't know if iron on veneer would work for your table though. I'm going to give it a try at some point for a piece that I hope to build (soonish) in our house 🙂