Just in time for Labor Day Weekend, I’ve teamed up with Lowe’s to bring you a DIY project you can tackle over the holiday while you still have those extra daylight hours…
I’m excited to announce that this is the first of many sponsored projects I’ll be working with Lowe’s on over the next several months—so get ready for tons of tutorials coming your way (just like the good ‘ol days! 😉 )
Let’s be honest, most of us have a love/hate relationship with crown molding. We love the way it looks, but hate the installation process. I remember the frustration during my first attempt years ago, and then again on the second try, but figured I’d give it another shot to see if I could finally get it right.
The problem is, it’s not the same for everyone because there’s so many variables—your walls, your materials, your tools to name a few. There’s no “one size fits all” way to do it, although there are plenty of tips and lessons learned from those who have been successful. Lucas and I spent a ton of time researching, planning and preparing for this—and while it wasn’t as easy as we had hoped, we did learn a few lessons that will hopefully help you guys out!
Watch below for our experience in video form:
The video focuses only on the method we used, since we wanted to keep it short and simple (videos can get long and confusing really fast!) but I’ll go into a little more detail in this post, including what we could have done differently to make things easier.
PLANNING
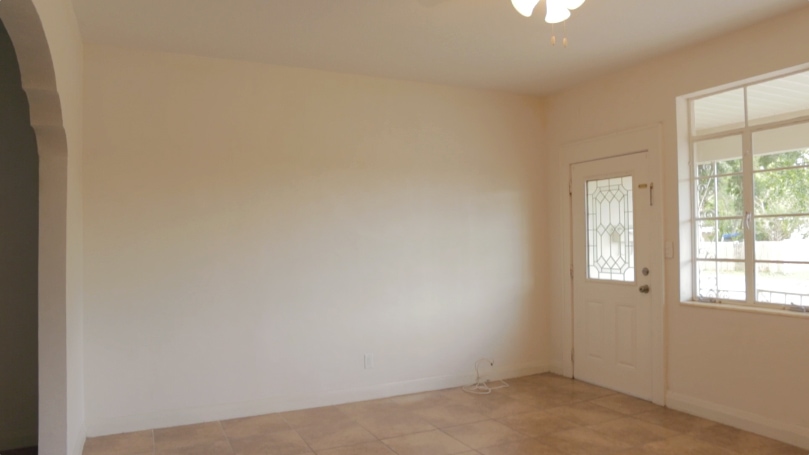
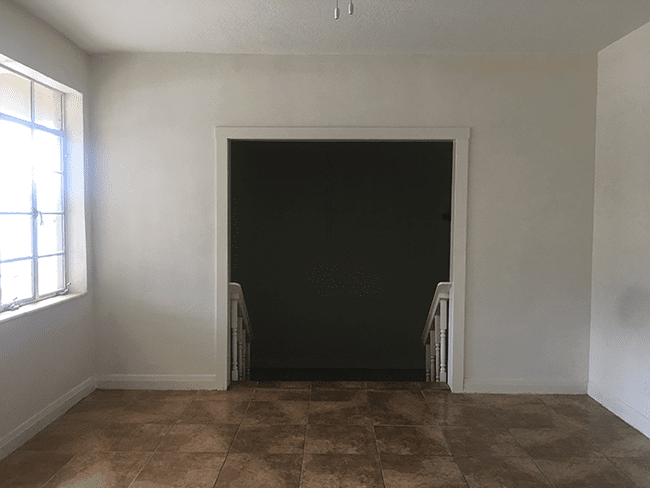
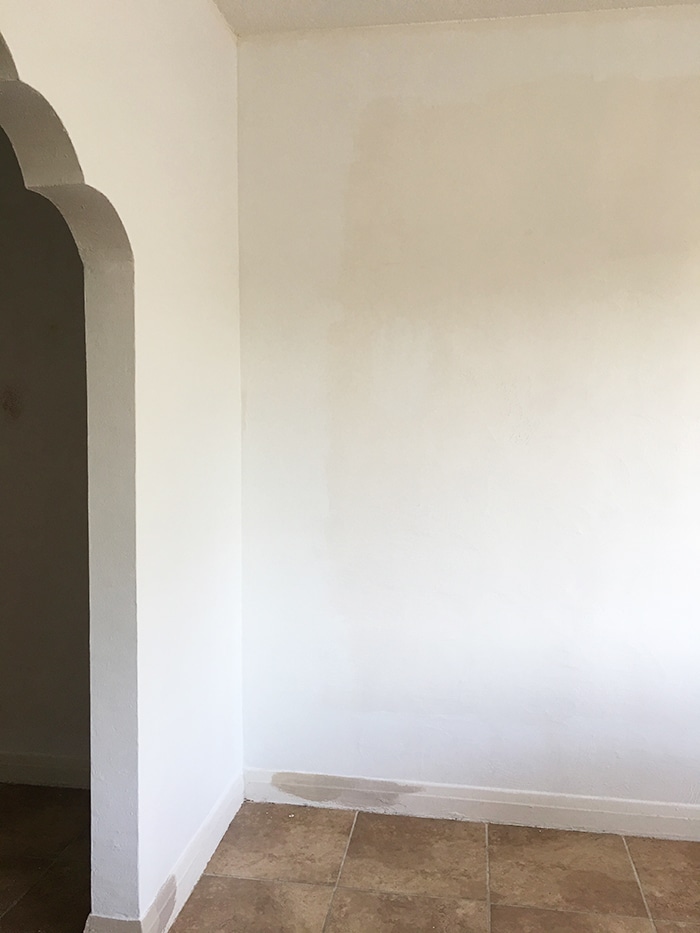
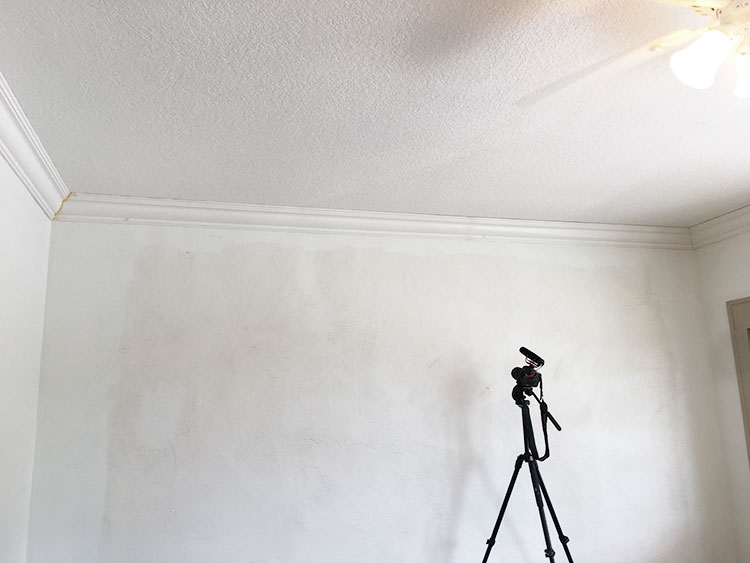
We decided to tackle our living room first (the other rooms will follow eventually):
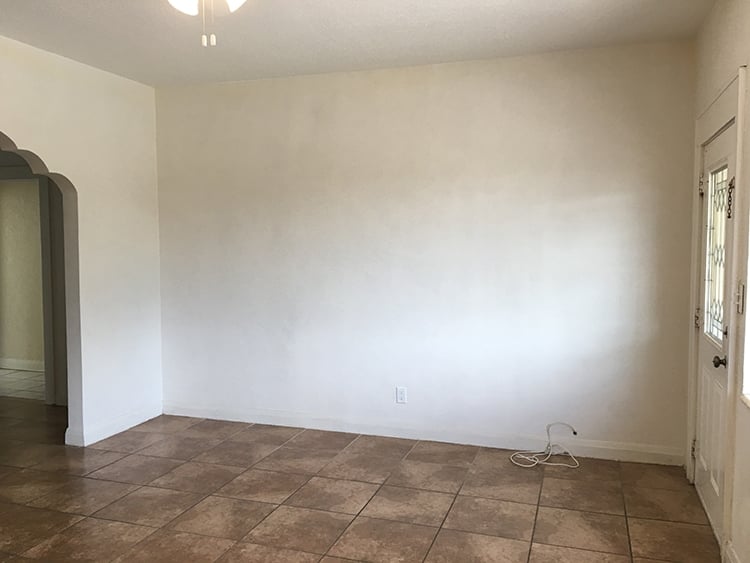
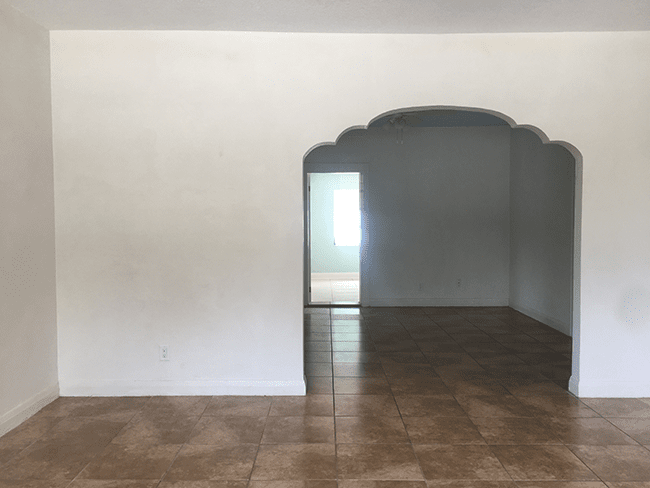
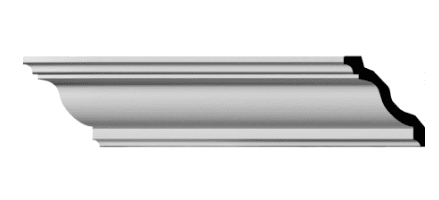
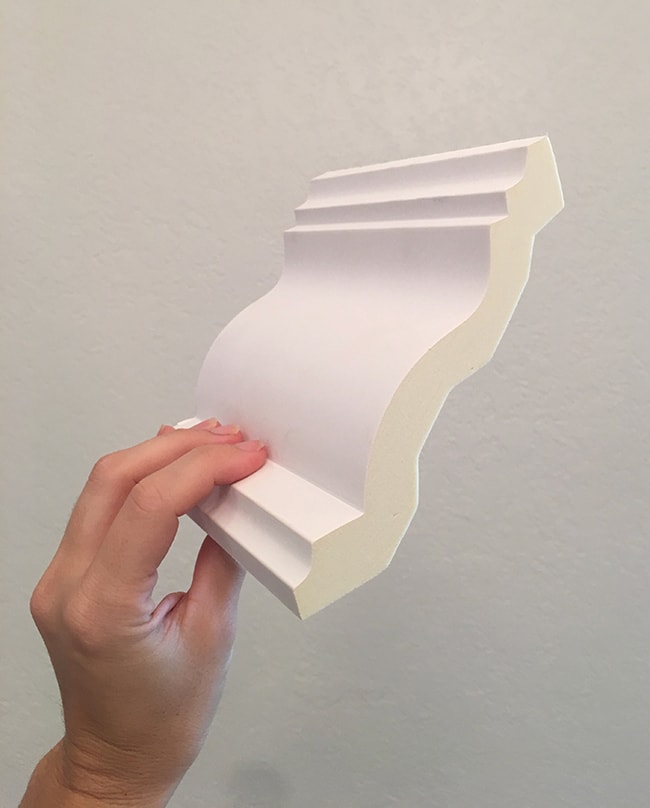
I love the look of thicker molding (especially with our 9′ ceilings), and after much research, selected this polyurethane crown molding made by Ekena Millwork at Lowe’s:
I’ve used Ekena products in the past and they have a huge selection, so I felt good about committing to ordering it all online without seeing it in person first. The best thing about it is that it’s lightweight (like foam) which makes install much easier—especially given that our walls are plaster. I’ve only dealt with drywall in the past, and read some horror stories online about people not being able to find the studs, and plaster walls cracking and shooting the nails back out. Yikes!
I think it may depend a lot on the condition/age of your plaster, but I’m happy to report that our walls gave us no problems with the nails (as long as we kept the nail gun perpendicular to the wall/ceiling), no cracks and it held just fine. Our house is also only around 60 years old so the walls aren’t in too bad of shape.
After taking measurements, we ordered a little more than we needed which is always recommended, especially with crown (the molding comes in 7.88′ pieces).
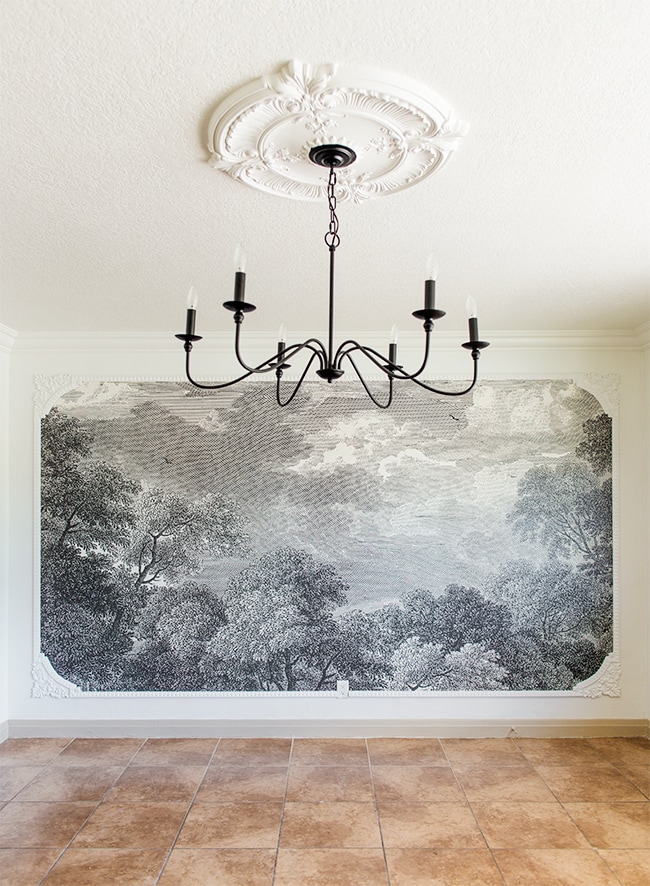
I also ordered an Ekena ceiling medallion and decorative molding to frame out our wall mural, which you can read all about in last weeks post!
INSTALLATION
Crown molding is both an art and a science. All those tricky cuts and angles can be calculated with the right tools and problem-solving, but fortunately for the more right-brained folks like myself, a little artistic puttying skills can hide even the worst scientific miscalculations. You don’t need to be good at both, but you do need master at least one.
After watching about 50 different crown molding install videos on YouTube, I still felt pretty overwhelmed because again, there’s so many different ways to do it. Knowing that I had this tutorial to write, I tried to stick to one simple method without any fancy tools, geared towards beginning DIYers.
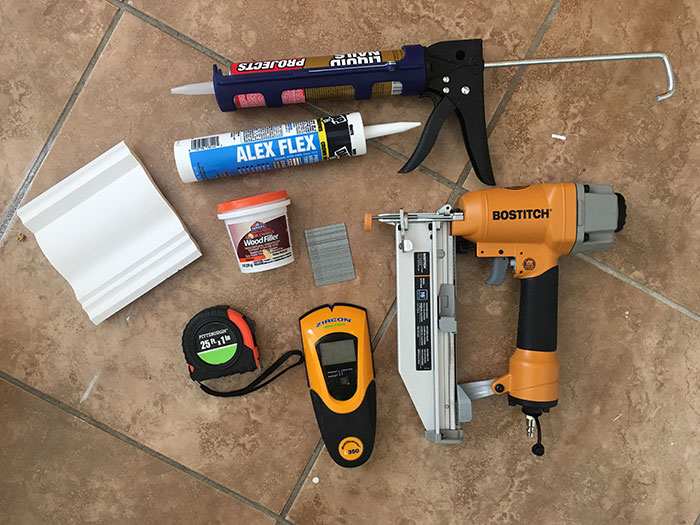
Here’s what we used:
Liquid nails (not needed if you’re nailing into studs)
Zircon stud finder (ended up not being necessary)
Bostitch 16 gauge nailer w/ 2.5″ nails
Dewalt miter saw (a regular saw or even a miter box is fine)
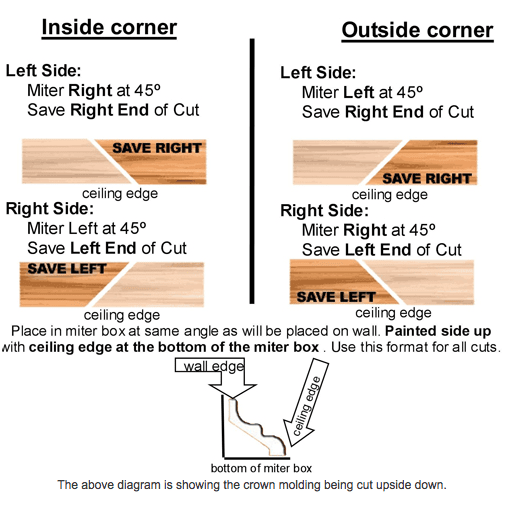
I found this cheat sheet on Dewalt’s website, which was a lifesaver:
Fortunately for us, our living room only has inside corners, so we only had to worry about the two cuts on the left side of the diagram.
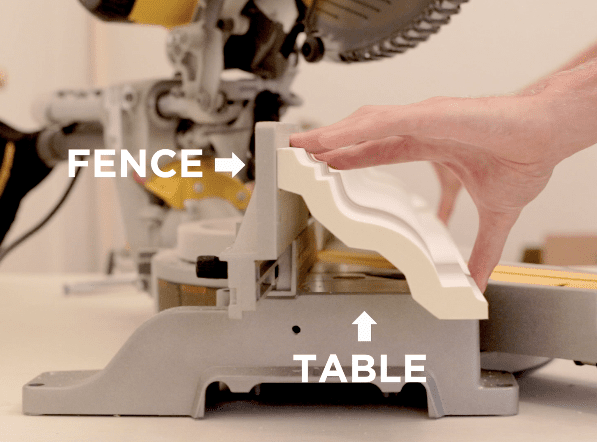
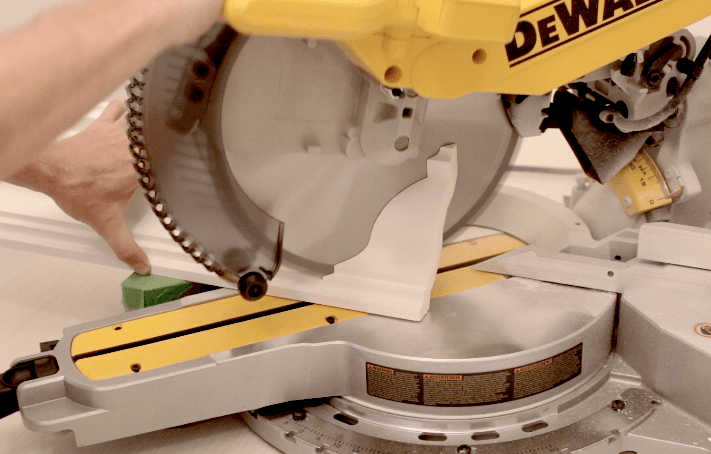
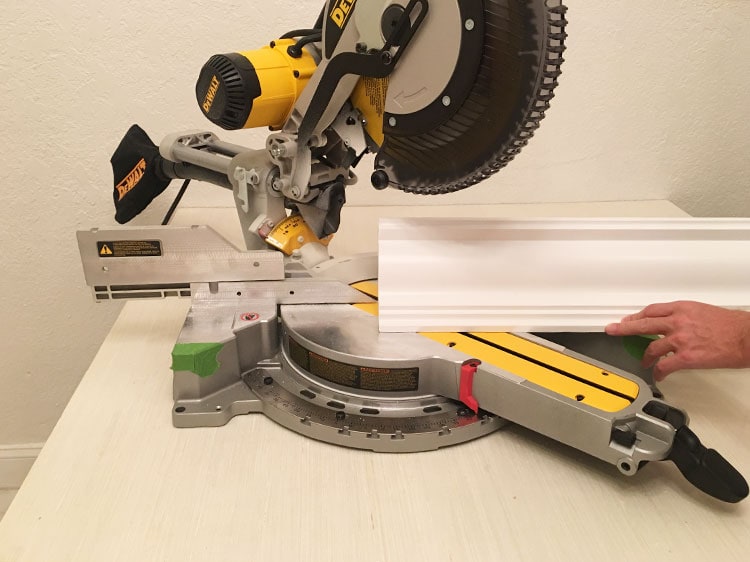
The most common way to cut crown molding is to place it on the saw in the position it will be installed onto the wall, like so:
Except it must be flipped upside down, so that the wall side rests against the fence, and the ceiling is against the table. Every time you cut. Easy to forget when you’re in the middle of working, but it’s critical to remember!
With a fancy compound miter saw like we have, we could instead lay the trim flat and use the bevel function in addition to rotating the saw angle. This would certainly make it easier to hold in place, but it also requires a bunch of complicated angles—so for this project, we stuck with the good old fashioned way of cutting.
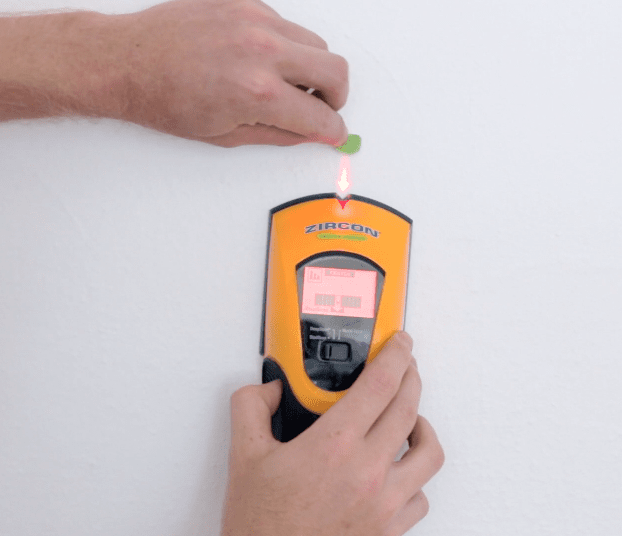
Let’s back up a second. Before getting started, it’s helpful to know where your studs are behind the wall. Neither drywall nor plaster are designed to grip nails, so you’re supposed to shoot into the studs. We used our stud finder to locate them (it actually worked quite well with our plaster).
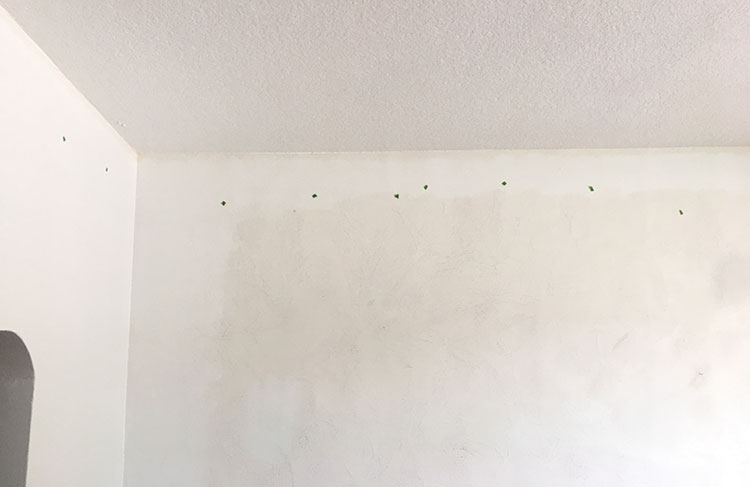
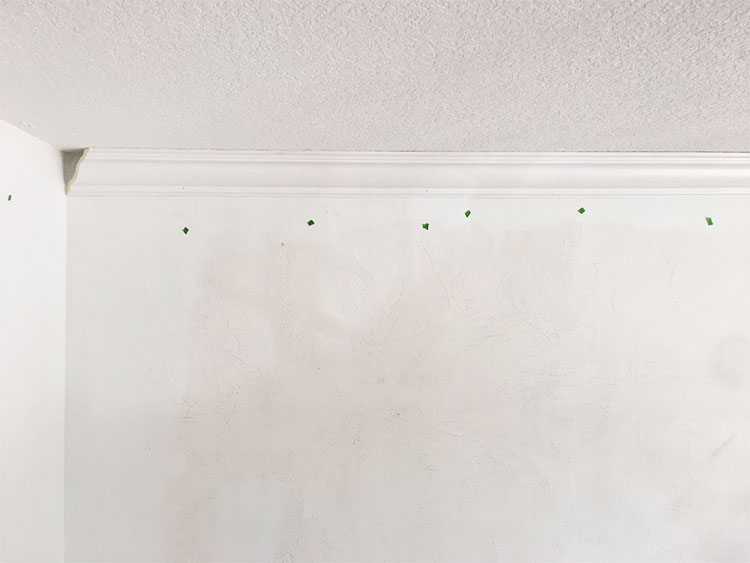
We used tape to mark our studs (so we wouldn’t have to paint over lines on the wall). Then we picked a corner of the room for our first cut, starting with a right side piece (doesn’t matter where you begin).
(Our studs are spaced 16″ apart, except for a couple confused ones in the middle). Following the diagram, we rotated our saw 45° to the left, and trimmed the right edge off.
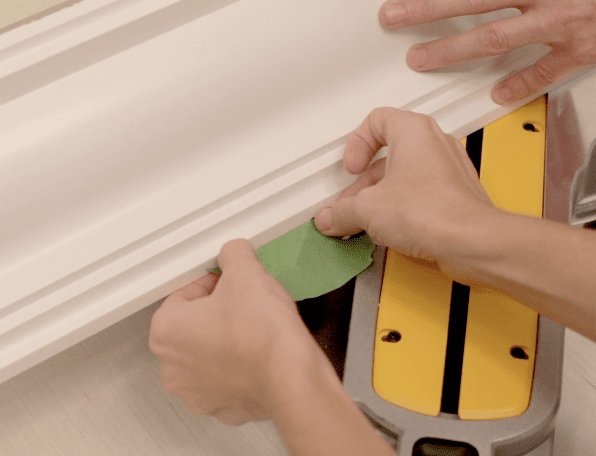
Helpful tip: if you don’t have crown stops or something on your saw to hold the trim in place, use tape to mark where the crown should line up (on both sides) so you know where to position it every time. Make sure the crown is lined up flush against both the fence and table before doing this!
This proved to be very helpful, though crown stops (or a DIY jig) are a better solution since it can be tricky to hold the molding in place (especially lightweight foam), and just the slightest movement can result in a cut that’s way off.
Before nailing our first piece up, we had to address the opposite end. Most carpenters recommend using a scarf joint to connect two pieces of molding, which is simply an angled cut.
This joint has more surface area to grip onto, and it normally hides the seam better. But with this material, there was no noticeable difference between the seams of a scarf joint and a regular 90° cut (below):
And since this material won’t expand and contract like wood does (which tends to buckle and loosen the joints over time) we felt good about making straight cuts, which made measuring easier. Just to be sure, we gave both cuts a shot:
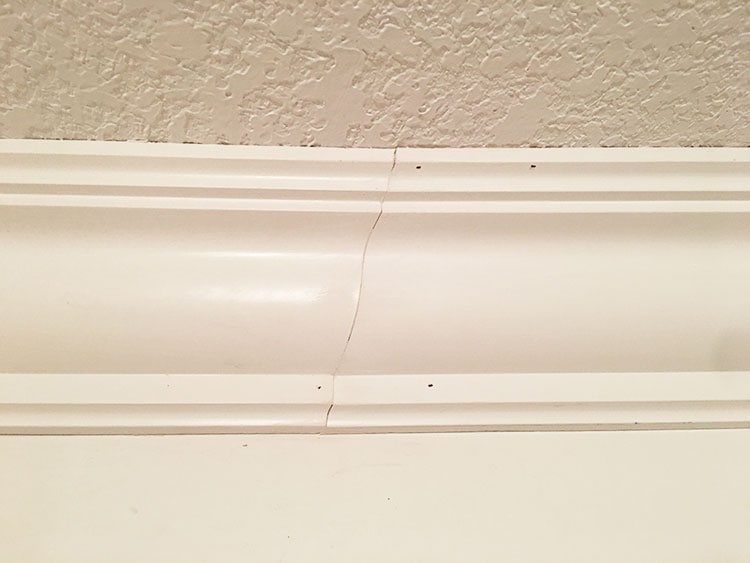
We found that the evenness of the wall & ceiling underneath was the only factor in how well the cuts matched up.
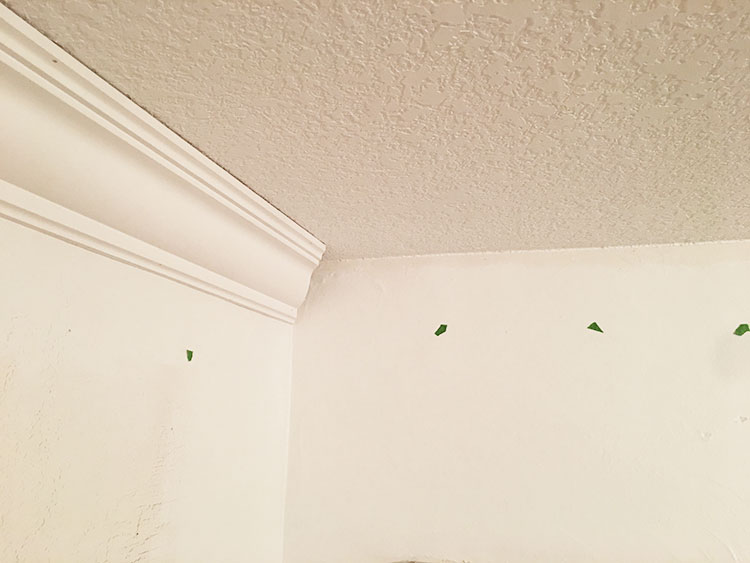
Back to our first piece! Once both edges were cut, we applied a bead of liquid nails to the back where it meets the wall and ceiling, and fit it snugly into our first corner. It didn’t take very many nails to hold it up!
In fact, the nails held it so well that we didn’t need to hit a single stud (although we still did). I can’t confirm, but I suspect it’d be the same situation with drywall. This molding is so lightweight that it really doesn’t take much to hang it—and the finish nails really only serve to hold it in place as the liquid nails dry.
Speaking of nails, we upgraded our 18 gauge nailer to a 16 gauge Bostitch (love this thing, it’s so easy to use):
I was worried about my 18 gauge nails being heavy duty enough to hold. I’m sure they’d be just fine with this type of molding, but I’d stick with 16 gauge for heavier wood/MDF materials. This gun is only $99 and will come in handy for a lot of projects we have coming up!
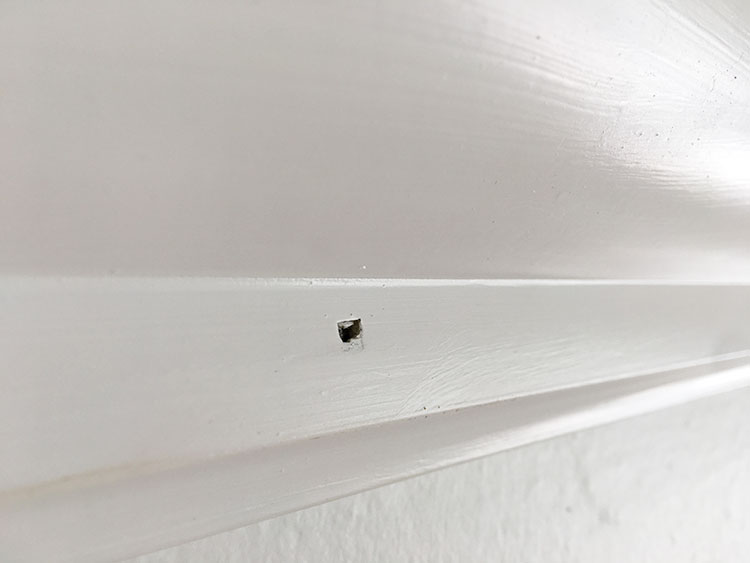
Don’t forget to set the proper air pressure on your compressor. We had to adjust ours from 130psi (nailing into the wall on the thicker part of the molding) to around 100psi for the ceiling where the molding was thinner. The nail should sink just below the surface, so you can putty & sand over it:
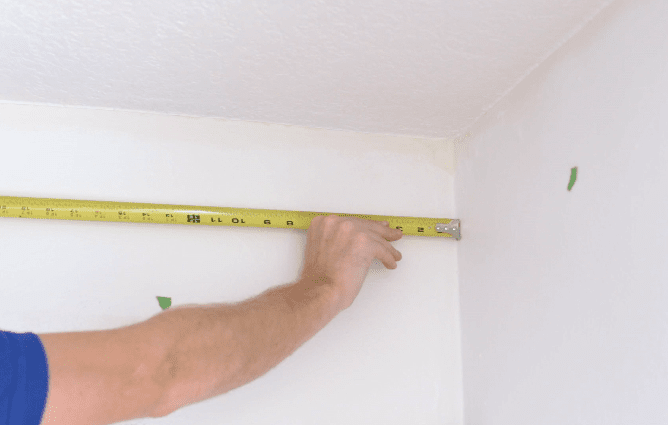
Once we reached the last piece on our wall, it was time to make our left side cut. You’ll want to measure the bottom/wall side, and very carefully, because there’s a small margin for error.
The left cut is done the same way as our very first right cut, except you rotate the saw 45° to the right and keep the right side.
Once that piece is nailed up and your wall is finished, you get to start from the top and do it all over again!
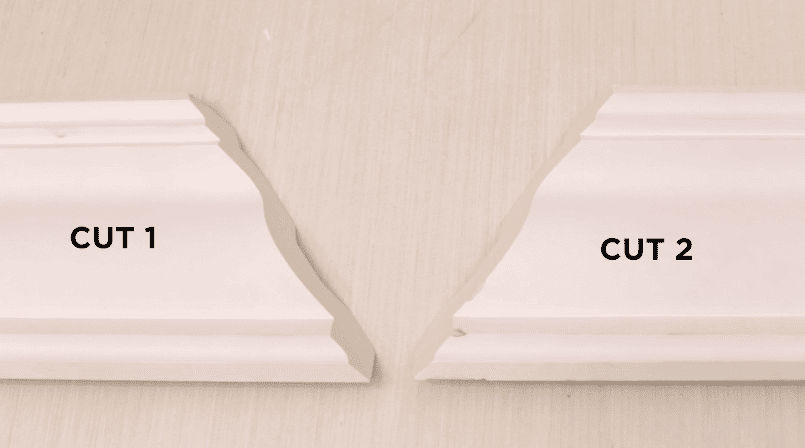
Here’s our two corner cuts next to each other:
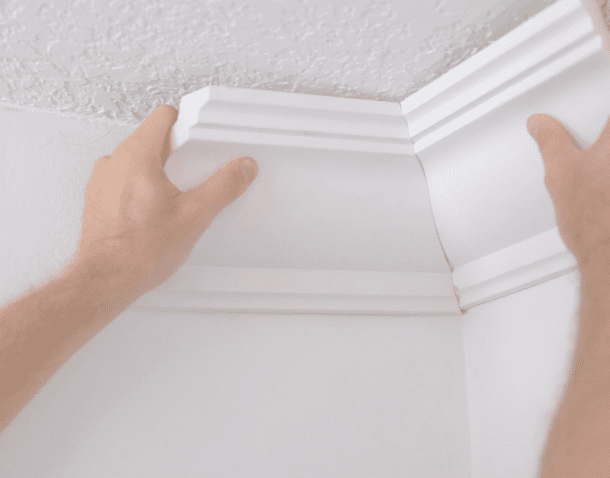
Both of these cuts together form a perfect 90° angle:
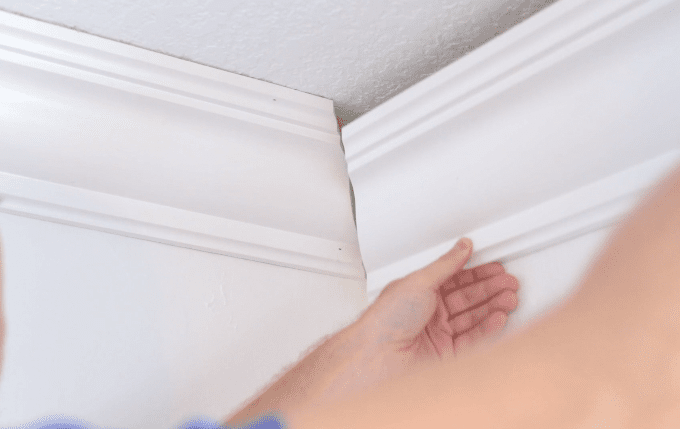
Problem is, most walls are not a perfect 90°. This is where an angle finder would come in handy, but we didn’t have one for this project, so this tutorial is now “how to install crown molding in less than ideal situations.”
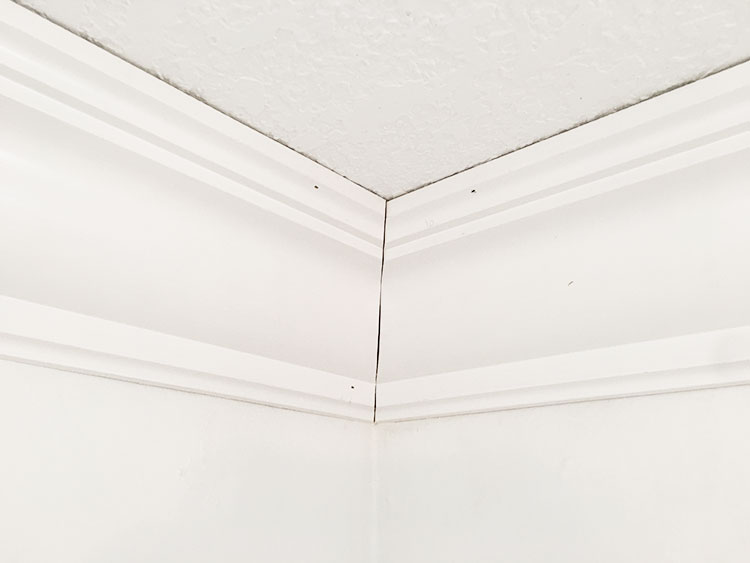
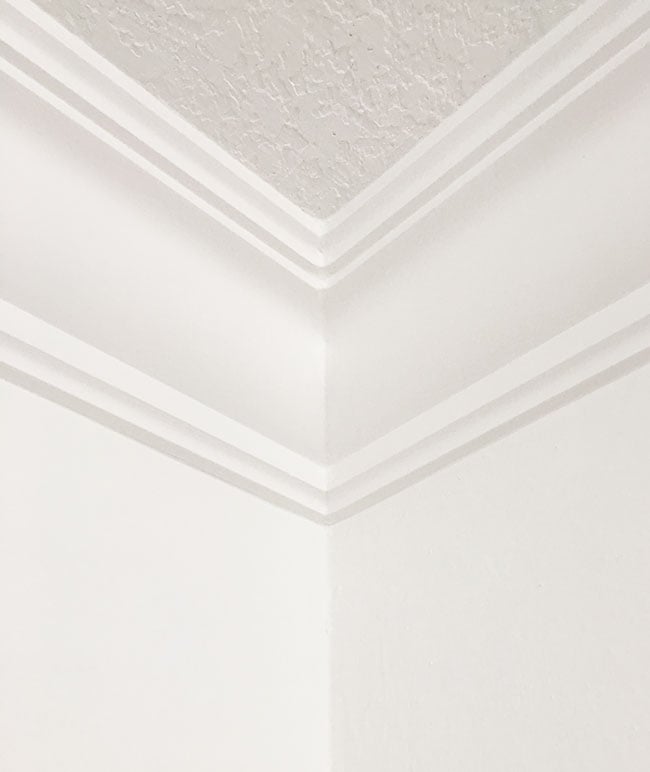
We got lucky with one of our corners. Look how nice and clean!
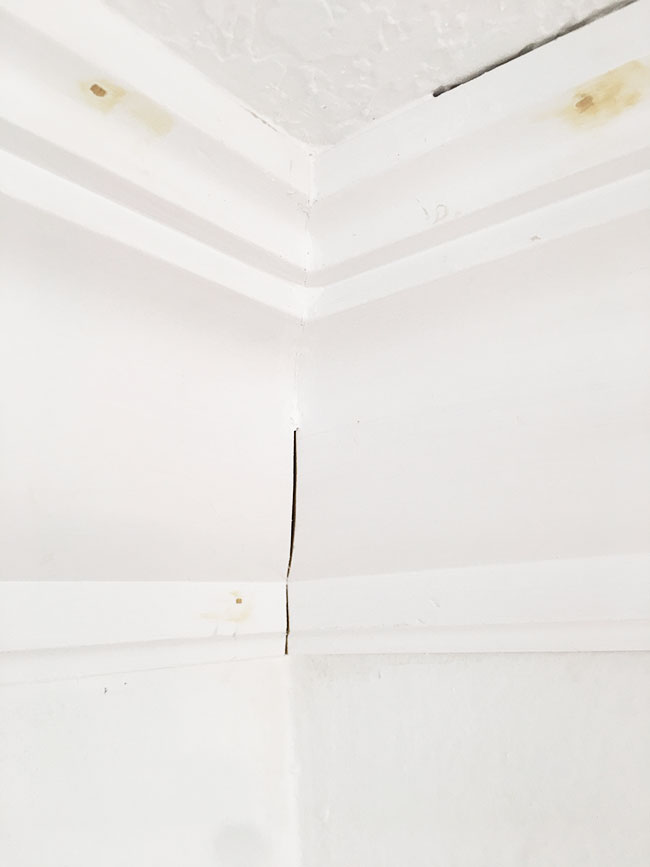
The other 3? Not so much. We’ll talk about how to deal with those in the next section.
FINISHING TOUCHES
Once all the molding is installed (whew, the hard part is over!) it’s time to put your artistic skills to work. Keep in mind that if you failed the science portion of this project, you’ll need to step up your art game. Fortunately, putty and caulk are pretty much magic in a tube.
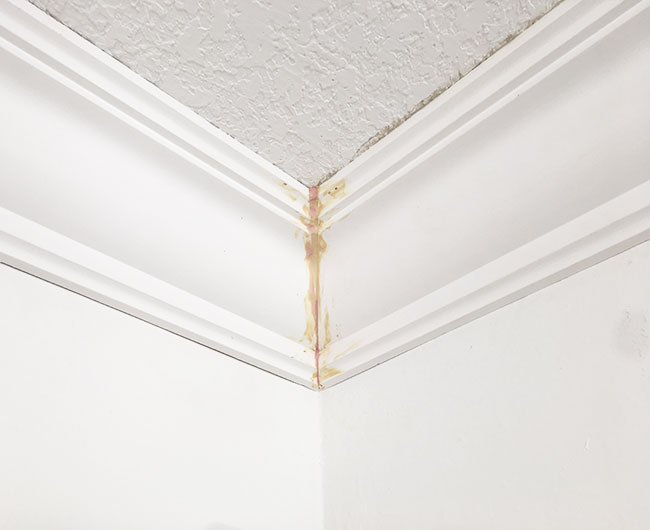
Exhibit A (I didn’t even take a photo of this before putty because it was so embarrassing, but picture a gaping hole where the putty is):
It took a couple passes with putty and some masterful maneuvers of the putty knife, but today you’d never even know the sins that lie below the surface. Especially at ground level:
That wasn’t even the worst of it. In one corner, the ceiling was sloping so bad that we had to actually remove a 2 foot section and patch it with drywall. Even then, It was still so crooked that we actually had to use screws to bend & hold the molding to the ceiling, and were left with a 1/2 inch gap in the corner. Would you believe this is the same spot?
A few of you asked about when to use spackle vs caulk, and while they can often be used on the same problem areas, caulk is generally to join seams/cracks, while putty fills holes and areas you need to sand. Caulking is not sandable—don’t even try because you’ll be left with a big mess!
Caulk also tends to shrink unlike putty, so make sure to apply it liberally or you’ll be making a second pass.
Above you can see the nail holes filled with putty, and the corner joint partially covered with caulk. Since no one will be standing this close to the molding, I could have easily used caulk to fill the nail holes instead—however it wouldn’t give me that perfectly smooth surface like putty & sanding. Caulk is certainly easier to work with though (and instant gratification) so it’s your call.
On the decorative molding pieces I did use caulk for the nail holes, since there wasn’t any room to sand. But really, who’s gonna stare at it this closely?
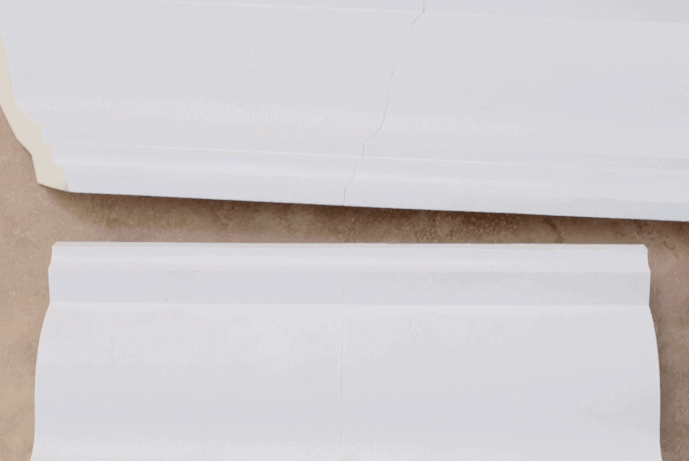
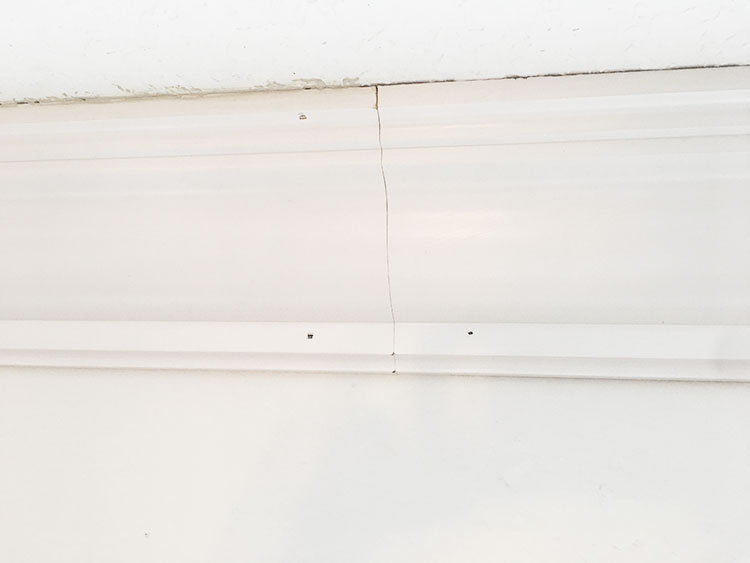
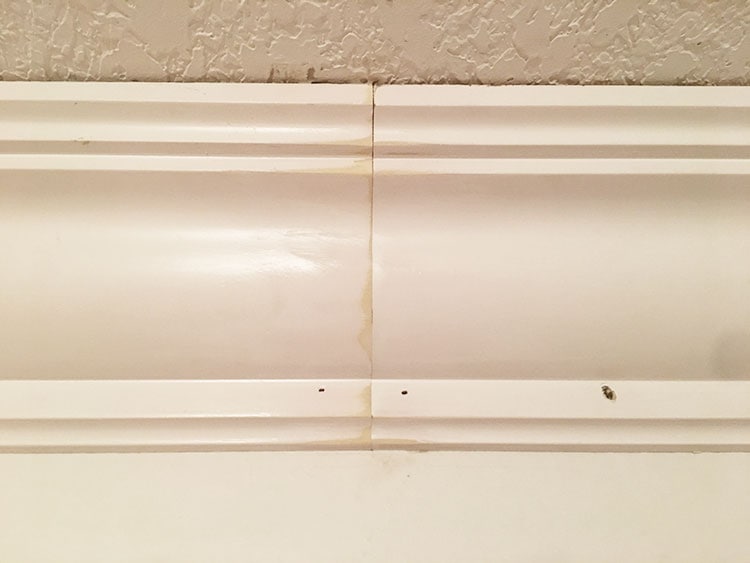
I will say that the seams in the middle of the wall were more difficult. You can’t just fill those with spackle & caulk and call it a day—any interruption in the surface will be noticeable. Make sure to line them up as closely as possible when installing.
The molding on the left stuck out a smidge further than the right, and that slight edge was enough to catch the light and make it pretty obvious. I ended up sanding it down with a mouse sander, which was tricky since it’s foam…
Bottom line, pay extra careful attention to your seams in the middle of the wall and don’t worry too much if your corner angles aren’t right.
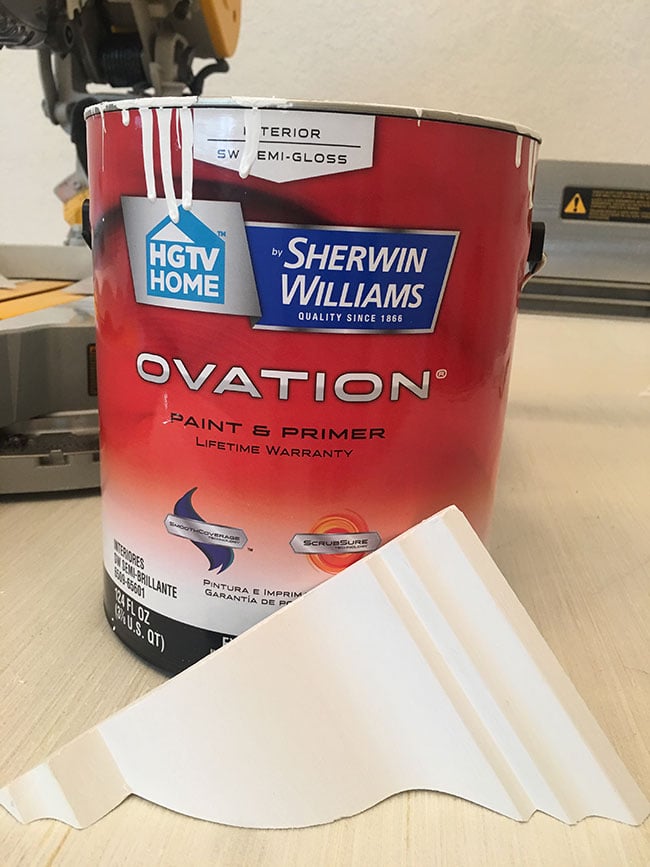
One thing that will help hide the flaws is a low sheen paint. I had originally purchased HGTV Home by Sherwin Williams Pure White in a semi-gloss finish, since that’s what sheen most folks use for trim:
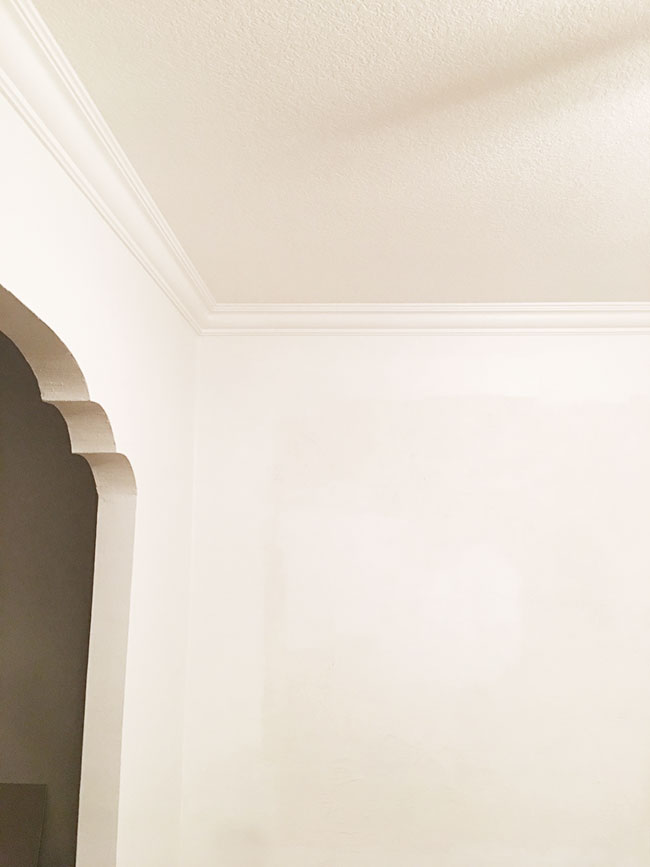
But once we installed the trim, I wasn’t loving the way it looked (and the fact that it highlights every imperfection). I’m just not a fan of shiny paint, no matter what it’s used for. So I went back over it with the paint we used on the walls—the same color but in their Matte finish. I also used this paint for the decorative trim, ceiling & ceiling medallion. Keeping things nice and simple over here!
Oh, and don’t forget to paint your molding before you install it! It didn’t really matter for our crown since the molding, walls and ceiling were all the same color—but it’s a huge, time consuming pain to carefully brush 1-2 coats around the perimeter of both your entire wall and ceiling (or even worse, mask it all off with tape—no thank you!) That’s at least half a days worth of work in itself.
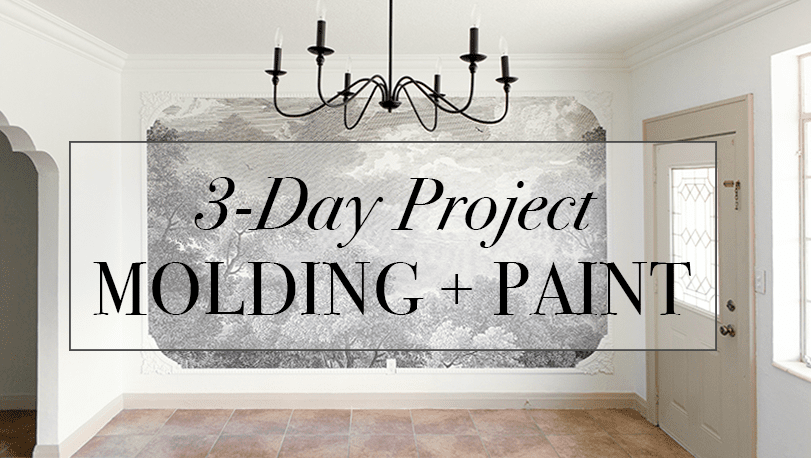
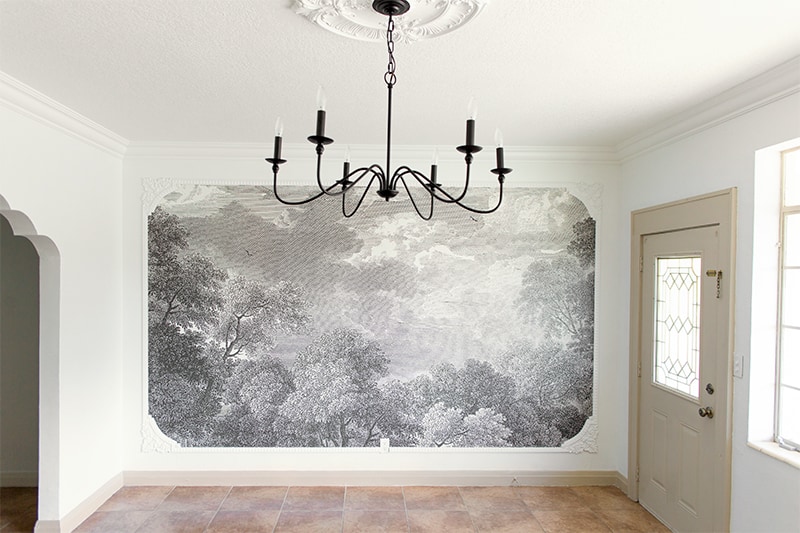
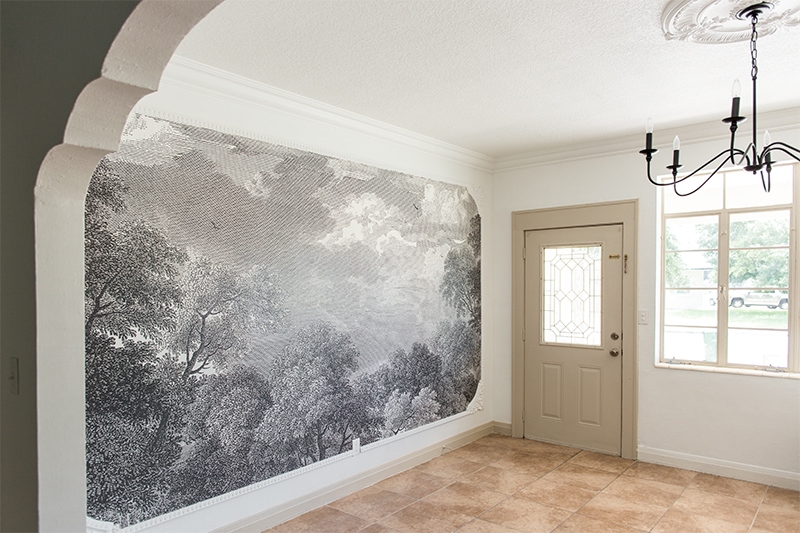
I shared our paint colors a few weeks ago, and talked about choosing a warm mushroom color (SW Loggia) for the doors, trim and baseboards. We’ll be replacing these baseboards when the new floors go in, but I decided to see how the color looked next to the mural for fun:
Yep, still very happy with my choice! I love the warmth of it next to all the black & white. Can’t wait to see how everything looks with the new floors!
LESSONS LEARNED
If I had to do it all over again, I’d consider two different options:
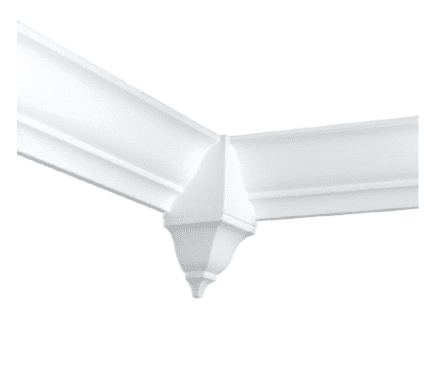
1. Use corner blocks. These are decorative molding blocks that eliminate the need for any miters—which is the most difficult part of crown! They have 90° edges that you can butt the crown right up to. I think they add a nice unique look as well (Ekena also sells some fancier ones):
We actually planned to do this from the beginning, but realized after it was too late that our crown was too large to fit. The blocks would have made this process a lot quicker and easier!
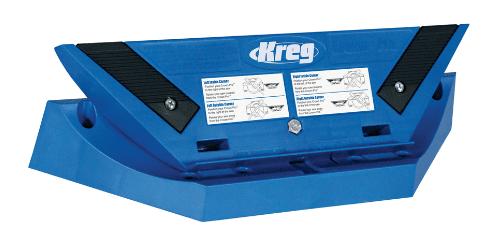
2. Use a cutting guide. Our carpenter raved about the Kreg Jig crown guide, which includes an angle finder so you can make precise cuts, and it holds the crown in place when you cut it. The online reviews and YouTube demonstration sold me on it and I was just about to go buy it—until I realized our crown was, yet again, too big to fit! So disappointing.
Despite not using these and making the process more difficult for ourselves, the results turned out beautifully thanks to the magic of putty & caulk. But now we get to do this process all over again in the dining room (using the same materials) so we have a chance to modify our approach.
We still can’t use corner blocks or the cutting guide since we’re using the same crown, but I’m either going to buy crown stops for the saw (so we don’t have to hold it in place by hand) or try the compound miter cut method so we can lay the molding flat onto the table of the saw. We may also get an angle finder so we can make the proper cuts and save ourselves from hours of sculpting & sanding later. There’s a whole house to do so these handy tools should be worth it! We’ll be pros by the time we move out.
Even with this project taking longer than expected, the atmosphere in the room feels completely different when I step inside now, and the struggles are all a distant memory. We’ve created this beautiful environment that makes me so happy just to be present in. It was so worth it.
Hover your mouse over the photo below (or tap on your phone) to see the materials I used!
Okay, who is ready to tackle their own molding & paint project this Labor Day Weekend? If we can do it, you can do it!
I’ll be back next week laundry room updates 🙂









Linz says
The room is looking great! I’m so excited about returning to the good old days of tutorials and room reveals.☺️ I’m loving all the new things you are trying!! You are are doing a great job and a lot of hard work- thank you for sharing it all with us. (Thanks to Lucas, too?)
jennasuedesign says
Thanks so much for all the support, Linz! <3
Jodi says
Jenna, LOVE following along with your projects. Just a hint. My friend turned me on the this Spackling & Nail Hole Filler. Drys fast and doesn’t shrink and you don’t have to sand!
https://www.homedepot.com/p/DAP-DryDex-5-5-oz-Dry-Time-Indicator-Spackling-Paste-12387/100357226
jennasuedesign says
Thanks Jodi, I’ll look into that!
Dana says
Congrats and thank you for the tips on lessons learned and all the great step by step photos. We are working on a few trim projects right now. Seems like it will take us forever to finish. Love following your blog.
jennasuedesign says
Thanks Dana! It’s always a painstaking process when you’re in the middle of it, but you forget all about it once it’s done ?
Jill says
Wow! Thanks for sharing such a detailed post, plus a video! So helpful!
jennasuedesign says
Thanks Jill, so glad you found it helpful!
Judy says
How about coping the crown molding?
That means you only need to make one angled corner cut. The other piece goes straight to the wall………then you use the coping saw to cut out material from the back side.
https://www.youtube.com/watch?v=J_v0GEU4L64
My dad built his own house years ago. When he started he knew nothing about woodworking. He coped all the inside corners of moldings with a handheld coping saw. When I was just a kid I learned how to do that.
jennasuedesign says
Thanks for the tip Judy — we tried that on a couple pieces that didn’t quite fit. Sometimes it worked, sometimes it didn’t–although our method wasn’t too exact. I left it out of this tutorial to keep it simple 🙂
Karen says
The wall and crown molding look so beautiful. I love the way you framed the mural. That is gorgeous!!!
jennasuedesign says
Thank you so much, Karen! The mural frame might be my favorite part 🙂
@2expensivebitches says
We have new flooring going in this weekend! We picked this https://www.flooranddecor.com/laminate-laminate/calico-water-resistant-laminate-100085497.html#start=6
So excited!
jennasuedesign says
Woohoo, good luck with the install!