Well hello there. I’m back… with an actual house project this time! It’s small, but it’s something.
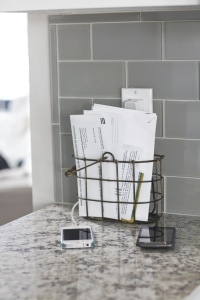
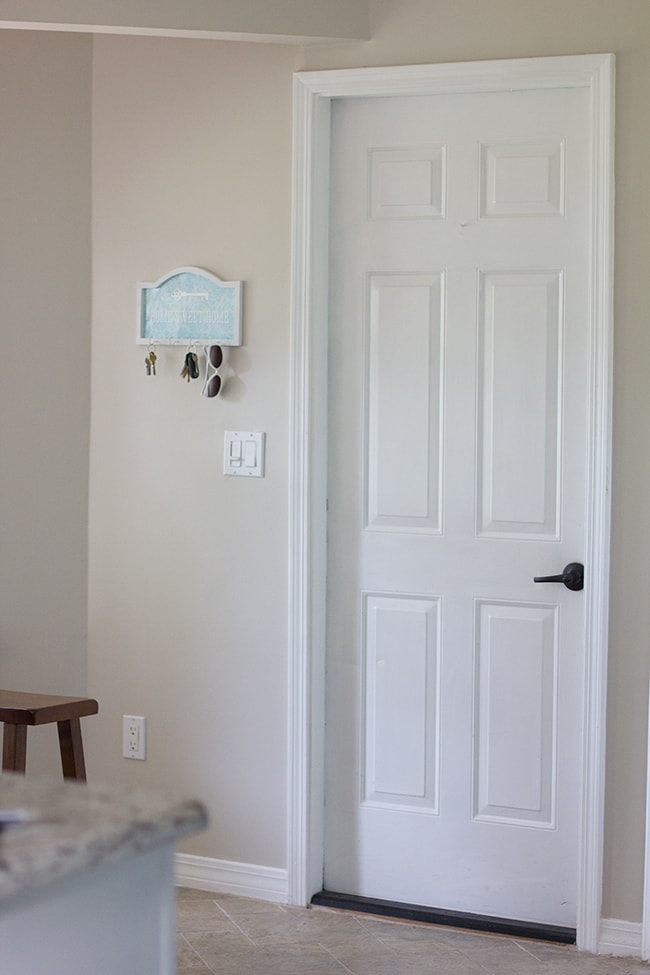
Remember this catch-all phone charger/keyholder/mail basket we’re using in the kitchen?
We haven’t exactly been using the “key holder” part. It’s alllll the way across the kitchen (all 5 steps) so usually by that time I forget and just leave my keys in my purse. Which becomes a problem when Brad is running around before work at 5am going through every one of my purses trying to find them.
So he suggested a conveniently placed “key holder” station so we both always know where the keys are. And I jumped at the chance for a new project.
Step #1 (as always): Hop on pinterest to see some creative DIY solutions.
I found a few that caught my eye, such as this:
| Source |
this,
| Source |
and this,
| Source |
But I wasn’t entirely sold on any of them so I headed to Hobby Lobby to browse the aisles for inspiration.
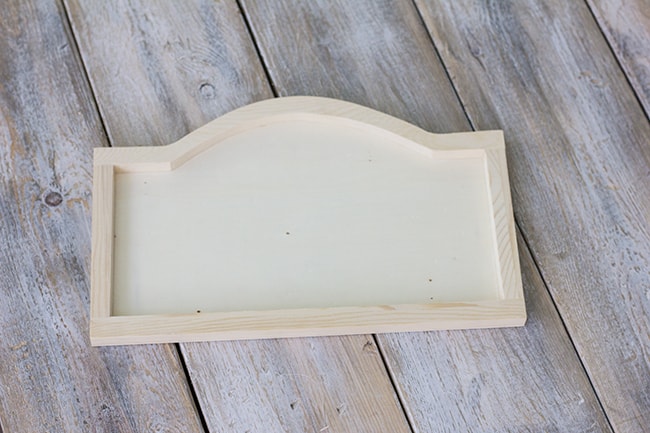
I ended up walking down each aisle, twice, for at least an hour, until I discovered this guy in the wood section:
Retail price: $4, on sale for $2 (can I just live at Hobby Lobby, please?)
I didn’t know what I wanted to do with it yet, but I knew the possibilities were endless. I considered paint, fabric, wrapping paper, rope, seashells, rocks, 3D numbers/words… so many decisions.
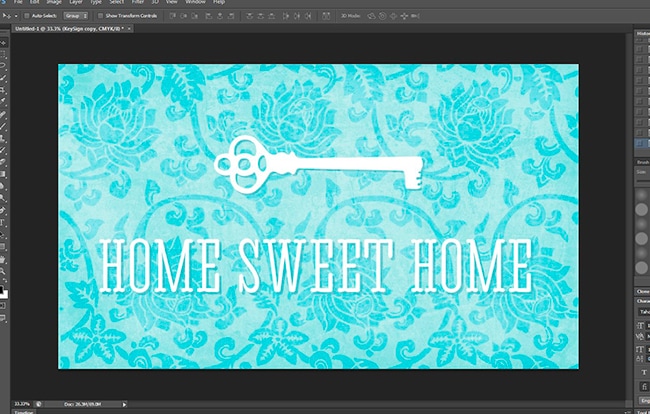
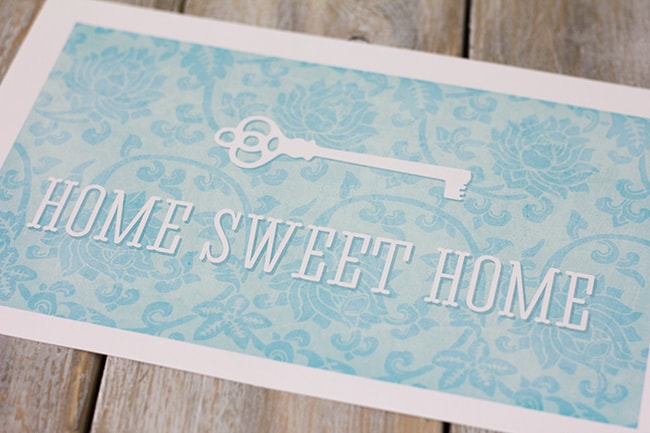
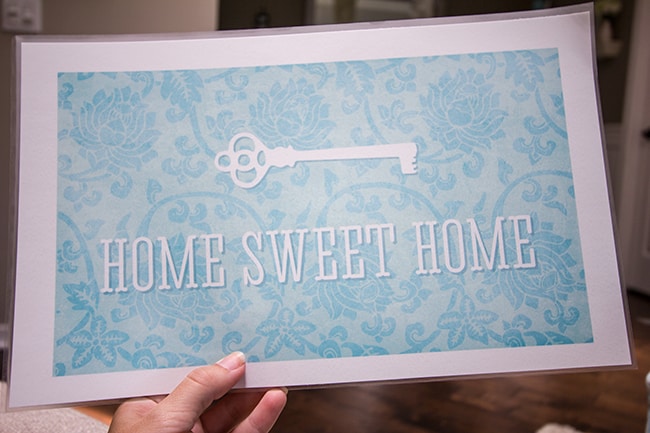
Finally I decided to hop on the computer and see if I could come up with a simple design to print out. I ended up with this:
Sweet & simple.
I took it down to Office Max to have it laminated for durability and protection. The lamination cost $2 (for a 12×6″ sheet), although I had rewards credit from their ink recycling program so my total: $0.
I decided to paint the wood white for a cleaner look. I sanded down the rough spots and used semigloss white spray paint.
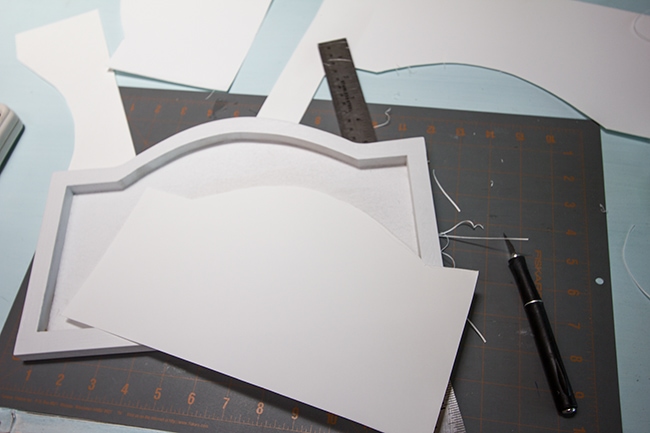
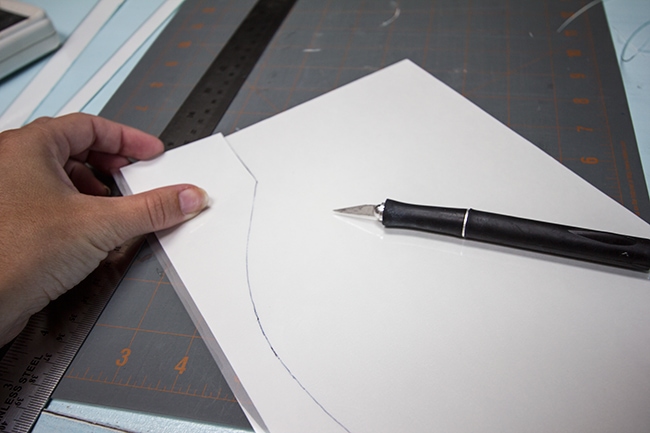
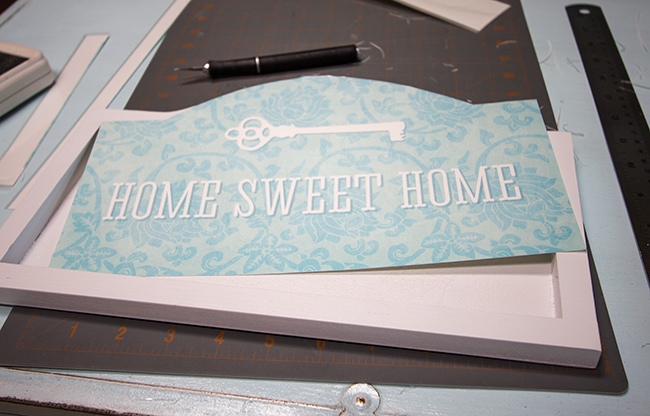
Once it was dry, I test fit a template for cutting out the shape. This was really trial and error. I used an Xacto knife and just kept carving away at the rounded edge until it was a perfect fit.
Once the size was right, I traced it onto the back of the laminate and carefully cut out my shape:
All done:
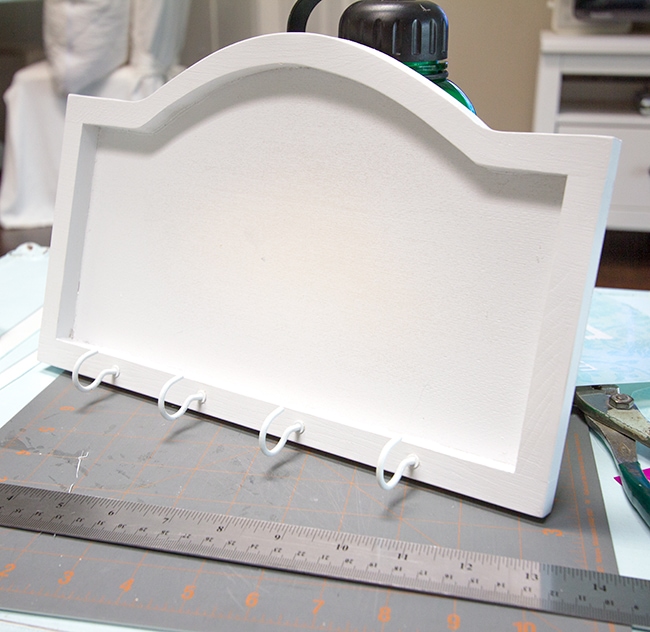
I picked up 4 white screw-in hooks at Lowe’s for $2 (reason #205492 Lowe’s > HD: HD only had gold hooks. Lowe’s had plenty of nice white and silver ones.)
I measured out the correct spacing and screwed them in by hand:
Finally, it was time to get this bad boy up on the wall.
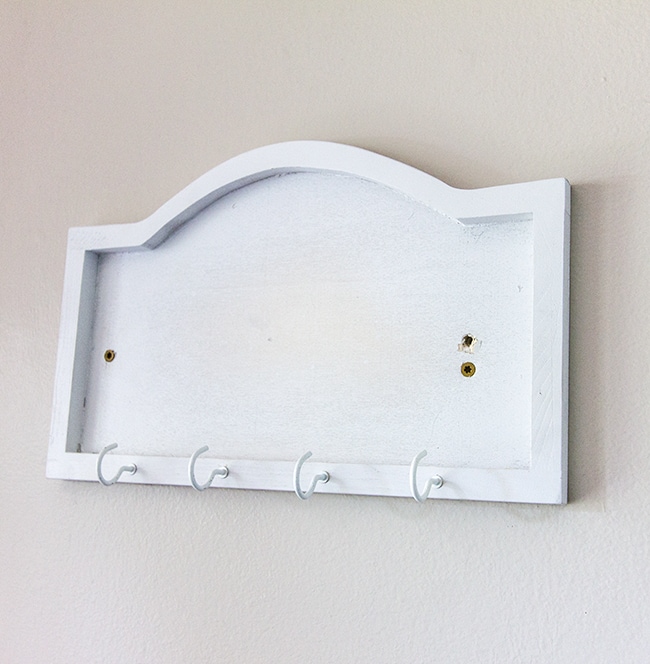
It had originally come with two eye hooks positioned on the top so they could slide over nails. I wasn’t a fan of the visible hardware, so I removed them and decided we could just screw the back right into the wall.
 |
| Ignore the oopsies on the top right… |
The right screw landed in a stud, so this thing is plenty sturdy, and nice and flat against the wall
which I love.
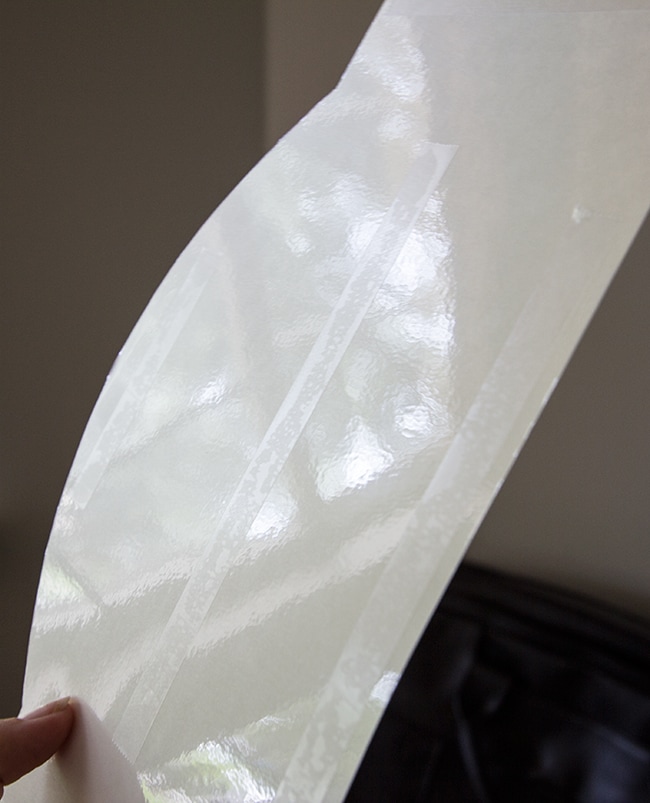
Finally, I applied some double sided tape to the back of my print:
And secured it into place:
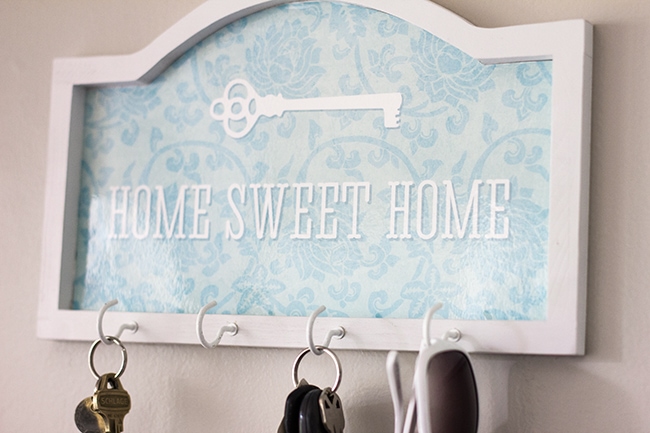
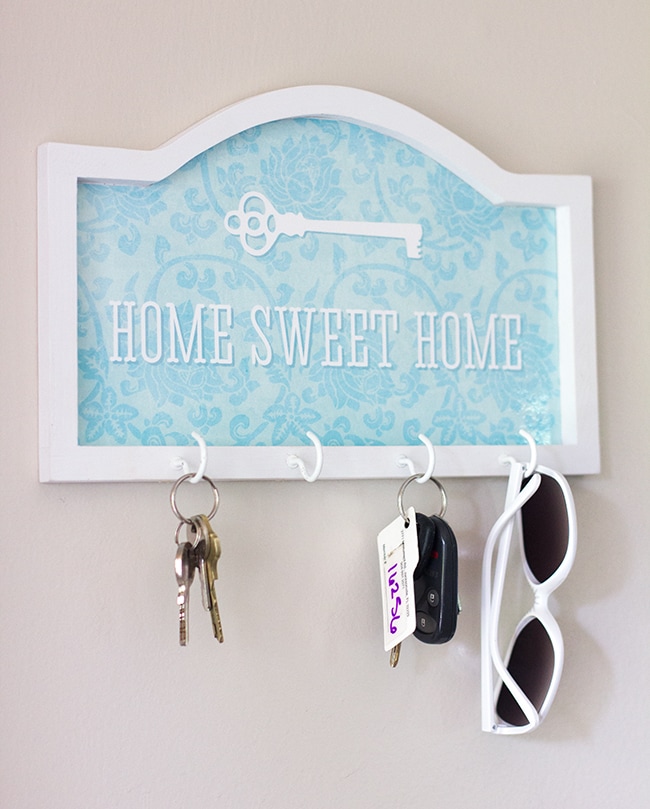
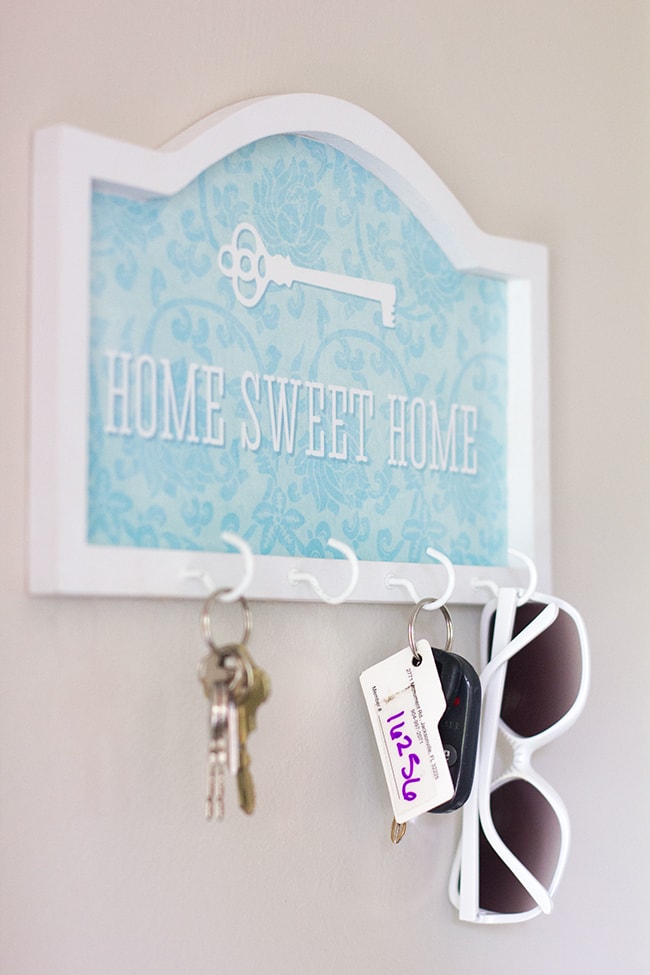
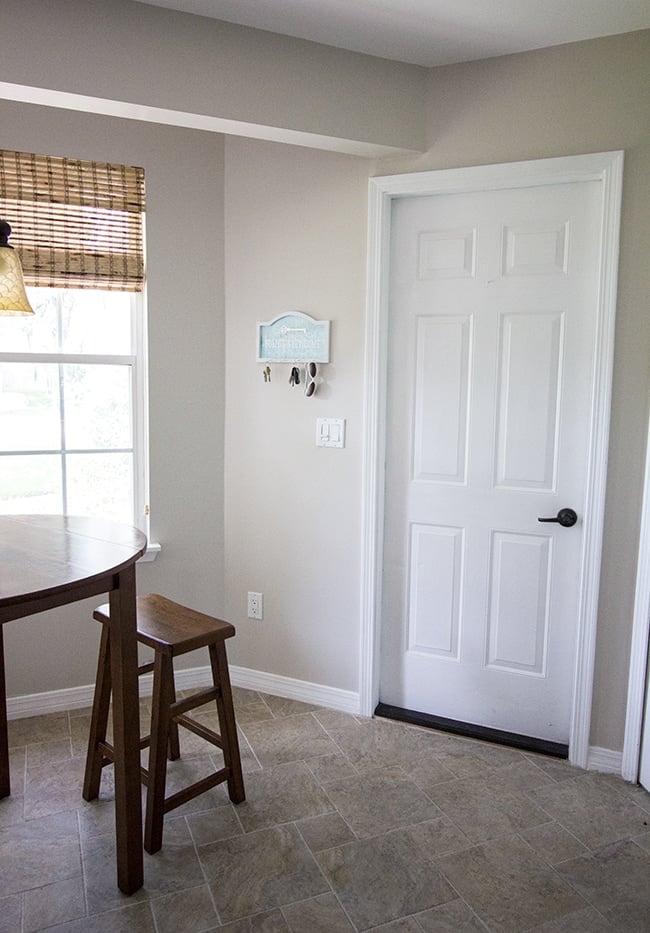
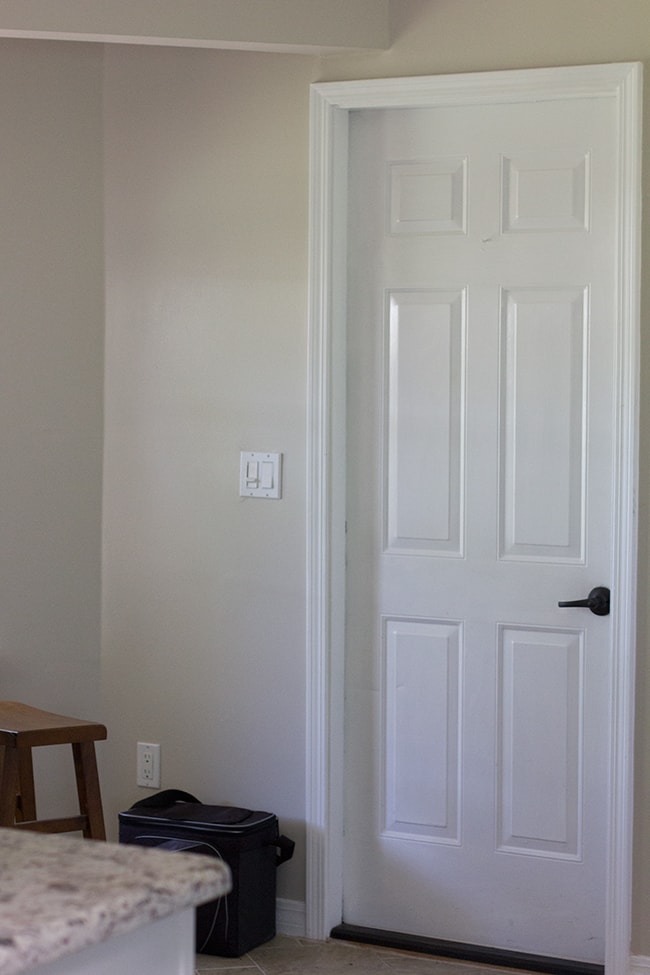
And now we have ourselves a key holder station, adjacent to the garage door which we enter from every day.
Before:
After:
Let’s hope we actually use it like we’re supposed to now 🙂
Cost Breakdown:
Wooden holder: $2
Hooks: $2
Laminate: $2, but $0 for me
Spray Paint: $0 (already had)
Total: $6, spent $4
Anyone else make or buy any key holders lately? I was so tempted to just buy a pre-made one at Hobby Lobby, but DIYing is a lot more fun.
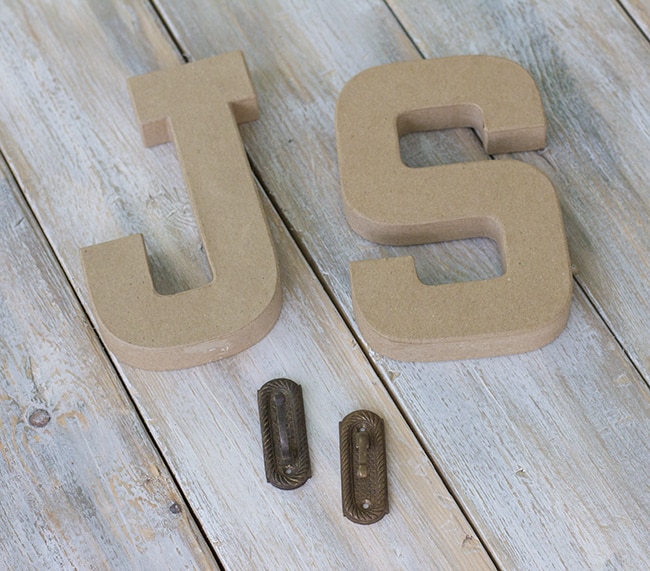
Speaking of which… I picked up a few more things while I was at HL for my newly improved office. I’m not quite done with the project yet, but it will be discussed in the next post. Here’s a sneak preview:
One last thing, business related: My huge map poster sale is currently live at fab.com!
You have to register to preview and purchase the deals, but there’s always really neat items on here so it’s totally worth it. My poster sizes never go on sale, so grab em while you can (and tell your friends, too!). The sale ends Tuesday at 8am PST/11am EST. If you are a member, you can view my sale page here (if not, sign up here to view the deal!)
Be back soon with an office update!



Jenna Sue says
Any Photoshop will work—it's a basic function and they all do the same thing. I think I used CS6.
Anonymous says
Which Photoshop did you use?
Anonymous says
What program did you use? Please answer me.
Jenna Sue says
I used Photoshop!
Anonymous says
Can you please tell me which program did you use to do the design? Thanks.
Anonymous says
oh sorry! i read it as 11pm…my bad!
Jenna Sue says
The sale ended this morning at 11am 🙁 You can still purchase them here though! https://www.jennasuedesign.com/maps/
Anonymous says
I am trying to get to your map sale to buy a print…the link takes me to the fab site but i can't find where your maps are. Can you help?
dogwalker says
Very cute. I love the key holder that looks like mailboxes. It reminds me of my first apartment hallway. I am so not creative. Any idea on how I would make that?
Brittany says
Yay! Looks great. We have a catch all type capiz bowl in our entry way that has worked pretty well so far. Can't wait to see more of your projects!
Sheena says
So Cute! I can't wait to see what you do with those letters!
Michelle says
Looks great!
Ruth says
Fantastic as always! I love your creativity!