It’s the second to last week of the One Room Challenge!
If you’ve missed anything so far, get caught up with Week 1, Week 2, Week 3 and Week 4 first!
As the elements of this bedroom makeover continue to fall into place, we’ve reached my favorite part where it’s all about the finishing touches and styling. With the biggest hurdles like new doors and furniture makeovers out of the way, the last and most important piece remained—the bed!
Today’s post and video is a Bed Layering Guide, and I’ll be sharing the formula I use and my best tips when it comes to putting together your dream bed. Watch the vlog to get the full scoop!
The older I get, the more important having a really good, comfortable bed becomes. This 33 year old body of mine gets achy after just a few hours of DIY now (which I’ve been doing constantly lately) and the best feeling in the world is crawling into bed at the end of a long day. Your bed should be your sanctuary, so it’s worth spending some time on to get it right!
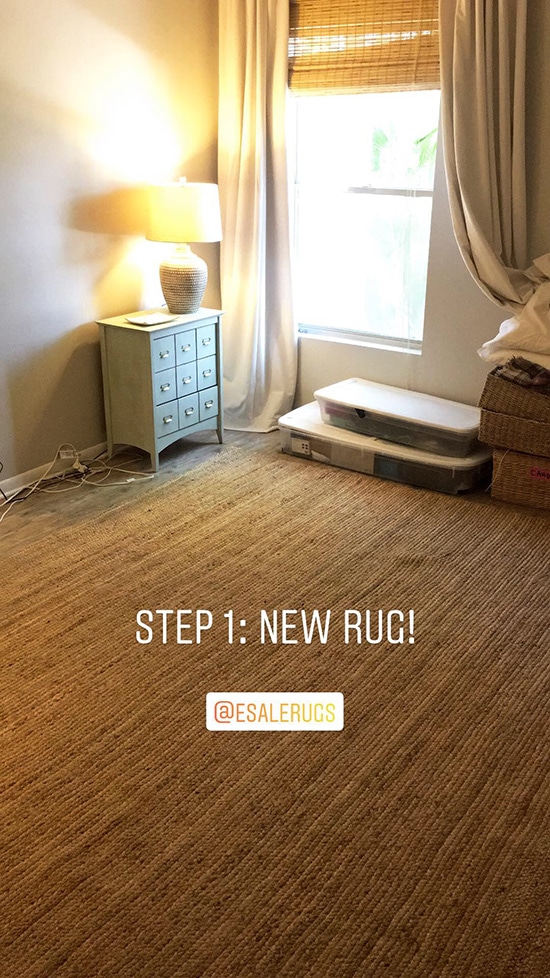
Before we can even think about the bed, let’s start with what’s underneath. I always recommend a rug, even if your room has carpeting. It will help define the space and make it feel more finished (and inviting!)
I can’t get enough natural fiber rugs in my life, so I picked out this 8×10″ jute braided rug from eSalerugs:
I use this type of rug in bedrooms all the time because they’re inexpensive, low maintenance and neutral enough to go with any style.
Now the big decision: the bed!
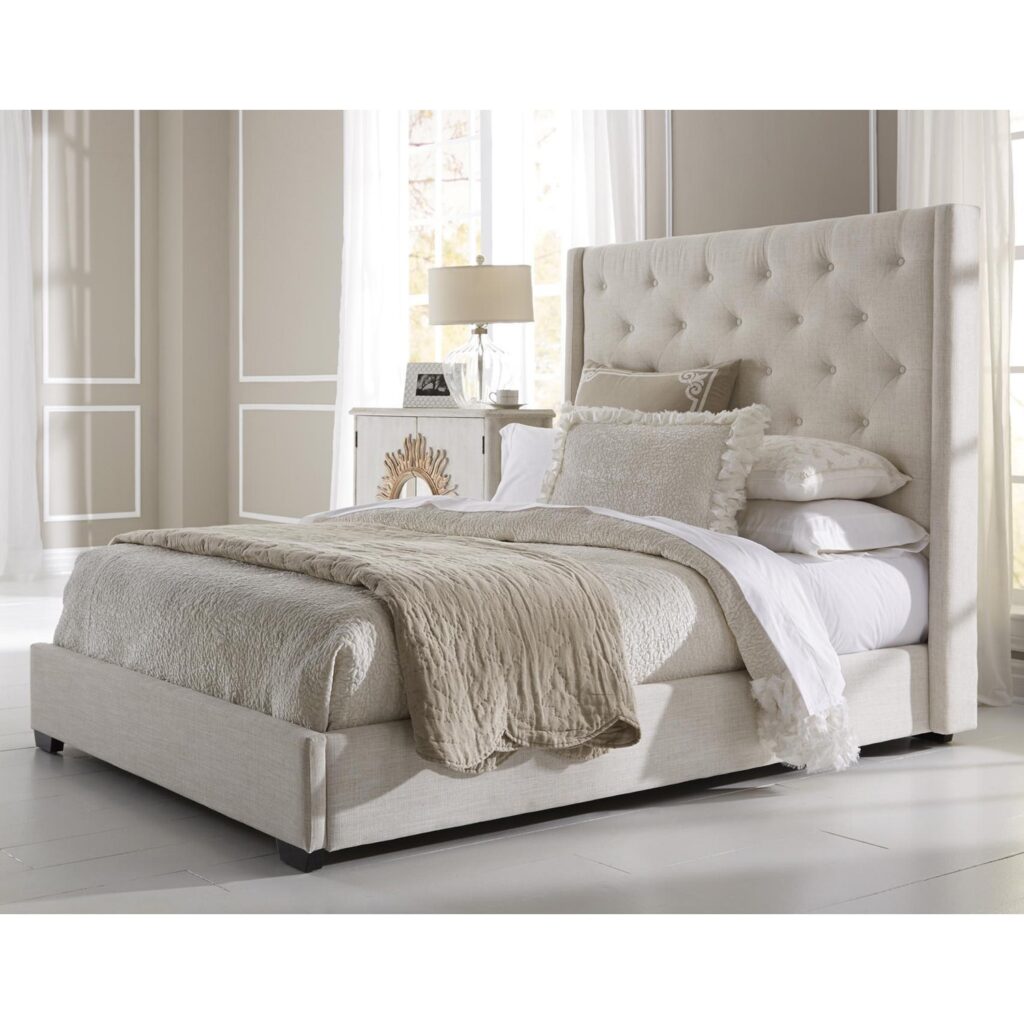
My motto on this is to go with one that includes side rails and a footboard—regardless of the size and style. It doesn’t have to be anything large or fancy, but I think a bed with four sides always feels the most complete and polished. I also like a headboard with some height which will help make it the focal point of the room.
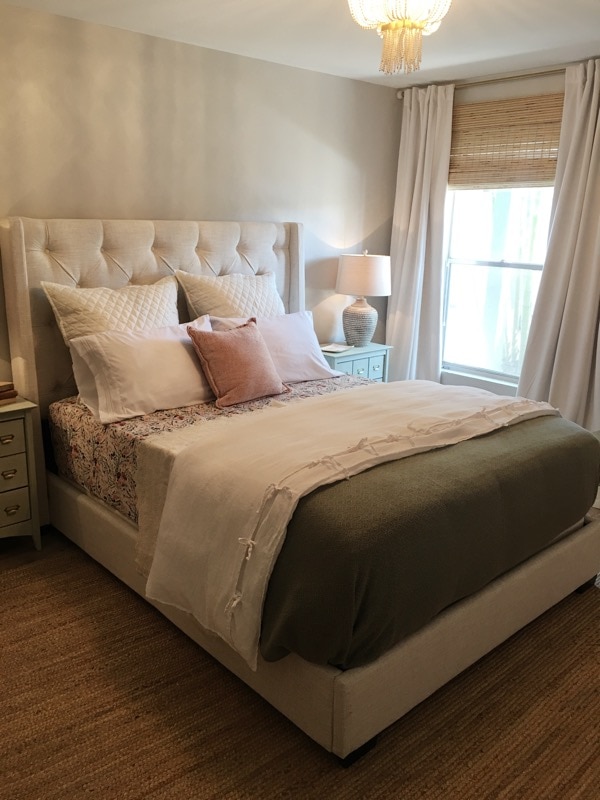
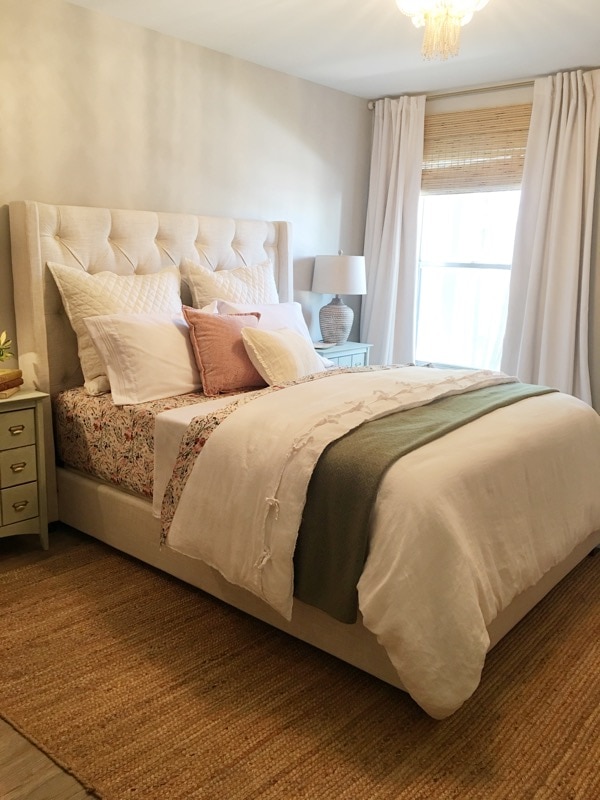
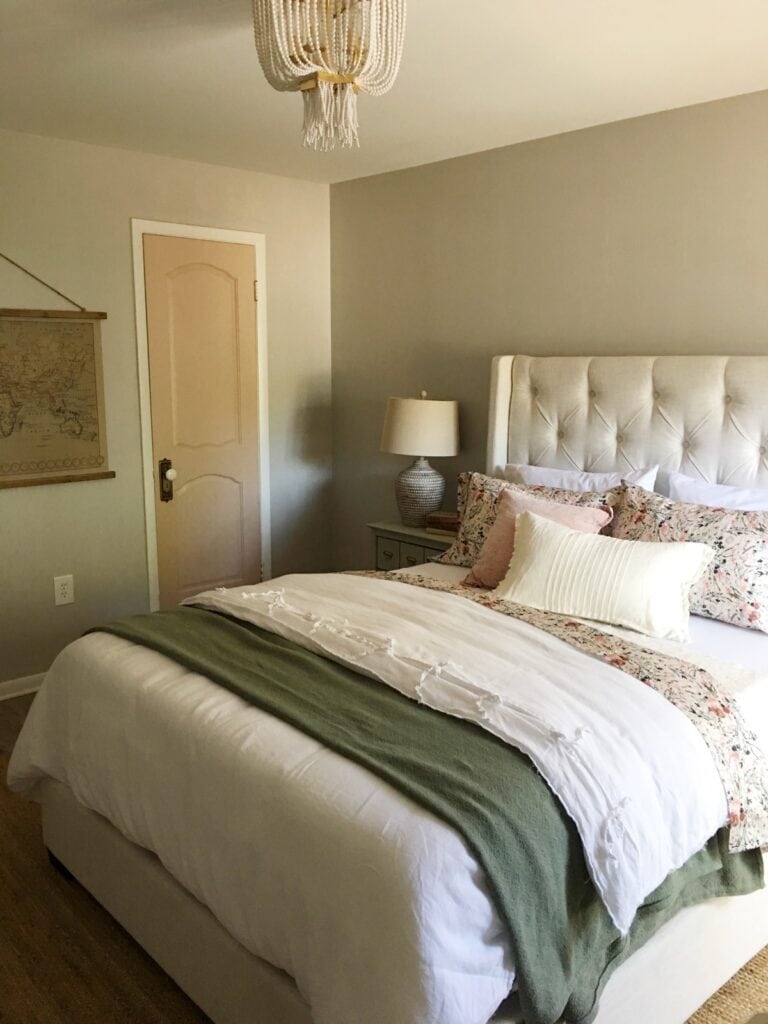
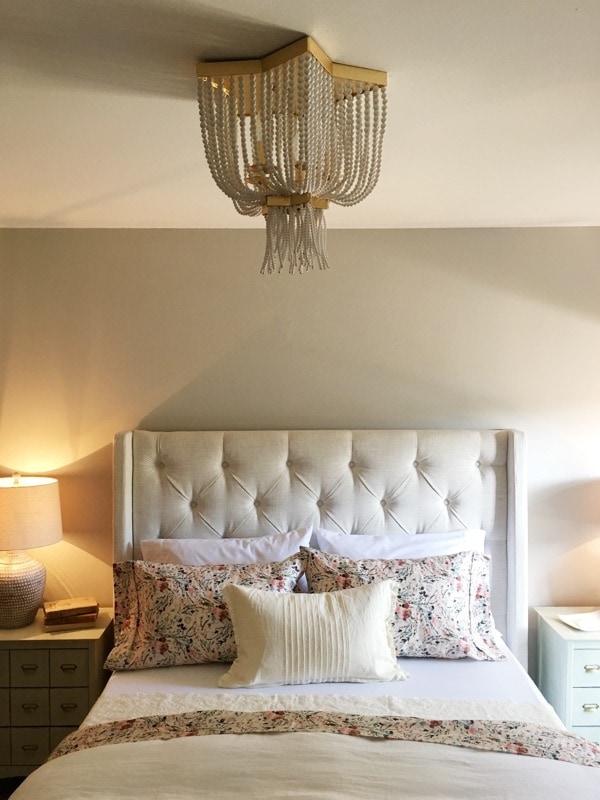
I found this beautiful tufted bed on Overstock and couldn’t resist. I love it because it’s neutral enough to use with any style decor or bedding.
Upholstered beds like this are like the Mercedes and BMW’s of the bed world, in my mind—luxurious and sophisticated. It also feels very ‘grown up’, as if I’ve finally earned the right to sleep in one after years of a cheap metal bed frame.
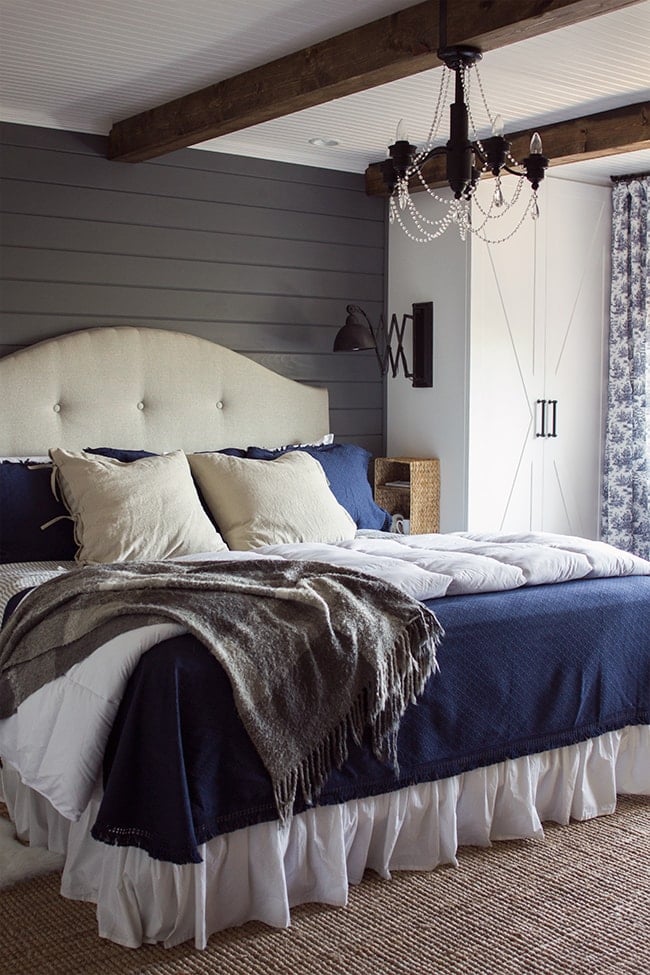
If a four sided bed isn’t an option, at the very least you’ll want a nice headboard, and then you can use any metal frame and box spring and cover them with a bedskirt, like I did here in my California home (I feel like I’ve come a long way…)
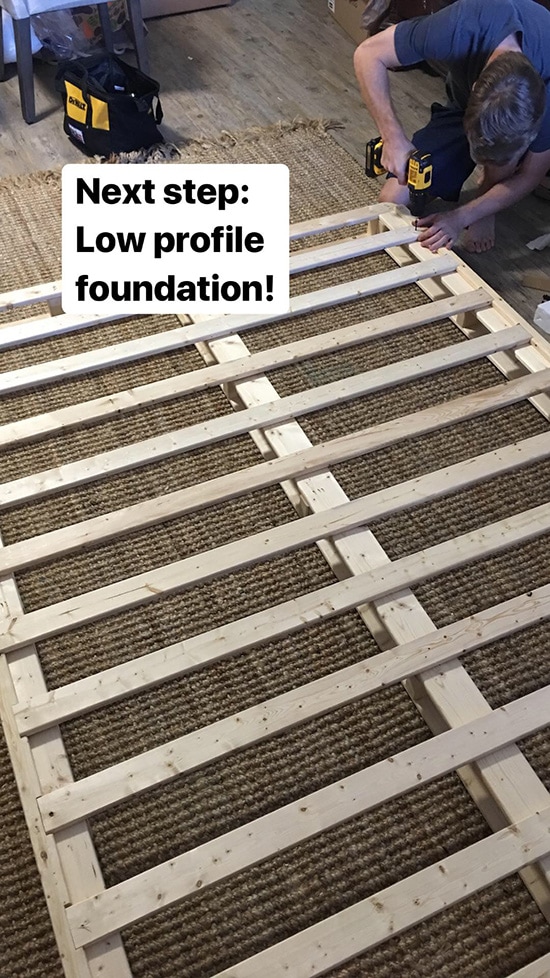
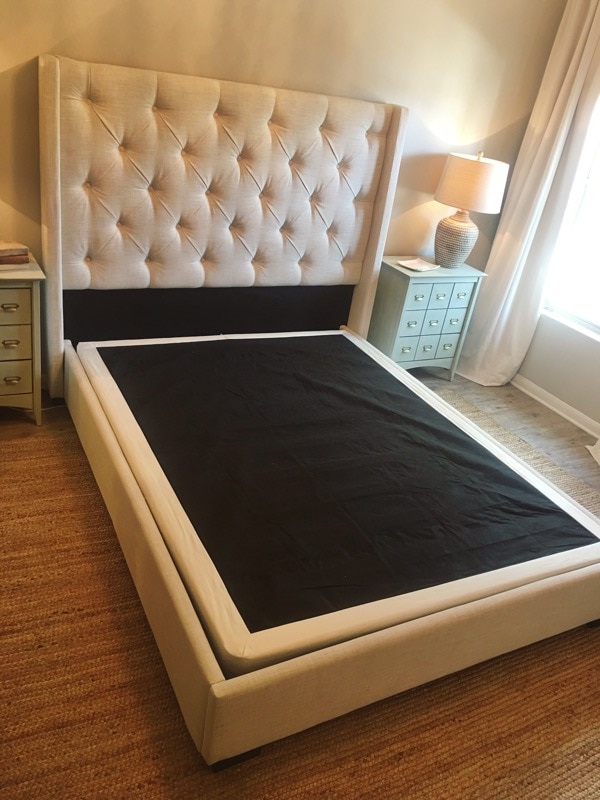
After you’ve selected your bed, you’ll need to find the right size box spring. Did you know these come in many sizes? With the bed I chose, the side rail height is only around 4” from the slats where the box spring sits, so I had to find a low profile foundation that wouldn’t be exposed.
I found this 4″ platform (also on Overstock) which was easy to assemble and fit right into our newly assembled bed.
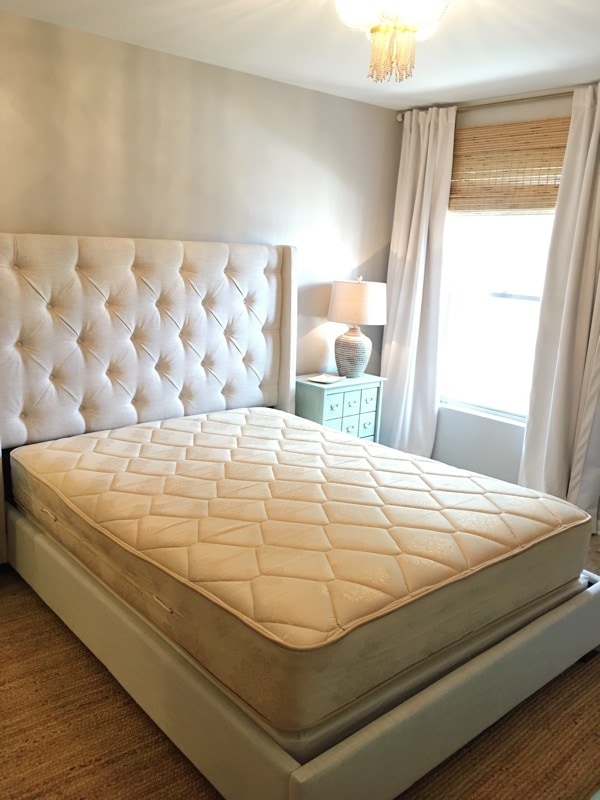
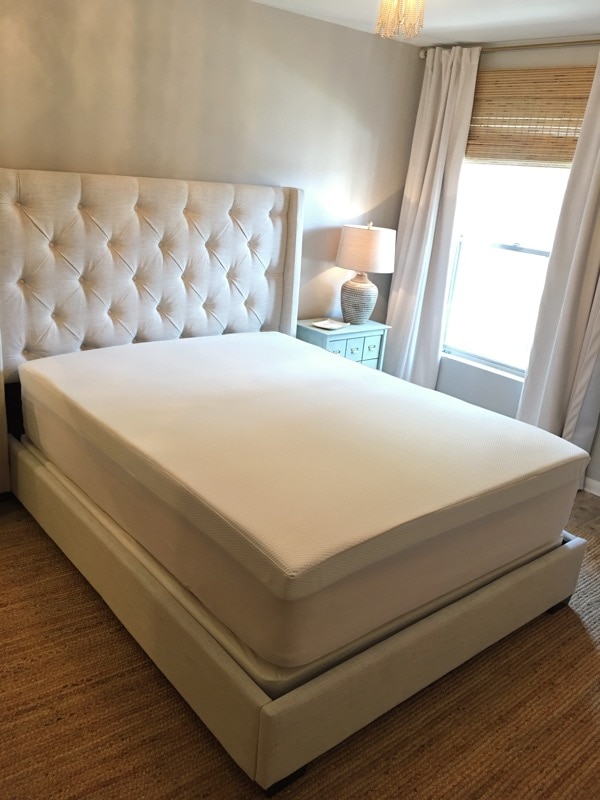
Now it’s time to add your mattress. We bought a used one a few months ago off Craigslist (it came with our old bed), and it was tolerable, but not exactly sleeping on a cloud.
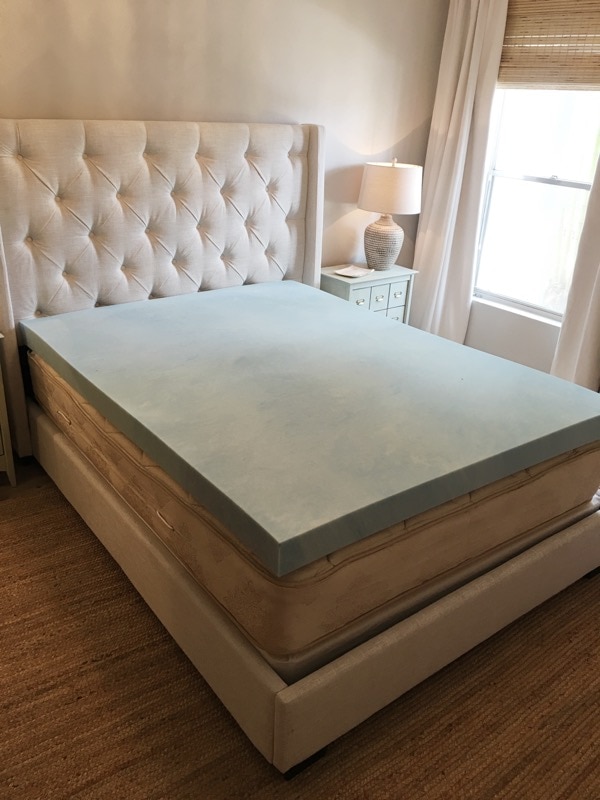
If your bed doesn’t feel like pure heaven: do yourself a favor and get a good mattress topper! Luckily you don’t need to go out and buy an expensive memory foam mattress, because with a good mattress pad, you won’t be able to tell the difference. I promise they’re worth every penny (and they aren’t even expensive).
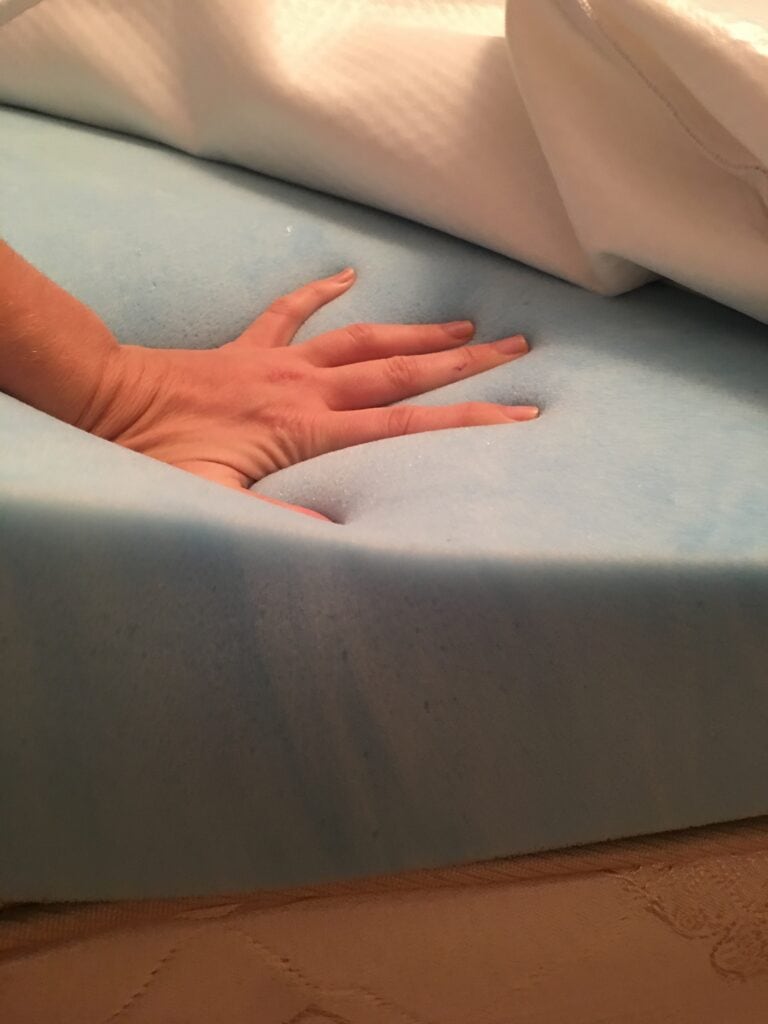
I chose this 4” Comforpedic gel foam topper on Overstock, and it’s honestly the softest bed I’ve ever been on.
There’s all different kinds out there with different firmness levels, so choose one that works for you (this one is on the soft side, which I like).
It includes a waterproof cover so there’s no sliding around:
Okay, now comes the fun part… bedding! There are so many ways to layer a beautiful bed, but there’s one basic formula I like to stick to.
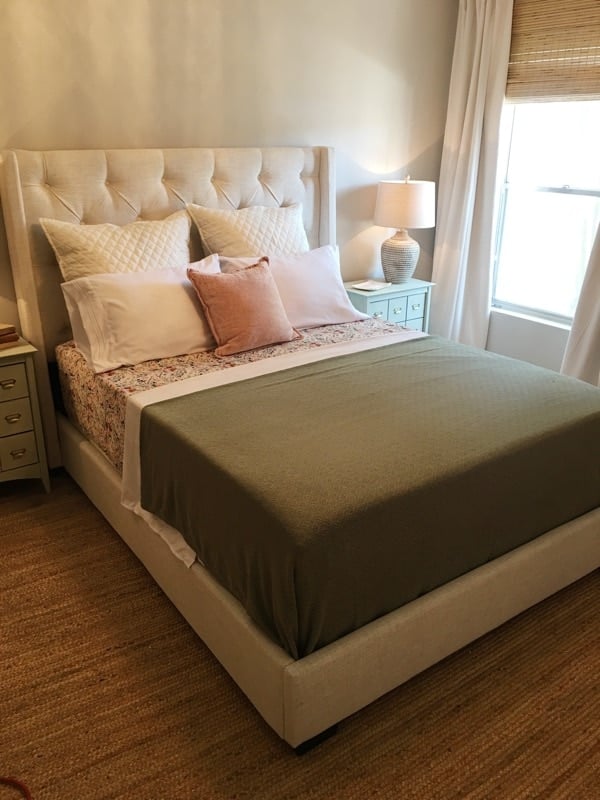
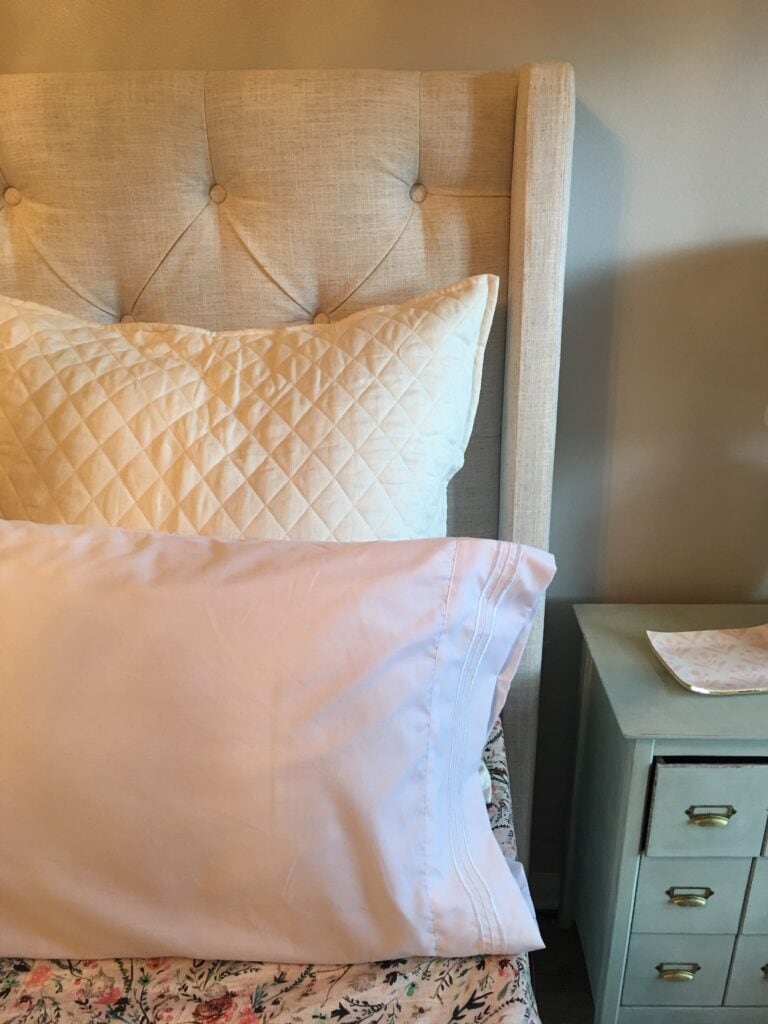
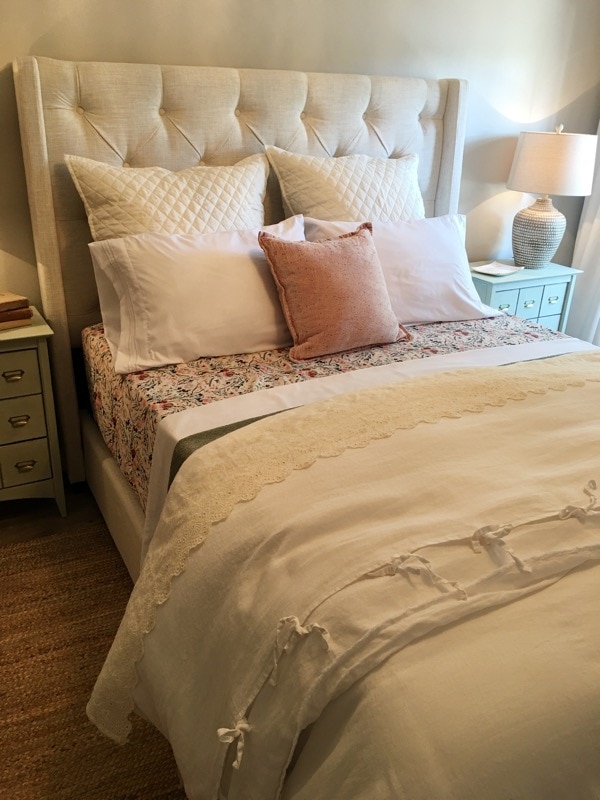
First, you’ve got your rows of pillows. Up against the headboard, there’s the shams, then your standard pillows, then your accent pillow(s) in the front.
On top of the mattress you have your fitted sheet, then your flat sheet, followed by a duvet and finally a quilt or blanket.
When choosing each of these components, you want to focus on three things: material, pattern and color. There should be a variety of each so the bedding doesn’t fall flat visually, and the key is to layer these different elements together.
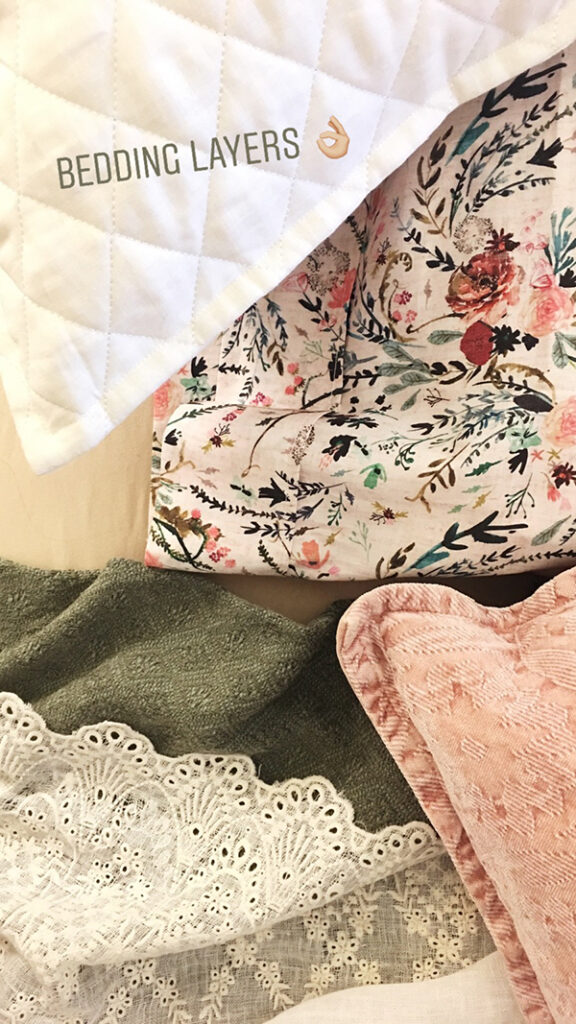
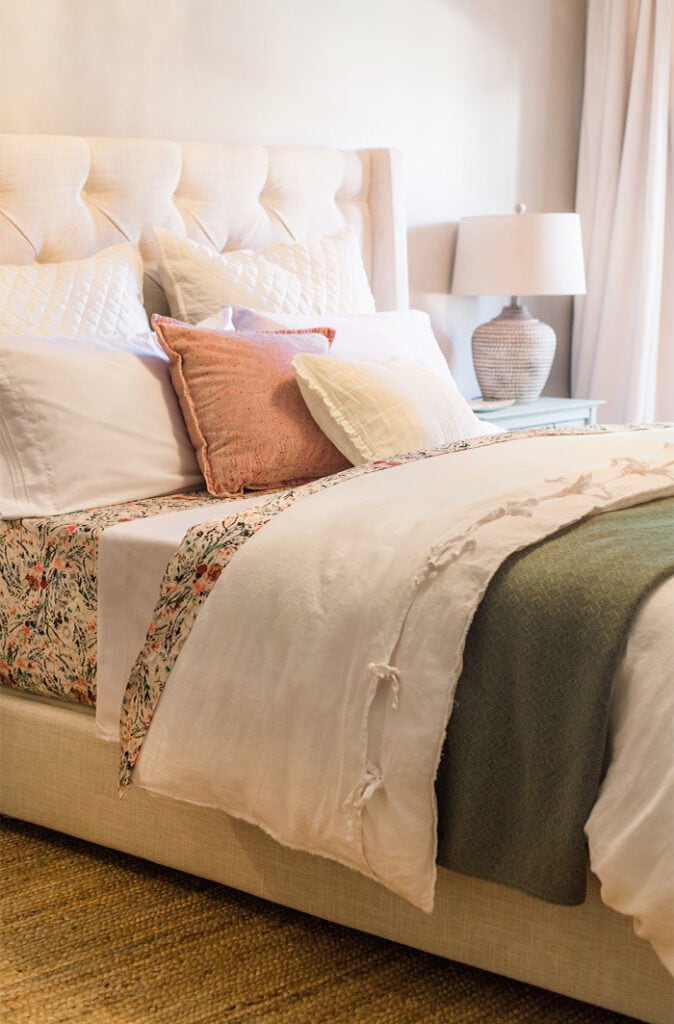
I like to use at least a few different materials—for example a cotton, linen, lace and something thicker and woven like I’m using on this bed.
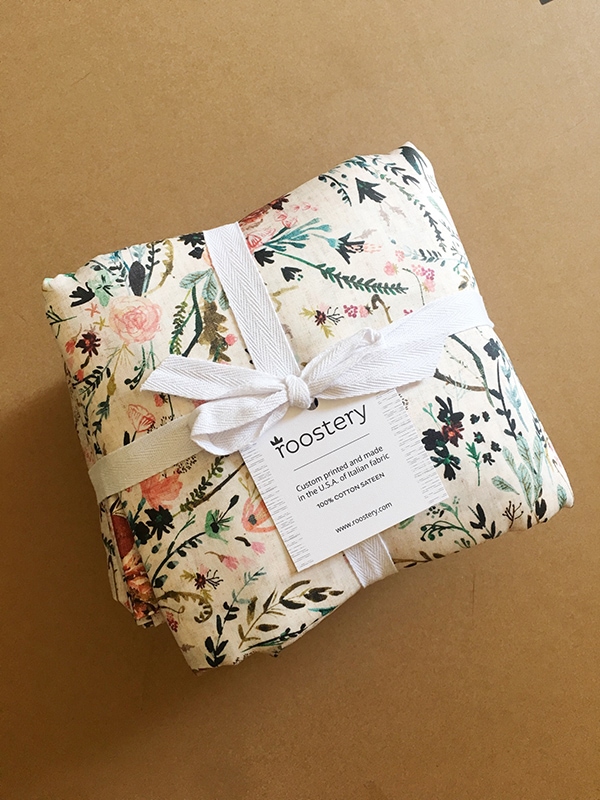
Generally I’ll spot a pattern I love first, and that will become the inspiration for the rest of the bed (or entire room). I found this floral sheet set on Roostery and was drawn to the whimsical handpainted pattern. Isn’t it gorgeous?
Here’s a tip: with sheet sets, you normally get two sheets and two pillowcases, so don’t be afraid to break up the set! Especially if it has a pattern—try using just one of the sheets OR the pillowcases and you’ll end up with a variety of different looks.
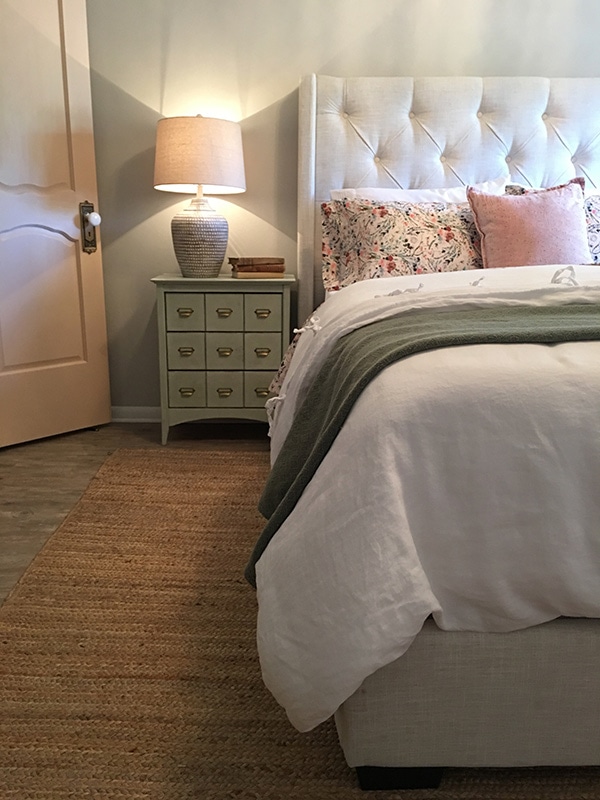
After choosing your pattern, you’ll need a mix of a few different colors, and these should be pulled from your pattern. My sheet set has several shades including dusty pink and sage green, which I chose to use as accents throughout the rest of the room to tie everything together.
After choosing your pattern, you’ll want to break it up with a heavy dose of solid colors. White or ivory acts like a blank canvas and gives your eyes a place to rest, and it’s a very light and calming color, so I always make sure there’s plenty of it in bedrooms. These quilted euro shams from Pom Pom at Home were perfect for both layering color and introducing a new material.
I also found a sage green quilt at a thrift store and pulled in a blush accent throw pillow I had from storage. I like to limit my color palette to 2-3 shades, so I stopped there!
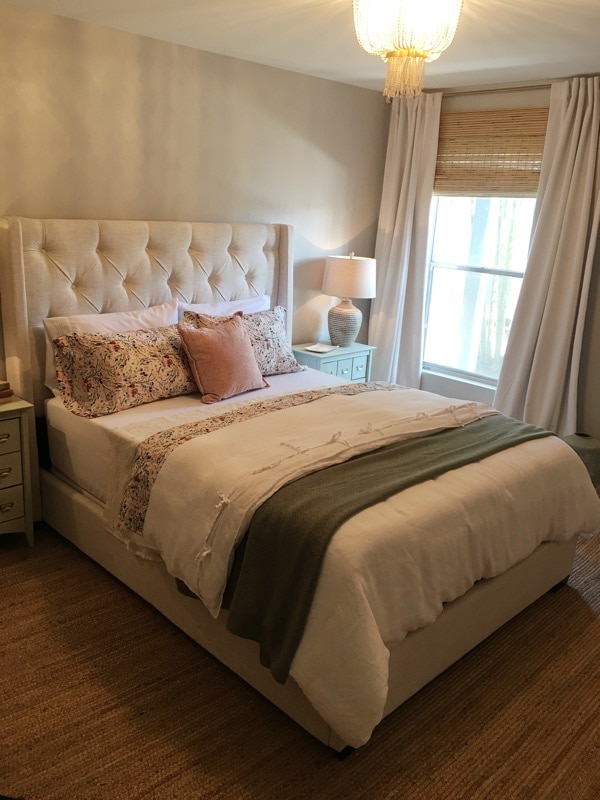
Now, every bed needs a big fluffy duvet so it has that nice and full look. I try to find the thickest duvet possible with the highest ratings online, and this down comforter from Overstock did not disappoint:
I placed the comforter inside this white linen duvet cover from Pom Pom at Home. Linen is one of my favorite textures for a bed because it feels so rich and luxurious, but still casual at the same time. Plus, I love the little ties!
That pretty lace fabric peeking out is a bed scarf, also from Pom Pom at Home.
Another tip—go up a size on your duvet, especially if you have a taller mattress! Most duvets will only reach to the bottom of the mattress. Or you can fake it and just pull everything to one side if you’re taking photos… 😉
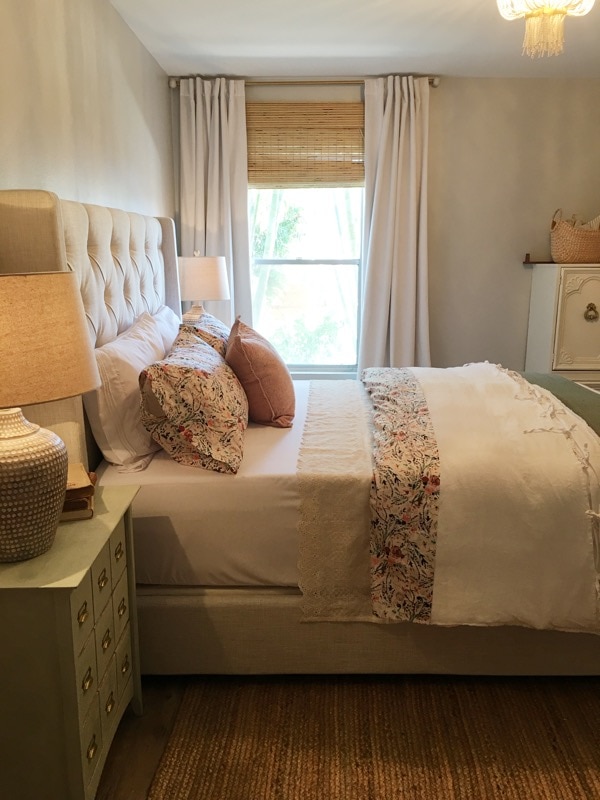
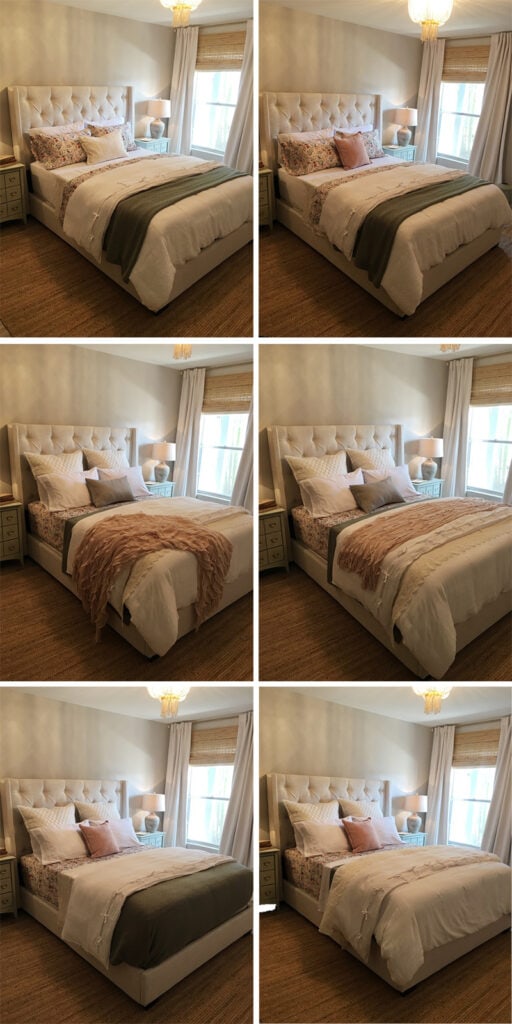
Once you have your mix of materials, color and pattern, you can have fun layering them together in different ways. I spent all day switching things around, trying to find my favorite look. There is no right or wrong here, as long as you stick to the basic formula, you can experiment and see what your favorite arrangement is.
Do you have a favorite? I think I’ll be changing a few more things around before the reveal next week!
Loving this angle right now… I’ll never get tired of waking up to that pink door!
Or this lovely beaded chandy…
Oh, and you can’t miss this last step! One of my styling must-haves is a good fabric steamer. I bought this one on Amazon based on the reviews, and it’s an absolute life saver. Wrinkles are your beddings biggest enemy (and they really stand out in photos) so make sure your fabrics are nice and smooth.
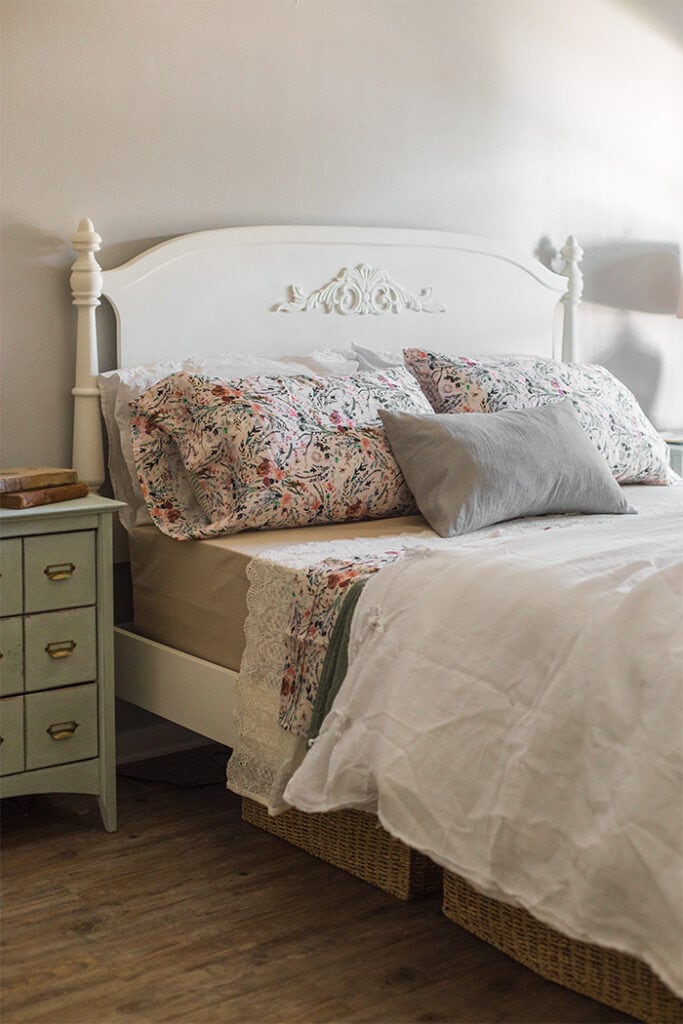
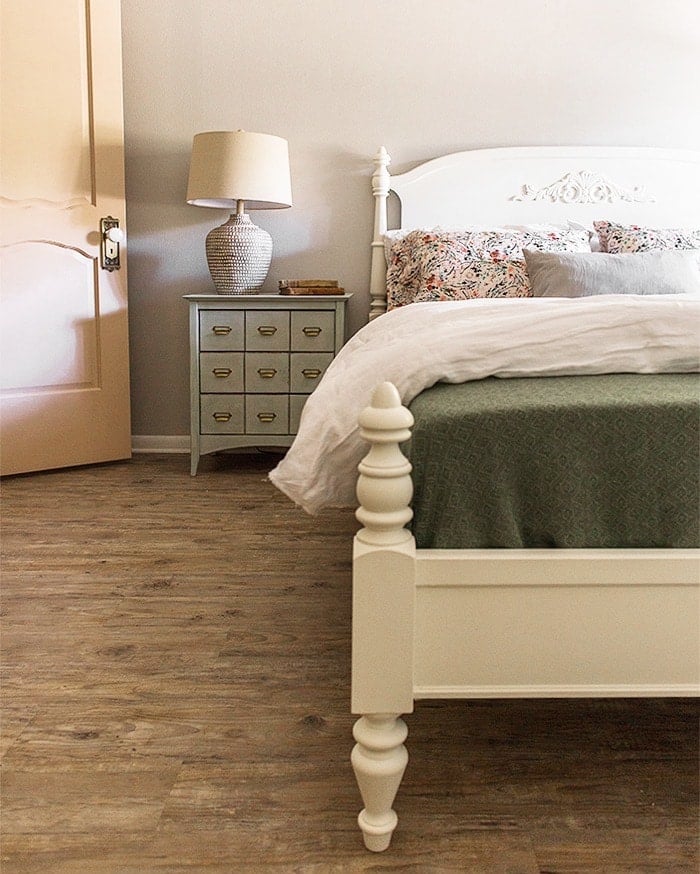
A few quick updates before I sign off… I listed the old bed for sale and it sold for full price ($330) right away! We’re 3 for 3 now.
(I took these photos before I had the steamer, see the difference?!)
I loved this bed and think it looked nice in the space, but the new bed feels more substantial and we’re much happier with our decision.
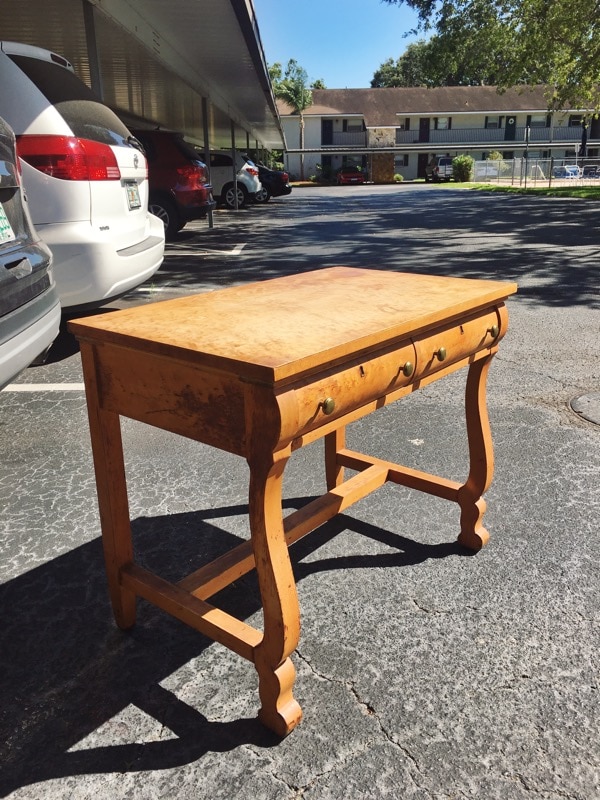
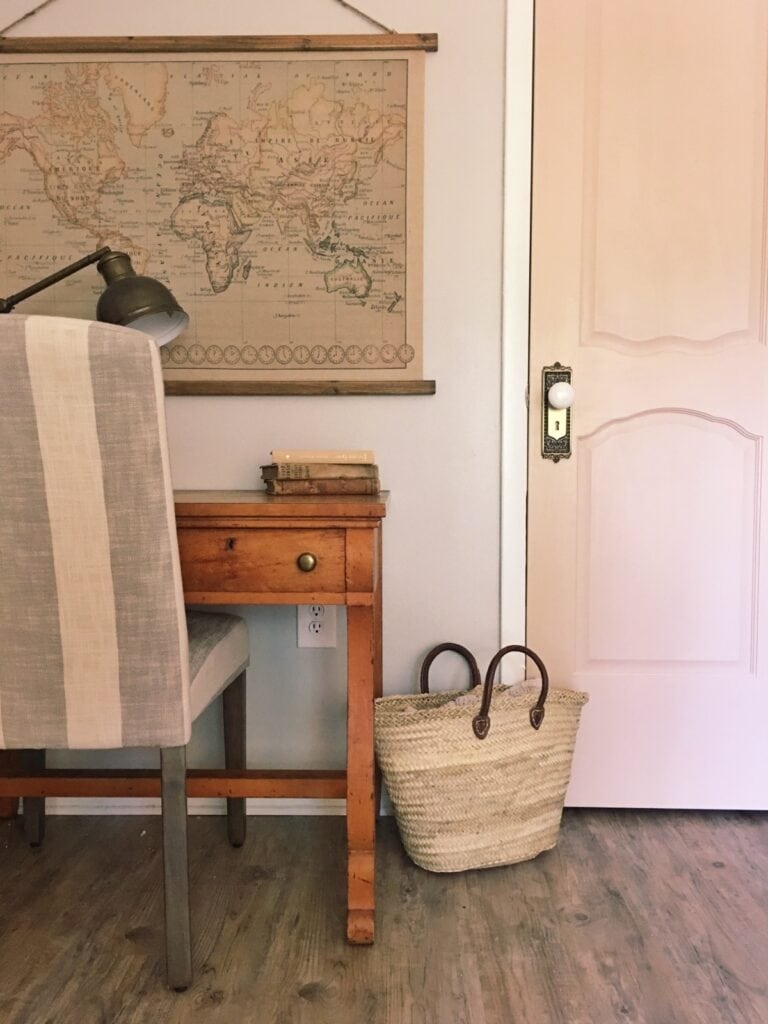
Oh, and I finally found my desk! $50 on OfferUp:
It’s very old and you can see the years of wear (the seller said it was appraised for $350) so I’ve decided not to touch the finish as originally planned.
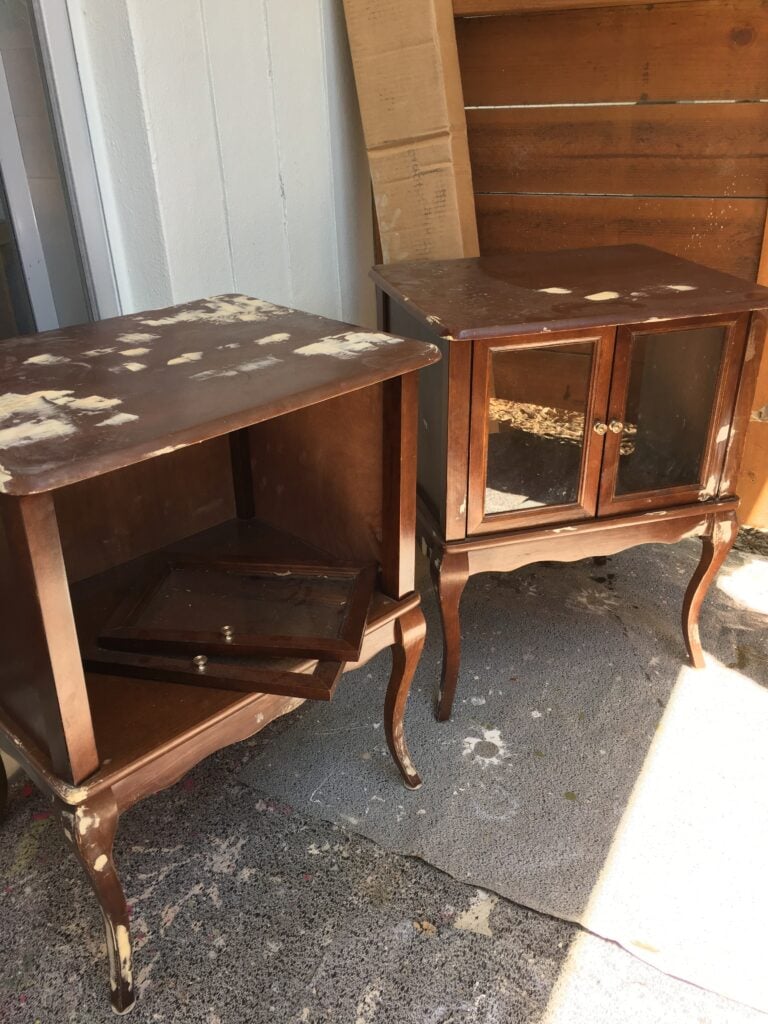
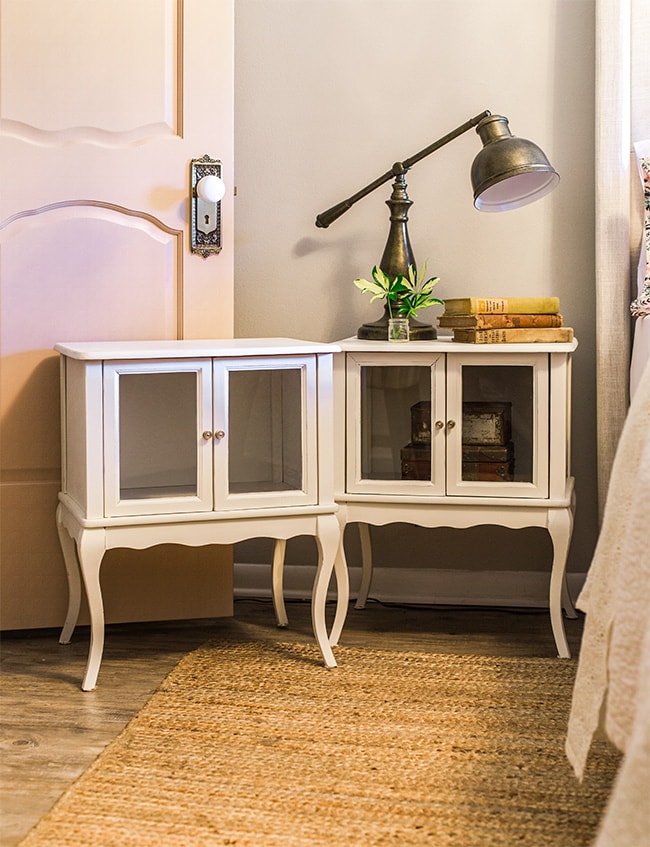
And while we’re still on the furniture train, here’s one more makeover for you. I bought these cuties last month for $21 (one had a broken door):
All they needed were a bit of TLC, Maison Blanche ivory furniture paint and a coat of white lime wax!
Aren’t they the cutest? I can’t pull the trigger on listing them for sale. We’re never going to make any money flipping furniture if I continue keeping them all to myself 😉
And that’s it until the big reveal! You’ll have to excuse all the iPhone photos in this post—I’m hoping it’ll make the reveal that much more dramatic (my sister is letting me borrow her good camera & lens so I’ll be able to get much better angles!) This is about as good as I can get with my camera… honestly the bed is so much fuller and cozier in person. I wish I could invite you all over to test it out for yourself. You’ll just have to get past the termites ?
If you want more updates before the reveal, make sure you’re following my instagram account where I post daily photo/video of the progress. The last week is a sprint to the finish line, but it’s my favorite part! I wonder if the other designers feel the same way…
Apartment 34 | Beginning in the Middle | Coco & Jack | The English Room | The Gold Hive
Gray Malin | Jenna Sue Design | Jojotastic | Kelly Rogers Int. | Linda Holt | Marcus Design
Michelle Gage | Natasha Habermann | The Painted House | Rambling Renovators
Sacramento Street | Shannon Claire | Sketch 42 | Stephanie Kraus | Bisou Style
Media Partner House Beautiful | TM by ORC




Carrie - Modern Lantern says
Wow you have made so much progress, it looks awesome! I love the textured rug you chose and the bed from Overstock, such a great neutral combo! Best of luck with the finishing touches, I am excited to see it!
Branna says
Gosh those side tables are adorable!! The whole room is perfect!
Becky H. says
I love everything! I have a window behind my bed. Can I still do an upholstered head bed? It would come above the window.
jennasuedesign says
Yes, absolutely!
Rose says
Absolutely gorgeous! Thanks for all the good tips and looking forward to the final reveal! I’m going to get a steamer for sure, really makes a difference.
jennasuedesign says
Thank you Rose! Steamers are a game changer, for sure!
Lu says
I like the new bed much more… even though I liked the other bed once you painted…but now I like the white bedside tables and the new lamp with the new bed… Anyways, I love everything you have done so far…
jennasuedesign says
Thanks Lu! Those little white night stands work great anywhere. I still like the green ones for this room though (we need all the storage we can get) 😉
Terri says
I love how you have taken a typical rental unit bedroom and used your decorating/diy skills to create such a peaceful place! Those night stands are so pretty and the bedding lovely! I’ve been researching Maison Blanche paint and can’t wait to give it a try!
jennasuedesign says
I appreciate that, Terri! It’s amazing what you can do with nice furniture and linens.
michelle says
I have a linen duvet from West Elm and I had no idea how wonderful linen was and now I’m hooked.
jennasuedesign says
Right, aren’t they the best?! It’s hard to capture just how lovely they are in photos.