It’s Week 3, aka halftime at the One Room Challenge!
Make sure to get caught up with Week 1 and Week 2 before reading on! Not gonna lie, last week was a rough one. Not so much with the One Room Challenge, but our 5-unit bungalow (that we’ve been under contract on since January, ugh!) threw us a major curveball that has left us scrambling to save this deal. We’re still in the thick of it and hoping to have a resolution within the next week… but we’re not holding our breath.
On the topic of house updates—also still waiting to hear back from our insurance company with their estimate after the Heights House fire. This will determine our plans to repair vs rebuild the house, and basically our entire future rests on the news we receive about both of these properties. These first two deals as investors have been anything but a walk in the park. I’ll say it again—real estate is not for the faint of heart!
Fortunately, the One Room Challenge has become a fun escape from the stress. I get to bypass all the intensive DIY and focus on my favorite things like decor, furniture, and accessories. There’s one perk of living in an apartment!
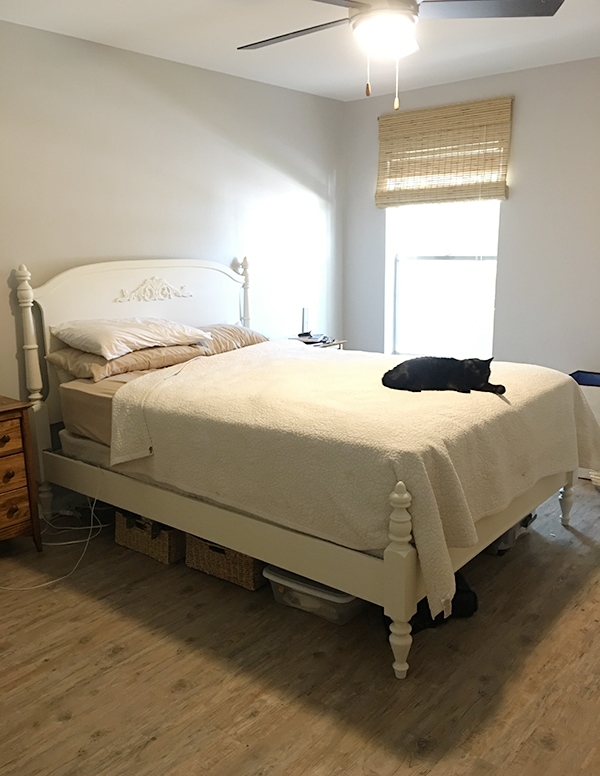
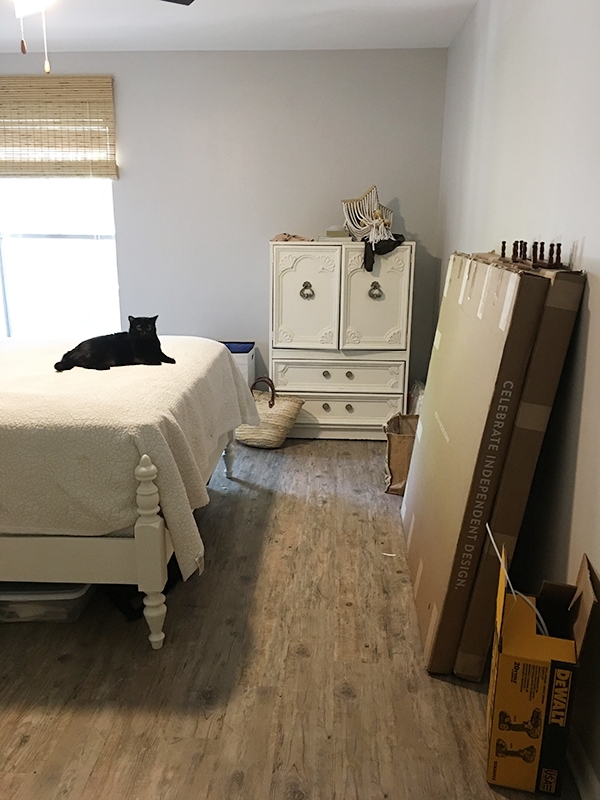
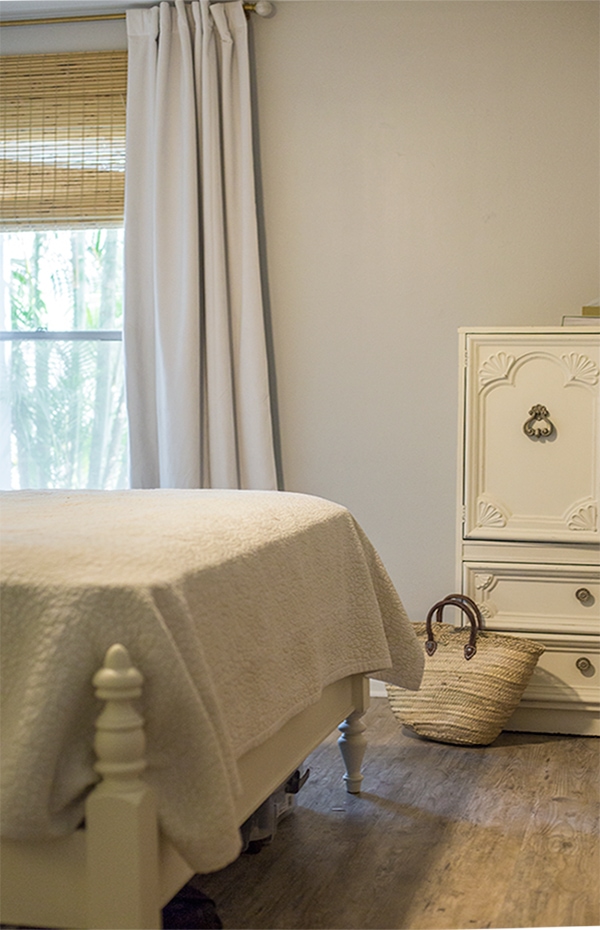
Last week, we had completed a wardrobe and bed makeover. Here’s how it looked as of yesterday morning:
It’s crazy how something as simple as painting dark wood makes the room feel so much lighter visually.
This also reaffirms my decision to swap out the bed with upholstered linen—there’s just too many hard surfaces (plus, not feeling the matching bed and wardrobe!)
I can’t wait to roll out my woven rug from eSalerugs which will instantly warm up the space. Inside those two giant boxes against the wall are my framed Minted photographs which will add some much needed personality.
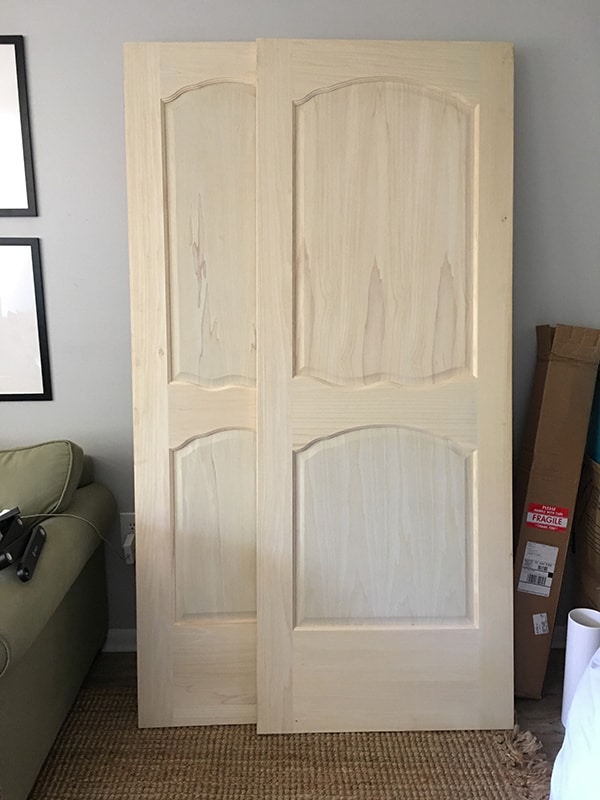
This week has been like Christmas, with boxes at our doorstep every day. Starting with these gorgeous solid wood doors from Metrie:
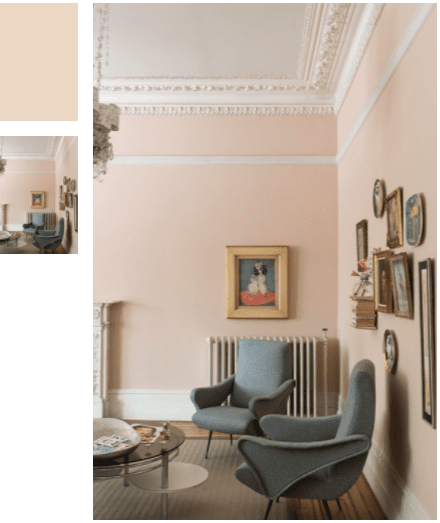
There are three of them in total—two closet doors and the entry door. They’ll be painted in Farrow & Ball Setting Plaster:
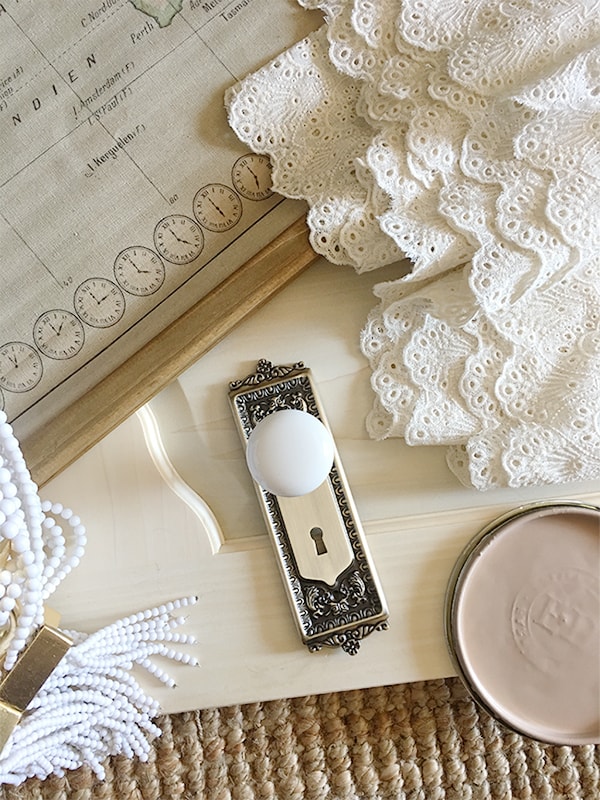
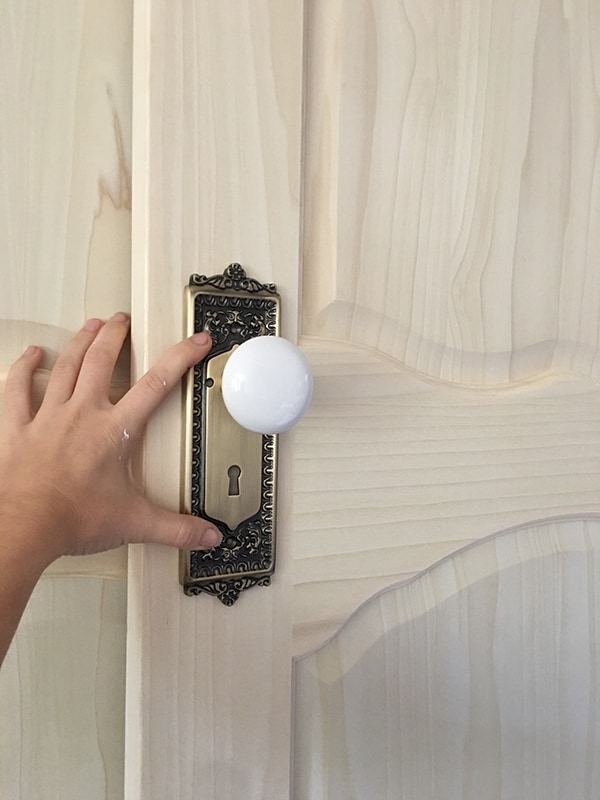
And… perhaps my most exciting unboxing experience yet (I may or may not have teared up in utter amazement)… these vintage reproduction handlesets:
Just imagine that door painted a pale dusty pink, with these vintage knobs… I CAN’T EVEN HANDLE IT (haha… see what I did there?)
They come in several styles & colors (fancy crystal knobs too!) and they don’t sell directly on their website, but I did find this combination on Amazon. Honestly I’ve never loved a piece of metal more and I don’t know how I’ve ever lived without them. I feel like I could just mic drop and end this post here, give you some time to recover and regain your composure perhaps… but the boxes keep coming.
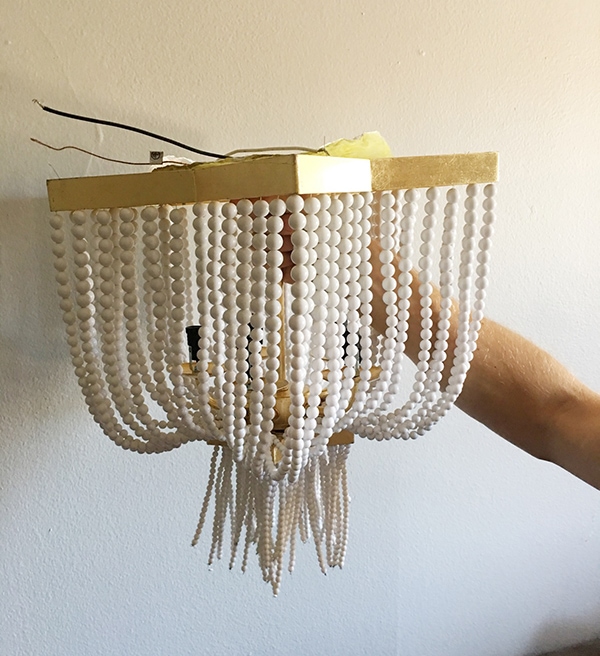
We never used our fan anyway. Can’t wait to get this beauty installed!
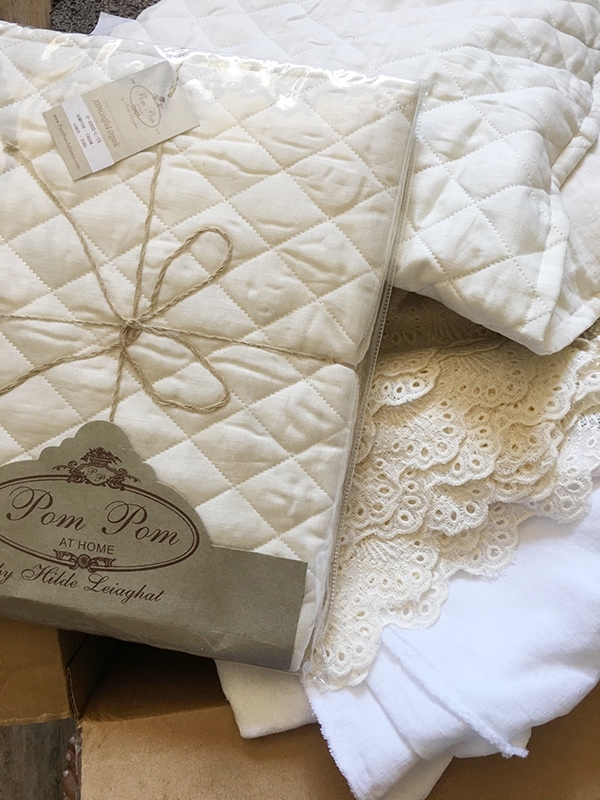
How about this box of lovelies from Pom Pom at Home?
Inside we have two extra large quilted shams, a lace bed scarf, and a linen duvet cover. The bedding in this room will be so much fun to layer!
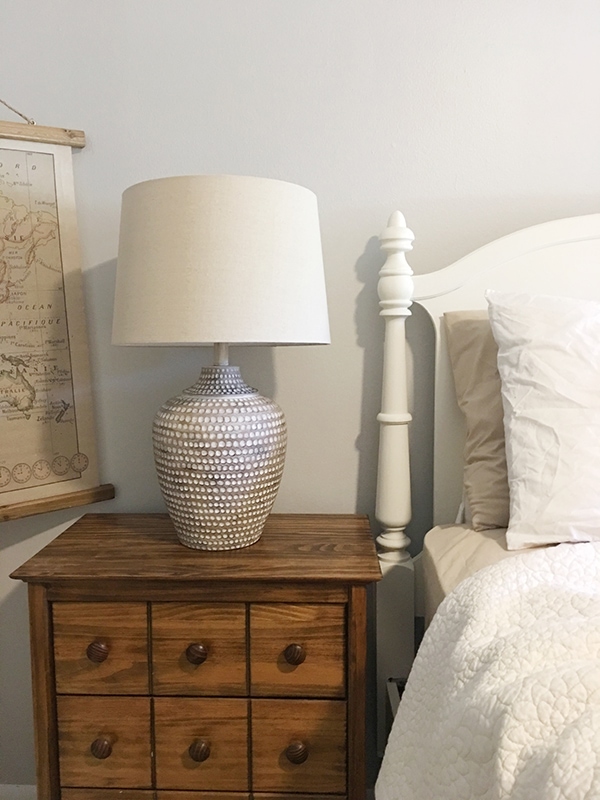
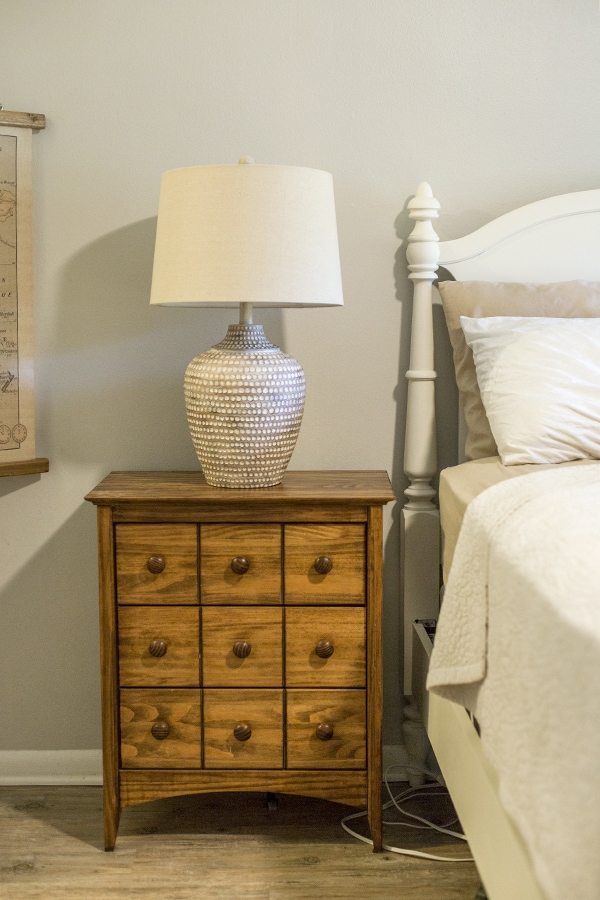
Next up… how great are these lamps?
Choosing the lamps was a bit of a struggle—I went back and forth on several different options, but in the end I’m thrilled with my choice.
The night stand will be painted a light sage green and I felt like there needed to be a wood tone somewhere, so this one struck the perfect balance of look, size and price point. Highly recommended!
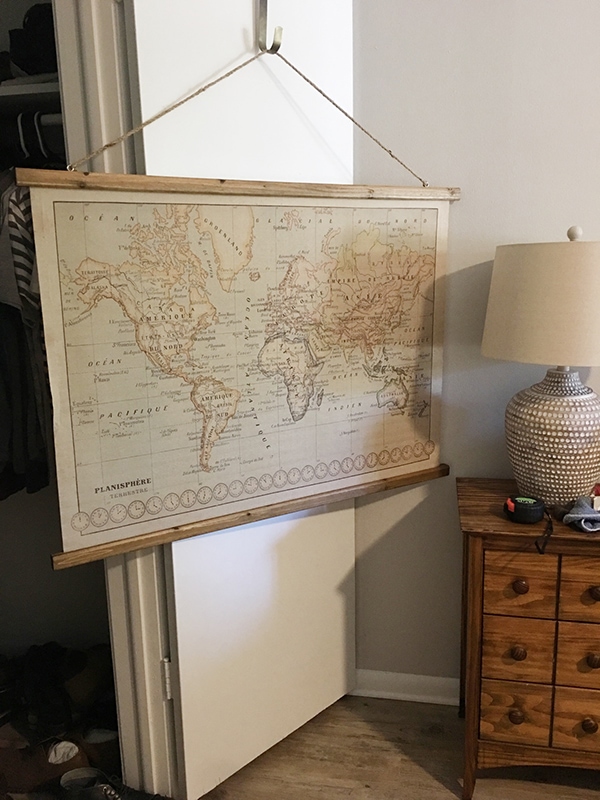
Oh, and that map trying to photobomb the lamp…
I thought it looked nice online but it’s even better in person! It’s a vintage French reproduction, with pretty, muted colors on thick, quality canvas. It’s huge, too! I plan to hang it on a wall over a desk just to the left of this photo (still trying to hunt for a perfect used desk on Craigslist!)
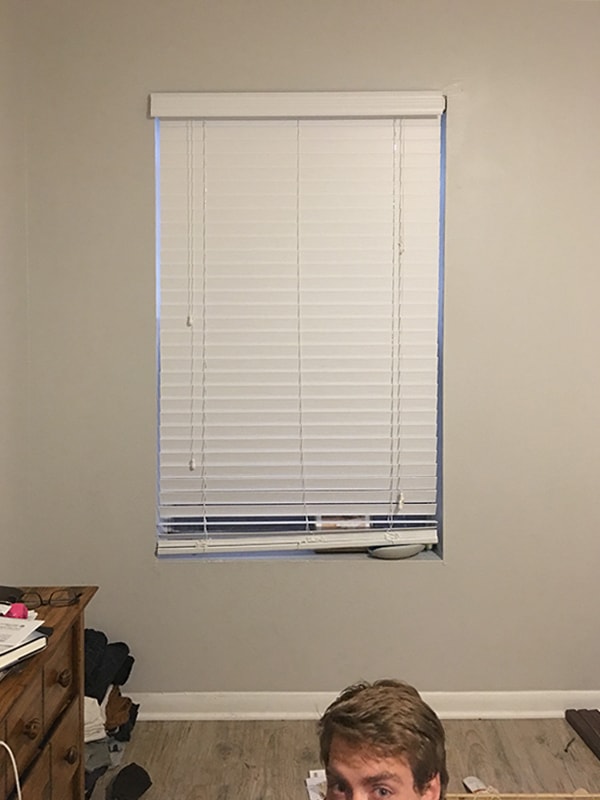
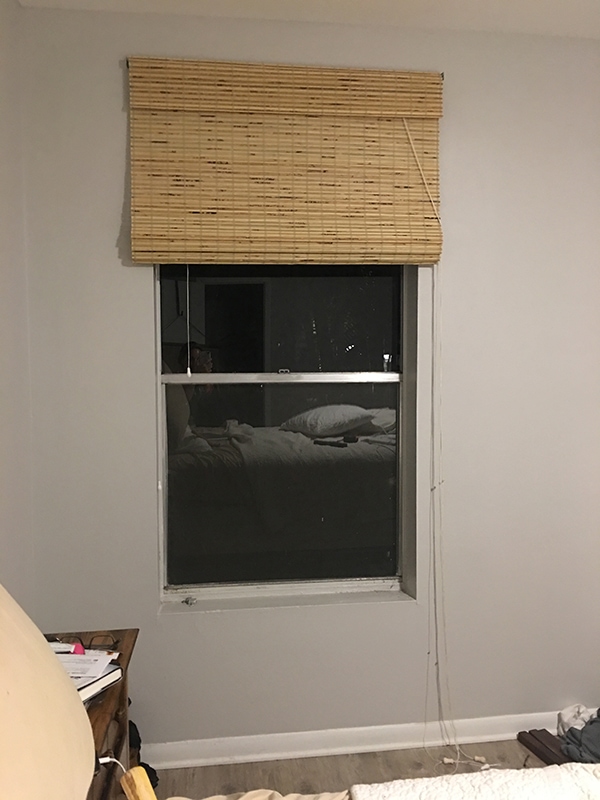
And you may have noticed in the first photos, but ladies and gentlemen—we have window treatments! Behold the standard apartment blinds:
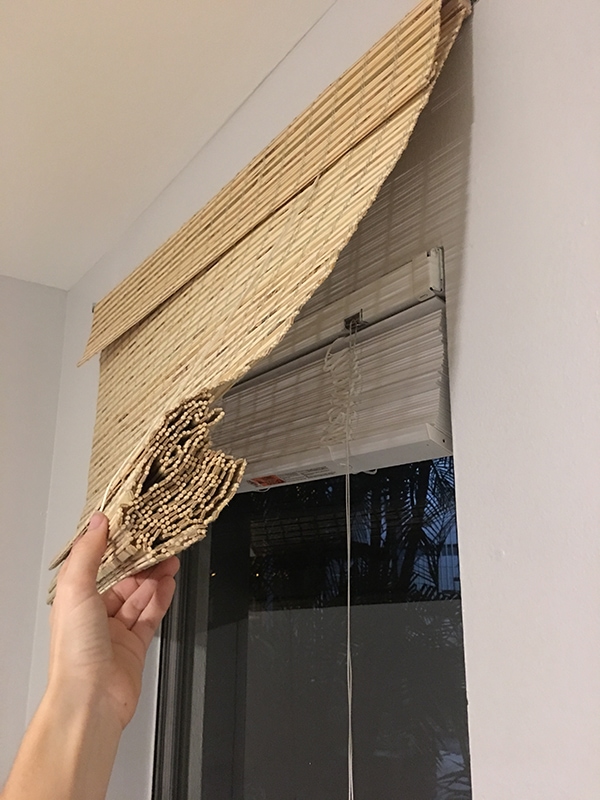
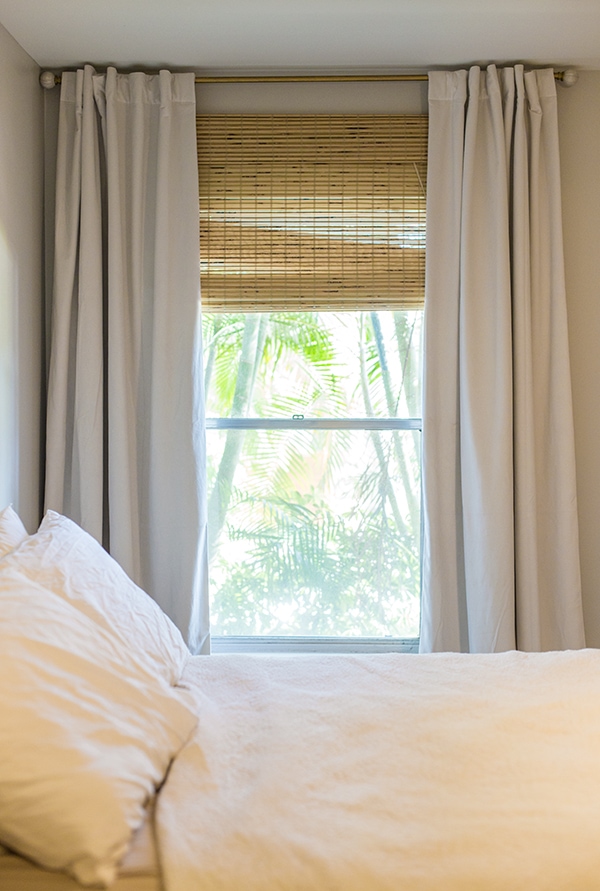
For the window treatments, I turned to Overstock. Since I can’t remove the blinds (well I could, I’d just have to put them back…) I decided to add a nicer looking bamboo shade mounted on the outside. And while I’m at it, I may as well go up a size to give the illusion of a larger window.
Hey, it worked! And no one will ever know…
Bonus: now it’ll be extra dark so we can sleep in on the weekends! (if sleeping in until 8am counts?) These bamboo shades have been my go-to window treatment for years. I especially like the coloring in this model, and at $44 (I got them in 39″w) you can’t go wrong.
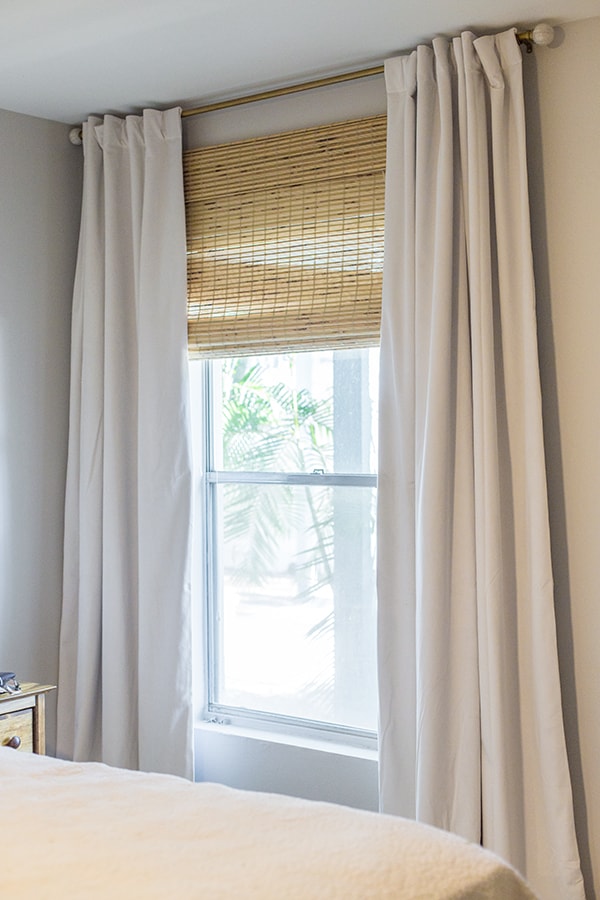
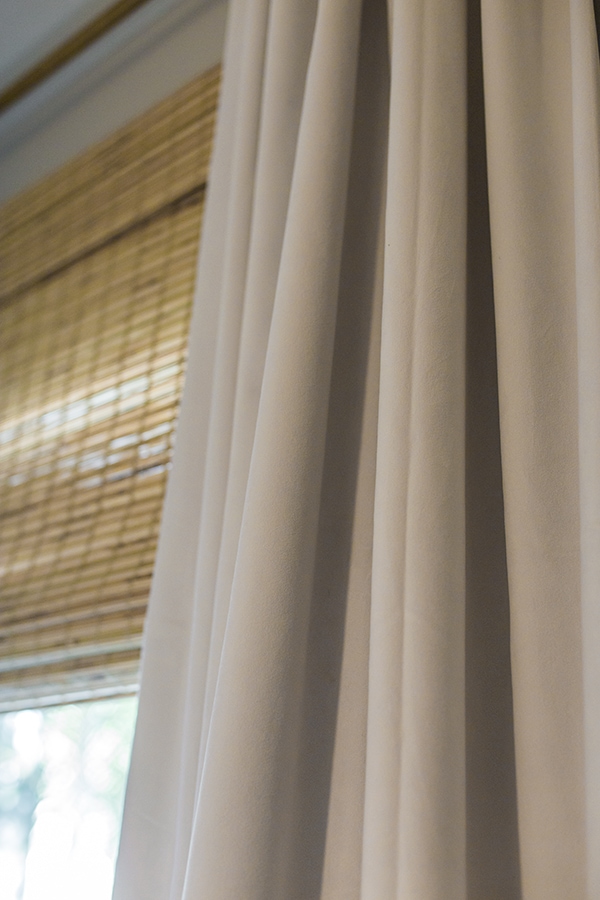
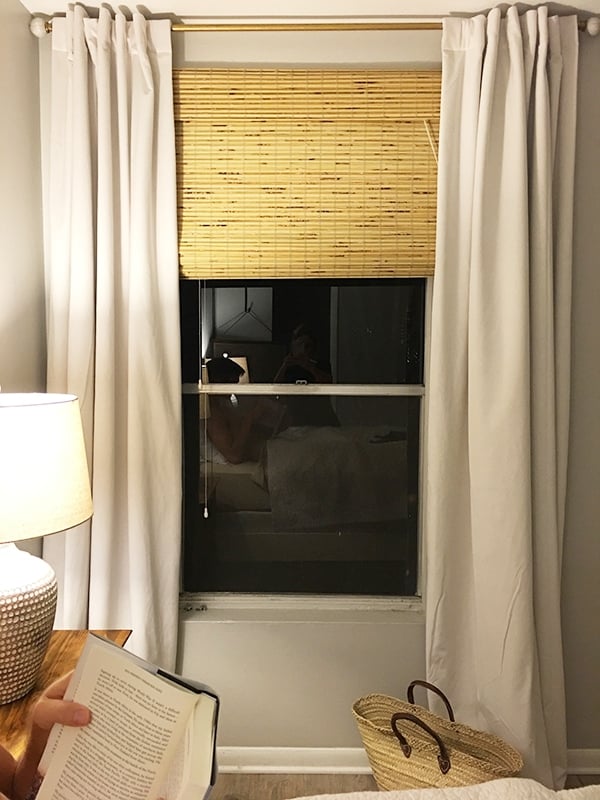
But wait—there’s more! This bedroom desperately needed curtains to soften the space and help with that boho-french-romantic vibe I’m trying to achieve. Normally I just go for the inexpensive cotton curtains, but this time I decided to take the sophistication and luxury up a notch. Hello, white velvet drapes…
These pictures do it no justice. I wish you could reach through the screen and feel how soft and thick this fabric is (it’s also blackout and fully lined—this room will be a cave!)
Lucas and I joked that between the lamps and window treatments, we finally feel like we have a grown up room again after over a year—can you believe it’s been more than a year since we left on our big trip? And almost exactly a year since we got engaged 😀
Here’s how it looks at night with the new ambient lighting thanks to the lamp. I chose this decorative gold curtain rod to hang them:
The room is looking a little too stark right now… don’t worry, this is temporary.
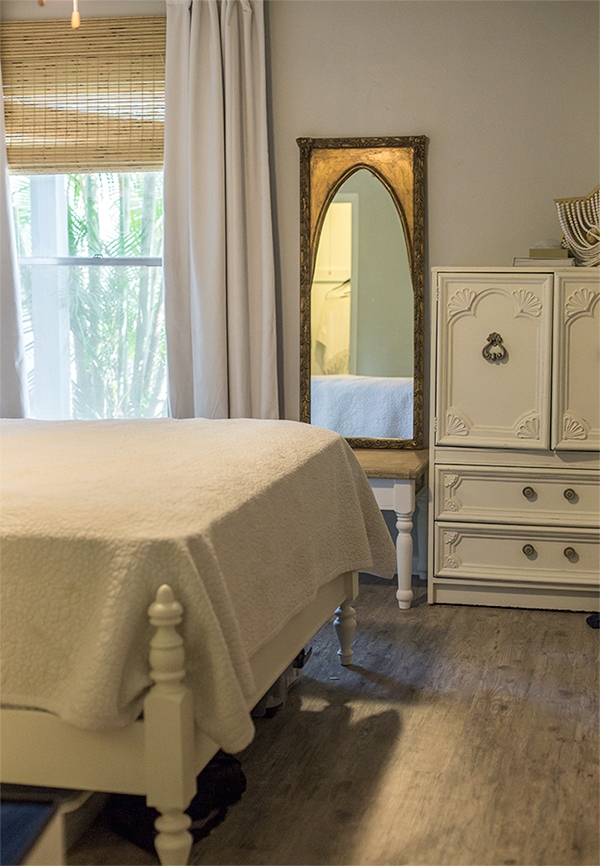
I was staring at that empty section of wall wondering if it needed something. Then I remembered I had this narrow mirror (it would be hung on the wall and repainted)…
Too much? I can’t decide yet. We don’t have a full length mirror so it would certainly be functional. I think it’ll be a last minute judgment call after some of the other pieces are in place.
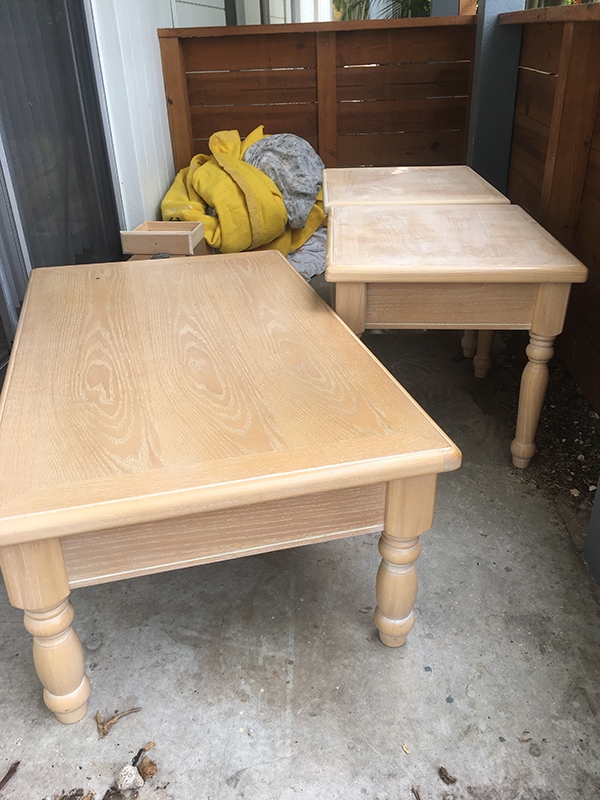
Alright—enough unboxing for one post! Let’s move onto our latest furniture flip. I had something pretty specific in mind for this coffee table set:
This was a $30 Craigslist score, and I figured that with a little sanding and elbow grease, I could transform the natural wood finish into beautiful weathered oak (Restoration Hardware style). I’d done it before with excellent results—I even published a step by step tutorial on the process! This should be easy, right?
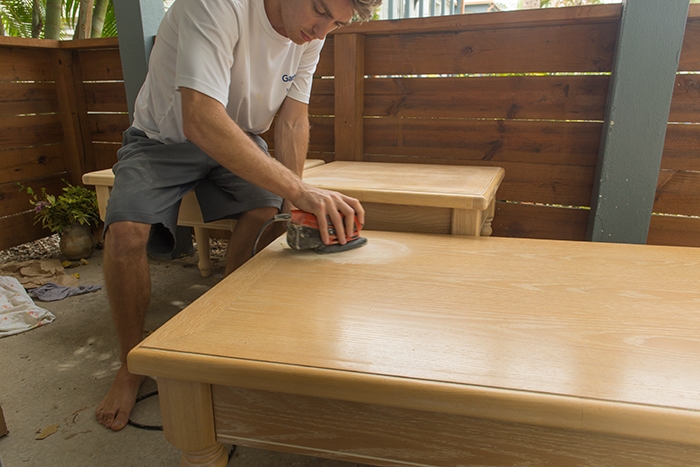
Lucas was tasked with the job of sanding the protective finish off of the pieces. Poor guy was out there for the better part of a day and was 2/3 complete before our Mouse sander finally gave out (it was the old version from years ago, so we were lucky it lasted this long with all the abuse I’ve put it through!)
The next day I went to Lowe’s and forked over $40 for a new Mouse, determined to finish the job.
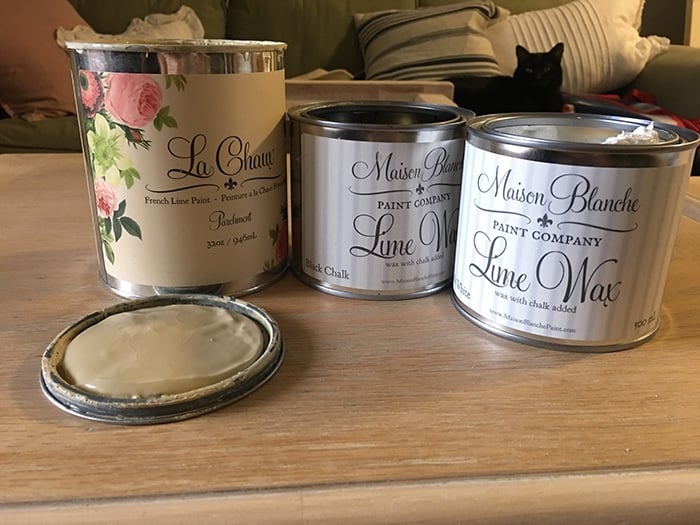
We finally finished sanding and I prepared my supplies—neutral colored lime paint and lime waxes.
It’s not the exact color used in my tutorial, but close enough. The wood didn’t have any pesky red tones so I figured it’d be much easier this time around. For those of you suggesting to just use a stain—that does not remove the original tone of the wood, it just adds to it. Paint is the way to go to neutralize your wood tones!
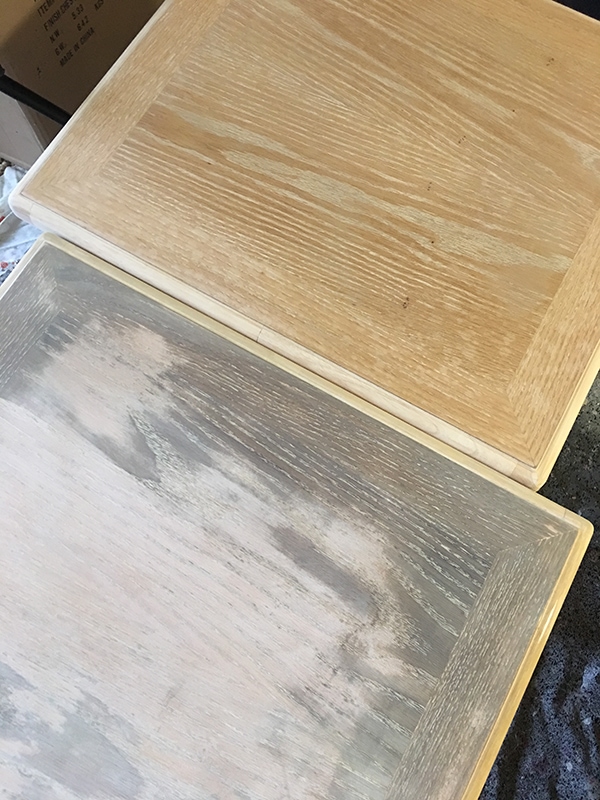
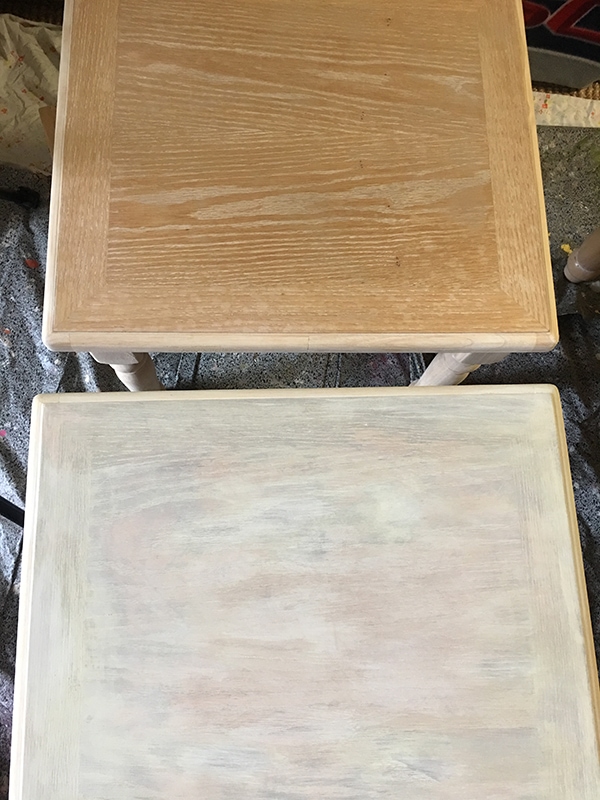
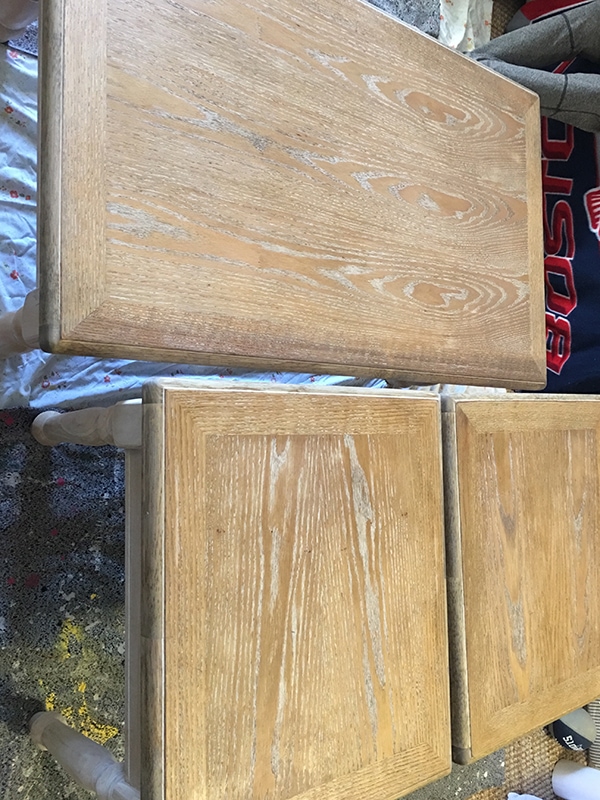
I mixed 50% water with 50% paint and began to brush. It got rid of the orange… just not evenly. You can see my test piece on the bottom compared to the original sanded top.
We figured the problem had to do with uneven sanding, even though we sanded for hours. Whatever finish they used on the wood appeared to be a mix of some sort of lime wax and a clear coat that seeped deep into the grain, and made it really difficult to sand away—not only that, but you can’t even tell which parts were fully sanded until you applied the paint wash.
I tried to remedy the situation with more paint and a mix of liming waxes, but it just turned into a blotchy mess.
It’s fine if you want a rustic whitewash effect I suppose, but that’s not the look I was after. I could have continued sanding and experimenting, however, the table legs were in a much worse situation:
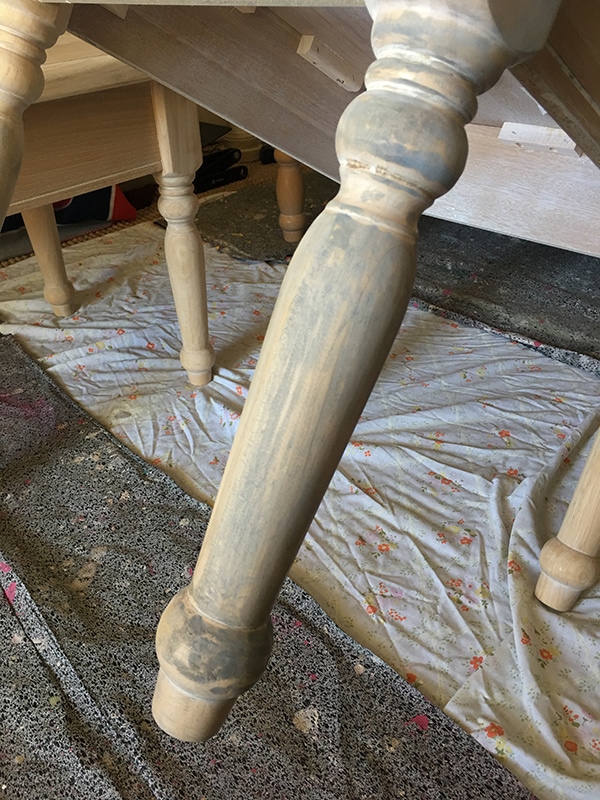
It was difficult enough to evenly sand a flat surface—but these curvy legs? Forget it! You can see the dark areas that were sanded more than the others after the paint wash was applied, and there’s no way to get into those narrow grooves to take off the layers of whatever finish they used. Time to throw in the paint stained towel on Plan A!
I was still determined to keep some of the wood grain, so ultimately I decided to stain the top and paint the bottom. Oh if I would have just thought to do this from the beginning. Another lesson learned!
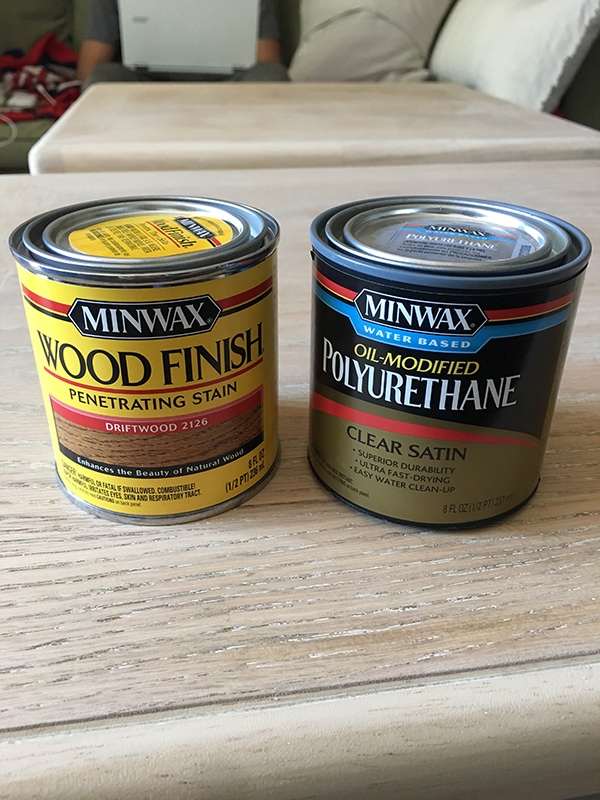
After a few more hours of sanding and resanding to make sure the tops were all nice and even, I ran back to Lowe’s and picked up stain and poly:
The color of the oak was so light and neutral that I knew it would take the stain well and look similar to the can. And I like to use a (water based) poly or varnish to protect heavily used furniture that’s exposed to moisture.
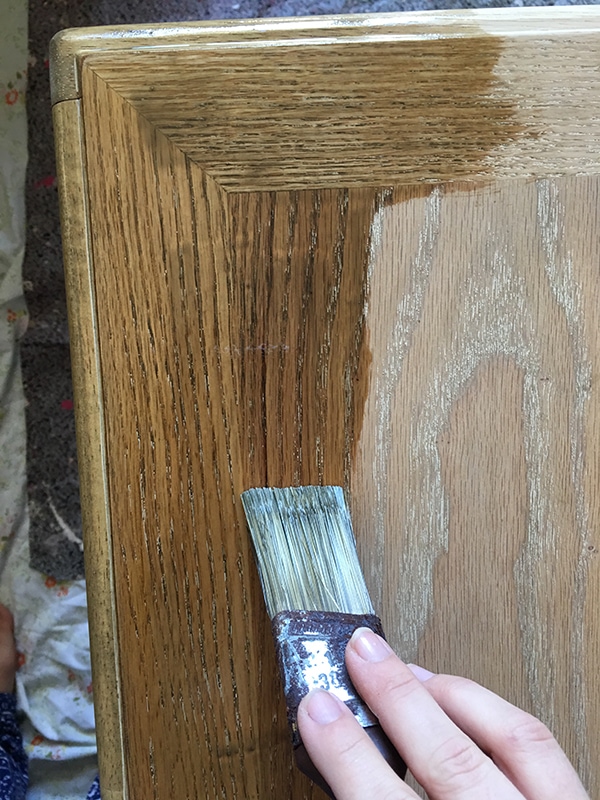
I brushed it on and held my breath…
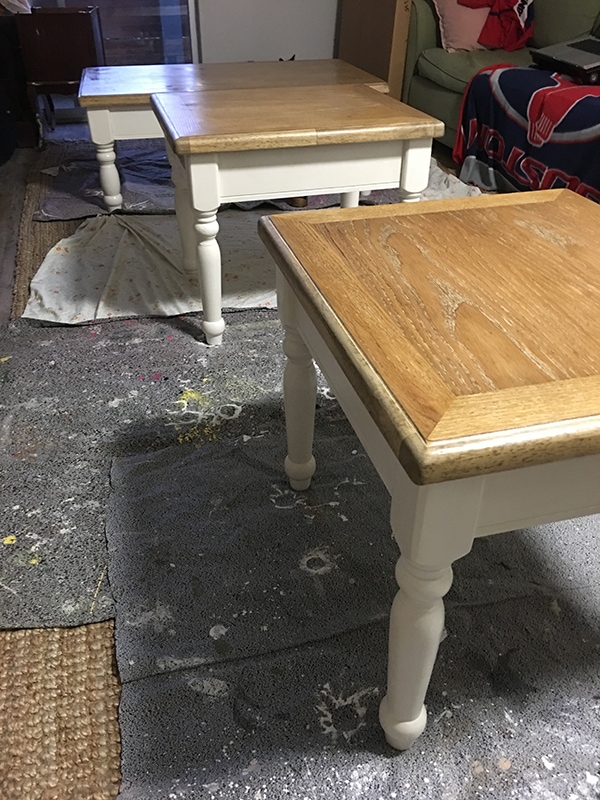
And they turned out as expected. Finally!
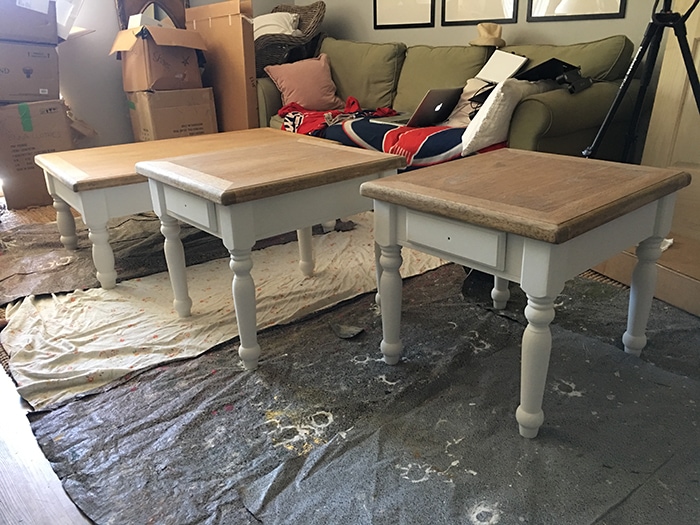
Then came the paint (Maison Blanche in ivory):
And finally, poly! This is how they look now as I type this post:
Just need to swap out the drawer hardware, have a little photoshoot and list these babies on Facebook marketplace. Fingers crossed for another quick sale. I’ll be sure to update you next week with the results—or you can catch them in real time over on my Instagram stories.
Oh, and there’s no vlog today (thanks to the failed DIY attempt) but I have something even better for you coming tomorrow. Just you wait… you’re not even gonna know what hit you.
Now let’s go see what everyone else is up to for Week 3!
Apartment 34 | Beginning in the Middle | Coco & Jack | The English Room | The Gold Hive
Gray Malin | Jenna Sue Design | Jojotastic | Kelly Rogers Int. | Linda Holt | Marcus Design
Michelle Gage | Natasha Habermann | The Painted House | Rambling Renovators
Sacramento Street | Shannon Claire | Sketch 42 | Stephanie Kraus | Bisou Style
Media Partner House Beautiful | TM by ORC





Carrie - Modern Lantern says
I absolutely love the vintage look you are going for! Especially the doorknobs, what a find! They are going to add so much character to the room! Love watching your progress, good luck!
jennasuedesign says
Thanks so much, Carrie!
Lisset says
I like everything you’ve done. Lucas isn’t wearing a dust respirator mask though. That’s no good for the lungs. Hopefully it was just for the photo. 🙂
jennasuedesign says
Thanks Lisset, we have one around here somewhere…!
Jessica Horton says
LOVE finding you through the ORC! I just got went down a rabbit hole of your videos, ha!
That bed was such a killer deal.. and I’m now debating velvet drapes in my own dining room!
jennasuedesign says
Yes, you should do it!!
Lu says
You guys are so handy… Will you be adding some legs or height to the dresser/armoire? It just look short… Anyways, am so excited to see how the doors will look… I am loving everything you guys have done!
jennasuedesign says
Thanks Lu! I think we’re gonna keep it as is. I’m displaying some tall items on & on the wall above it to balance out the height 🙂
maria says
the curtains made the window like more comfy i feel.. like very much!
Hallie says
I know I can’t see it in person…and I know I should mind my business and let the master get to work but…
ohmygoodnessdon’tpaintthatmirror
Okay, I’ll let you get on with your vision.
Hallie.
jennasuedesign says
I love the gold too but it’s a little too orange/coppery in person! I would most likely just go over it with a more subdued/champagne gold.
Sarah says
DO NOT PAINT THAT MIRROR! Please, it’s lovely the way it is.
jennasuedesign says
I love the gold too but it’s a little too orange/coppery in person! I would most likely just go over it with a more subdued/champagne gold.
Valerie says
So, first let me say you have been one of my favorite DIY bloggers for years and I’ve been so excited to watch your real estate projects start up. My fingers are crossed for you!
I’m glad that you’re still participating in the One Room Challenge project but I am having a hard time wrapping my mind around some of the changes you’re making to a rental. I’m a homeowner now but rented for years and very much appreciate wanting the rented space to feel like your own. I think the curtains and blinds are smart and easy upgrades. Furniture and decorations too. I guess it’s really the doors that have me confused. They’re beautiful but a change like that seems a bit impractical for a place you’re renting, no? I assume you have to put the old doors back on before you move out. Is there somewhere there you can store them?
Can’t wait to see it all come together!
jennasuedesign says
Thanks Valerie! I have every intention on taking those doors with me when we move out! They’re an easy switch and I’ll reuse the same hinges. We do have a garage to store the old doors in. I think the new doors & hardware will make the single biggest difference in the room 🙂
Jenn(ifer) says
Lovely as always.
You should really get yourself an orbital sander and save hours! The mouse is really only for detail work (been there, done that way to many times..)
Best of luck and Greetings from Germany
Jenn(ifer)
jennasuedesign says
Thank you for the tip! Does it make a huge difference? Do you have a favorite model? Sanding is by far my least favorite part, so I’ll do anything I can to make that process easier!
Jenn(ifer) says
It makes a gigantic difference and the investment would pay for itself in saved hours for you in no time!
I live in Germany, so not sure my model recommendation helps, but I have a Bosch PEX220A and I am quite happy with it. Also: there are two types of discs for the orbital sander: one to take off old finishes and one to sand raw wood and using the correct kind also makes a huge difference.
Best of luck!
Jenni says
We have loved our Dewalt orbital sander and I think I got it for around $60 on Amazon a few years ago. They also have one at Lowes for $59.
Call me strange but I really like the mirror as is – the gold would add a nice bit of aged sparkle :).
jennasuedesign says
Yep… at $60, I think an orbital sander is in my future! And for the mirror, I love the gold too but it’s a little too orange/coppery in person! I would most likely just go over it with a more subdued/champagne gold.
jennasuedesign says
Gotcha, thanks again Jenn!