After two years of designing, DIYing, and mostly procrastinating… the wait is finally over! Our little laundry room is complete. Here’s how the 67″x90″ space looked for nearly three years after we moved in:
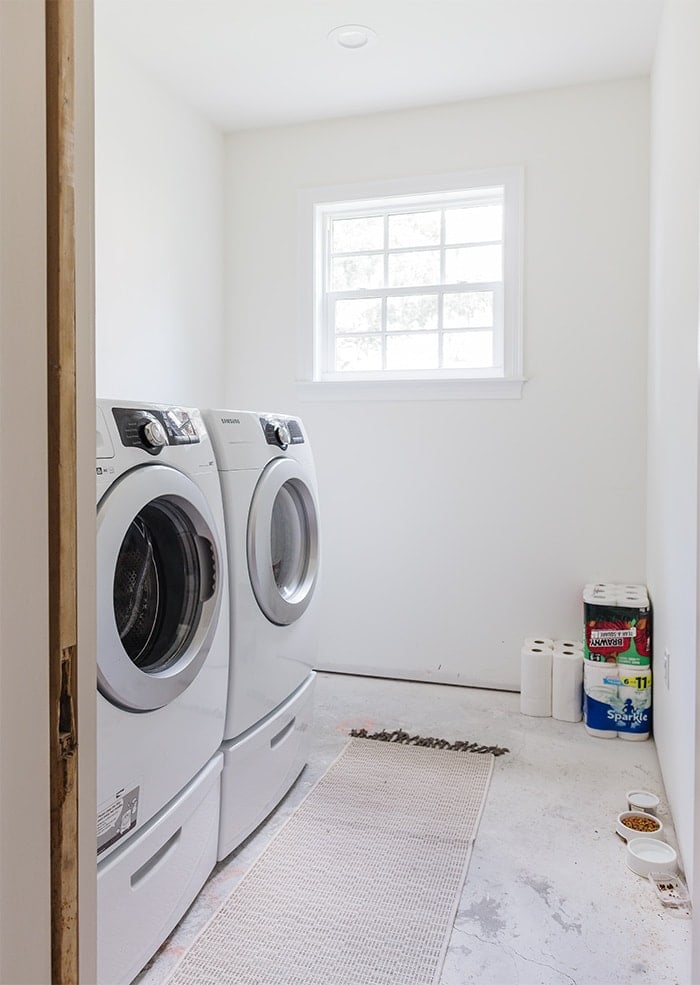
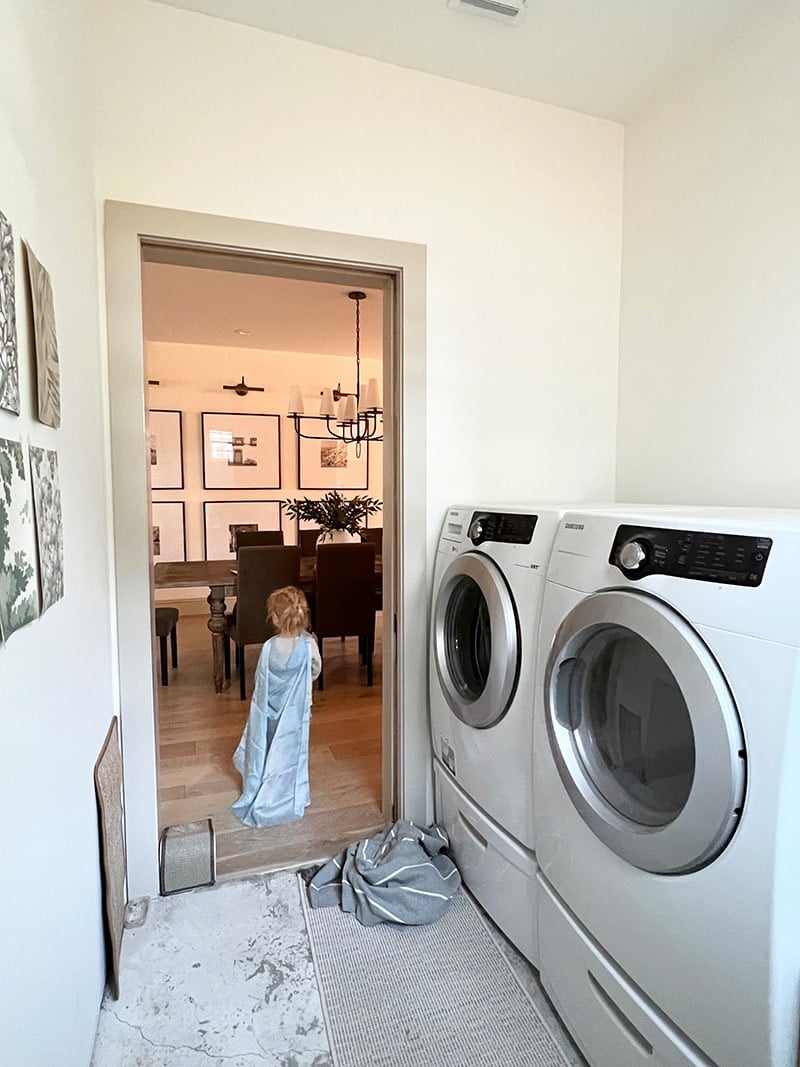
In early 2022, I found inspiration and came up with a design plan. We installed herringbone brick floors, and reeded glass window film on the pocket door.
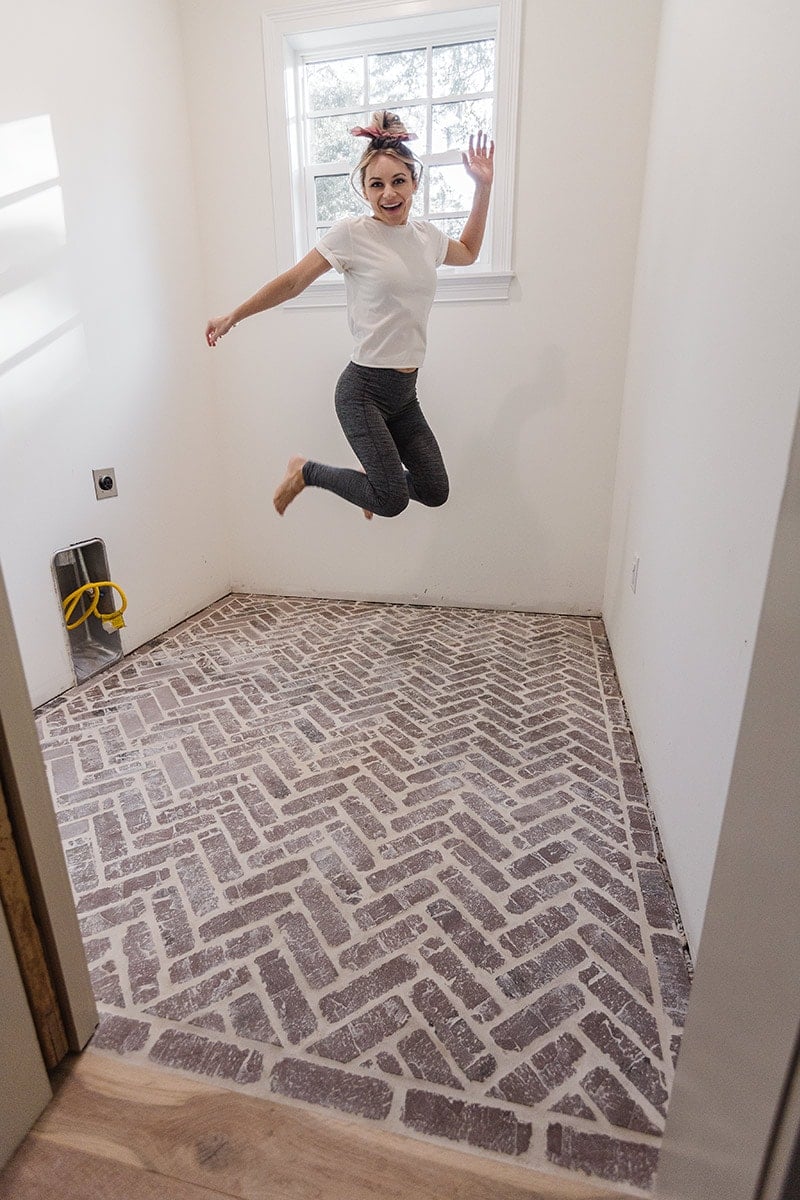
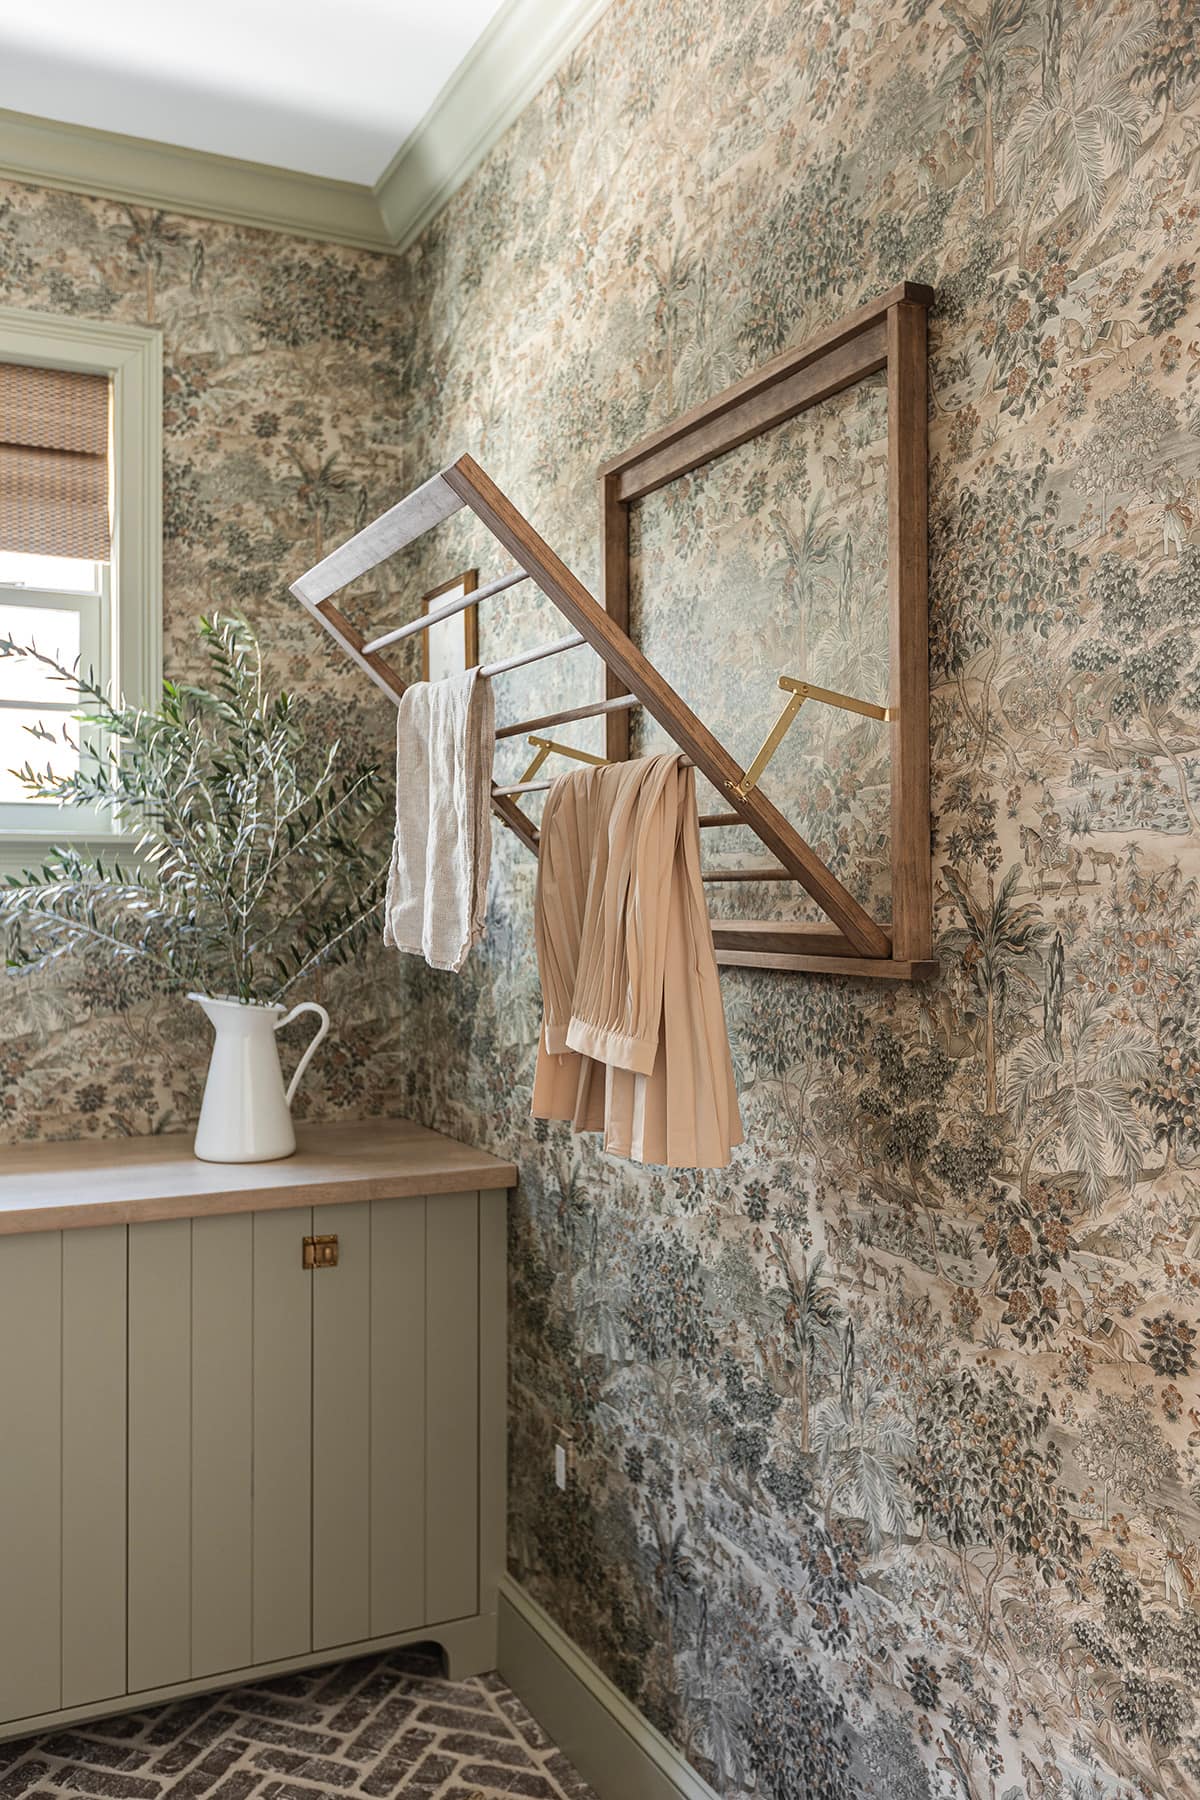
We got a new stacking washer & dryer, painted the vinyl window, built custom cabinetry, found the perfect butcher block stain and built a clothes drying rack.
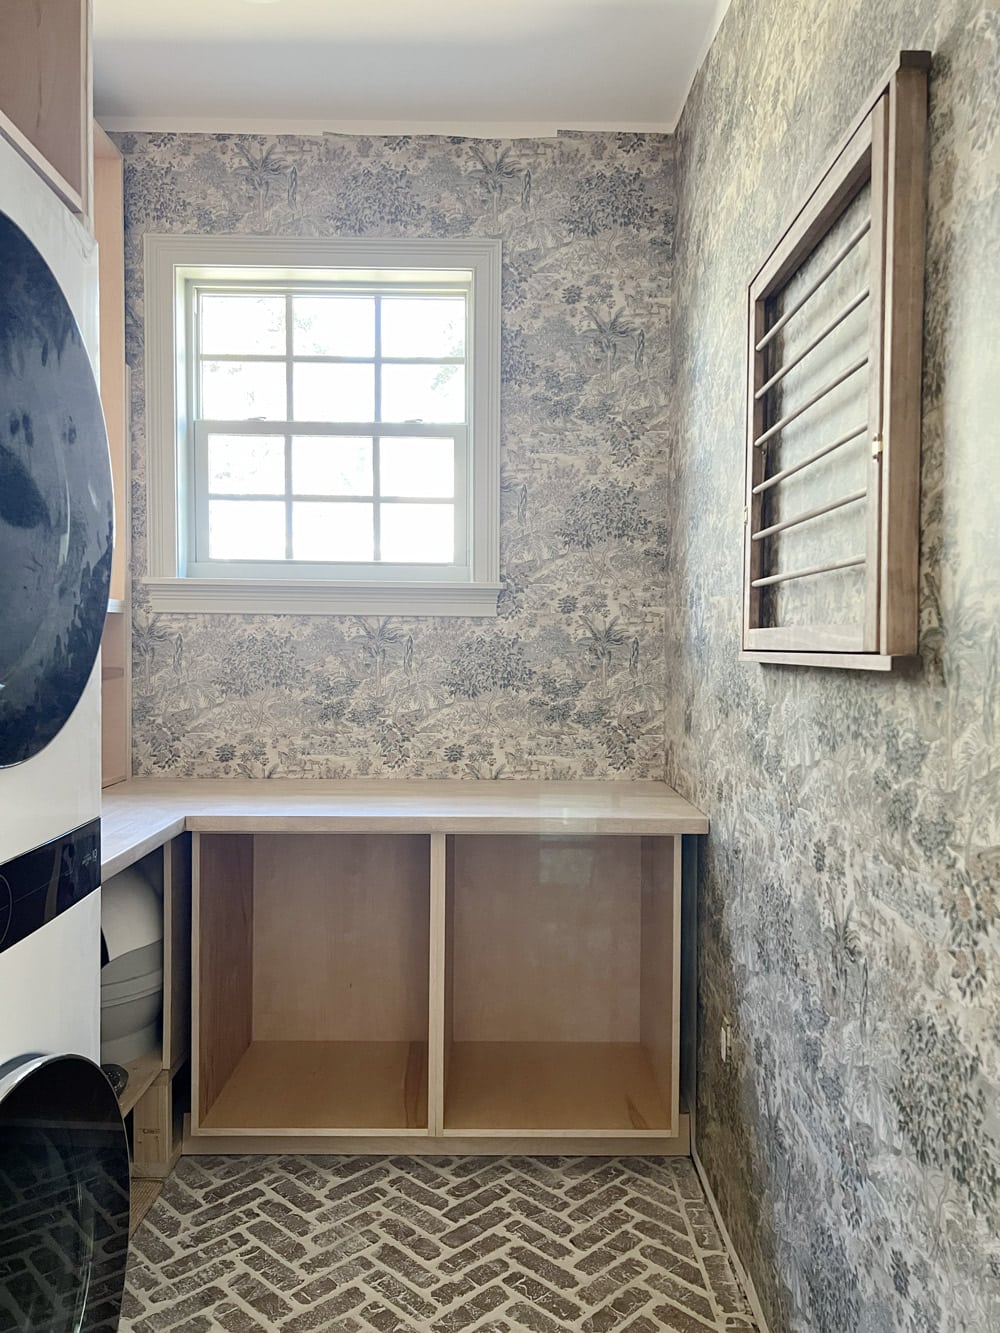
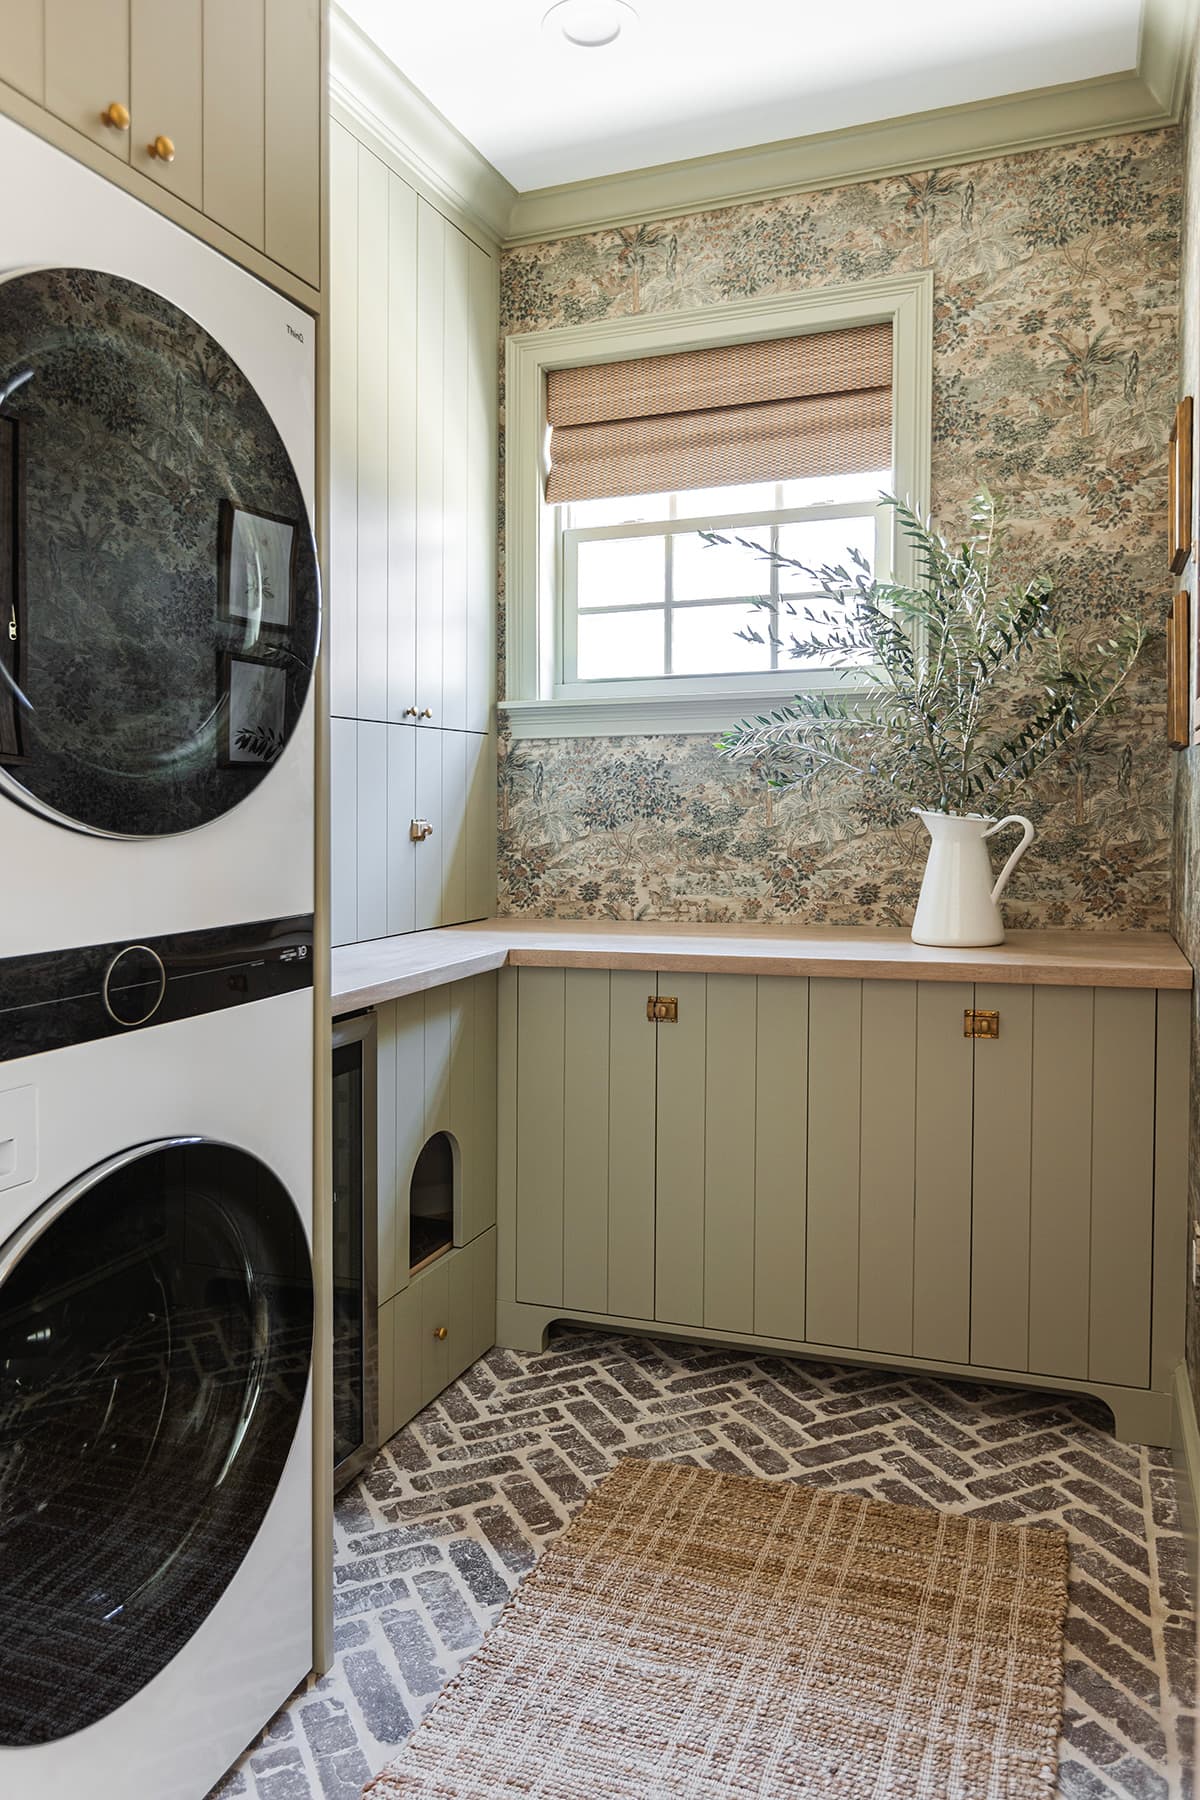
Over the last couple weeks, the doors have been built (tutorial coming soon!) trim and molding installed, and all the final touches. Today, I’m thrilled to finally share our finished and functional laundry room!
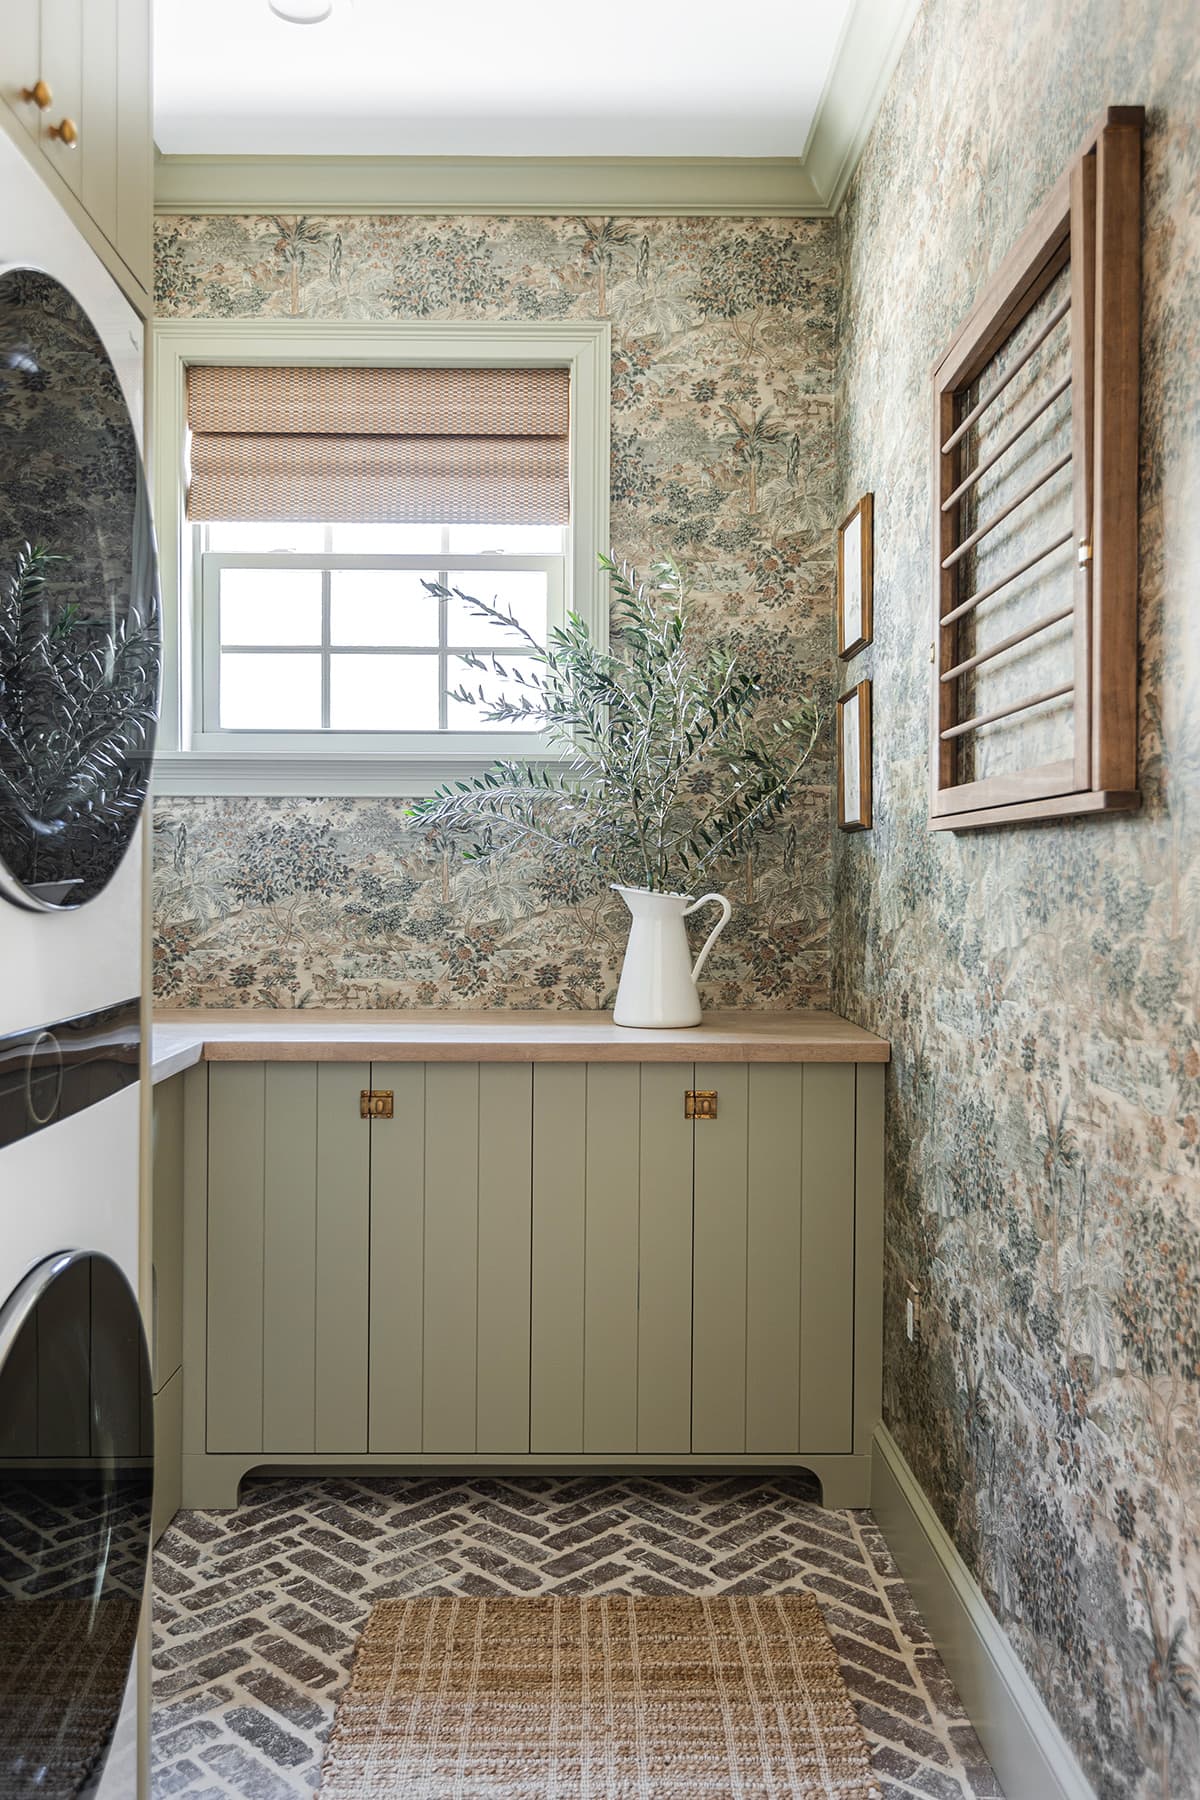
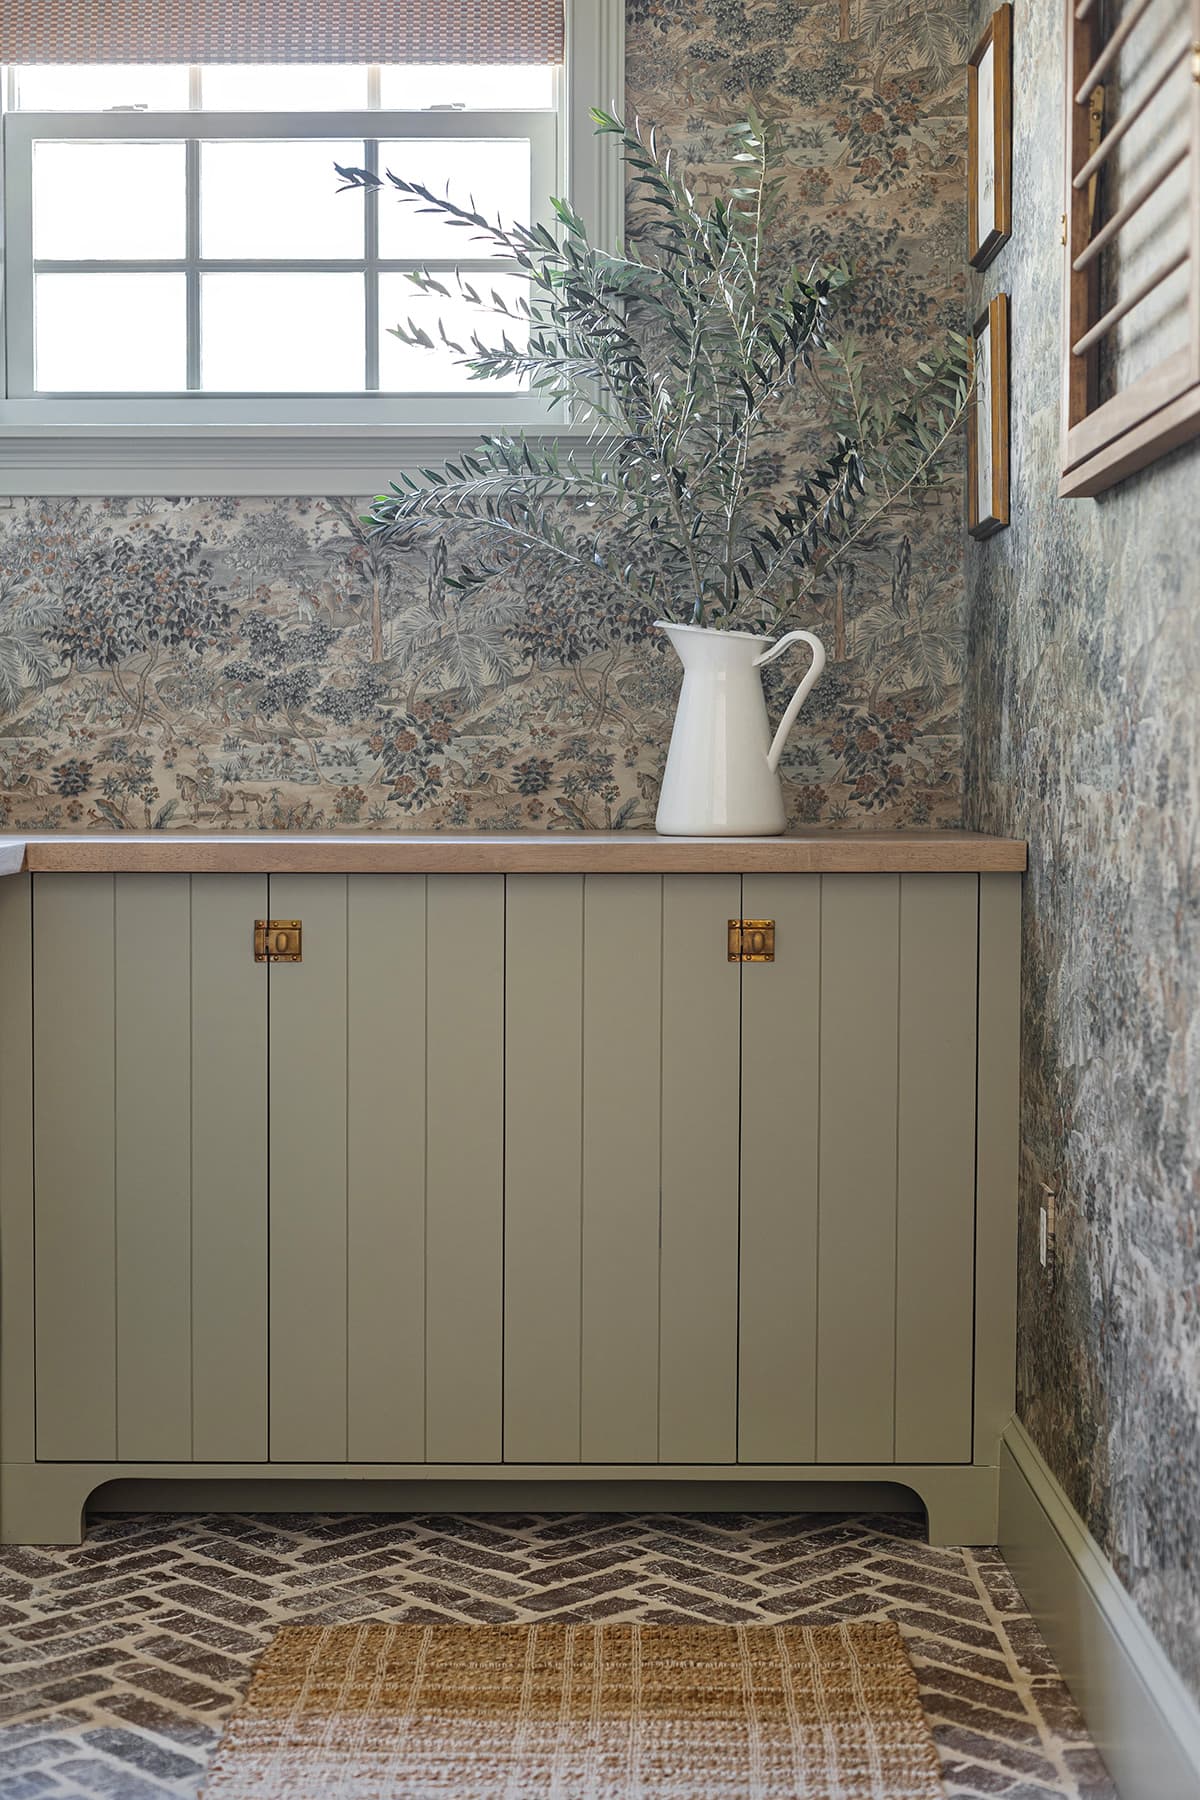
Originally I had a different wallpaper selected, but during the 18+ month project delay, I came across another option and instantly fell in love. This design feels much more sophisticated, and the colors coordinate beautifully with our adjacent living room.
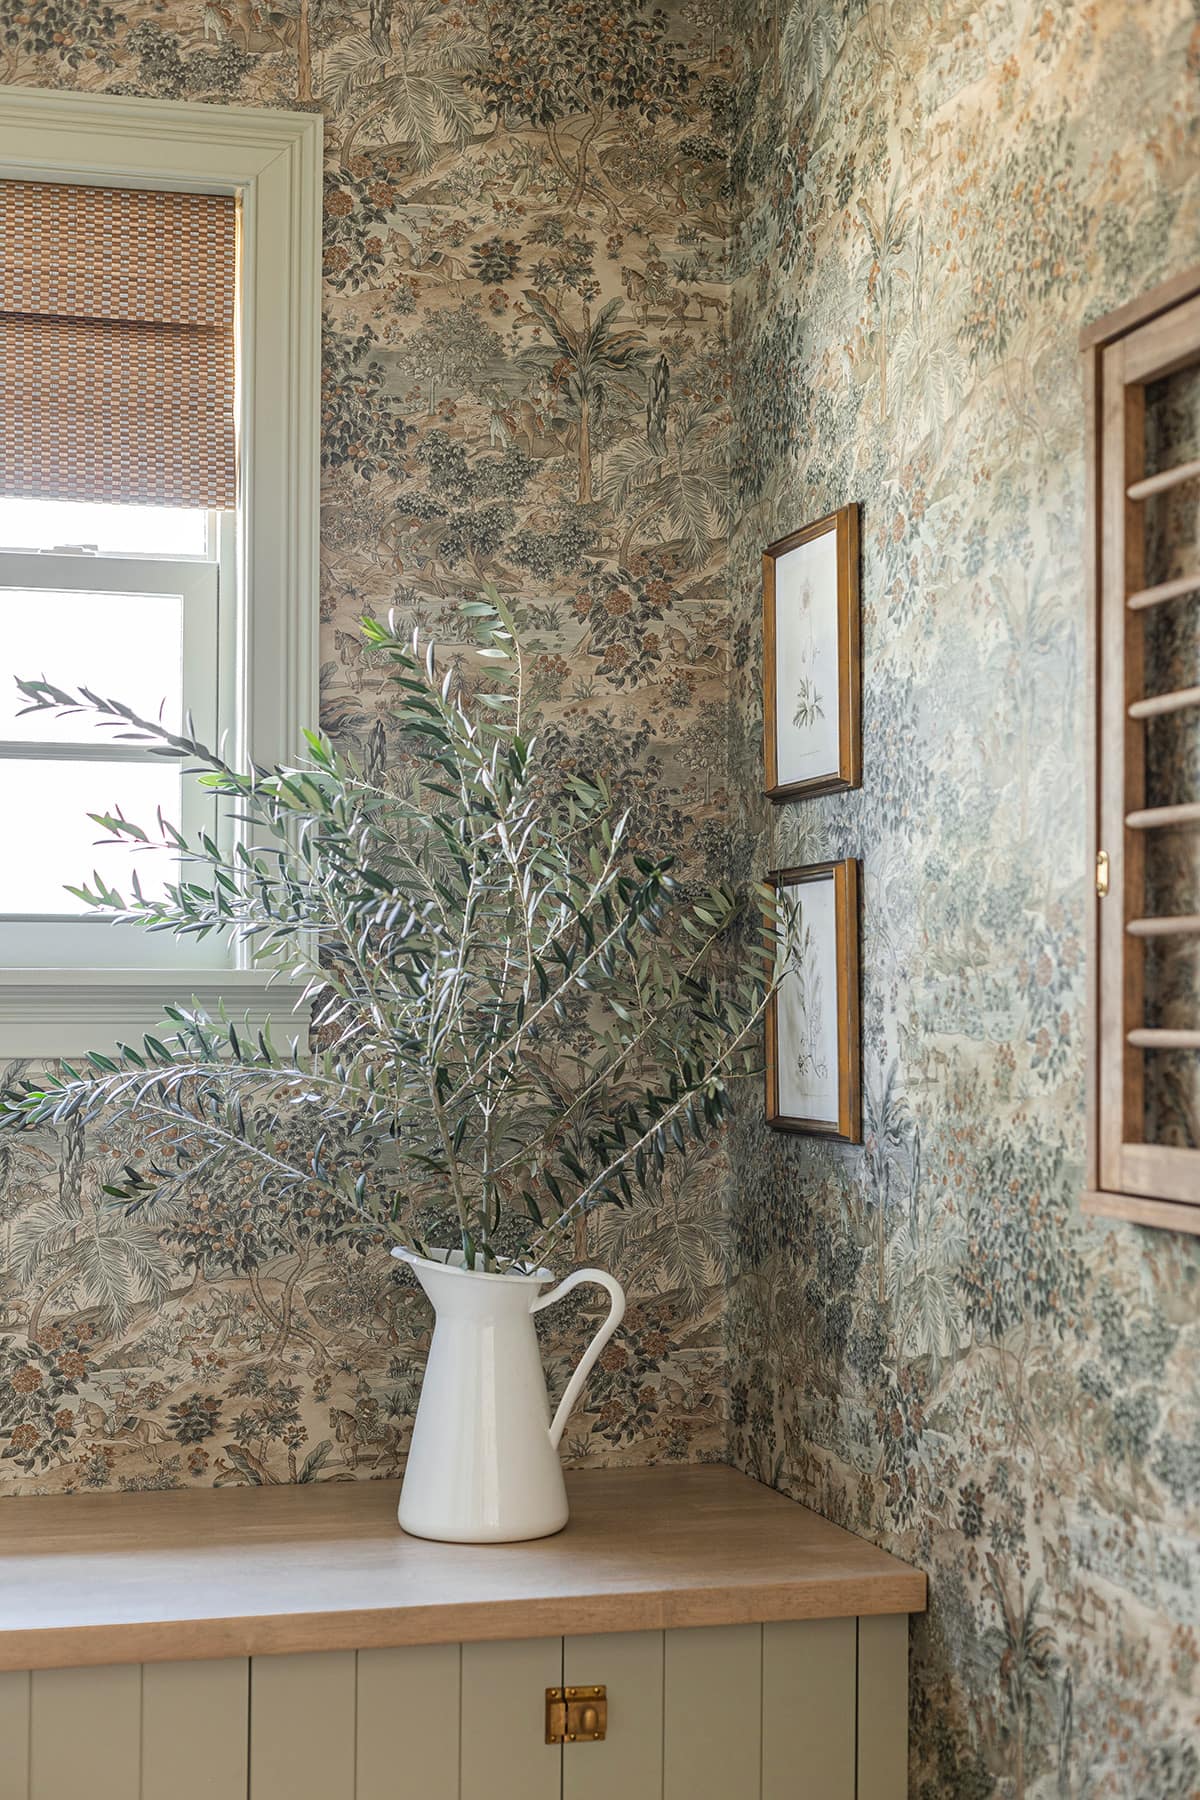
As our family has grown, kitchen storage has become a challenge and we’ve found ourselves needing more cabinet space. With our laundry room’s close proximity to the kitchen, the plan was always to design it as a multi-purpose pantry/additional storage room.
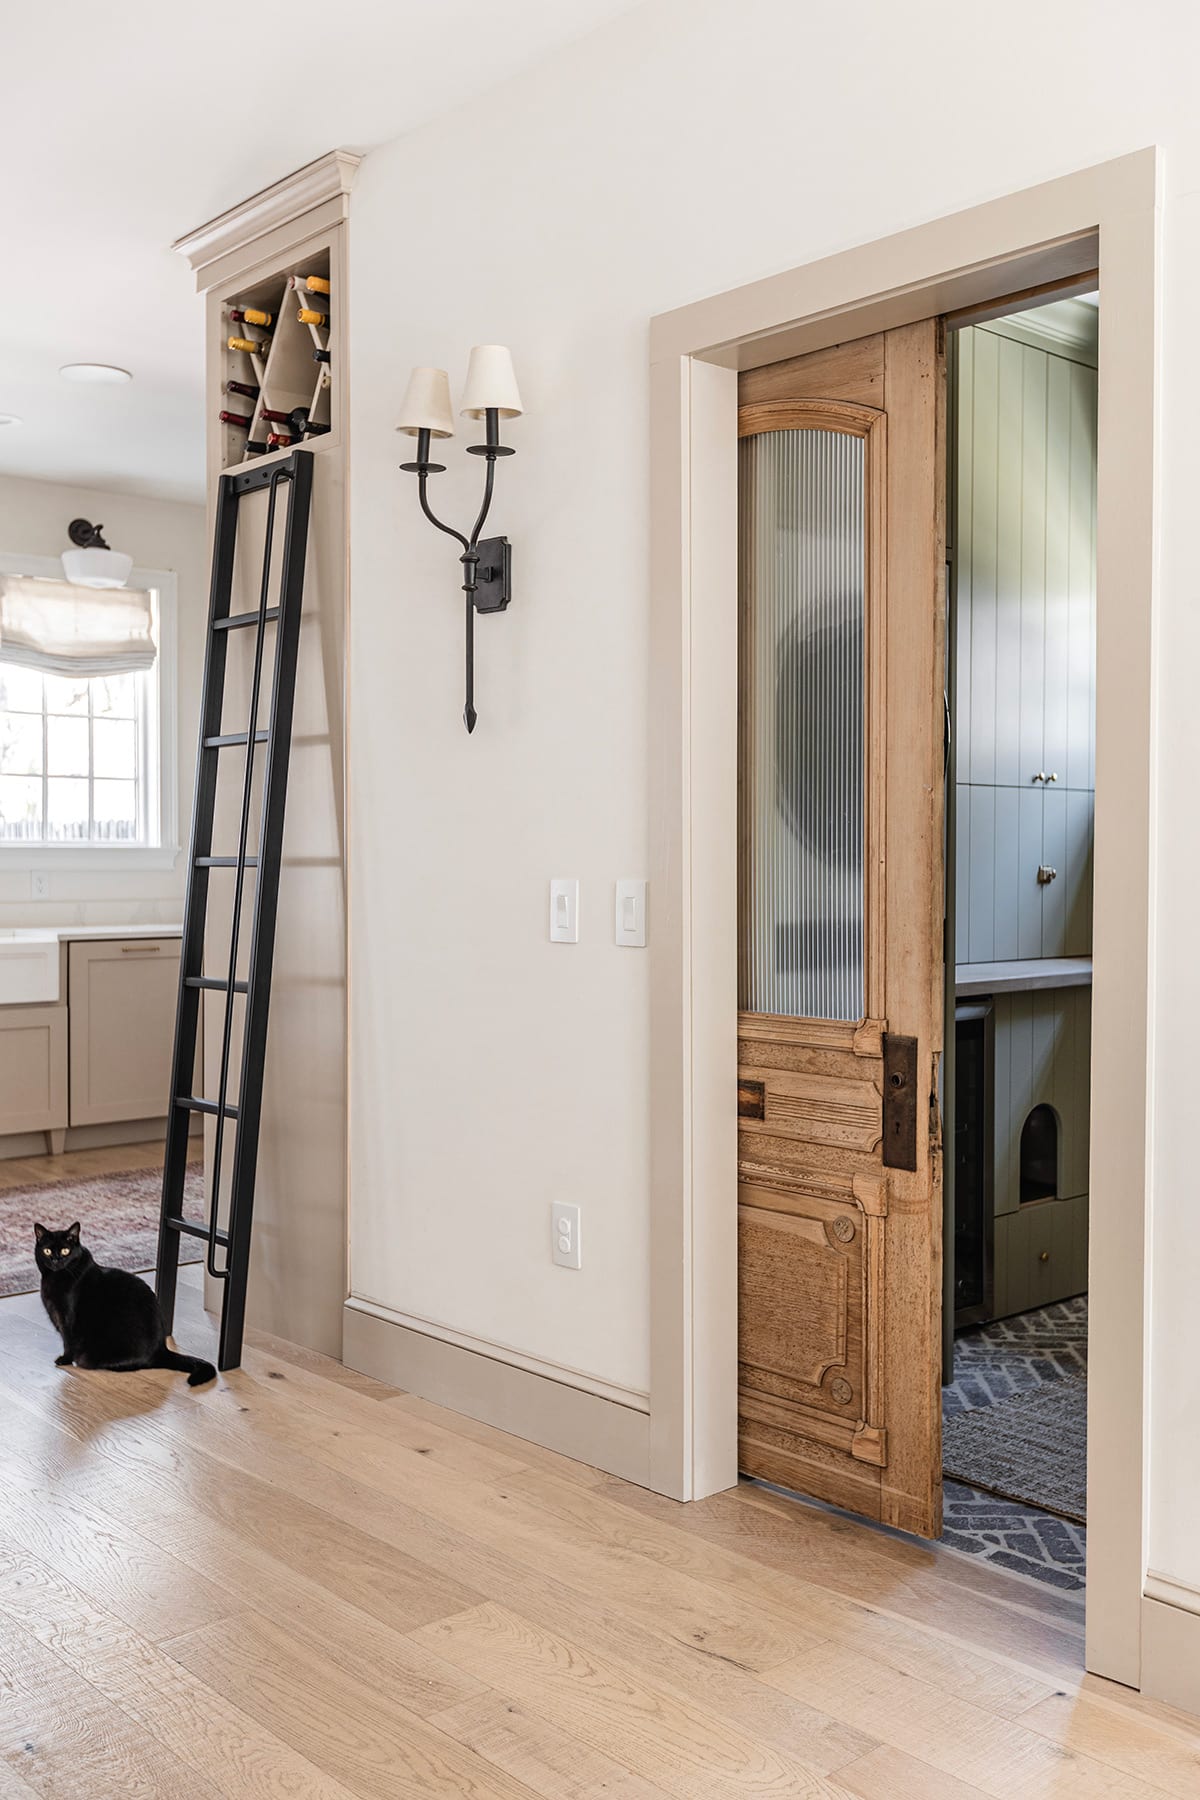
With those needs in mind, we maximized the small footprint to include floor to ceiling cabinetry, along with a beverage fridge and dedicated home for a self-cleaning cat litter box.
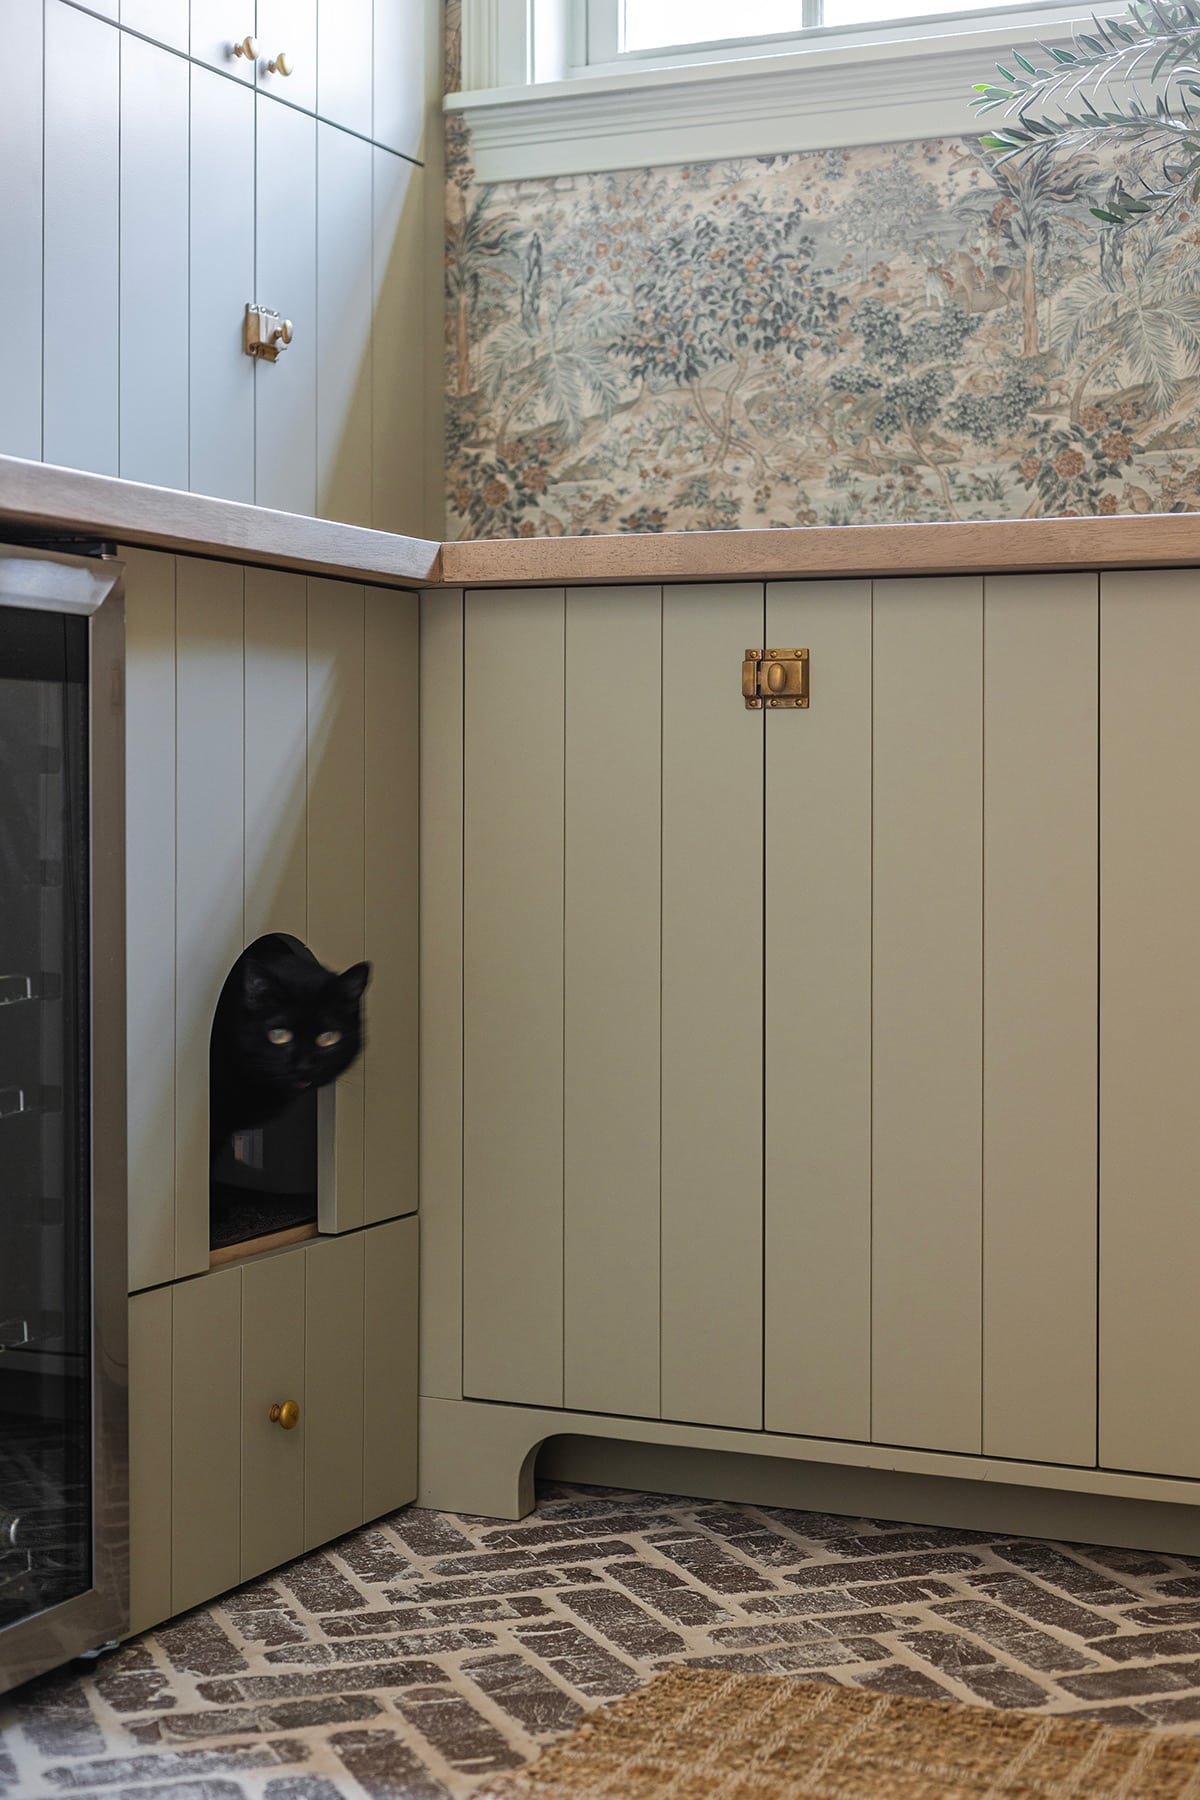
Now, we have more than enough space to store all of our cleaning supplies, less frequently used kitchen gadgets and overflow pantry items.
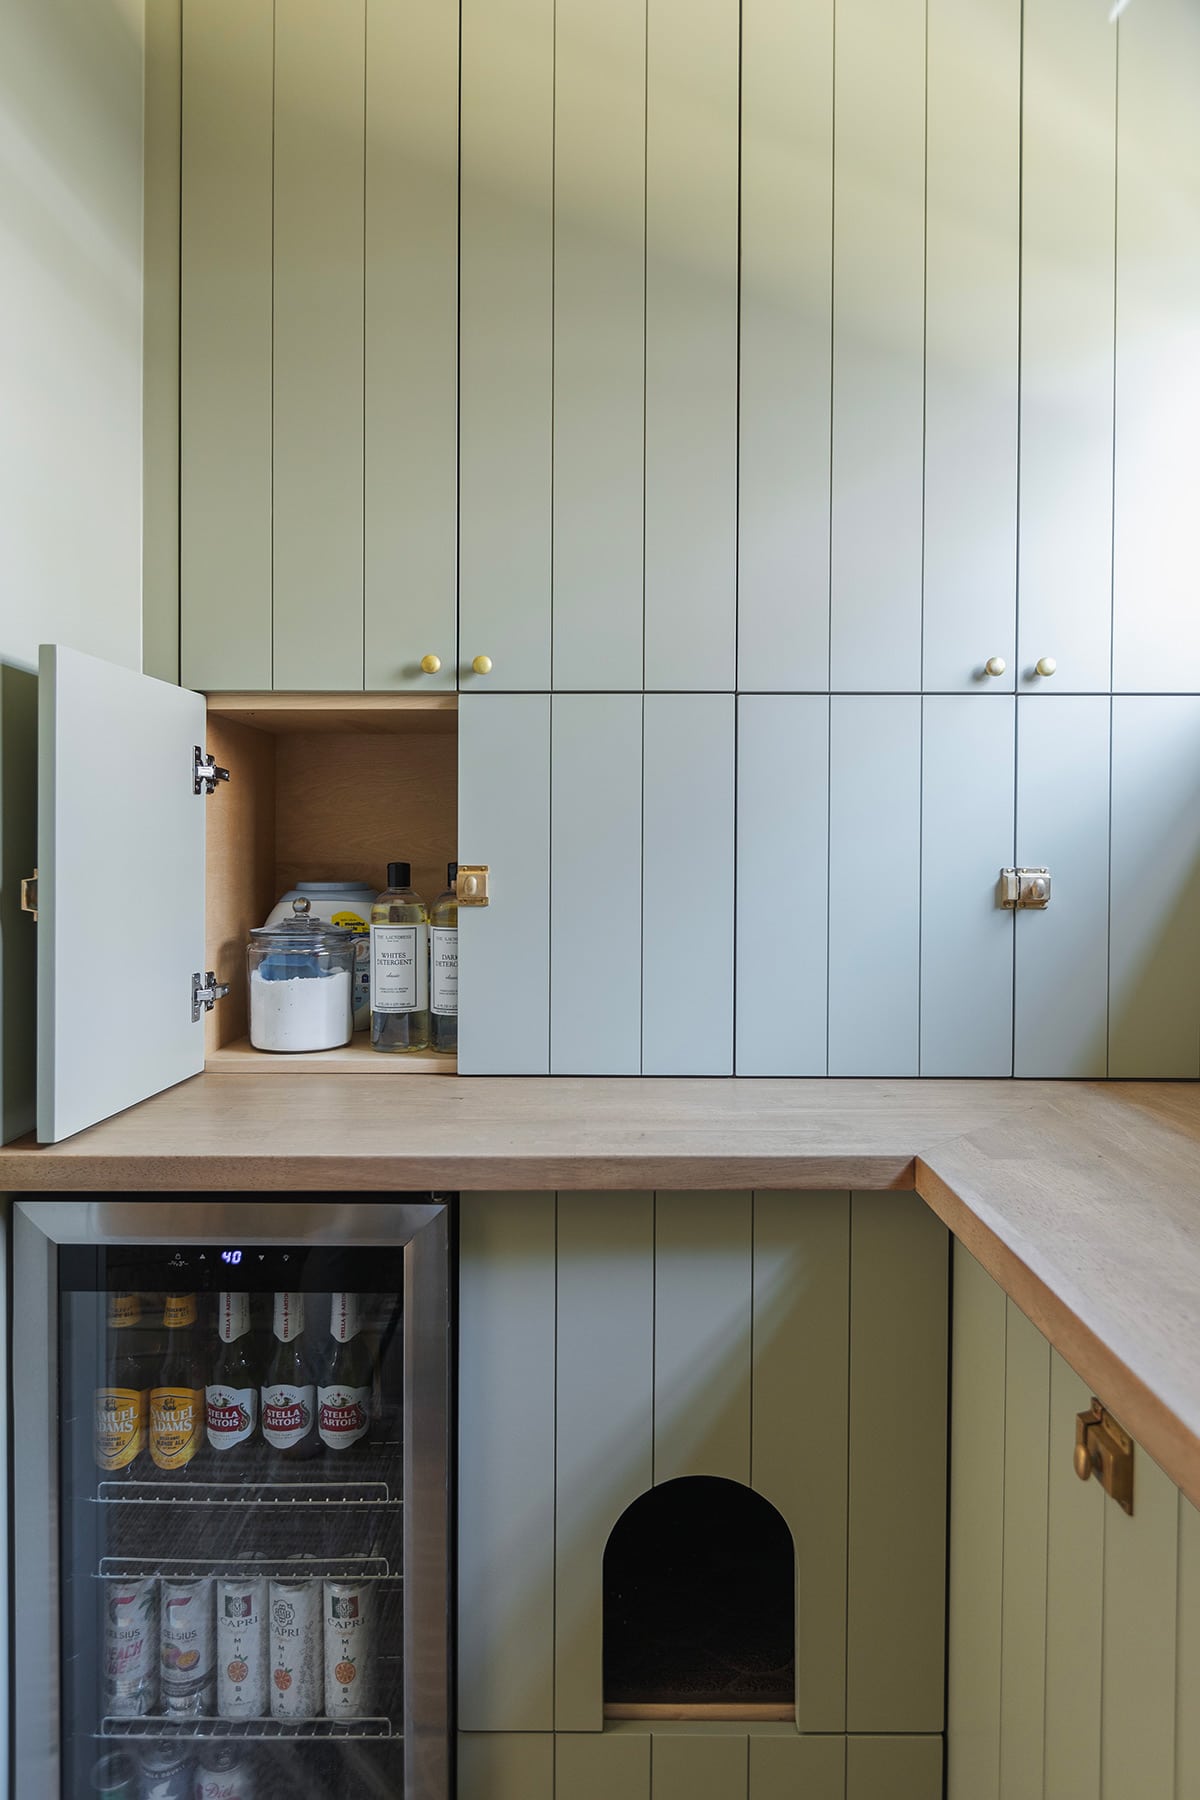
I still can’t get over how simple these doors were to make, and how high end they feel. Adding flush filler pieces and a custom DIY toe kick to give the illusion of inset cabinetry is a trick we repeated from our Hacienda kitchen.
The LG washtower has been a game changer. The stacked layout is much more efficient for our small space, and the center control panel makes everything easily accessible. 10/10 would recommend!
I sourced reasonably priced unlacquered brass hardware and aged them a bit with salt and vinegar. I’m loving the vintage touch those cabinet latches add.
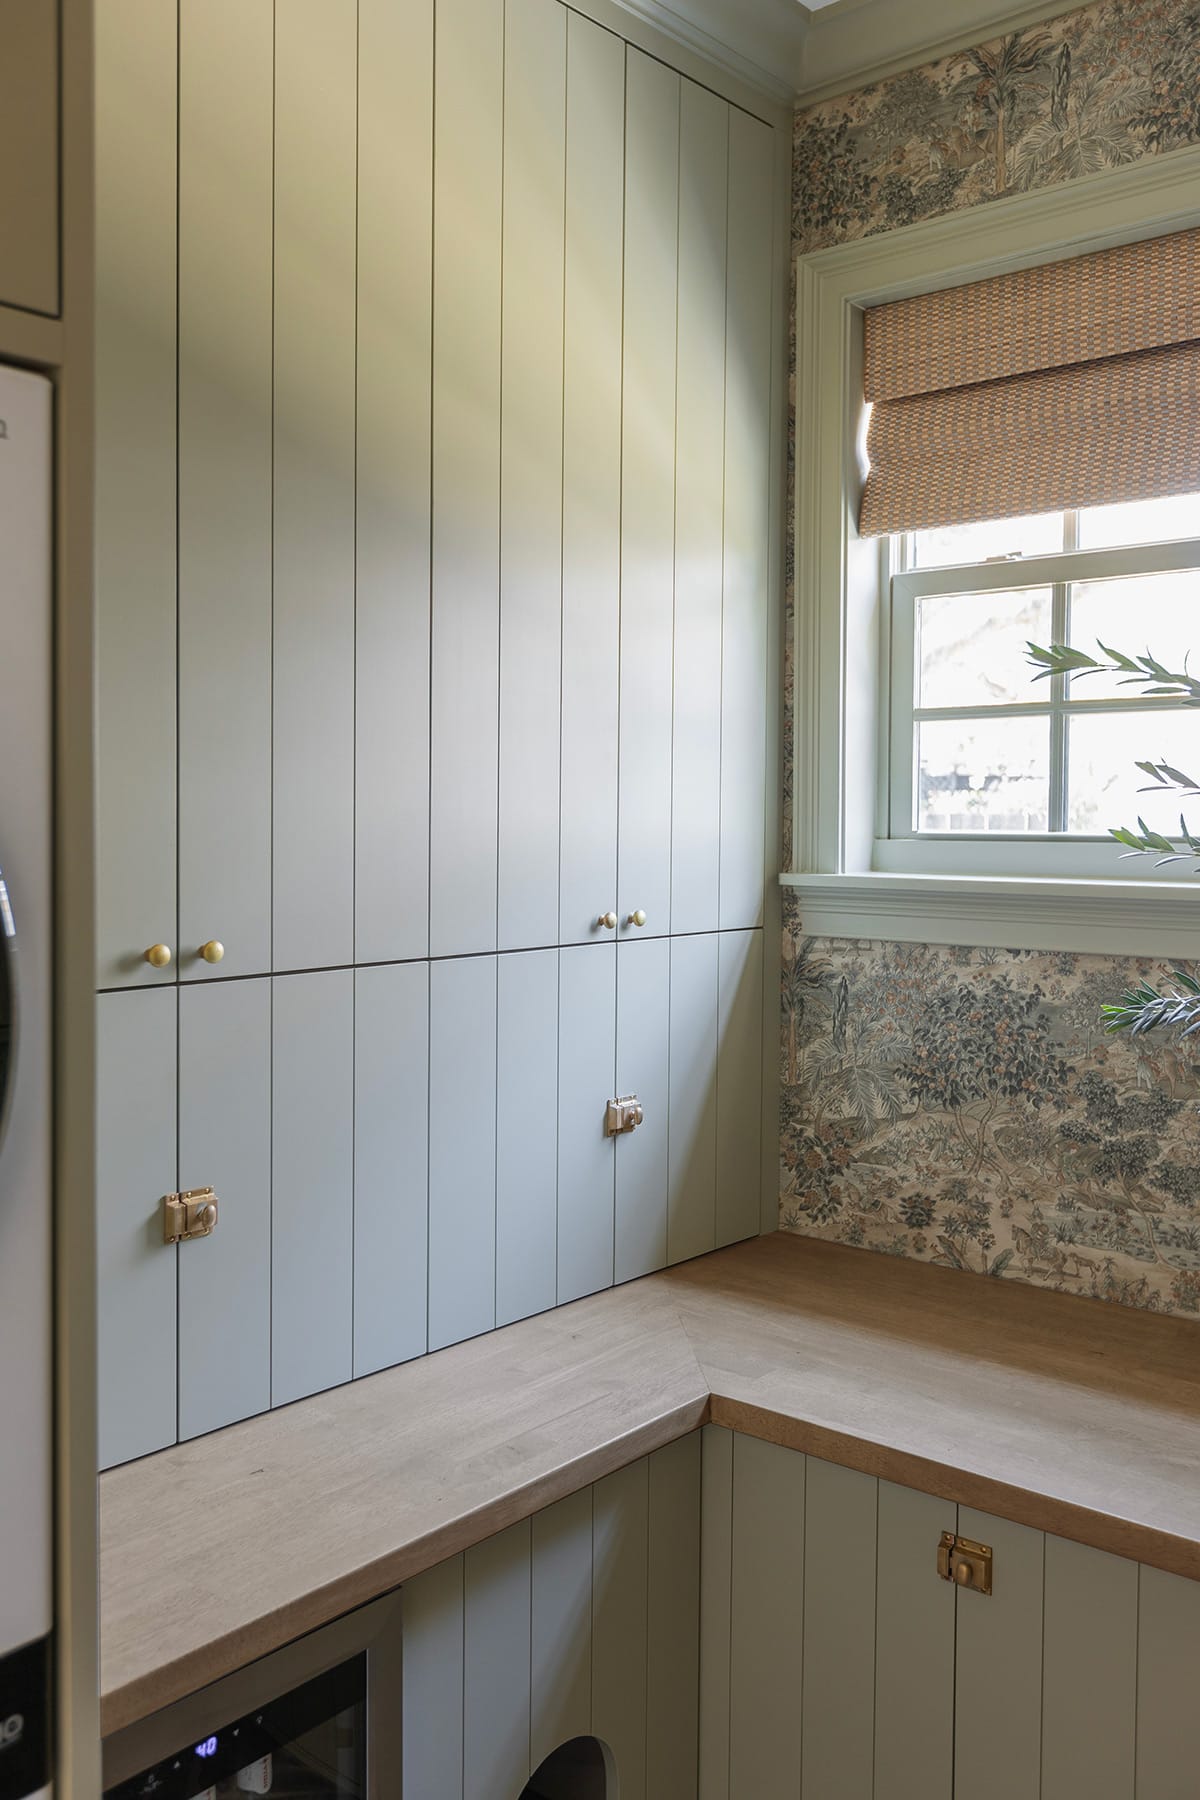
This renovation has been a long time coming, but so worth the wait!
Sources
- Paint color: Sherwin Williams Svelte Sage (satin)
- LG Washtower
- Beverage Fridge
- Brick pavers
- Wallpaper
- Drying rack
- Butcher block counters
- Rug
- Artwork
- Window shade
- Cabinet latches & knobs
Next week, I’ll share the simple way to build these v-groove cabinet doors—stay tuned for more!


Gail Weiss says
Apologies for two more questions on the blinds.
I thought I saw this in the comments but now I can’t find it –
1. can you tell me which number pattern of blind you chose?
2. And also I see there is an option to choose how much of a fraction to reduce the size of the shade (for window frame variance) for an inside mount. Can you share any advice on how to proceed on that option?
Gail Weiss says
Oops! I forgot that I also wanted to ask you about your window blind 🥴
— yours looks like it’s blackout or nearly so, but when I looked at the link for your sources it did not look like that was as room darkening as your blind.
Can you clarify on how room darkening your blind is?
Thanks!
Jenna Sue says
Hi Gail! if you click on the link, you’ll see there is a Customize button where you can choose to add a liner. I added a beige liner which blocks most of the light. Hope this helps!
Gail Weiss says
Perfect! Thank you so much!!
Gail Weiss says
Hey Jenna Sue,
I love the wallpaper you chose here so much that I’m trying to see if I can make it work for me in our house in a master bath area! 💕
Any suggestion on where to find it for the best price?