Today I turn 33, and I’m celebrating by sharing a One Room Challenge update and picking up the perfect desk I found used online! You know you’re in your 30’s when making progress on your bedroom makeover is your idea of a good time 😀
Be sure to catch up with Week 1, Week 2 and Week 3 before reading on!
I mentioned last week that we were in a tough spot with our 5-unit bungalow, and unfortunately this was another rough week. I really want to share what’s going on but that will have to wait until there’s a resolution, which will probably take several more weeks. Yesterday was especially difficult, but today I plan to make the most of this day, practice gratitude celebrate another precious year on earth.
Easily the best part of last week was the progress I made in our bedroom makeover. Watch it all go down in this weeks vlog!
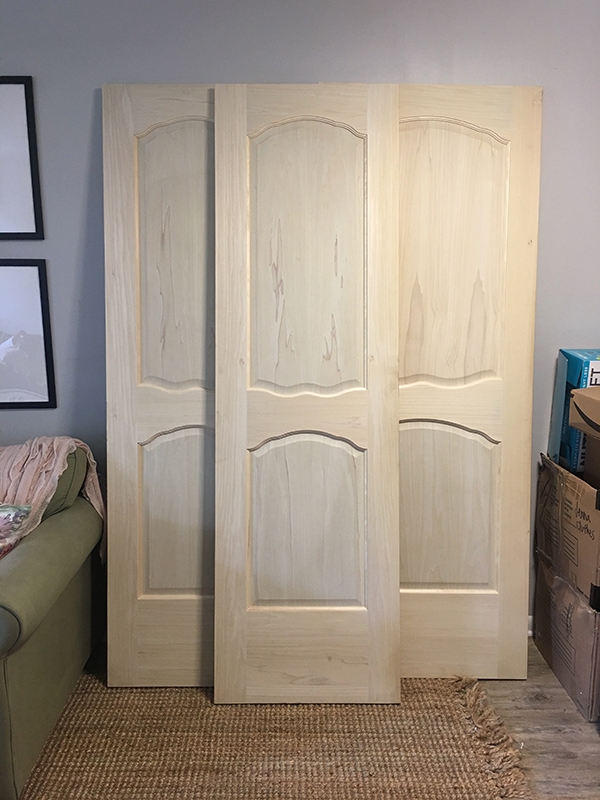
Not gonna lie, I was pretty nervous about installing these gorgeous solid wood Metrie doors that arrived the week before:
I’ve never installed slab doors from scratch like this, and after taking a year off of DIY, I feared my skills were gone. Determined not to ruin them, Lucas and I studied up on YouTube, bought a few tools, and set aside a couple days to take our time and do it right.
Now, you may remember, we are currently living in an apartment. We’re not allowed to make any permanent changes, but fortunately, doors are interchangeable so we can take these with us when we move out (you think I could leave these beauties behind?!) I get that this requires more effort than what it’s worth for many folks living in an apartment, but you have to understand that these doors were the one thing I was most looking forward to when I found out I was participating in the ORC. I had my heart set on them and couldn’t come to terms with giving them up when our house burned down. And after installing them, I have zero regrets! They make me so happy every time I walk into the room.
Moving along—Step 1 was to remove the old door. Good riddance.
The screws were in bad shape—painted over multiple times and stripped out. Luckily we were eventually able to pry them out (and replace them with functioning screws).
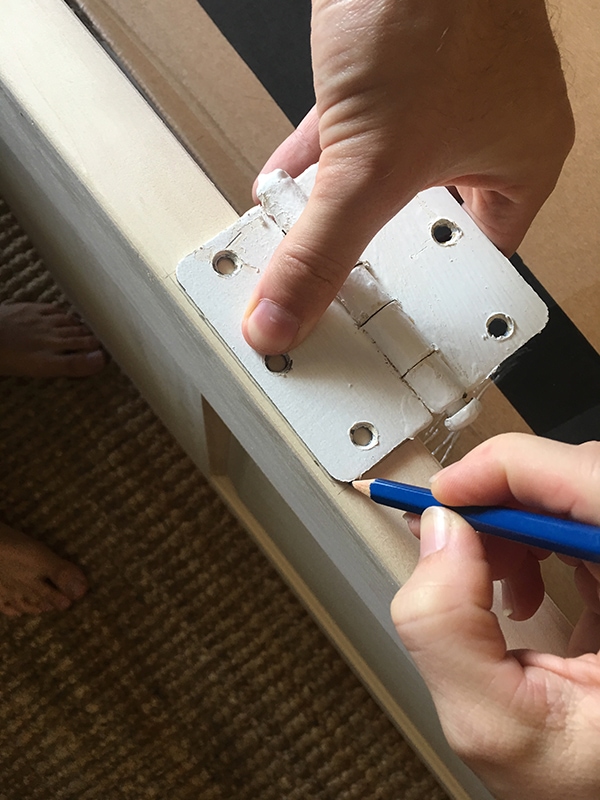
The easiest way to make sure everything on the new door lined up was to lie the old one on top and trace the hinge and door knob placement.
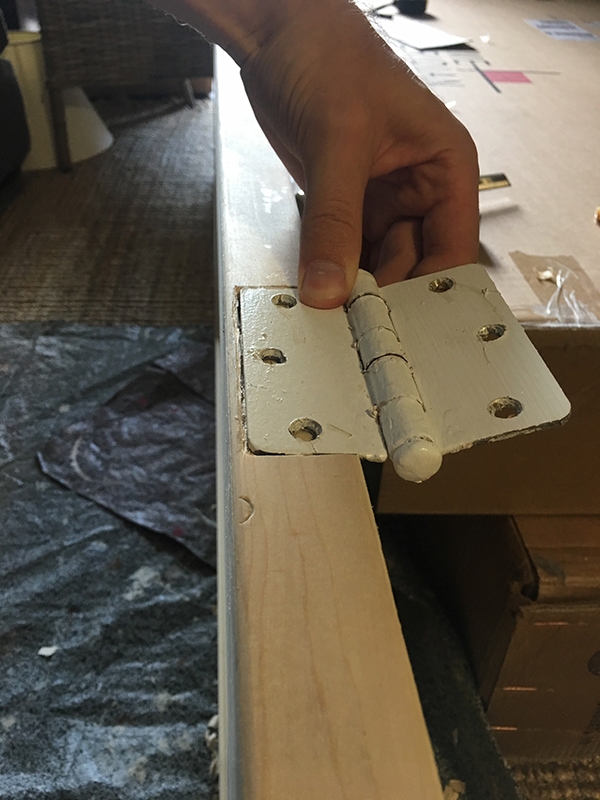
Then we lined up the hinge and traced the exact placement onto the new door.
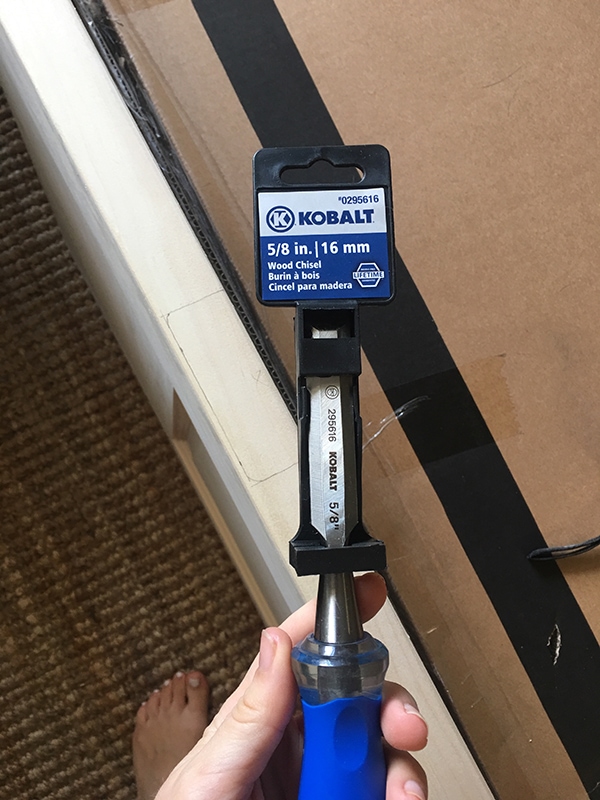
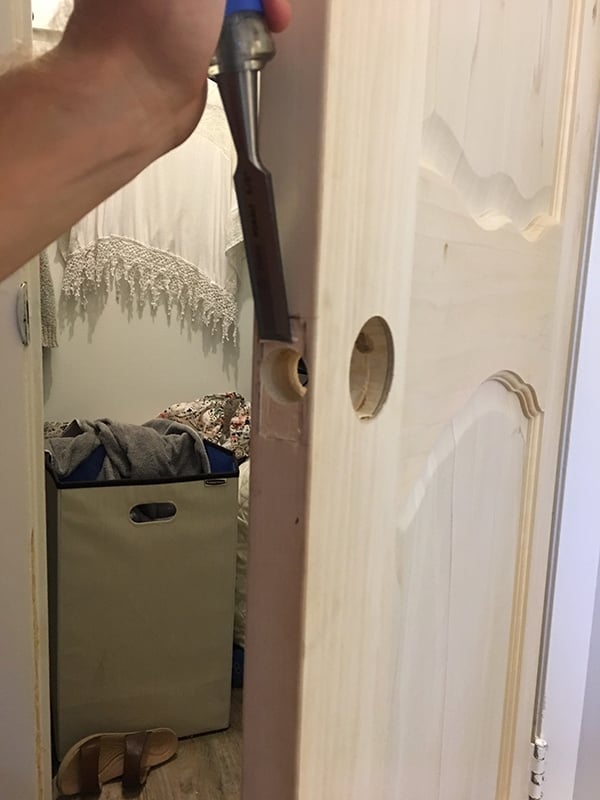
This chisel was the most important tool in this project. We could not have done it without it!
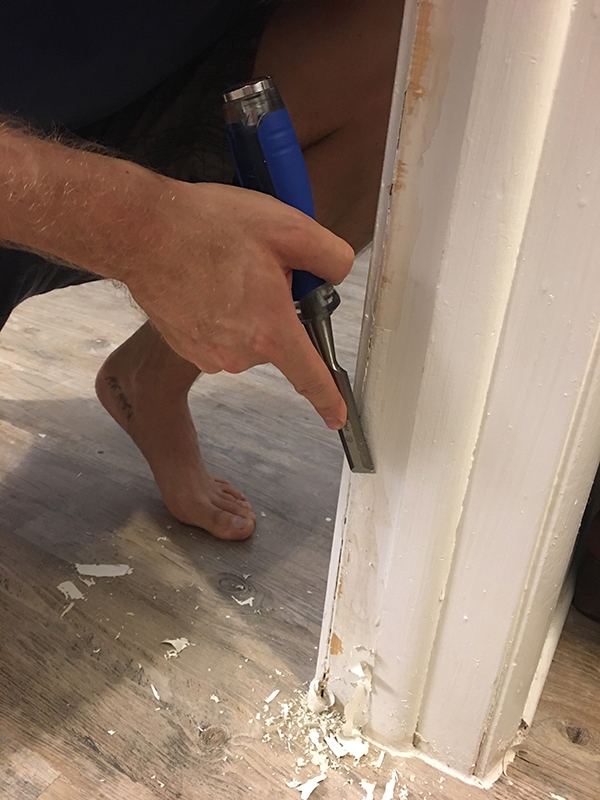
Lucas was excited to relive his old wood shop days, so he took the lead. It didn’t look pretty, but it did the job.
A little bit at a time until it was a perfect fit.
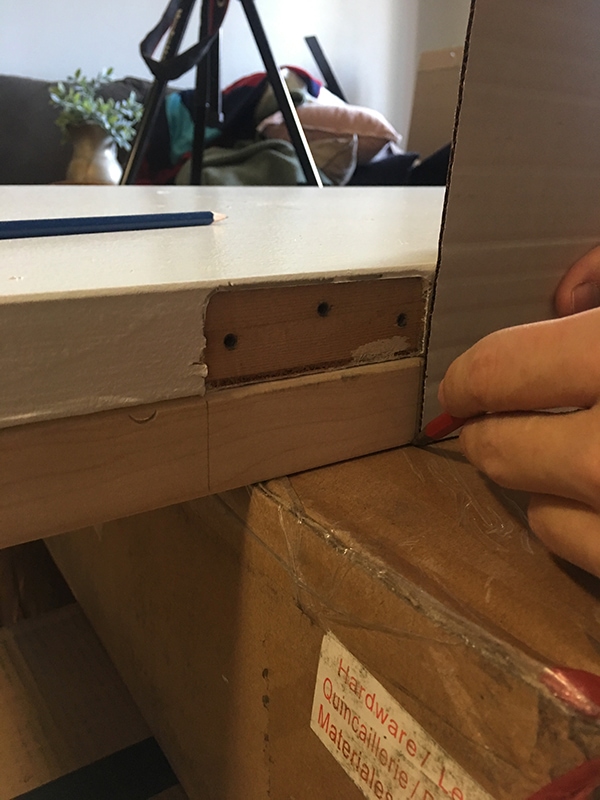
After both mortises were notched on the door, we reattached it to the frame… and it didn’t close. Thinking it was a problem with our hinge placement, we made several attempts to move them around and even tried to bend the hinges (not happening) before accepting that the door frame just wasn’t square and the door was not going to fit. Sigh.
I was posting our saga in real-time on my Instagram stories and many of you chimed in to commiserate, saying that hanging doors is a science—and it’s absolutely true! Unless everything in your world is perfectly square, it’s not as easy as it looks.
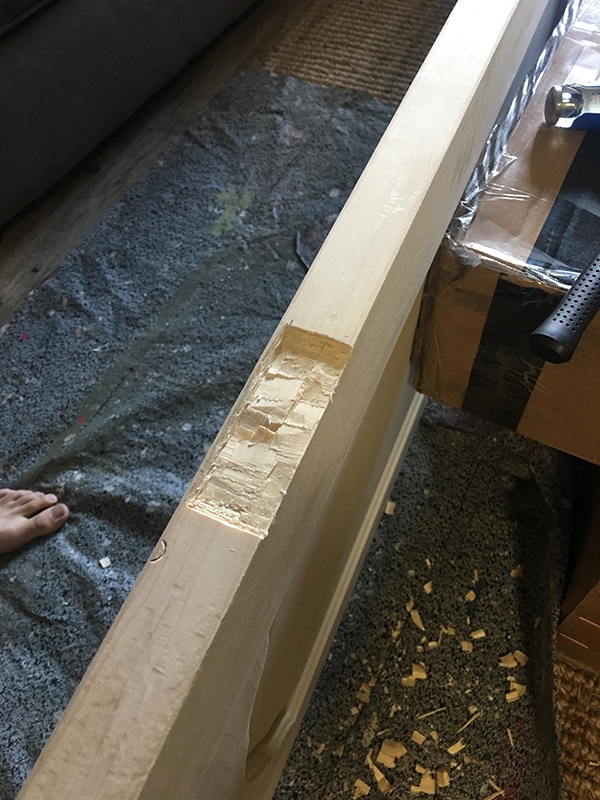
We weren’t prepared for this problem. The proper solution would be to cut the door down with a table saw or plane the edge, but we had no table saw and I just knew I’d butcher the door if I took a planer to it. So we tried the only other thing that would work…
Chisel to the rescue! Luckily the door was only hitting in one spot and it wasn’t too major, so we were able to smooth down a section until it fit perfectly. We still need to sand it down, putty over to smooth it and repaint and no one will ever notice (trust me, there’s tile attached with duct tape in the bathroom in this termite-infested apartment and they plan to renovate the unit summer—a chiseled door jamb is the last thing this apartment cares about).
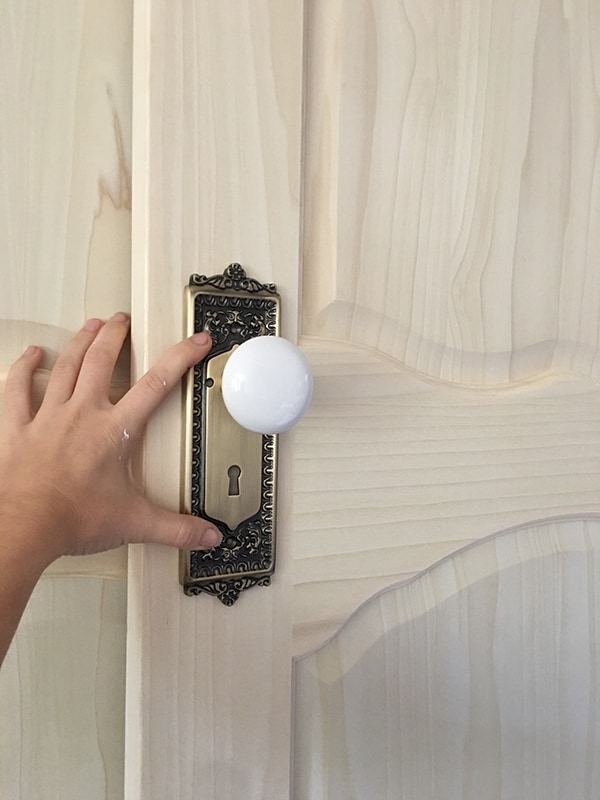
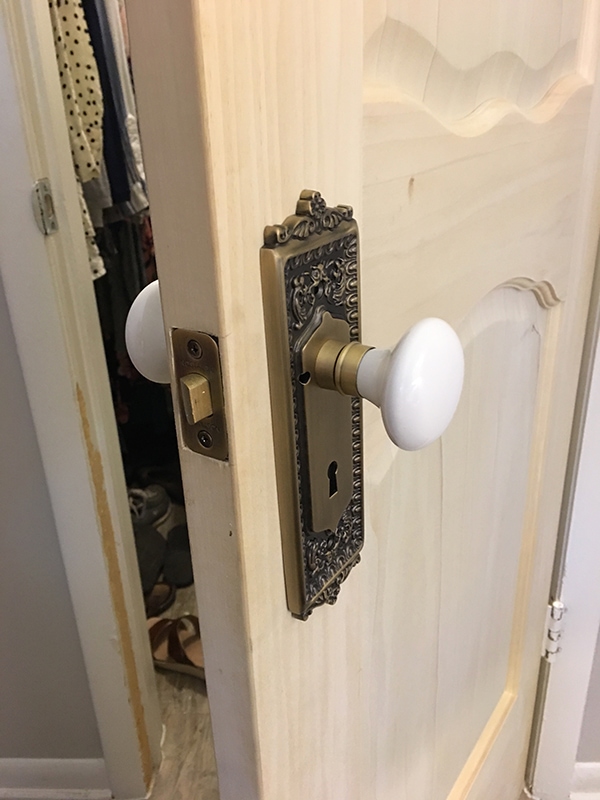
After the most complicated part was over, we turned our attention to the door handles. Cue the choir of angels…
I shared these gorgeous knobs in Week 3, but it’s worth mentioning again. I chose this combination from Nostalgic Warehouse, which you can’t buy directly from their website, but I did find it here on Amazon. Not cheap, but if you can swing the cost (even just on one special accent door) they’re one of those details that make all the difference.
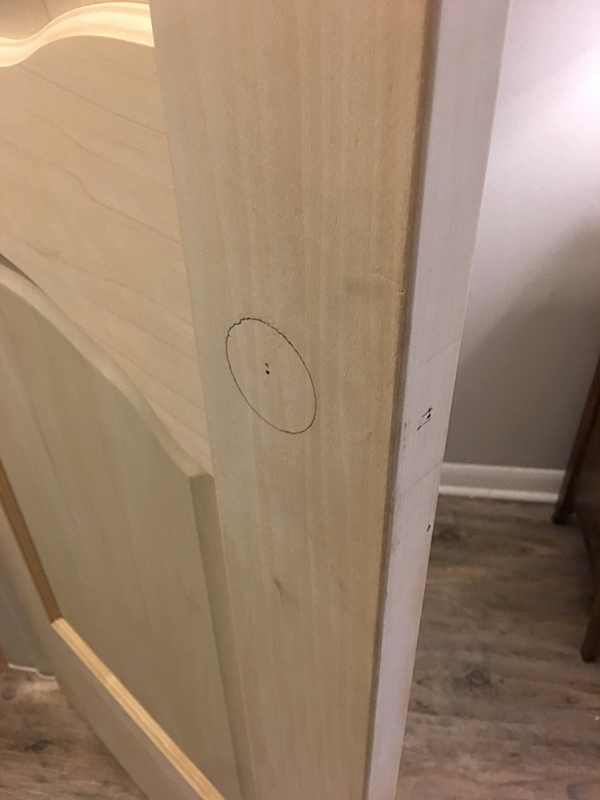
The handles come with drilling templates, so we were able to easily mark our center points for the holes (I know they don’t line up in the center here, we had to try it a few times).
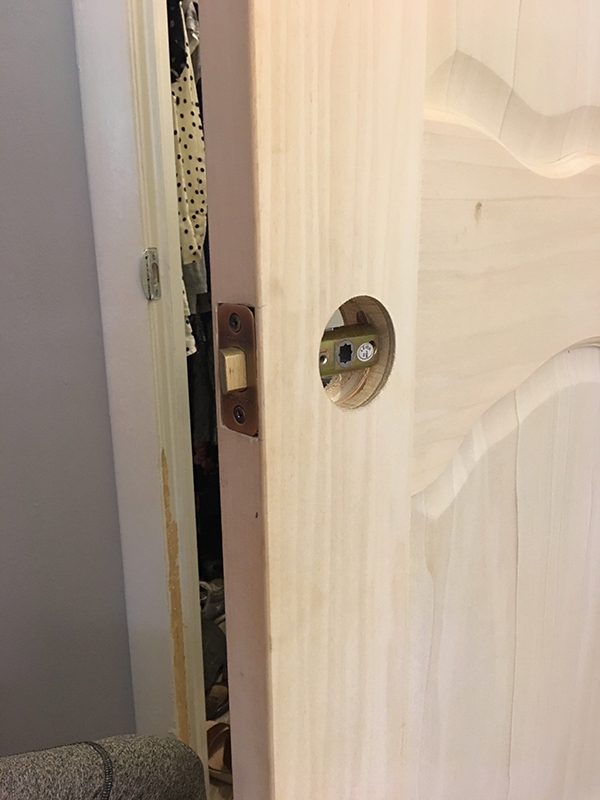
Luckily there’s a little room for error, which we needed because ours weren’t perfectly centered. The larger bore was made with a 2 1/8″ hole saw, and the small bore was with a 1″ paddle (watch the tutorial linked above to see this part in action):
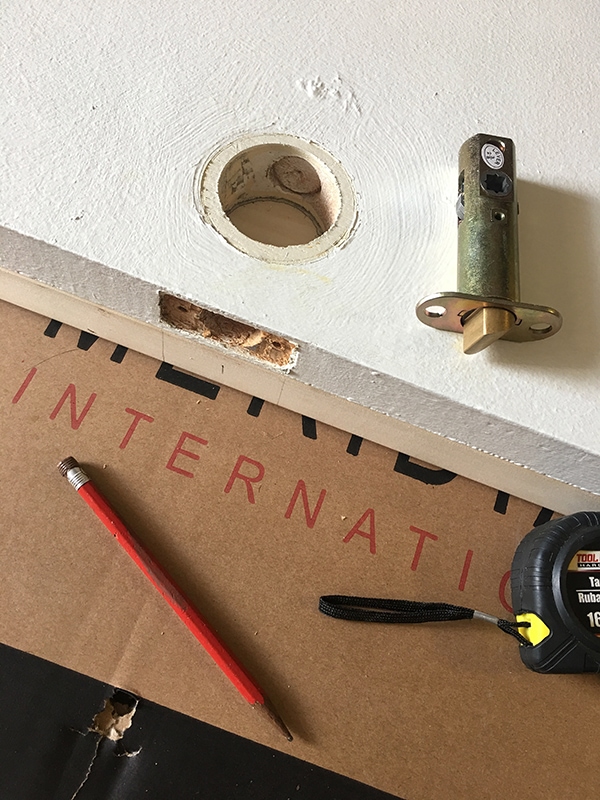
The latch plate also had to be chiseled out, but by this time, Lucas was pretty much a pro at it.
I could hardly contain my excitement as it all came together…
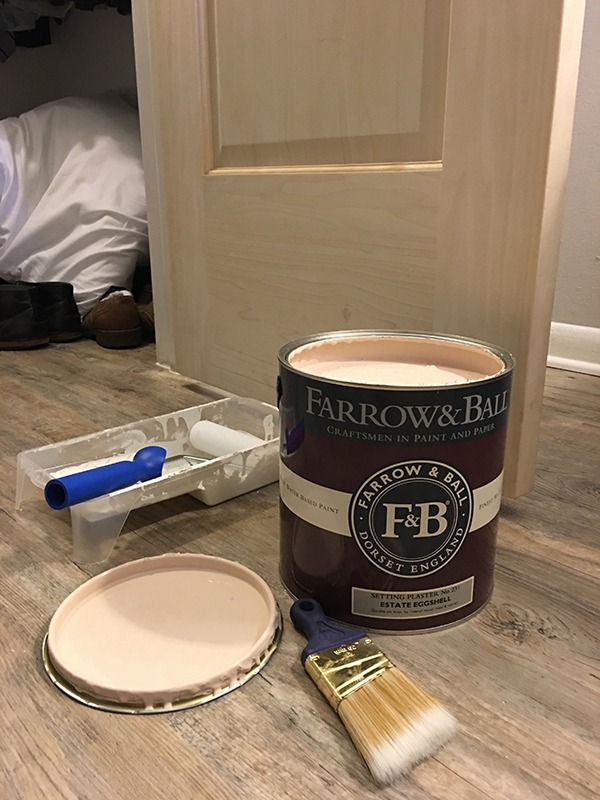
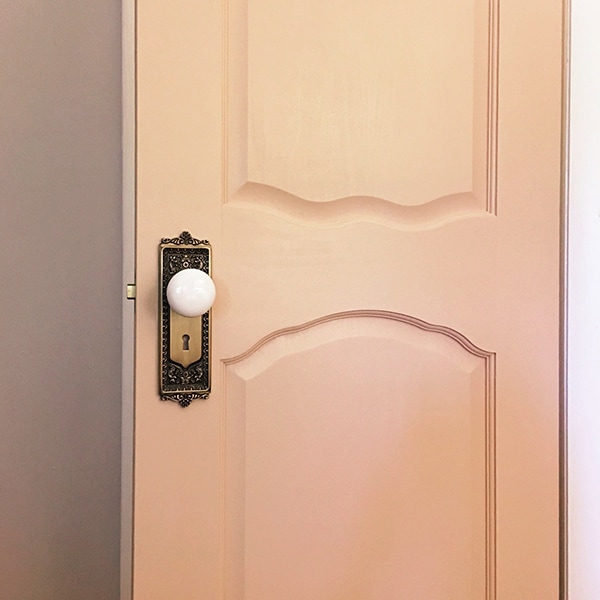
Before we attached them, it was time to paint the door! I chose Farrow & Ball’s Setting Plaster in their Estate Eggshell finish:
I went back and forth on which color to choose (it’s so hard to tell online!) and got lucky—this was the exact color I wash hoping for!
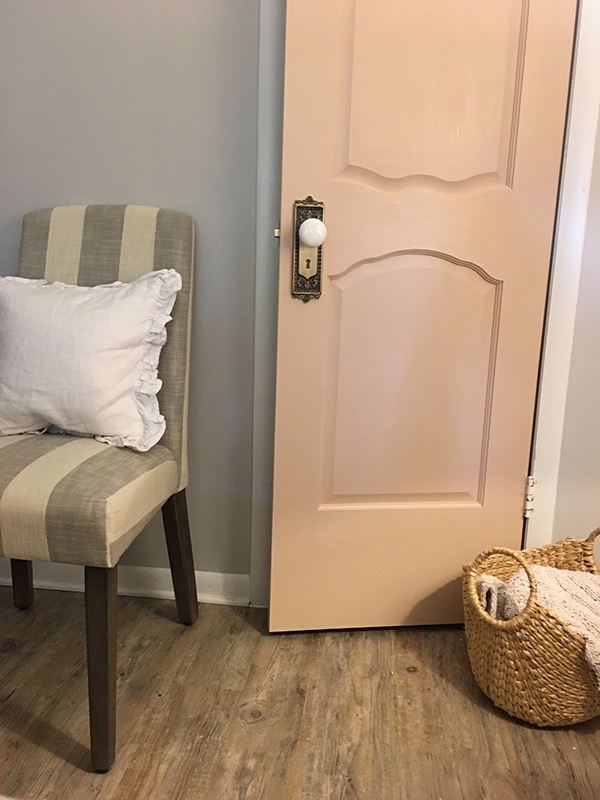
It’s a soft putty peachy-pink and it’s perfect.
This door + handle + paint combo made all that chiseling worth it.
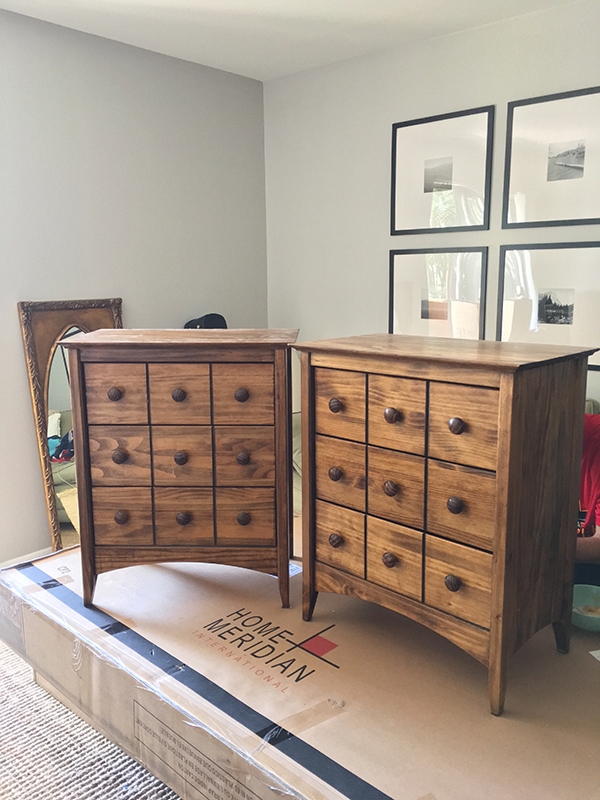
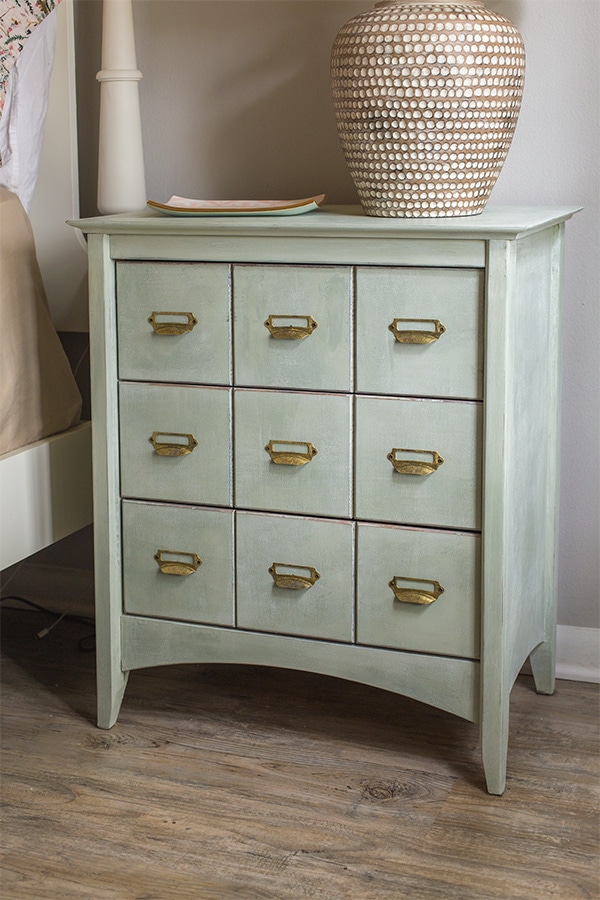
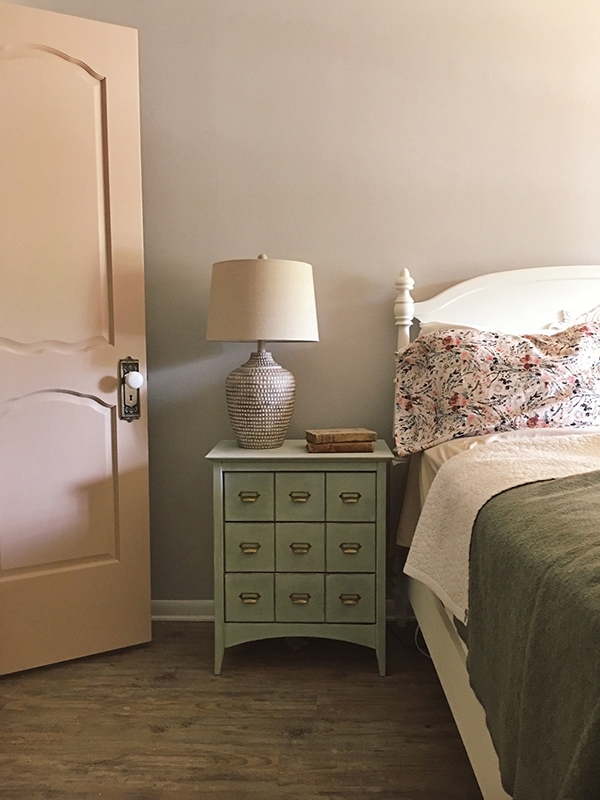
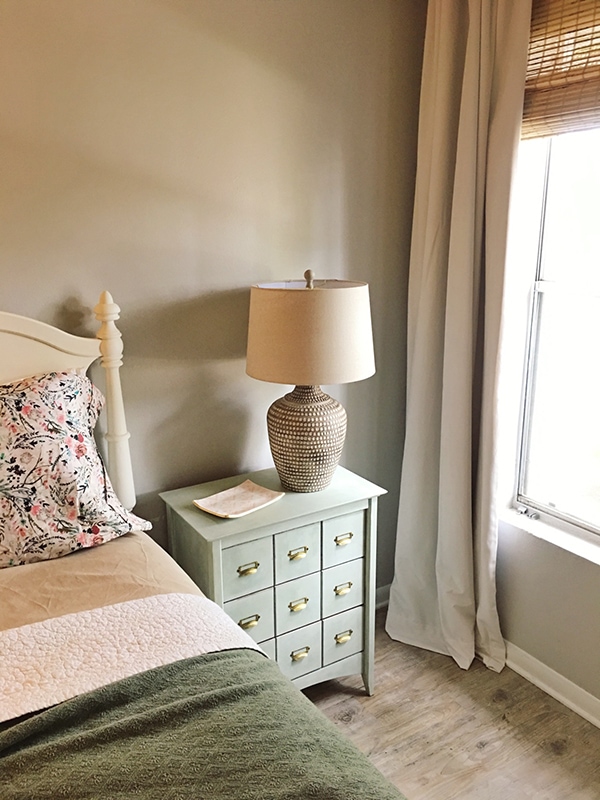
The painting party didn’t stop there—next it was time to tackle these night stands I found on OfferUp a couple months ago for $80:
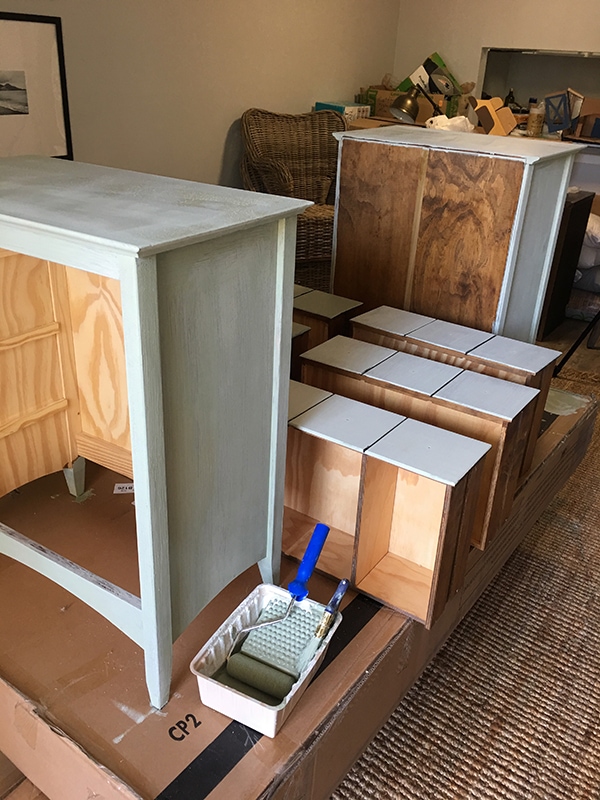
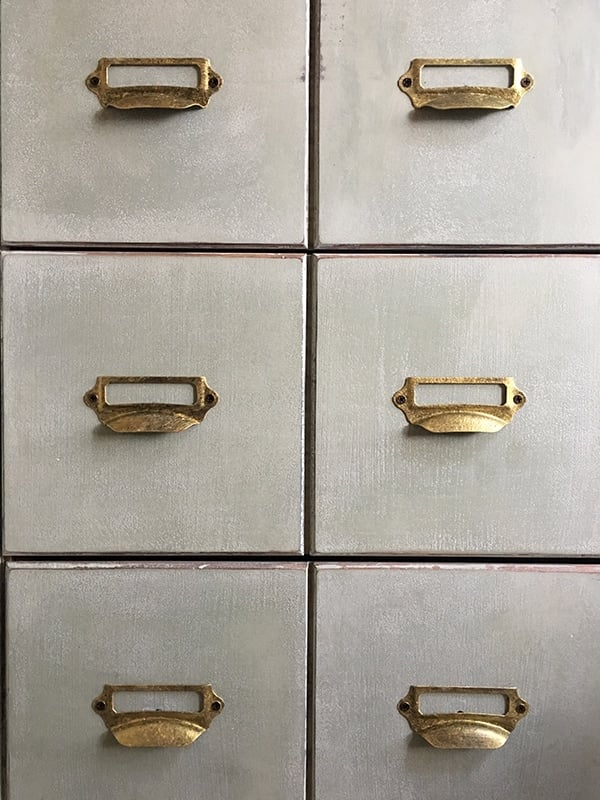
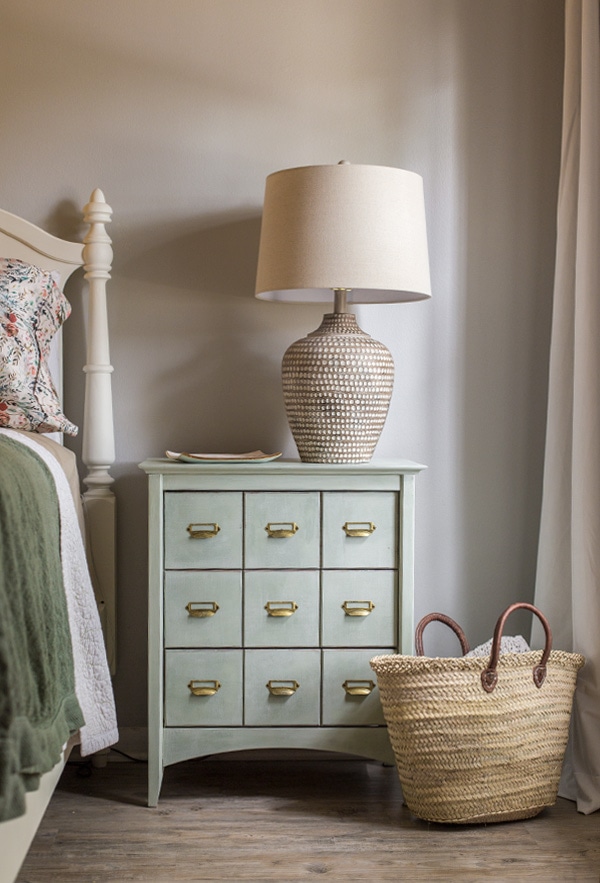
From the beginning I had the idea to give them a vintage apothecary cabinet look, and chose Maison Blanche’s lime paint in Printemps:
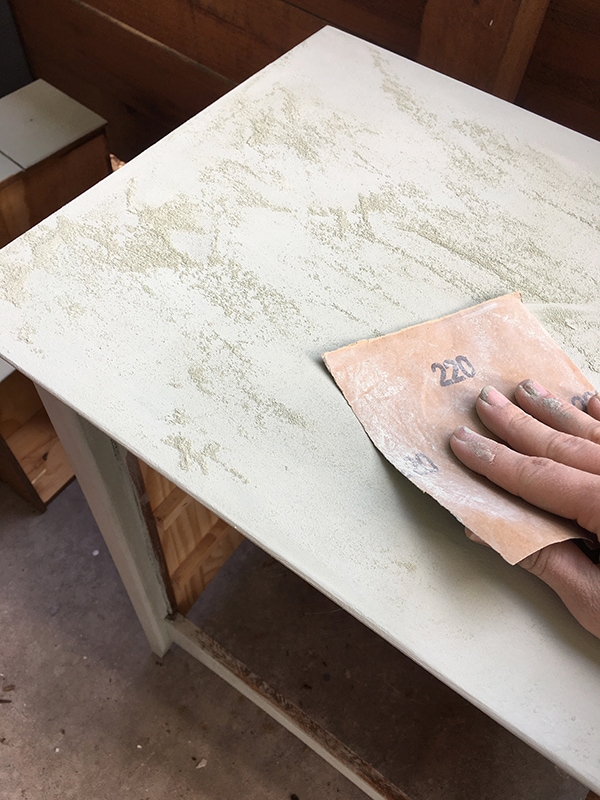
It’s a pale sage green with a very unique powdery texture—almost like a clay that you can layer onto a surface and sand down to your desired texture. It’s nothing like regular latex paint, and quite different from chalk paint too. The texture takes a bit of getting used to, but it’s fun to experiment with and you can do some really interesting techniques once you get the hang of it.
It took between 1-2 coats to cover, and I gently sanded the surface to my desired level of texture (it sands off super fine like baby powder).
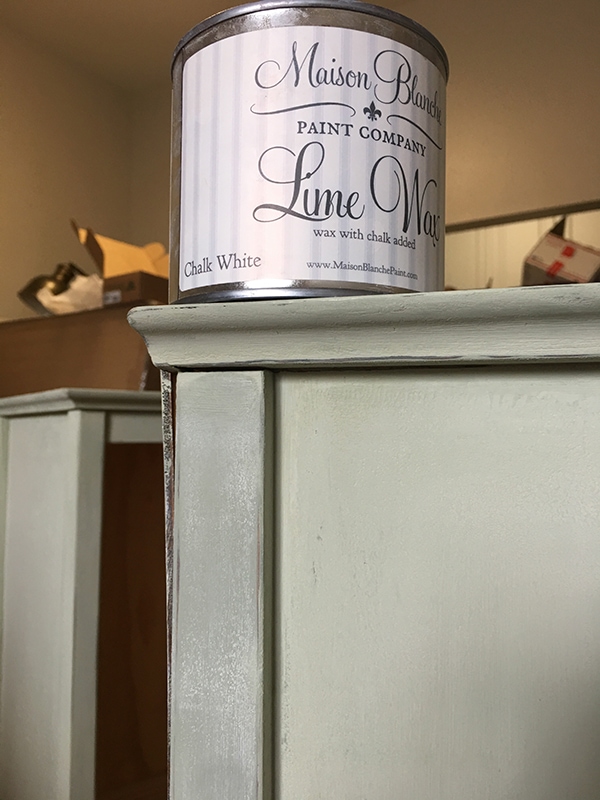
To protect the surface and give it a rich patina effect, I applied one coat of Maison Blanche’s chalk white lime wax.
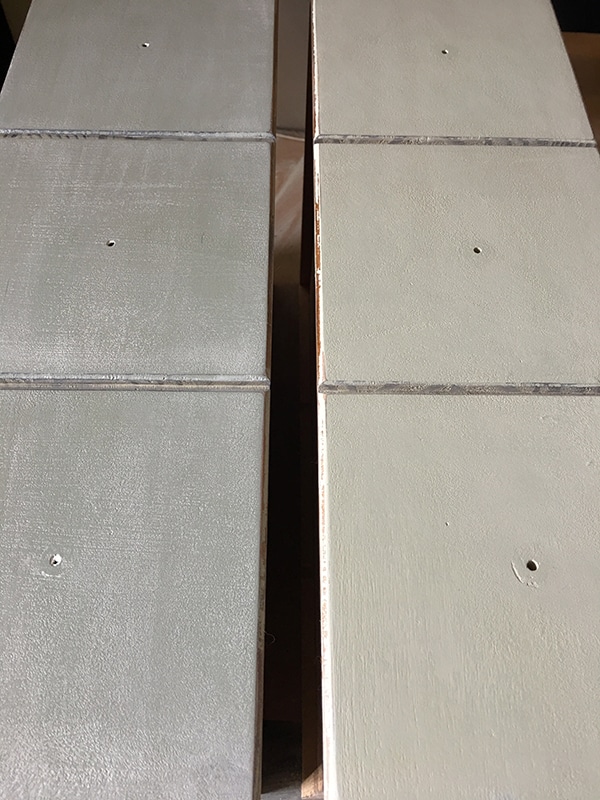
This wax is also unlike any other I’ve tried, settling into every little groove and giving it an authentic worn look. Here you can see the wax applied to the drawer on the left, and before wax on the right:
There’s no buffing or reapplying involved—just wipe it on, let it sit for a bit and you’re good to go! This is the quickest furniture makeover yet, and I plan on experimenting a lot more with this wax.
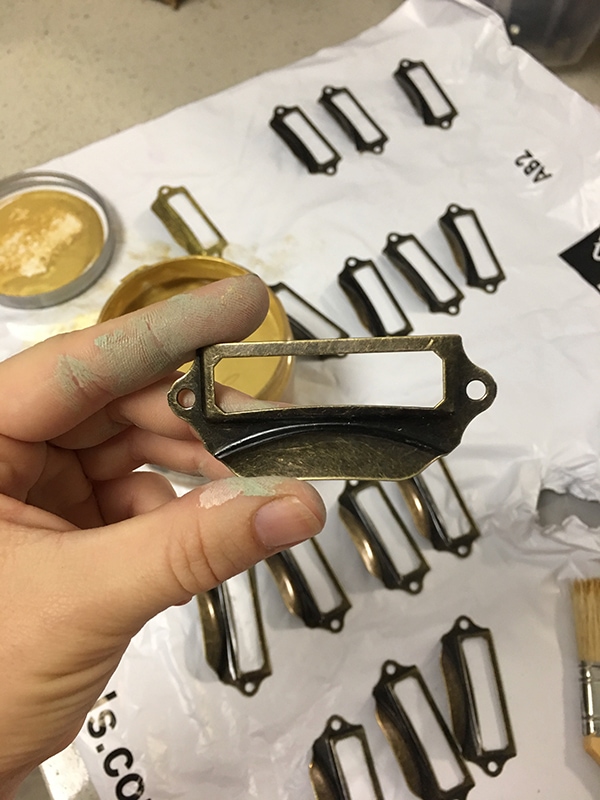
Next, it was time to replace the hardware! I found these brass cabinet pulls for just 40 cents each on eBay!
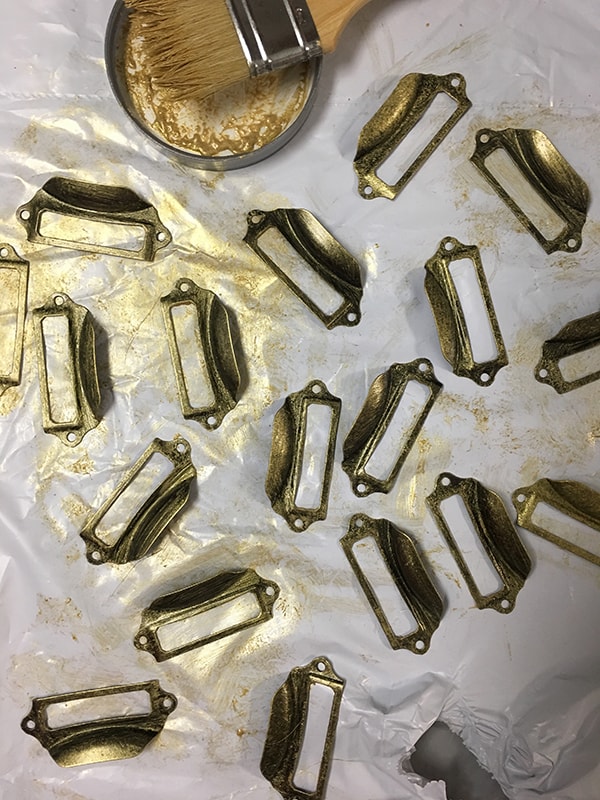
I was wanting a gold finish though, so Maison Blanche to the rescue again. I used their Organza in Antique Gold, which is a thick metallic gel that can be applied to any surface (metal included).
I only used a tiny bit of what was stuck to the lid (I swear this jar will last forever!) and screwed the pulls onto the drawers.
How killer is this combo? I can’t get enough sage & gold right now.
Be still my heart…
I’m loving the way this room is coming together, but we still have a ways to go!
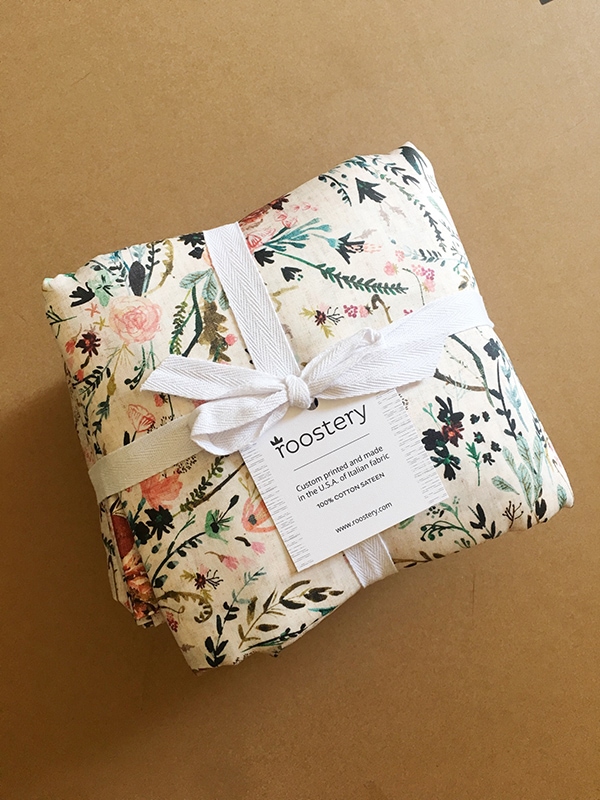
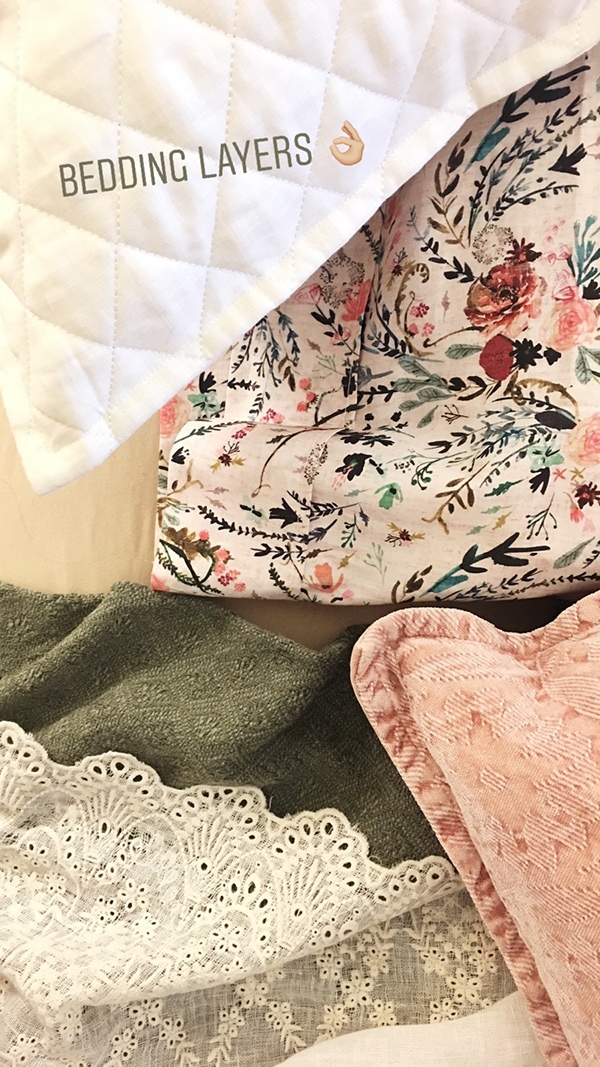
Our new bed has arrived and is waiting to be put together, along with new bedding, mirrors above the night stands, a rug, a new desk and accessories. It’s about 75% of the way there though! Here’s a little sneak preview of the bedding that has arrived…
I searched forever for the perfect floral pattern, and found it at Roostery. I can’t wait to start layering this bed!
Next week I’ll be experimenting with different layering combinations, and sharing some of my secrets to building the perfect bed. This is one of my favorite things to decorate, so I hope you’ll check back in and get some new ideas!
Signing off with one last “Before” and “In Progress” shot…
Oh, the power of paint! Off to see what the others are up to…
Apartment 34 | Beginning in the Middle | Coco & Jack | The English Room | The Gold Hive
Gray Malin | Jenna Sue Design | Jojotastic | Kelly Rogers Int. | Linda Holt | Marcus Design
Michelle Gage | Natasha Habermann | The Painted House | Rambling Renovators
Sacramento Street | Shannon Claire | Sketch 42 | Stephanie Kraus | Bisou Style
Media Partner House Beautiful | TM by ORC






Hieta garden says
Do you have the pantone code of the paint?
Choice Furniture Superstore says
One room challenge is always fun. I liked this whole progress and the solid wood Metrie doors. Thanks for sharing the post.
Gifts SG says
Happy Birthday to you.
Linda Grubbs says
Happy Birthday sweet girl!!!
jennasuedesign says
Thanks so much, Linda! <3
Alix Davis says
Hi, what’s the pattern number/code for those Roostery sheets. Thanks!
jennasuedesign says
Here ya go! https://www.roostery.com/p/langshan-sheet-set/6178734-fable-floral-blush-by-nouveau_bohemian?o=size%7Efull
Jessica Worwood says
Where do I start? Those doors are gorgeous! I always thought I wanted the traditional five-panel doors in my house but these doors have me seriously wanting to change my mind. I also love those apothecary style bedside tables, I’m super obsessed with apothecary style furniture right now. Can’t wait to see the finished room!
jennasuedesign says
Thanks so much, Jessica! I’m pretty selective about my doors these days, and these ones definitely live up to it! <3
Ian says
Hi Jenna, I came across your site via Pinterest looking for IKEA Pax makeovers! Firstly, the pantry doors and wardrobe customisation look fab :thumbs: Then having a look around your blog, it’s all fab. I really like the colour combo of the door you’ve done here and the apothecary makeover that will tie in with your bedding, it’s going to look amazing! I wish I had your confidence to upcycle. Will keep an eye on progress, happy birthday btw 🙂
jennasuedesign says
Thanks so much Ian! I’m glad you found my blog! 🙂
Julie Brown says
I feel like you need to do a shabby chic/ antique line with Target honestly!
jennasuedesign says
Well that would be a dream! 😀
Sharon Wiseman says
Happy Birthday! Looks awesome. Only you could make a builder grade apartment bedroom look so collected and timeless!
jennasuedesign says
Thank you Sharon, I appreciate that!
Terri says
Wow! Love it all! Happy Birthday wishes for a bright and beautiful day!
jennasuedesign says
Thanks so much Terri!
lilly says
happy birthday jenna!!! wow, loving all of the fine details in the room. those doors are so cute and romantic and i love how the night stands turn out. can’t wait to see the entire room all put together!
jennasuedesign says
Thank you Lilly! <3
Linz says
Ahh! I can’t believe those night stands! They are perfect- you are so creative. Great job with the door, too. I like that you did a different color than would be typical on it. It’s been so fun to see your gorgeous makeovers again!!!
jennasuedesign says
Thank you so much, Linz! It feels great to be back <3