Back with another easy & inexpensive DIY art tutorial!
Truthfully this hardly qualifies as a tutorial, as there are no tools, artistic ability or skills required whatsoever. This takes the cake for easiest project in my DIY library, and one of the most affordable too! What more could you ask for?
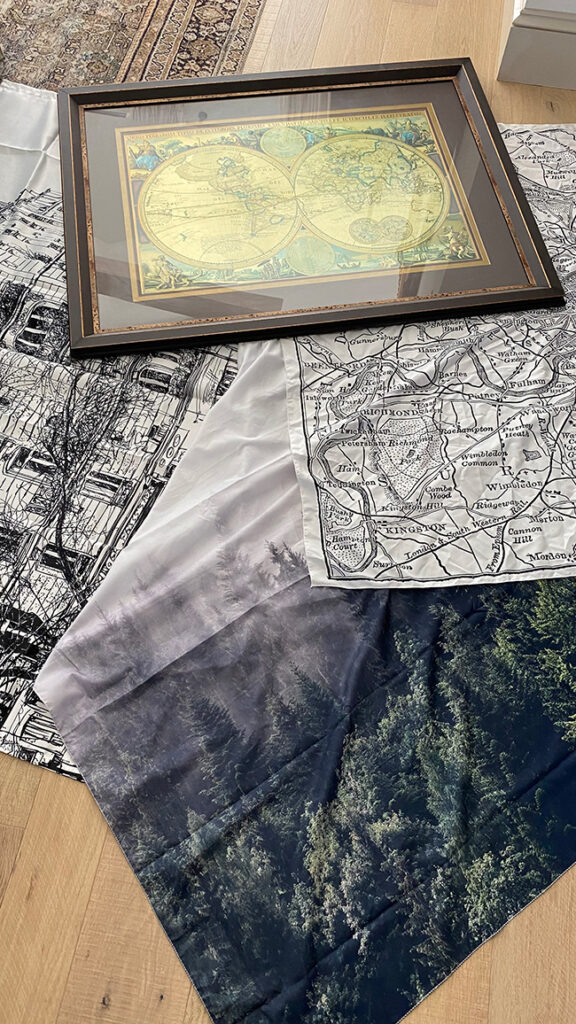
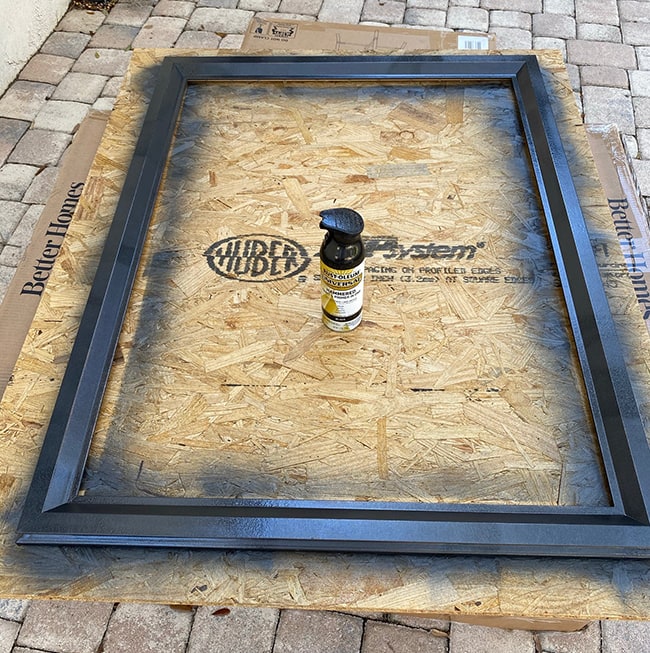
It all started with this old, large frame I picked up for free off the sidewalk a year ago…
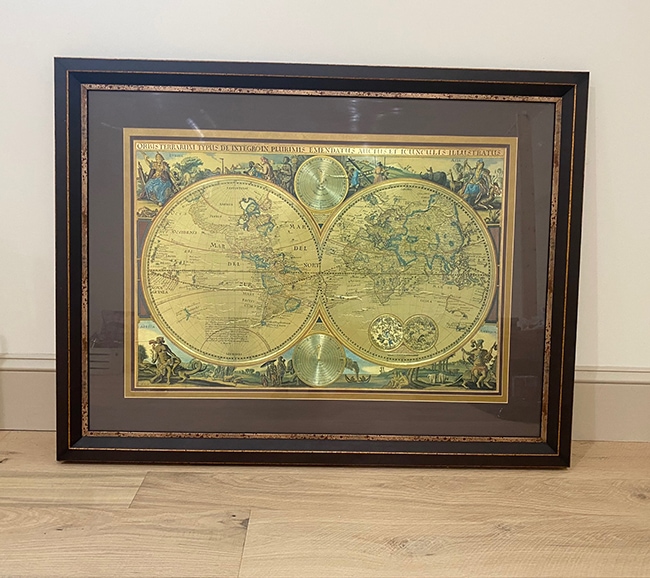
It sat in storage for a year while I decided what to do with it. I thought about turning it into a landscape painting (like I did with the one above our bed—my favorite art project last year) but I wanted to try something new this time, so I came up with the idea of framing an inexpensive tapestry.
Remember last year when we DIY’d our own framed tapestries for the beach house?
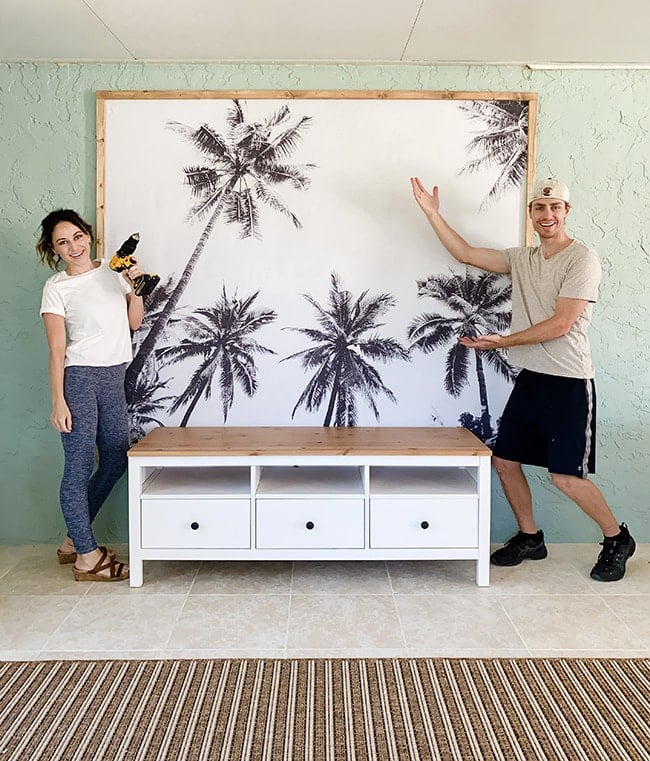
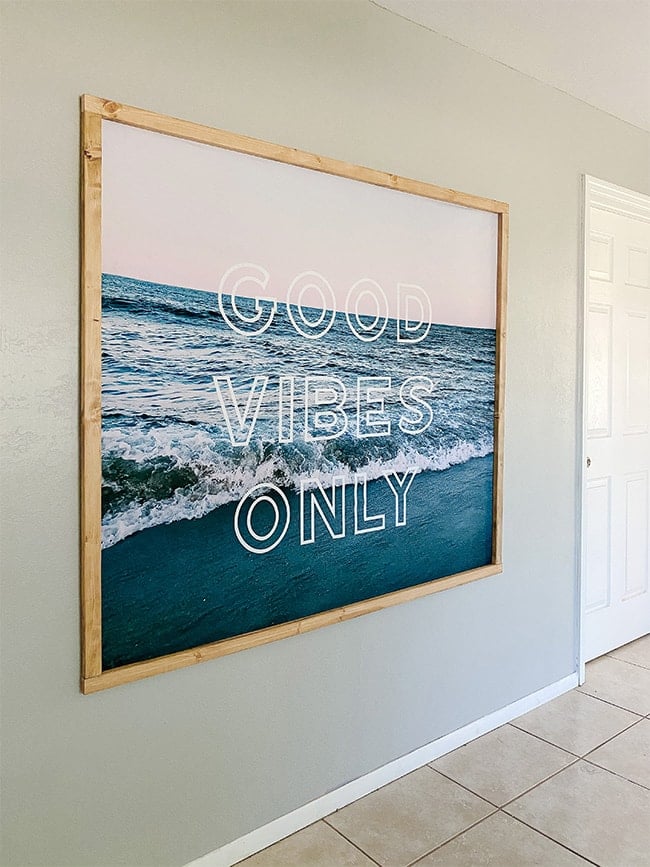
I became hooked on the idea of this solution for simple, inexpensive large scale art. Apart from painting a mural on the wall, you just won’t find art that will fill a wall at this price point. Tapestries are my (not-so-secret) weapon for customizable budget art (especially for rentals!)
Anxious to work with them again, I found three different tapestries on Amazon for under $20 each (unfortunately one is no longer available and the price went up on another—these things can change fast so get em while they’re hot!)
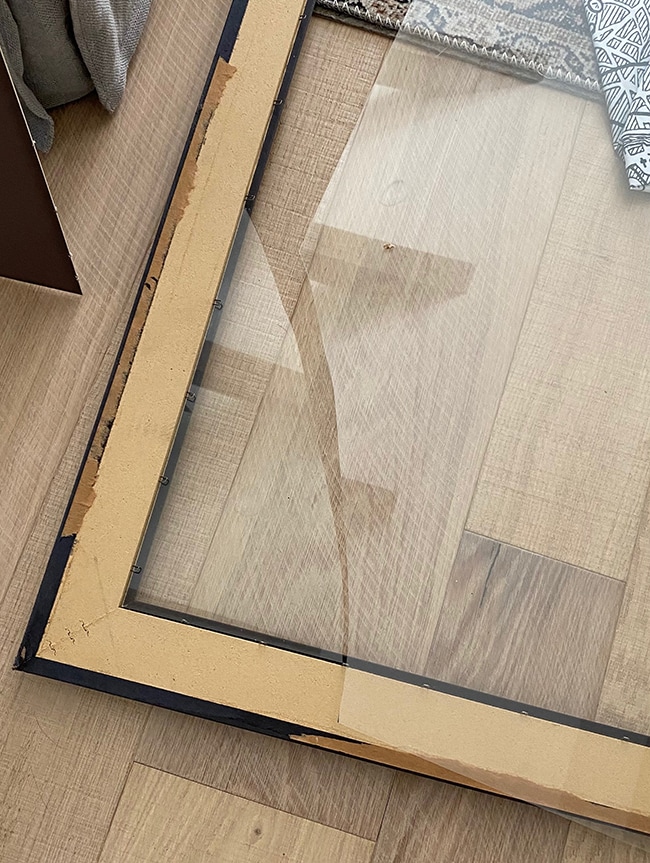
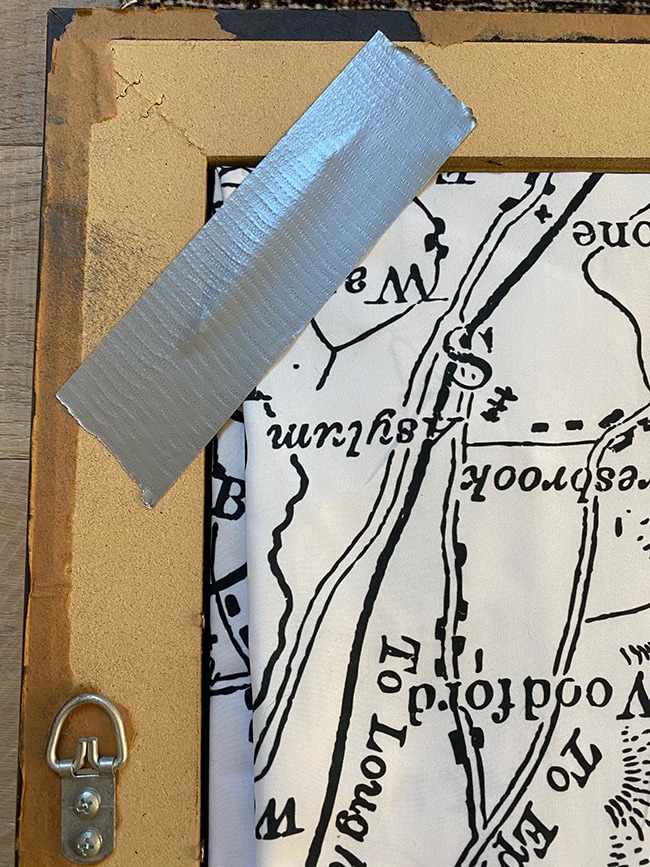
I ordered the smallest sizes available but they were all still quite a bit larger than my frame. No problem-o! I could just frame any part of the art I wanted. But first, I had to take apart the frame—this was an old style frame with a ton of staples in the back. Apparently staples and glass do not mix…
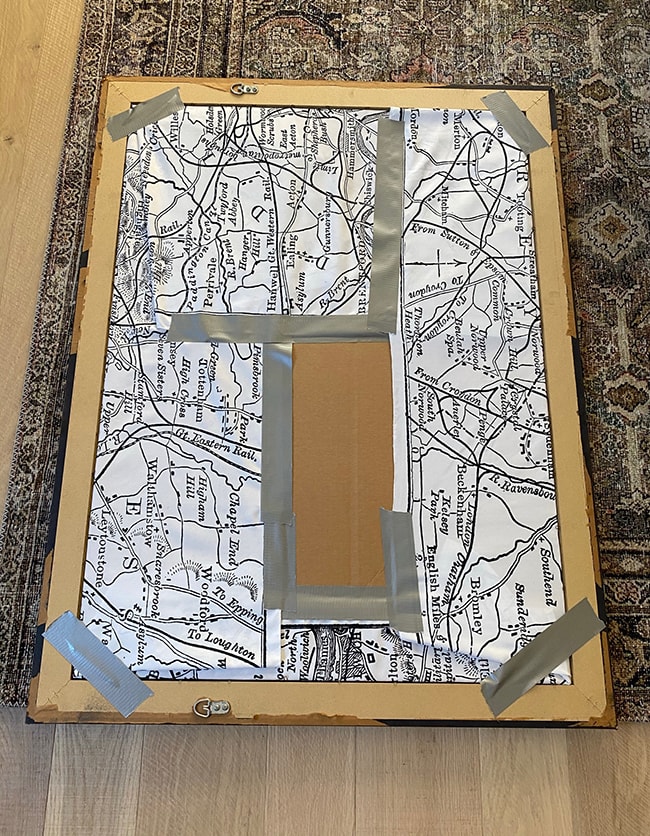
Fortunately, there was a cardboard backing behind the glass, so I was able to wrap the tapestry around that which worked just fine! I made sure to steam it first to de-wrinkle, then pulled it snugly around the cardboard and used duct tape to secure it.
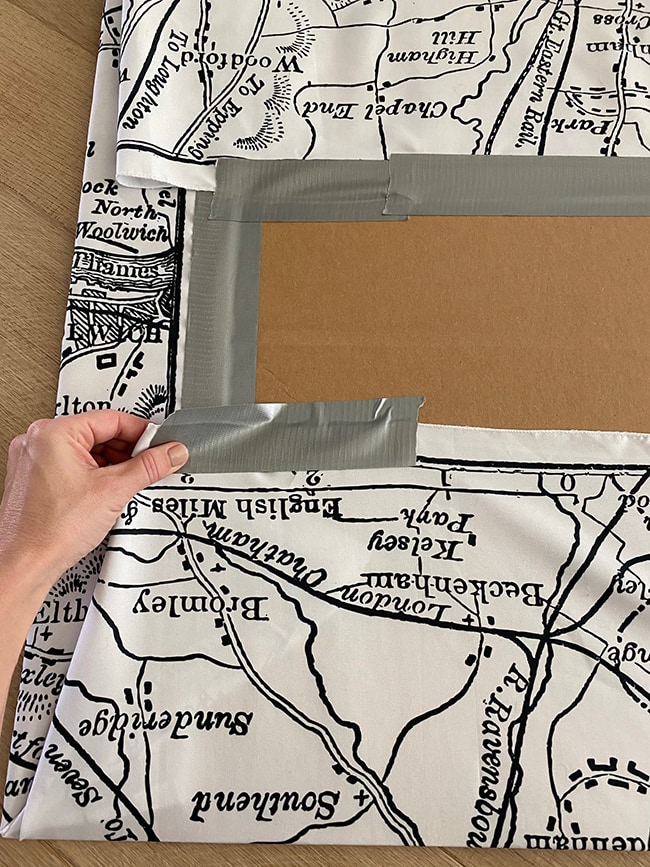
Here’s how it looks:
With that part figured out, it was time to antique the frame. I used my Rub n Buff technique for this, starting with a base coat of black paint.
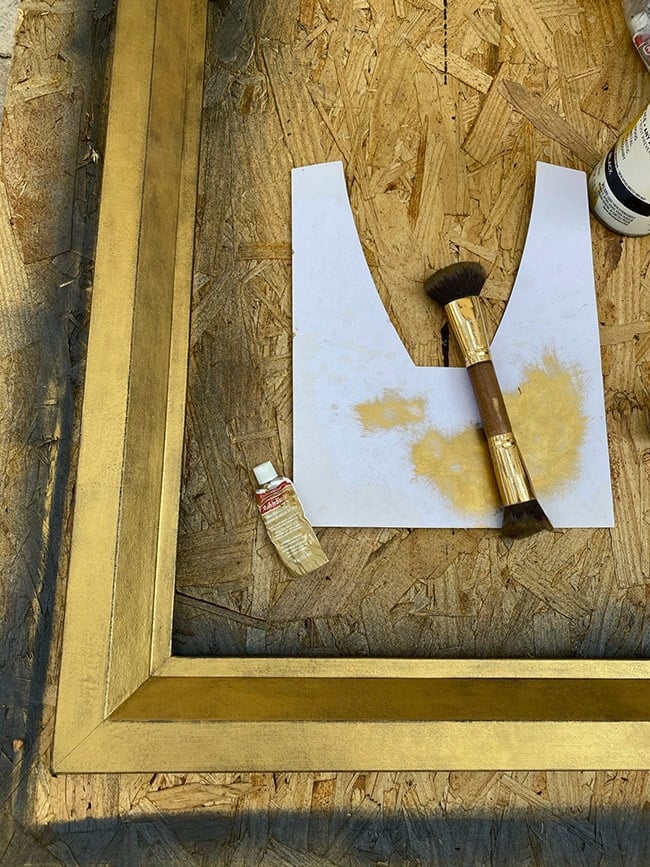
Then I gave it 2-3 coats of gold leaf Rub n Buff, swirling it on with an old makeup brush:
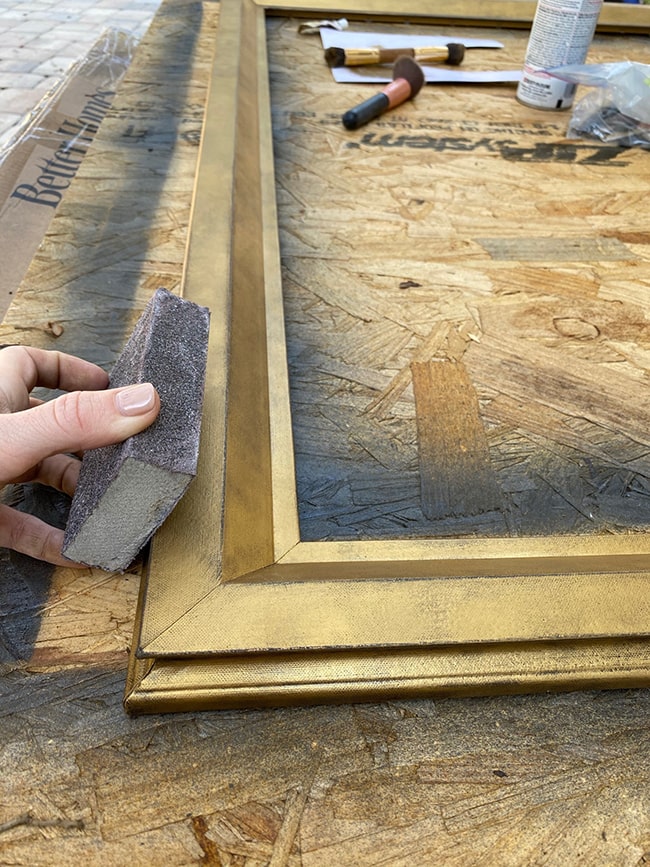
Finally, I lightly sanded the edges of the frame to make it look more realistically aged:
The Rub n Buff dries pretty much instantly so I just wiped down the frame, brought it inside and placed my tapestry back in. The old school style staples aren’t the easiest to work with, but you could push a few of them back in to secure the tapestry.
Without the glass, the frame is super lightweight so I just pushed a few of the staples down and used duct tape on the corners to hold the art in. This makes it easy to change it out as needed.
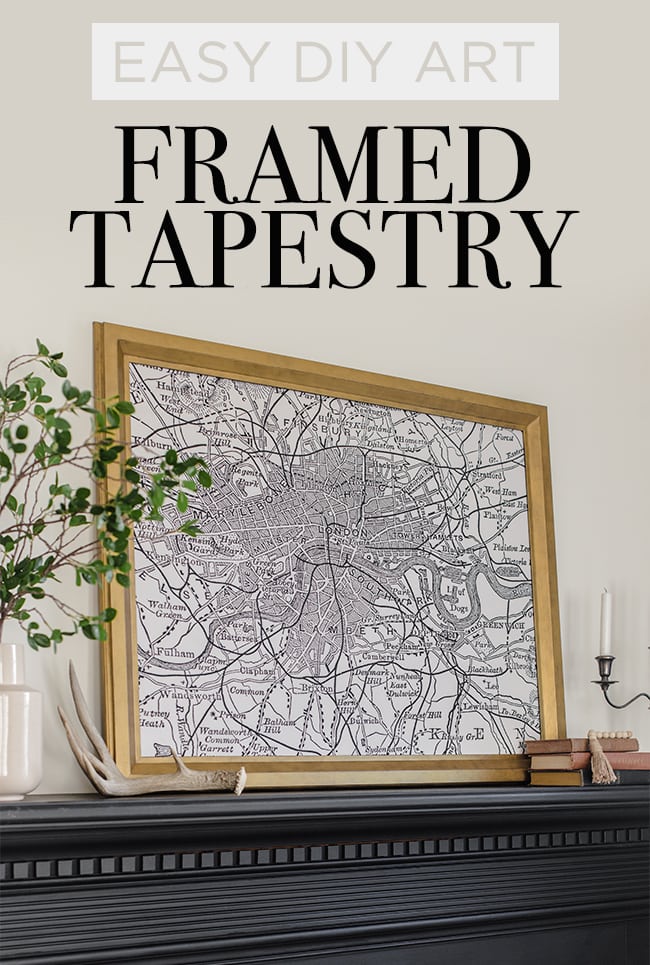
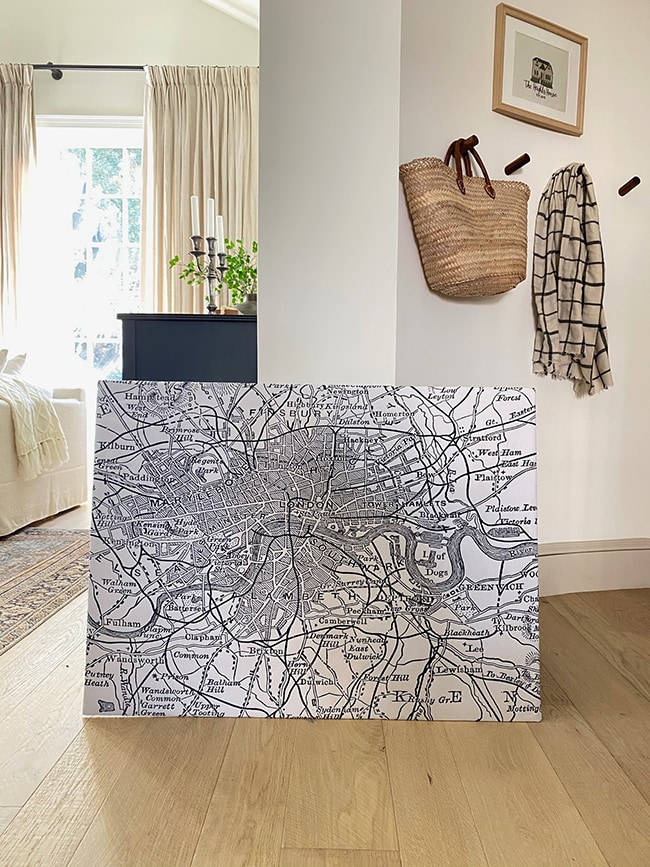
And a couple hours later—beautiful, large scale art for under $20!
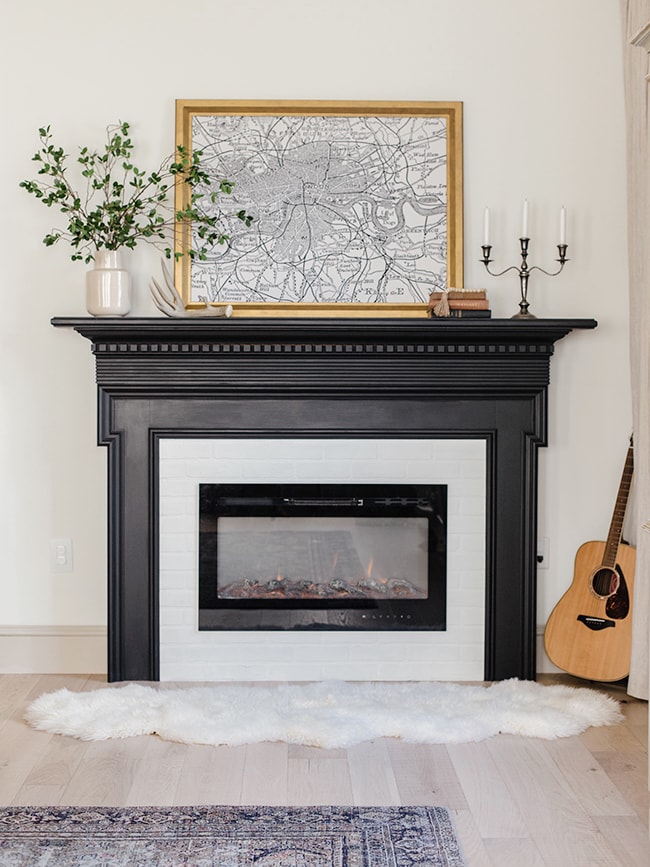
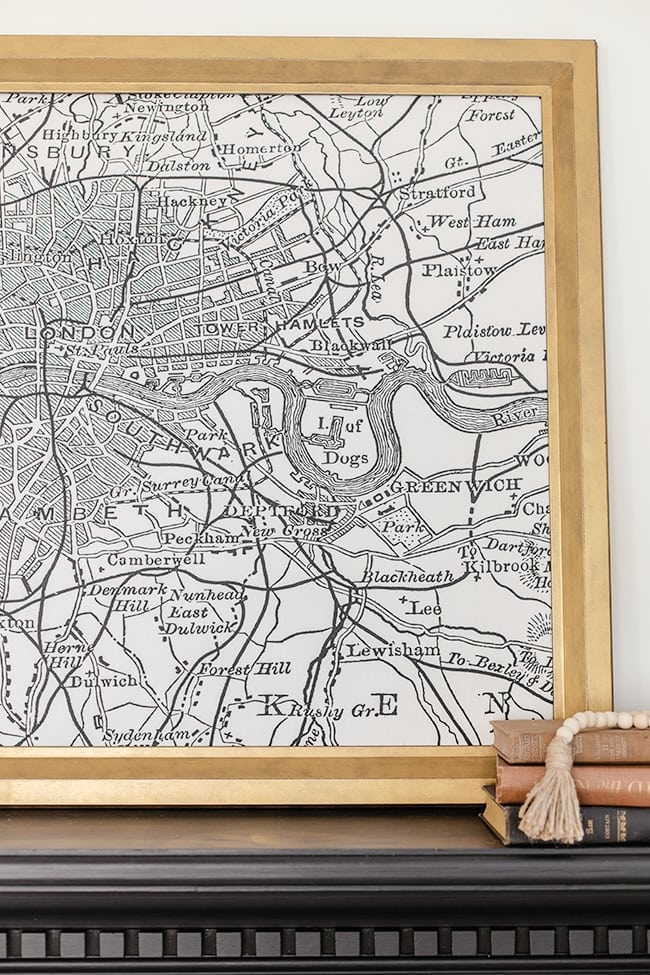
I love this old map of London and am bummed it’s unavailable now (don’t worry though, I linked to similar at the bottom of this post!)
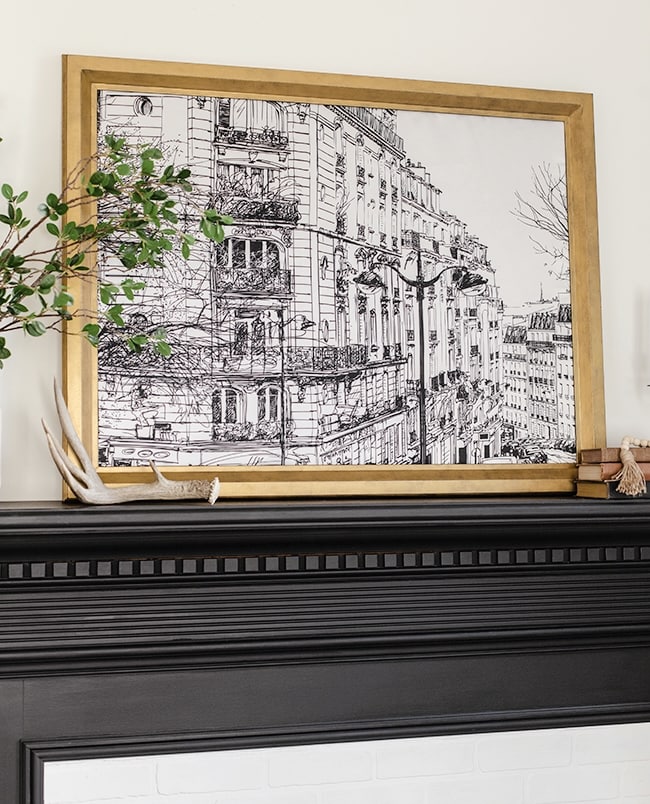
Here’s another fun one—a black/white sketch of a Paris street:
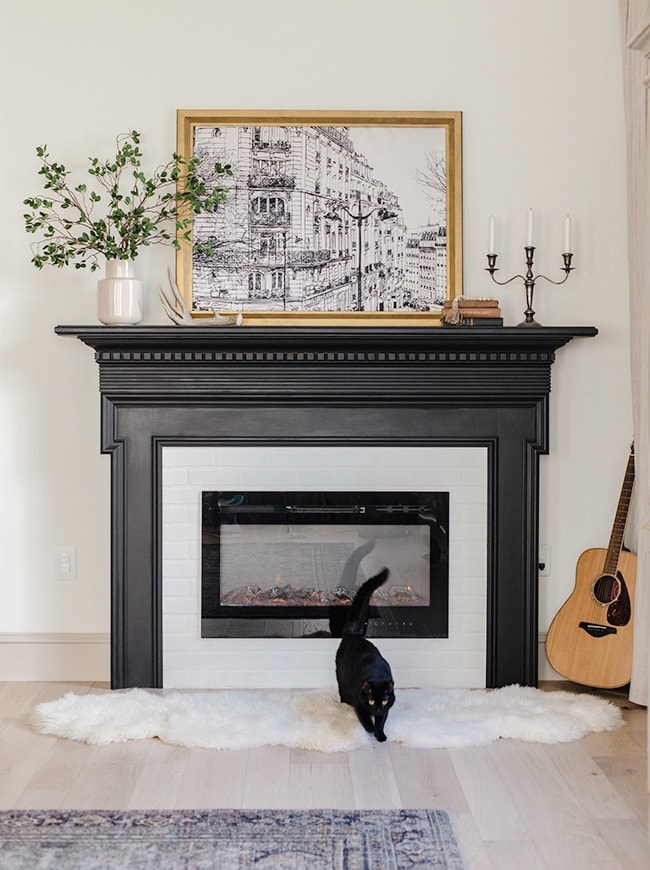
The price went up on this one after I ordered it, but at $28 for a 40×60″ tapestry it’s still a steal!
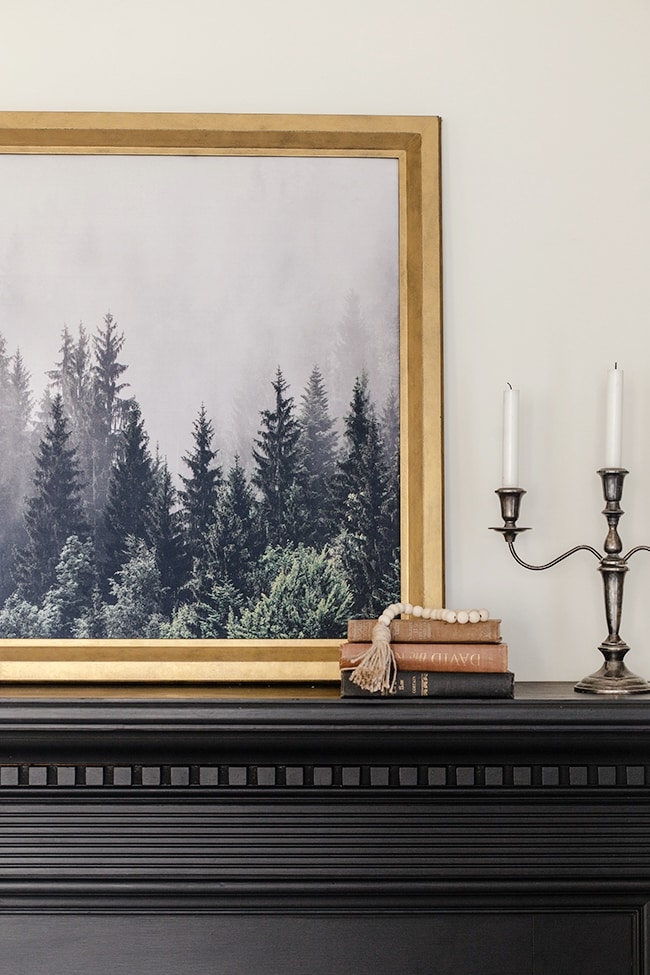
Finally, I decided to switch it up with this lovely misty forest:
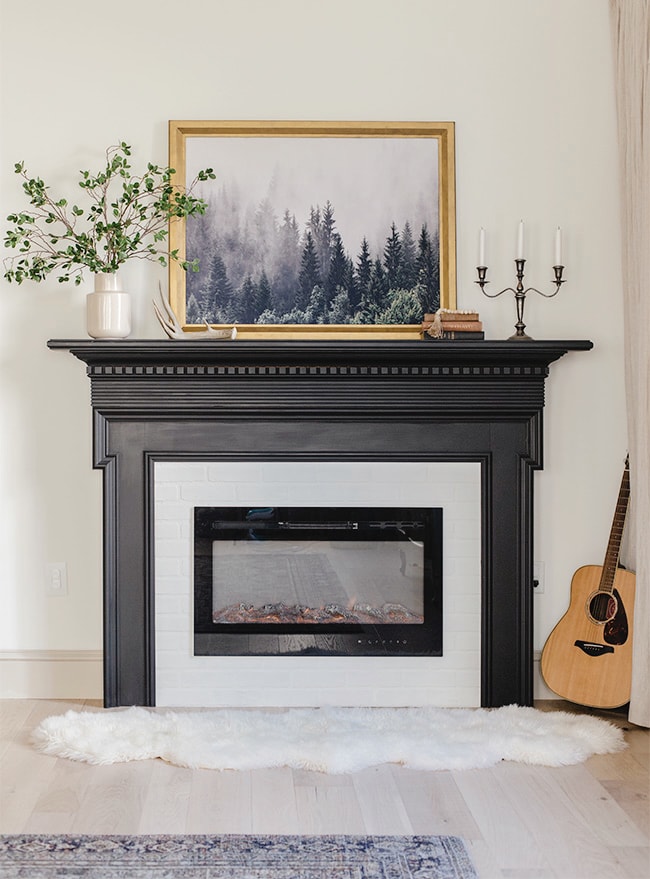
This would be nice to display all winter, and for only $14 shipped, you can afford to change your art out every season!
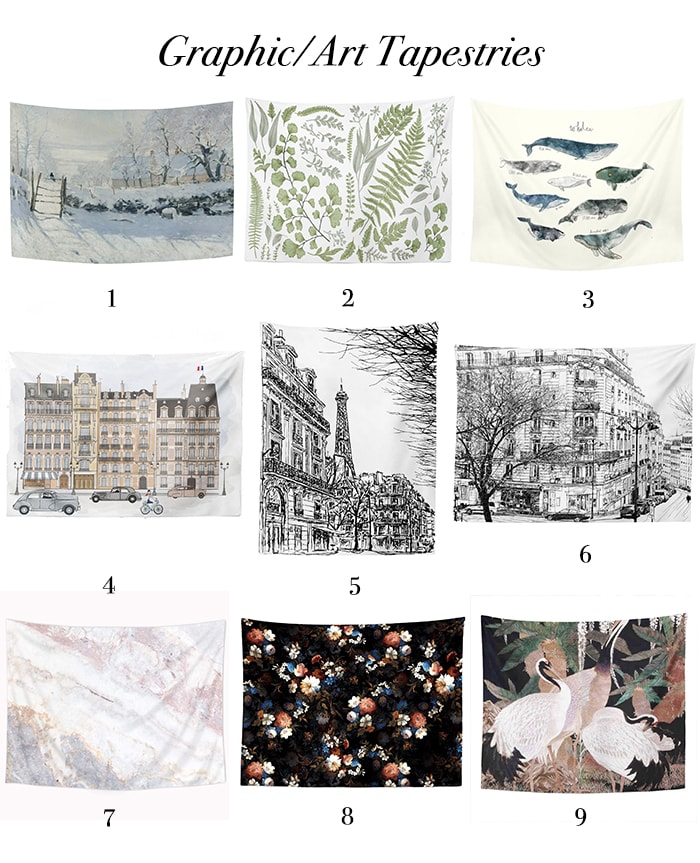
Are you sold on the idea of a framed tapestry yet? Have any old frames lying around you could repurpose? If so, I’ve rounded up 27 of my favorite tapestries on Amazon, grouped by style (and most under $20!) You can shop them by clicking/tapping on the photo of each one.
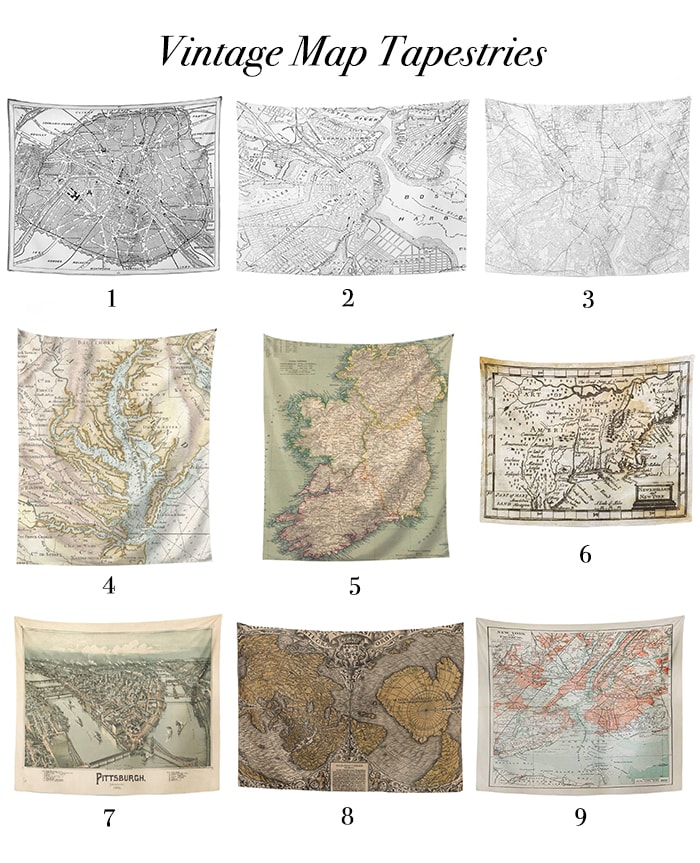
I’m loving this illustrative, graphic style art for a more sophisticated spin on tapestries. Frame and display them in any room from living spaces to kids rooms:
I’ve been obsessed with maps for as long as I can remember—specifically the vintage variety. These can have an elevated (and uber-expensive) look, and are extra special when they represent a place that has a personal meaning to you/your family.
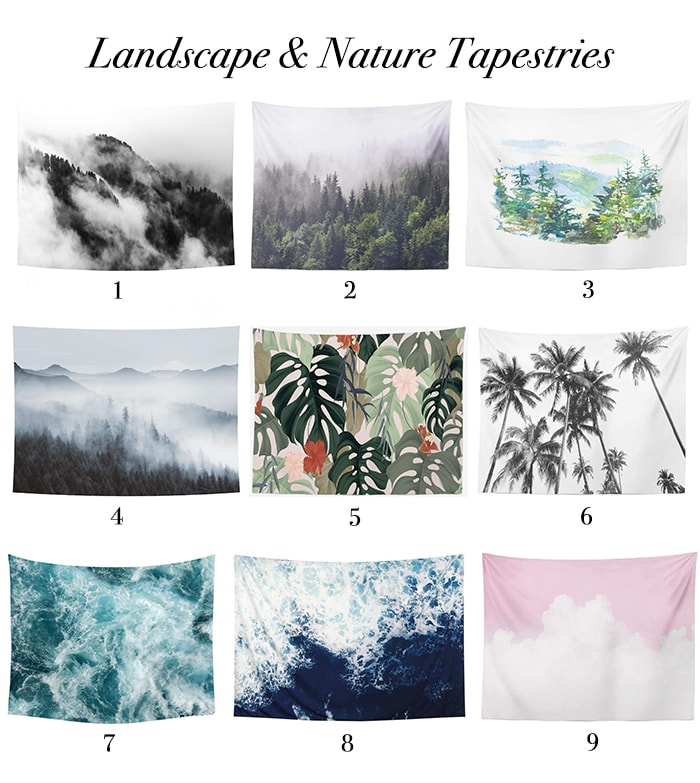
These landscape and nature inspired tapestries are a bolder, playful look that work great in kids rooms, themed spaces (like a beach house or cabin in the woods), commercial/retail spaces or even used as photo backdrops! The sky is the limit.
Have you ever used a tapestry in your home? They can get overlooked as temporary/cheap “dorm decor” when simply tacked up on a wall, but if you take the time to seek out the good stuff and frame or mount the fabric, it can instantly become high-end art. Truly one of my favorite decorating hacks, and one that I plan to use again and again!
Thank you to Amazon Home for sponsoring this post and carrying a huge selection of budget-friendly tapestries.


Ollie says
How much of Rub n Buff did you use for the frame? I have a large mirror I would like to paint and trying to estimate how many tubes of Rub n Buff I have to buy for it.
Thank you!
Jenna Sue says
Hi Ollie, a little goes a long way! It’s hard to say how much exactly but I think you could probably cover 4-5 of those frames with one tube.
Beth says
This is a great idea! I’ve been looking for some big inexpensive art. Thank you!
I think your link to the Boston map actually goes to the Paris map. I tried to find a map of Boston since it is one of my husband’s favorite cities but had no luck. Is there one you can share?
Thanks!
Jenna Sue says
Hi Beth, thanks for letting me know! Hopefully this link works, it’s one of my favorite maps 🙂 https://amzn.to/2WCUSG2
Carolyn K says
So pretty! I can’t wait to try this! You are amazing!?
Jenna Sue says
Thank you Carolyn, I’m so glad you liked this project! <3
Michele M. says
That’s so clever and your choices are awesome.
Jenna Sue says
Thank you so much, Michele! <3
Kristen Eff says
100% yes to this easy and inexpensive project. Plus, anything that involves duct tape, I’m into. 🙂 I have found HUGE inexpensive frames at the thrift stores for repurposing.
P.S. I used your rub n buff technique last week. I wanted a non-breakable foliage container for the bathroom vanity so I spray-painted an empty hard-plastic syrup jug matte black, and “antique gold-ed” the tiny handle. It’s so cute. 🙂 I was gonna try your faux plaster look but couldn’t mentally bring myself to open the tub of compound!
Jenna Sue says
Duct tape doesn’t get enough credit! 😉 And yes, thrift stores and/or FB marketplace would be the first place I’d go for huge cheap frames. So glad to hear the Rub n buff tutorial was helpful! The jug sounds so cute 🙂
Theresa says
Jenna – Quick question re the technique – had the glass not broken, would you have framed the tapestry under glass?
Jenna Sue says
Hey Theresa! I think I would have framed it over the glass actually. I wanted it to look more like art than a photo 🙂