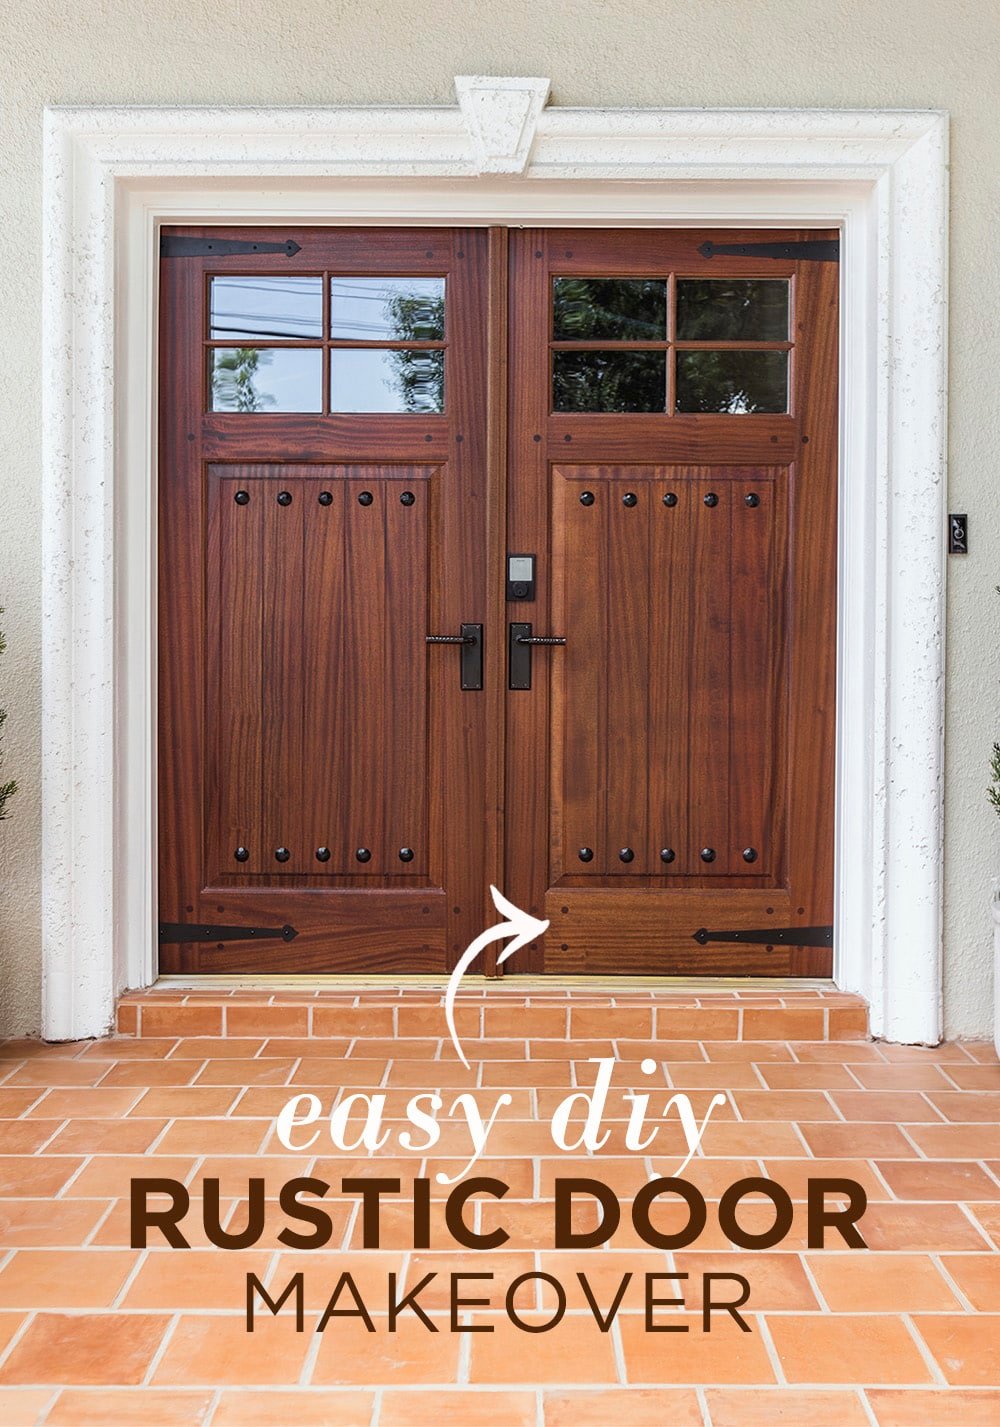
If you love rustic style doors and want to get the look on a budget, keep reading to see how we upgraded our front doors and turned them into a statement piece. It’s surprisingly quick and easy to transform your doors while adding old world character and charm!
Jump to:
Before
The front porch at the Hacienda Hideaway has been an eyesore since we bought the house. Certainly not the warm and welcoming entrance we wanted for our guests…
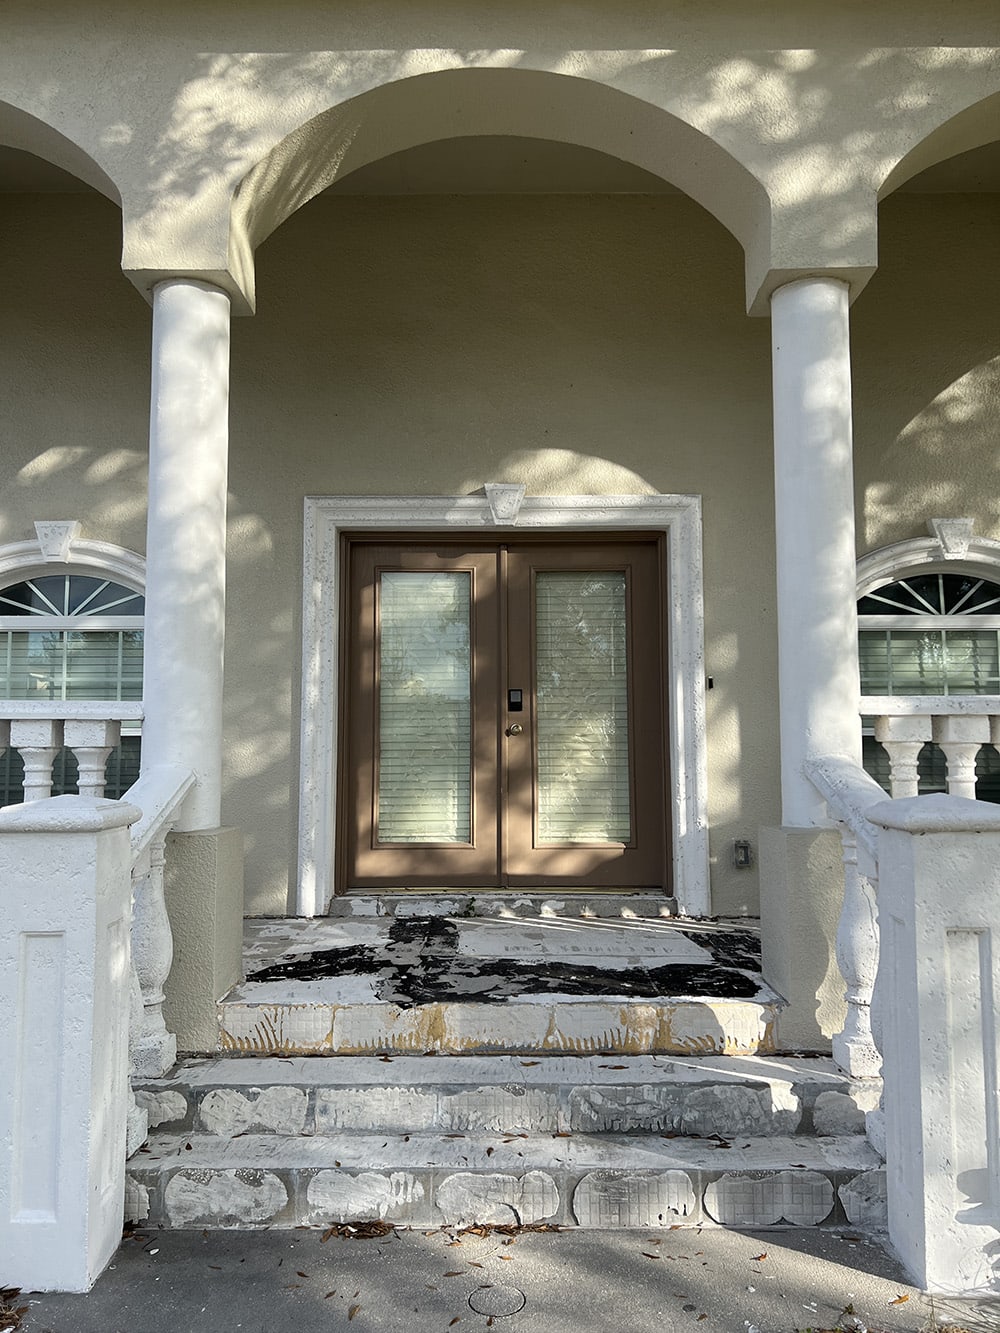
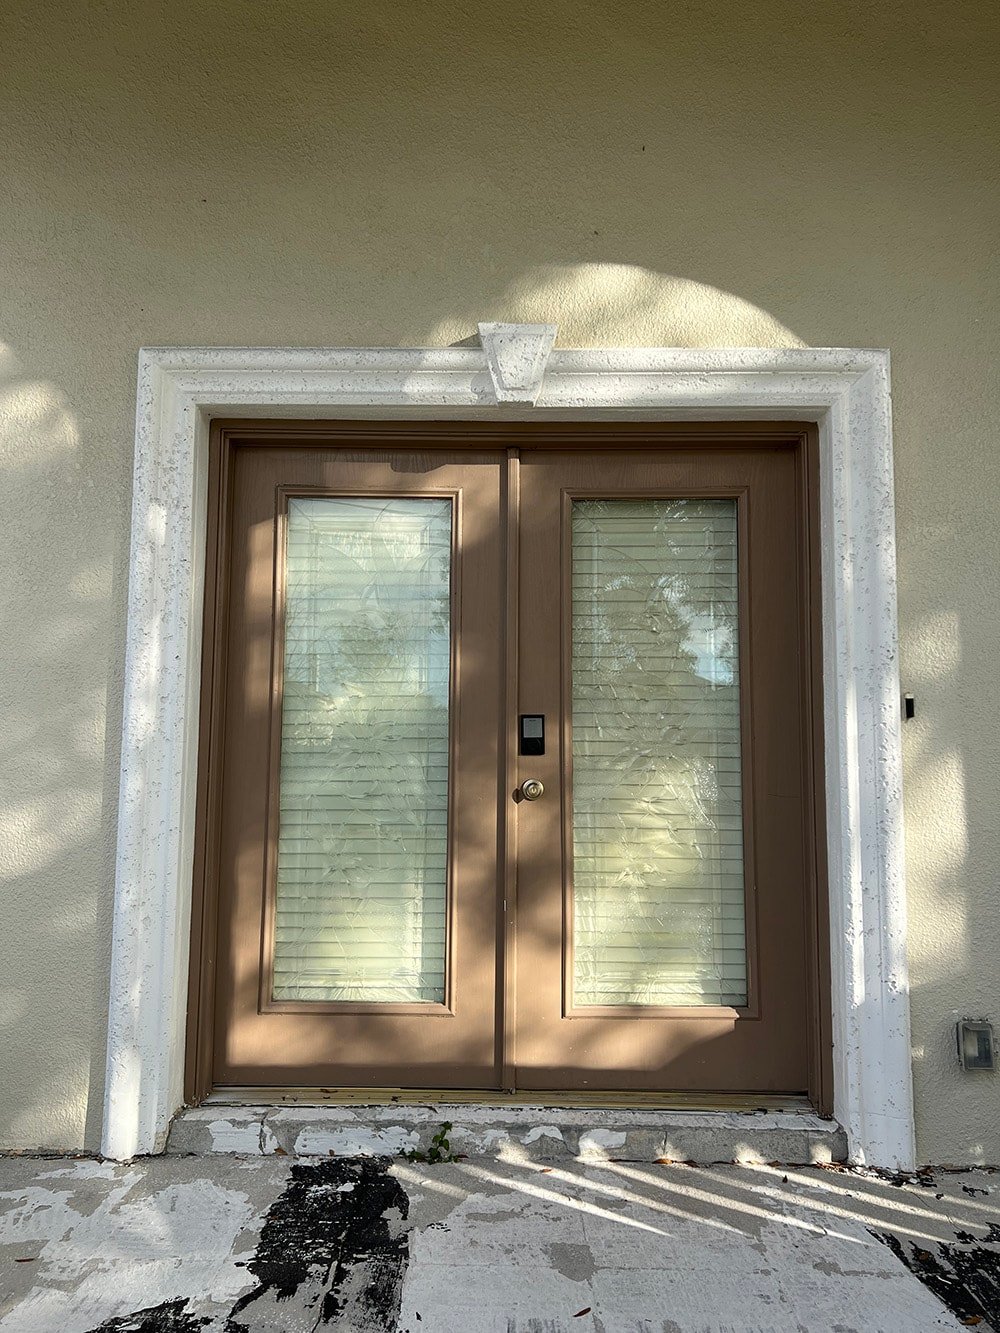
The front doors weren’t particularly offensive but they didn’t offer privacy, they had some damage and the deadbolt wasn’t super secure. Because the doors are one of the first things our guests will see, I wanted to leave a lasting first impression, so we decided to go ahead and replace them.
Choosing replacement doors
To help bring my vision to life, I partnered with Simpson Door Co, who I’ve worked with in the past on our custom nursery closet doors. They carry the widest selection of doors in all different styles, shapes and sizes, and they can create pretty much anything under the sun.
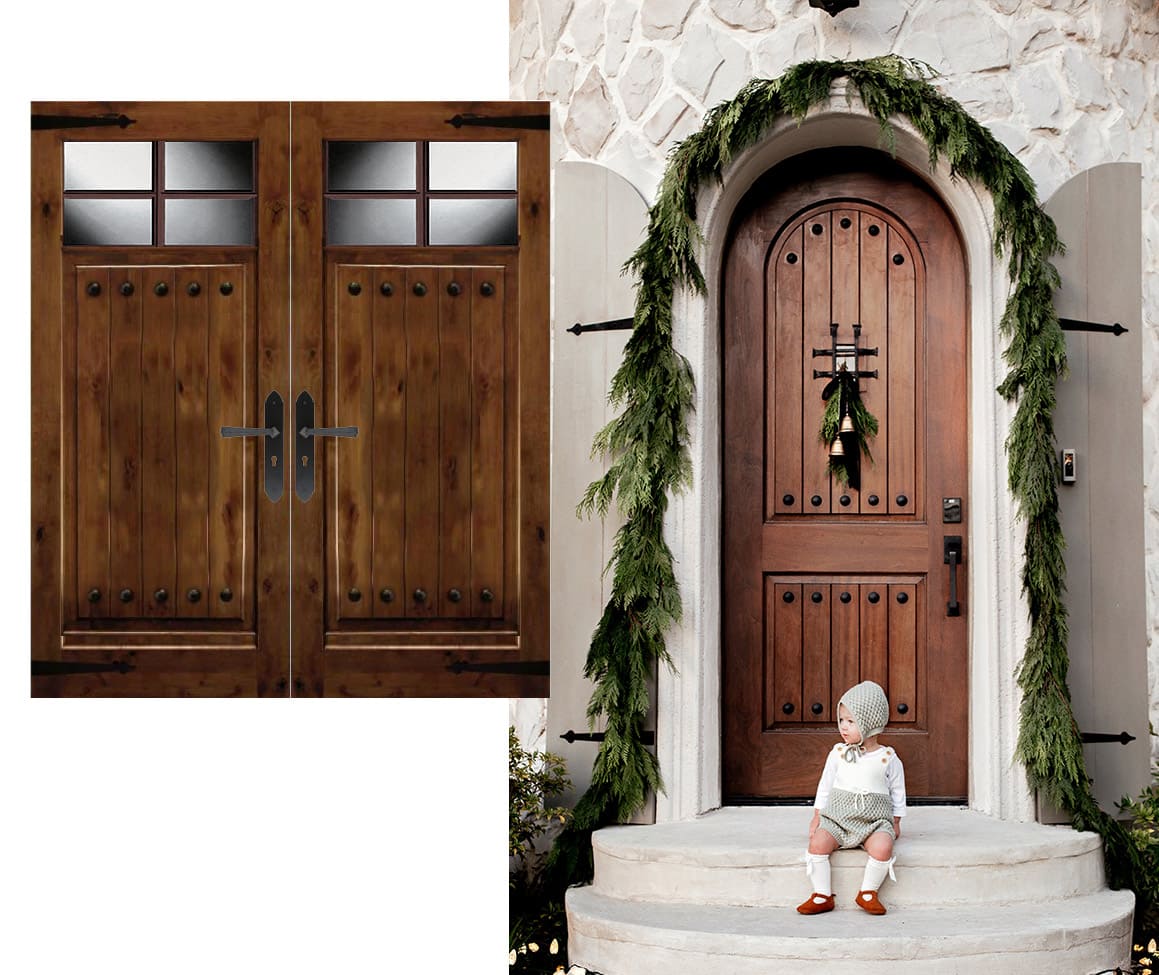
For the Hacienda Hideaway, I wanted to make a statement with rustic, old world European style wooden doors with straps and clavos—much like the front door at our house:
I knew where to find the rustic hardware for the finishing touches, but first I had to find the right doors. When replacing your front doors, there are several factors to consider:
- Door material. Choose between wood, fiberglass, steel, or other materials based on durability, maintenance, and aesthetic preferences.
- Door style and design. Consider the architectural style of your home and select a door that complements the overall look.
- Slab vs Pre-hung. Pre-hung doors will require removal of any existing casing and trim. Slab doors offer more flexibility, but will require an extra step of routing for hinges and hardware.
- Size. Is your opening a standard size, or will you need to go custom?
- Maintenance. Different materials will require a different level of maintenance, especially if your door is exposed to the elements.
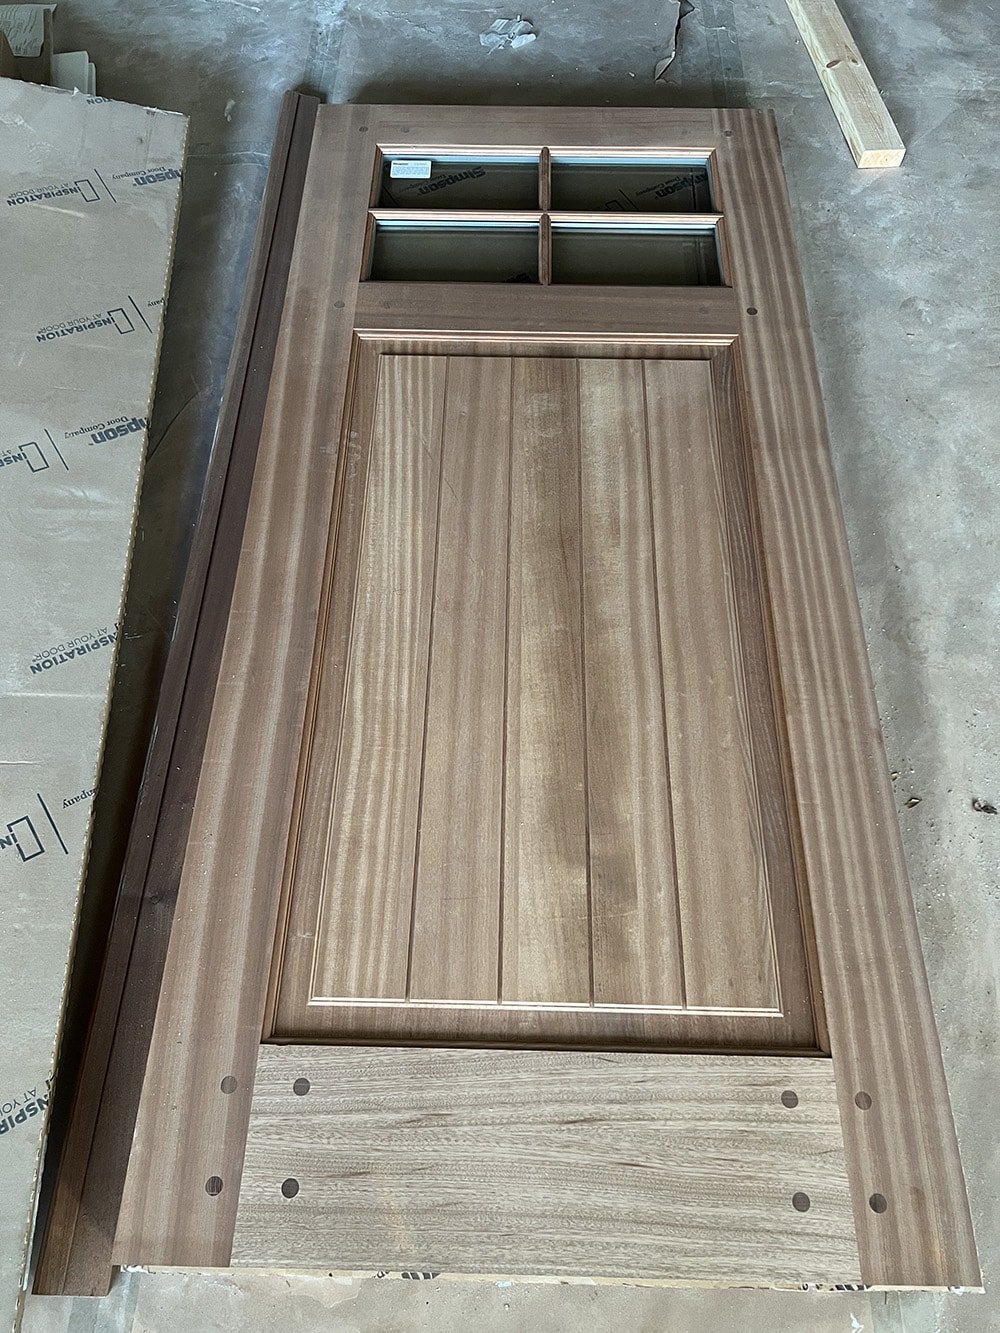
With the specific design style I had in mind, solid wood was the way to go. Simpson offers a range of wood species, and I selected Sapele Mahogany for its strength, durability and beauty.
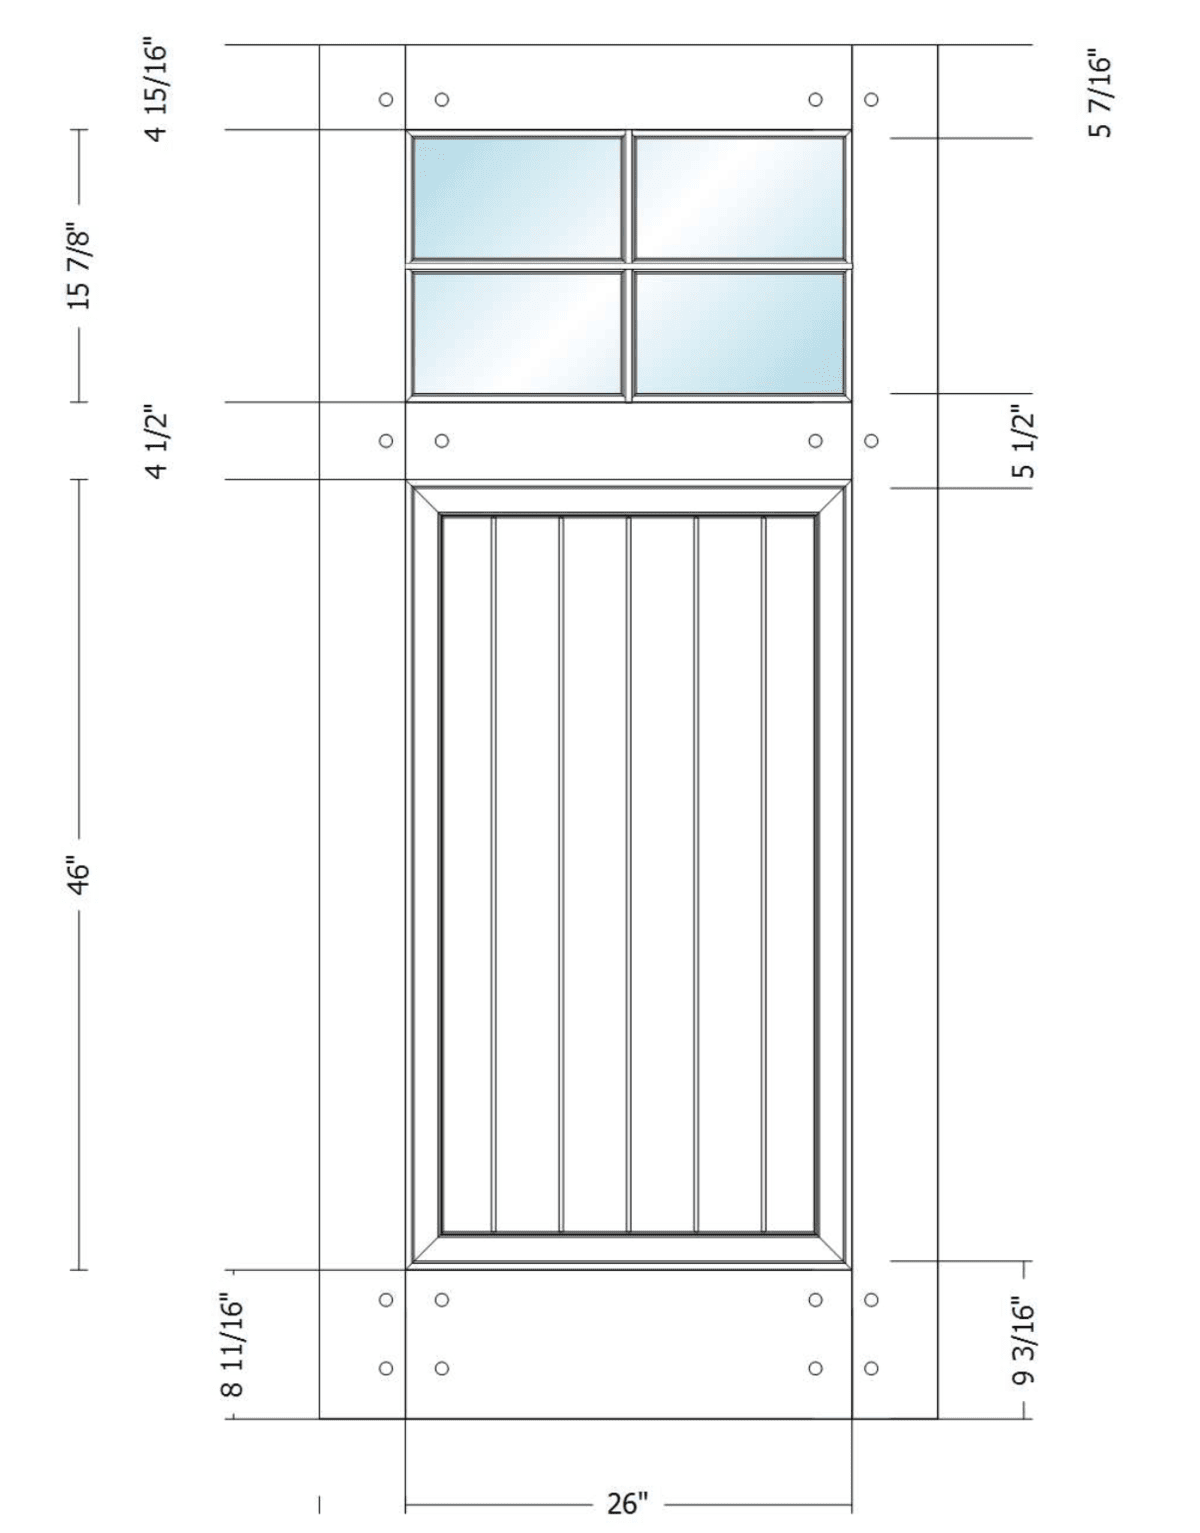
For the door style, I went with their Nantucket series, which is their top of the line product and comes with a 10 year warranty. I worked with their team to customize the 77664 door design, adding vertical grooved planks and modifying the size to fit our existing opening. They sent over a mockup, and the doors were made and shipped to our house!
Installing the new front doors
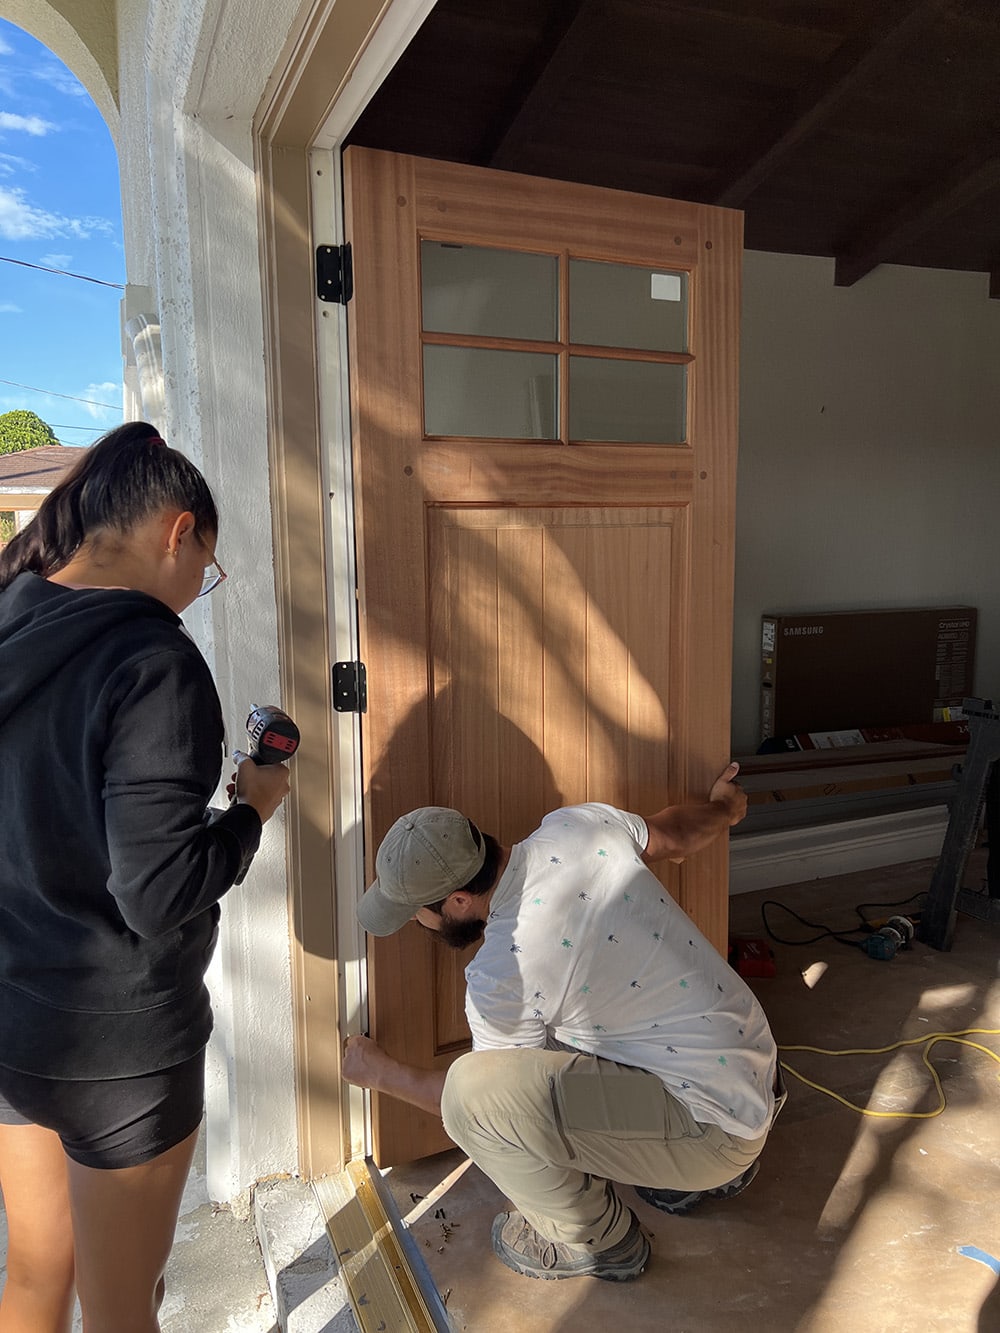
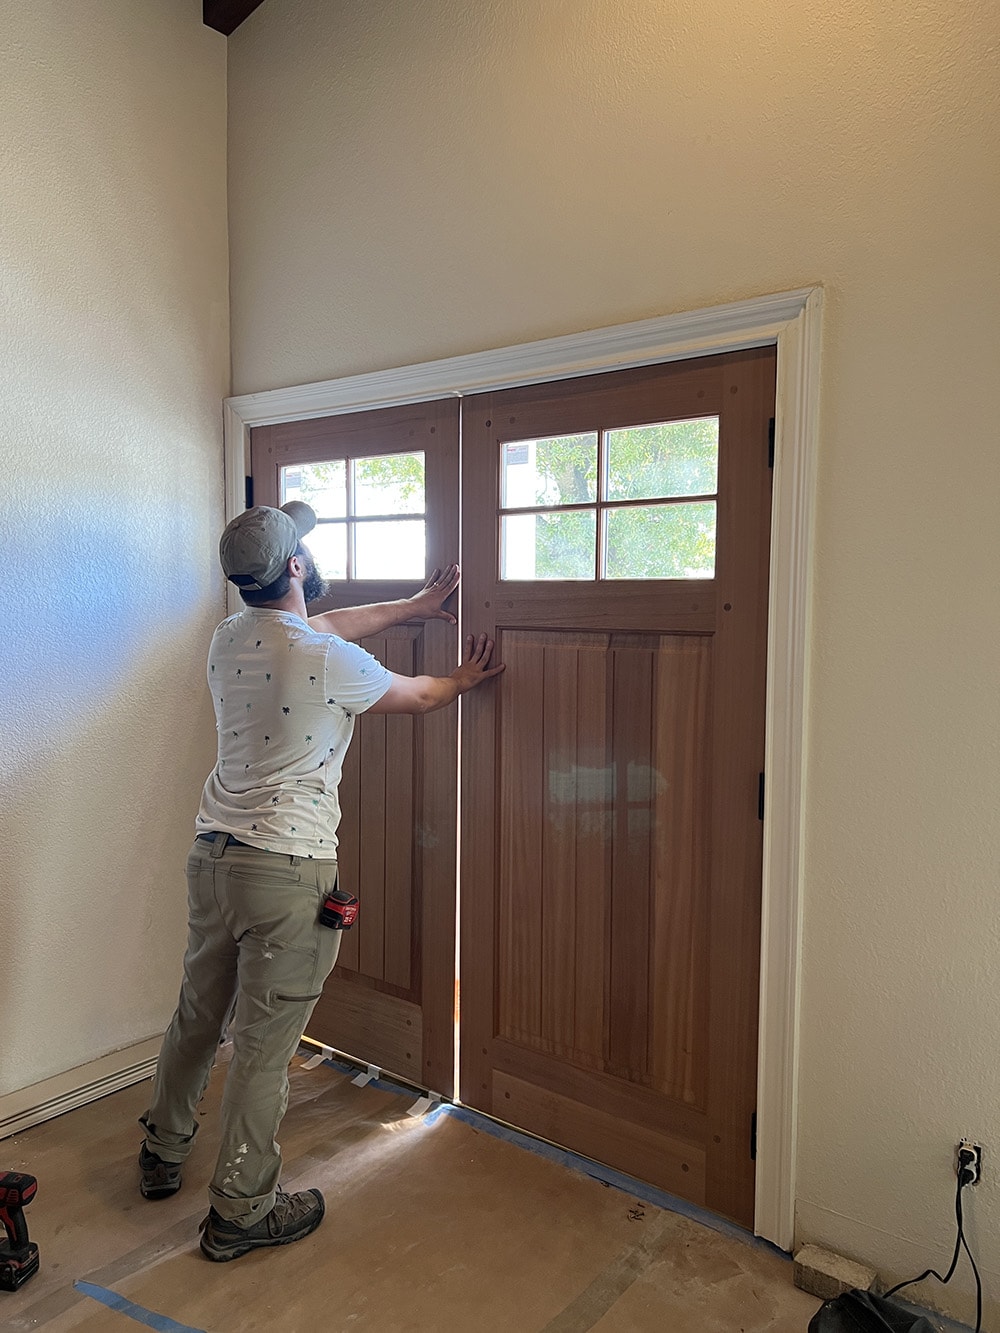
We opted to hire out the installation (along with the new exterior door in our Moroccan Bedroom). The doors are shipped as slabs, so they need to be routed for hinges and hardware.
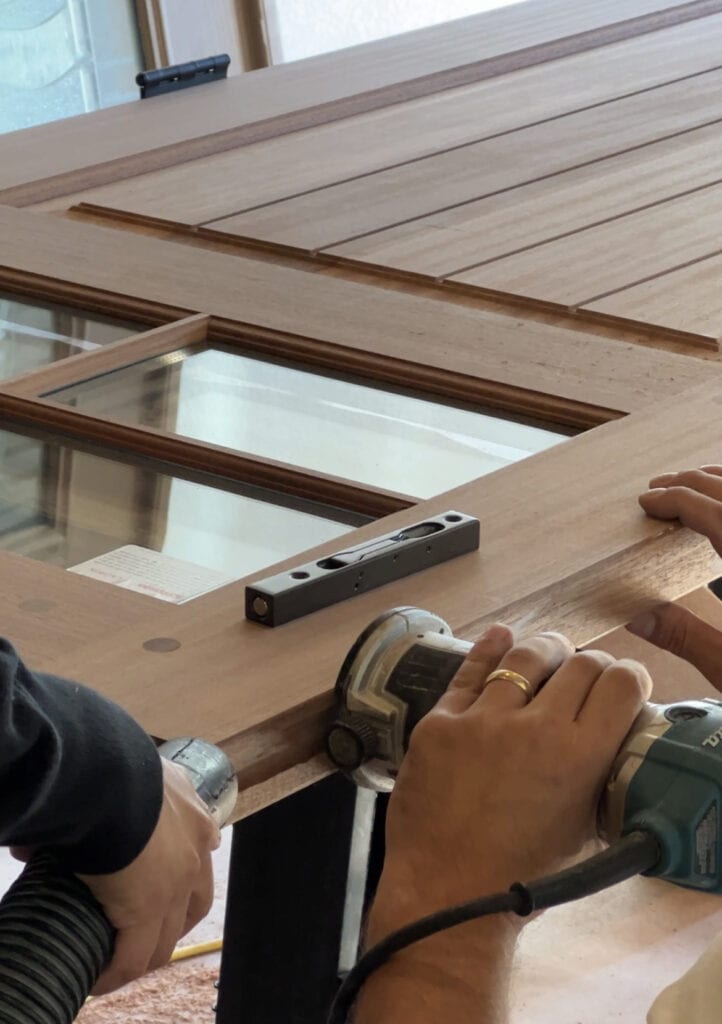
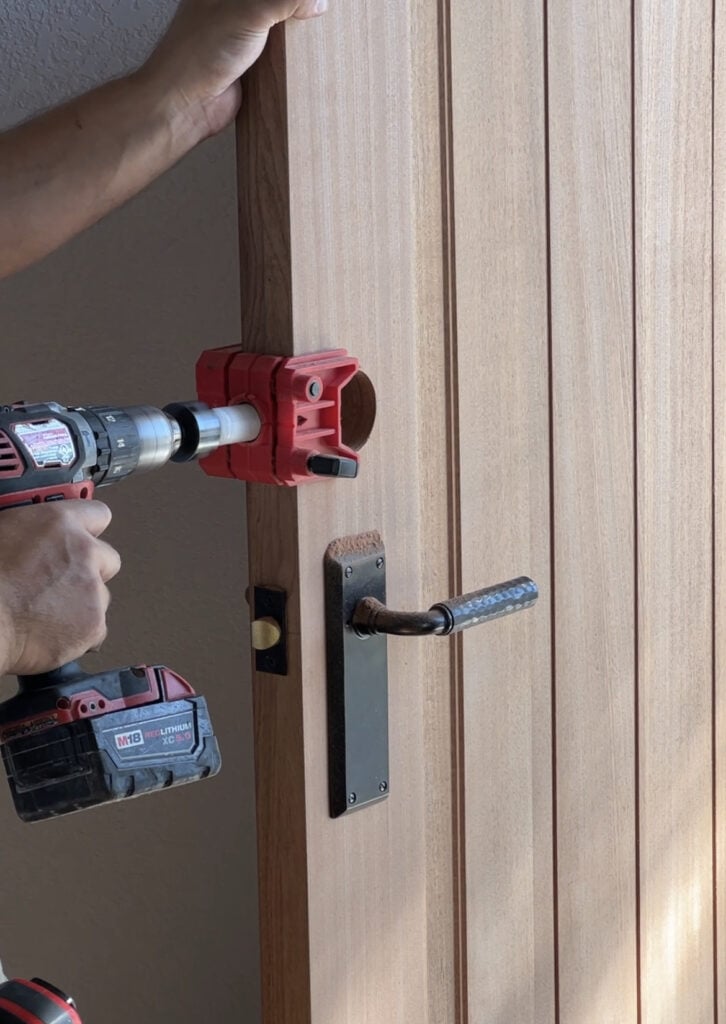
Precision is key when it comes to this type of install—particularly exterior double doors with multiple components, so leaving it to the pros was an easy choice.
Door stain and hardware
For the hardware, I chose Emtek’s Quincy Sideplate lockset with the Manning lever in a hammered oil rubbed bronze finish. We also have a Schlage smart keypad lock installed.
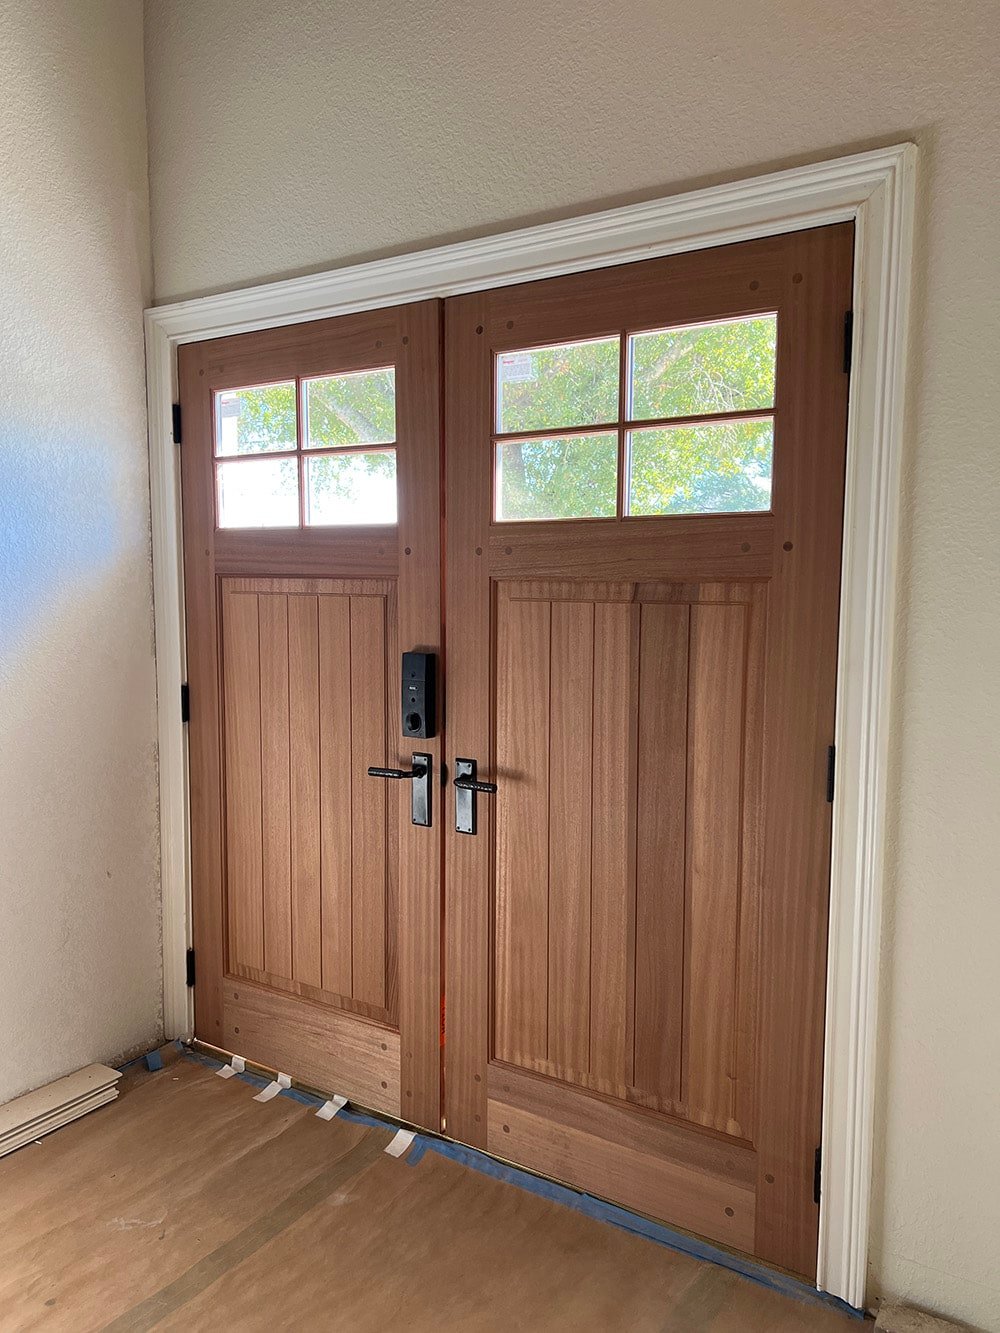
The raw mahogany wood had a nice tone to it, but I wanted a darker stain to match the look I was going for. I chose Minwax’s Dark Walnut, which is the same color we used on the beams in the bedrooms.

Here’s how the doors looked after hardware and stain—what a difference!

While upgrading your front doors to solid wood is an investment, you can still keep your existing doors and give them a quick and low cost rustic makeover. Here’s how we did it!
Adding clavos and straps
I found these black metal hinge straps and clavos on Amazon:

The exact straps I used are no longer available, but I linked to the ones we used for our front shutters which are almost identical. For the clavos, I bought two sets in 1.5″. You can find a variety of styles and sizes for both the straps and clavos on Amazon.
Installation is super simple—the hinge straps screw right into the door with the provided screws. We added one at the top and bottom of each door.

For the clavos, we made a cardboard jig to mark the hole location to save time measuring for each one.
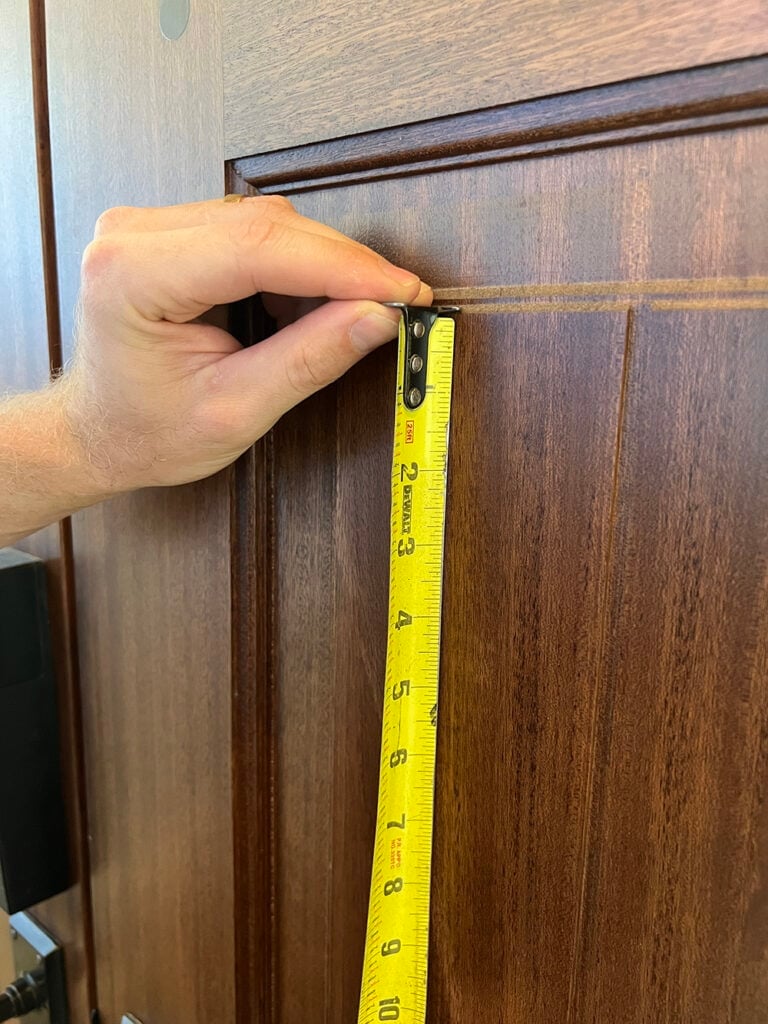
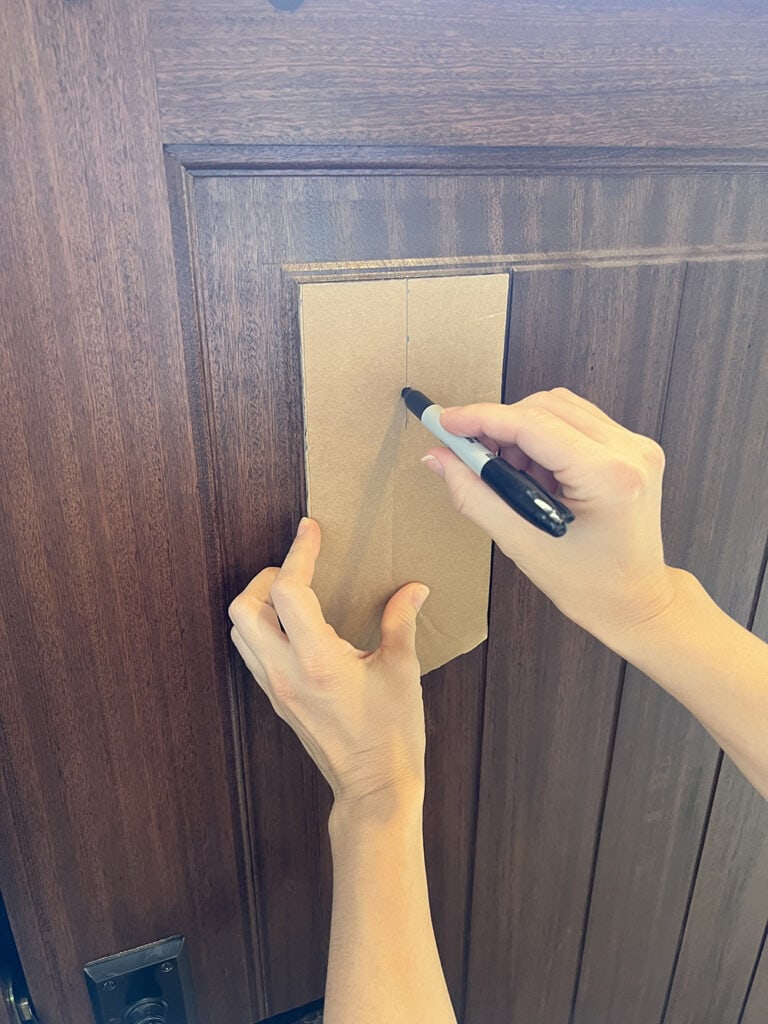
A pilot hole was then drilled on each mark:

The clavos have a nail tip, which should fit snugly into the door. We pushed it in part way by hand…

Then gently hammered it in the rest of the way (a rubber mallet is ideal to protect the finish):

Easy peasy!

Front door reveal
I couldn’t be more in love with our new front doors!
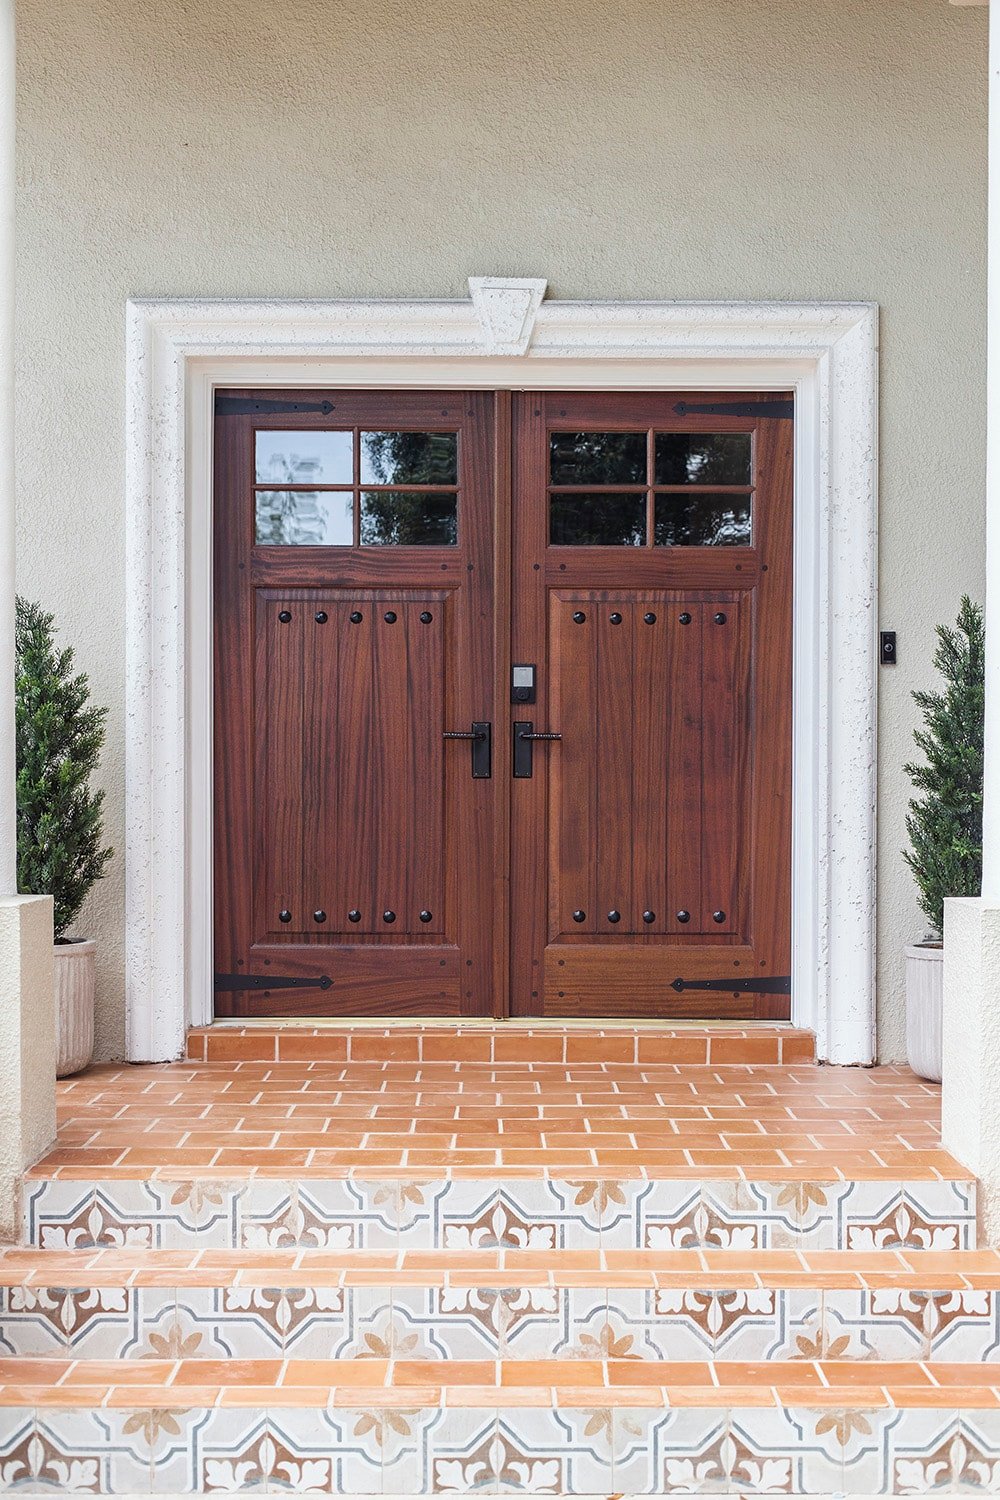
They capture the old-world rustic Spanish character I wanted, and will certainly make a great first impression on our guests.
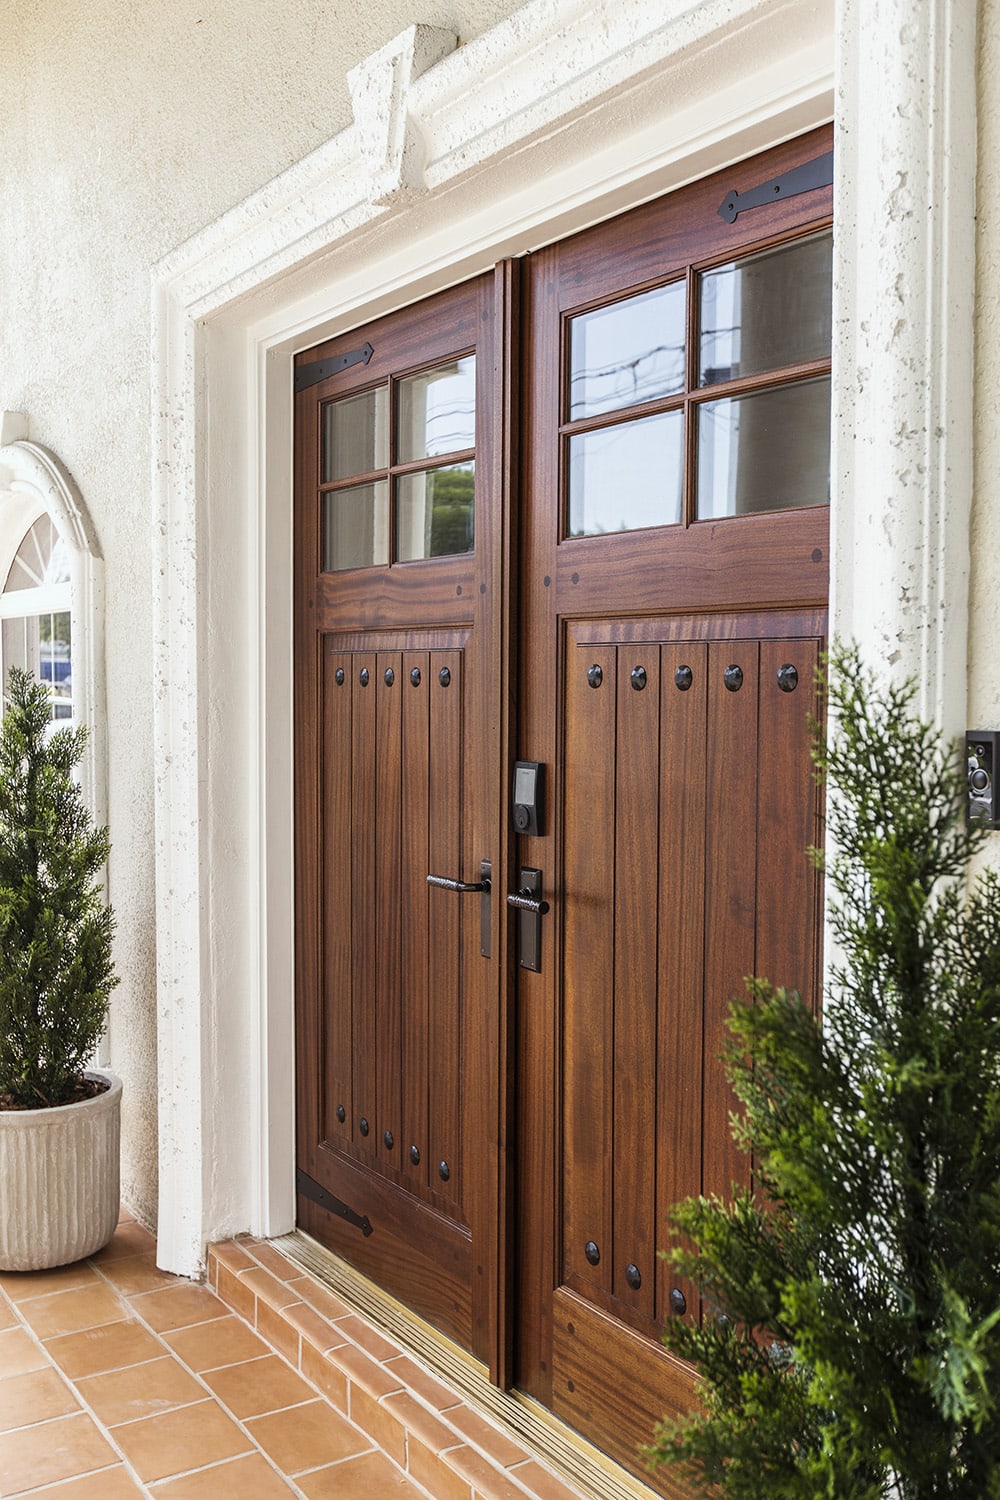
The windows allow in much-needed light, while still providing privacy.
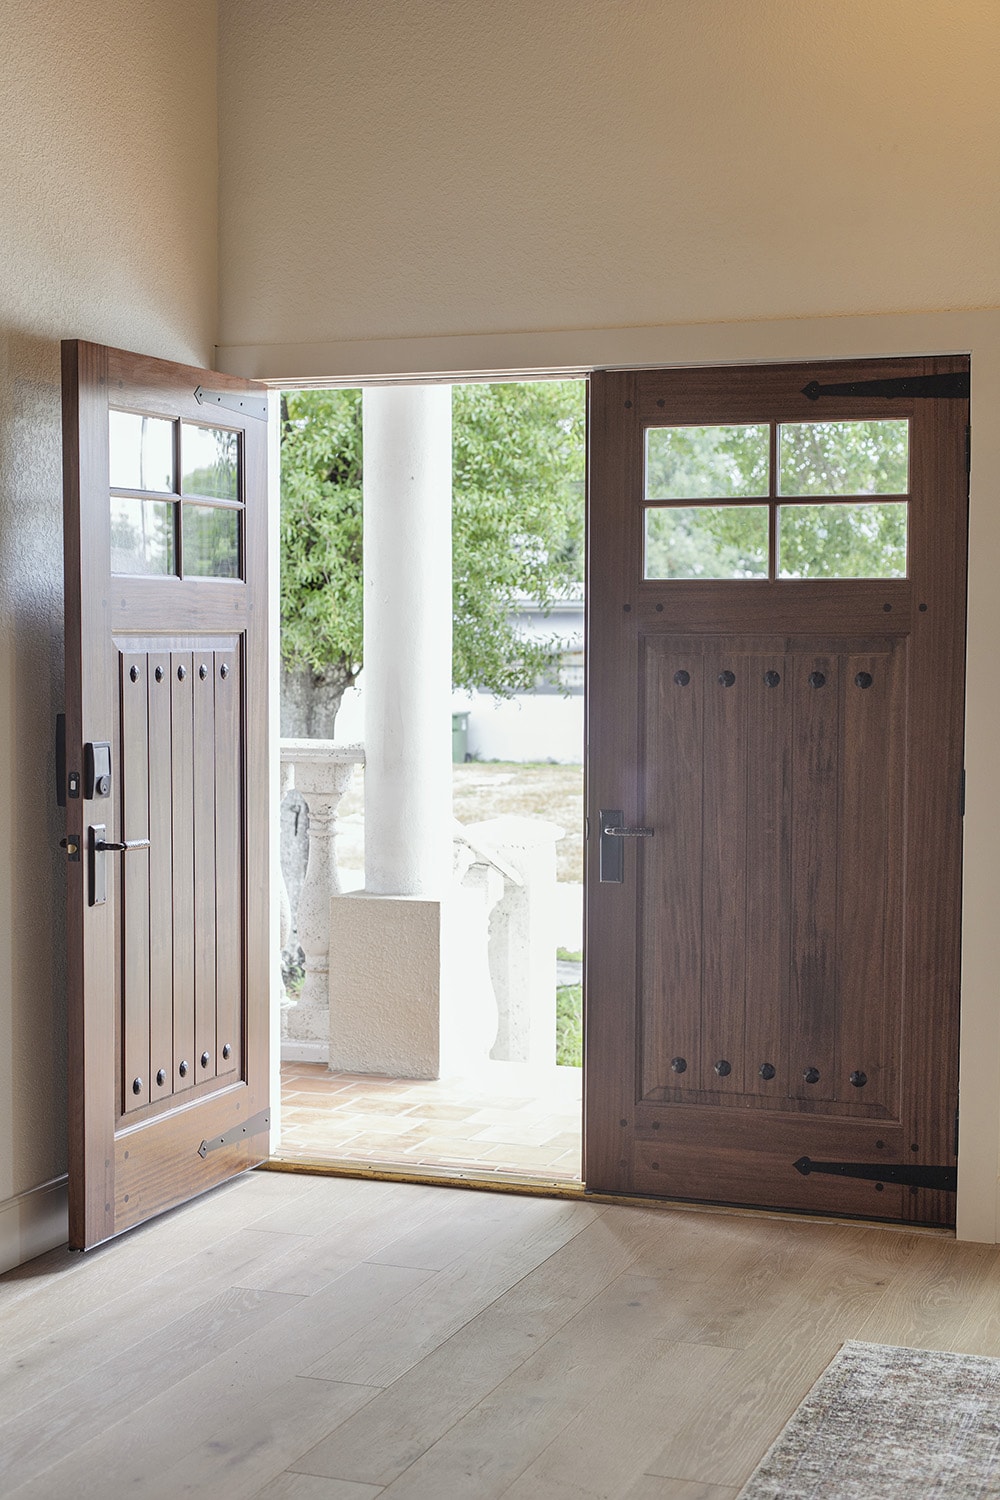
The doors look equally as stunning from the inside, and bring richness and warmth to the entrance. I also love how they match our wood beam ceilings.
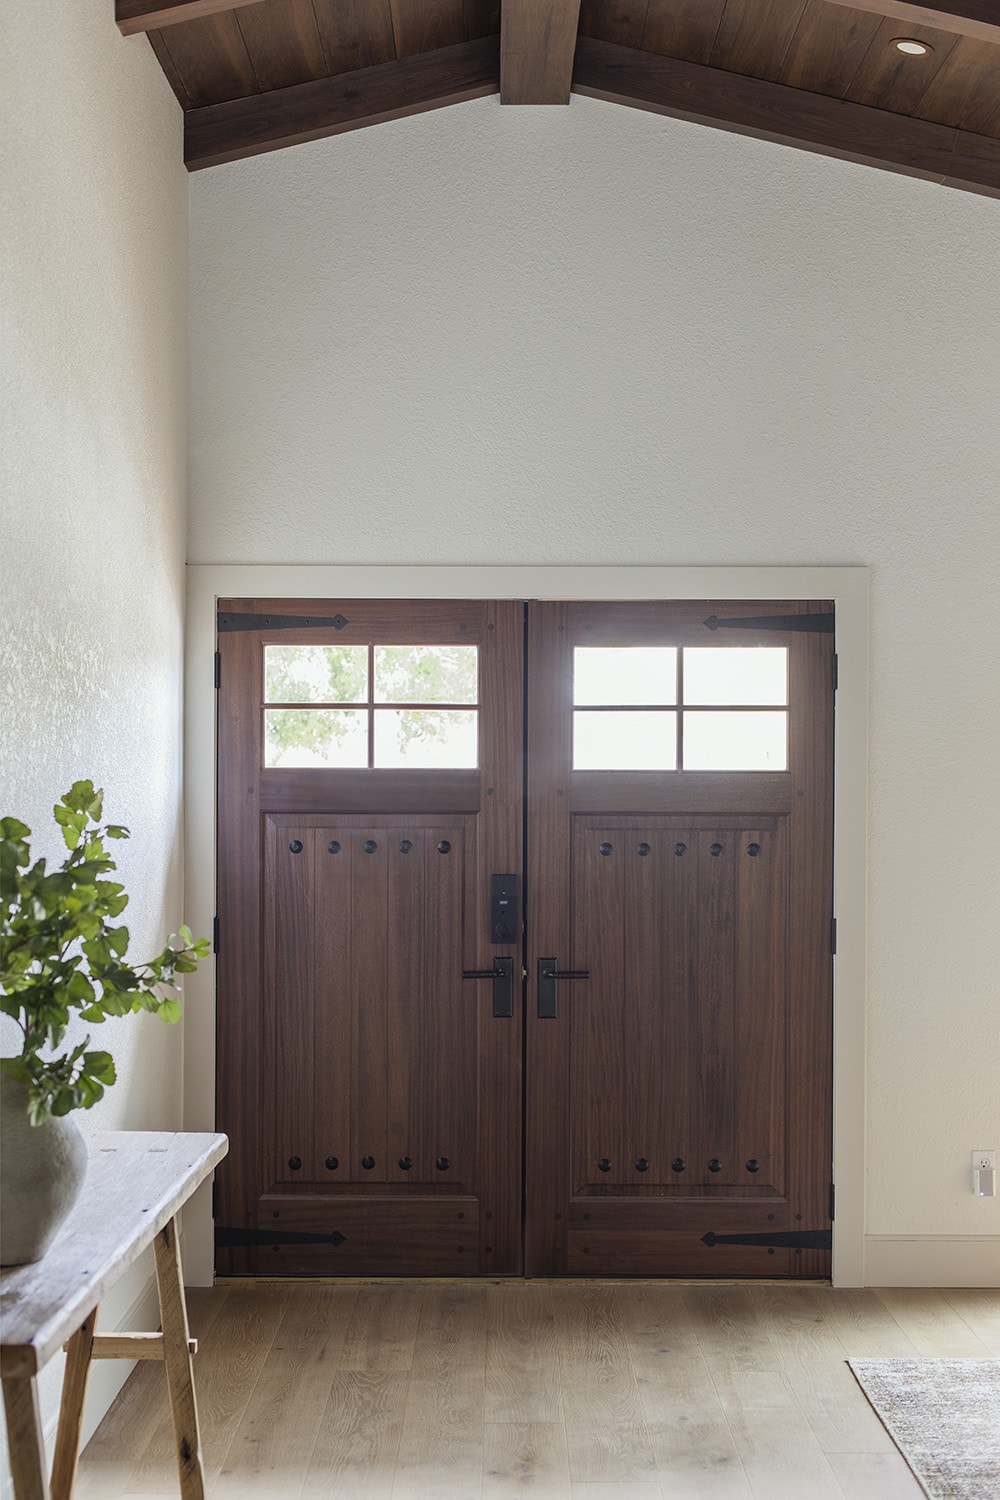
The decorative hinge straps and clavos really take the design to the next level. Those are such an easy upgrade you can make to any front door—no matter the material, color or finish! If you have metal doors, you can use magnetic straps and clavos to get the same look.
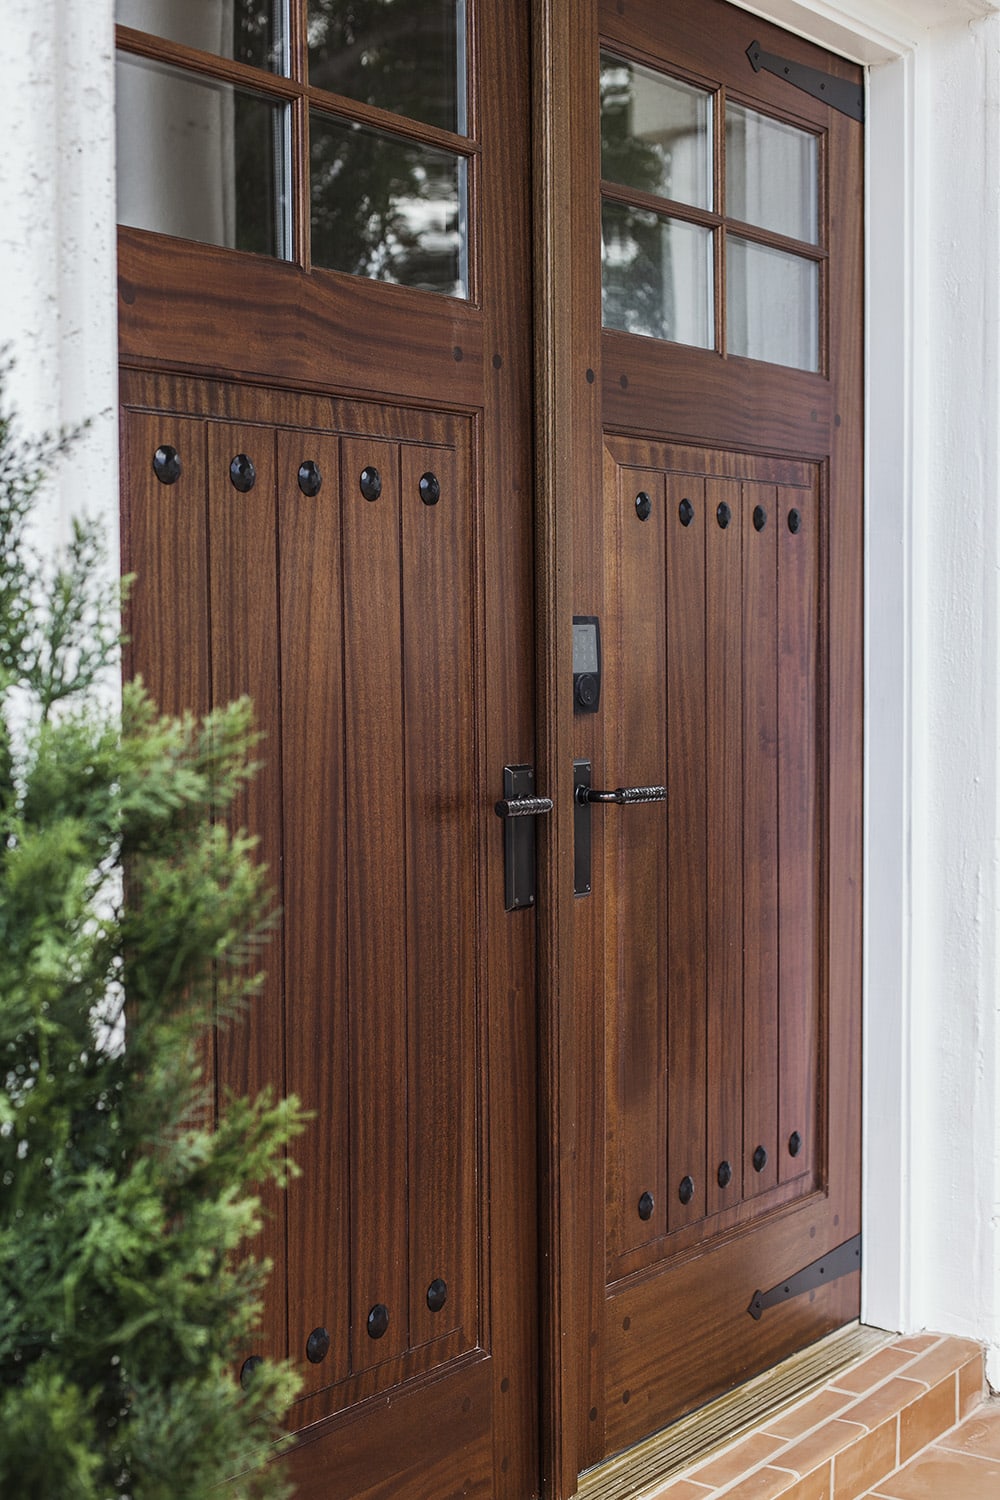
We’ve used the magnetic straps and clavos on metal garage doors, and will be doing the same to this house eventually. For the tile, I chose traditional handmade terra cotta 8×8″ pavers, with patterned ceramic tile on the risers (this is the same tile combo we used on the back porch).
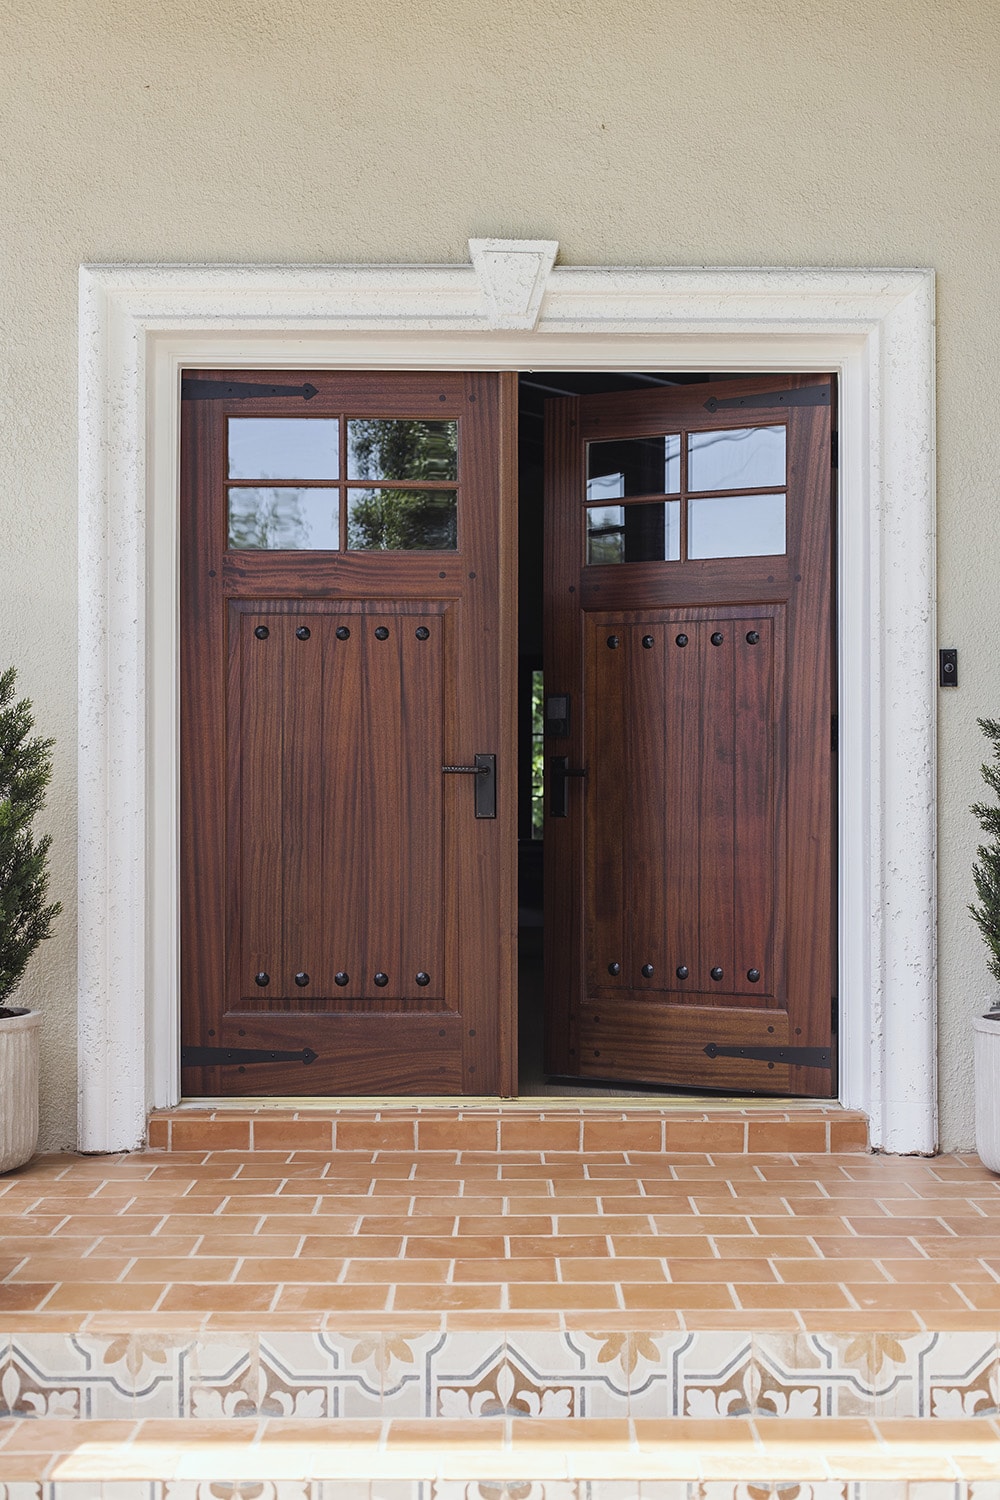
One last Before and After for good measure:

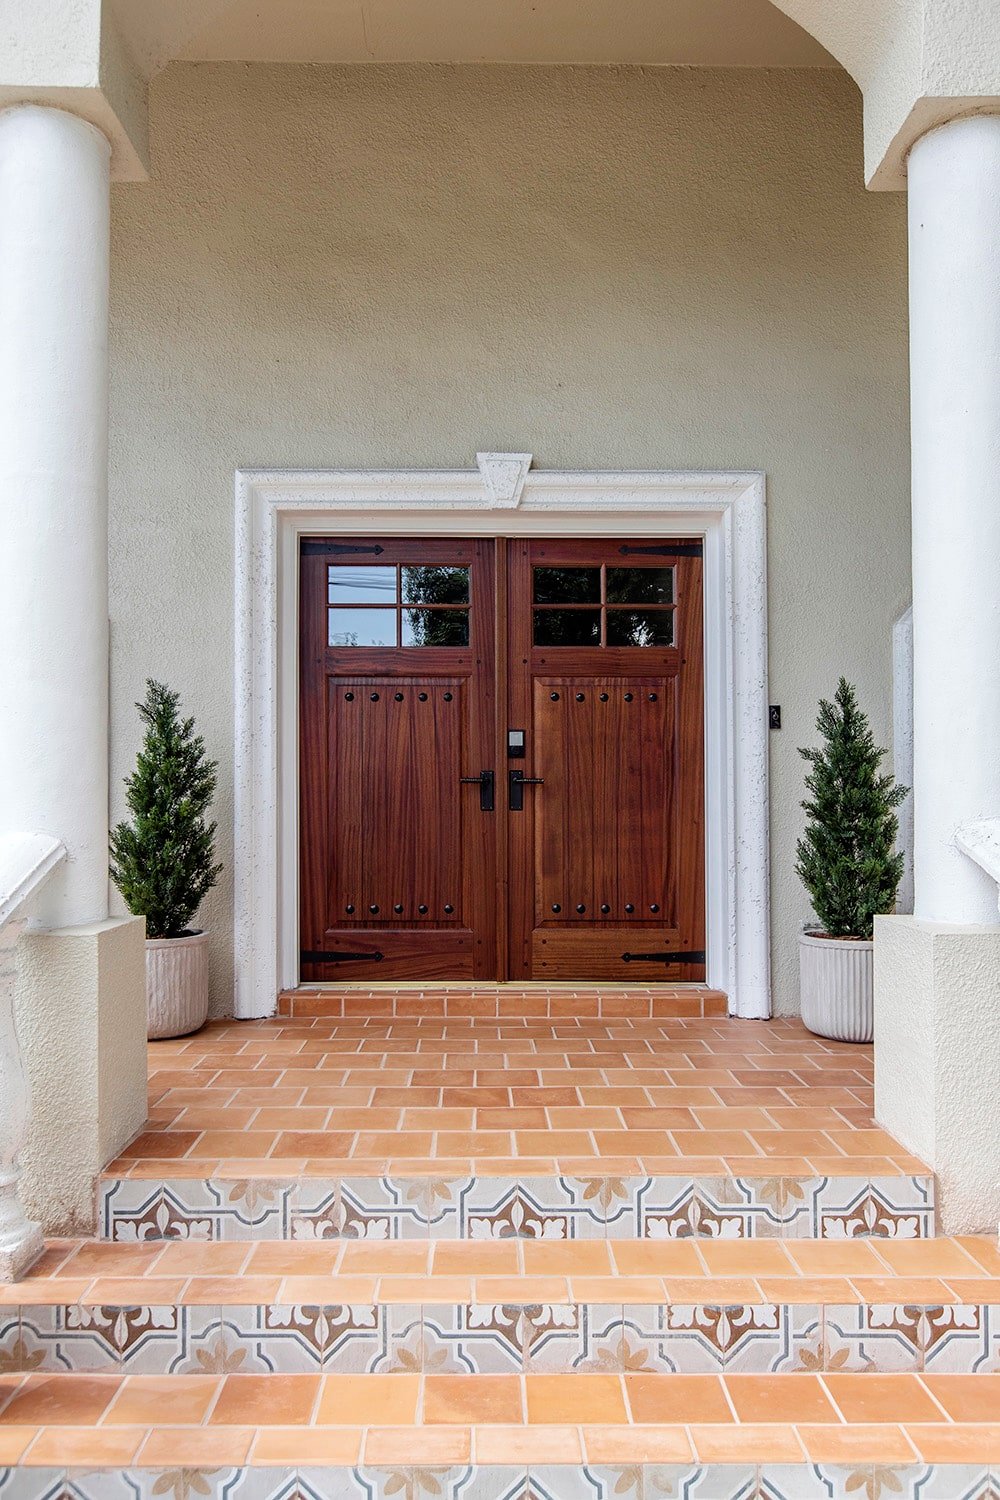
More big changes coming this week to our exterior—our landscaping is being installed! I can’t wait to share the end result, along with a long overdue backyard/pool update. We’re juggling about 50 projects right now, so hang tight and follow me over on Instagram for more frequent updates!


Jenny C says
This is amazing! Where did you find your door handles? I’m having a difficult time finding aesthetically pleasing door handles that work with an electronic deadbolt.
JULIE MARQUEZ says
You are DIY queen, so I wouldn’t put it past you, but I was really wondering how you changed your old doors to look like these. Yay for new Simpson doors, and of course you had to go and elevate the look too! Amazing!
Jenna Sue says
Thanks Julie! 🙂
Edmonton Door For Home says
Wow, what a stunning transformation! Your DIY rustic front door makeover is truly inspiring. I love how you managed to achieve the old-world European style with wooden doors and rustic hardware. Partnering with Simpson Door Co was a brilliant idea, given their wide selection and customization options. It’s impressive how you considered various factors like door material, style, size, and maintenance to make a perfect choice—Sapele Mahogany sounds like a durable and beautiful selection. This makeover not only adds character and charm but also proves that budget-friendly projects can have a huge impact. Well done!
KJ says
As always, beautiful. Even though my home is nearly finished I always enjoy seeing what you are doing.
Janelle James says
Gorgeous! I learn so much from you.
Jes says
Would love to see the price if you had to purchase the doors outright! We have a similar situation and wondering the price of double wood slab front doors… it would be ever so helpful for budgeting! Thanks:)
Elizabeth Martinez-Mayta says
Hi Jenna Sue, What are the colors for outside the house?
Jenna Sue says
Hi, it’s Sandstone Cliff 750C-3
Trim: Bit of Sugar PR-W14
Both Behr colors.
Megan says
Oh Jenna, I can’t wait till you make this home available!! 🤩🤩 you guys have done a gorgeous job
Michele M. says
My gosh – that is stunning, Jenna Sue! WOW WOW WOW!!! The difference is absolutely staggering!
Your design visions are the best. Whew, that’s a gorgeous welcoming front to be sure!!!!!
Delaine Mullins says
Can you list the measurement of the clavos placement? How many inches down your cardboard jig did you add the pilot hole? BTW, love the way the doors turned out.
Jenna Sue says
Hi, they were just centered in the vertical grooves. I think it was just over 2″.
Karen says
What beautiful doors.😘
Elizabeth Mayta says
Jenna Sue, Love those doors, beautifully done!!!
Jenna Sue says
So glad you like them, Karen!