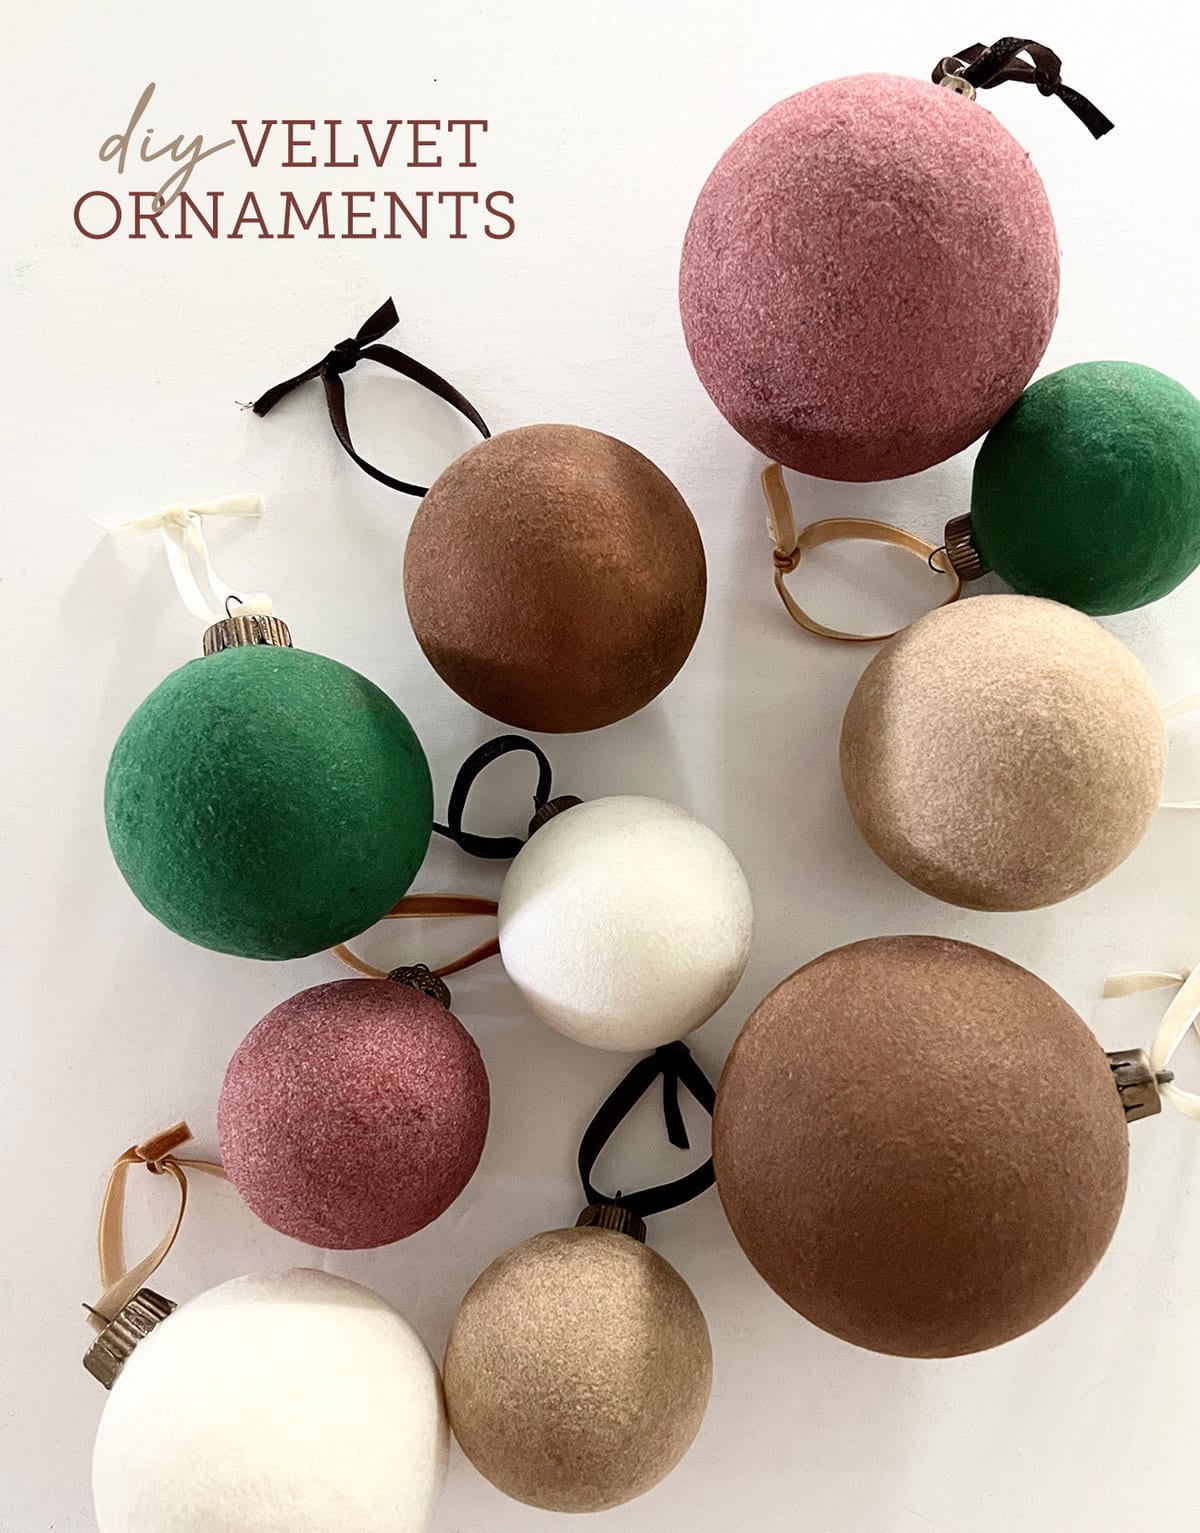
If you’re looking for a simple and inexpensive way to make your own velvet Christmas ornaments, I have the tutorial for you! Let’s get started with this fun holiday craft:
I fell in love with these velvet ornaments by Studio McGee at Target, but they sold out within hours:
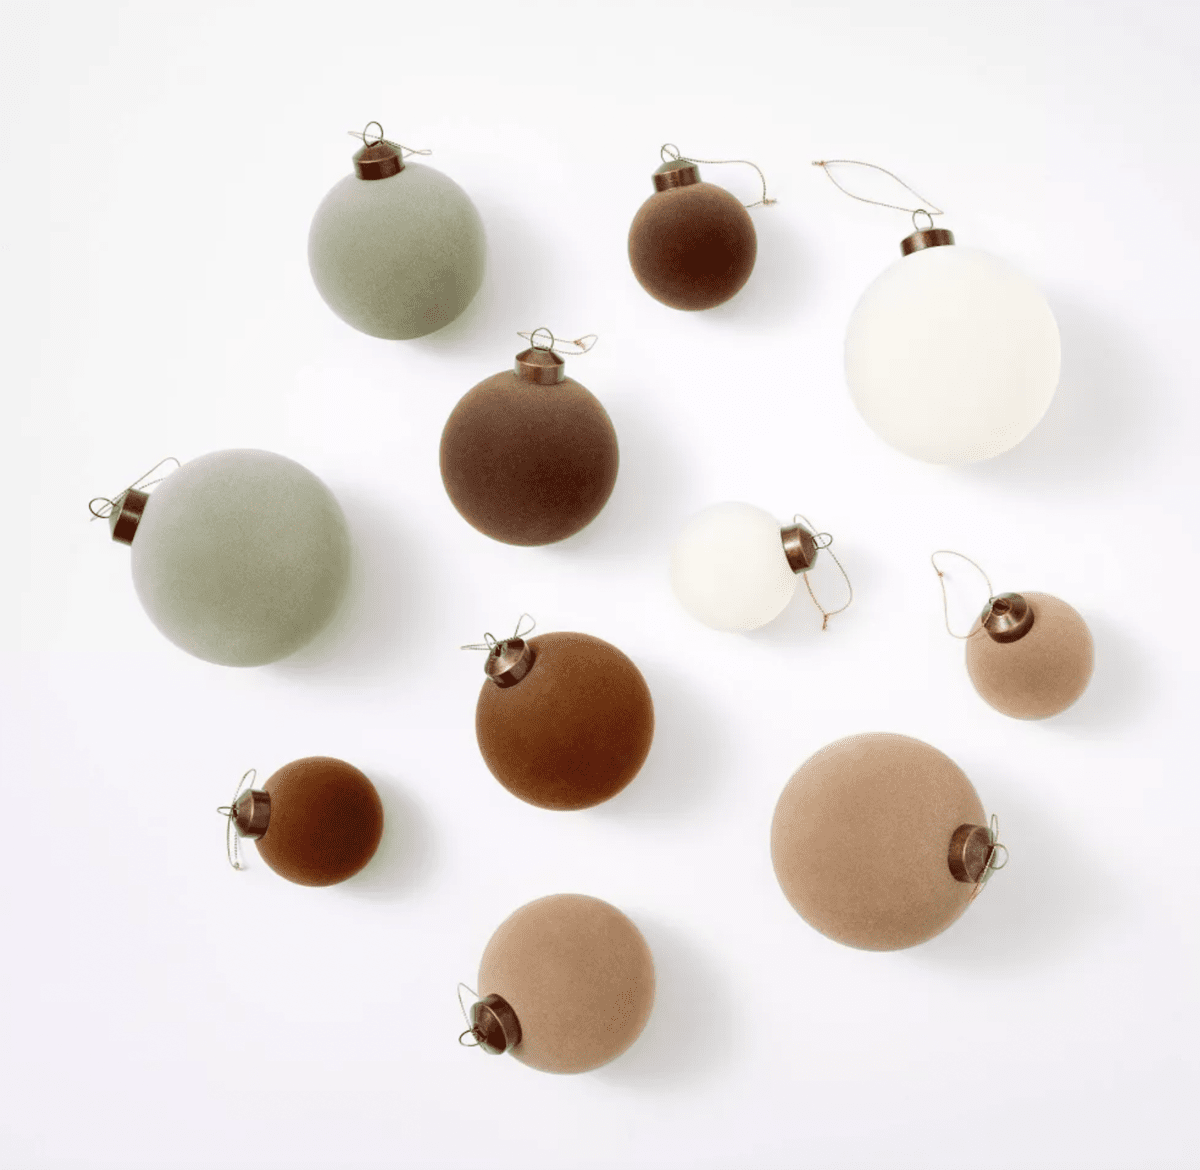
I thought it would be a fun experiment to make my own, so I started researching my options online. The result is a simple and straightforward technique anyone can do—just follow the steps below!
Jump to:
How to make velvet Christmas ornaments

Supplies List
- Ornaments (I used 2.5-4″ round ornaments)
- Velvet flocking fiber/powder
- Paint to match flocking fiber
- Craft glue
- Brushes
- Paper bowls
- Tape and skewers
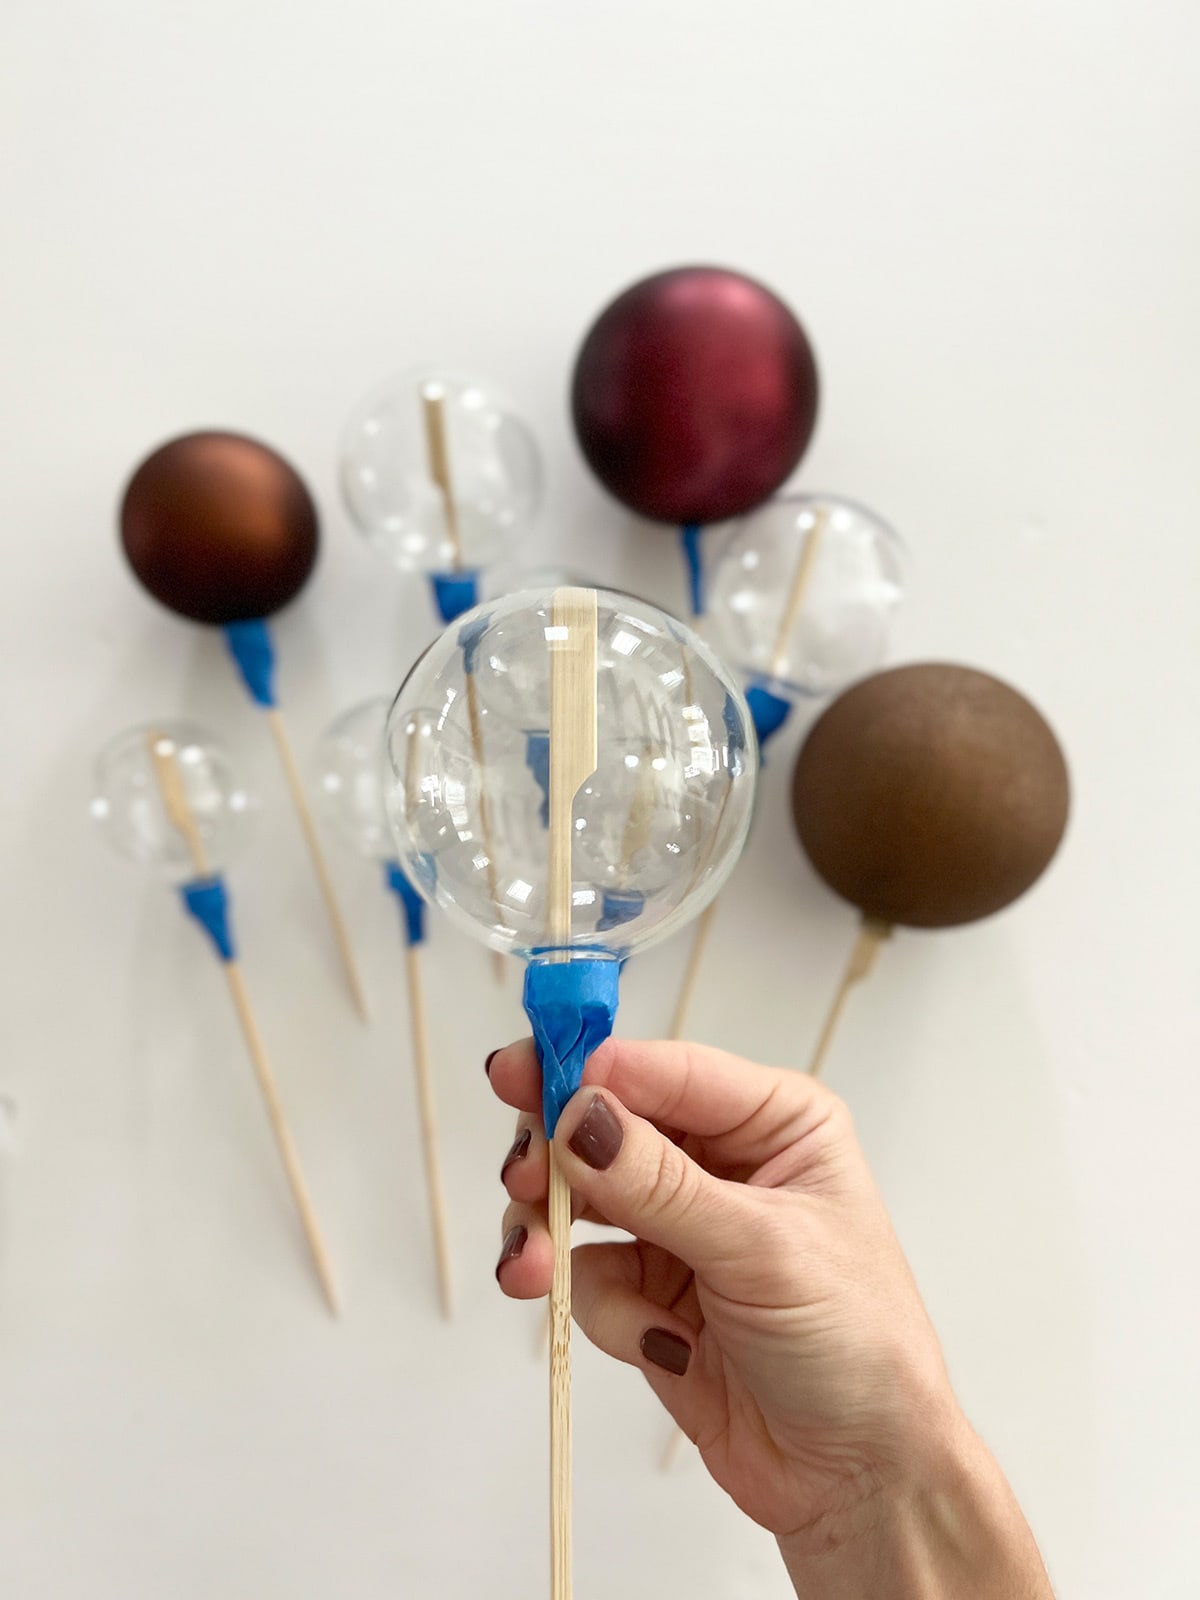
Step 1: Tape ornaments to skewer
Remove the cap, place the end of a skewer inside the ornament, and wrap painters tape around the base to secure it to the skewer. This will give you a handle to hold the ornament steady without touching it, and also allow it to dry upright.
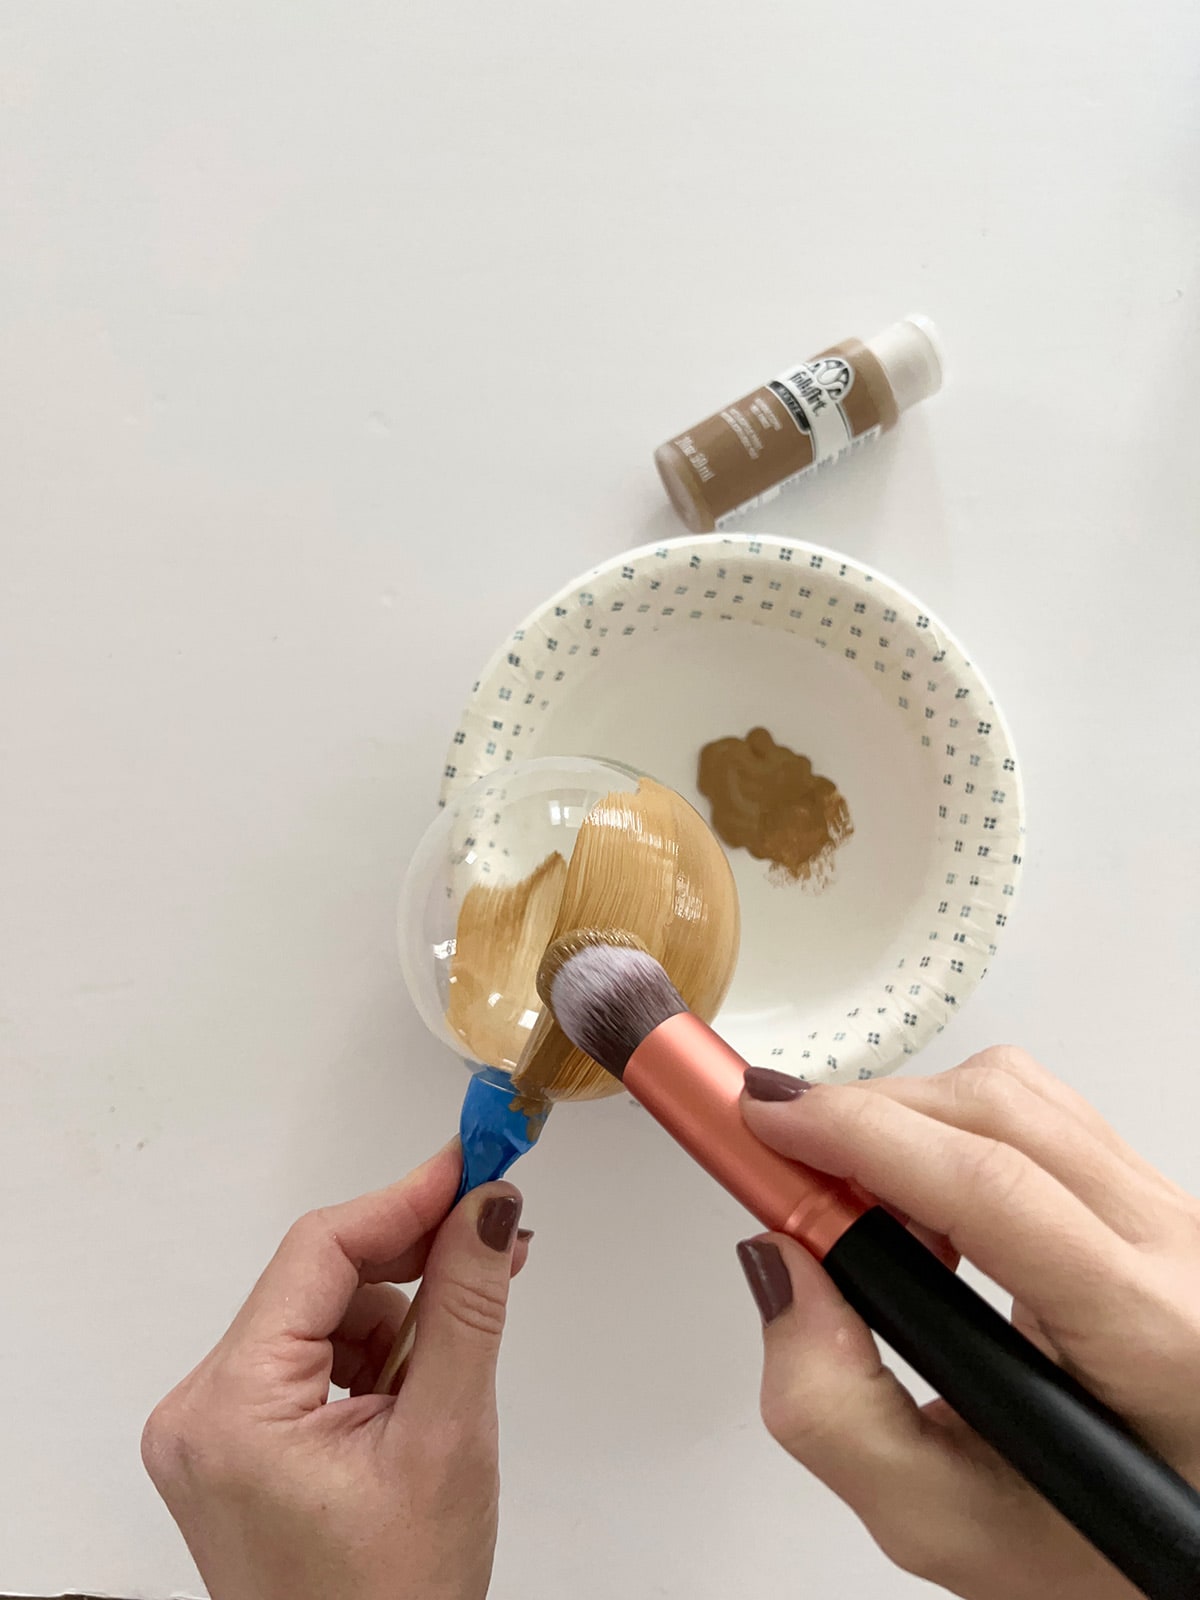
Step 2: Paint ornament
Brush on matte paint in a similar color your flocking powder. This will make it less noticeable if the flocking is too thin in some areas.
I love using these inexpensive fine bristle makeup brushes which provide more even coverage.
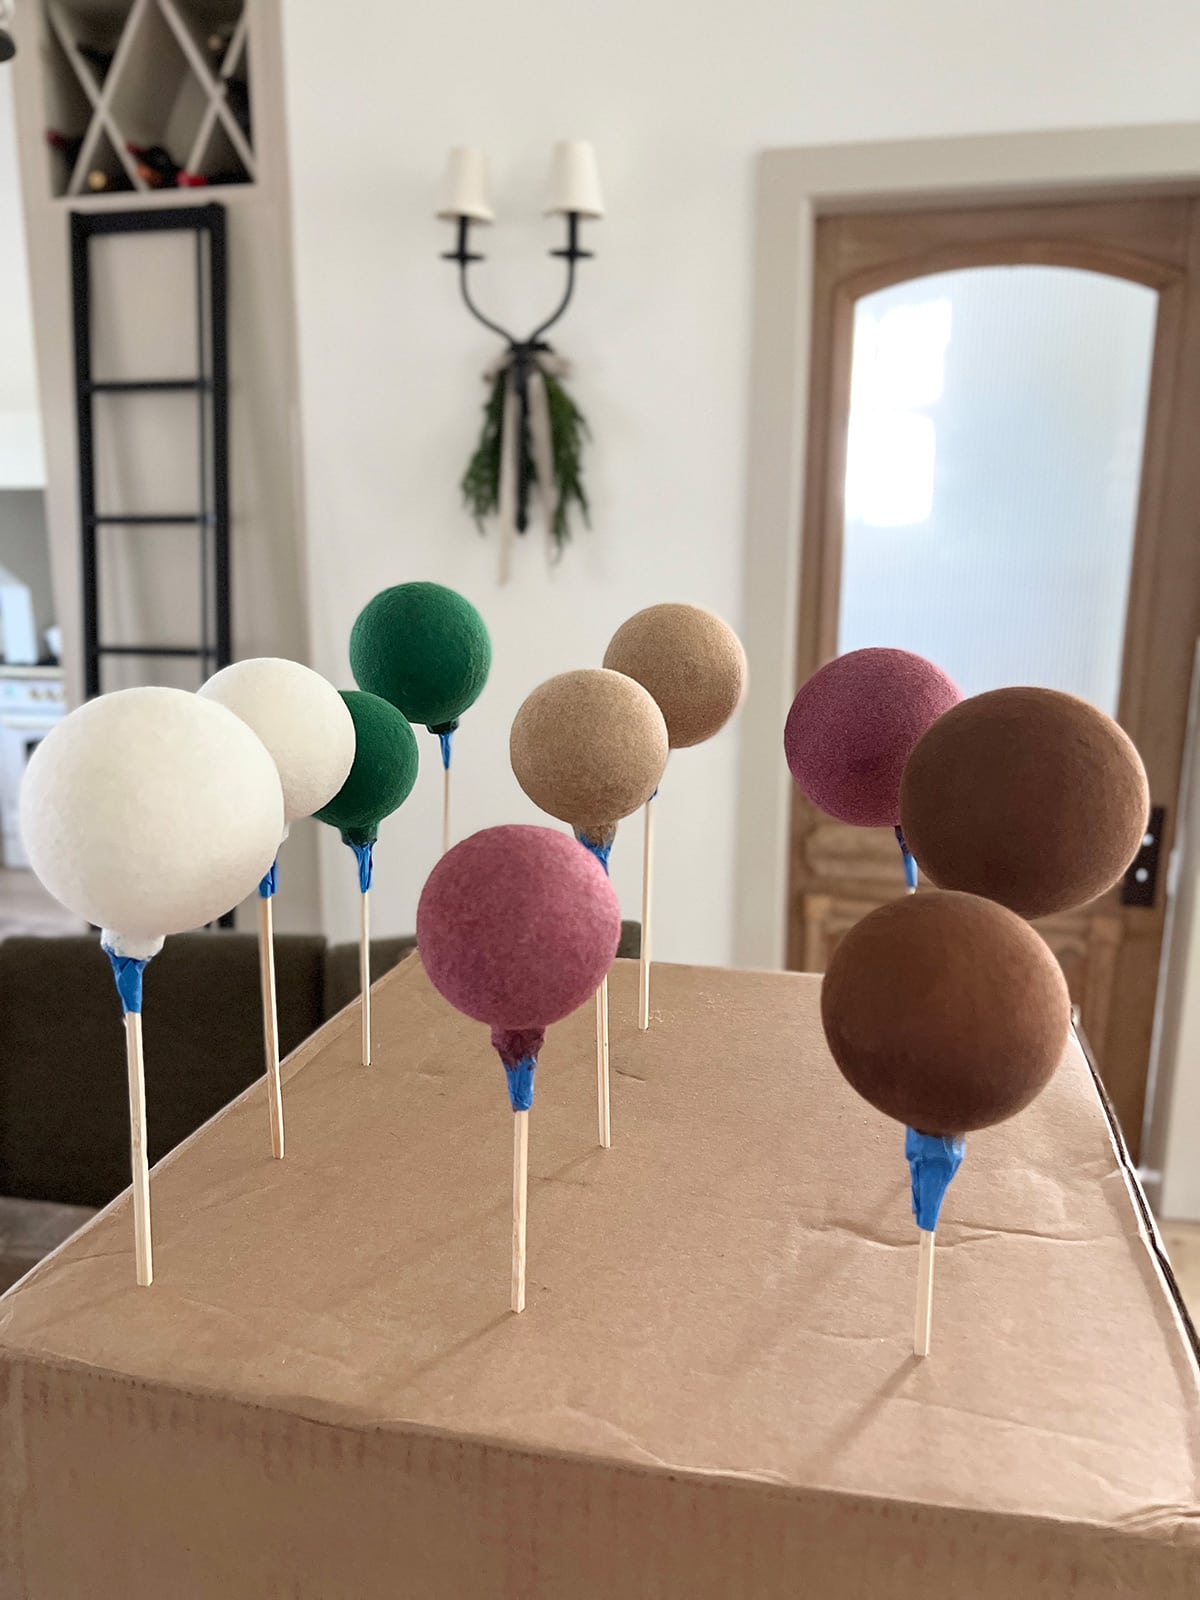
Once painted, poke the sharp end of the skewer into a cardboard box to let them dry. A few of my ornaments were already a similar color to my flocking, so I didn’t have to paint those. I ended up needing two coats to make them fully opaque.
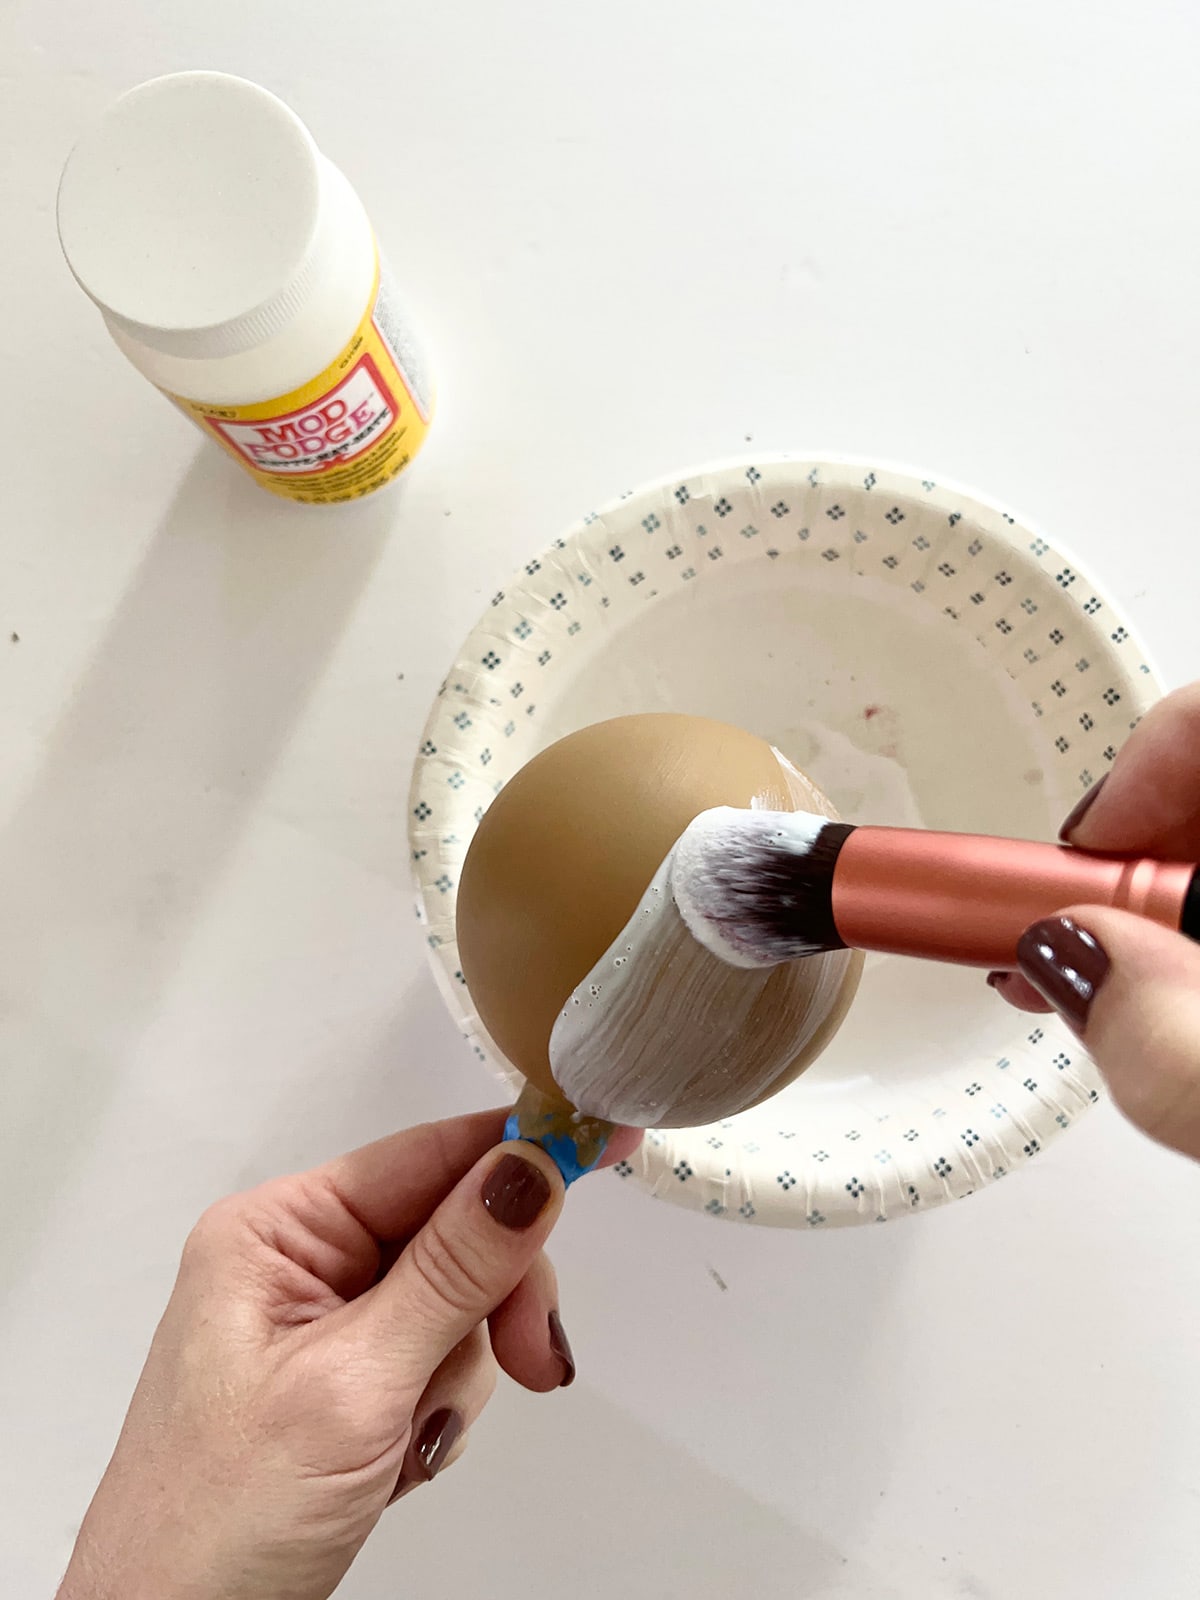
Step 3: Brush on glue
After the paint is completely dry, use a clean brush to apply your adhesive (I used modge podge, but any craft glue should work). Coat it on as thick and evenly as possible.
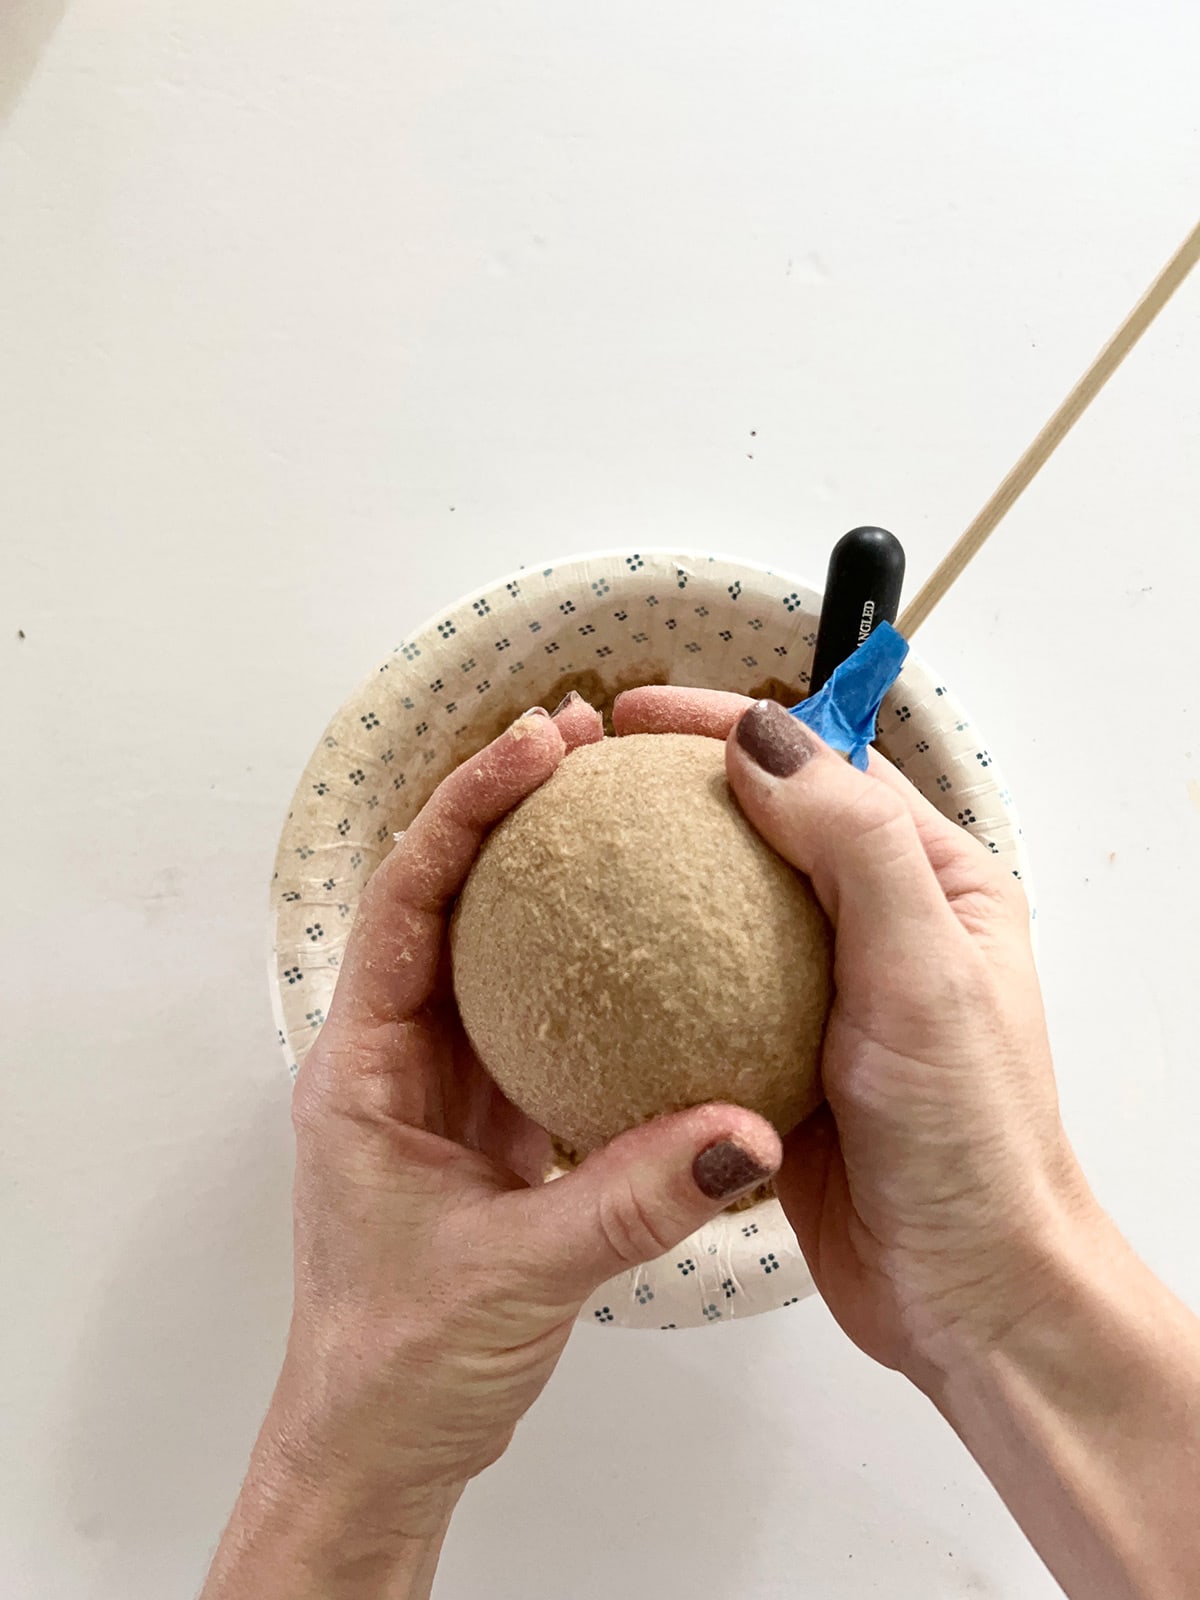
Step 4: Apply flocking fiber
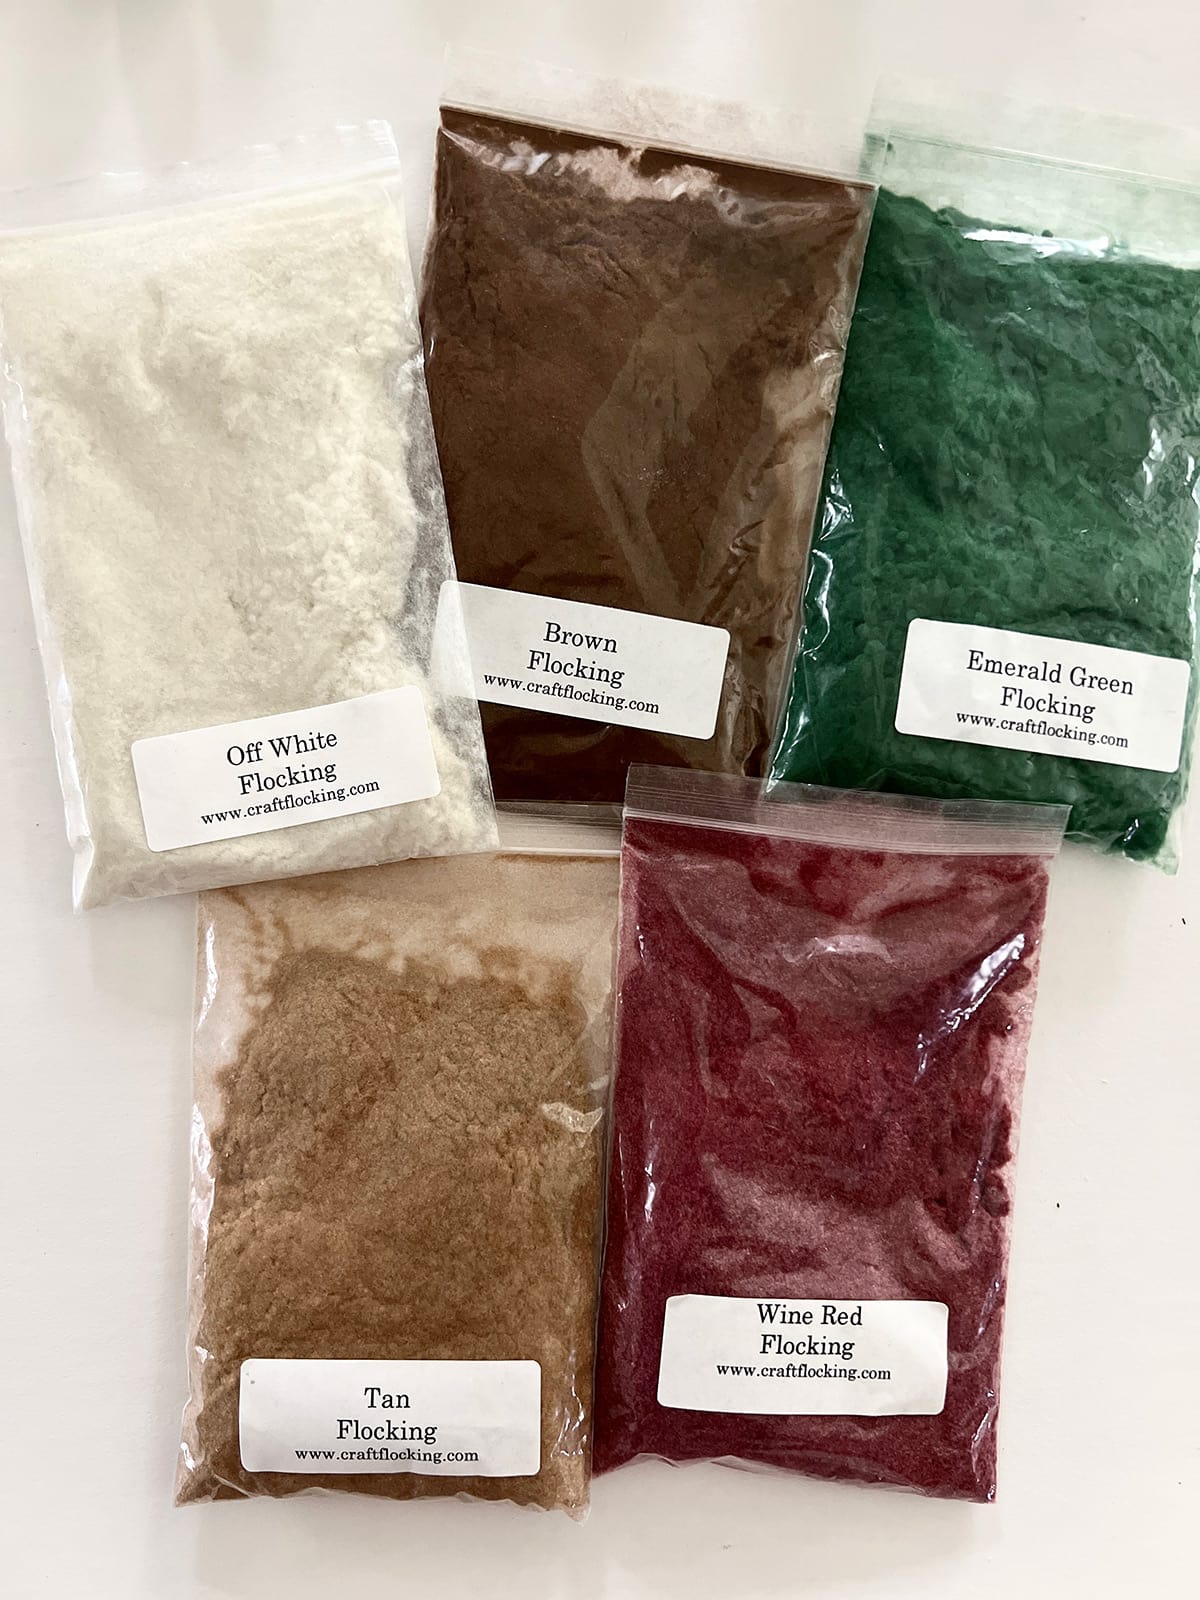
After a long search, I sourced this flocking fiber on Etsy available in a ton of colors. I ordered a handful of 1/2 oz bags (just $3.41!) and only used a small portion of each.
As soon as the adhesive is applied, dip the ornament into a bowl of flocking powder and dab it on with a stiff brush.
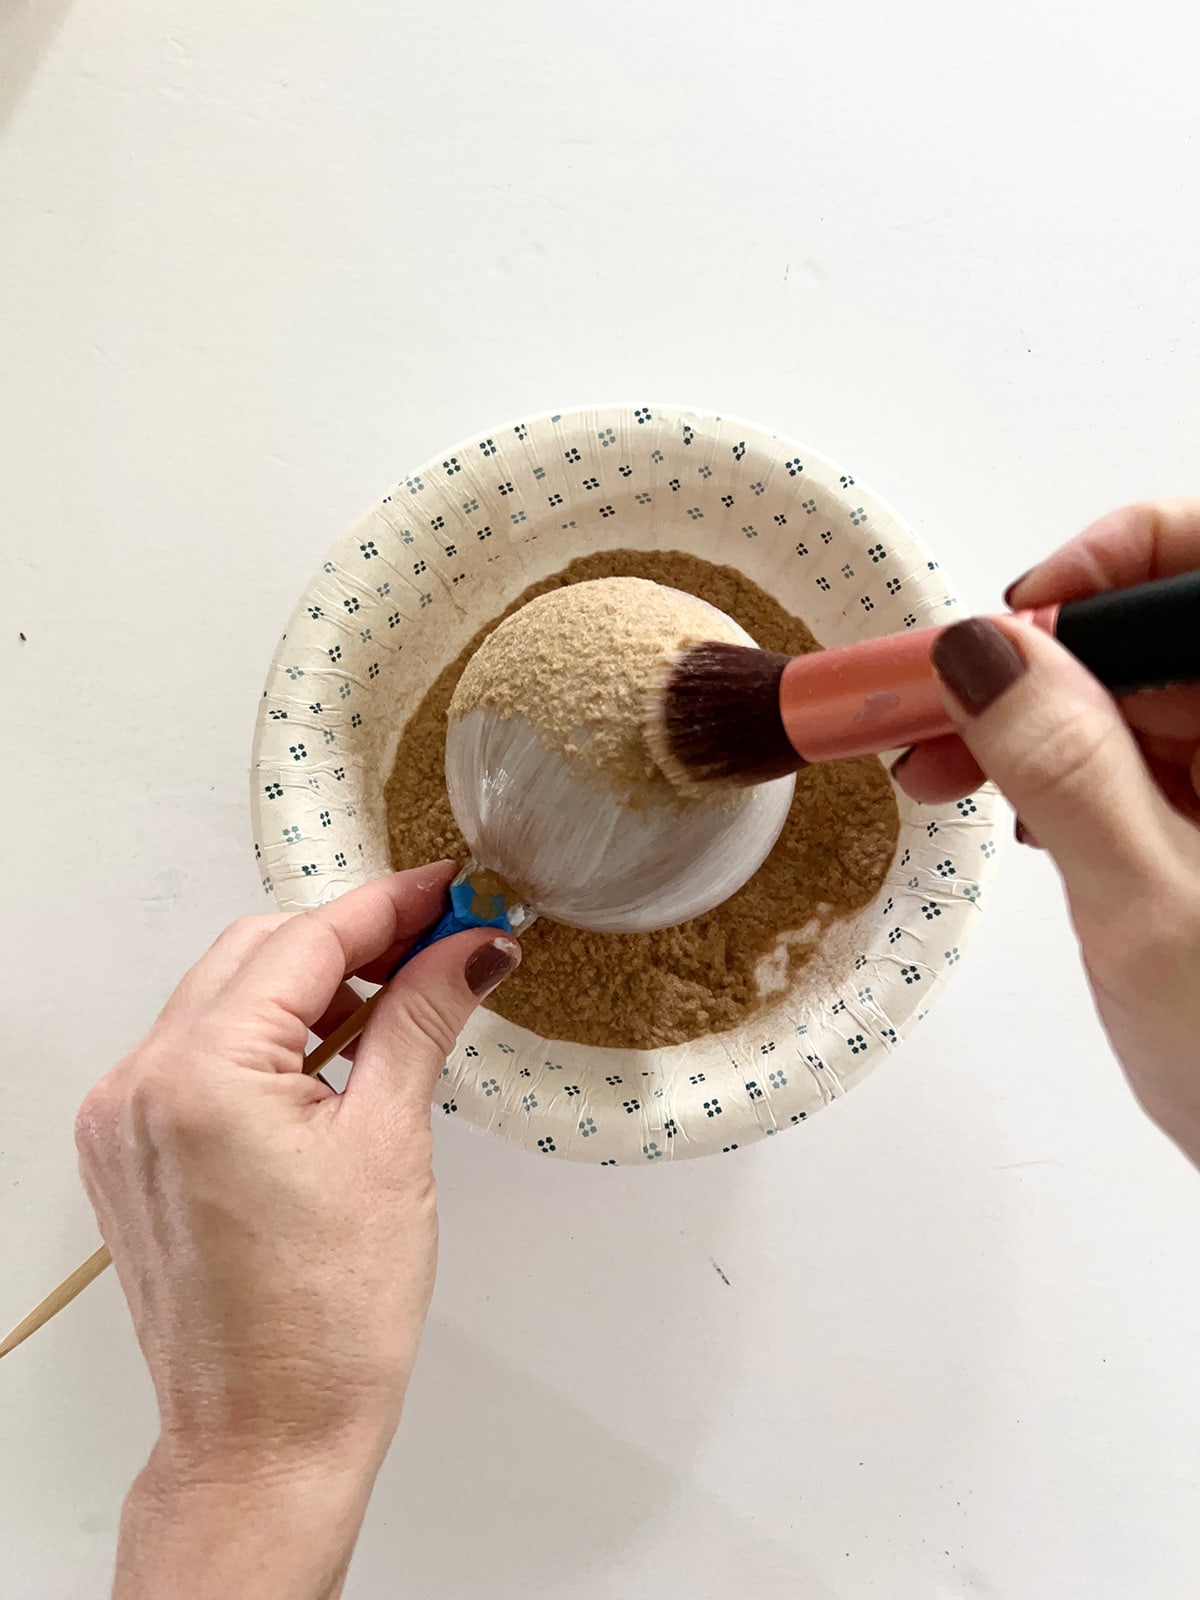
Once the surface is coated, scoop more of the flocking into your hand and press firmly as you rotate the ornament. You want to apply as much of the fiber as possible, and pat it down very well—but do not rub as it could remove the adhesive.
Place the skewers back into the box to allow the adhesive to dry. Once it’s dry, you can rub or brush any loose fibers off.
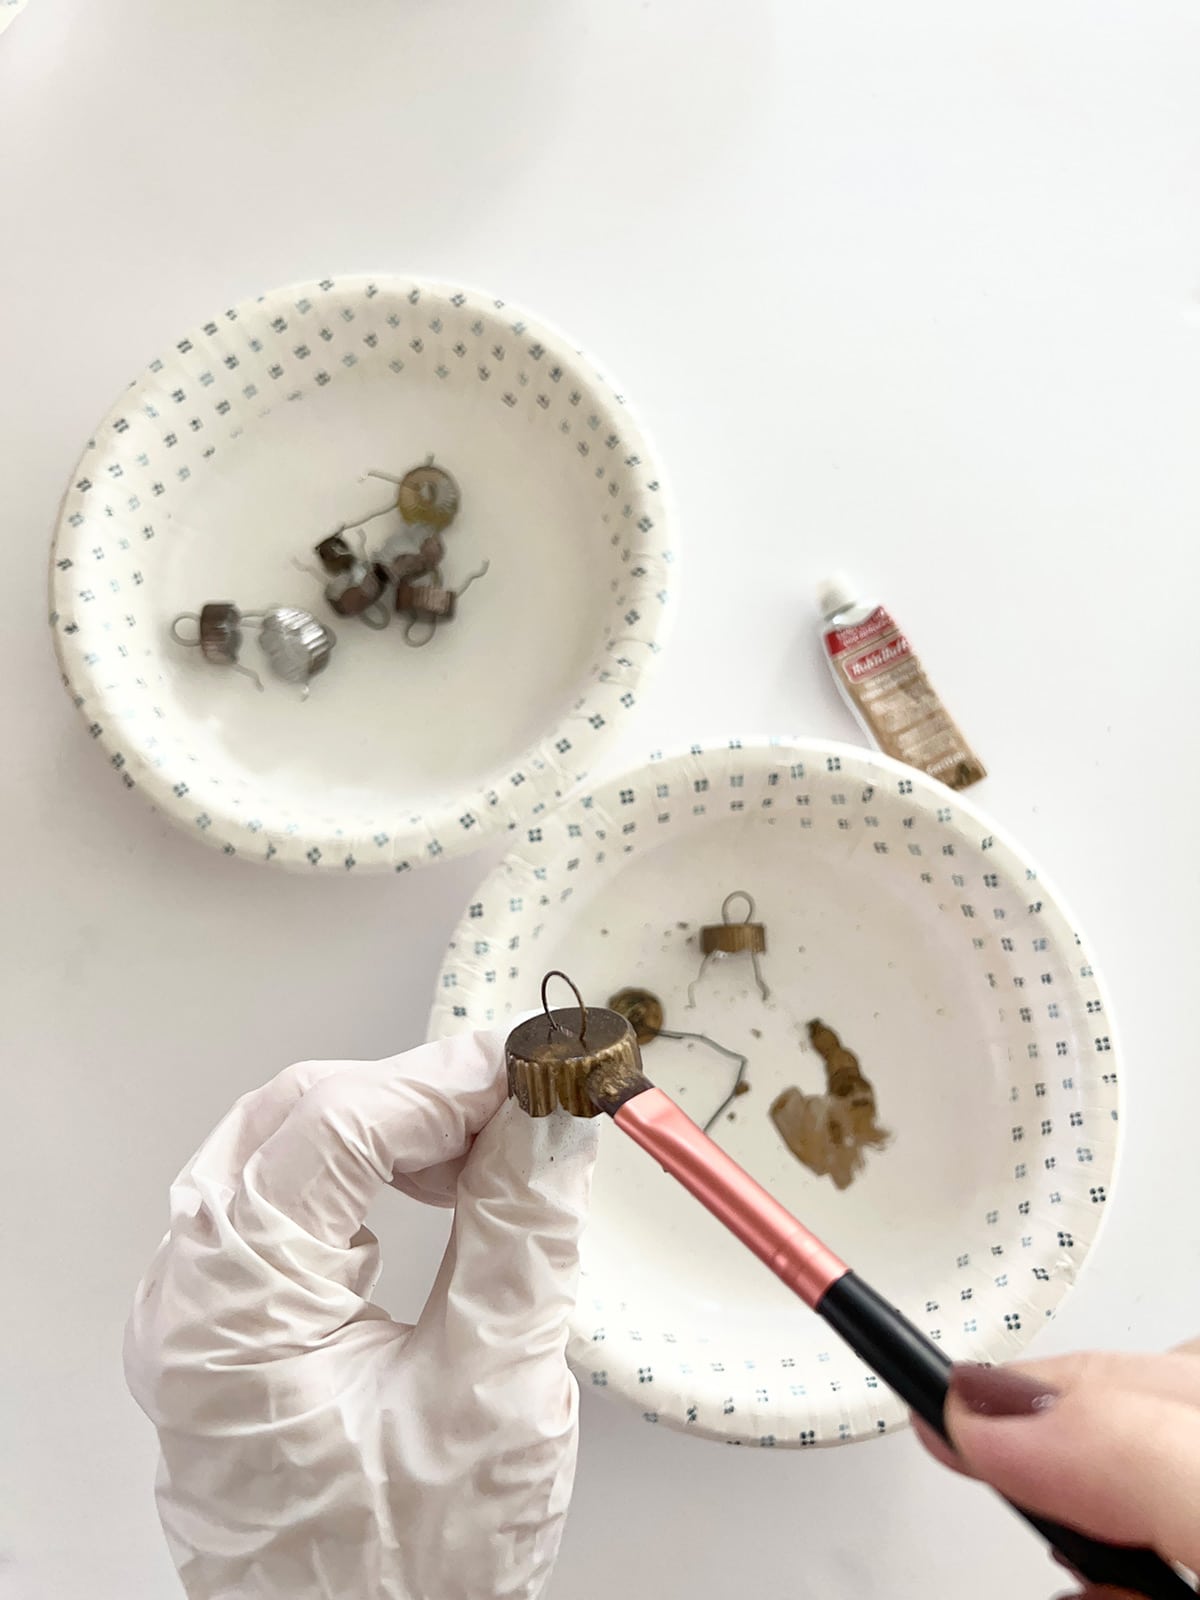
Step 5: Paint cap and tie ribbon (0ptional)
I gave my ornament caps a quick facelift with dark spray paint and a few dabs of Gold Leaf Rub n Buff. This gives them a nice antiqued look.
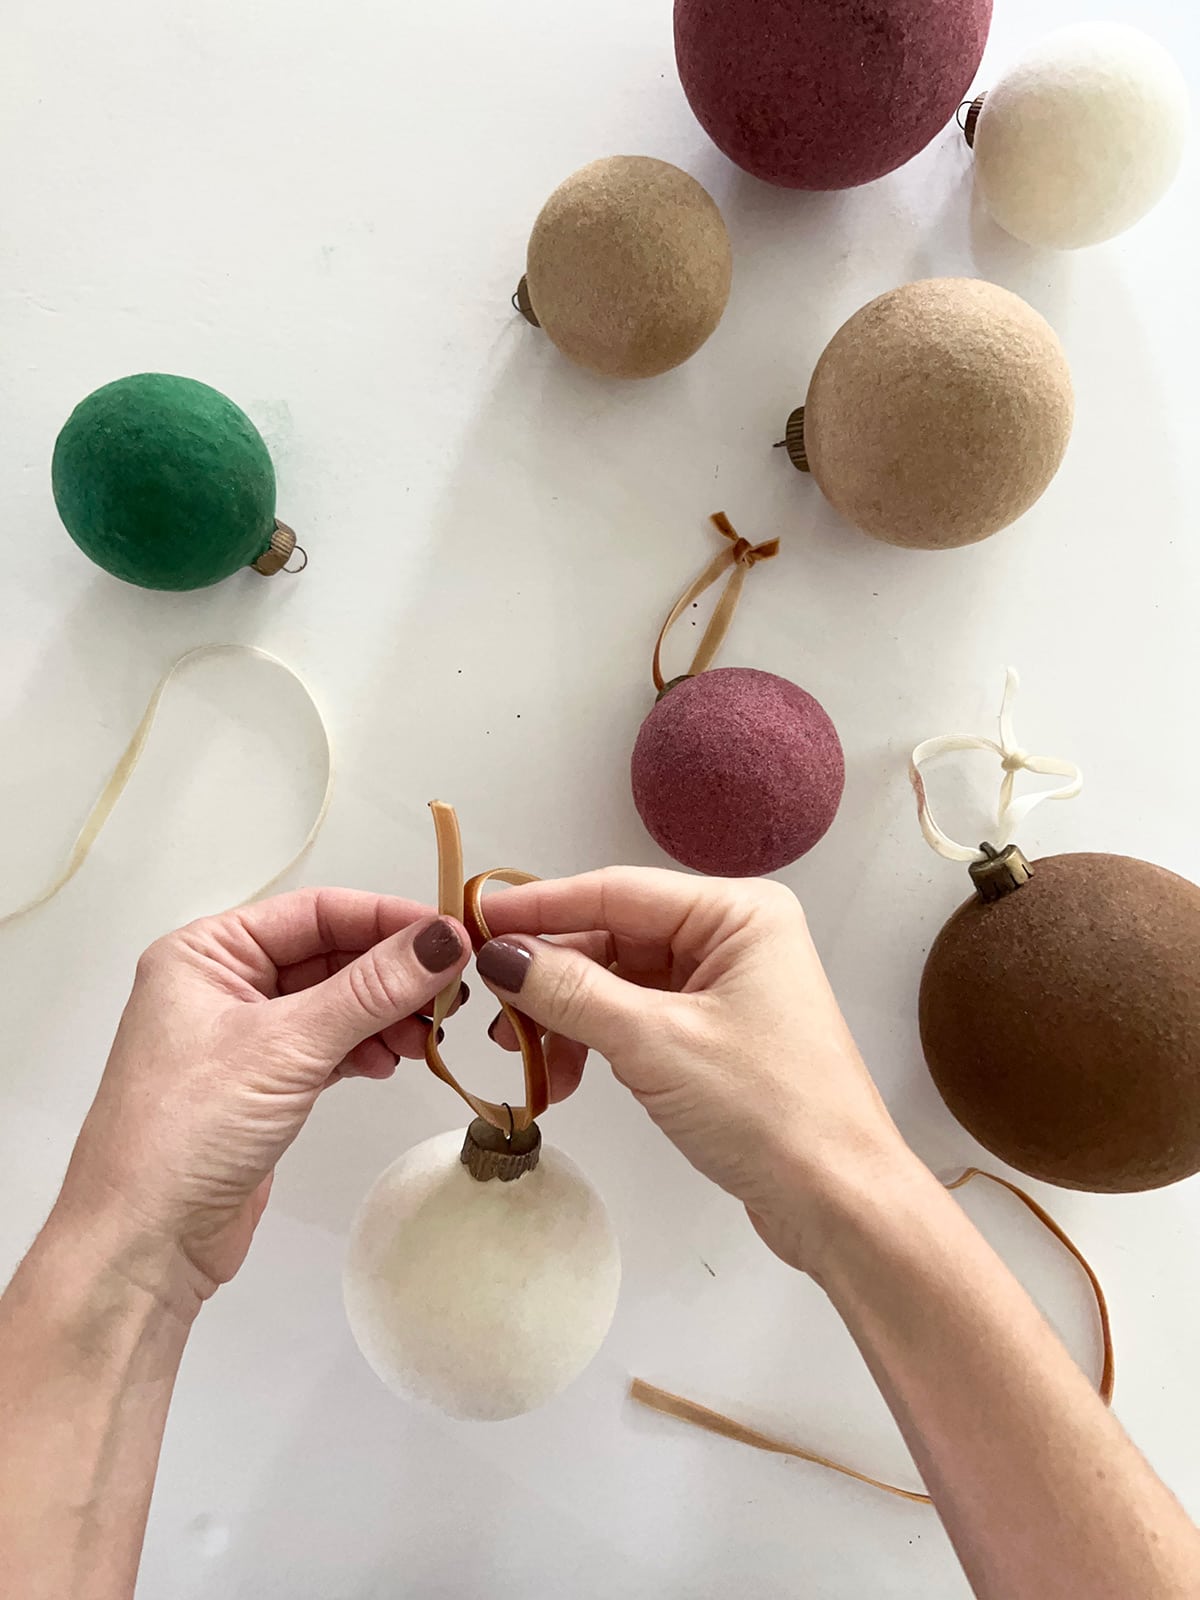
I finished them off with some pretty velvet ribbon.
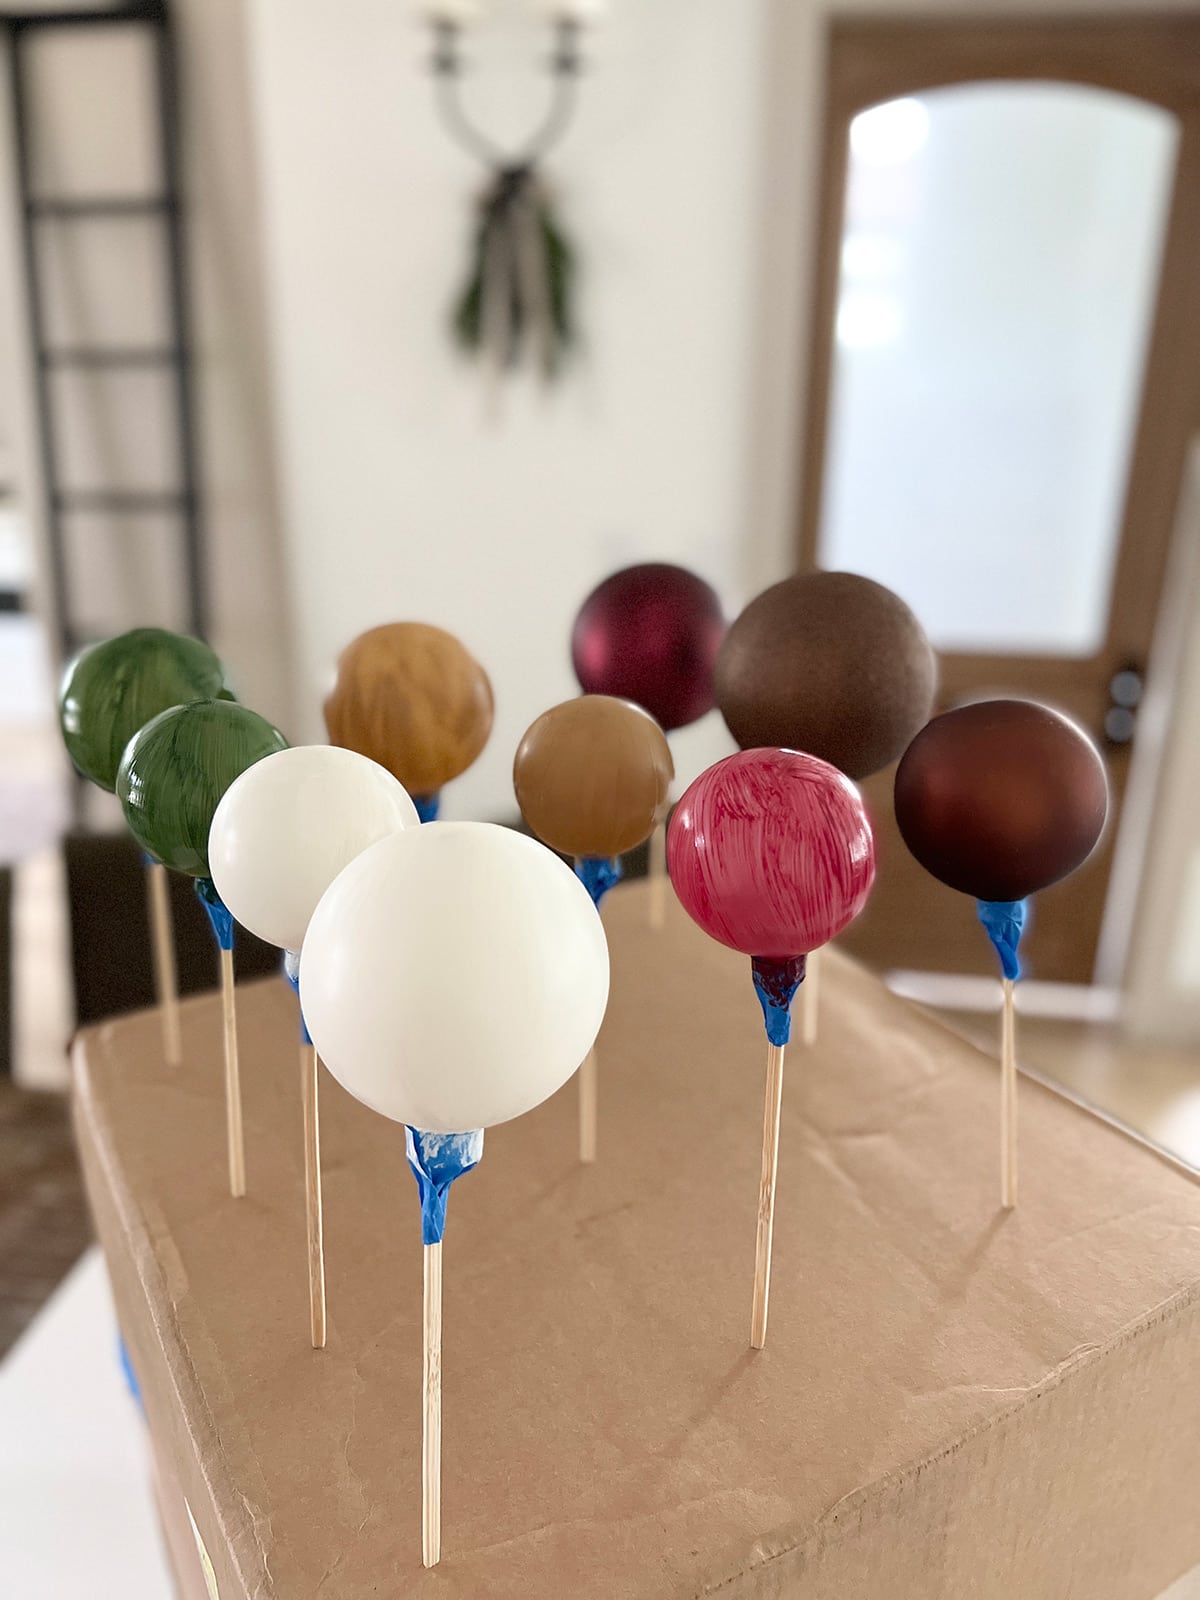
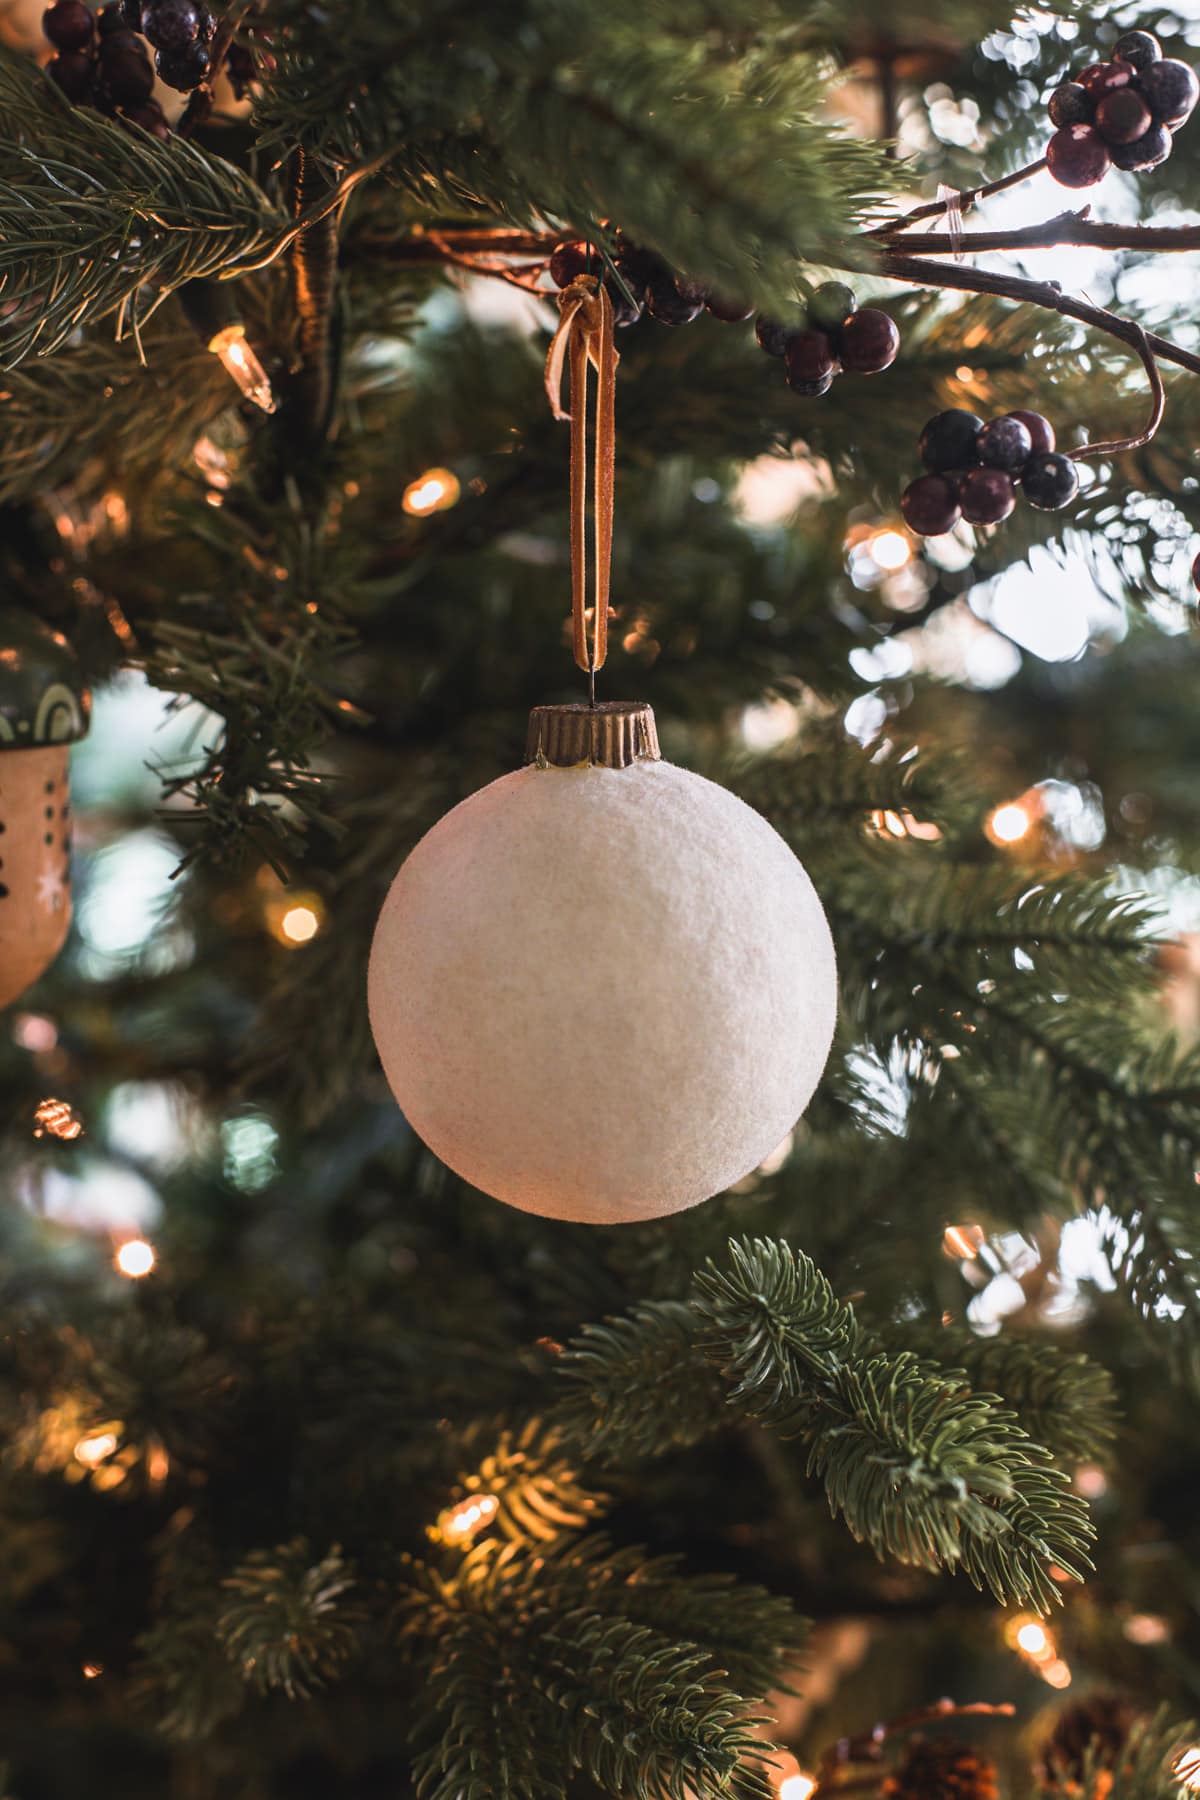
Here’s how they look on our tree!
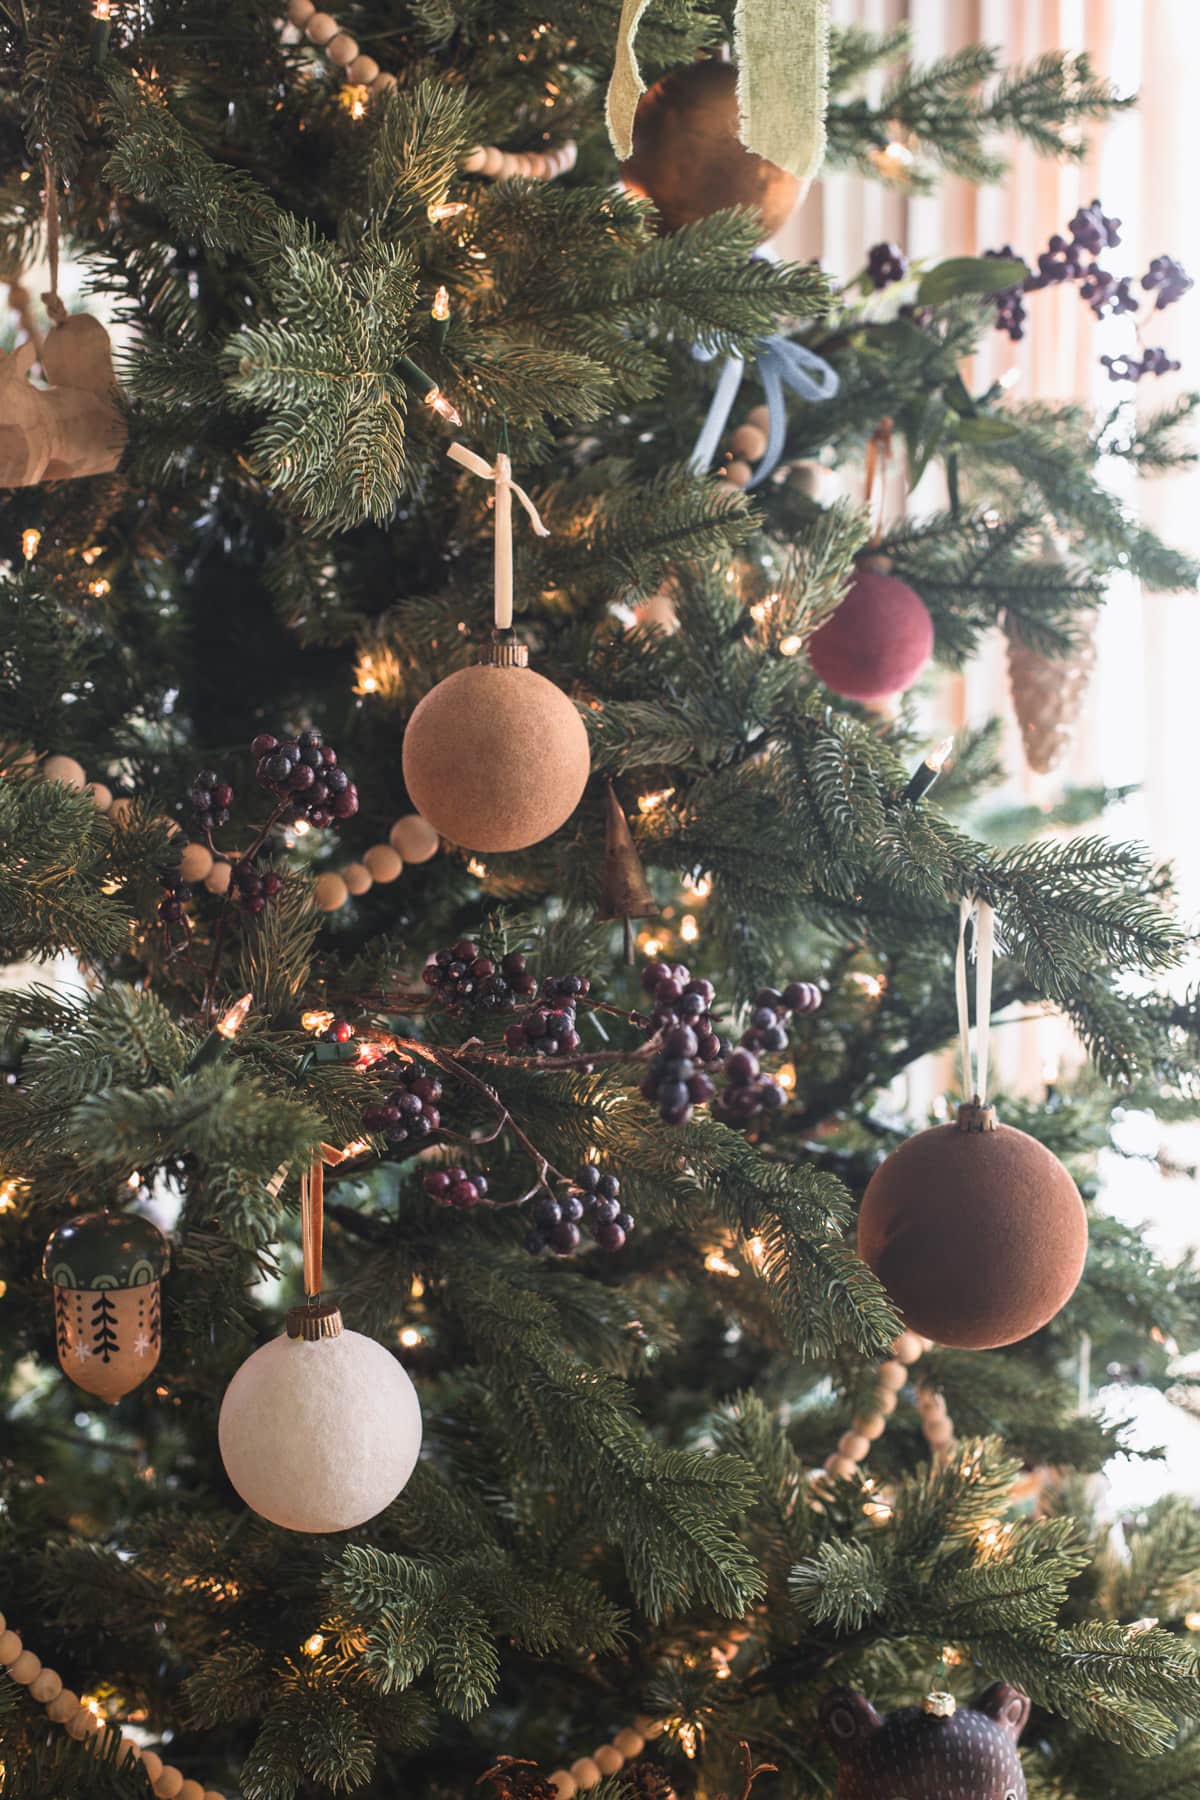
I love my new ornaments, and they were so fun to make. Would you try this DIY?
I hope everyone has a wonderful Thanksgiving. I’ll be sharing this year’s best Black Friday/Cyber Monday home deals on my Instagram stories, so make sure you’re following me there!
Next week: our annual Holiday Home tour 🎄


Janice says
Beautiful! Do these shed once flocked?
Jenna Sue says
A little, but you could try using a spray lacquer to seal them.
Heather Taylor says
You are wonderful! I have been googling for ages trying to work out how to do this and here you have it all in one post. Thank you so much! Have a wonderful holiday season.
Jenna Sue says
I’m so glad this DIY worked out and it didn’t cost a ton! Glad you enjoyed it. Happy holidays!
Teddee Grace says
These are gorgeous and thanks for tracking down the flocking fiber.
Jenna Sue says
Of course, so glad you liked the tutorial!
Cathy Buchko says
Hi Jenna, this is a wonderful project, approximately how many balls will 1/2 oz of flocking cover?
Jenna Sue says
Hi Cathy, it will cover a lot! I used maybe 1/10th of the bag for 2 ornaments.
Teri says
Very clever, per usual!
A quick question regarding the sideboard in your living room: my dil just bought one exactly like your and wants to paint it black as well. I can’t find the info in your blog as to the paint you used, etc. Could you post a link for that?
Thank you!
Jenna Sue says
Thanks Teri! I used Maison Blanche paint in wrought iron, and their matte varnish. Hope this helps!
Teri says
Thank you!
Janelle James says
These ornaments are wonderful….just like everything you do.
Jenna Sue says
Thank you Janelle, glad you like them!