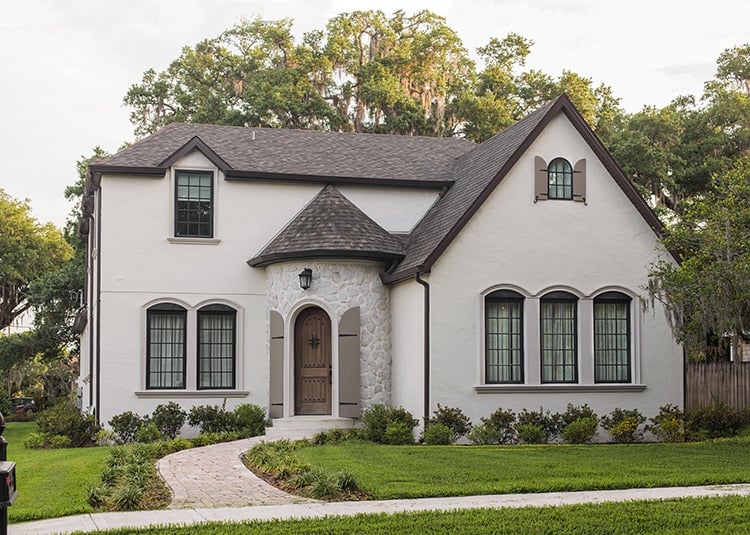
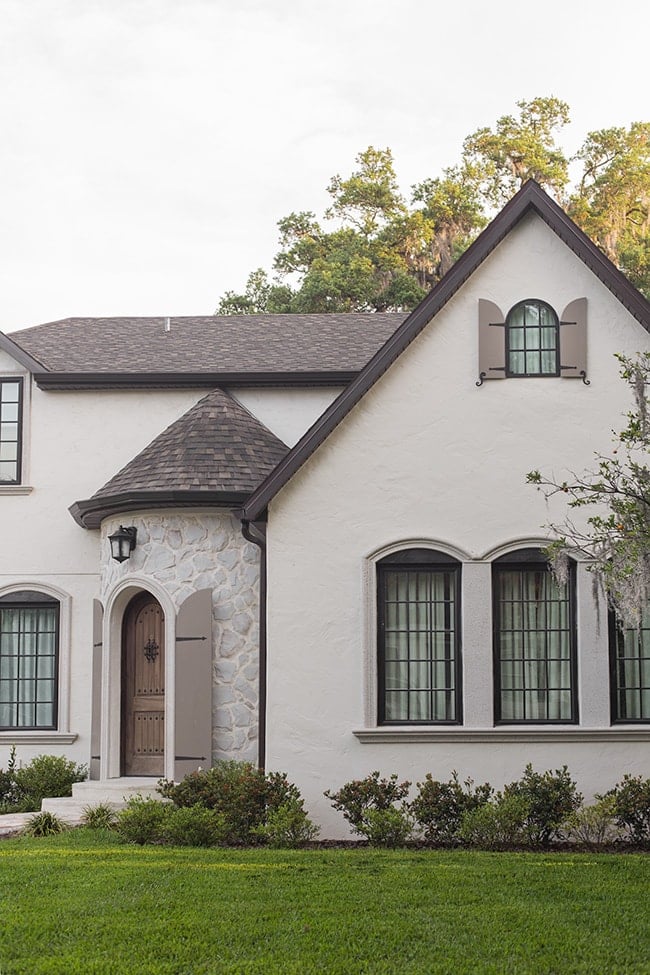
Ever since we began sketching out concepts for our new Heights House two summers ago, arched shutters were one exterior feature I was most looking forward to.
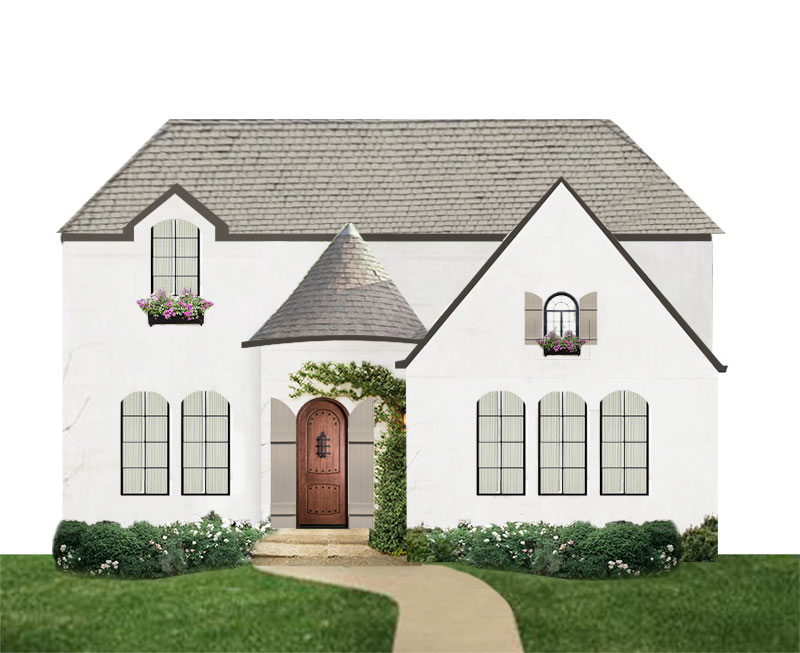
They were part of the design from Day 1, and influenced the overall architectural details and color scheme of the home. We had always planned to DIY them, so they were put on the back burner when we were rushing to finish our house, move in, have a baby and work on The Riverside Retreat over the last year.
This pandemic has forced a few house projects to be shuffled around and made finishing The Riverside Retreat less urgent, which came with a huge silver lining: IT’S SHUTTER TIME, BABY!
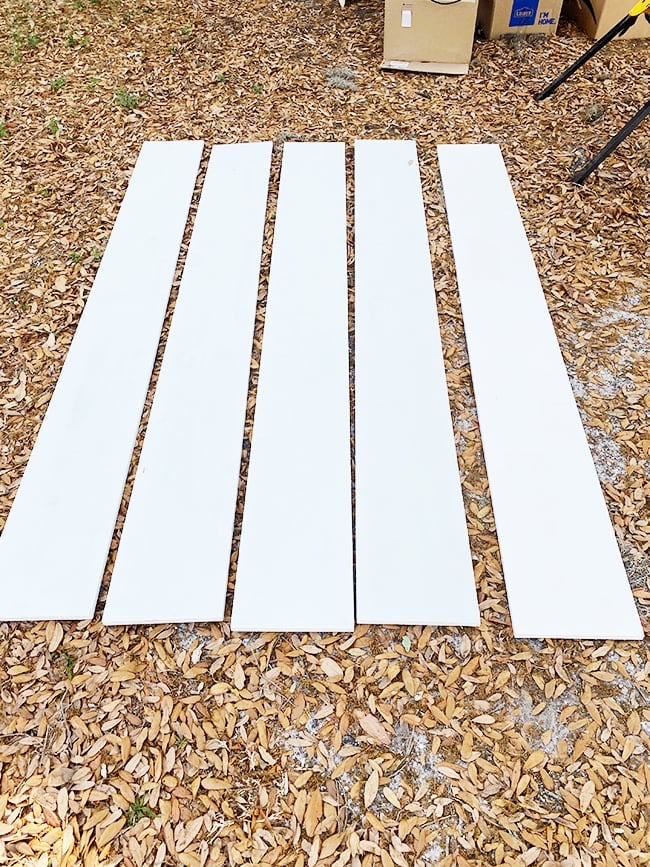
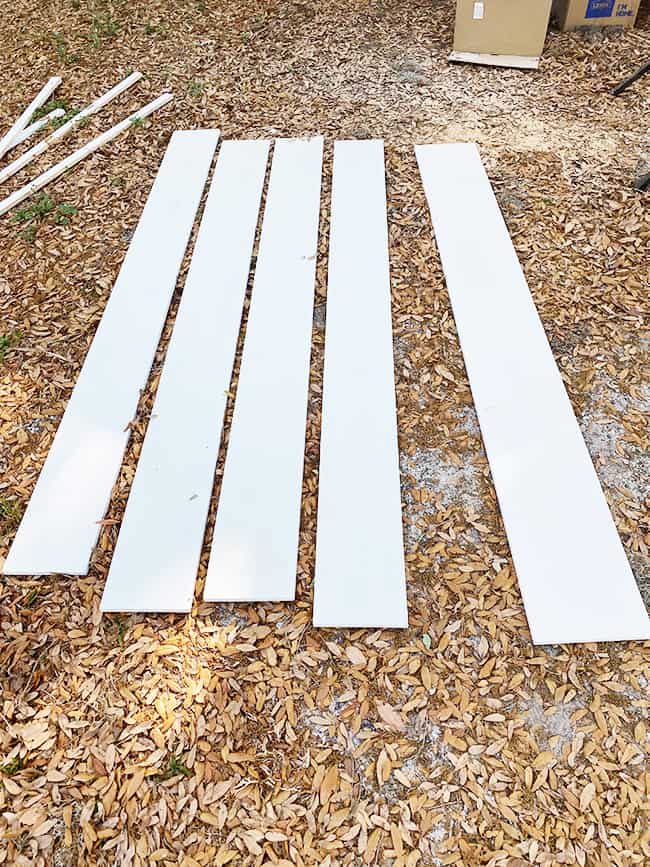
Only a couple materials were needed: wood and hardware. These decorative faux shutters can be constructed in a variety of ways, but ultimately I decided on two 1×12 boards (joined together) for the door shutters, and one 1×12 board for each window shutter. We found a scrap 1x12x8 in the garage for the window shutters, and we made a Lowe’s run a few weeks ago for the door shutters, picking up 4 of the same 1x12x8 primed pine boards.
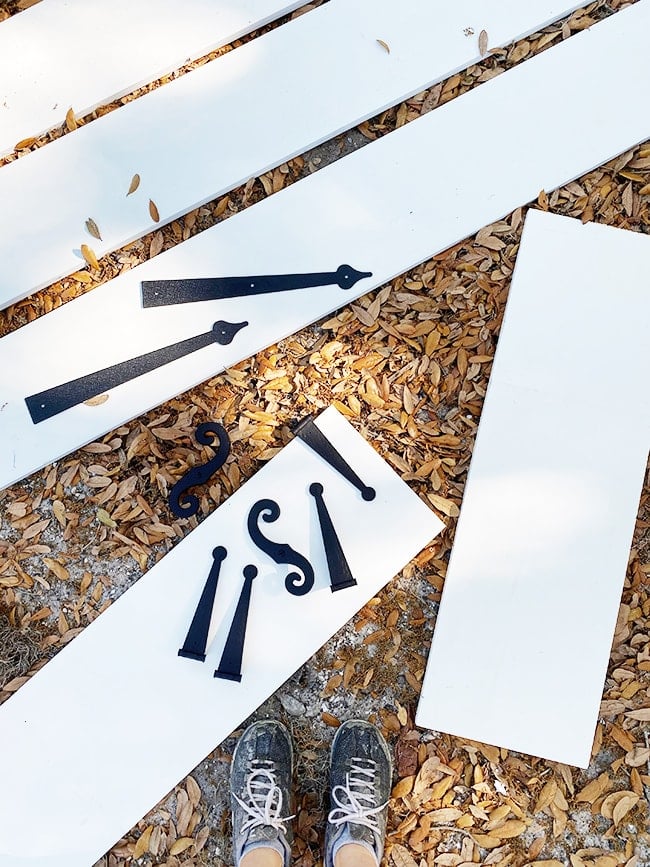
For the hardware, I searched far and wide and found these $15 strap hinges for the door shutters, and $14 decorative hinge set for the window (all faux!)
Our front door opening width is 37″, so we divided that by two to get each shutter size (18.5″) and divided that by two to get the width for each board (9.25″). Using a table saw, we ripped four of the 1×12″ boards down to 9.25″.
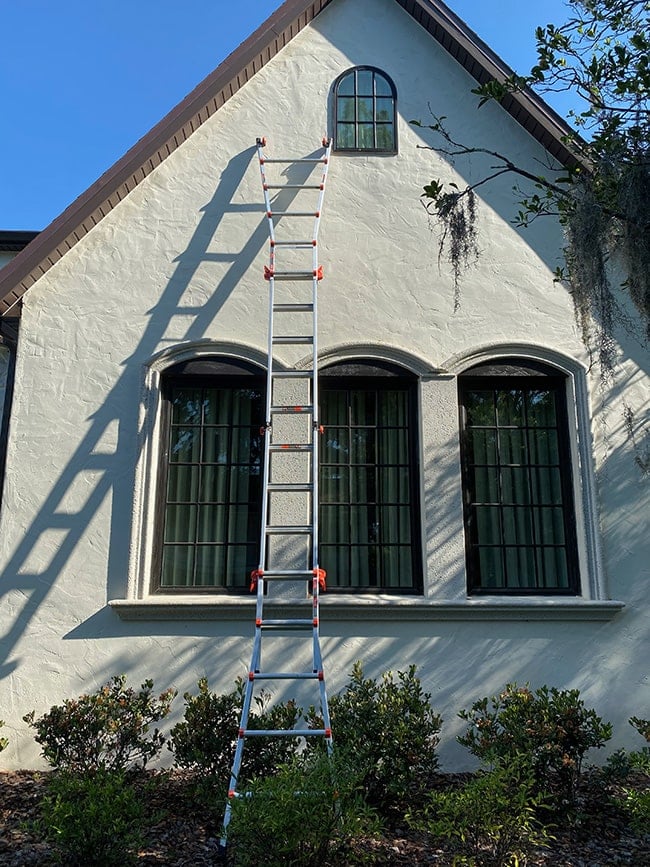
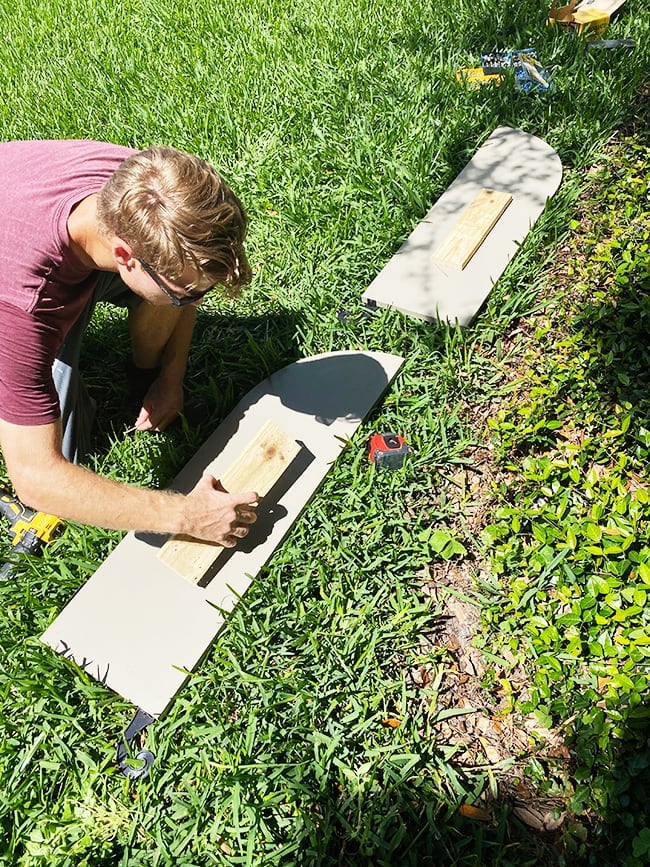
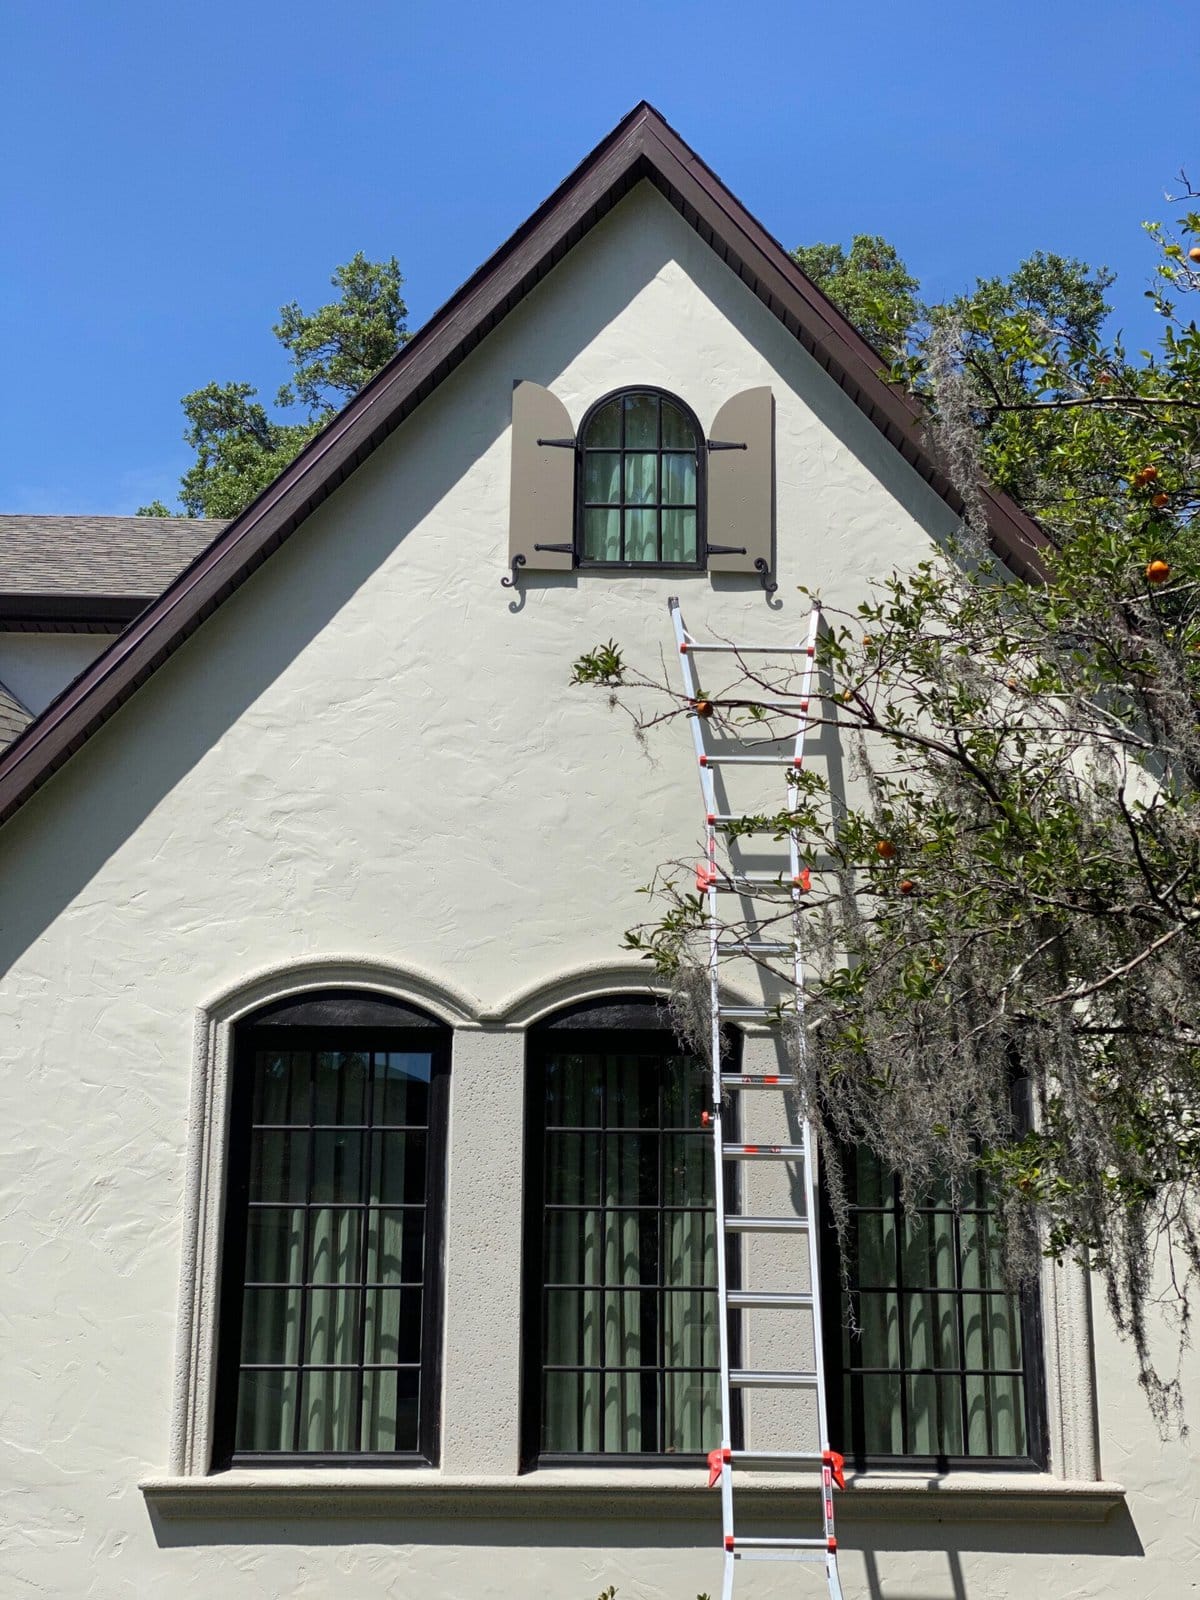
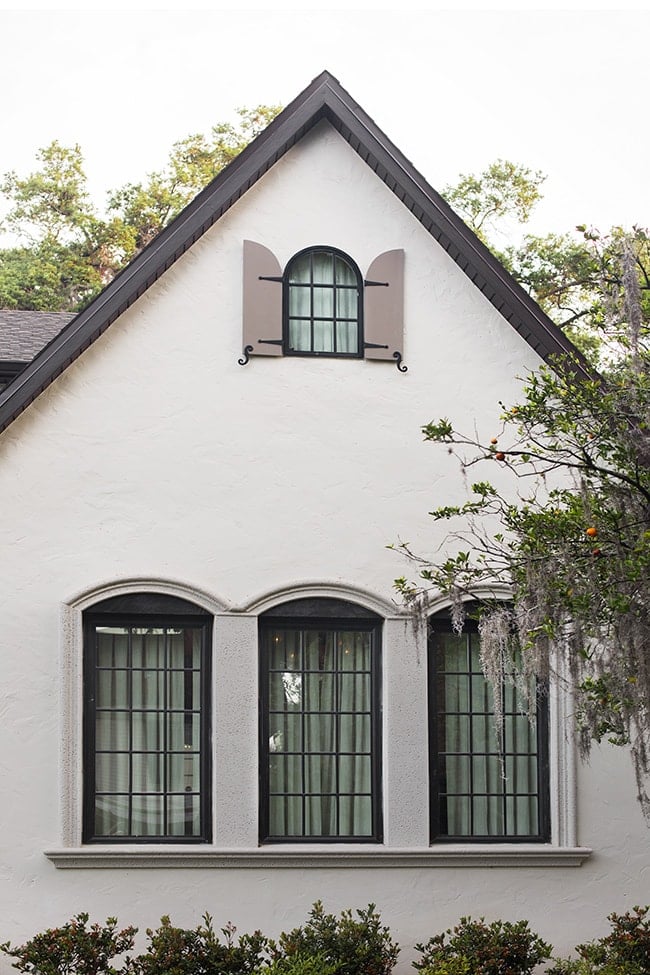
Then we moved onto on the window shutters. After measuring on a ladder to confirm the exact size (the window is 2’x3′) we cut two 3′ lengths from our 1×12 board.
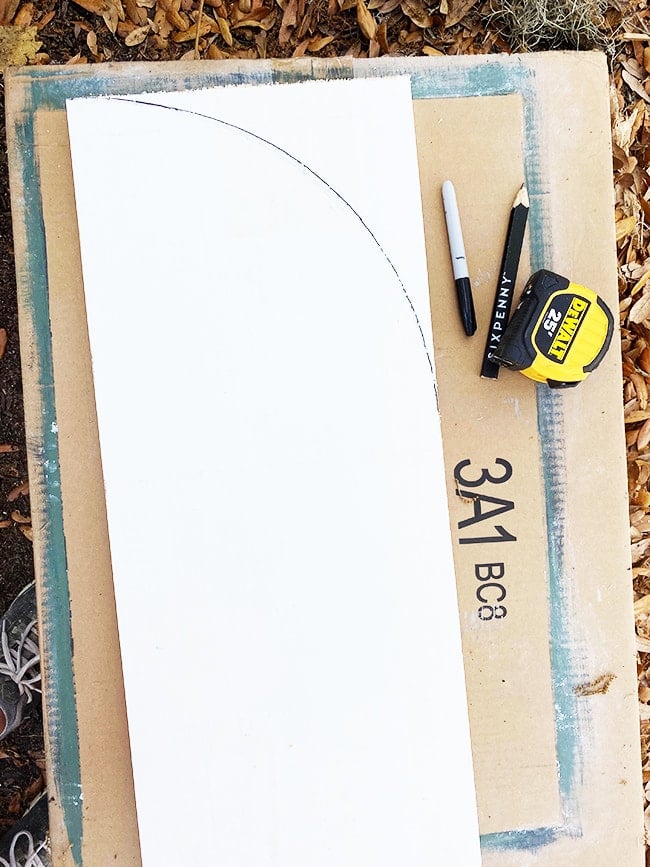
Then I put my drawing skills to the test and freehanded an arch.
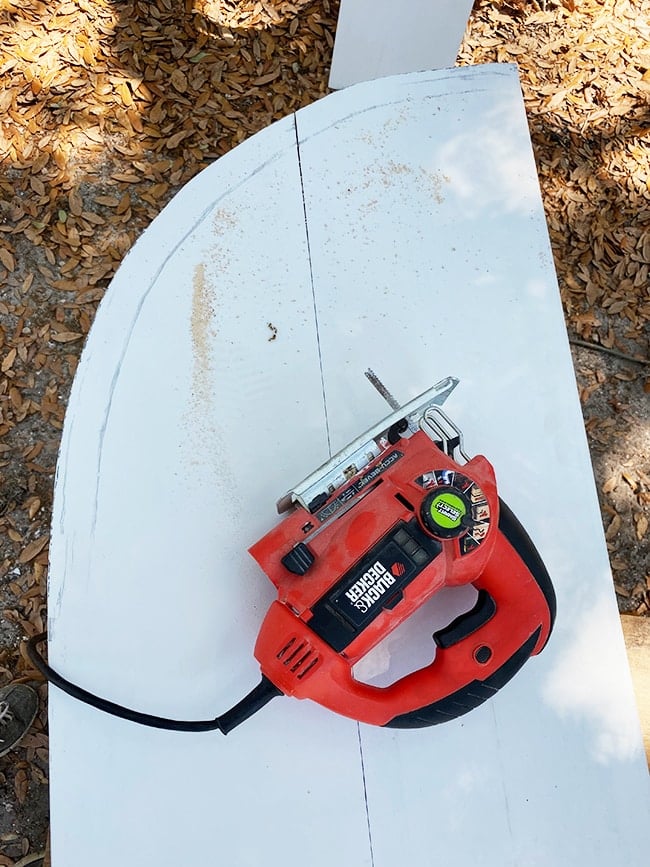
I cut along my line with a jigsaw.
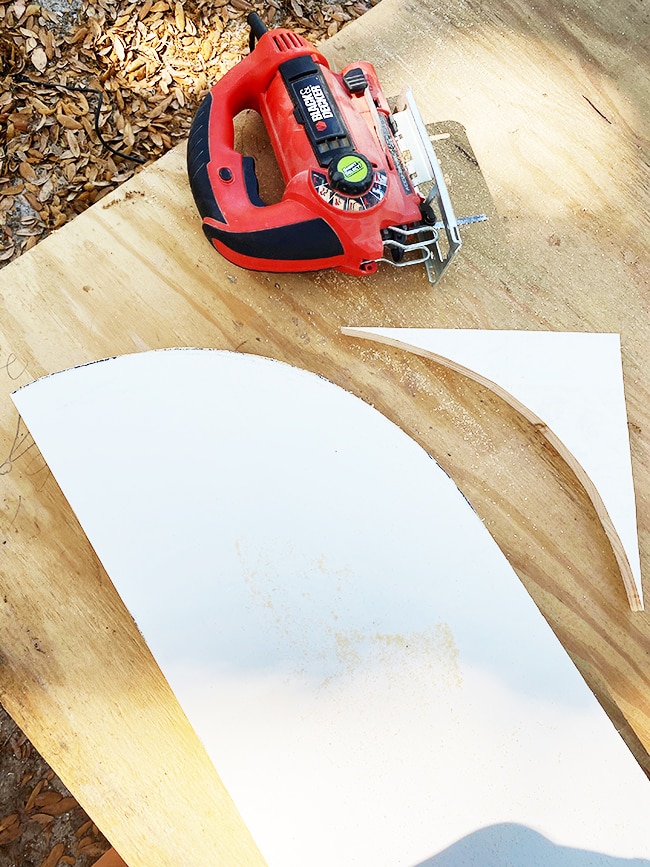
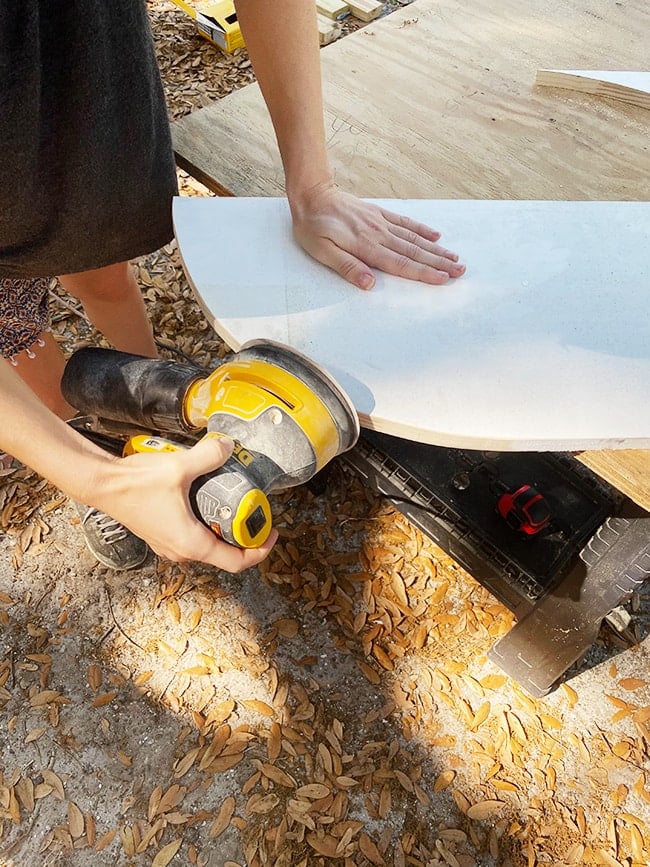
Using an orbital sander, I made the edges nice and smooth.
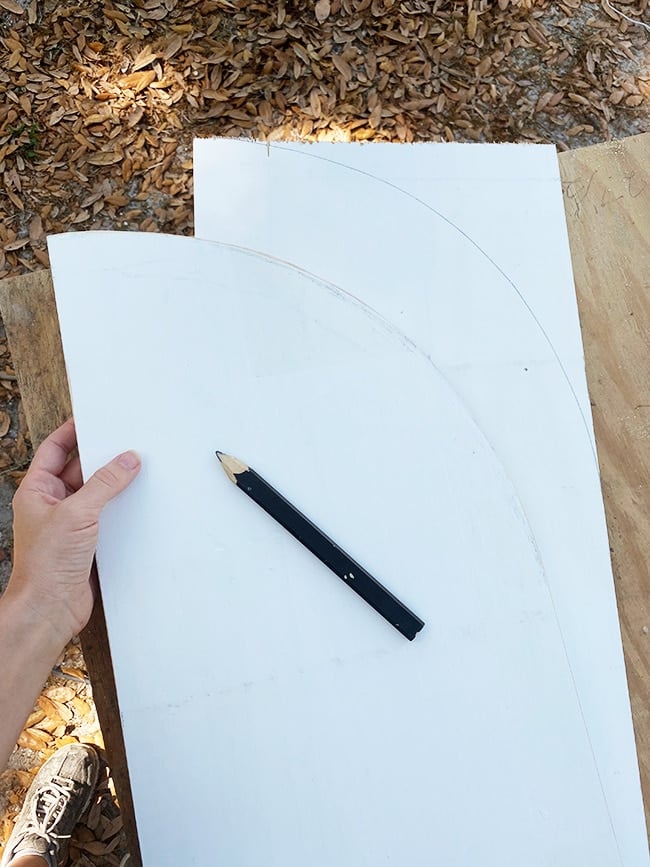
After my first shutter was complete, I traced it onto the second 1x12x3′.
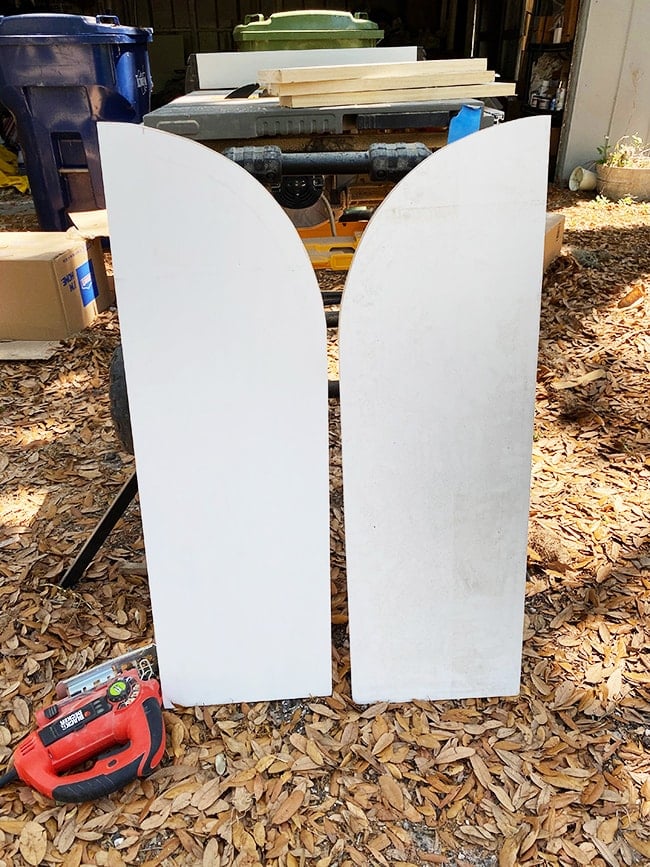
Rinse and repeat the last few steps, and these babies are good to go!
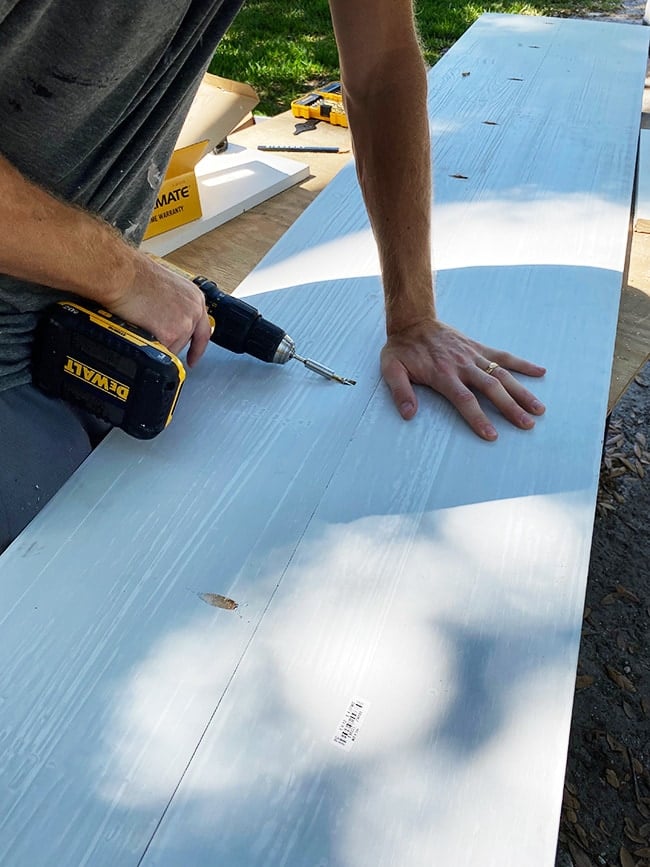
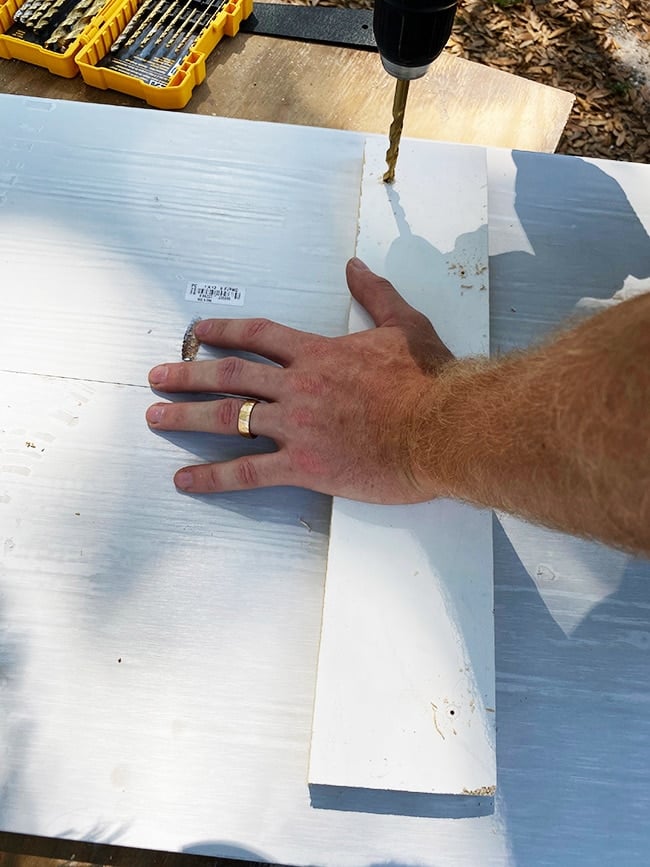
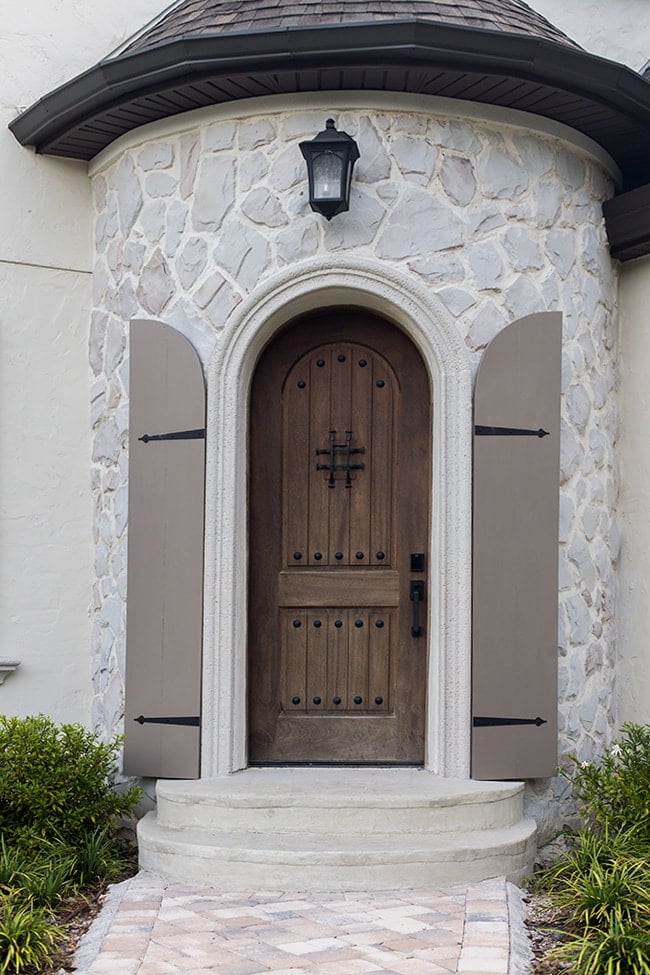
Okay, let’s move onto the door shutters. Our front door is 8′ tall so we didn’t have to take off any length from the boards. To attach them together, we used our Kreg Jig to make pocket holes from the back.
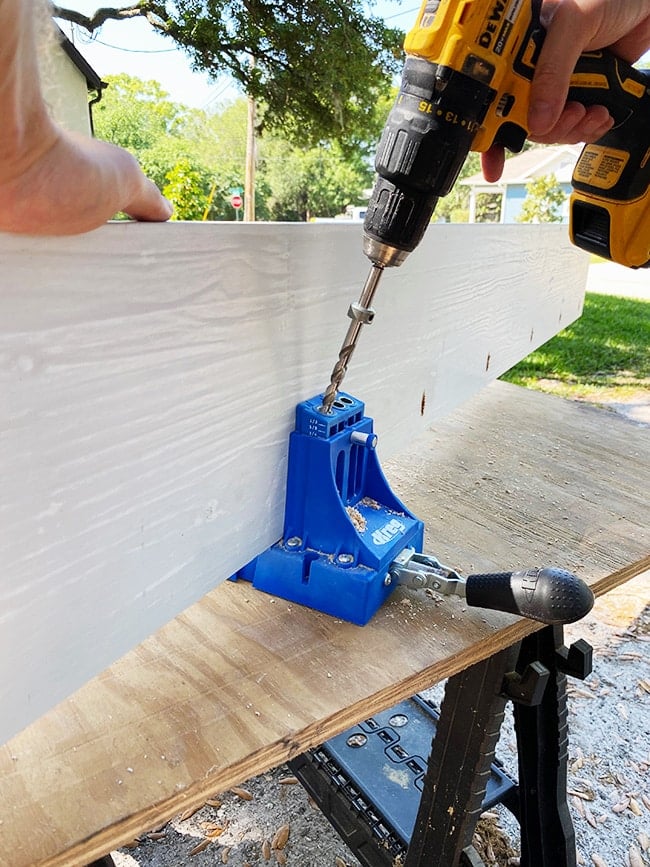
We made 8 pocket holes to join the boards together.
But after attaching them we worried the screws alone wouldn’t be strong enough, so we cut scrap wood and added 3 braces on the back.
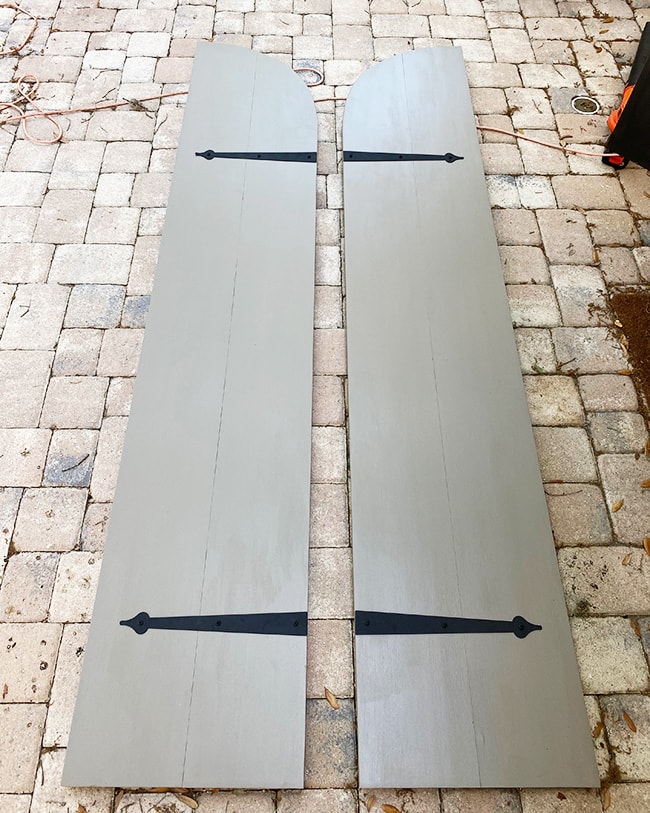
Once both door shutters were made, it was time to cut the arches once again. I didn’t completely trust my freehand ability for this one, so I taped up a sheet of plastic in front of the door and traced the curve with a pen. Then I transferred the plastic onto my shutter.
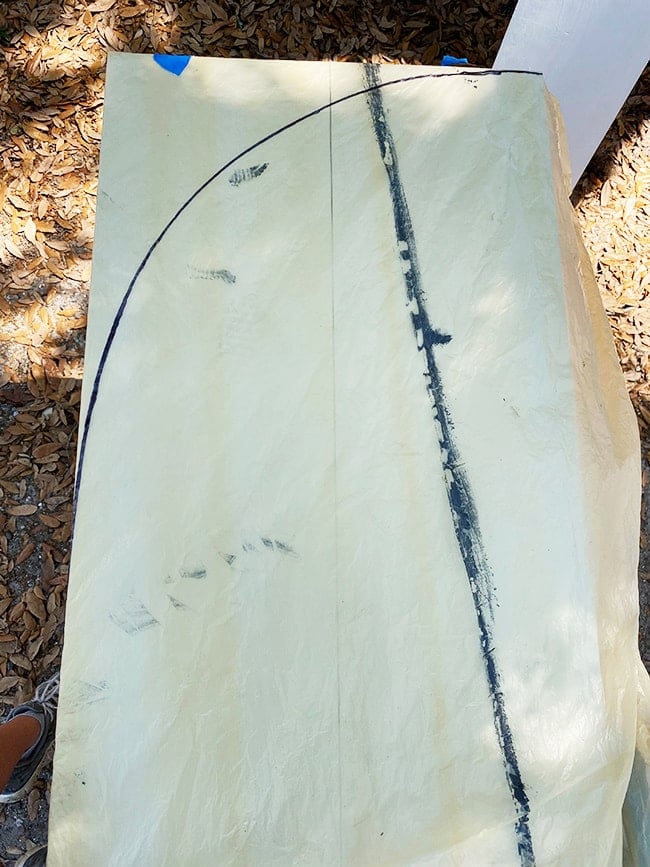
Pressing the sharpie down firmly, I traced over my line allowing the thin plastic to tear and bleed through onto the shutter.
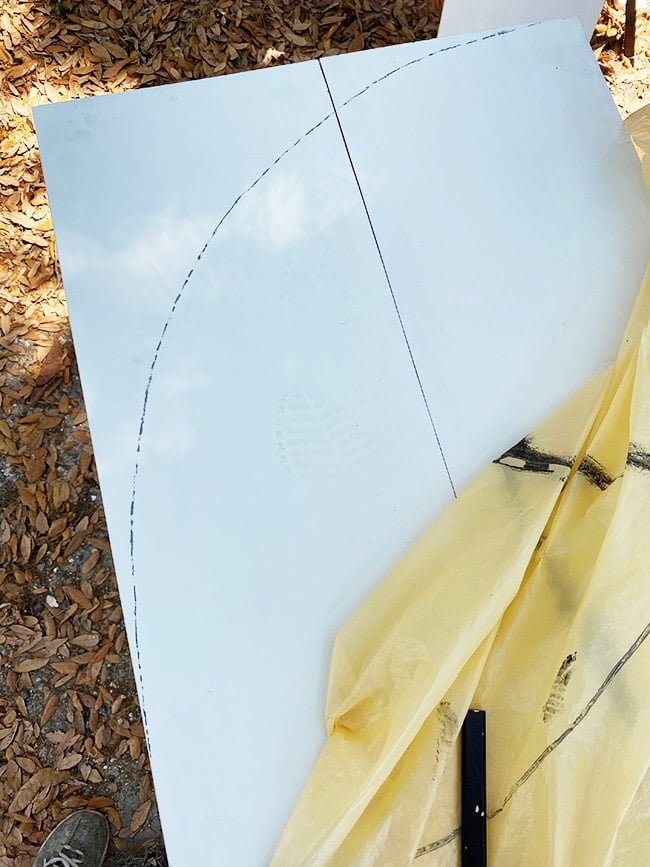
Same process here—jigsaw + sand the edges:
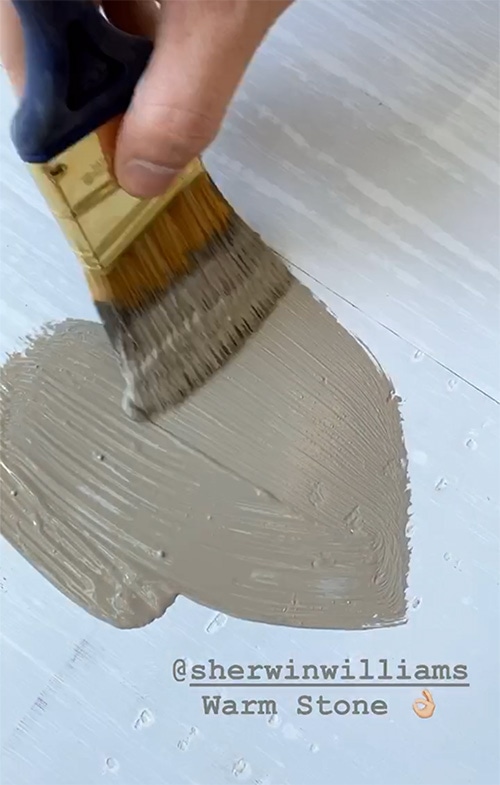
And finally, time for paint! A few weeks ago I picked up a handful of Sherwin Williams samples to test out…
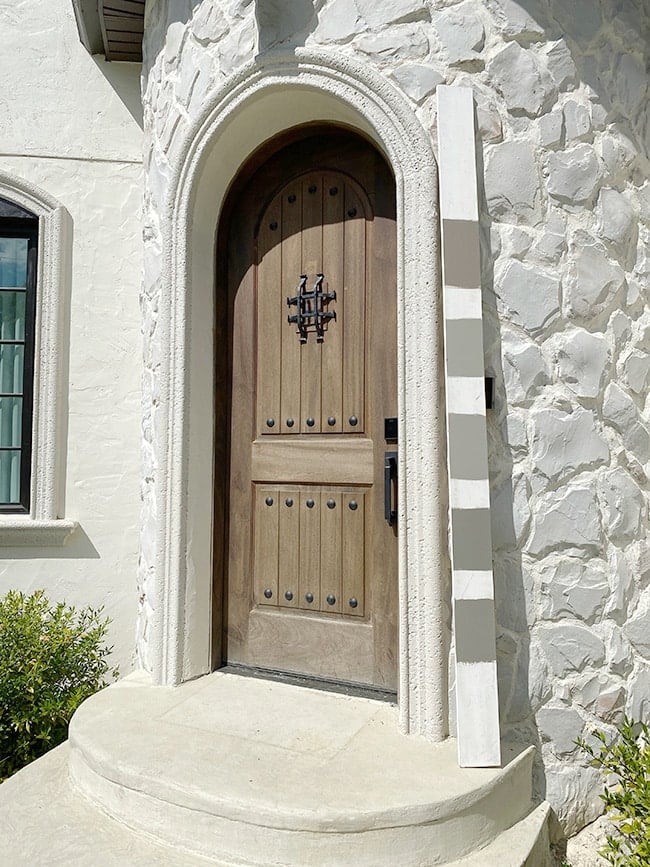
From top to bottom: Warm Stone, Felted Wool, Elephant Ear, Anonymous, Adaptive Shade. Speaking of shade… crazy how much cooler colors are when the sun isn’t out!
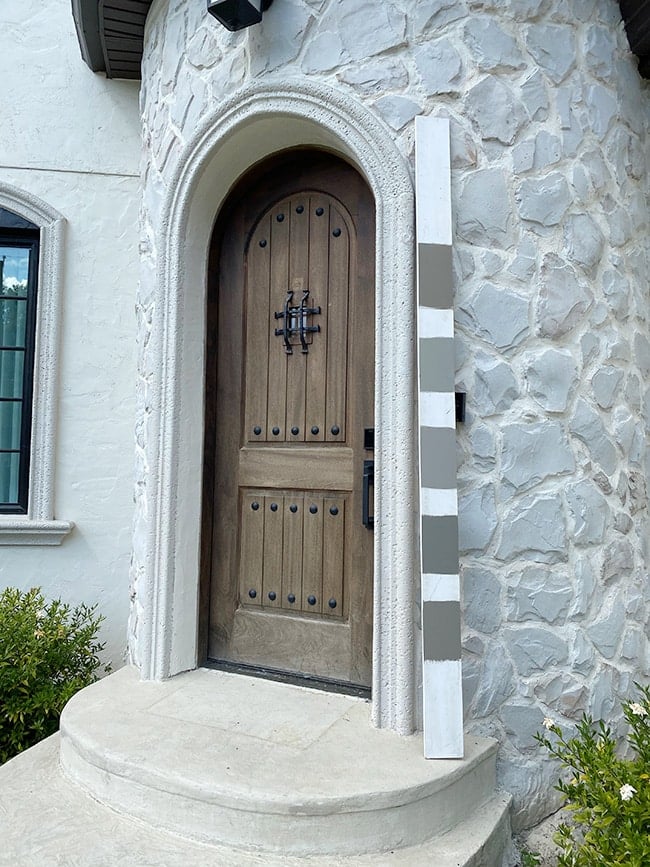
And here they are in filtered sunlight…
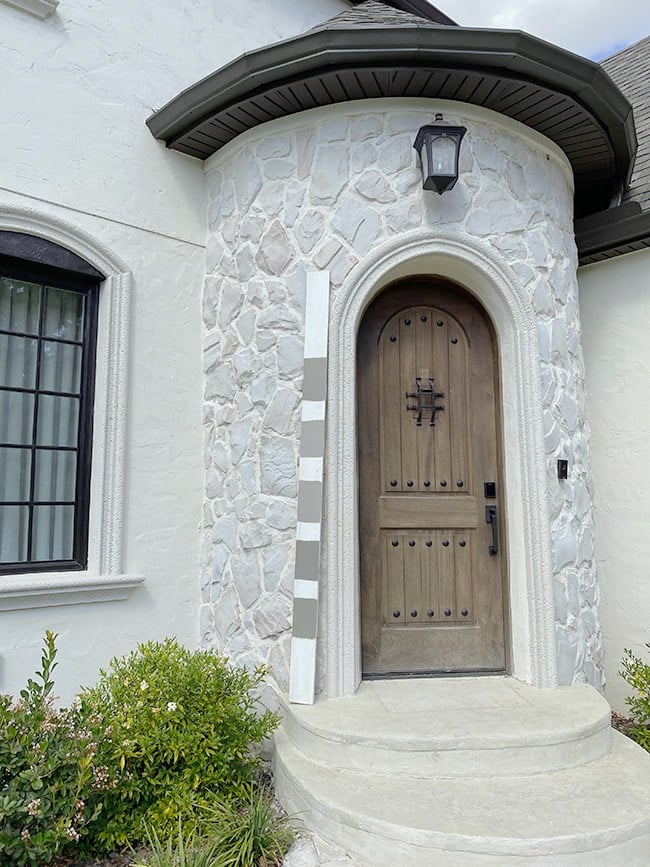
After considering the options in every different lighting situation, Warm Stone stood out to me the most (Lucas too), so I bought a quart of it in exterior WeatherShield satin. Psst… if you’re not following my Instagram stories, you’re missing all the action!
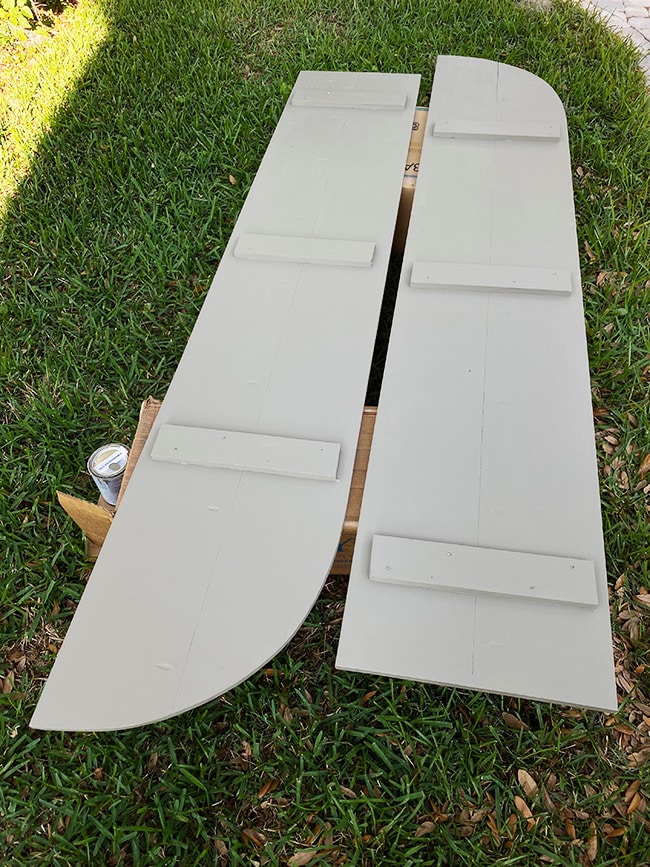
I patched the pocket holes, gave the front + back of each shutter a few coats of paint, and let them dry.
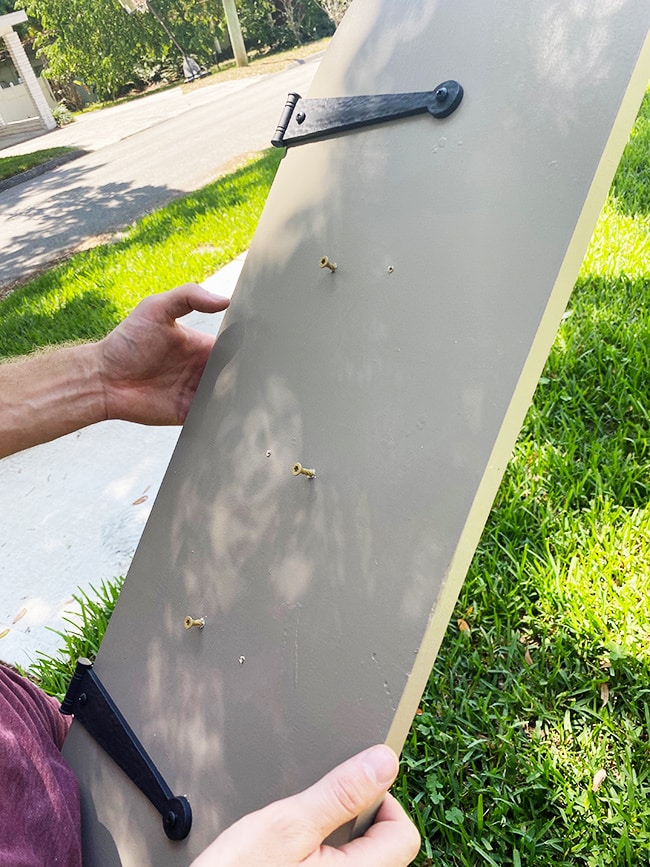
Onto the final step! This vinyl hardware looks pretty realistic, even up close.
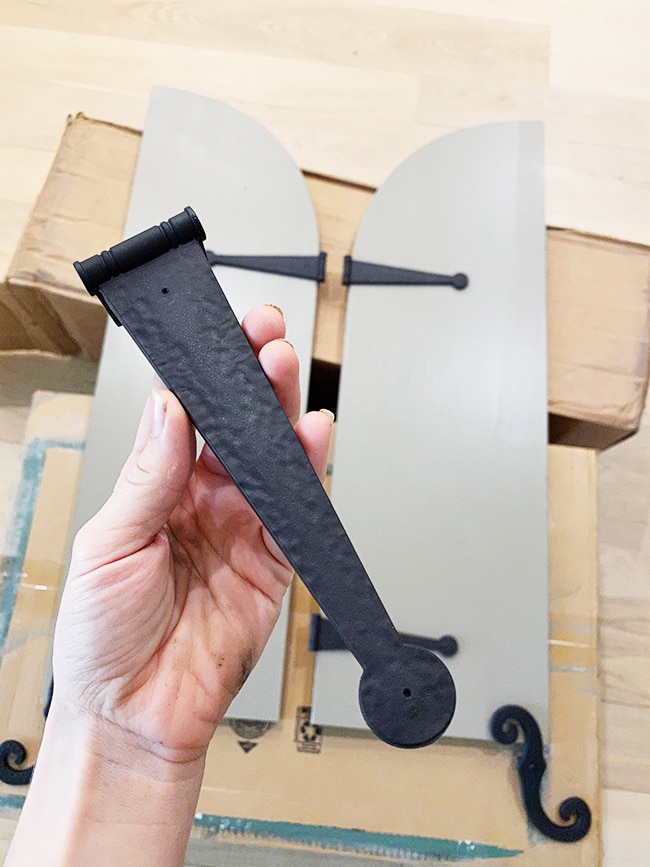
Aren’t they the cutest?!
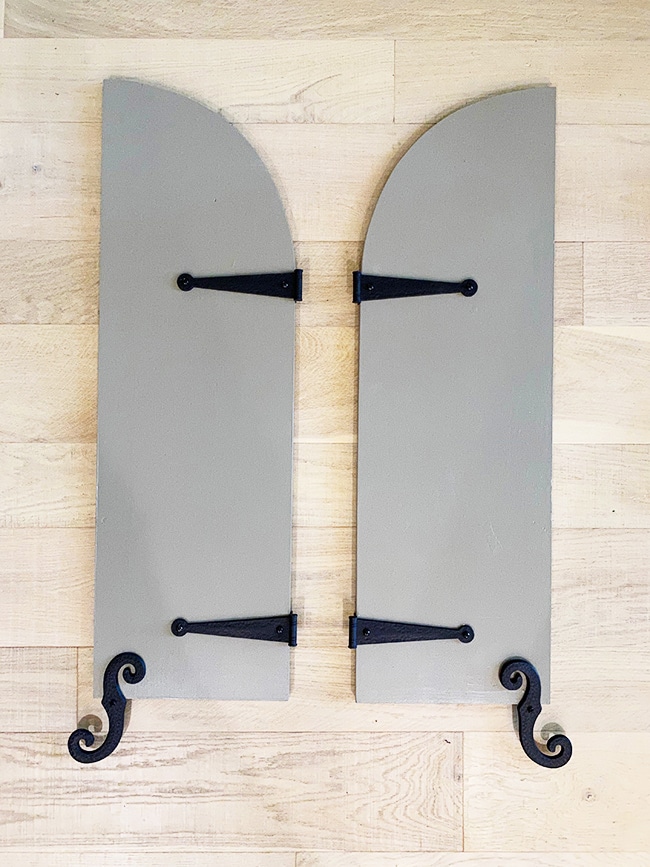
The door shutter hardware is stamped steel and looks pretty snazzy too…
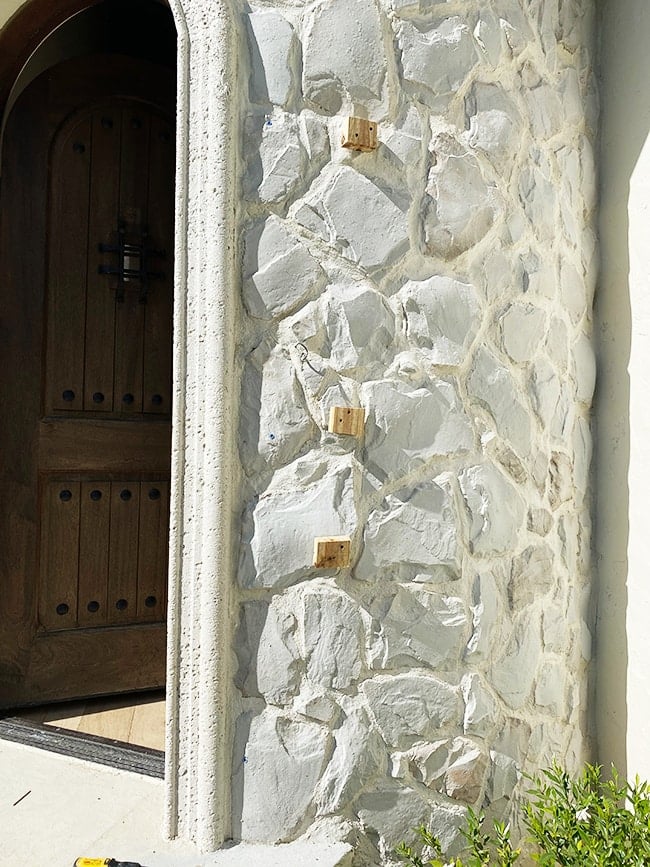
And that concludes the shutter building process—time to get these babies on the house! Starting with the window shutters, we decided to anchor a block of pressure treated wood to the house first, then screw the shutters into that.
This was a multi-step process requiring several trips up and down the ladder: use 3 screws to attach the shutter to the wood block, and drill 3 more pilot holes through both pieces…
Then position the shutter on the house and drill through the pilot holes into the stucco to mark the anchor locations, remove shutter to drill and attach the 3 anchors into the house, remove the block from the shutter and attach it into the anchors, then bring the shutter back up again…
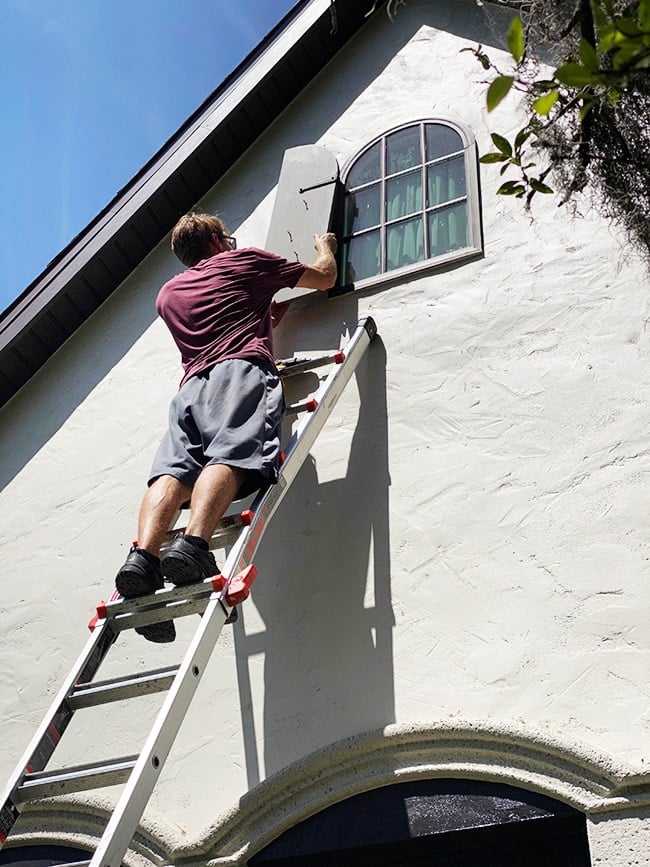
And finally, screw the shutter into the block. Repeat on the other side. Took about 20 minutes per shutter. The hardest part was the fact it was 90º outside with no breeze or shade! I miss winter already.
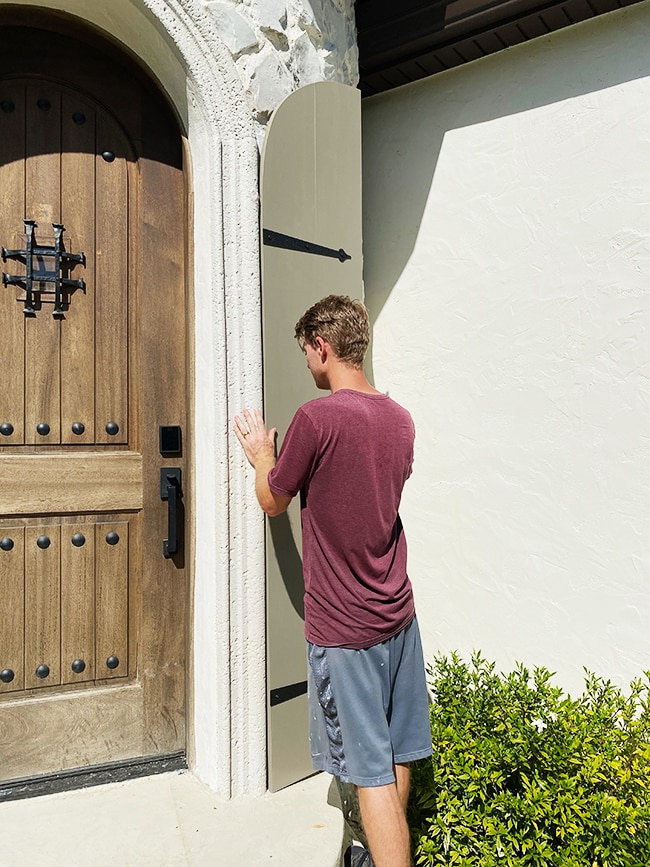
After some high fives and a few minutes to cool off in the AC, we were back outside to install the door shutters. The uneven, curved wall seemed like a big challenge and we weren’t sure how this would turn out. Lucas held the shutter in place while I attempted to peak behind it and mark a few locations on the back where it was touching (or close to) the stone.
We drilled a pilot hole through those marks on the shutter, held it back up in place, and drilled through the pilot holes into the stone. Then we used a larger bit to drill for the anchors.
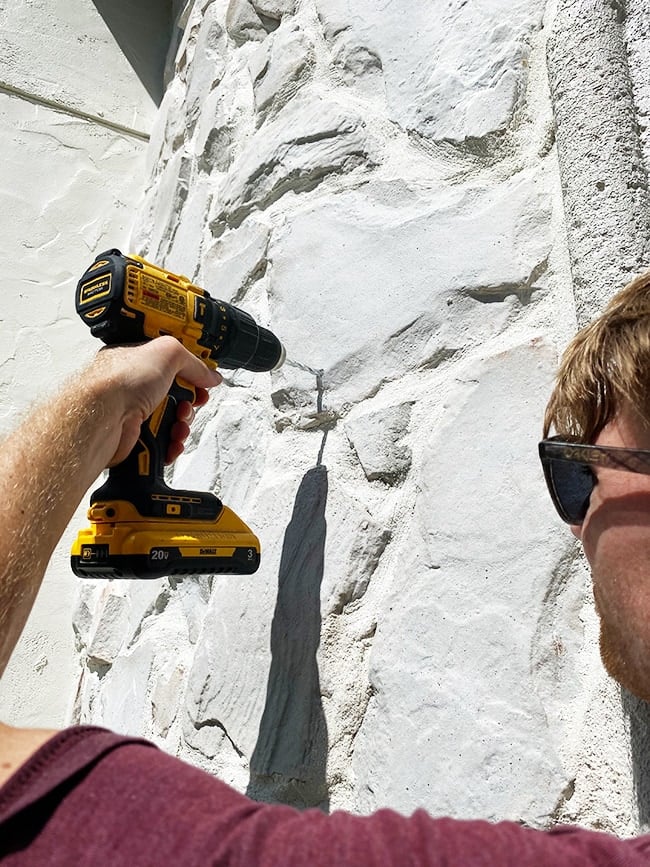
These anchors are designed to work in many surfaces including concrete/stone.
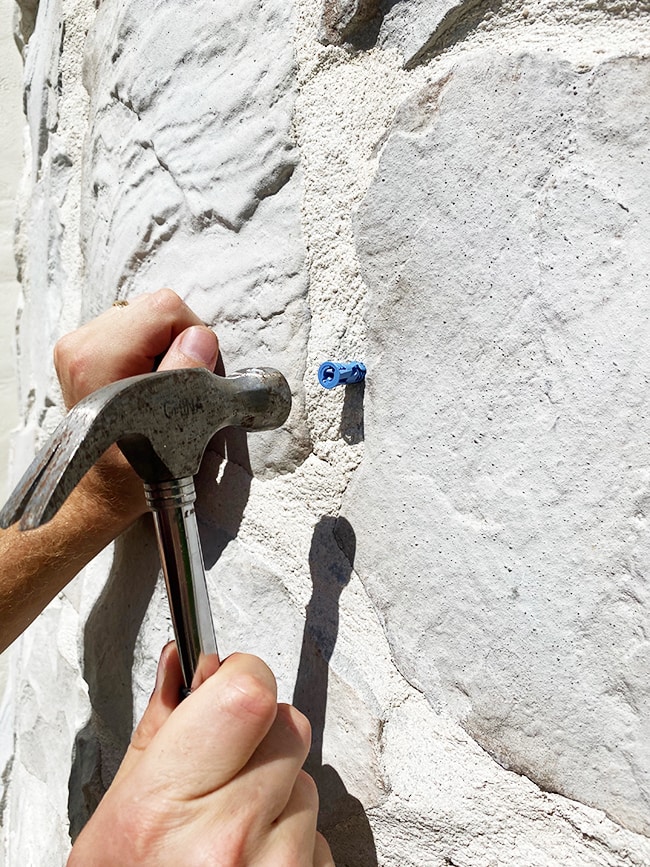
For extra support, we attached pressure treated wood blocks in areas where the shutter was farther from the wall.
With all of the anchors in place, we repositioned the shutter and inserted the screws into the anchors.
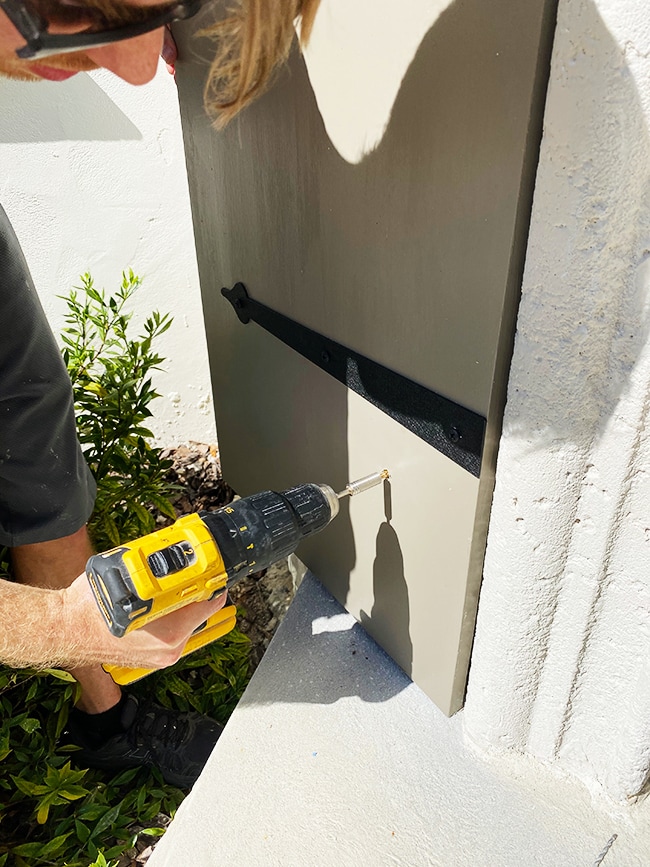
Surprisingly, this process was easier than we thought and didn’t take nearly as long!
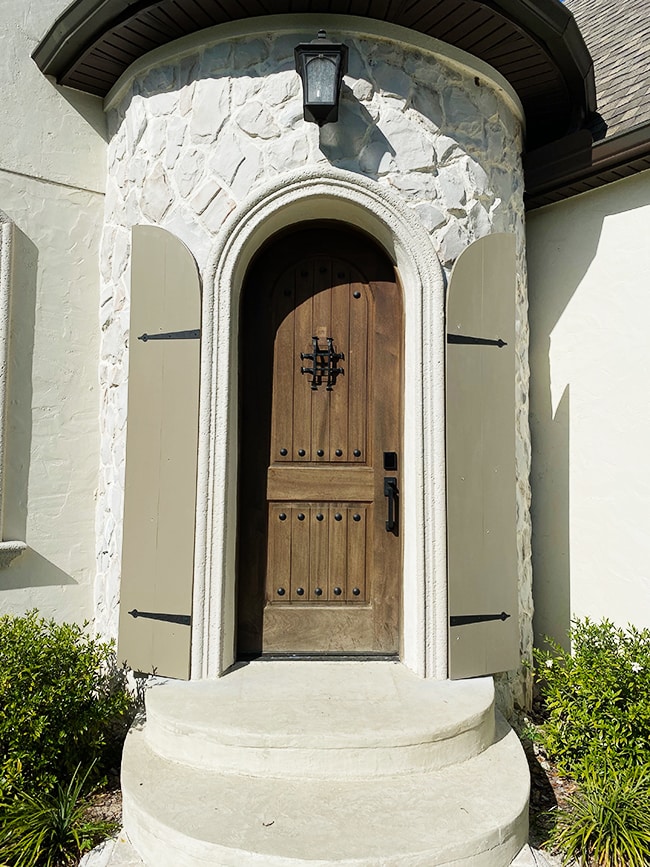
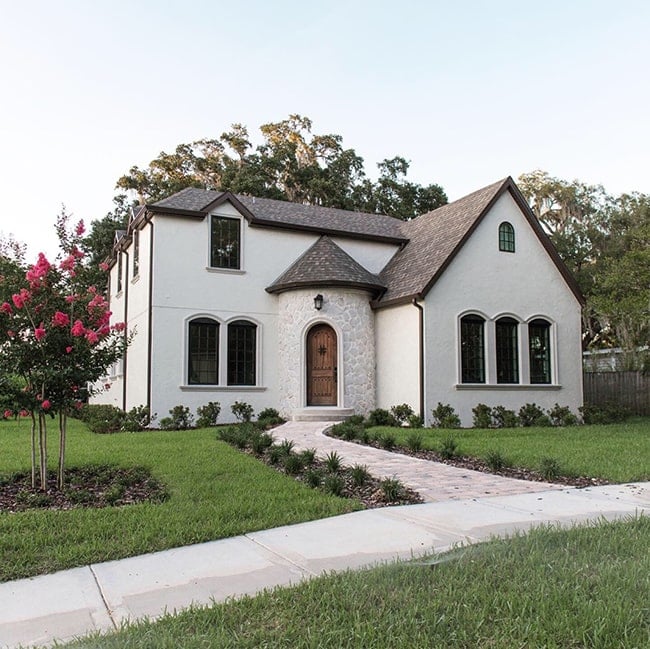
The screw holes were patched, sanded and painted and oh what a difference these beauties make…
Just last week our Indian Hawthorne bushes were covered in pink blooms but I think the heat destroyed them 🙁
A few white gardenias are hanging on but those are going away too. I’m already over summer ?
We still need to re-attach our Ring doorbell to the shutter, then one day (hopefully soon) we’ll plant some climbing vines at the bottom of the turret—and then our front door will be complete.
These shutters are just Part 1 of 2—this weekend we’re installing window flower boxes on the two front second story windows and I can’t wait to see how those turn out! I haven’t been more excited about a project since the nursery. Join me on my Instagram to watch the progress, and keep an eye out for our #BuildThanks DIY reveal with Lowe’s on Monday. Tag me @jennasuedesign on IG you’re participating, I’d love to see what you come up with!


Kelly says
Shutters finish the house off beautifully! Can I ask what color your window trim is? Is it black or bronze or something else?
Jenna Sue says
Thank you! The actual windows are bronze exterior Jeld-Wen. You can find the details in this post: https://www.jennasuedesign.com/2019/01/the-window-buying-guide/
Michele M. says
What a gorgeous house.
Great job on the shutters.
Jenna Sue says
Thanks so much Michele!
Teddee Grace says
Shutters look great! We are still getting snow in the foothills of the Rockies although it’s going to be in the high 50s today and with low, low humidity this would have been ideal weather for your project. I grew up in Missouri so know heat and humidity!
Jenna Sue says
I’ll gladly take some of that snow! We didn’t have a winter at all this year so I’m itching for some cooler weather. Enjoy it!
Lisa E says
Wow that little touch made a world of difference. So so good!
Jenna Sue says
Thanks Lisa, I wish we would have done it sooner!
Sandra Hinds says
You guys are amazing! I love the shutters- even though I had my doubts at first. BTW, your baby is the cutest baby ever! I think she should be in commercials – I would buy anything from that sweet face.
Jenna Sue says
Aw thanks Sandra! I’m a little biased, but I agree… 😉