A major milestone was just reached in the kitchen—we have seating!
I started building the cushion tops yesterday afternoon and it was completed last night—I spent probably about 4 hours on my own and another 1-2 with Brad helping, to give you an idea of the time commitment. It helped that I had been through the process before—remember my upholstered headboard?—so I knew what to expect.
To get caught up, make sure to read about how we built the window bench seat last month. Today I’m covering the second part, how to make the upholstered cushions.
Supplies List
- Fabric
- Foam
- Batting
- Plywood/MDF
- Upholstery stapler & staples
You may also need flat brackets & screws to connect your plywood base if you have an extra long bench (over 8 feet) like mine.
A couple weeks ago I briefly talked about building the frame for the island bench seat while the cabinets were being painted. After they dried, we secured them to the frame and ended up with this:
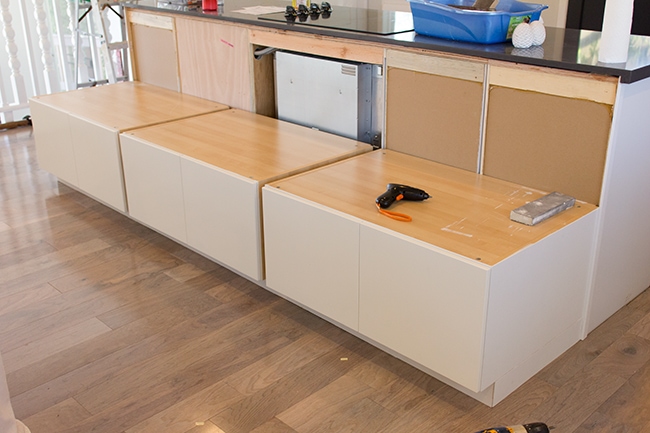
To fill the two gaps between the cabinets, I trimmed down a 1″ board to the correct width, painted it white, and secured it through the sides of the cabinets (so it was level with the cabinet front rather than flush with the doors).
Then it was time to build a base for the back. The seat cushion had to be flush with the edge of the counter which was sticking out 3/4″, so I grabbed scrap pieces of MDF, cut them to size, and screwed them into the back so there would be a nice level plane all the way across.
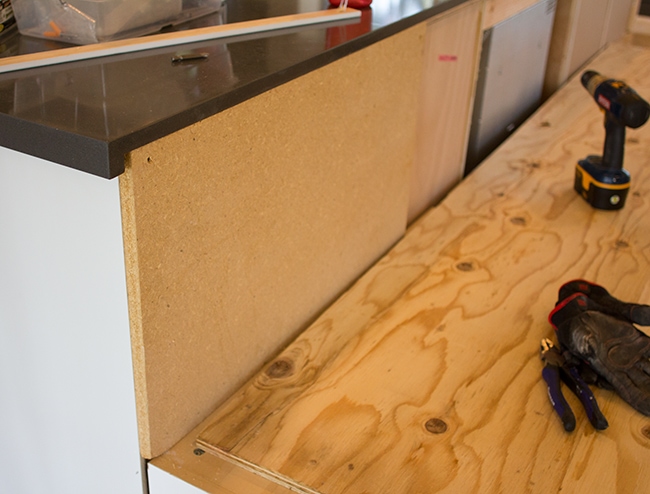
Then we were ready to go!
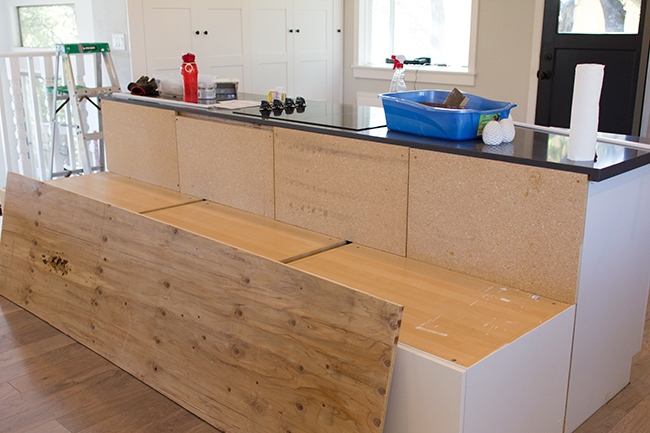
I bought a 4×8′ plywood board at Lowe’s and had them cut it into 24″ strips, since that was the width of both bench seats. The window seat was 123″ long and the island was 111″ but my plywood was only 96″, so I had to cut a second piece of plywood and attach them together.
At first I used my Kreg Jig to make pocket holes…
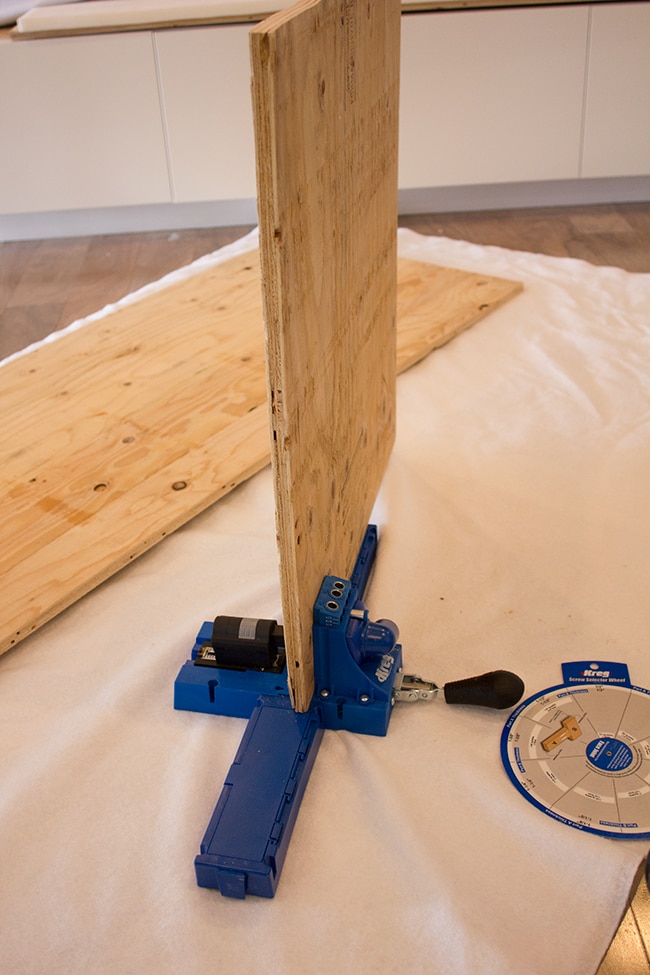
But it didn’t work out so well. The plywood just wanted to break off and crumble. Luckily it didn’t matter too much—I just needed to keep the pieces from sliding around while I wrapped them. They would be secured to the cabinets with screws in the end so they wouldn’t go anywhere.
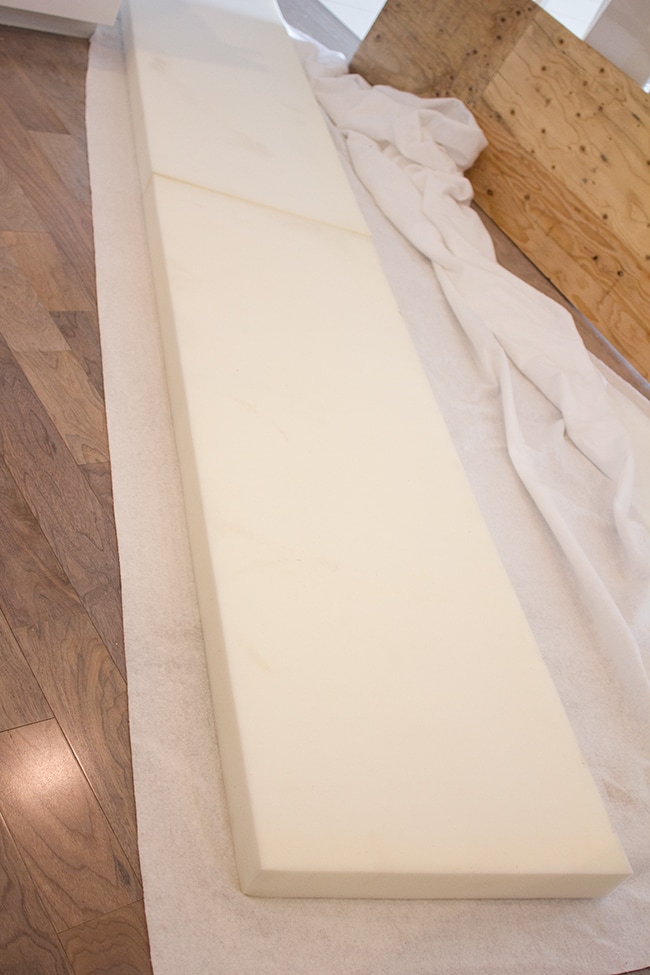
The first step was to get the foam cut to size. This time around I used real upholstery foam since these would be getting a lot of use (unlike my headboard which just needed to sit there and look pretty). I was able to find a ton of different sizes on Ebay, and found this 3″ thick medium density foam for just $26 a piece. They were 24″ wide which is exactly what I needed, and 72″ long so I ordered three of them.
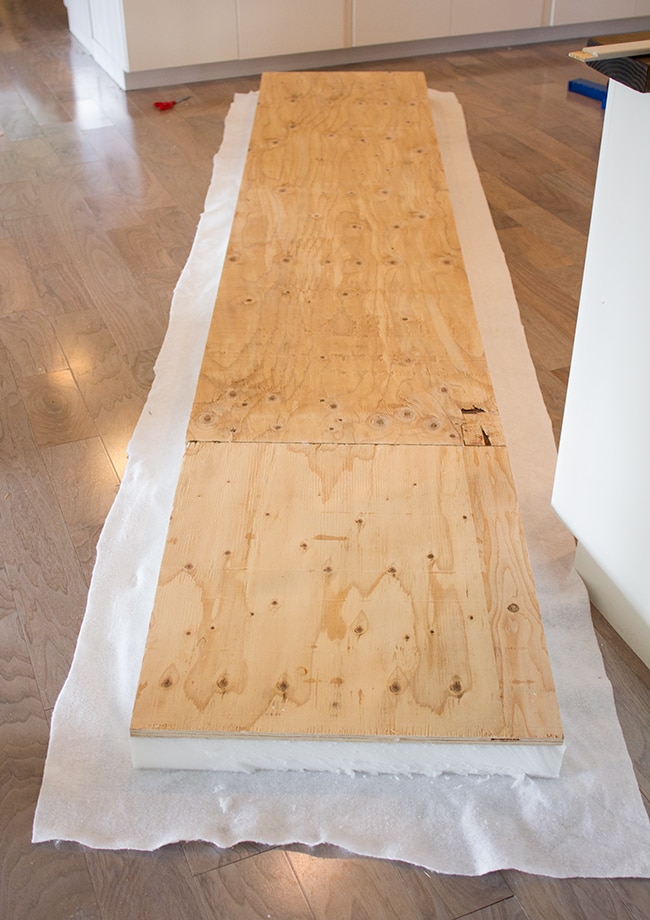
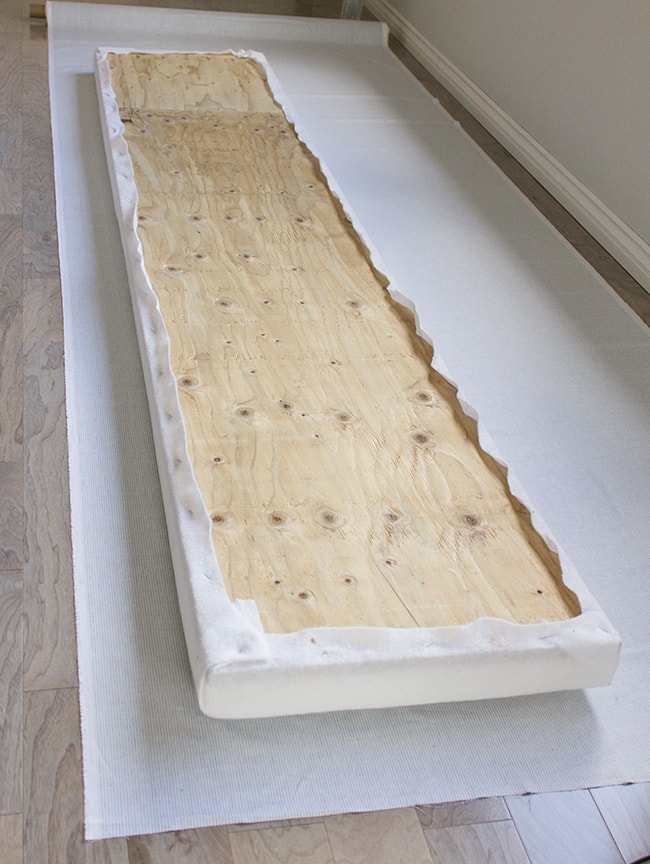
I laid down my batting first (just to save a step) and aligned the foam pieces:
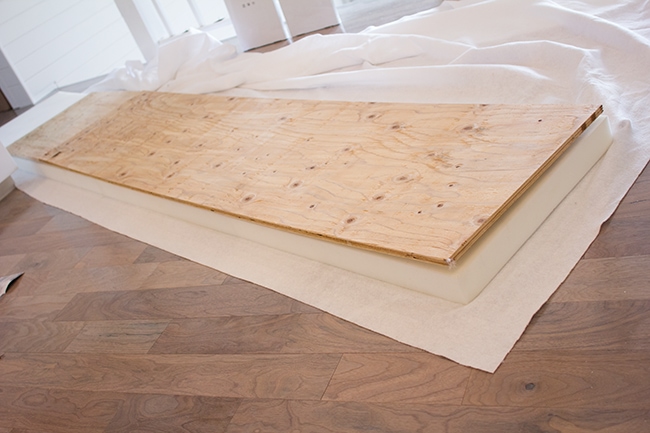
Then I positioned my plywood (already cut to size) piece directly over it, making sure everything lined up:
I had to cut the excess foam off of the length, which I did using a basic steak knife.
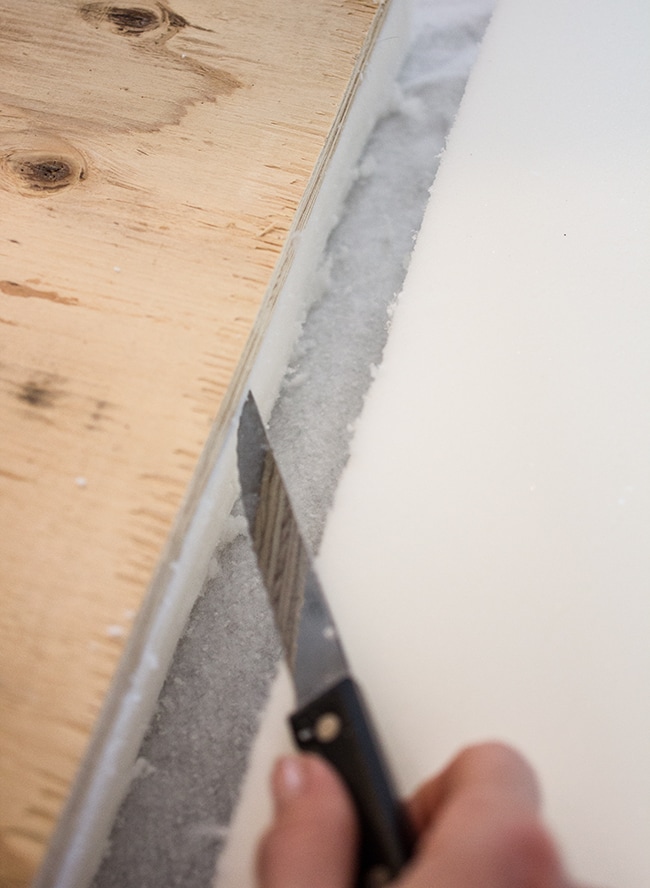
It wasn’t terrible but this is probably the trickiest part of the operation. It’s okay if it’s not perfectly smooth, but if you end up with bigger lumps, you’re going to see it through the batting and fabric.
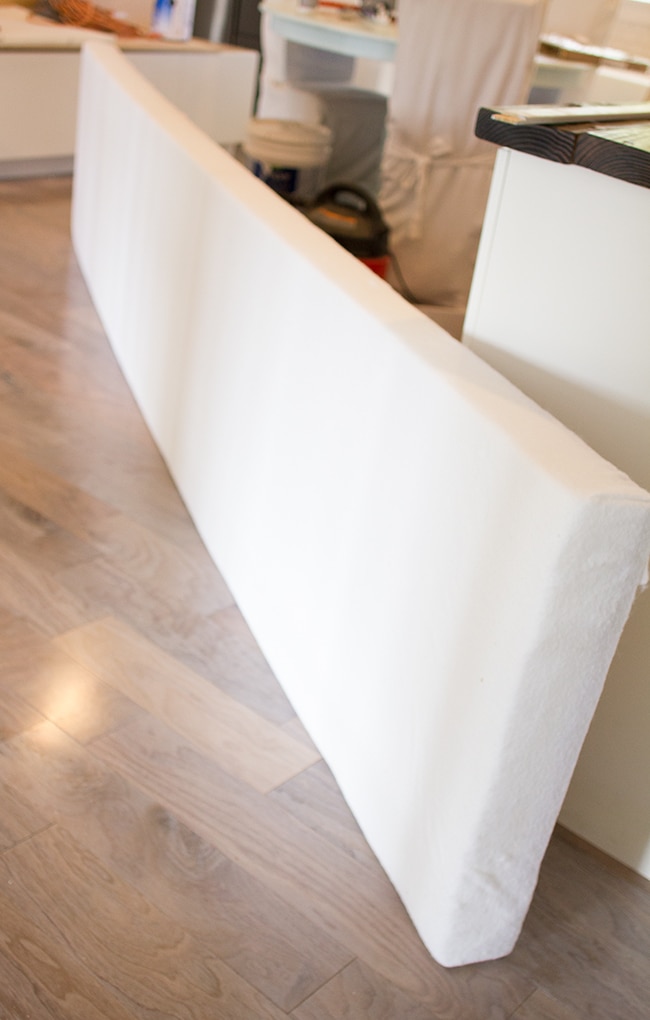
Next I cut the batting, leaving enough for it to be wrapped and secured.
This is the fun part. You just wrap it around, keeping it secure but not so tight that the batting starts to separate, and staple that sucker in.
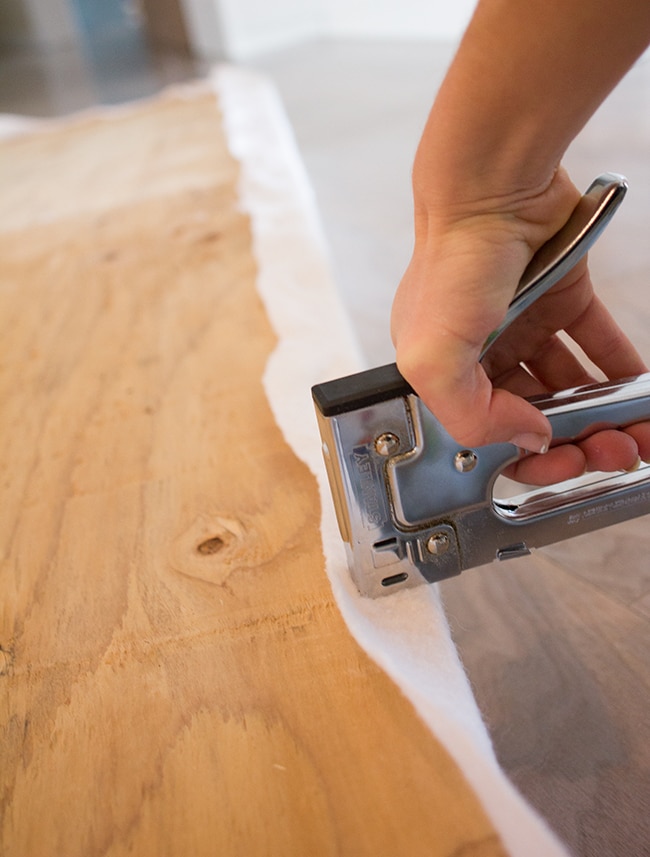
I stapled every 6″ or so—just enough to keep it smooth all the way around.
Finally, it was time for fabric!
I posted a peek of the fabric I chose on instagram last week…
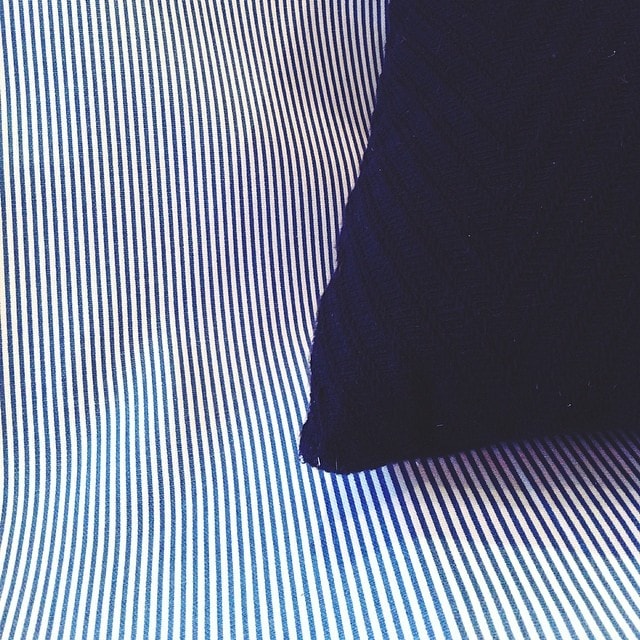
Yes, it’s finally time to bring some color into this room. I knew it was going to be navy blue, but I was endlessly debating between this pinstripe fabric or a solid navy. In the end I thought it would be fun to bring a hint of pattern in, so this ticking stripe won (not a bad deal at $9/yard either!)
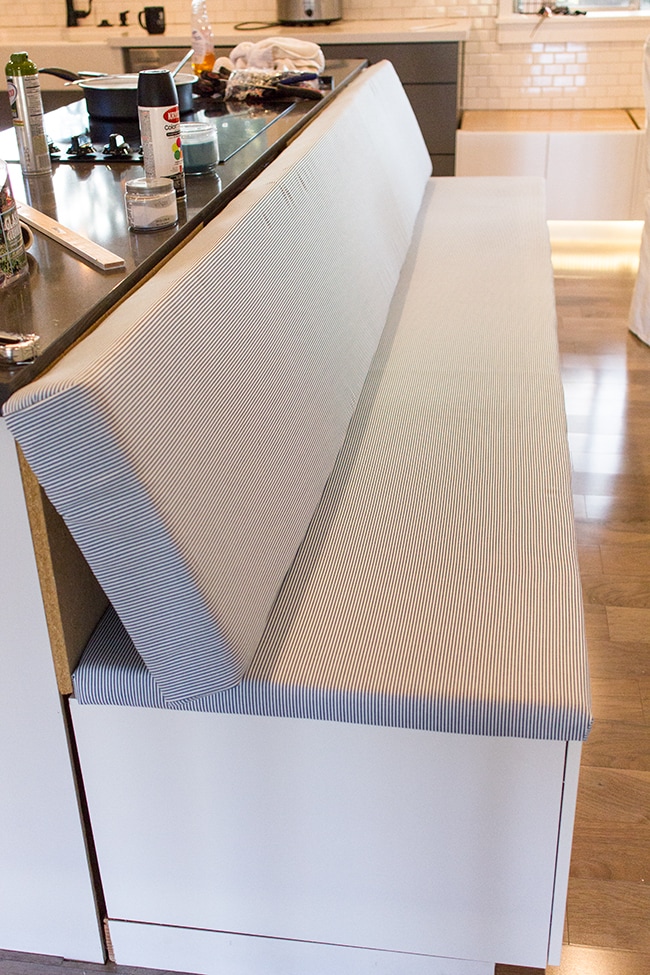
I rolled out the fabric, face down, and positioned my cushion on it, leaving several inches on each side to wrap it.
Then I cut around the edges and stapled it just like I did with the batting.
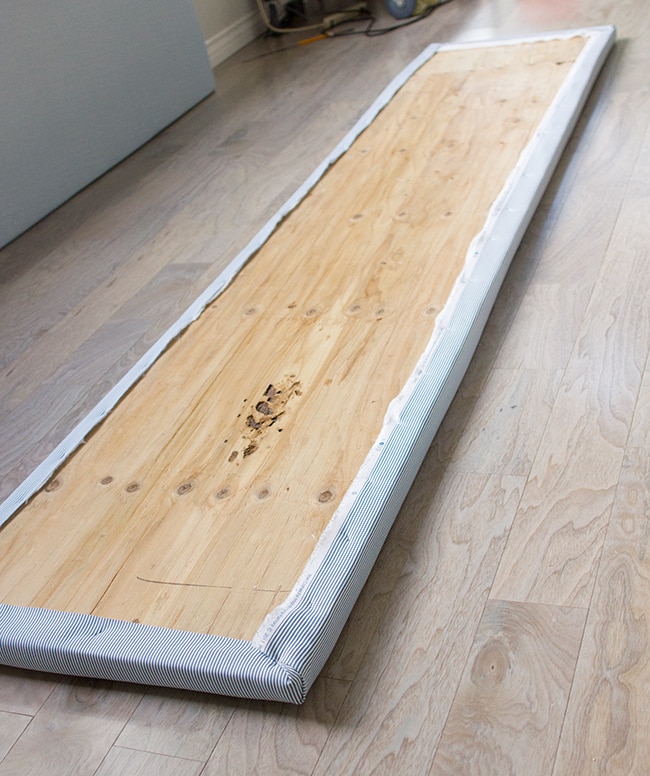
Actually it’s a slightly different approach here—there’s a fine line between pulling too tight and creating ripples, and not pulling tight enough so that you have excess fabric. It’s a little tricky.
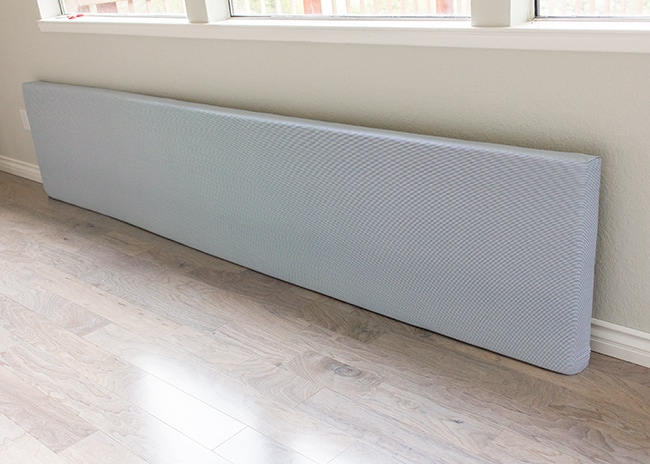
But I was happy with the results and repeated the process for the other two.
For those I ended up using brackets instead of pocket holes to adjoin the two boards:
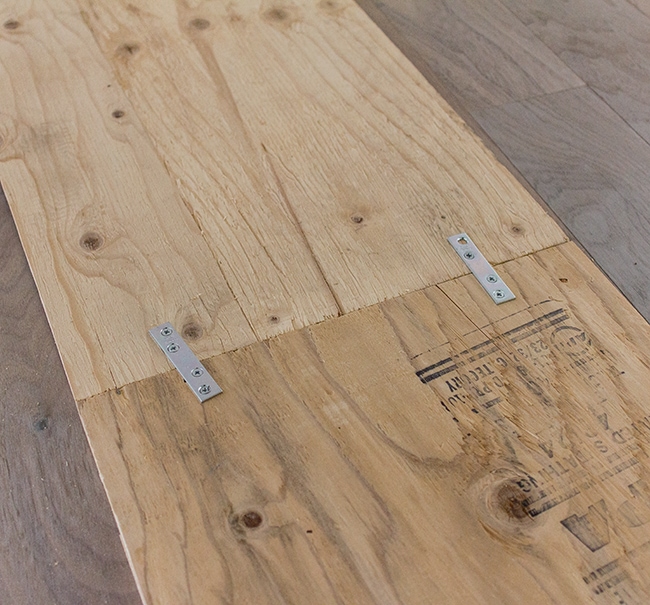
They still moved a bit, but it was a much quicker/easier solution.
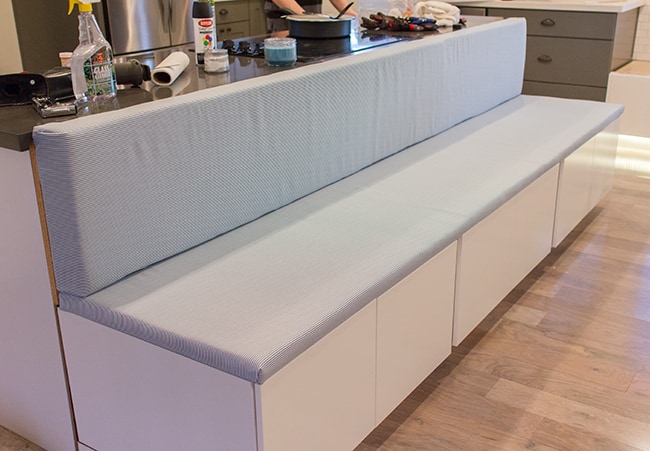
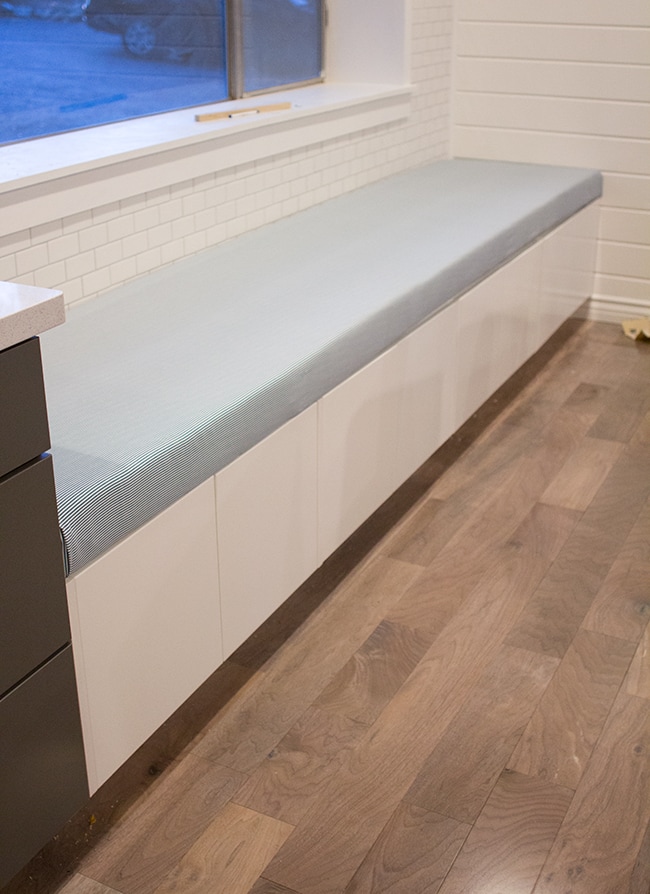
I was super nervous about my measurements being off, especially after adding batting and fabric, but luckily everything lined up flush with the edges of the cabinets.
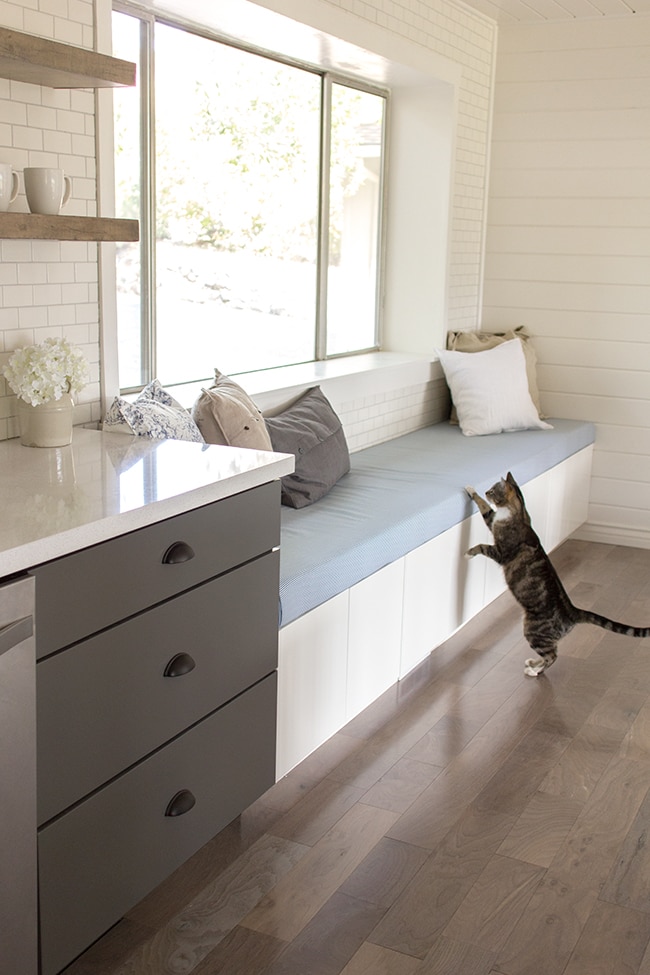
Oh, and if you’re wondering why the seat cushion is smaller here—I realized after ordering the foam that the bench was going to be too high for the table. Standard seat height is around 18″ and that was the height of the cabinet already (after elevating it with the toe kick). Whoops. So I ordered 1″ foam instead and it worked out just fine.
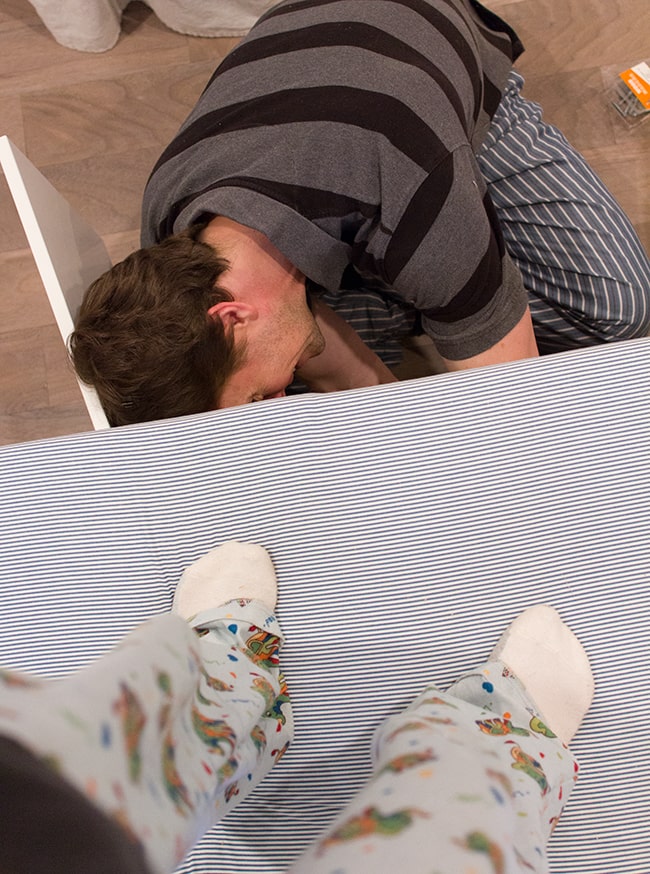
To make sure the cushions didn’t move, I stood on them while Brad drilled a few screws into the top of the cabinets from underneath:
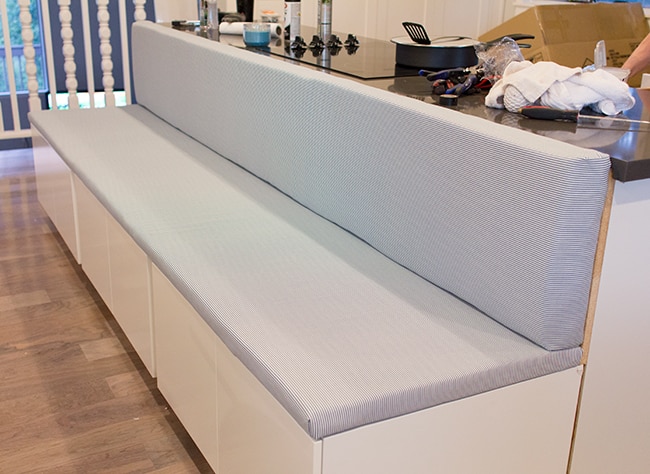
For the back cushion, we had to go through the island with extra long screws to grab the plywood and pull it tight:
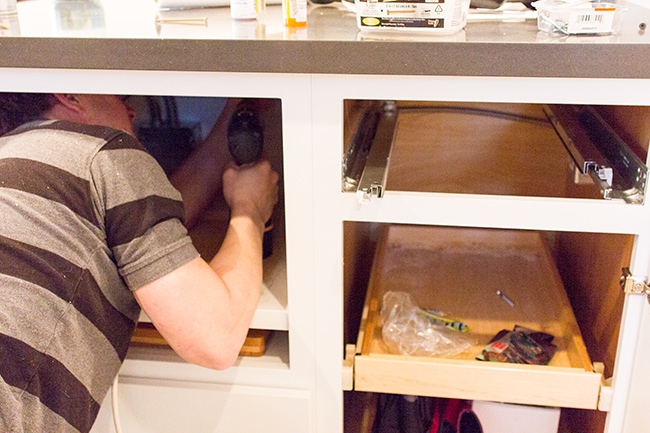
…aaaand it worked!
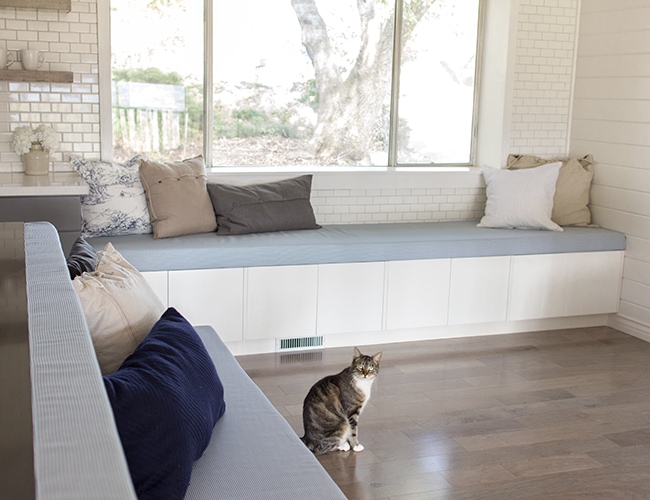
We repeated the process for the window bench seat.
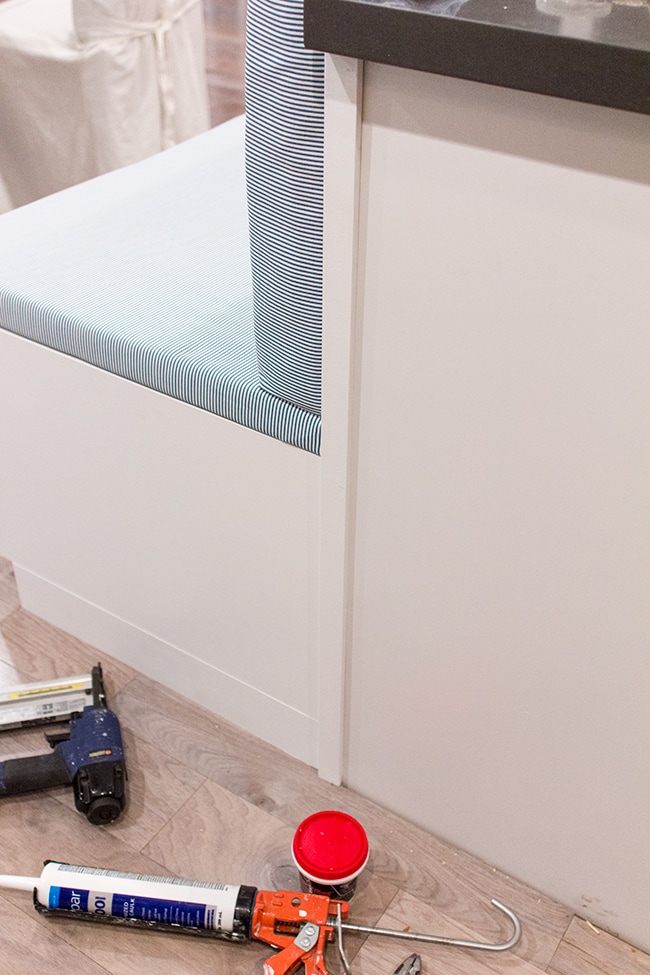
Finally, I added the trim pieces on either side of the island to hide the gaps/edges where they met up. Just this morning they were caulked, sanded & painted to finish the job.
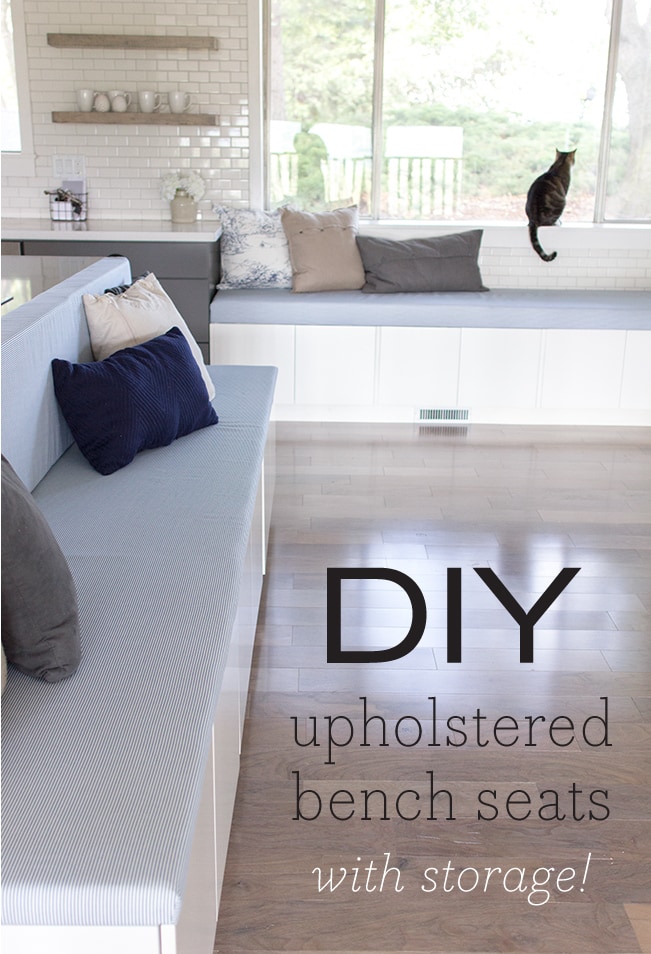
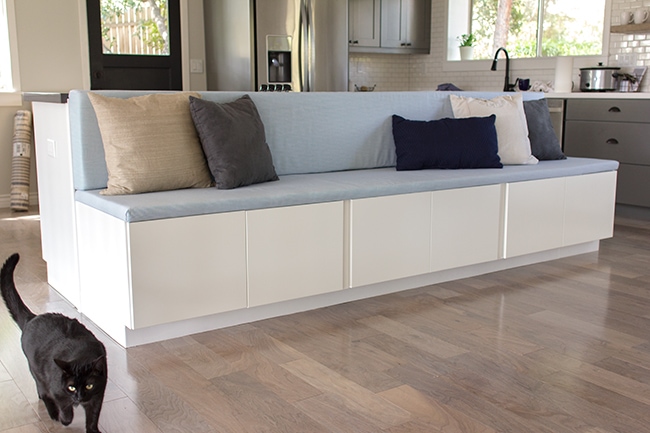
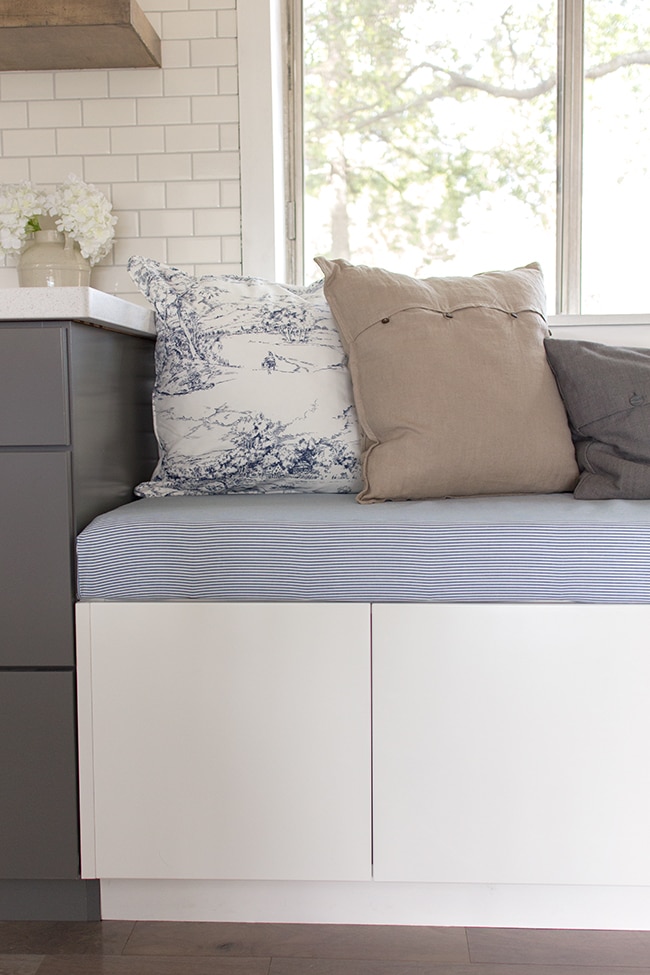
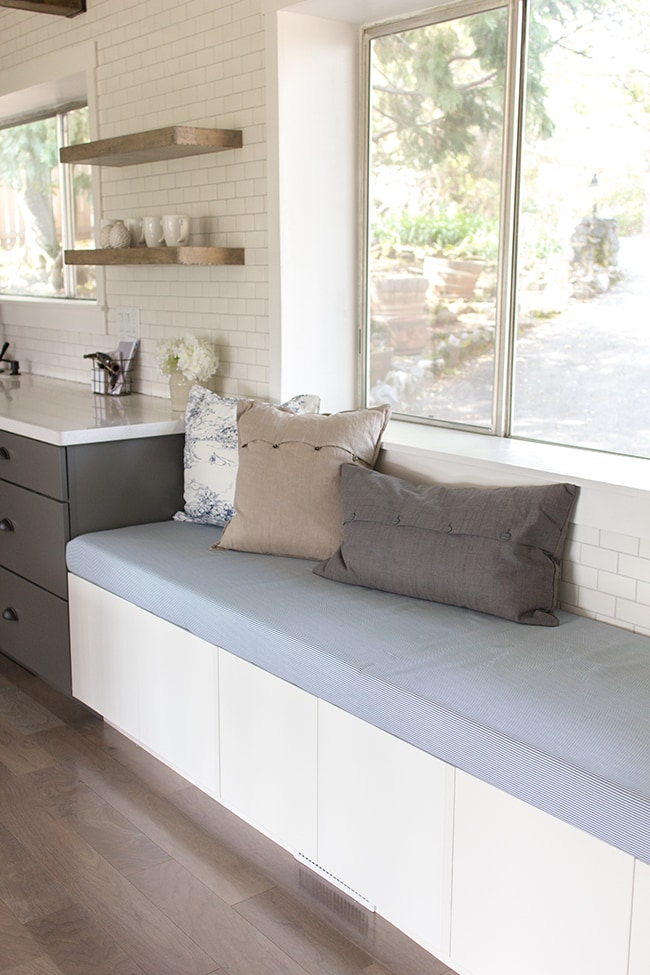
I grabbed a few pillows to get something on there—these will be changed up a bit before the big final reveal in a few weeks, but here’s how things look in here now…

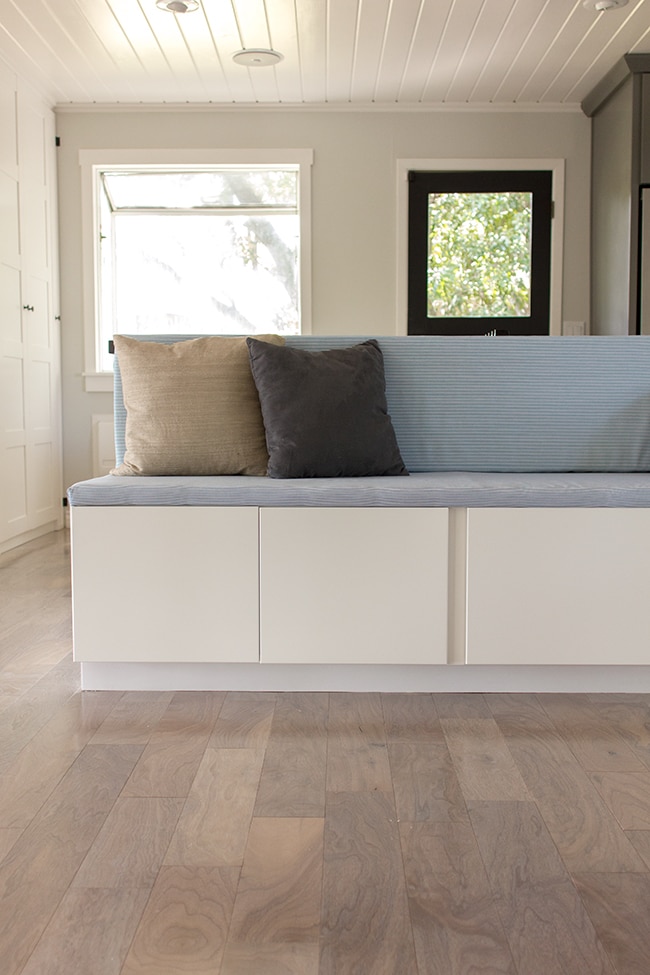
Now imagine a big farmhouse table right in front of this…
That’s next on our to-do list.
Kitties love the new seating. They’re all over it.
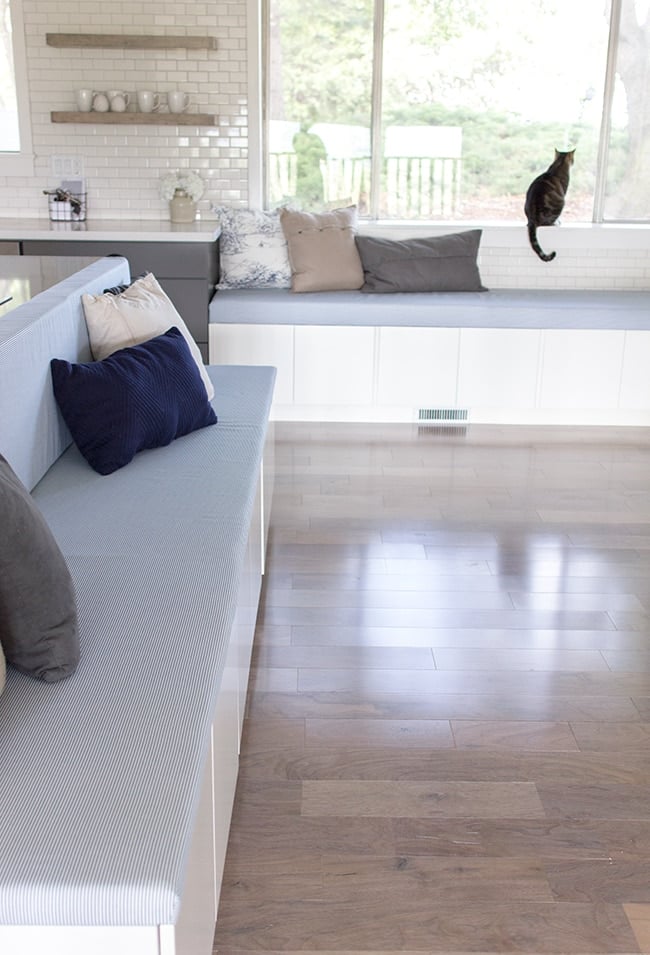
This toile pillow (from Ikea) is probably my favorite thing in the whole entire house right now. It was actually my inspiration for bringing navy into the kitchen.
So much seating, it’s crazy. And this doesn’t even include the 4 chairs that will be on the other side of the table.
Can’t wait to test it all out for our housewarming party! Counting down the weeks (er, days) now…
Next week I should have an update on how our staircase/railing is coming along. If you can’t wait until then, make sure to follow me on instagram because I’m always posting little updates along the way!


Elis Layla says
Fabulous and inspirational design you have shared, which inspire most of the people to design their kitchen. where they can feel comfortable while cooking.
James Adams says
I love the entire kitchen setup the way it has been organized and designed looks real pretty amazing.
Jenna Sue says
We've been cooking with it for a couple weeks now and with the help of pot lids splatter screens, thankfully haven't had any incidents, so I am hopeful. I also put a bunch of Scotch Guard on there to help out in case of a spill. If there was an accident I have one of those Shout stain scrubber things that work really well for fabric. Crumbs wipe/vacuum right up and I don't see there being any issues with smell.
Our kitchen designer told us a hood wasn't necessary because the room is so open to the rest of the house and there are lots of windows and doors nearby—I'm so glad we took his advice because we haven't needed it so far and it would have really closed things off.
I do wish there was a way the counter could have been wider so there was more of a buffer, but that would have made it difficult to put a bench there (which was my biggest thing from the start!). We may end up reconfiguring things in the future if it doesn't work out, but no regrets so far!
Jenna Sue says
We didn't really notice it until a while later and decided not to bring it up to them. There's not much they can do at this point aside from rip it all up and start over! It's not super obvious unless you're really looking for it, so we're still just trying to decide if we should bother with it or not 🙂
Anonymous says
I've followed your blog for a while and I am usually impressed with your work! But I'm sorry, that built-in bench is SO impractical for a kitchen!! Grease, splatters, smells… Unless you guys never cook, I'm frightened for that cushion. Hope the cover is removable and washable (though it looks permanently attached)! Not even just cooking – but what about accidental spills, crumbs… Also, no range hood? The bench under the window is very cute though!
Anonymous says
thank you for your reply. we were told by the pro installers that they need to be installed around the floor cabinets and island cabinet. we have to have them installed as a floating floor because we have concrete subfloor and didnt want a plywood base to raise the floor to have a nailed down install. their work is guaranteed so I hope they will fix any gaps should they form. what did ur installers say when u told them of the gaps ? from Sarah
Jenna Sue says
Our floor installers told us that too and I'm not sure why because now there are gaps in areas where the cut wasn't 100% perfect. We're not sure whether to leave them, caulk them in or add baseboard—none of which are ideal. I wish we would have had the floors down first—if it's not too late see if you can lay the floors first!
They are holding up just fine. It's nice that there are a lot of colors and natural markings so if they get beat up a little it's not easy to tell.
Anonymous says
We picked the same floors before I came across your site. We are waiting on the kitchen cabinets to go down before having the floor installers come in. Flooring pro told us they must place floor boards in front of cabinets not under. How are your floors holding up so far ? Everyone who has seen pictures loves this floor color. Thanks for your opinion and there is no going back since we paid for our floors already 🙂
Jedi Mama says
I love popping in here to spy on your kitchen. Hands down, I think this is my favorite kitchen in blog land! I didn't think it could possibly get any better after those gray cabinets came in, but HOLY SWEET MERCY! The bench seats have kicked things into BIGGER WOWS! Thanks for letting me quietly stalk your blog…
Cherie C says
Both benches turned out great. So much available seating in such a popular place of the house! Great job. FYI.. an electric carving knife cuts through foam like butter just in case you worry about ruff foam edges. It amazes me every time I have a foam project to cut!
Shauna Roux says
I so admire your vision: spacial, colour, future use…this is a beautiful project really coming together. Navy, grey, neutrals…totally on board.
I check almost every day to see what you and your husband have done (and boy are you guys productive). I also like your pragmatism in getting the job done.
Truely inspirational! Thanks for sharing.