I was hoping today I’d be able to show off our new stair railing, but things are taking a bit longer than expected and we’ve got a few more days to go.
In the meantime, I focused my attention on the studio yesterday with a few fun little updates I’ve been meaning to do.
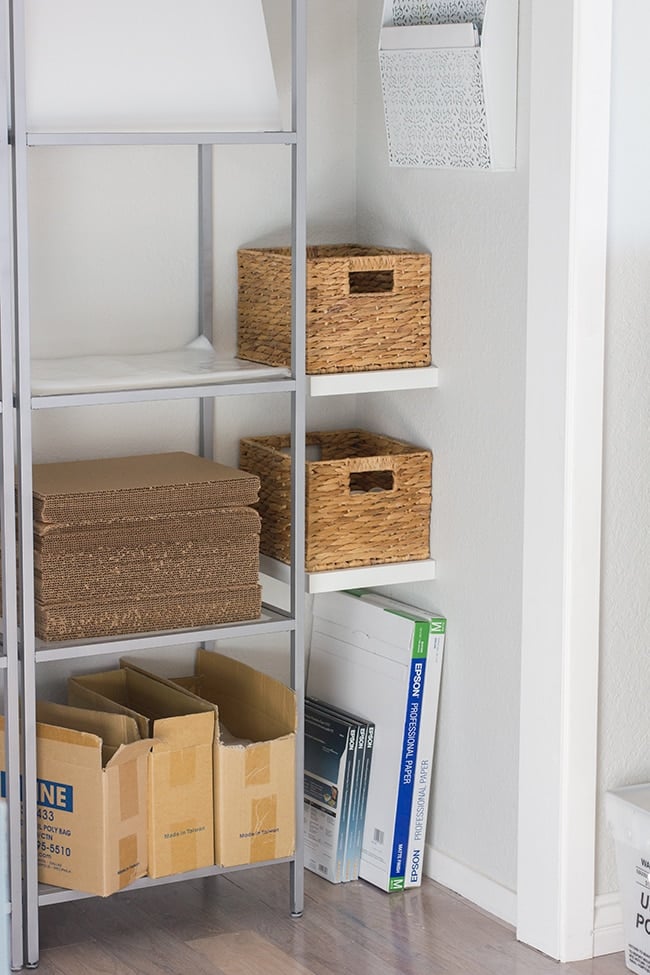
First up—the closet:

See the empty space on the right? It needed to be functional, and I had a plan.
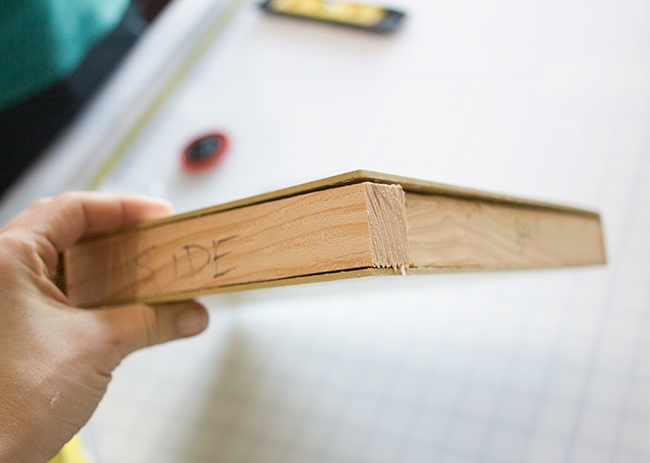
After reconfiguring the desks back in February, I was left with the end of a table top that we had chopped off to fit:
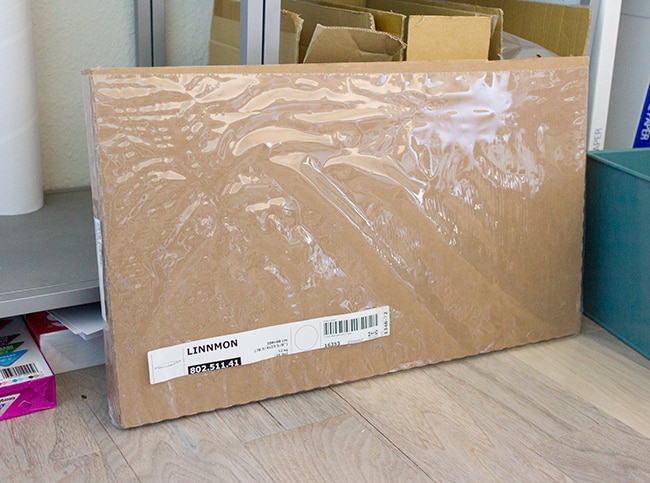
I knew right away that I wanted to repurpose it into floating shelves. The process would pretty much be the same as our floating bar shelves—cut the pieces to size, hollow them out, build cleats out of 2×4’s and attach them to the wall, slide the shelves on top and secure them in place.
After measuring the space and deciding on a size, I cut them down using a table saw:
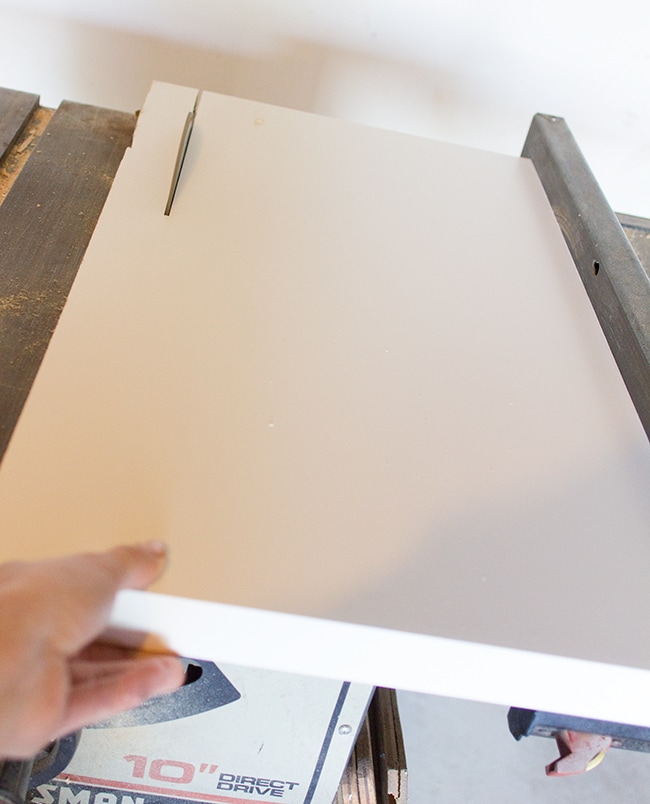
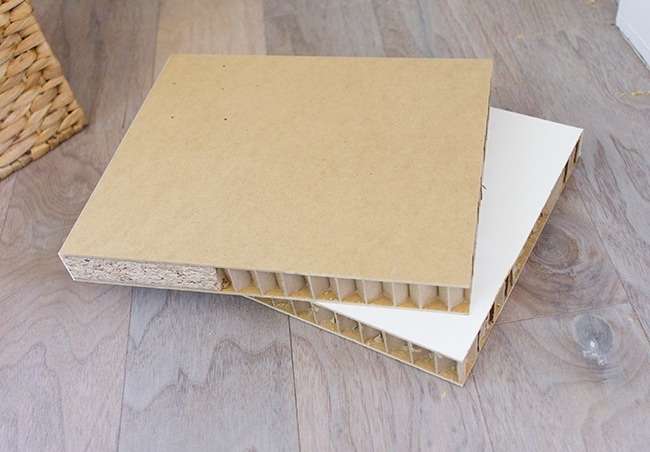
They ended up at around 10×11″, and one side had to be painted so the cut edges could go in the corners.
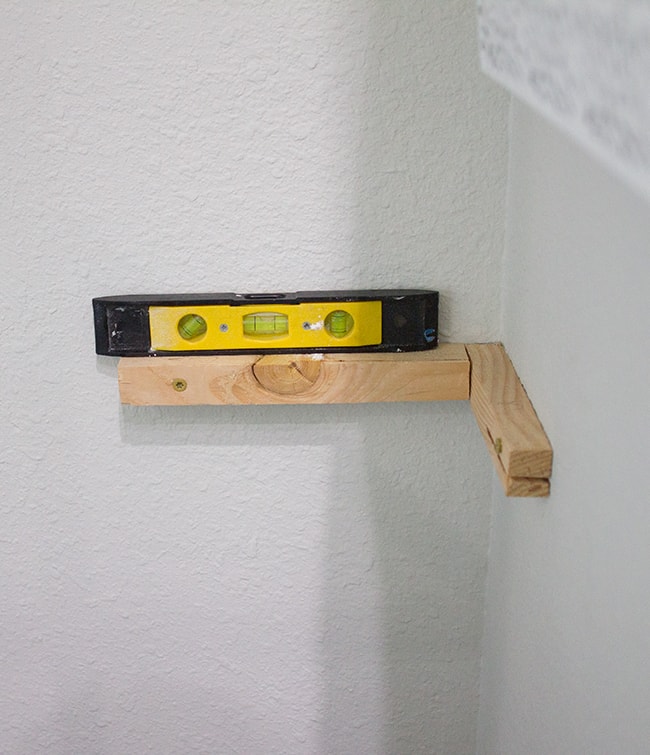
We decided to make two cleats for each shelf in an “L” formation where they’d be mounted up against the wall. First I had to push the paper filling out of the way… easy enough:
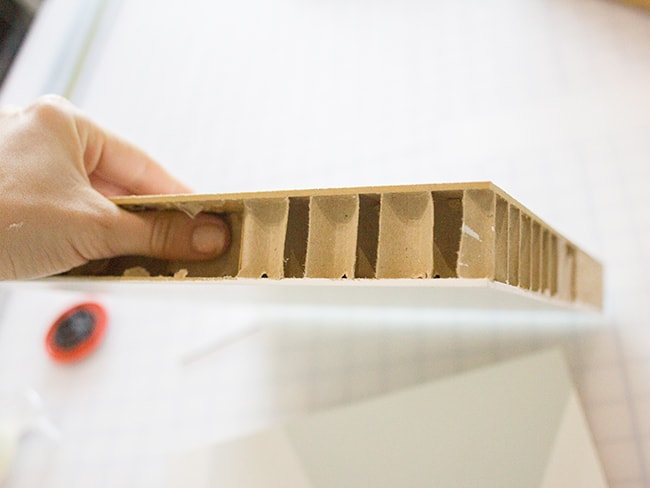
Then we cut two scrap pieces of wood so they fit snugly inside:
We attached them to the wall using two extra long screws per piece (4 total per shelf). Two ended up in studs, and we used inserts for the other two.
Then we wiggled our shelves onto the cleats and secured them using short screws from underneath.
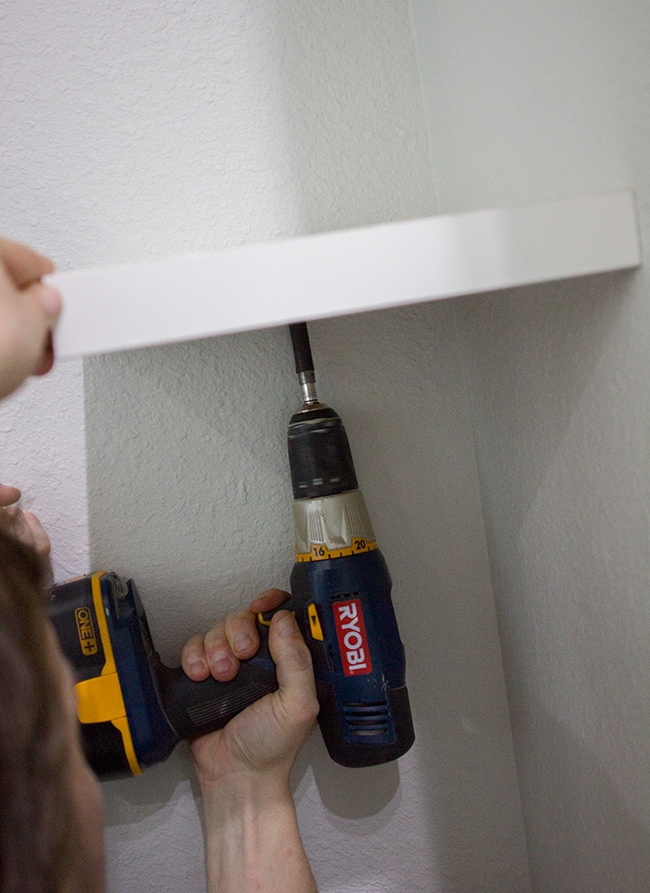
Simple!
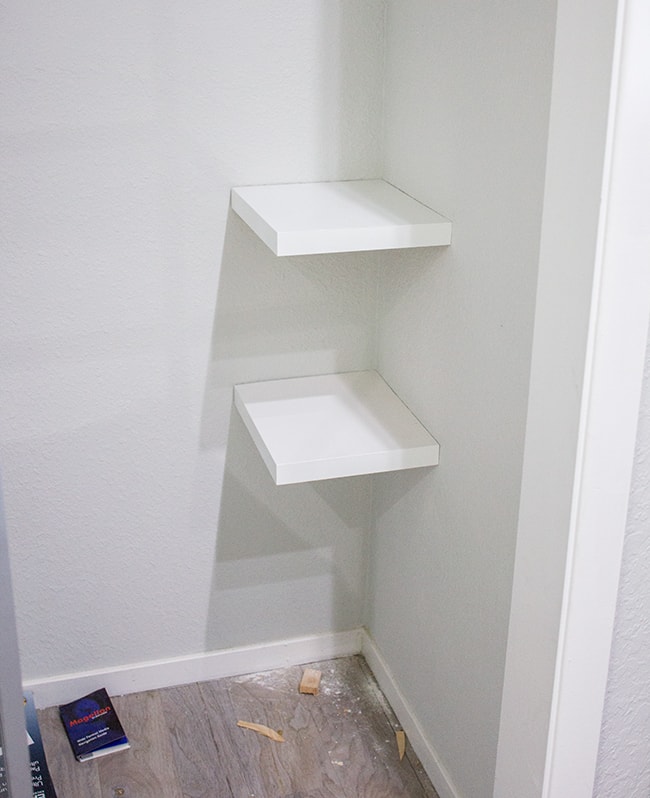
I added a couple baskets that can slide out for super functional added storage.
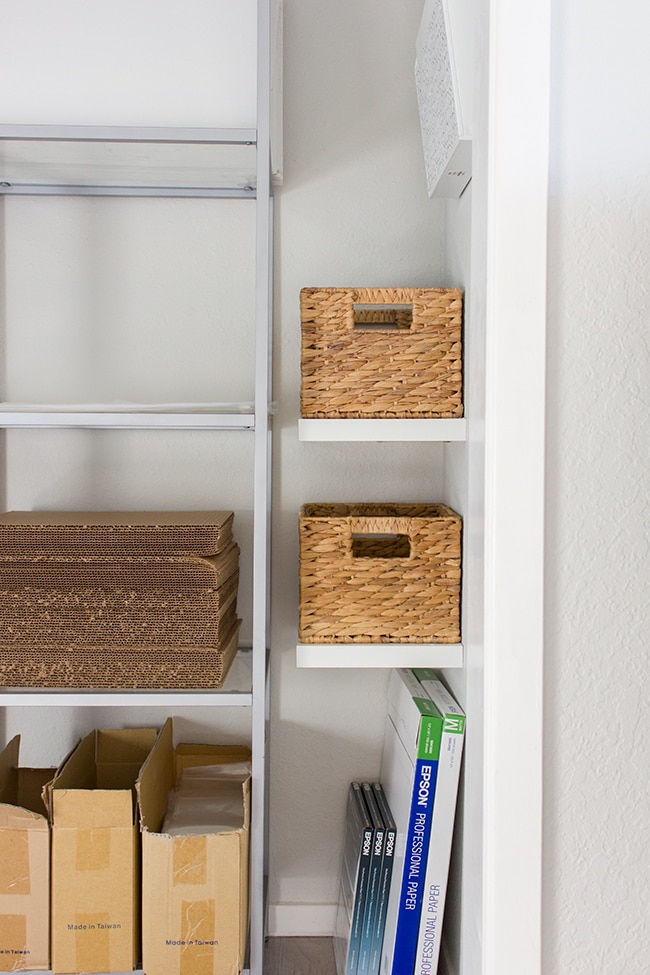
I still have one or two more tweaks I want to make to this storage system, but for now I’m loving the extra organization!
Moving along… I had a sad little empty wall that was needing some love.
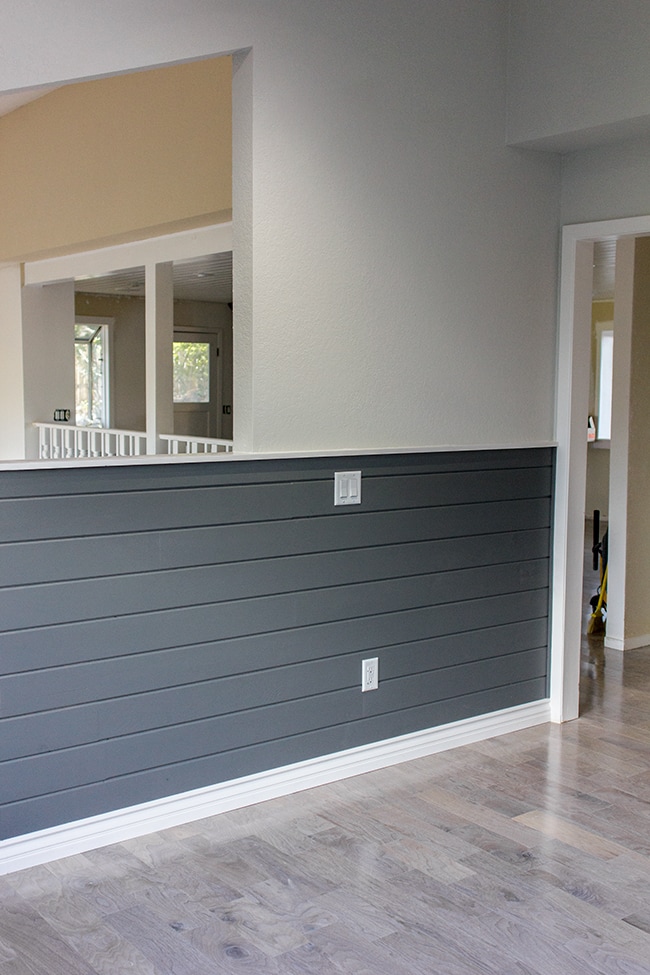 |
| Old photo, but the only one I have that shows the wall! |
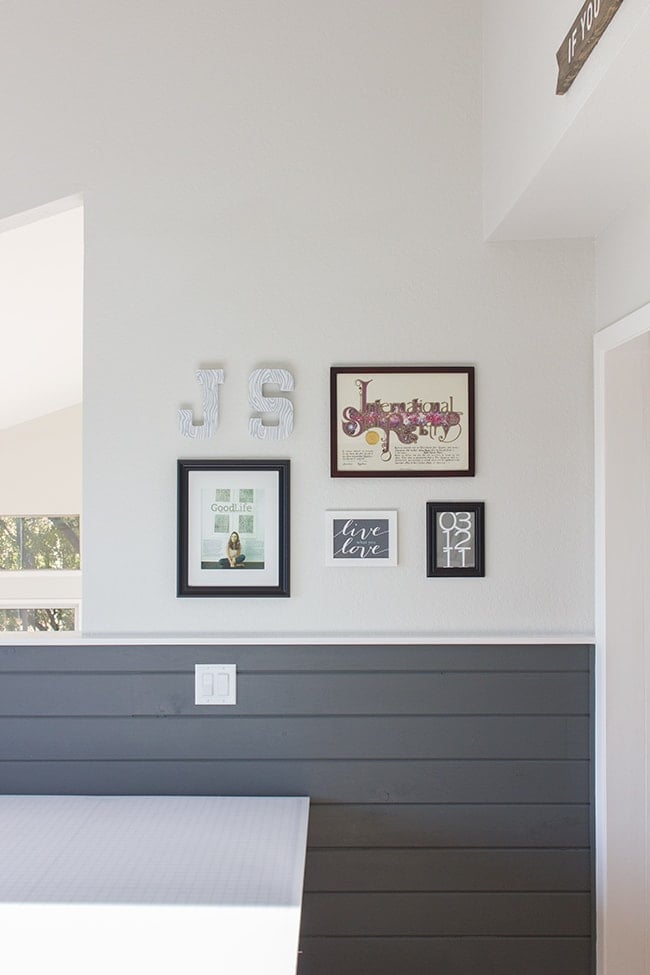
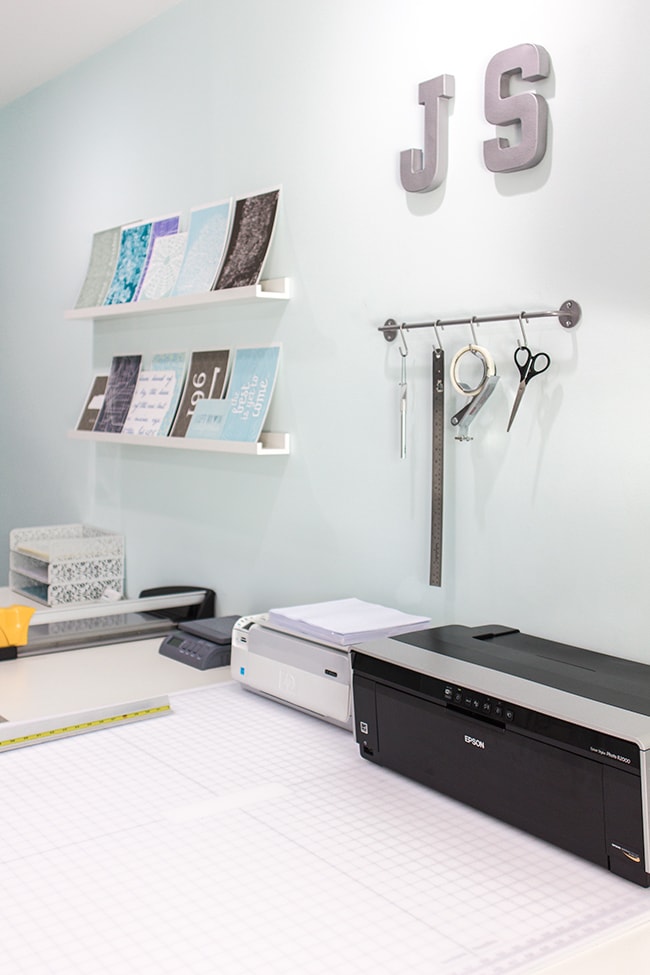
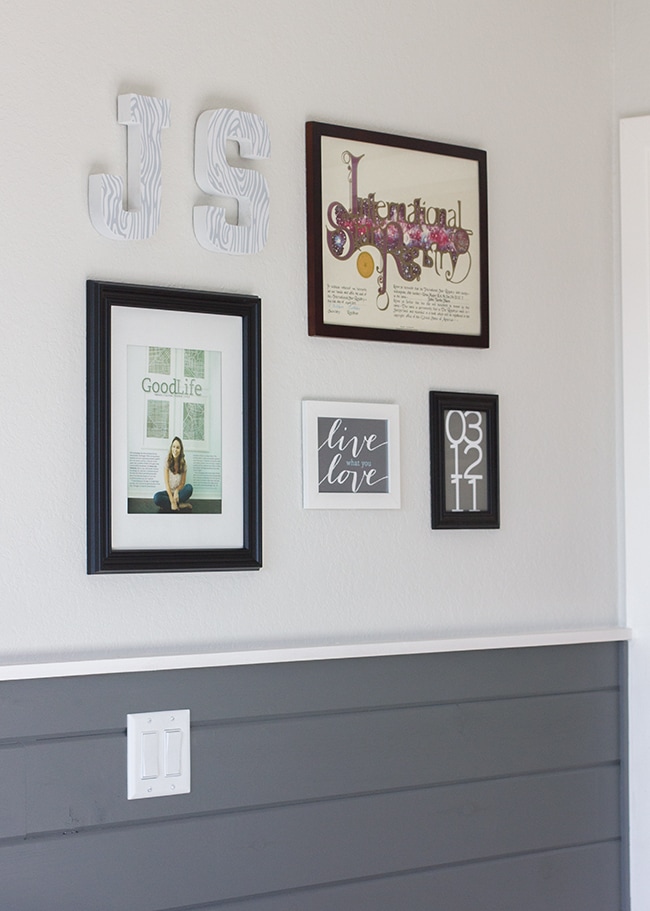
I decided a gallery wall was in order. I wanted it to be somewhat representative of my business (this is my work space, afterall) so I chose items that were relevant in some way—after a couple hours of gathering my pieces and some quick crafts, this is what I ended up with:
I had some other pieces I was thinking about mixing in, but in the end I decided to keep it simple and not overwhelm the space.
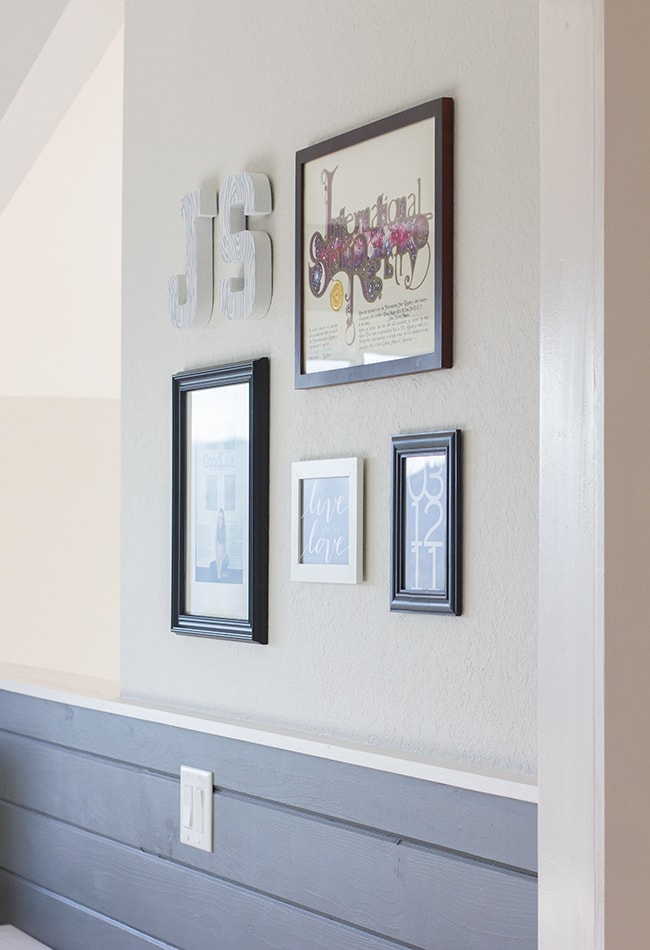
Here’s a closer look….
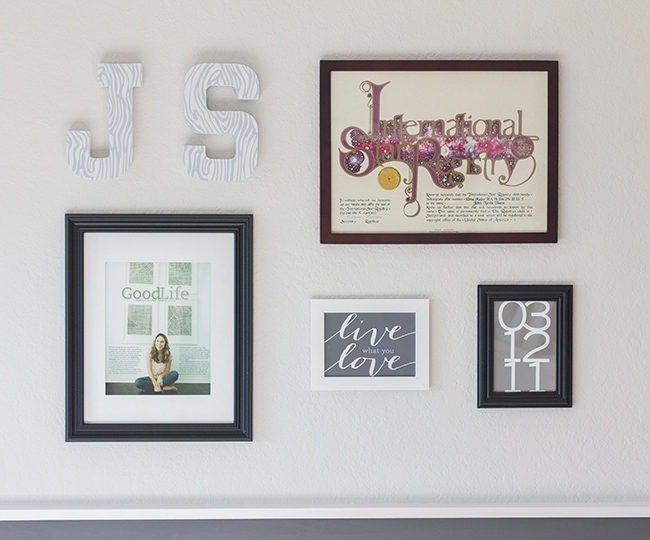
The top right is a star named after my grandfather who passed last year (a gift from a dear friend). He was always a big supporter of me and my business and it’s just a nice sentimental reminder to never quit/dream big.
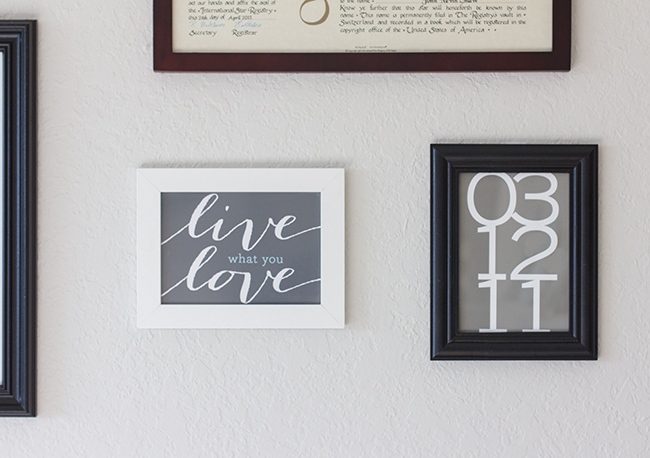
The two smaller prints are from my own line—a simple motivational message and the date I opened my first Etsy shop.
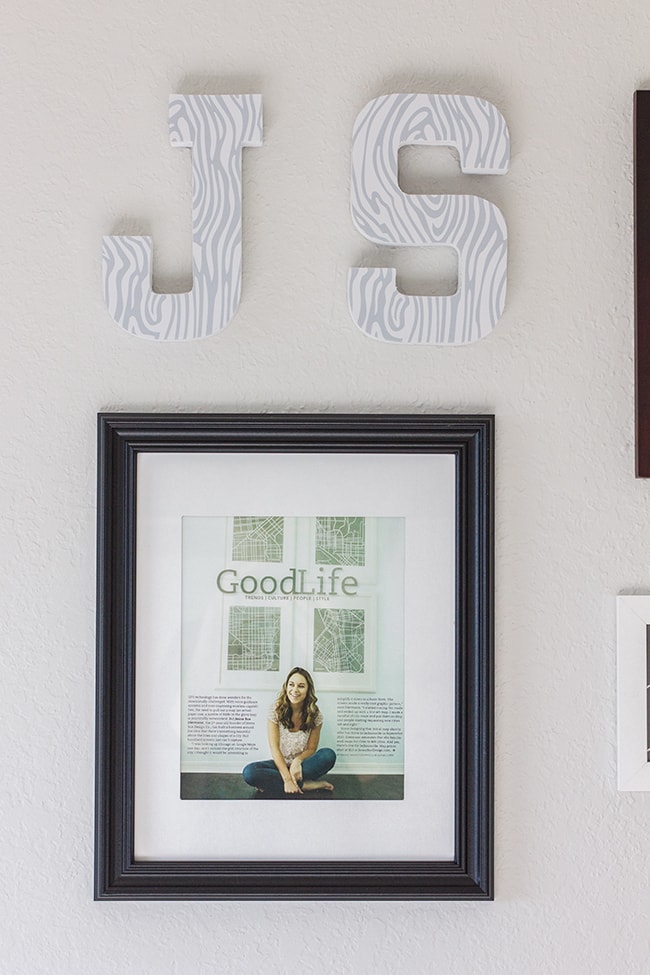
To the left I framed my article from Jacksonville Magazine a couple years back and my initials are just above that.
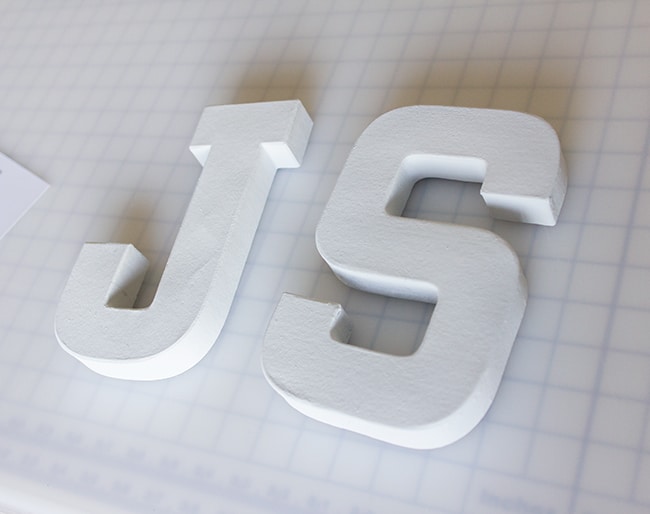
You may remember these initials that I painted from my very first
office…
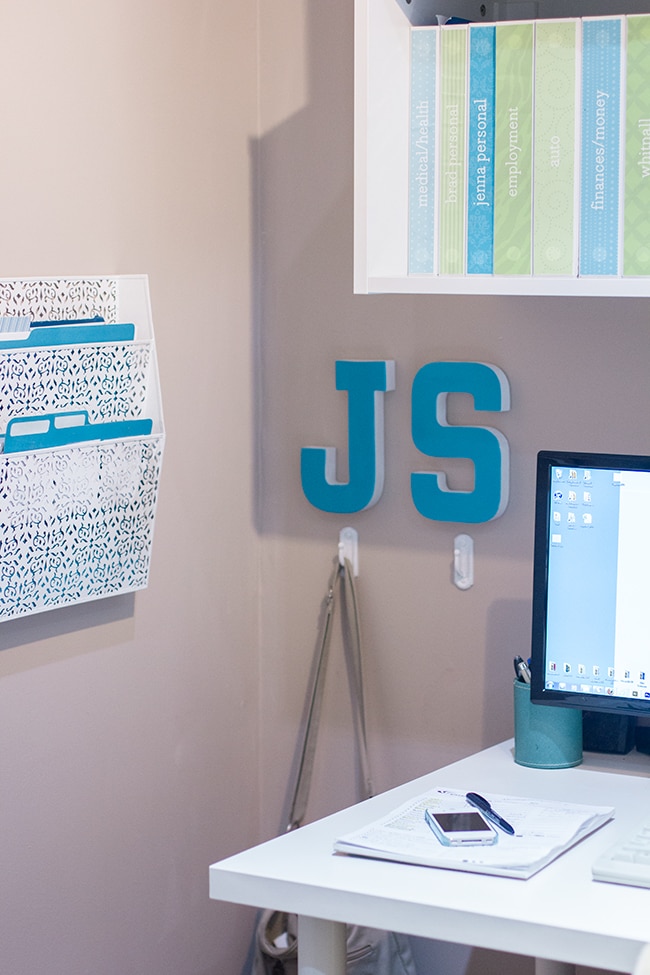
Then I gave them a facelift when I moved into the new studio…
And here they are again with a new transformation.
First I spray painted them white.
I wanted to add a fun pattern, so I printed these woodgrain backgrounds I made onto thick paper:
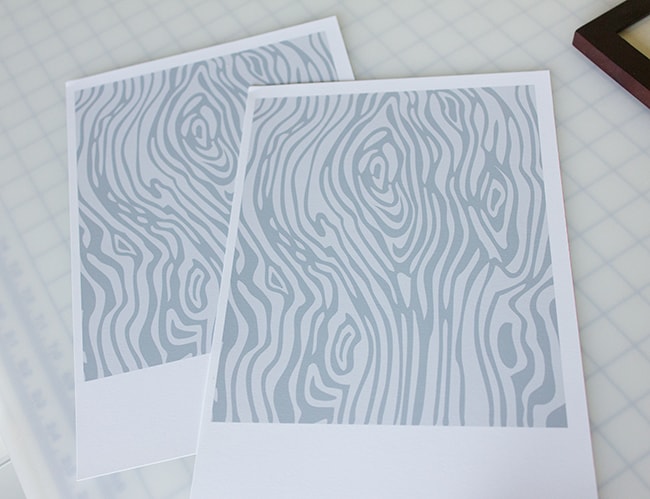
Then I flipped them over, applied spray adhesive (modge podge would work just as well) and firmly pressed my letters onto the paper.
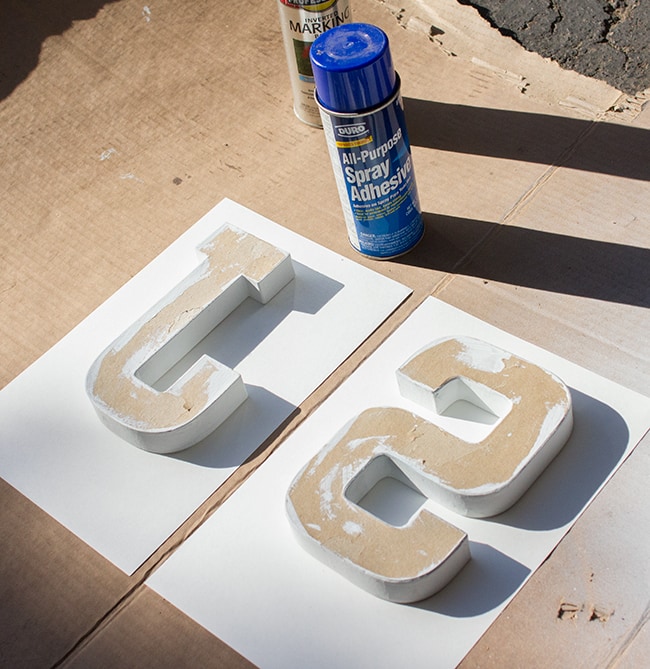
Then I brought them inside and carefully traced around the edges with an Xacto knife until they were all cut out.
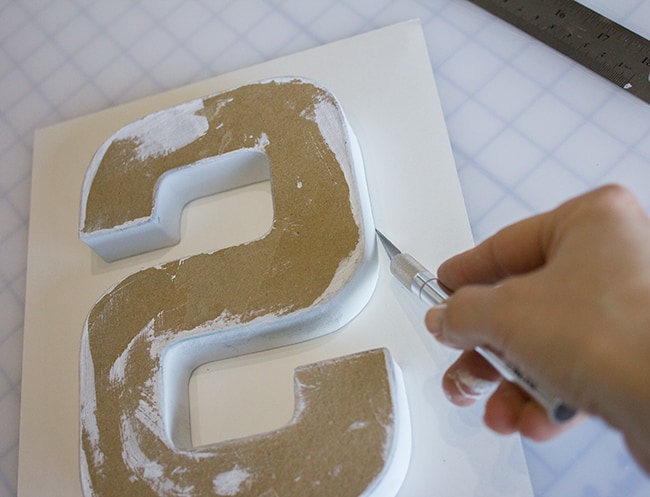
Ta-da!
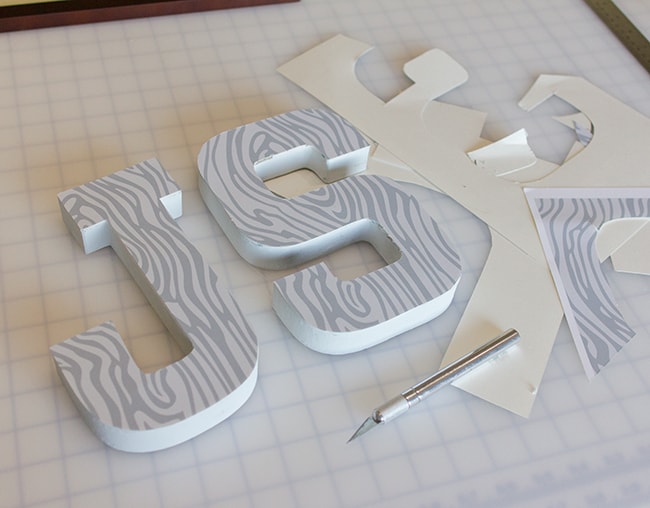
I could always modge podge over the entire thing for extra protection, but these letters won’t ever be touched or handled so I left them as is.
This gallery wall is straight ahead when you first walk through the front door, so it’s nice to have something with a bit more personality to greet you instead of a blank wall.
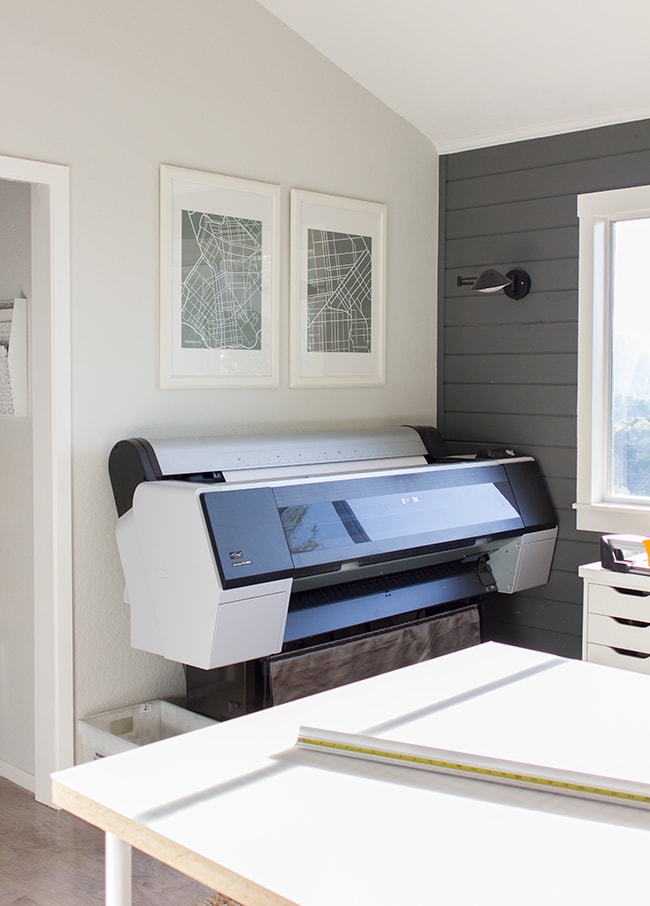
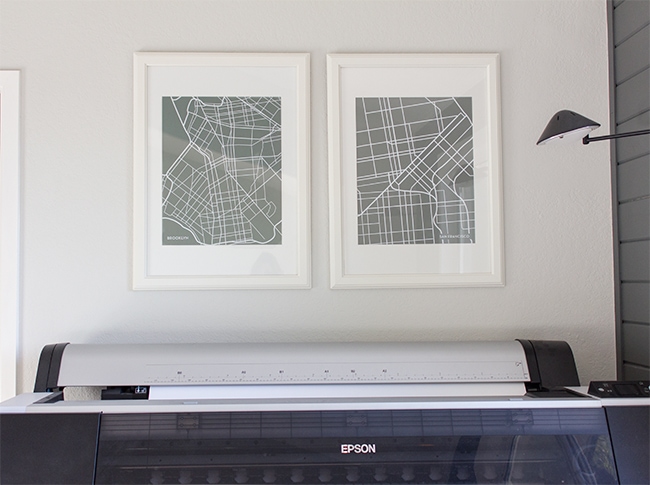
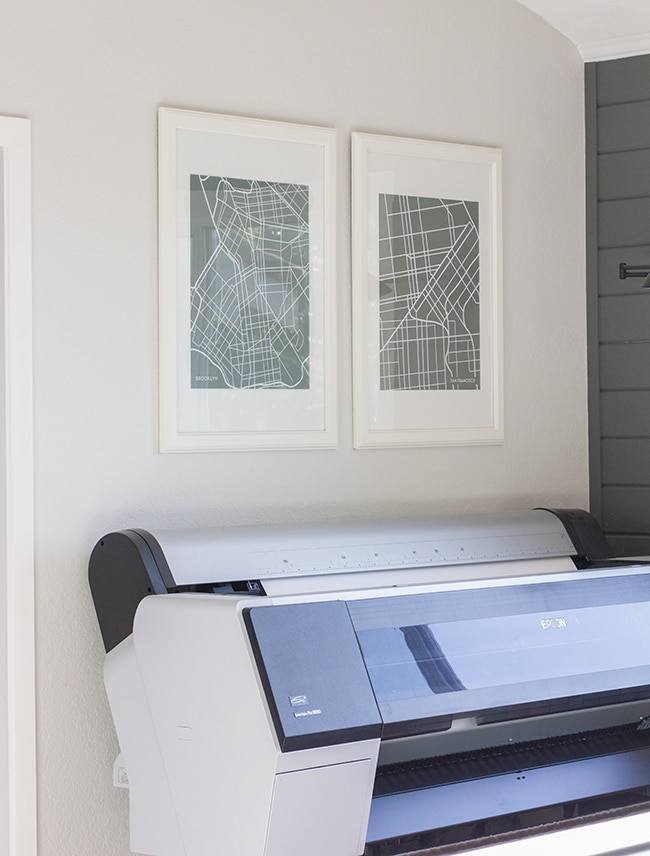
While I was at it, I had some more frames that were collecting dust and a large empty wall that was begging for something.
Remember these city maps from our old bedroom?
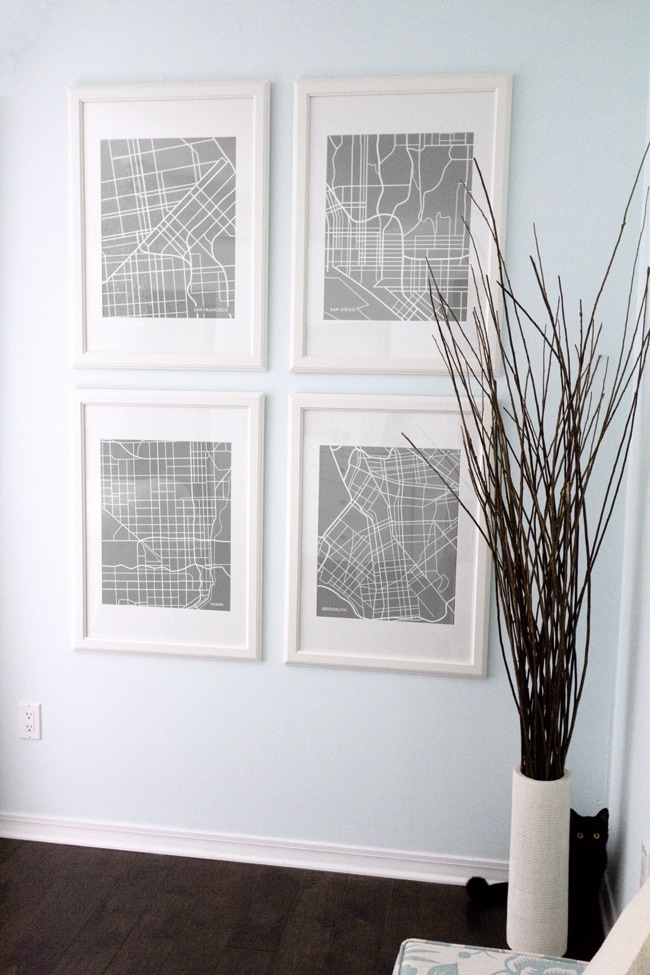
 |
|||
| Psst… you can get your own city here! |


Han @ Brooklyn DIY Designs says
oh, i love the idea of these maps.
I would do brooklyn, sf and paris!
Jenna Sue says
I was actually planning another post on that soon! I switched to a binder filing system a few years ago and it has made life so much easier: https://jennasuedesign.blogspot.com/2011/02/my-alternative-to-file-cabinet.html I have some more organization that needs to be done since the move so that will be one of my next projects!
Julie M. says
Your spaces are always so clean and clutter free. Would love if you did a post on how you keep clutter down or how you get a handle on bills and filing.