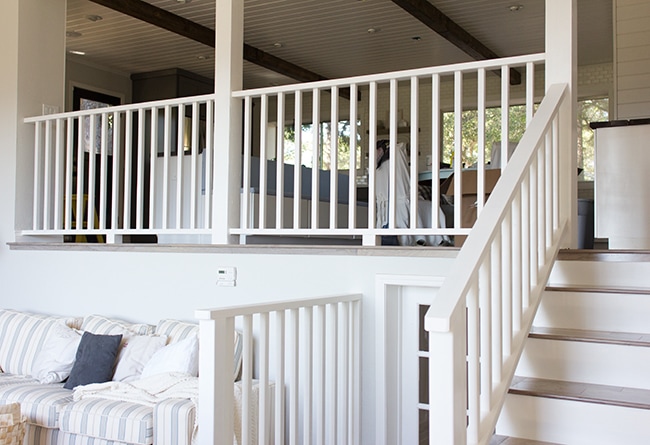
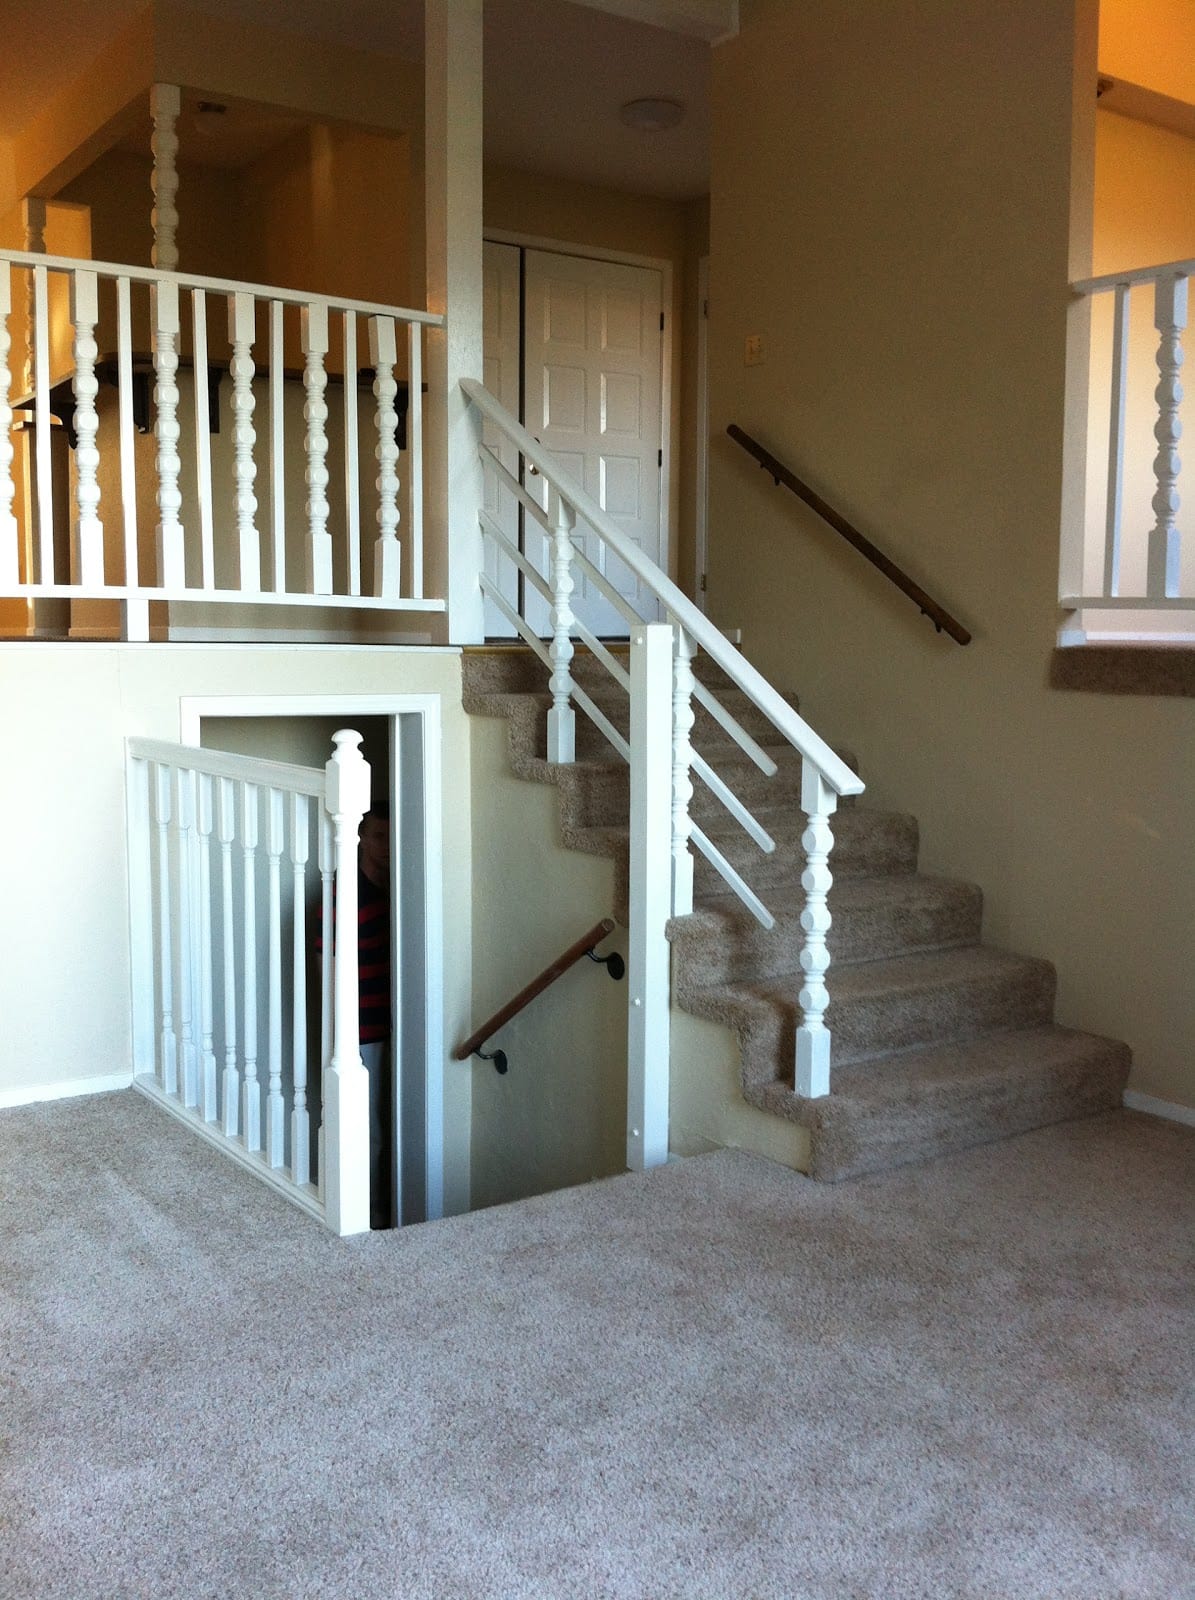
Here’s what we were dealing with… a 1970’s guard rail off the kitchen with some newels that were too short/mismatched/crooked…
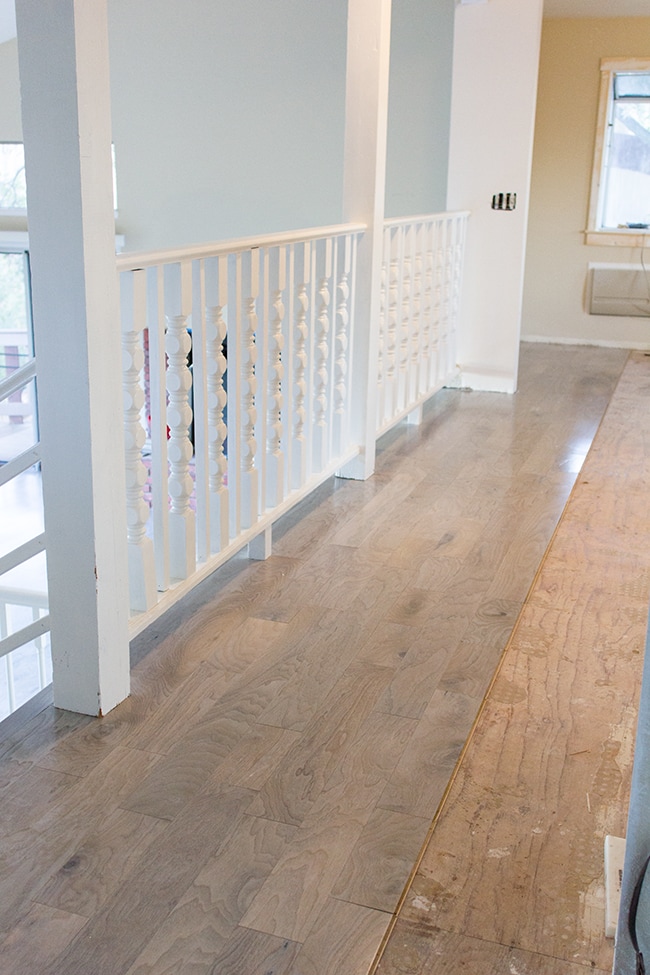
Missing railing along the staircase that was never put back after the floors were installed…
And then another guard rail (on the left above) that was loose and didn’t match any of the other railing we had. It was a giant mess.
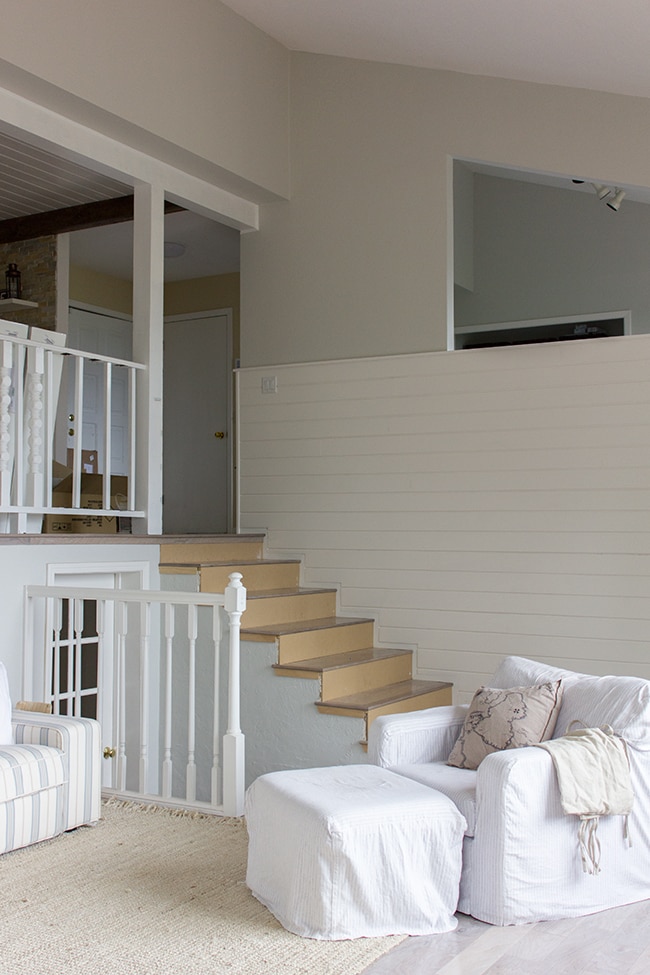
I was so sick of looking at these outdated newels that I got Brad to start chopping them off one day…
That was exciting, but then we had no idea what to do next. I looked into several DIY options, but the materials were pretty costly and I still wasn’t confident we’d figure out how to securely install the railing that went down the stairs.
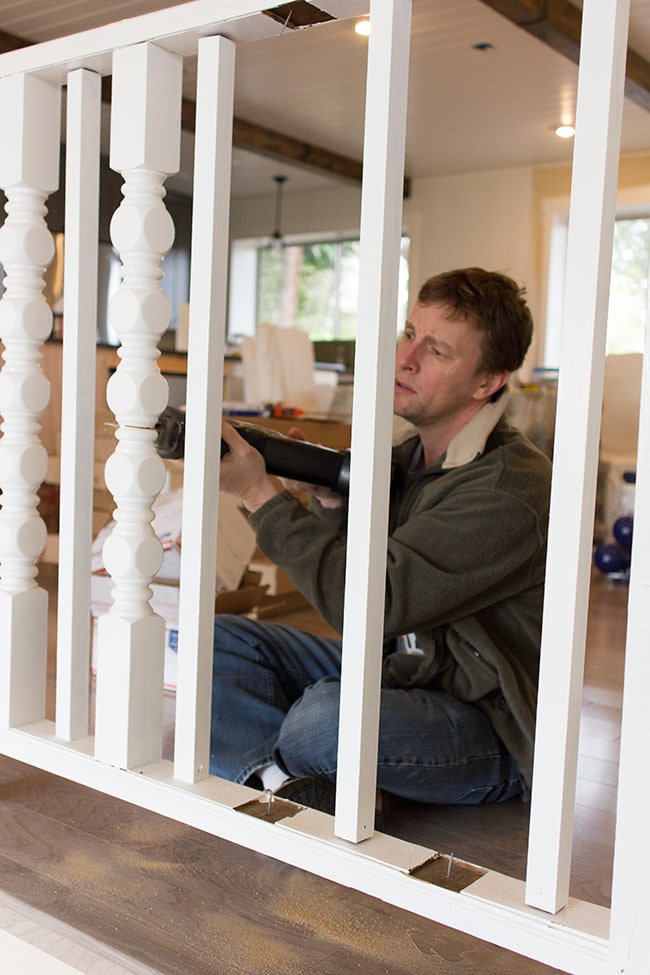
Finally, I gave up and hired a carpenter who offered us a great deal. The weight was lifted off my shoulders and I had him start last weekend.
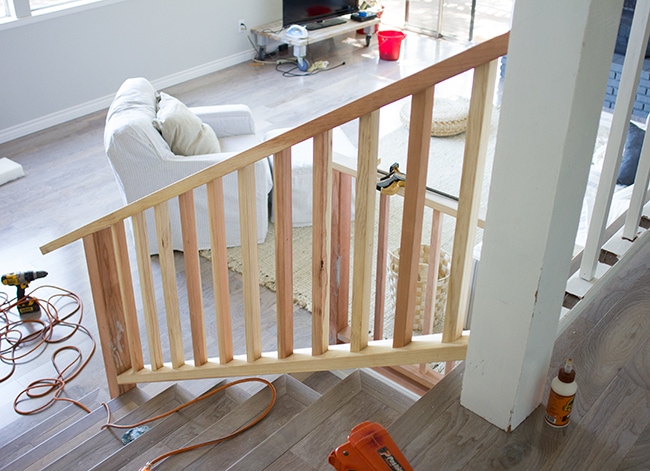
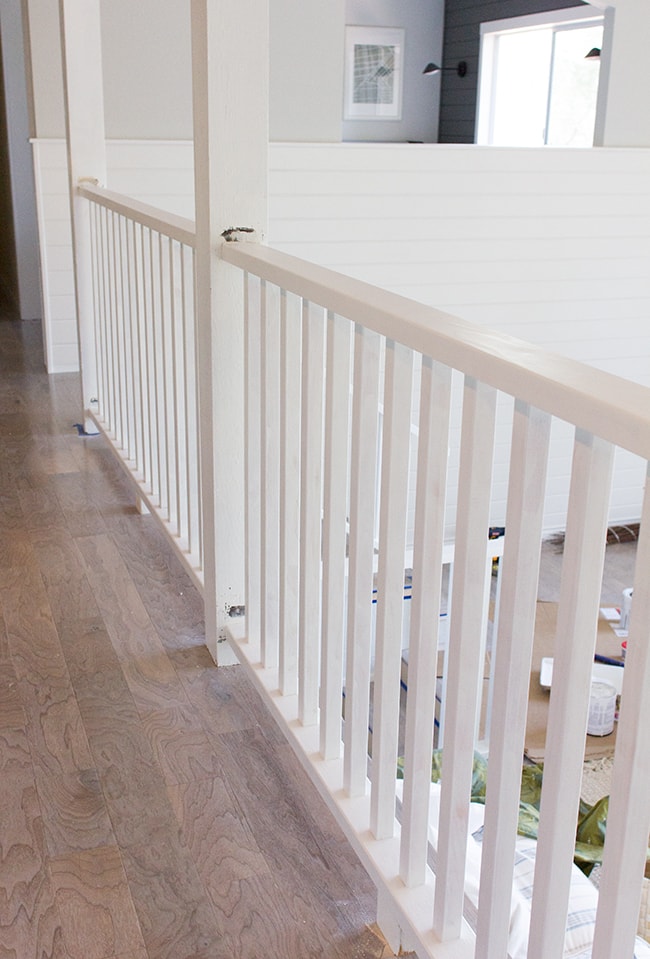
I don’t have a ton of photos of this process as we were in and out of the house most of the time he was working, but I was able to snap a few while he was finishing up the lower sets:
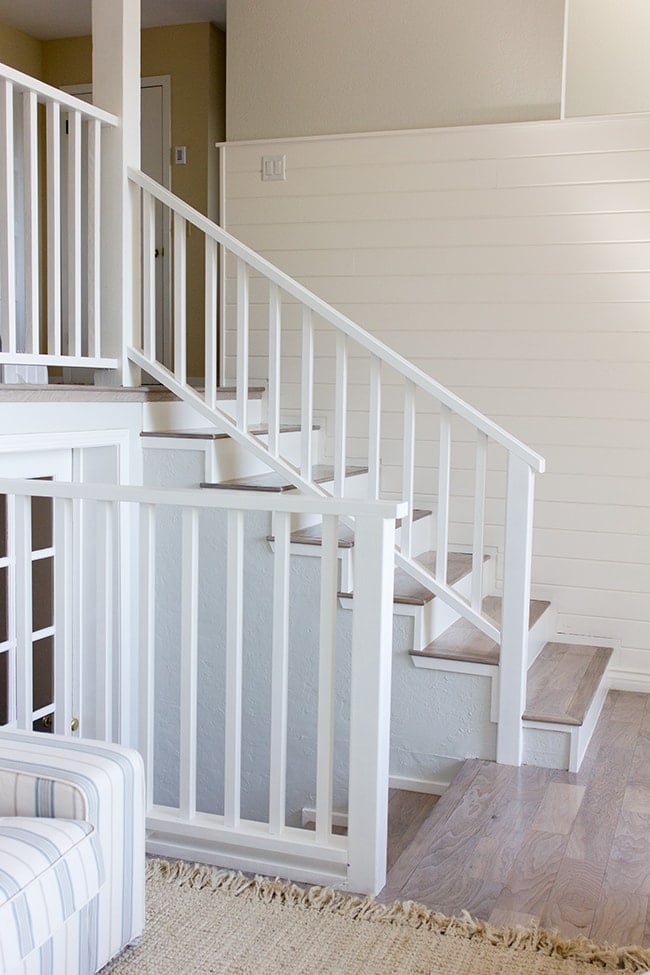
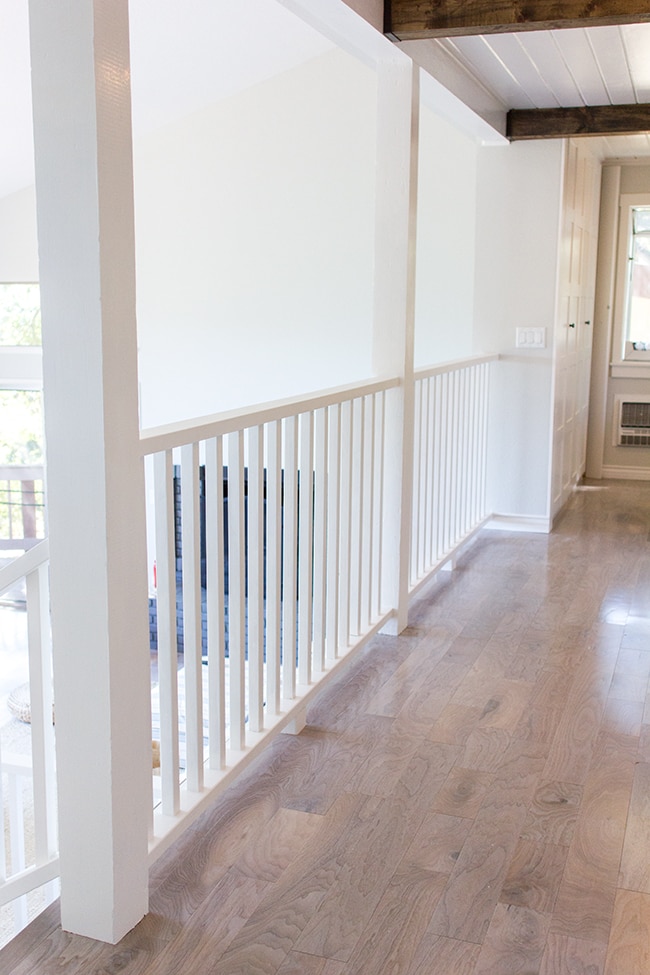
I told him I wanted it clean and simple. Straight lines—nothing rounded or fancy.
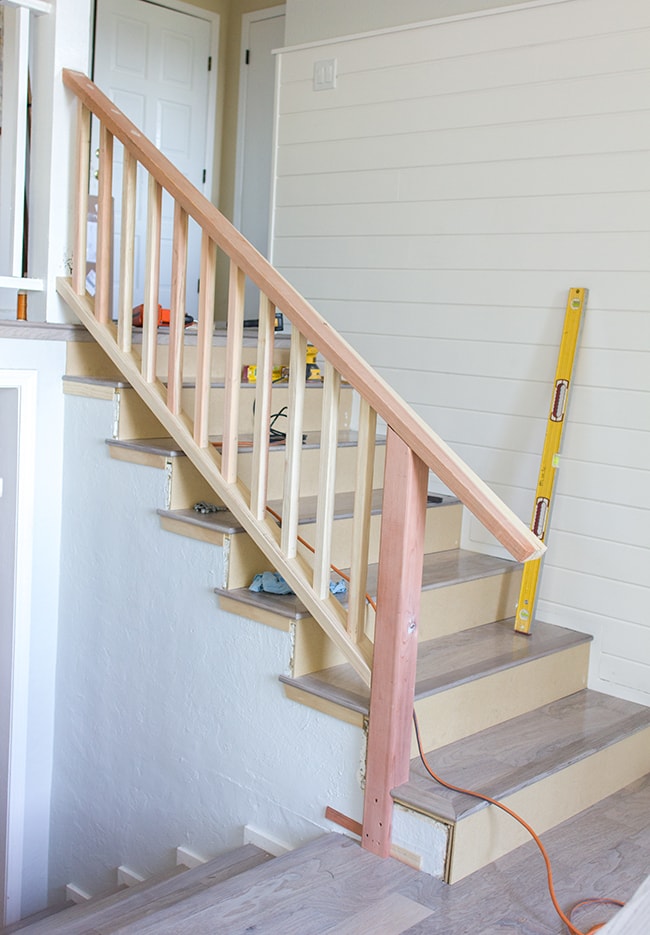 |
| He trimmed off that banister, of course. |
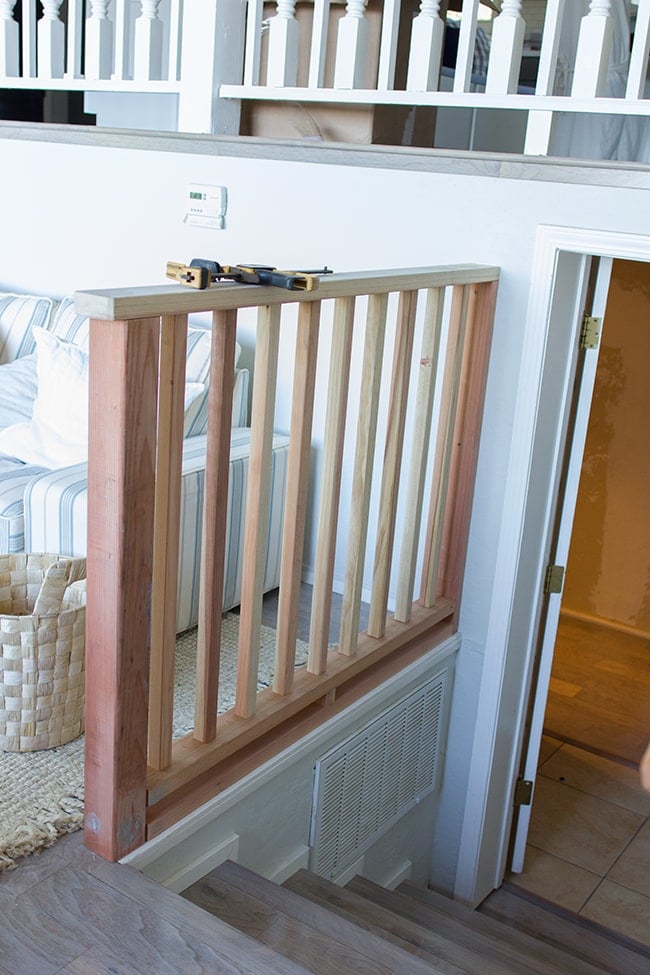
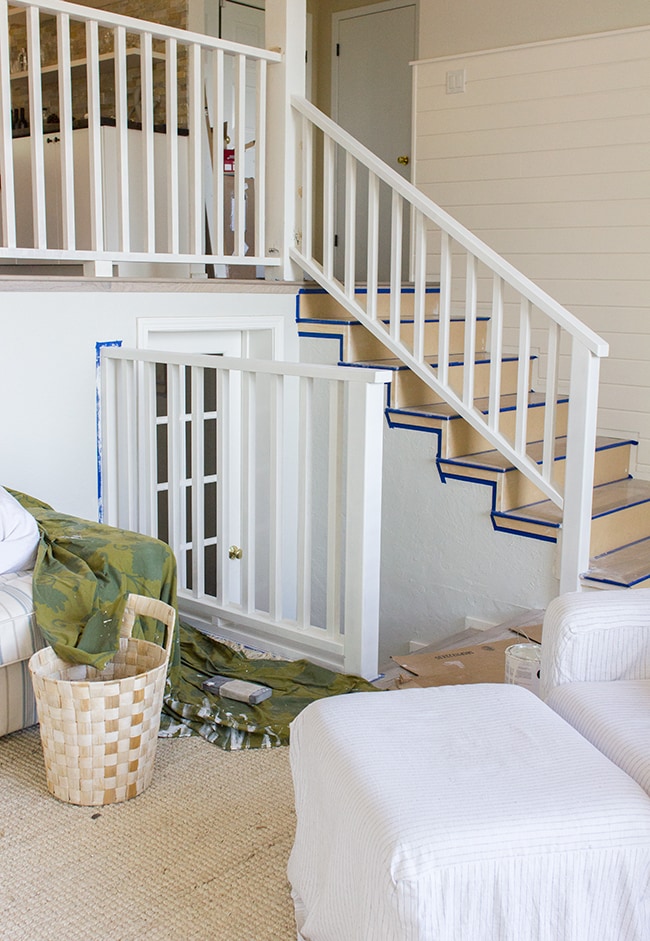
While he was working on the top railing, I got started on this unfinished trim along the sides:
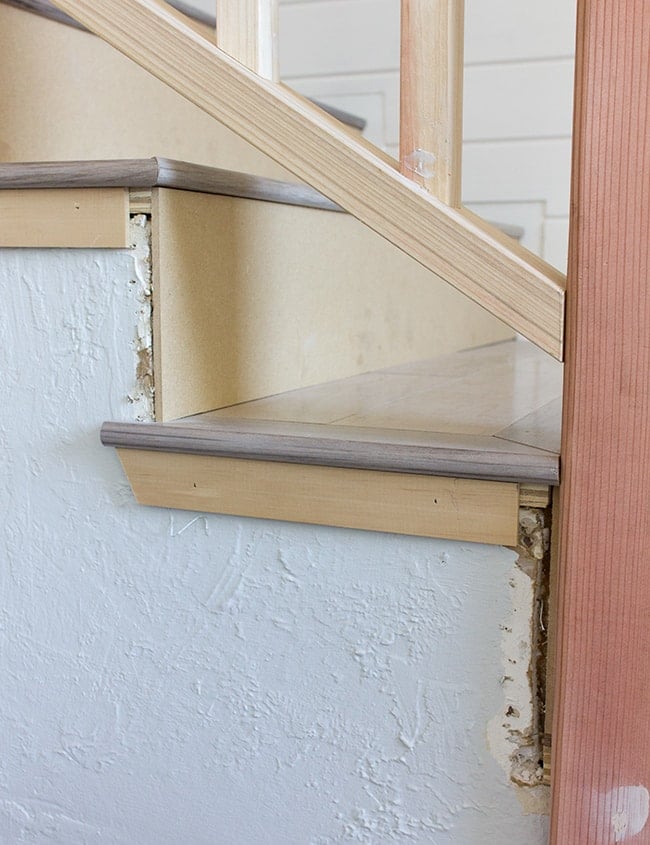
I just picked up a long strip of wood at Lowe’s, cut the pieces to size, and then used putty to fill the nail holes.

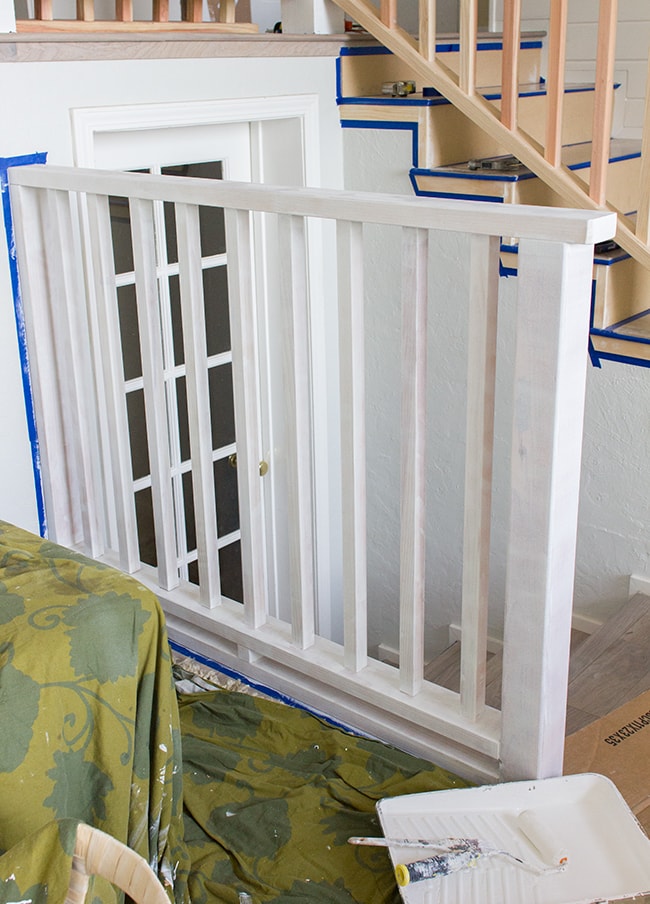
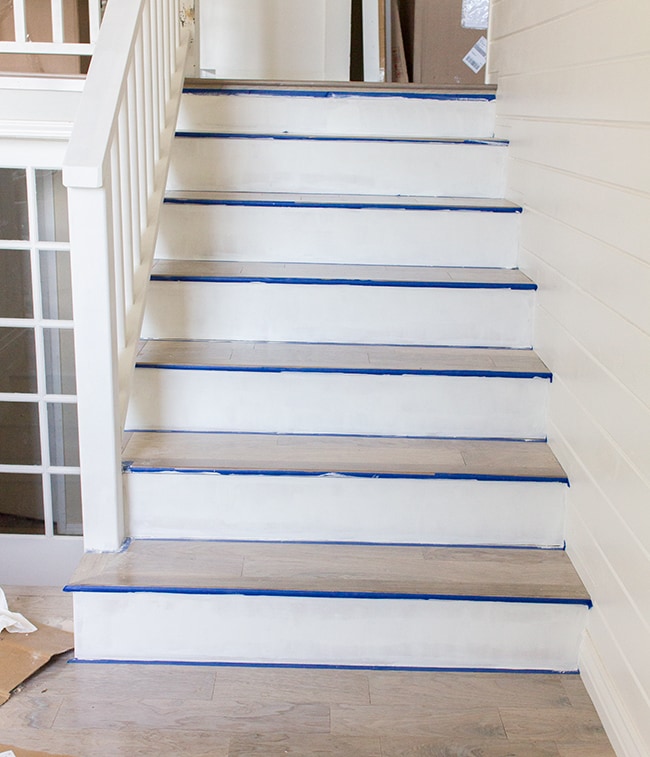
Once everything was caulked, sanded and taped off, it was time for primer (I used the BIN shellac based in the red can). Primer was necessary in this case because he used redwood which would end up bleeding through over time if it wasn’t sealed in.
Let me tell you, this whole process took for-e-ver. Definitely the most labor intensive painting project I’ve ever done. And painting is only half of it—there’s still all the prep work of puttying, sanding, caulking, wiping down, taping off, and then you have to sand between each coat, then wipe it down again, then touch ups, and messy oil clean ups and there’s so many hard to reach areas… I had to take many breaks just to keep my sanity.
Here’s a coat of primer on the top railing:
I did two coats of primer to be safe. It doesn’t cover completely, but enough to block the wood grain from bleeding through.
All primed and prepped for paint!
On the stair risers I didn’t bother with primer first as it was a different type of wood, just three coats of paint worked great.
I used a foam roller as much as possible for a smoother finish, and then a short handled brush along the hard to reach places.
After four days of many long hours of work (I literally just finished touchups an hour ago)… this project is finally OVER!
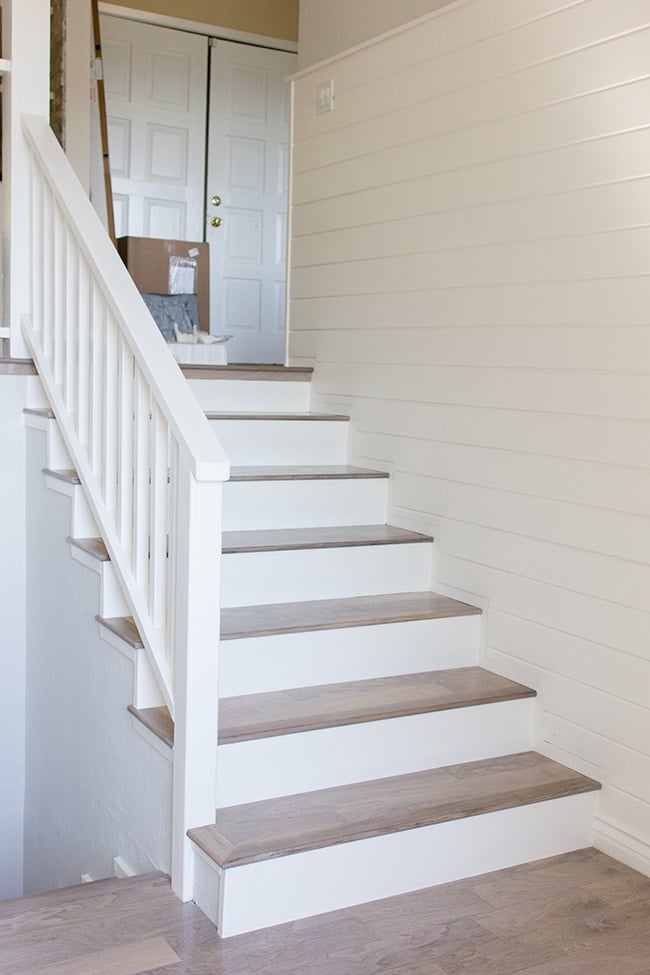
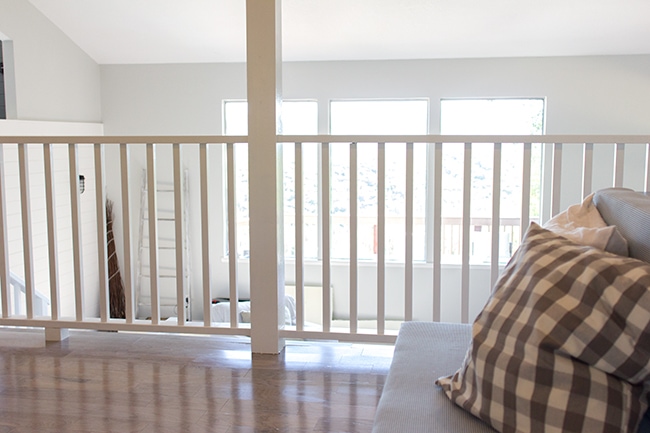
FYI, it may not look like it from the photos but all of the whites in the house are the same color (Kelly Moore’s Swiss Coffee).

The railing is semi gloss and plank wall is a satin finish, and it’s actually Valspar that I color matched to the white trim.

Here’s how the bottom set of stairs looks from below:
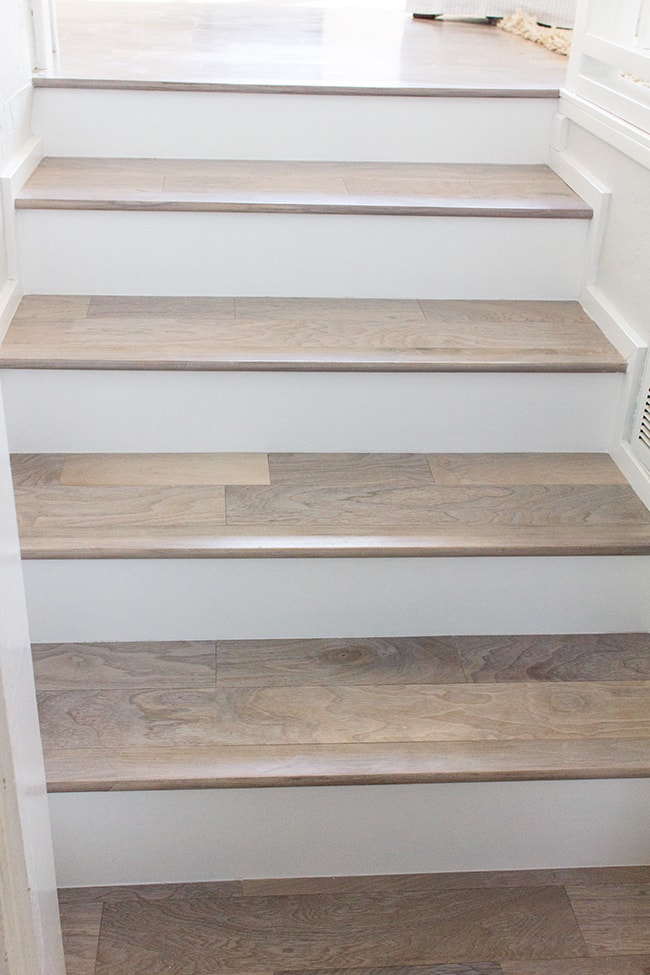
I just love how nice and fresh risers look when painted white (let’s hope they stay that way!).
Don’t mind the messes in the background…
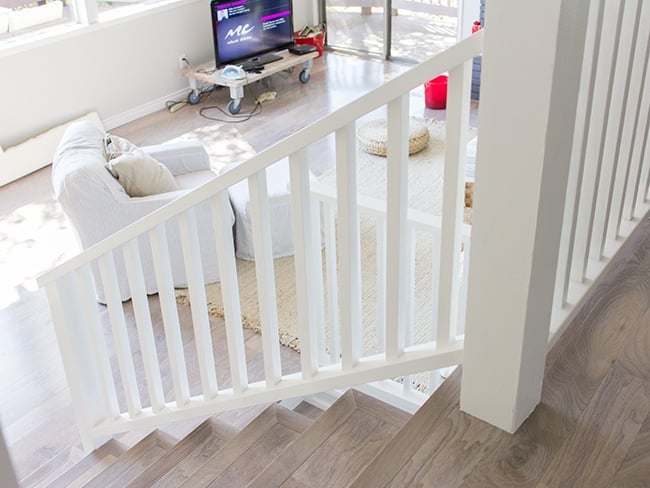
Such a huge improvement in the kitchen.
What a difference it makes, really. The old railing was not doing the room any favors.

It’s a much nicer view from the banquette seat.
And my favorite part—the before & after!
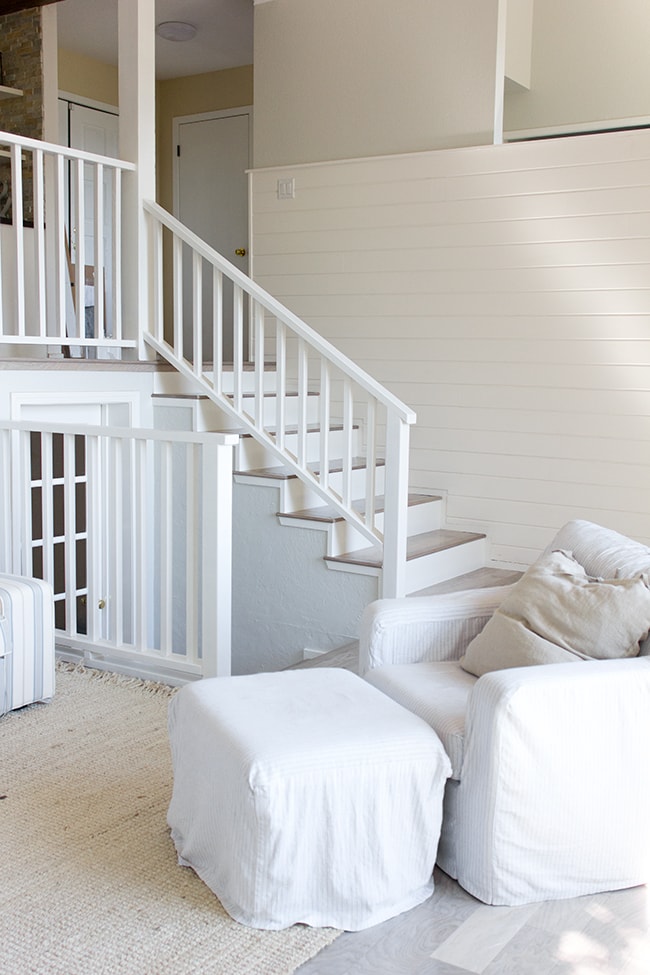
We still have a long way to go as far as new furniture and decorating the living room, (it’s looking a little too monochromatic in there for me) but I think the most challenging part is over. Huge sigh of relief.
I’m actually picking up a piece of furniture for the plank wall today, so I’m excited to get the ball rolling on that. We’re cramming in lots of projects over the next couple weeks—more kitchen progress next time!


Colleen says
I LOVE the color of the hardwood floors. I have been looking forever for something and that’s it. Can you tell me the manufacturer and type of wood and color or product color. PLEASE I beg you?
Kristen Dockery says
My husband and I are in the process or remodeling our home and something that we didn't really think about was our stair railing. After coming across this article and seeing how great and easy stair railing was to install, I can't wait to get it done. Do you have any tips that you found easier to install the railing? I would love to hear them so that we can get this done fast and see how it turns out. https://www.reevesfence.net/index.php?option=com_content&view=article&id=4
mrsben says
Thank you Jenna Sue for your reply and HAPPY NEW YEAR TO YOU. ☺ -Brenda-
Jenna Sue says
The wood we bought was specialized and there's no way to duplicate the finish, so we had to install it over the plywood floors—along with the stair nose which was insanely expensive!
mrsben says
Love the upgraded railing as IMHO it is in keeping with the other upgrades that you have made which BTW are to be applauded as you have worked so hard and have done a beautiful job!
Changing the subject slightly, regarding the staircases I noticed in the before picture they were carpeted so did you have the step portion(s) recapped with hardwood when the floors were done or were they previously hardwood and just refinished to match? Sharing the information would be sincerely appreciated as I have two 7 feet wide staircases that I am hoping I can get away with just recapping rather than replacing both of them in their entirety. Thank you!
-Brenda-
Brandy in Nashville says
This really looks great! I love it!!
Crystal says
Wow it looks fantastic you should be so proud of how far your house has come.
Mercedes says
Awesome, awesome, awesome!
Sarah says
Wow! It looks awesome!
Erin says
What a crazy difference! Looks so so good.
Katie {Little House of Four} says
Looks great and what a huge improvement!
Angela Santaniello says
It looks so much better and the clean, simple lines was definitely the way to go. I bet it is a huge relief to have all of that painted!!!
Angela @ Number Fifty-Three
Emily Gabrielle says
That new railing makes such a difference! It looks so good, I love it!
Lisa @ Fern Creek Cottage says
What a HUGE difference the new railing makes!! So beautiful!
Emily says
Such an improvement! That looks sooo much cleaner and better.