Thank you all so much for the sweet comment’s on Friday’s reveal post! It’s a shame I won’t get to enjoy this bathroom for very long… but it’s all about the journey along the way, right? 🙂
When planning this renovation, I didn’t have a set budget in mind—but as with every improvement I make, I always do what I can to achieve the maximum impact while being as resourceful as possible—and this room was no exception.
As expected, the vast majority of money was spent on labor. I didn’t do the tile work or plumbing myself so that added up really fast. With everything else going on though, it was something I was willing to hire out to save my sanity and stay on deadline.
Let’s dive right in, shall we?
Barn door hardware: Ebay (handle from Lowe’s, spray painted black, and door was a DIY—click for the tutorial) I’ve bought three of these hardware sets and absolutely love them.
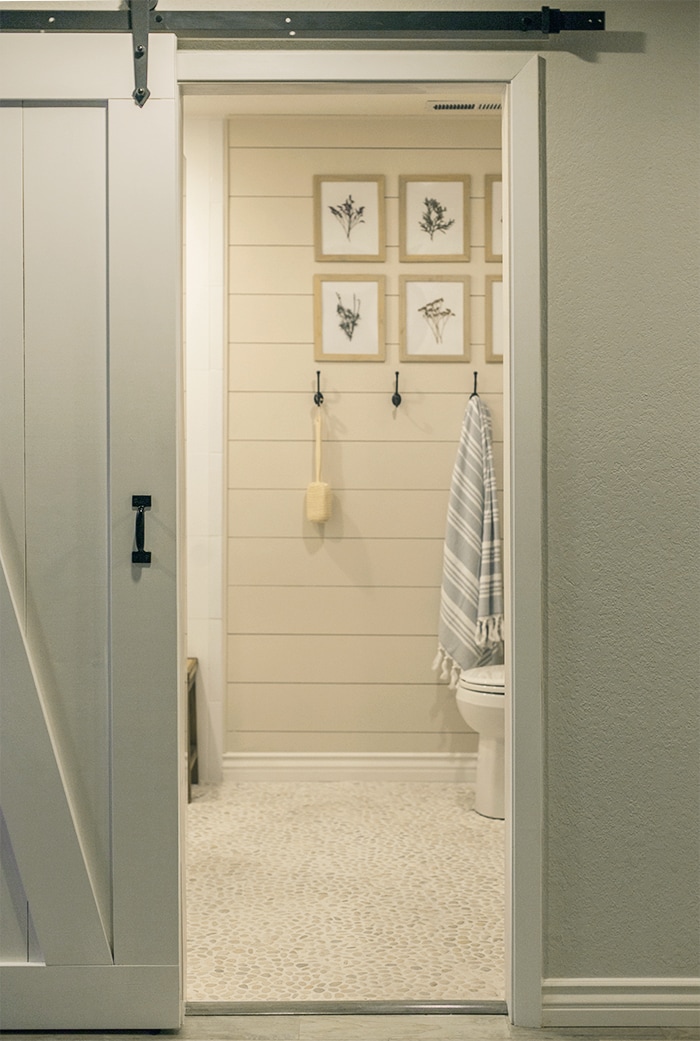
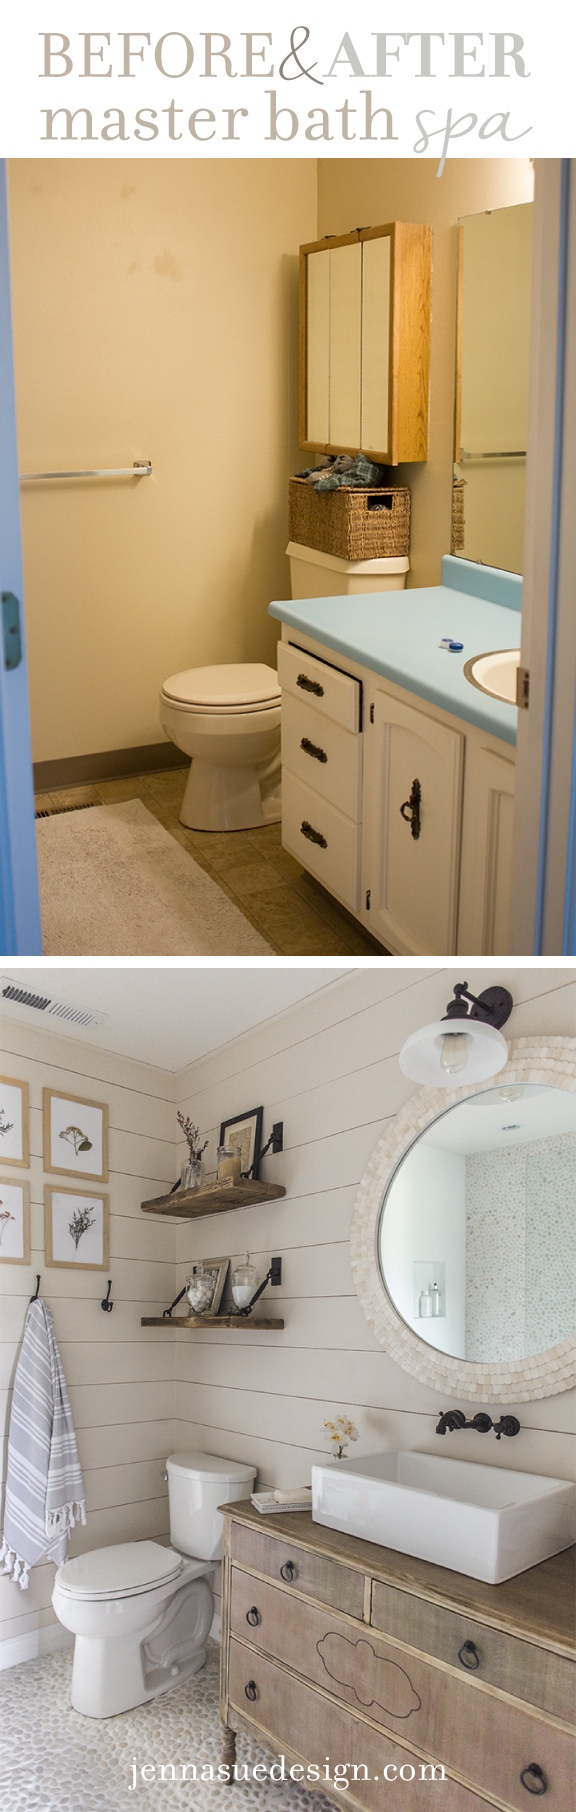
Wall color: Valspar’s Coconut Milk in satin (from their signature line) Barn door & trim color is Kelly Moore’s Swiss Coffee color matched in Valspar.
I’ve always raved about the quality of Valspar Signature and this time is no exception! I selected the wall color from the stones and I think it was a pretty perfect match.
Vanity: Refinished dresser from a local thrift store (tutorial here)
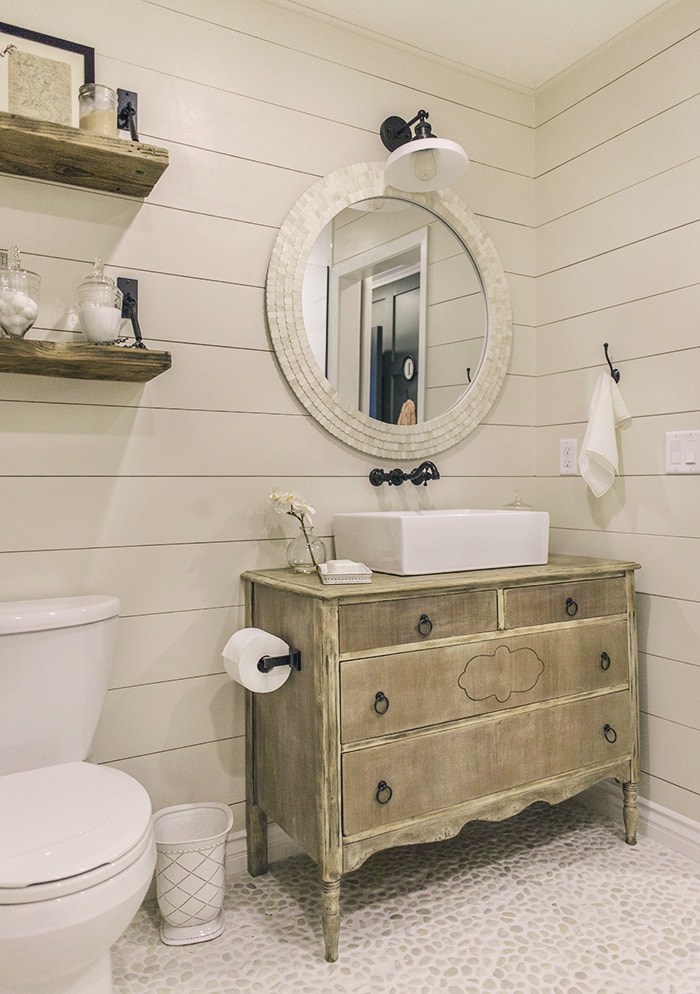
Ring knobs: Ebay
Sconce light: Discontinued, similar here (only $30!)
Mirror: Discontinued, similar here
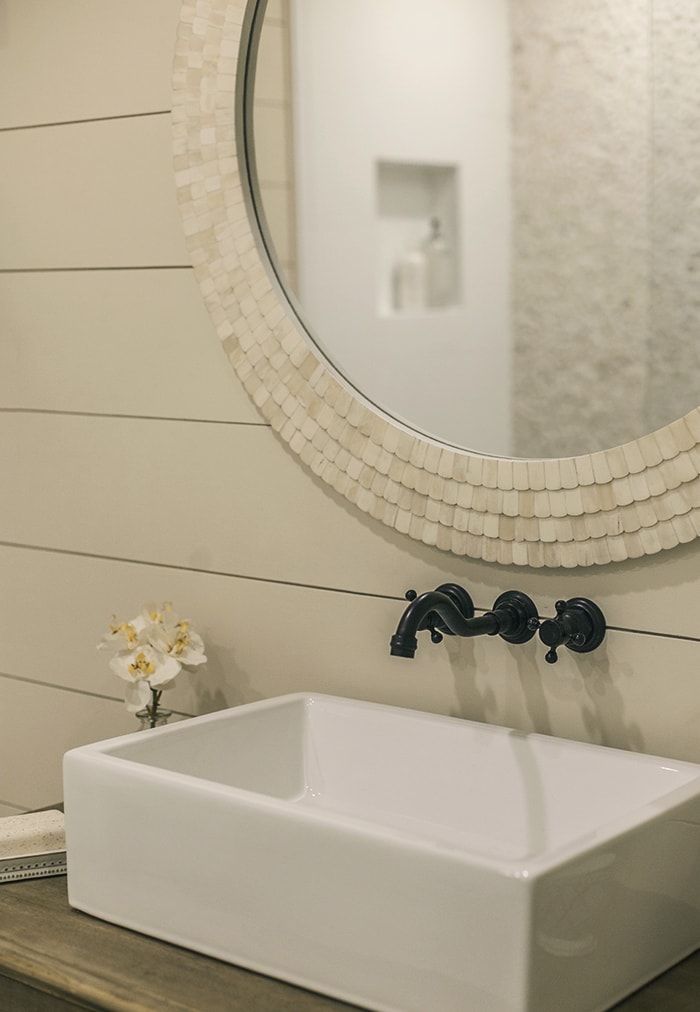
Sink faucet: Ebay (I have the same one in gold in my guest bath, love these!)
Sink: Wayfair
ORB TP holder: Ebay
Orchid: Birch Lane
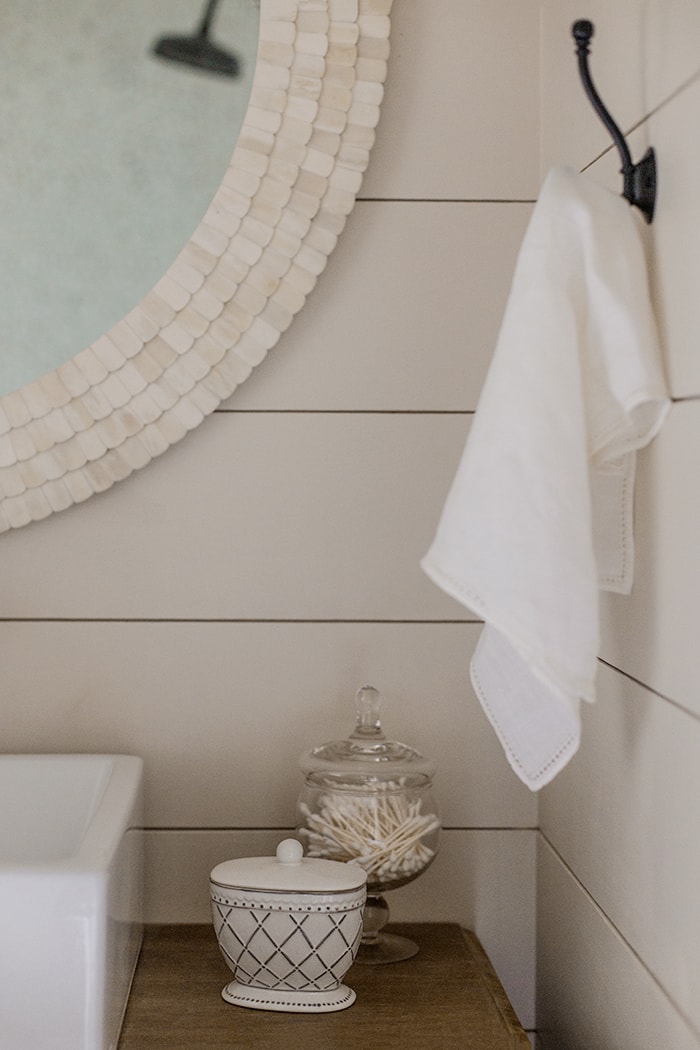
Soap tray, wastebin and jar set: Birch Lane
Apothecary canisters: Birch Lane
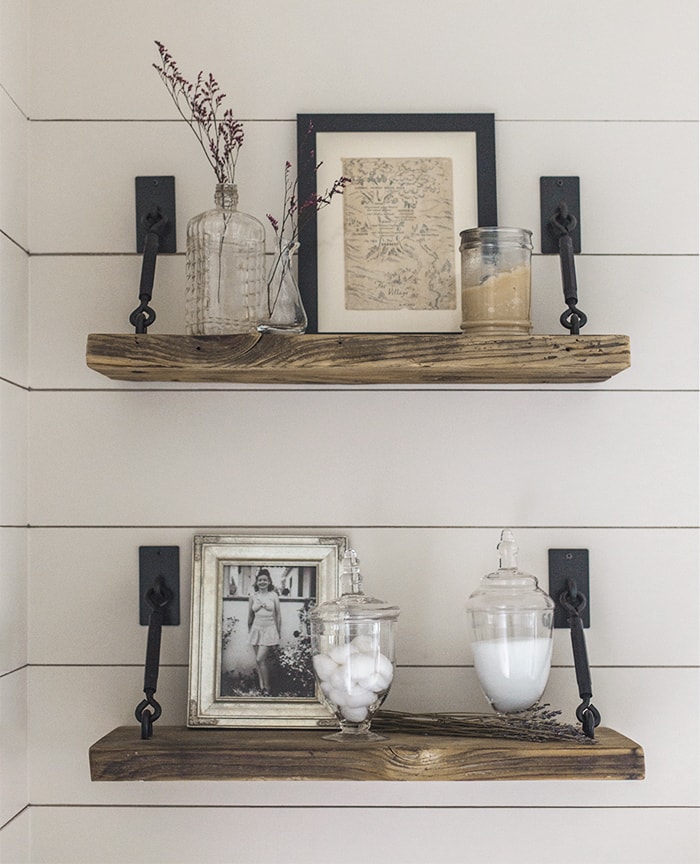
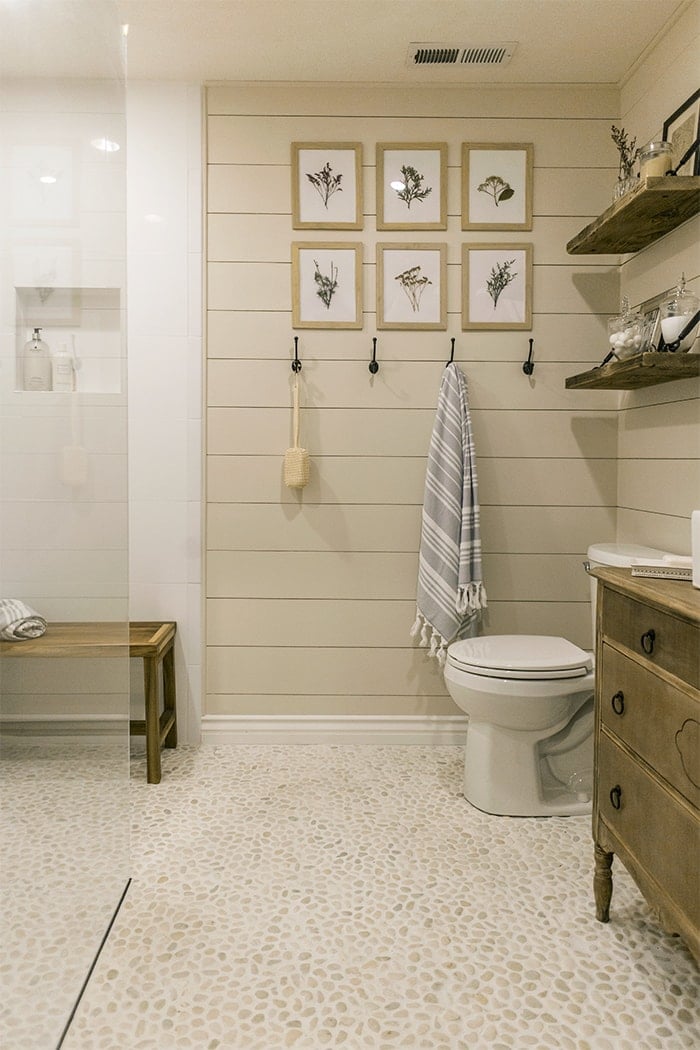
Turnbuckle shelf brackets: Silicate Studio (these come in multiple finishes—aren’t they awesome?)
Wood: Found in garage, no stain or finish used!
Frames, bottles, dried flowers: Pulled from storage
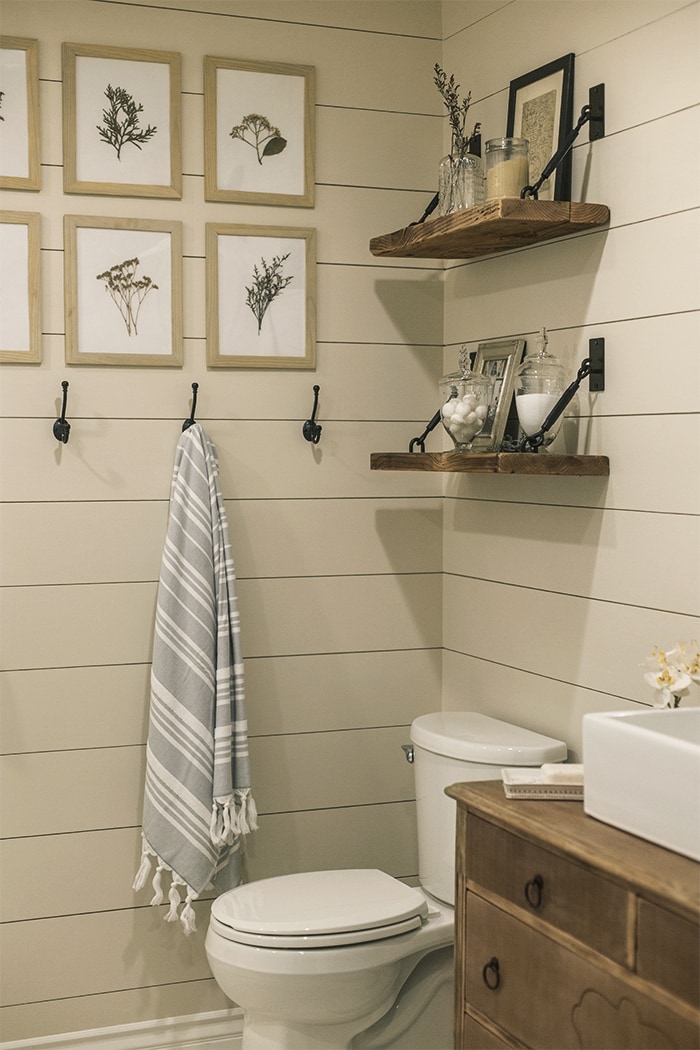
Hooks: Lowe’s
Wall frames & art: Old from Ikea, DIY
Toilet: Lowe’s
Towels: Similar here
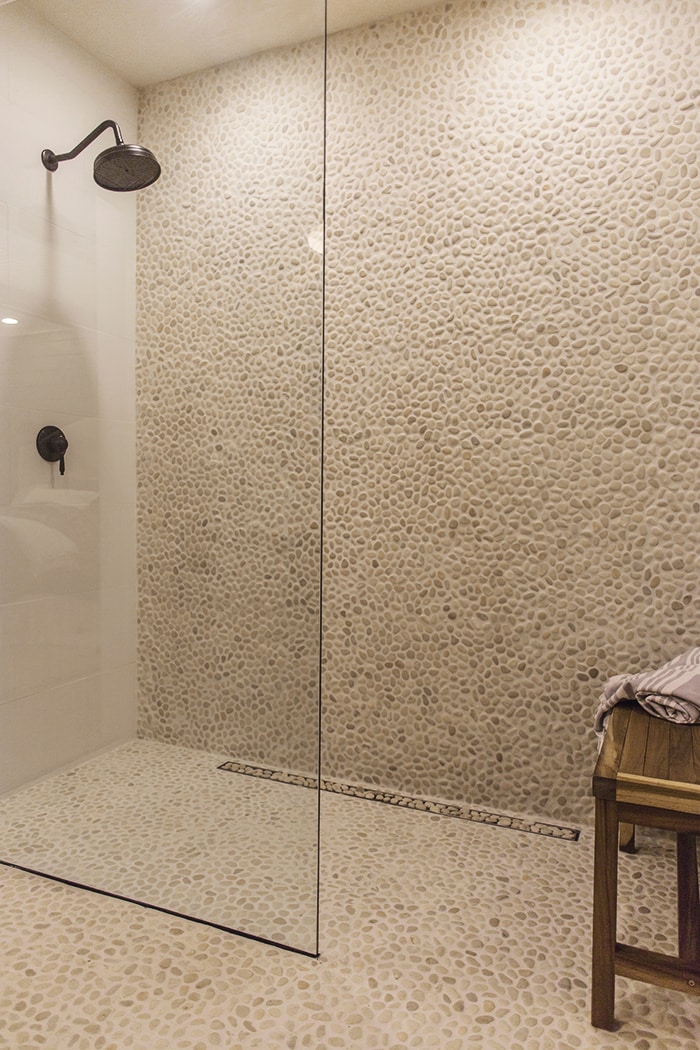
Teak bench: Wayfair
Shower head/faucet: Ebay
Glass shower panel: NorCal Glass (local)
Linear drain: Ebay
White ceramic tile: Imperial Bianco 12×24″ and coordinating 2×12″ bullnose from The Tile Shop
Pebble tile: 12×12″ Small White from The Tile Shop
Without a doubt, the pebble tile is the star of the show and I designed the room to make sure they were the focus. I loved working with The Tile Shop and allowing them to help me sort out all of the details to make the process as painless as possible (read all about that in my tile post), and because of that they have my stamp of approval and recommendation to you guys. And, If you’re planning a bathroom remodel—good news! They’ve given me a 15% discount to pass along to my readers…

It expires at the end of the month so don’t put it off! I know I’ll be using them again for future remodels 🙂
Now for the budget! As mentioned earlier, hiring out took up a huge chunk and my contractor costs came to just over $5,000. That includes demolition, drywall & patching, electrical, plumbing and all of the tile over the course of around two months.
Materials were around $1600 and accessories came in at around $600 thanks to bargain shopping at thrift stores, Ebay, pulling items from storage and sponsored discounts. The grand total came in right around $7200.
Even if I don’t get to live here for much longer, someone else will get to love this space soon. It was worth every penny and hour spent.
I hope this post provides some inspiration for your next bathroom remodel, or at least to understand my process a bit more. If there’s any other questions, let me know in the comments!
This is my last bathroom for now, but I still have a guest room and downstairs before & after to show you! Those will be coming soon. In the meantime, catch me on instagram, facebook, twitter and snapchat (@ jennasuedesign) where I share bits of my home & life each day… have a fabulous week!


Rachel Stockard says
Curious about your faucet instillation. We bought the same exact faucet from eBay to use in a bathroom addition. We have a plumber telling us it’s not actually a wall mount (?!) but made to install into a backsplash. Did you install it yourself and if so, how?
jennasuedesign says
I didn’t do the installation but my plumber installed two and never had any problems!
Sarah says
so beautiful!! i’m definitely ordering some of those shelf brackets for my bathroom! can you recommend what height and spacing to hang them above the toilet? I’m also curious how high you hung the towel hook too.
jennasuedesign says
I just hung the lowest one high enough so that you wouldn’t hit your head when sitting on the toilet. There’s no specific formula, I just eyeballed it to whatever I thought looked reasonable. Same with the towel hooks 🙂
Anne says
I loved the color variations used in your bathroom. It’s so relaxing and soothing. And among all those listed in the blog what caught my eye was the mirror. That blends so well with the rest of the bathroom. I need a mirror for my bathroom right now we only have a vanity mirror from Better Living ) https://www.dispenser.com/Valet-8-Mirror/ ) from where we also bought all the other dispensers for the bathroom.
Adrian says
Did your contractor have to re-grade the floor to drain so the water flows to the drain? We love your bath and have a similar layout…about to renovate next month! Thanks for all your wonderful inspiration!
Elisa A. says
Beautiful job! I love the walls. Can you tell me a little more about them? Are they real wood planks or a different material to resist mold? 1/4 or 1/8″ thick? Did you use a nail gun for installation? Curious how often you nailed the boards. I just love it!
jennasuedesign says
Hi Elisa, all the info you need is here! https://www.jennasuedesign.com/2016/03/diy-shiplap-tutorial-video-the-easy-and-inexpensive-way/
LJ says
This project is awesome and I have been searching high and low for photos to convince my husband that pebble tile across the entire floor (not just the shower pan) is a good choice. Are there any items you would have spent more money or time on if you were staying in the house? Do you know if you can out the pebble tile on top of radiant floors? Thank you!
jennasuedesign says
Hi LJ! Not sure about the radiant heat part (you may want to contact The Tile Shop to find out) but I would have spent more on a better fan/vent. I think that’s about it 🙂
LJ says
Thanks Jenna. Any chance you can post a pic of the barndoor from the inside of the bathroom? Curious to know how you handled the door handle on that side. Birth Lane looks amazing, cannot wait to browse!
Kelly says
Love this!! It’s so beautiful! Do you like the shower head? Thinking about ordering it for our remodel, such a great deal! And it’s gorgeous!
jennasuedesign says
Thanks Kelly! I’m actually waiting on a replacement part so haven’t had a chance to use it yet… my plumber is coming by today to look at it.
Eva @ Design Café says
You’re such an inspiration, Jenna Sue! Love what you’ve done with this bathroom, and I can’t take my eyes off that dresser turned vanity… Gorgeous
Deb says
You are so talented! I’m considering a move just so I can buy this from you!!! Thanks for always delivering such inspiring design ideas. Love that you provide your source materials and budget as well. Makes it seem tangible for us DIYers out here. Can’t wait to follow your journey some more.
Michelle | Birds of Berwick says
LOVE! I definitely want to hear more about the sliding barn door. Do you install a floor guide? If so how do you create the track in the bottom of the door? I’ve got to build one of these for my mudroom renovation I’m working on so I’m really curious! Thanks, Jenna!
jennasuedesign says
Yep! The kit comes with a guide you attach to the floor and you have to route a channel into the bottom of the door for it to slide through.