You may have heard the news on instagram that our laundry room is FINISHED!
Well technically, our sink plumbing still needs to be hooked up (which we have a plumber lined up this week) but for all intents and purposes, the room is picture-ready and we had a photoshoot (with the help of my neighbor and his fancy camera) last week. I’m dying to show off those photos, but first I wanted to share the not-so-fun experience of tiling and grouting, and pass along everything I’ve learned which will hopefully save you some headaches if you’re planning to DIY your own tile.
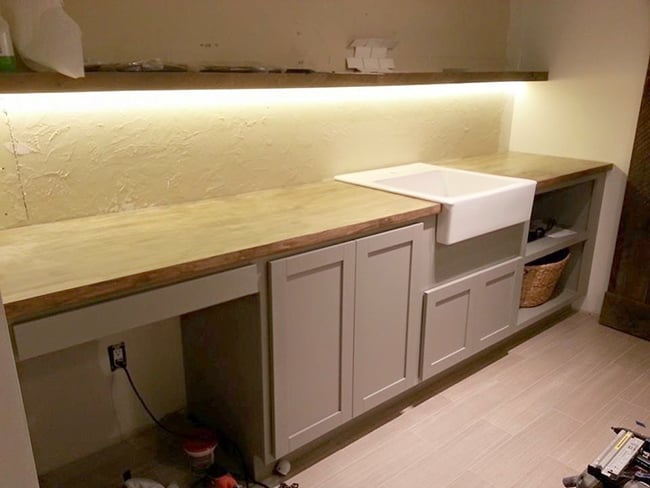
Here’s how we left off last week after the cabinets, counters and sink had been installed:
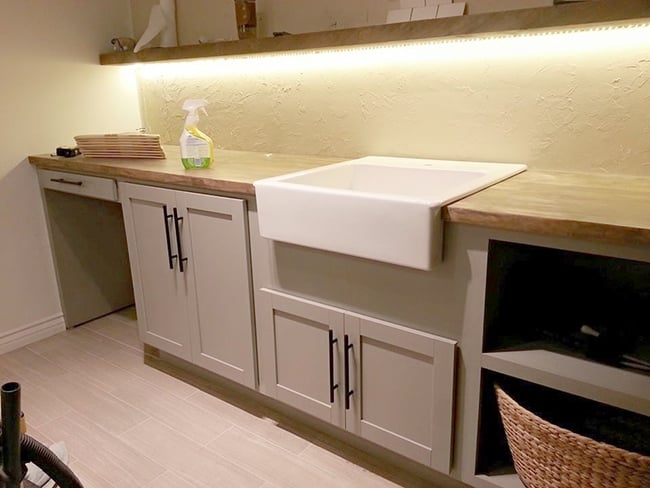
Before tiling, we went ahead and installed our drawer pulls. One of my favorite sources for inexpensive pulls is Ebay—we saved a ton on our kitchen cabinet hardware and it’s always the first place I check for any project. I found these for just $2.90 each, total bargain!
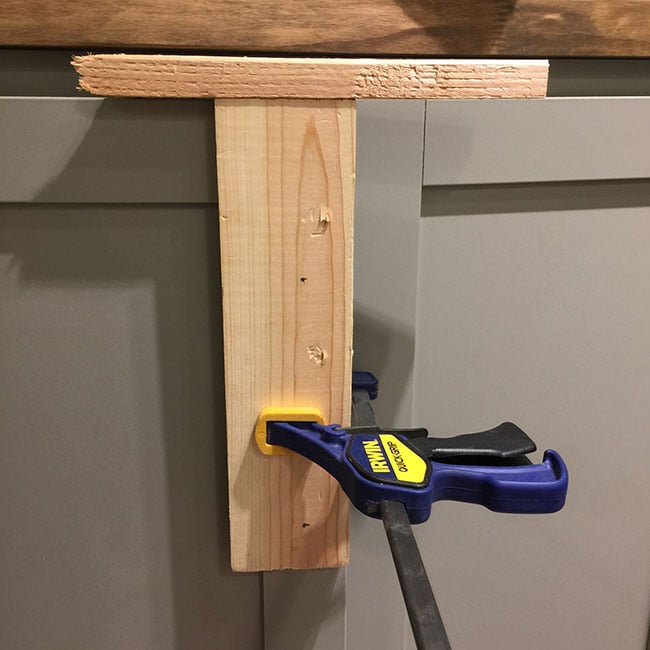
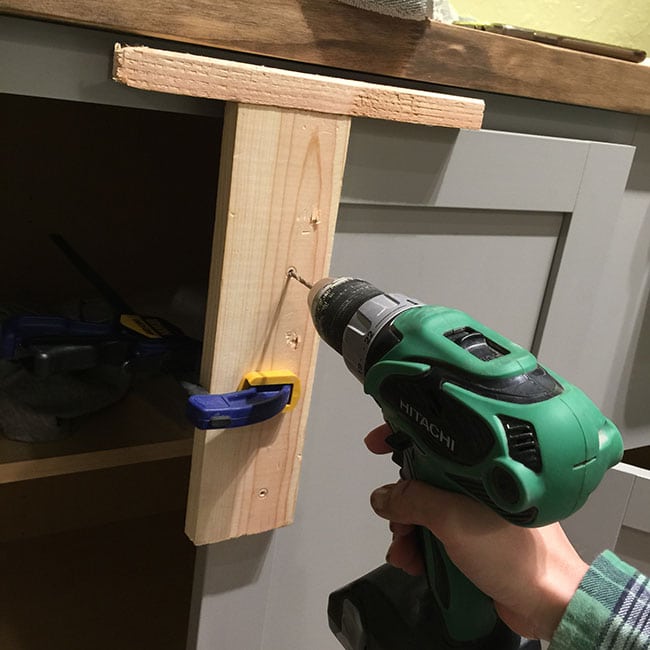
If you’re installing more than a few, an easy way to make sure they all line up equally is to make a jig. Brad put one together using two pieces of scrap wood.
We just set it on top of the door, measured the distance between the two holes on the handle, marked it on the wood and clamped it down tight. Then I drilled straight through each hole.
Once the holes are drilled, you just remove the jig, slide the screws through the back and into the handle from the front, then repeat for each door. Fast and easy!
Now, let’s move onto the bigger stuff—tiling.
I wanted something classic, timeless, inexpensive and straightforward to install, so subway tile was the answer. I used the same 12×12″ sheets from Lowe’s as we used in the kitchen—remember that install?
It was quite the task to take on for our first tile job ever, but in the end it wasn’t so bad and I definitely felt more comfortable this time around (now that we have three big tiling jobs under our belts).
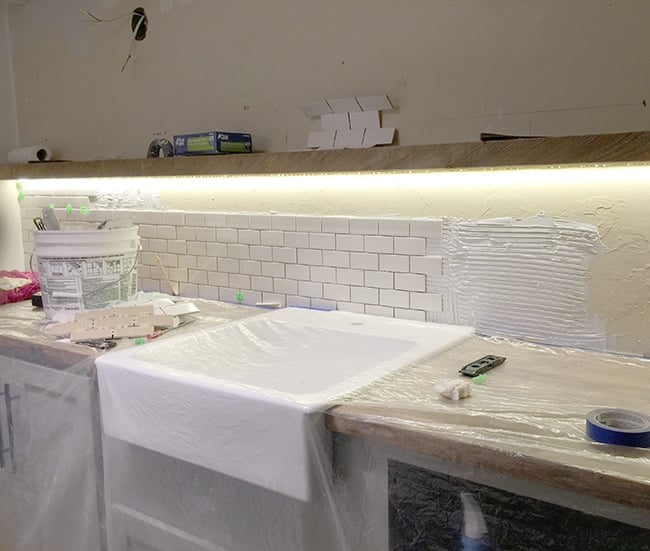
Tiling is very messy so preparation is important. We were nervous about ruining our butcher block counter (even with 3 layers of poly) so we taped plastic around it to protect everything.
We had a large bucket of mastic leftover from our laundry room floor tile which we were able to use for this job as well.
Tip: Mastic the pre-mixed stuff in a bucket so it’s easier to use than thinset which is powder you mix with water, however they are not equal. Mastic is designed for areas that aren’t heavily exposed to water. When tiling a tub/shower surround or wet areas like bathroom floors, thinset is recommended (and even used exclusively by many contractors).
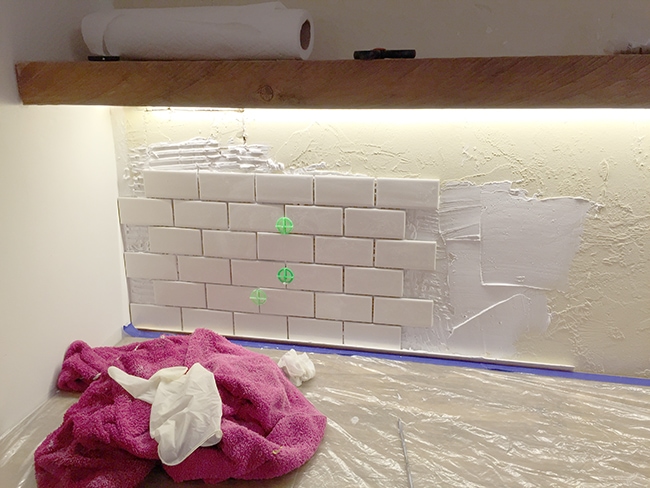
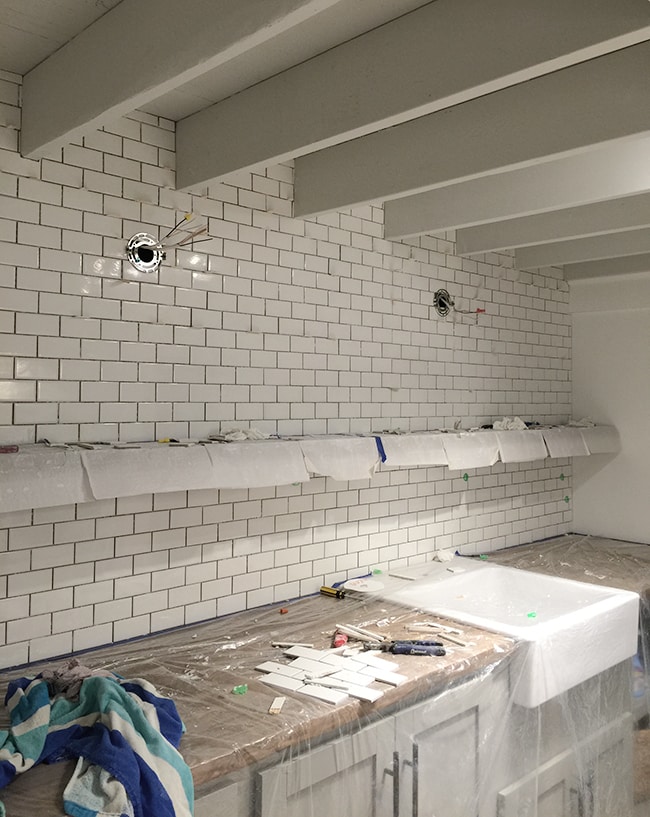
We began tiling Easter Sunday morning, starting in the bottom corner and this part went fast.
Tip: Leave a small gap at the bottom of your first row for caulk. Use a level to make sure the tile is straight and don’t rely on the surface below. Since our cabinets were professionally installed, they were fortunately already level.
No cuts yet—this part is easy!
It’s helpful to assign duties during this process. Brad was the official tile cutter and deliver-er and I measured, marked and laid the tiles. We had the bottom section finished in about an hour. Teamwork!
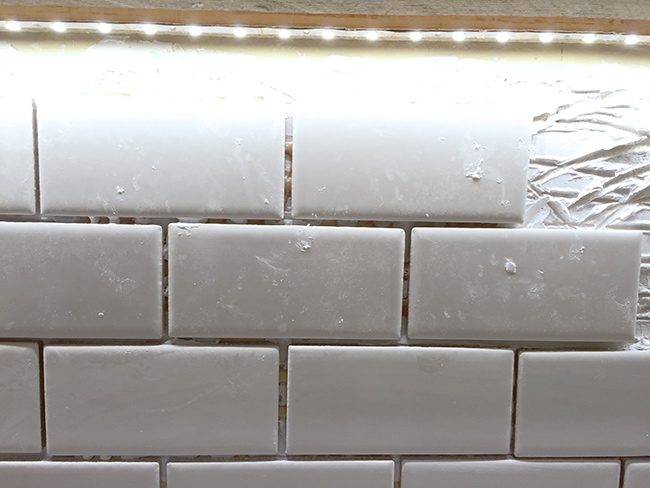
Important Tip: Wipe the mastic off as you go! Once dried, this stuff is a pain to remove and will be stained the color of your grout. Scraping it off is not fun and your nails will hate you.
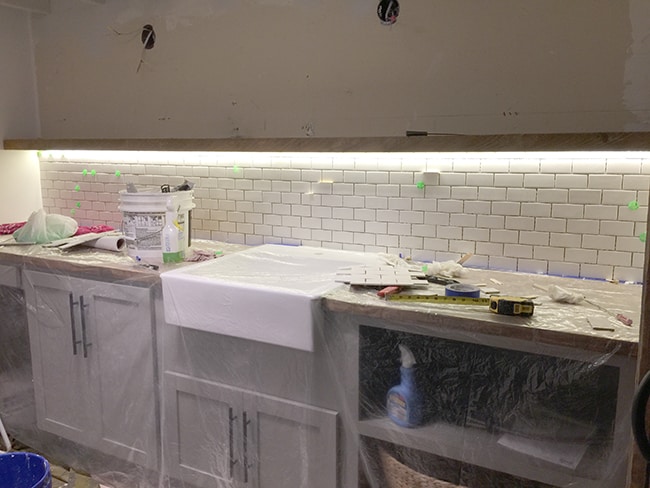
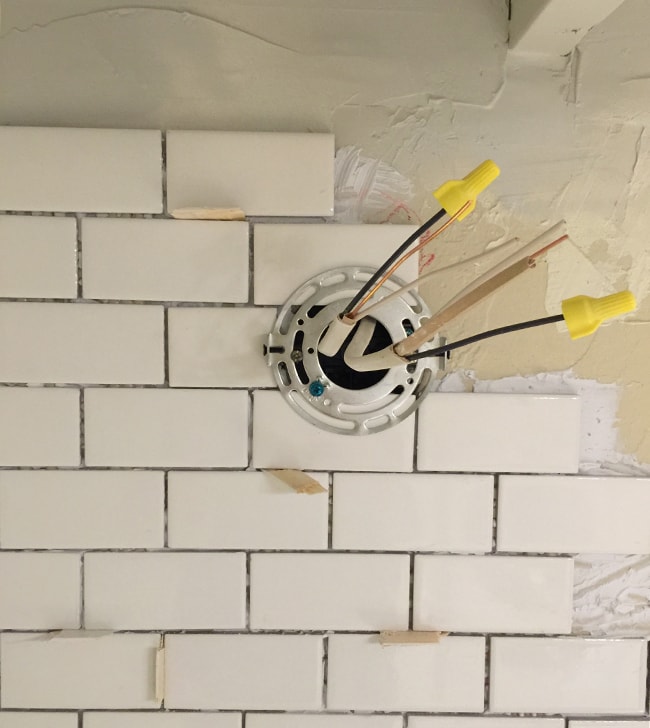
The top section was a repeat of the first, but there were a few obstacles in the way. We tried to cut around this light but curved cuts weren’t an option so we ended up tiling underneath instead.
Also… don’t run out of spacers midway through. We had to use broken pieces pieces of scrap wood, a few of which got stuck in between the tiles after the mastic had dried.
Cutting around all the ceiling joists was a tedious job but it had to be done. I didn’t plan on using trim to cover any mistakes so things had to line up pretty perfectly. We wrapped up just in time for Easter dinner with my family. #Worthit.
The next day it was time for grout. Tip: Save yourself an extra step and buy grout with the sealer built in! Trust me, it took us all night to seal our kitchen wall.
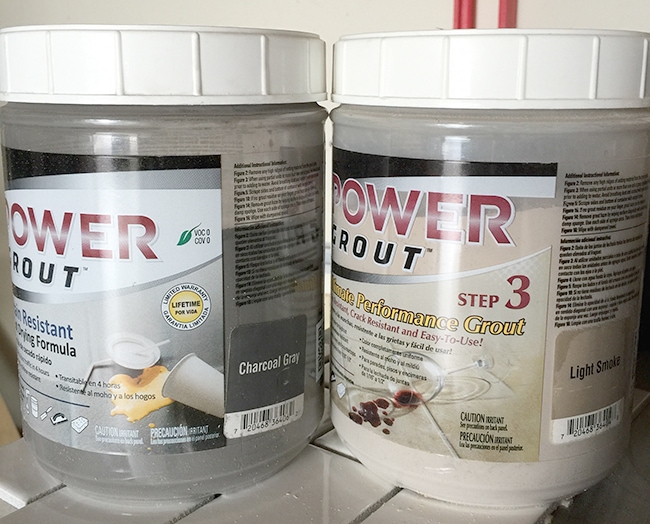
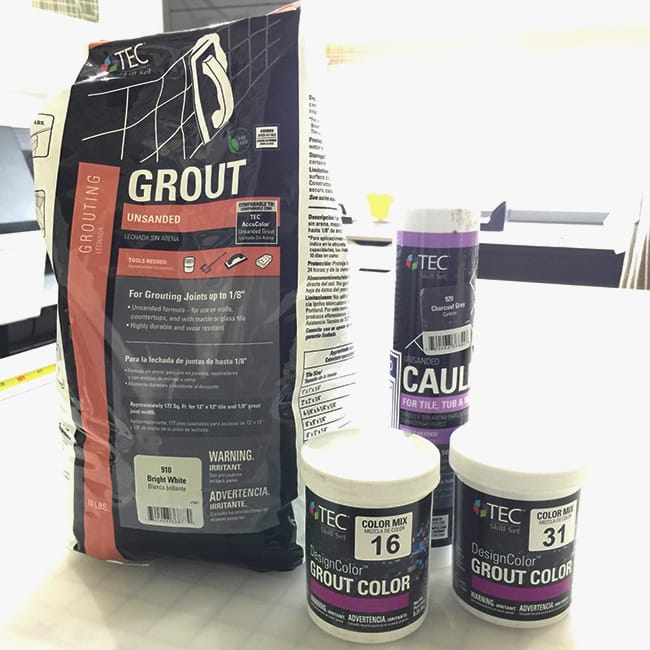
We had purchased our grout at Lowe’s with the tile, and at the time they had a very limited selection on the shelves. I wanted something medium-dark but not too dark, and found Charcoal Gray but there was only one tub left. Then I saw Light Smoke and thought if I just mixed the two, it would be the ideal color! Perfect solution…. right?
What I failed to remember is that we also needed to order the special color matched caulk for where the tile met the walls/ceiling/counters. And I also failed to read the instructions carefully because both tubs combined wasn’t enough to cover the wall.
Of course, I didn’t figure all this out until after we had started grouting. And then it was too late. Did I mention grouting is my least favorite part? I’d rather tile all day.
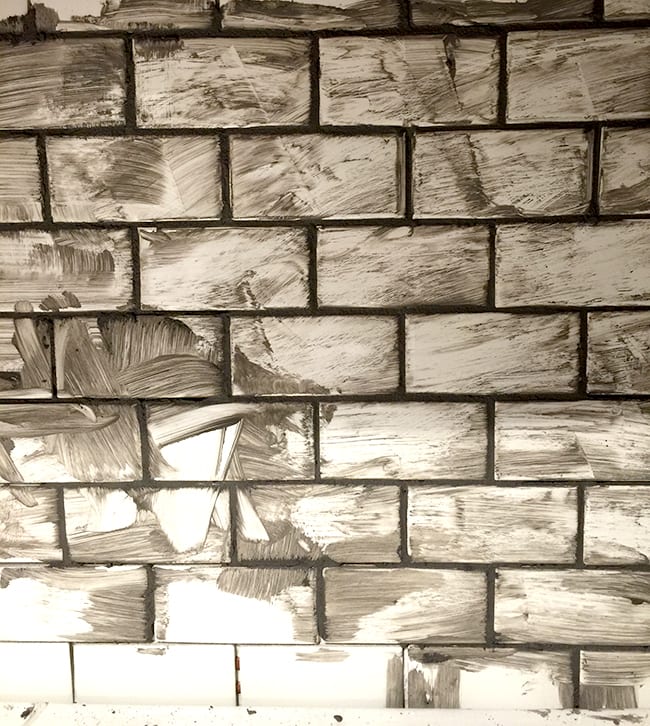
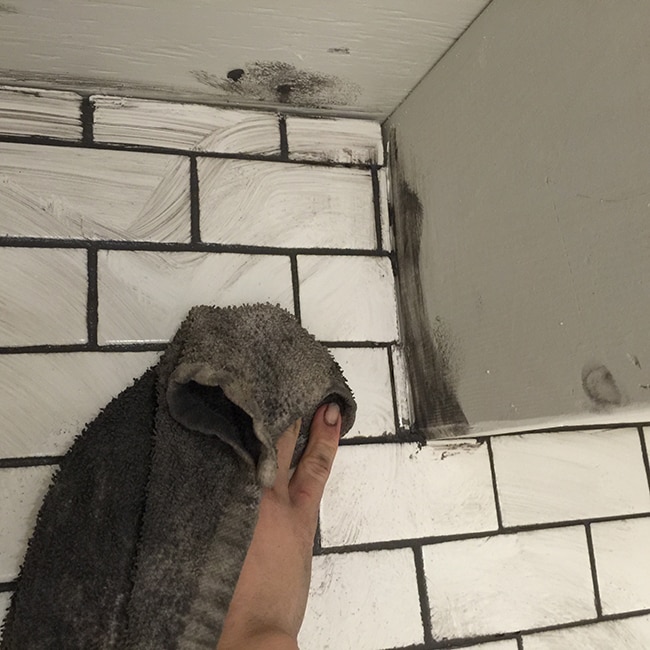
It’s messier than tiling and especially so when you’re using a dark color.
The Light Smoke colored grout didn’t make the grout any lighter… just more brown, so that experiment pretty much failed.
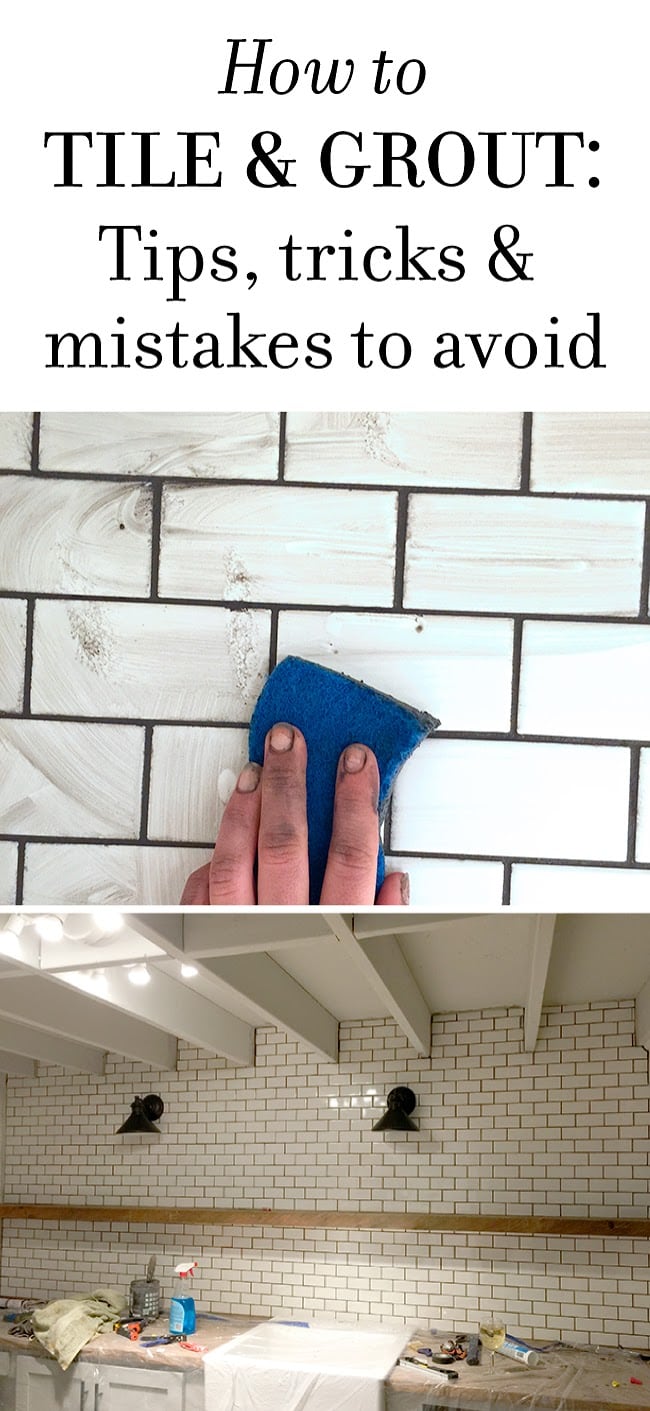
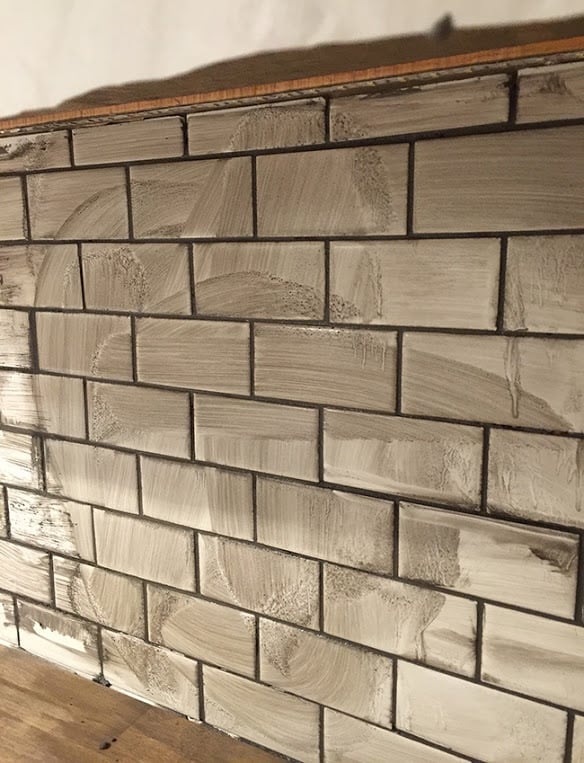
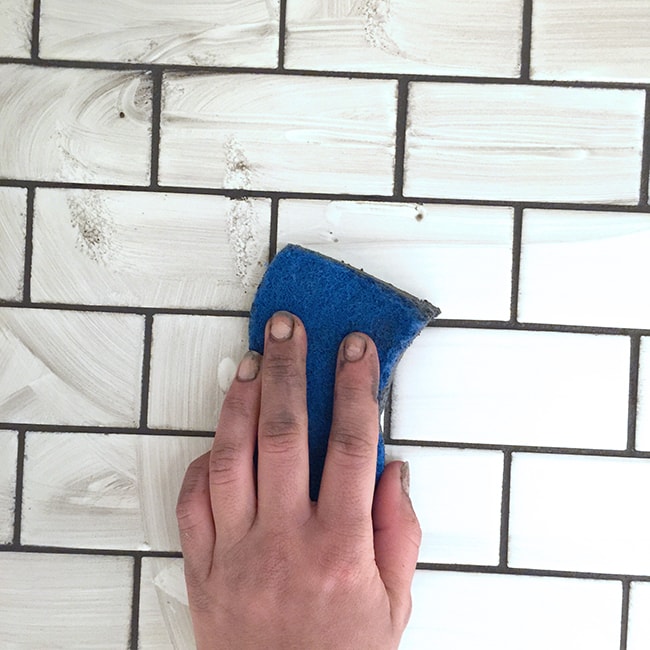
Grouting is time consuming because it’s impossible to keep your sponges clean. We had four sponges and a rag and after wiping down one tiny section, our bucket was full of muddy water and we had to keep emptying and refilling it (and there was no sink nearby).
We tried to conserve our grout in hopes we could stretch it out to cover the whole wall, but by the time we got to the upper section, we knew there was no way we were going to make it. I immediately called Lowe’s to find out if they had any more Charcoal Gray and Light Smoke and they had neither. Not sure if this a nationwide thing, but Lowe’s had pulled all of their old TEC product of their shelves and will be rolling out a new line of grout/mixers/caulk etc in the next couple weeks. Their new grouting system uses (at least some of) the same colors but they are color additives that you mix with a white base. Luckily I was able to find the additives in the two colors I needed online, but they didn’t have any of the white base so I bought some plain white grout to mix them with and hoped for the best. I also found the colored caulk in Charcoal Gray and hoped it would be a close enough match.
Fortunately, you can get away with a lot of color variation without noticing when working with thin lines (the same is true in art/graphic design) so I was hopeful that it would all look the same even though I was using completely different formulas.
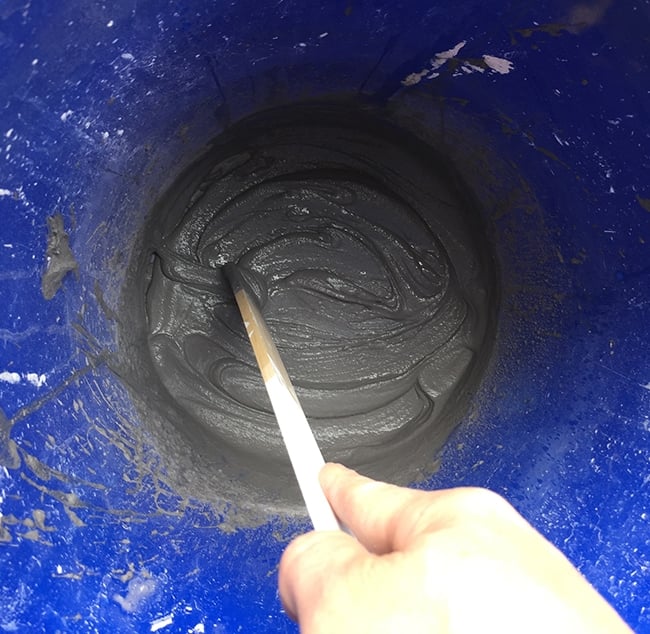
I felt like a chemist—mixing together different bits and pieces of powder to try and get the perfect match.
Once I was happy with my color, I resumed grouting and was pretty relieved to find that there was no visible difference from the old grout. Major bullet dodged.
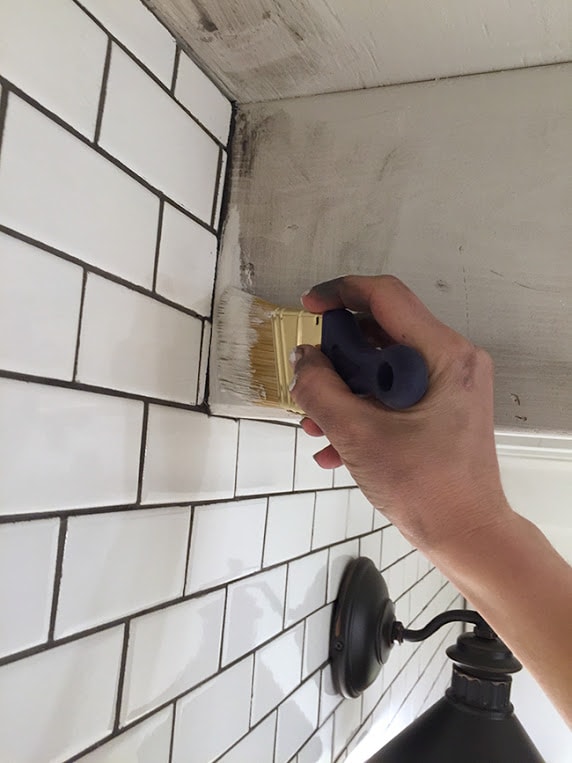
Did I mention how messy grouting is? You can’t avoid getting it all over any adjacent surfaces. Just accept that touch up paint will be involved.
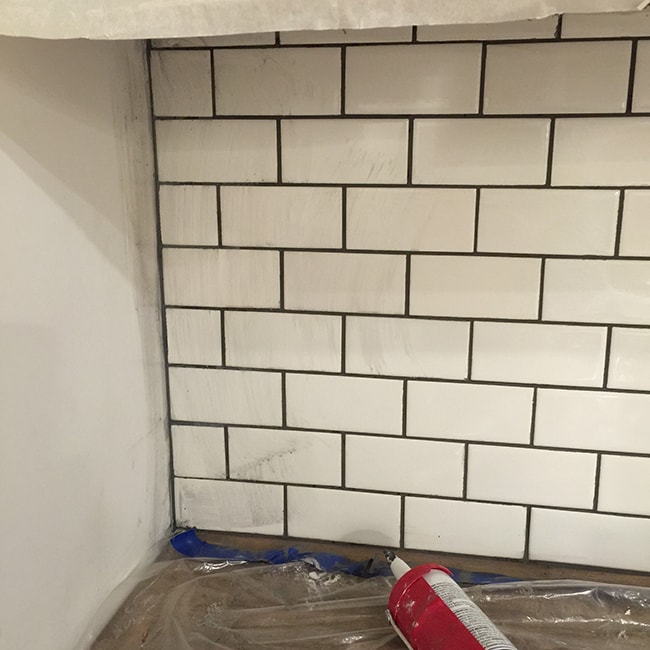
I was most nervous about the charcoal gray caulk not matching, but that actually worked out quite well too…
See it along the edge of the wall? It came out of the tube lighter but dried darker. It all blended together once the job was finished.
I know they make those big yellow sponges for grouting, but I found that my small dish sponge worked 10x better to clean the grout residue.
Also, tip: wear gloves unless you want a grout manicure for the next week.
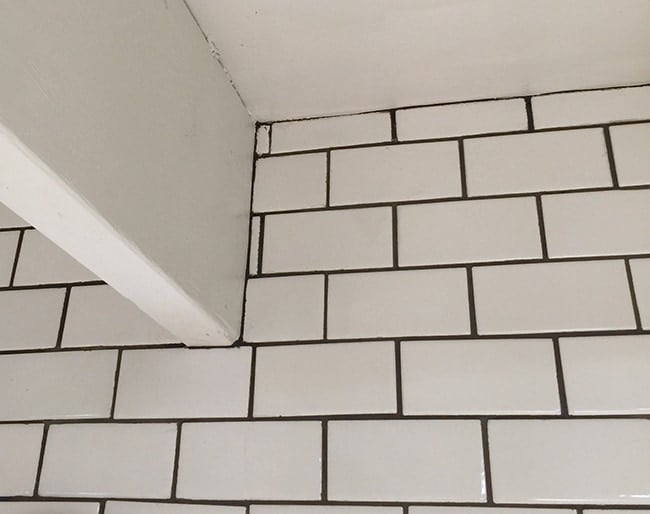
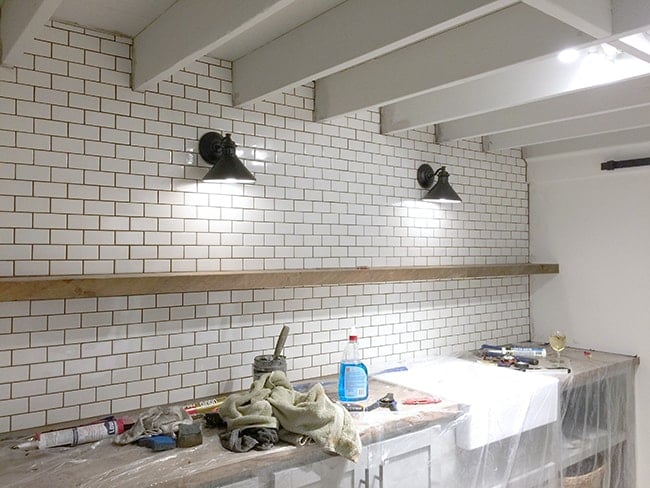
This tiling/grouting/caulking around each joist situation was tricky but I thought it worked out quite well.
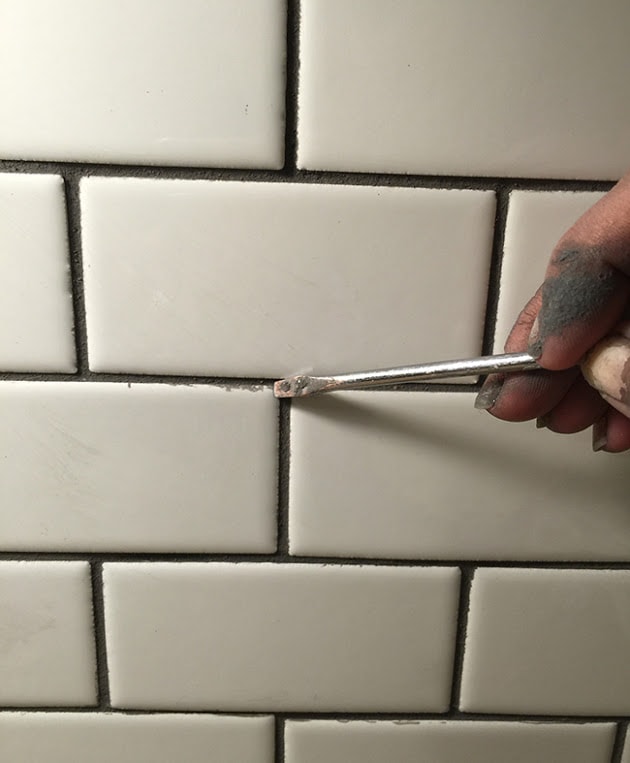
Our efforts to clean all the mastic off before it dried really paid off. We were left with just a few touchups around the edges which I scraped off with a screwdriver.
All that was left to do was a couple coats of touch up paint!
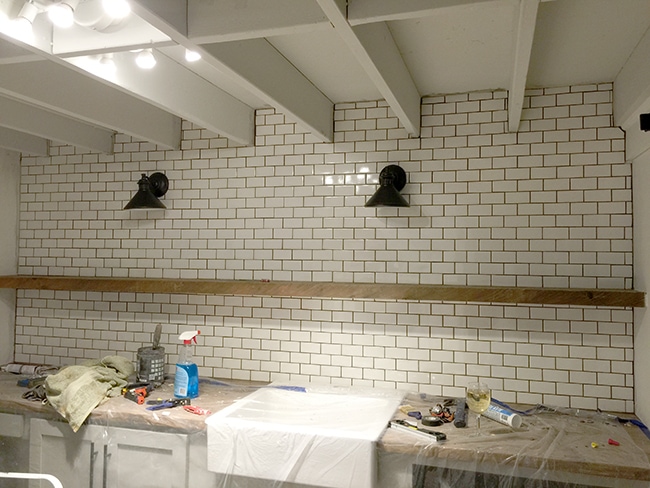
And finally Brad installed our sconces. Three days of work here… no pain, no gain right?
Apparently I forgot to take these photos after the paint had been touched up, so ignore that part!
Clearly this wasn’t our best experience/easiest DIY but projects like these are really what makes you learn and grow—and appreciate the room a whole lot more once it’s done! It has been a week now and I still pinch myself each time I walk in. I honestly can’t wait to show you the Afters of this room next Monday… definitely the best photos we’ve had of any project—and of course the BIGGEST transformation of any room we’ve ever done. This is going to be one for the records, folks.
Before the reveal, I’ll be back here on Wednesday with the latest on our One Room Challenge guest bathroom! Now that the laundry room is out of the way, we can devote our full attention to getting this thing done. Three more weeks—ack!








Emilee says
What color of paint did you use on your walls, and cupbiards? Also what color is your tile?
Jenn says
I love this! We are about to tile our shower with subway tiles and dark grout and I really appreciate your tips & tricks! Yours turned out great!
Jill says
What size of tiles did you use?
jennasuedesign says
Hi Jill, they are 12×12″ sheets.
Jackie says
Wow great job, i will be attempting to tile my kitchen this week. I will be using your the tips.
Thanks for sharing
Kerri Kelley says
What size spacing did you use on the tile?
jennasuedesign says
I think it was 1/16″ but 1/8″ is fine too!
Paige says
The new laundry room is coming along really nicely. I can see how grouting can be really frustrating and time consuming, but the subway tile looks great!
Stephanie Smith says
This is such a lovely room you completed. I absolutely adore the wooden counter tops and dark grouting, it really pops and brings out the white tiles. I’d love to attempt something like this; thanks for sharing your experience and what not to do!
Drew says
I had no idea how messy grouting was. I’m glad I know now so that I can be prepared. The laundry room looks great!