Quick note first on Monday’s reveal—thank you all so much for the amazing, sweet, heartfelt feedback! It was by far the most liked/shared/commented on space we’ve ever done, and it’s so rewarding to know that something you worked so hard on for so many days and nights is appreciated by and inspiring to others. It’s really a motivating factor to keep doing what we do (along with being able to enjoy the space for ourselves, of course 😉 Back to your regularly scheduled programming:
Welcome to Week 4 of the One Room Challenge!
Make sure to familiarize yourself with Week 1, Week 2 and Week 3 before reading—we have a lot to catch up on since last week!
The first few weeks have been focused on getting a design plan together, demo, and ordering everything we needed. Between this new bathroom and the laundry room (and tax day, ouch), it has been quite an expensive month for us! That’s why we’ve been trying to DIY as much as possible—but when you’re on such a short timeline, it can get pretty stressful. I’m used to working on projects over the course of a few months but this one has us both working double time and having to make lots of quick decisions.
One of those decisions that has been stumping me for a while is paint colors. I thought I had it figured out but I changed my mind, and ended up at Lowe’s buying samples four days in a row! After this experience, let me tell you, I’ll never paint a room again without getting samples first.
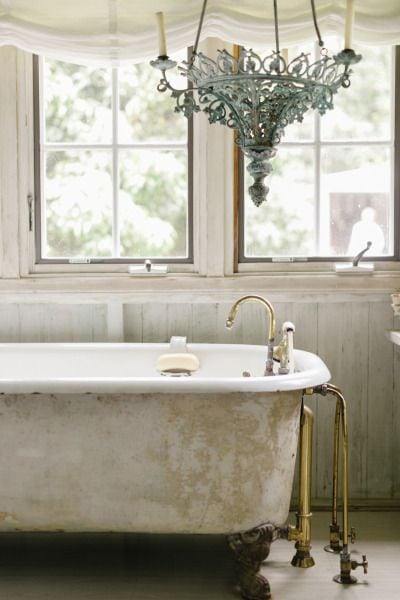
I knew I wanted a medium taupey-greige wall color, after pinning this photo and not being able to get it out of my mind:
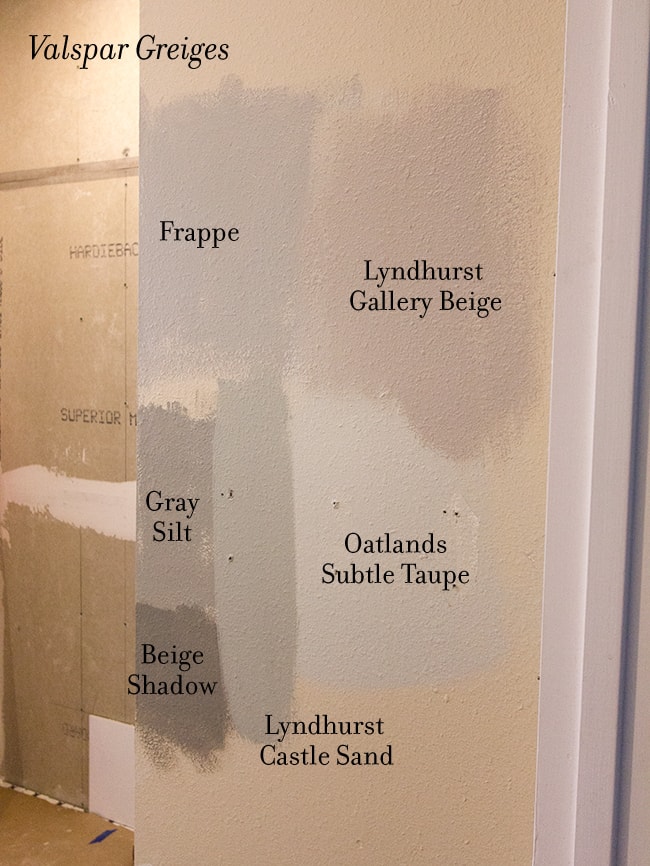
I started with samples of Valspar’s Gray Silt and Frappe, decided to paint the tub in Gray Silt but I didn’t want it to match the walls so I looked for a lighter version of Gray Silt but they all just seemed to clash. Frustrating!
Not only that but they looked different on different walls, from different angles, and at different times of day making it very tricky to decide. (THIS is why you always need paint samples first!)
Then, inspiration struck… what if I gave the tub a slight patina/aged look? (source):
And by slight, I mean definitely more subtle than the image above—I couldn’t find anything similar to what I had in mind. Could be a total fail but experimentation is what makes DIY fun and exciting, so I ordered special lime paint and lime wax in a super light greige color *fingers crossed*.
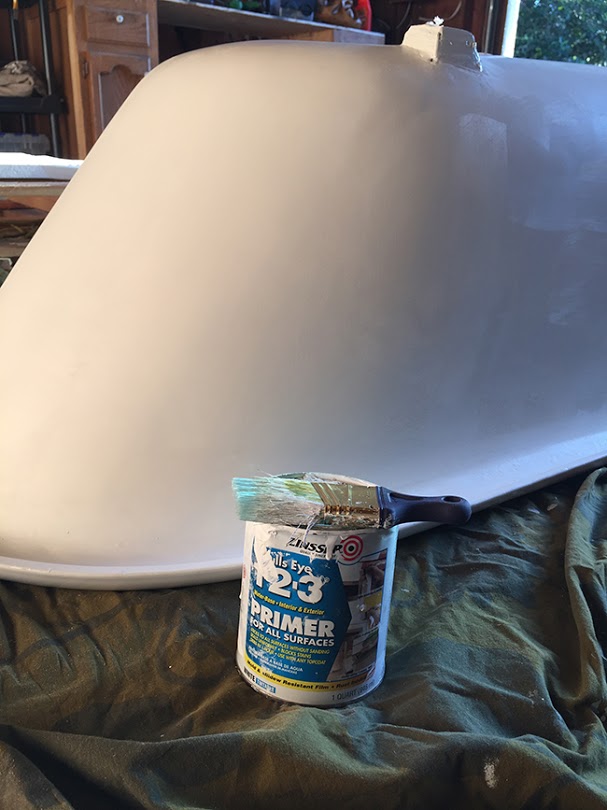
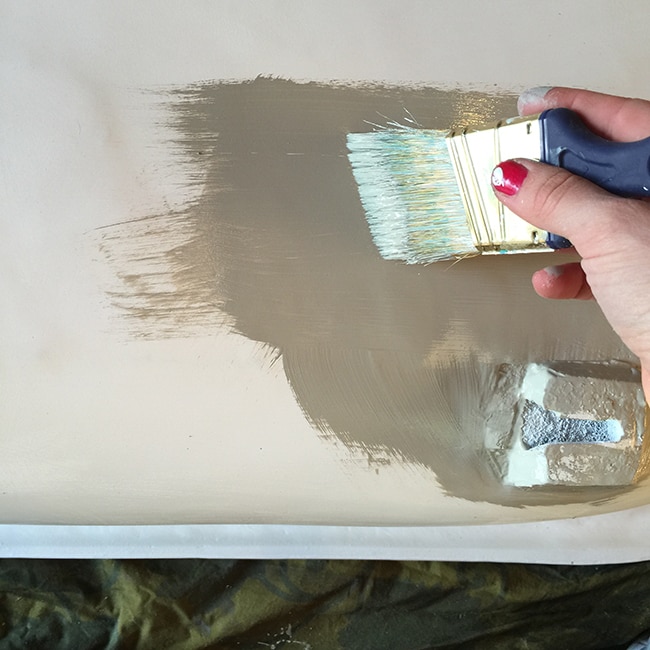
I just decided this yesterday, but I had already painted the tub Gray Silt (as my instagram friends already know). First I primed it using Zinsser’s water based primer, for extra durability:
Then came the paint:
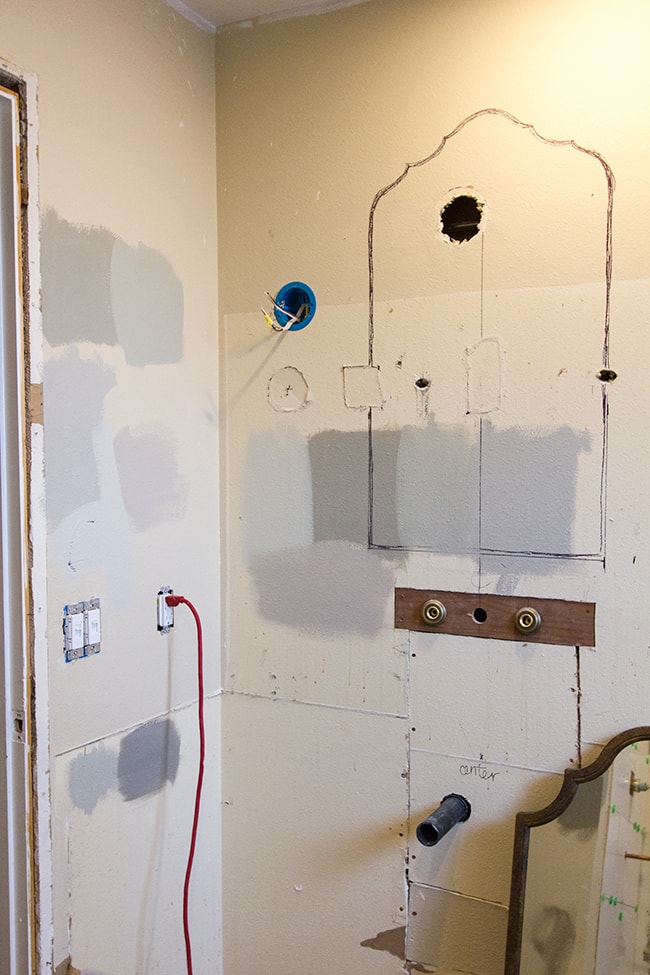
It’s a lovely muddy gray in person, and since it was my favorite choice, I made the executive decision yesterday to keep it for the wall color.
You’ll also notice the new mirror placement (you can see it down in the corner). The original mirror I had in mind was backordered so this was my second choice—and the size change meant Brad also had to relocate the wall sconce placement.
Anyway, moving along, let’s get to the real progress from last week—tile installation!
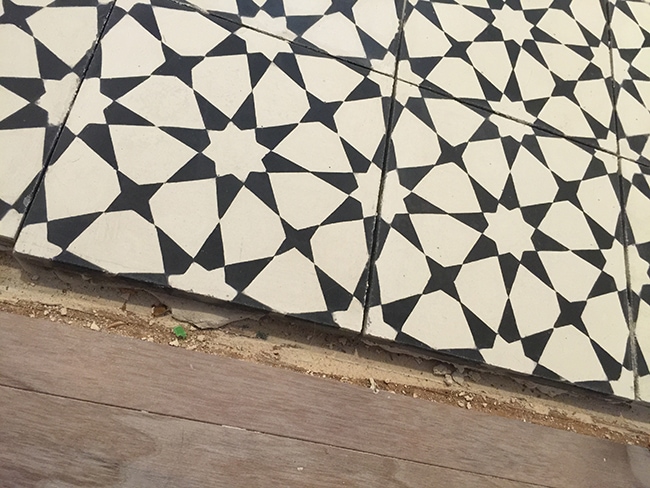
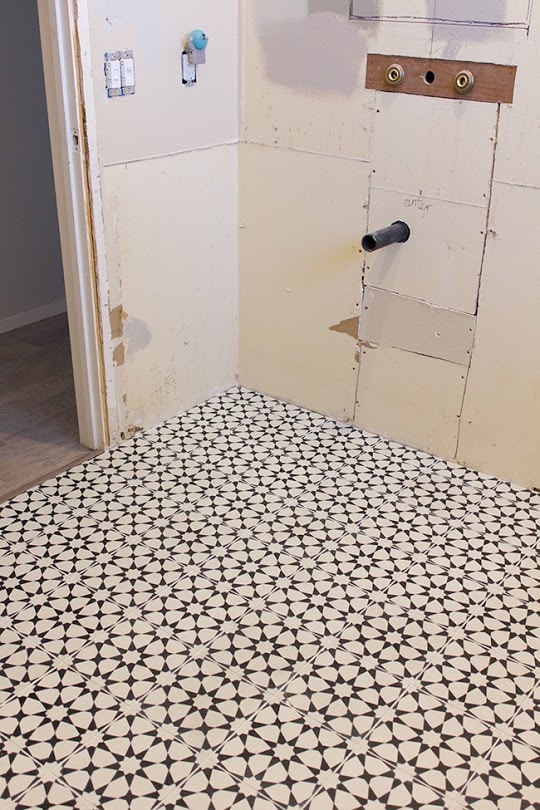
I spent a significant amount of time researching the best way to do this. Cement tile is a bit trickier than normal with extra precautions since it’s more delicate/finicky than your standard tile. Just as as a reminder, I went with Agadir White from the Cement Tile Shop.
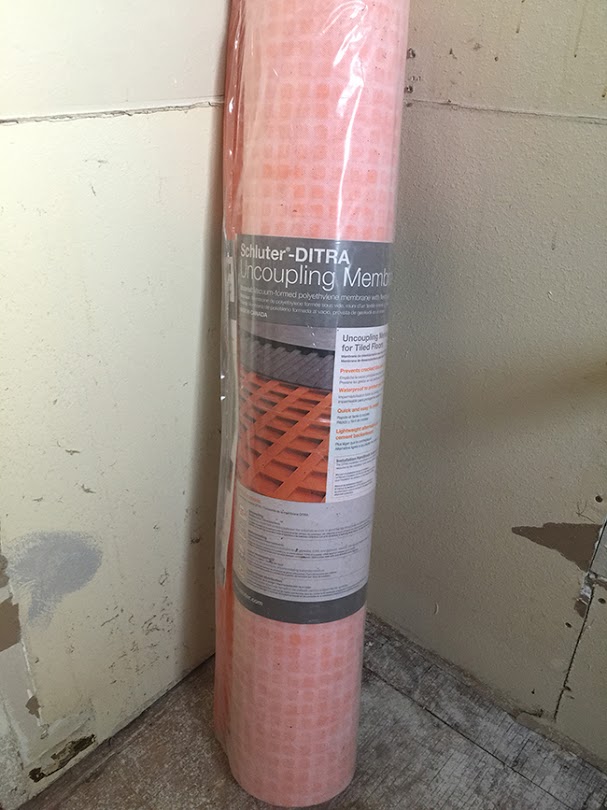
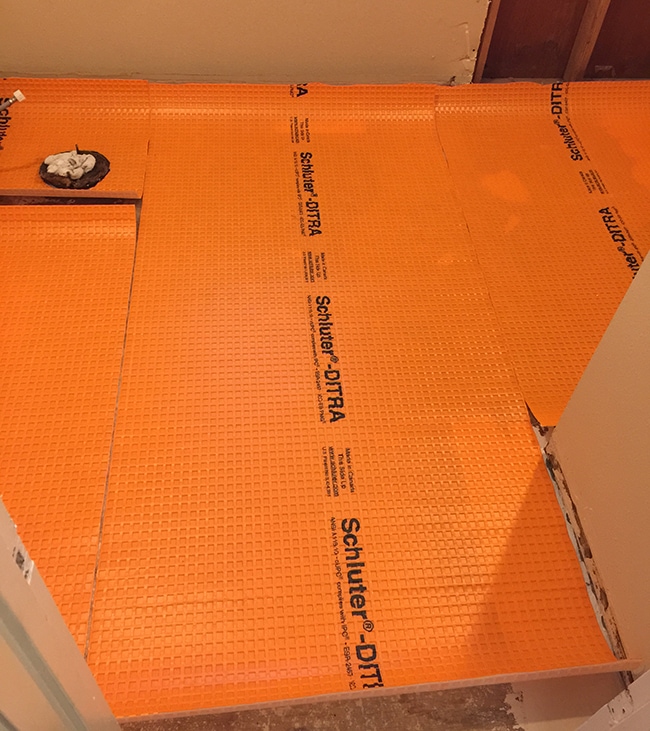
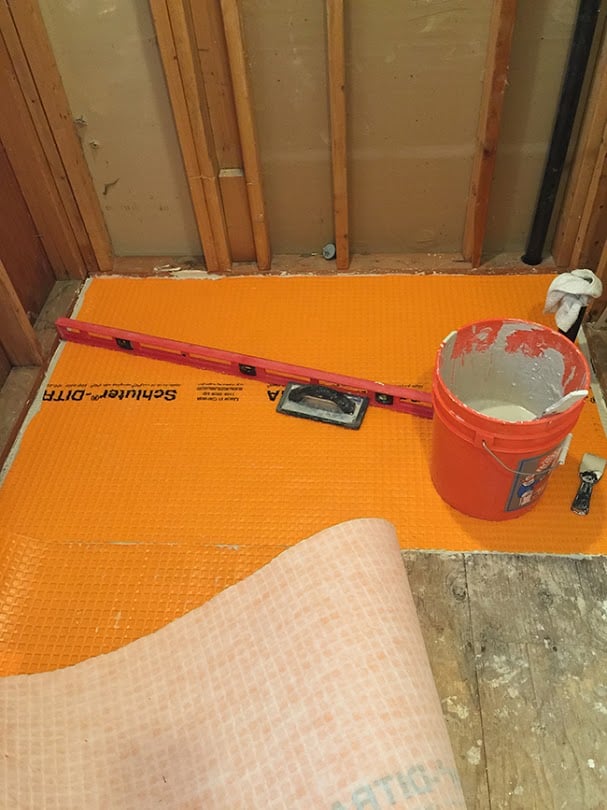
One drawback (for me) is that they’re super thick, so the floor height didn’t match up with the hallway (we have thin hardwood floors which made it even worse). The step up would be huge if you factor in cement board, so I found this alternative called Ditra, which is a thin 1/8″ polyethylene membrane that you simply roll out and trim to size.
Every professional opinion I read said it was a superior choice to cement board, especially when it comes to natural/stone tiles, so it was a no brainer for me. It cost around $2/sf more than hardie board but I didn’t really have a choice.
Installation was easy—I did it myself in no time at all. Just roll it out and trim to fit:
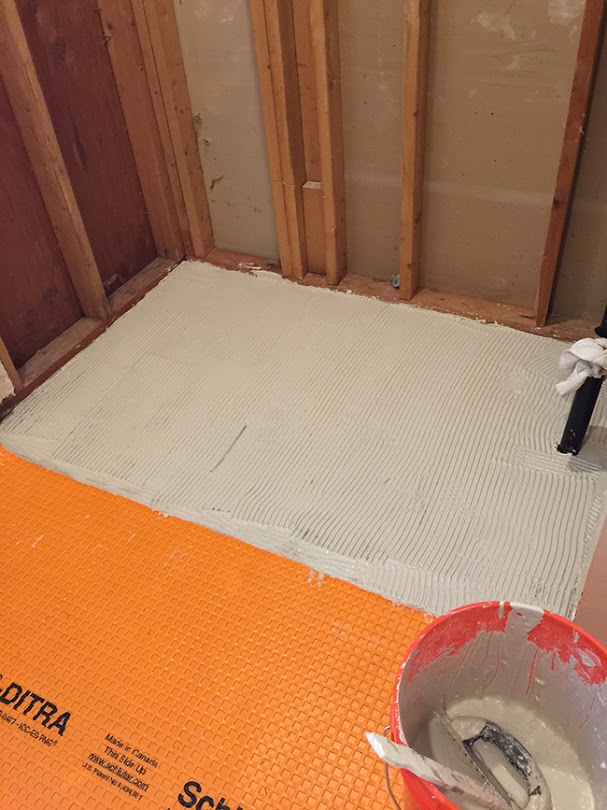
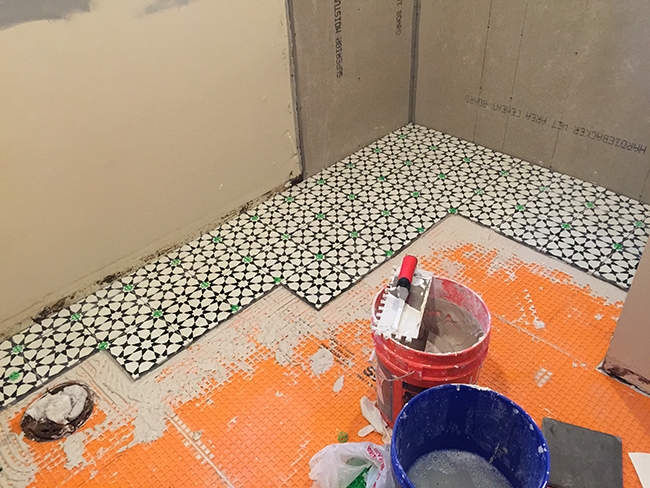
It adheres to the ground with thinset (not mastic, there is a difference!)
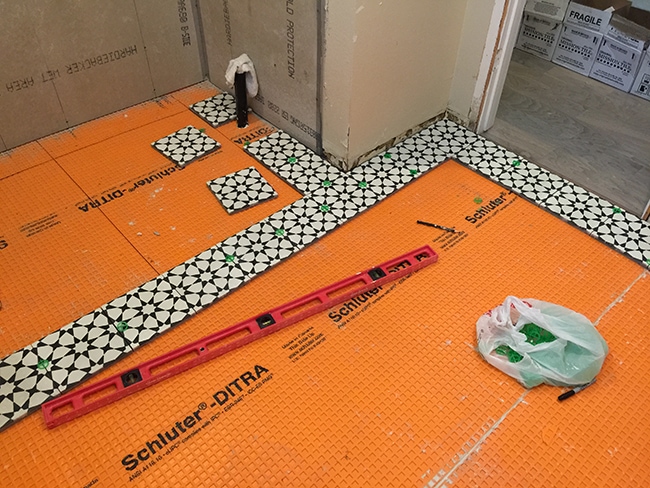
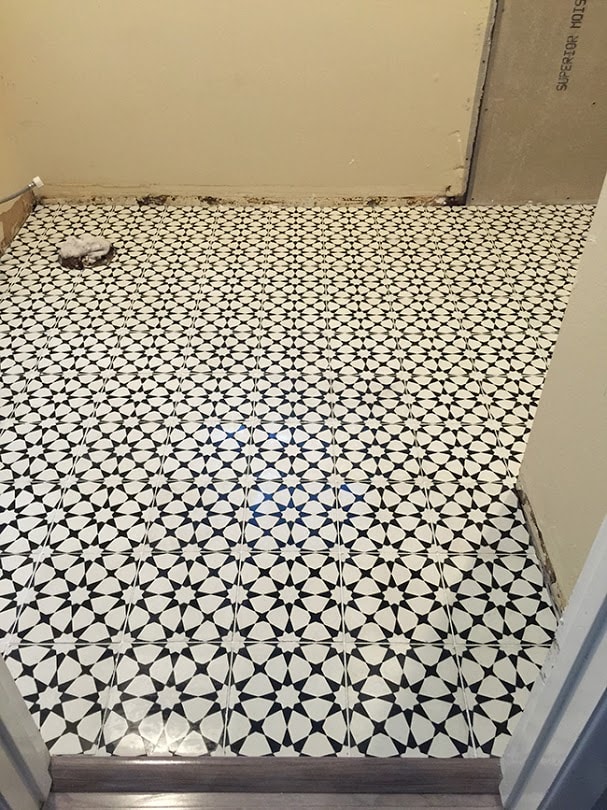
Then I laid out the tile. I got super lucky with this room—the tiles lined up perfectly with the walls and Ditra seams for an easy guide and there was very minimal cutting involved.
I ended up doing this entire job by myself while Brad was at work. My dad came by for a couple hours and cut the tiles for me but I was in here for 7 hours straight.
It’s a small bathroom so I didn’t think it would be too bad… but my body hated me the next day and I’ll probably never do that without help again 🙂
24 hours after tiling I sealed it with this special natural tile/stone sealer.
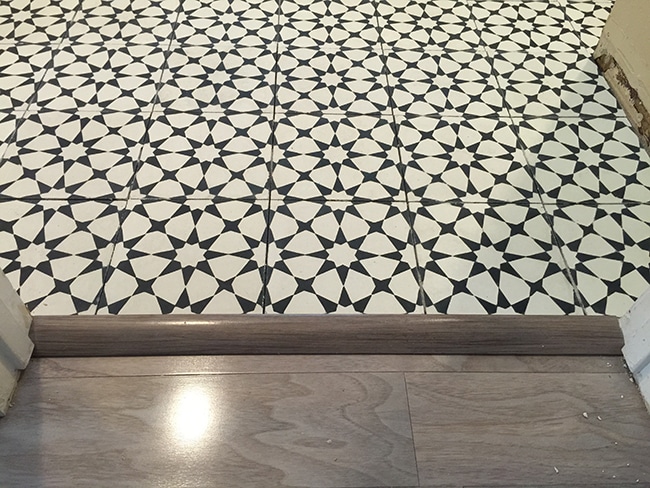
Then I had to figure out this transition.
We saved the original piece so I wedged in in place (secured with liquid nails) and decided it will work. There’s definitely a bit of an incline which is hard to tell from this photo, but these tiles are worth it.
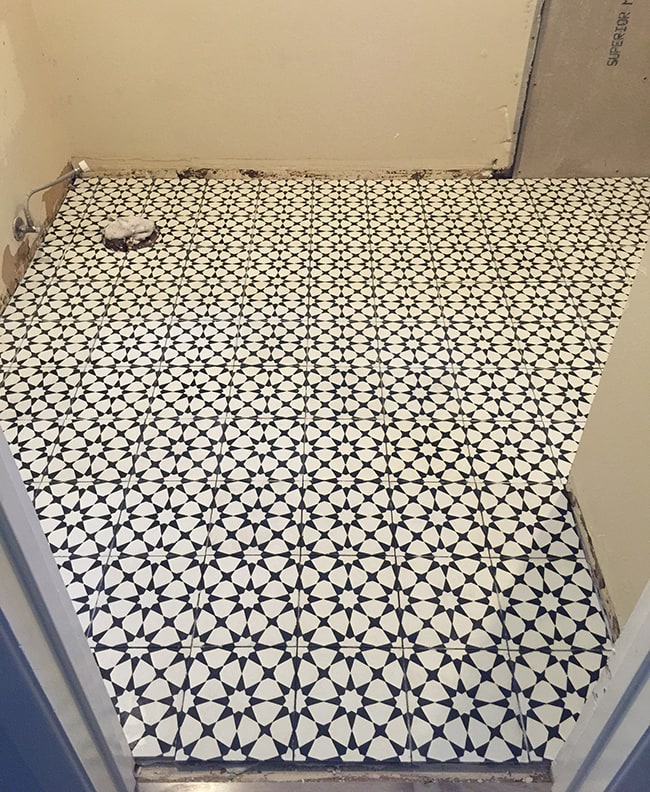
After the first layer of sealer had cured, I spent another several hours grouting.
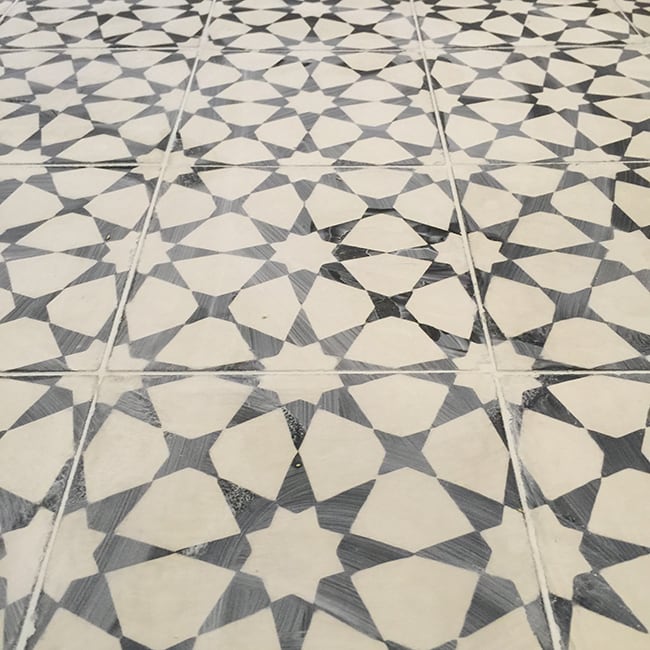
Because these tiles are very absorbant, I had to be really careful and clean as I went, making sure not to let any grout and/or water sit on the surface too long. Picky little buggers.
I made several passes with the sponge and towels (mild dish soap and water only, can’t use anything acidic) to clean off the haze, then the next day I sealed everything again.
Whew! I hope I’m in love this tile for a long, long time after all of that work. Here’s another angle:
I know it’s a bit in-your-face right now, but once everything comes together I think it’s going to be pretty special.
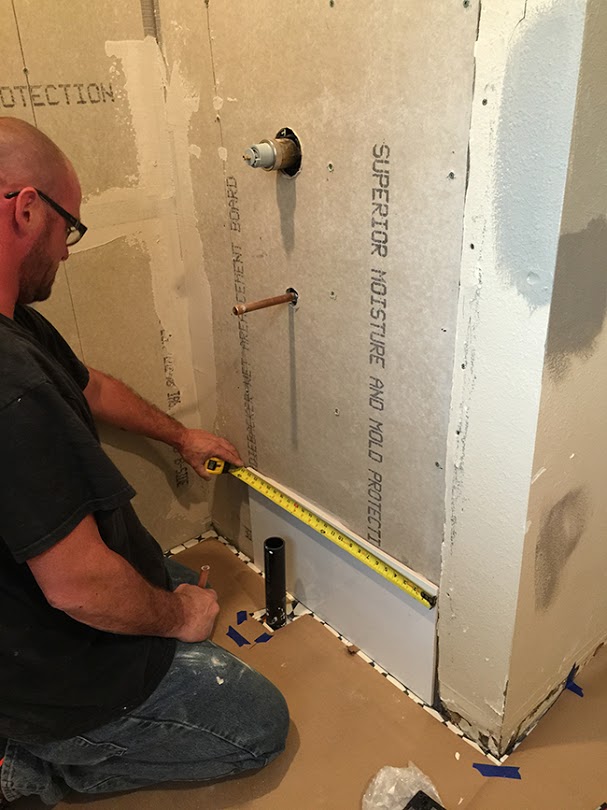
But that’s not all! We also had to prep the shower area for tile.
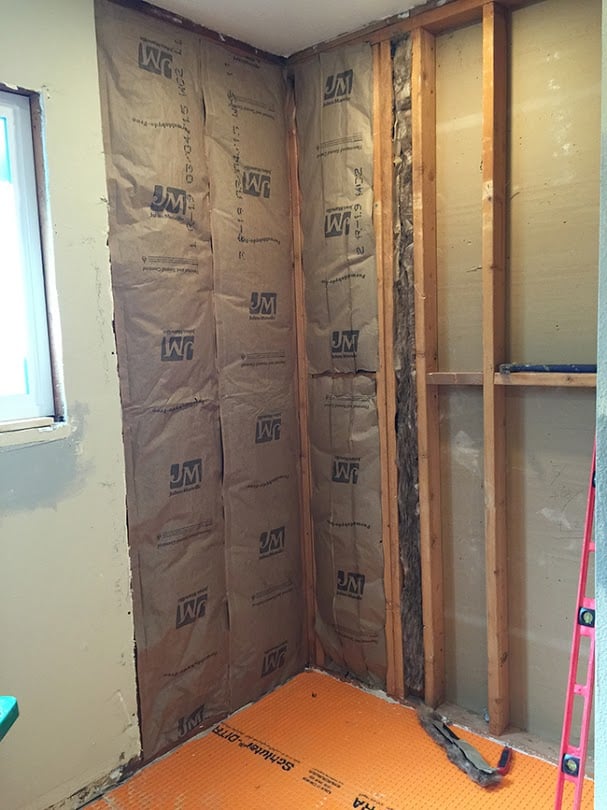
First we insulated the non-interior walls (they weren’t even insulated before!)
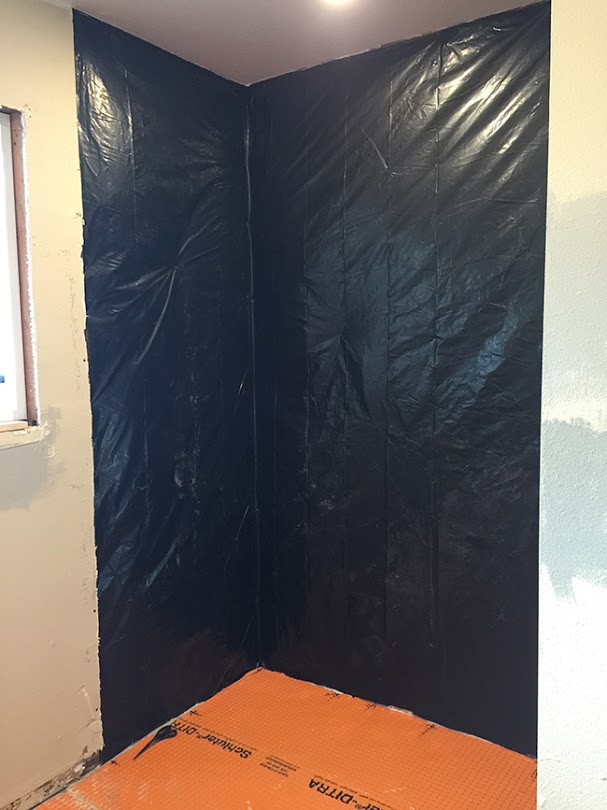
Then we added 4mm plastic as a vapor barrier:
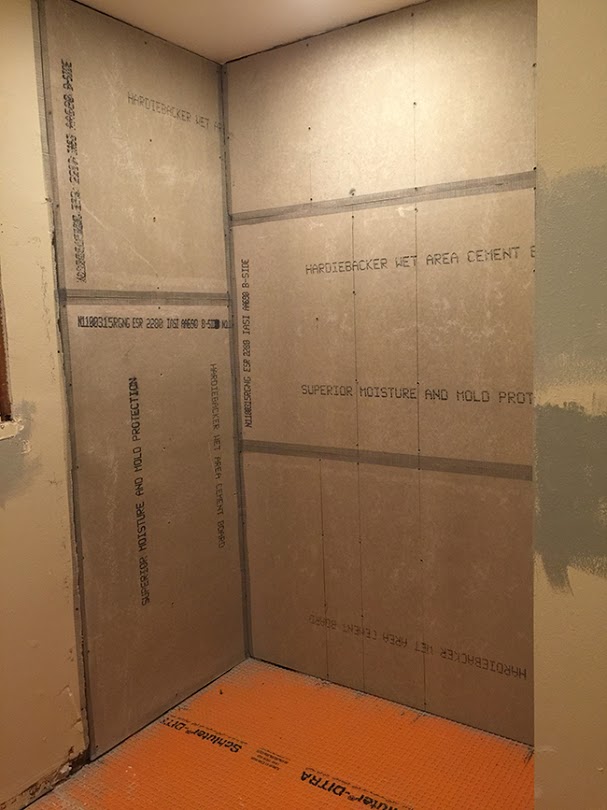
And finally, 1/2″ hardie backer:
I should clarify that this is not technically a shower. There’s no floor drain. It’s just a surrounding area for a tub that will eventually have a shower curtain enclosure—so depending on how careful the shower taker is, the walls may not even get wet. Also, this bathroom has been used on maybe 5 occasions since we’ve lived here (we have a separate guest shower downstairs that’s primarily used). But still, we took precautions and followed a standard shower wall procedure (there are several acceptable ways to go about that, I researched).
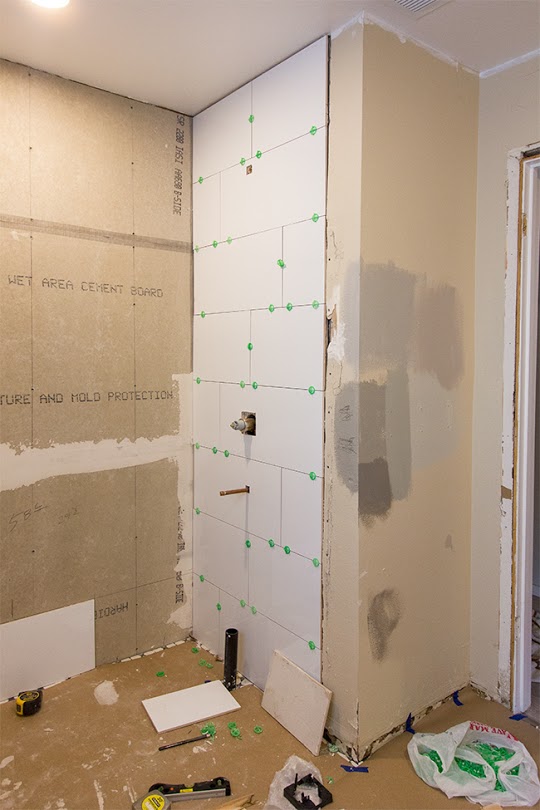
Our plumber came by after work yesterday and was going to “help us” start tiling the shower walls… but Brad is sick, and honestly I’m just sick of tiling, so I said “please, take my money and do it for us!”
I did supervise and lend moral support. And buttered some tiles.
And after watching him struggle with getting each tile perfectly straight and level, I’m SO glad it was him and not me fighting with our crooked walls. We never would have done as good a job in the amount of time he was there. Sometimes, it’s very worth it to let the pros handle it!
He’ll be back Wednesday (today, he’s probably working on it as you’re reading this) to finish and I’m so relieved it’s one less thing for us to worry about.
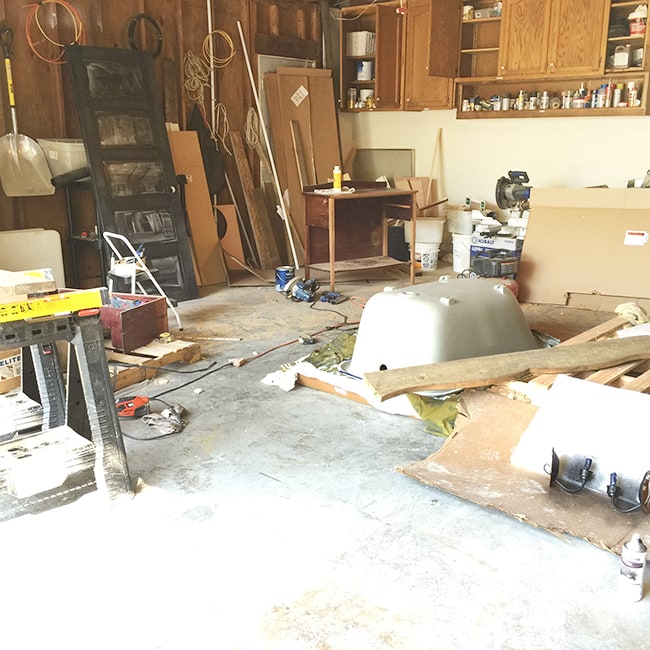
If that’s not enough progress for one week, I also paneled and painted the door, sanded the vanity, painted our sconces, built a reclaimed wood valance and shower caddy. And threw in an unrelated dresser refinishing project for good measure (more on that next week). Our garage is an absolute DIY-saster right now…
In two short weeks it will all be over… hopefully there are no unexpected surprises!
On the agenda for the next six days: grout the shower wall, install the shower curtain rod, work on refinishing the vanity and tub, and start the wall planks. It’s going to be a light work week since it’s both mine and Brad’s birthdays this weekend and we’ll be celebrating in San Francisco with friends for a few days (such bad timing, I know!). That leaves literally only one more weekend to do everything. I’m a little sick to my stomach just writing that.
Let’s go see how the other participating bloggers are doing!
Hi Sugarplum
The Pursuit of Style
Savvy Home
Trademarked by Calling it Home
I’ll be back next week—in the meantime, make sure to catch me on instagram for daily updates!







Barb says
A question re the tile, have you found it slippery at all with a wet floor and bare feet? I’d like this tile in an area in my front hall as well as the bathroom. The current tile in the front hall installed 20 years ago is so smooth and slippery I always have to keep a rug on it
jennasuedesign says
I don’t think it’s any different than any other smooth floor! It’s such a small space so there’s not a ton of room to walk around and slip 🙂
Barb says
love that tile floor. Thanks for the info on where to get it and how you installed it. I try to DIY as much as I can.
Hanan says
Hi Jenna,
Can you share what colour grout you used with these tiles?
Thank you!
Hanan
jennasuedesign says
Just plain white unmixed grout I believe!