I had some studio projects lined up for this week but had to order something at the last minute, so those will come next week!
Some of you have been wondering about our theater room since my Phase 2 update back in January. We’ve added furniture and have been getting some good use out of it—I’ve just been so busy with the kitchen that I’ve neglected to take photos—until now!
This is one of those rooms you really have to experience to appreciate. Looking pretty isn’t the goal here (although I tried, but in the end it still designed to be a dark cave). The main goal was to create an escape where you can enjoy a real theater experience without leaving the comfort of home. And I’d say we accomplished that.
I have to give the credit to Brad—this one is all him. Of course I gave him my input on a few design choices, helped pick out the furniture, and spent days hemming and hanging curtains…
Before I explain any more, let’s take another look back to how it all started.
The downstairs was one large and odd shaped room when we purchased the house. This is standing from the back—you can see it’s divided into two areas.
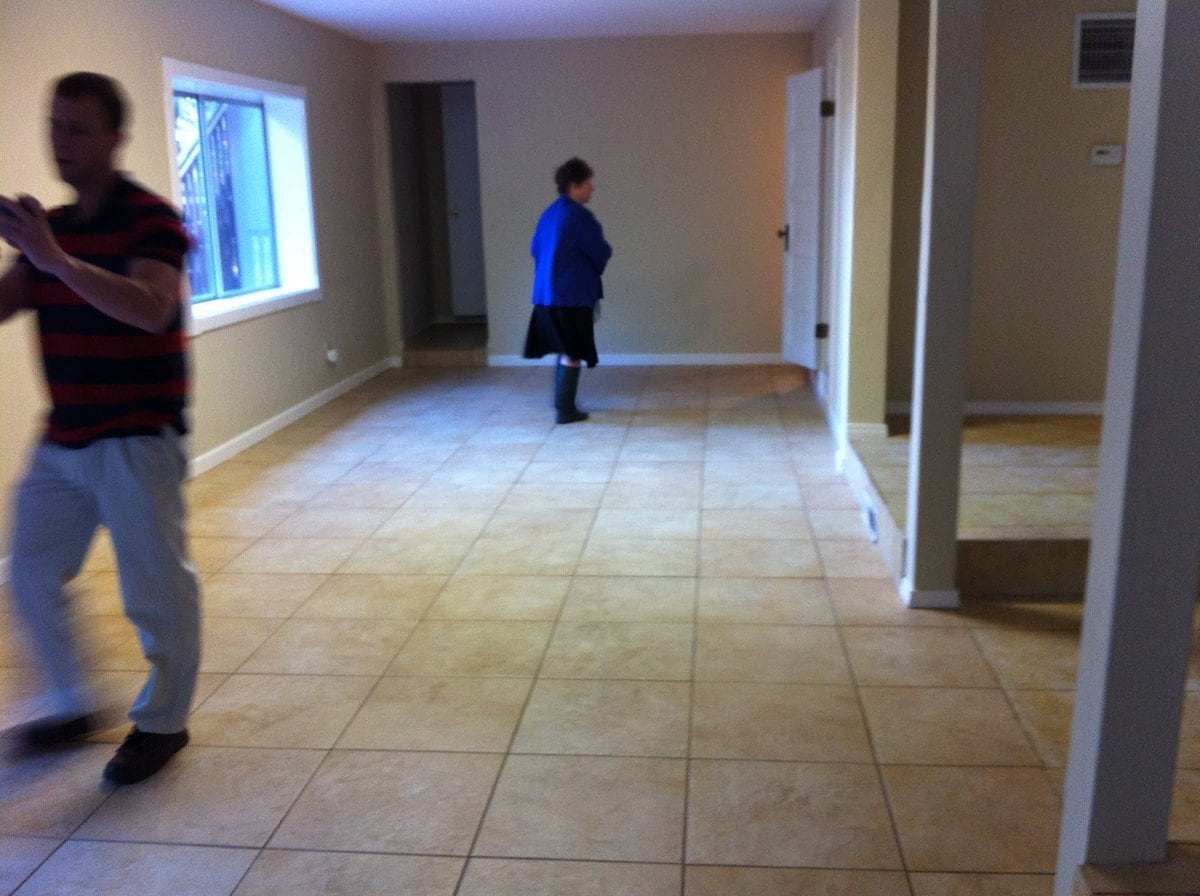
Here’s the area to the right, which is now the theater room.
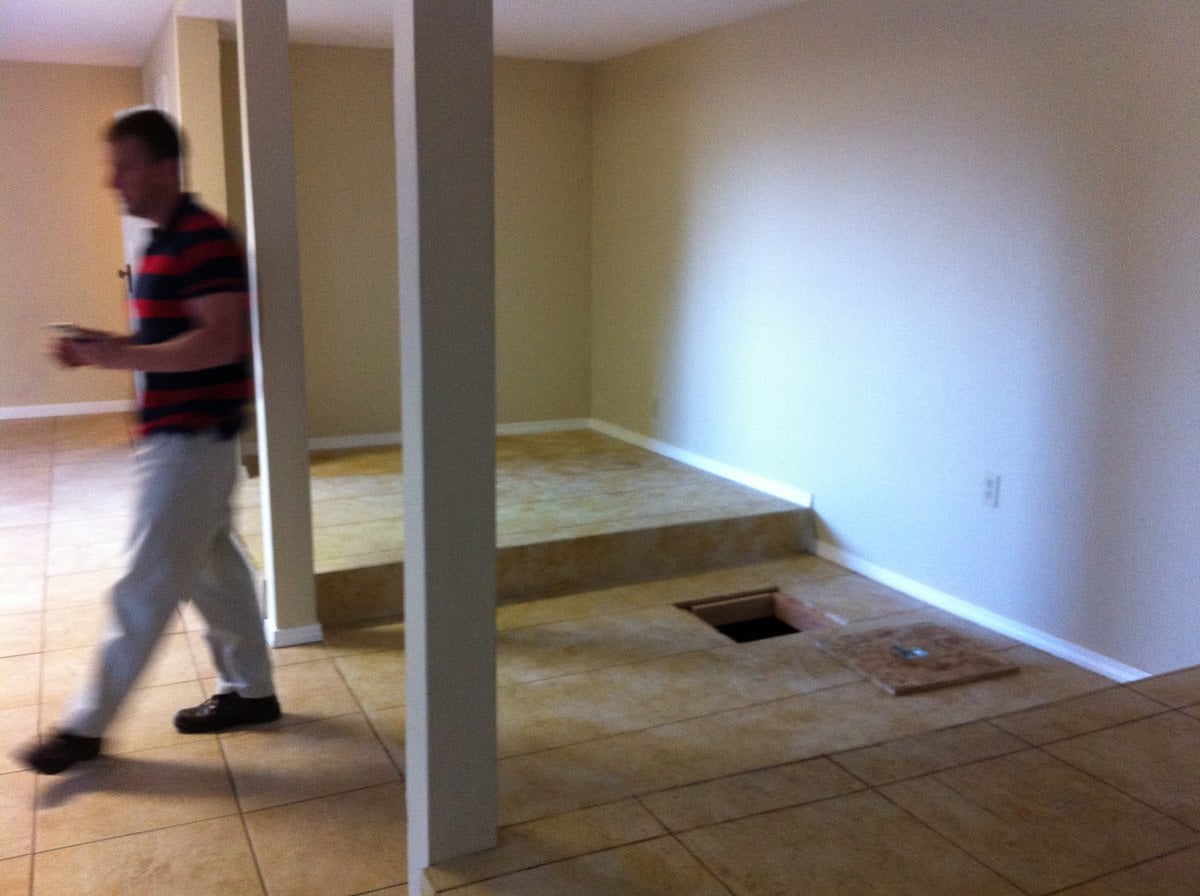
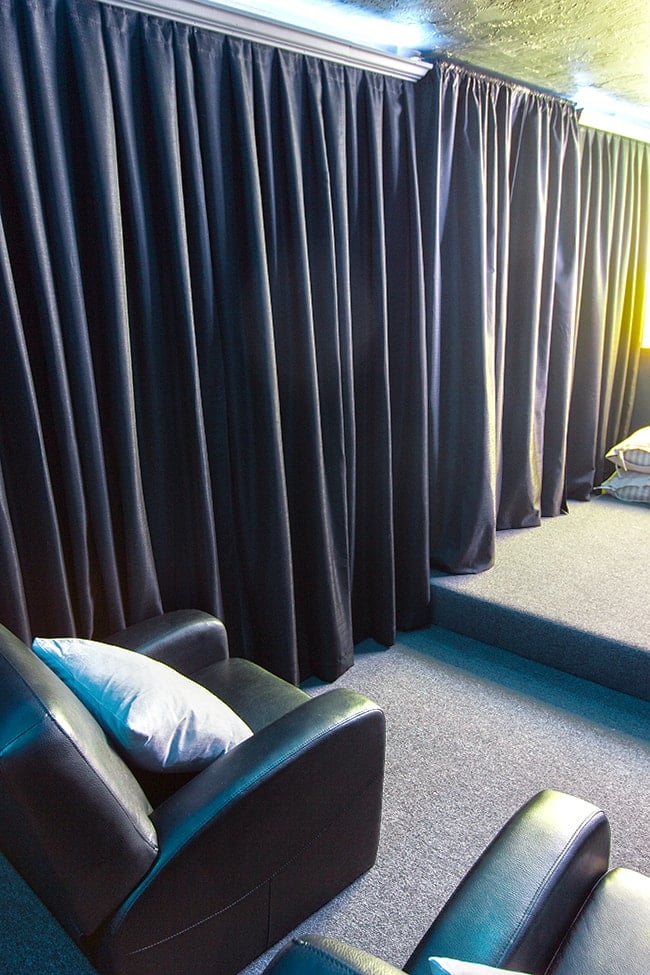
No one knows what those platforms were there for, so we decided to embrace it and use it as elevated level seating.
In order to block all of the light out and make the downstairs a multi-functional space, Brad decided to separate the two areas and build a wall to enclose the theater room:
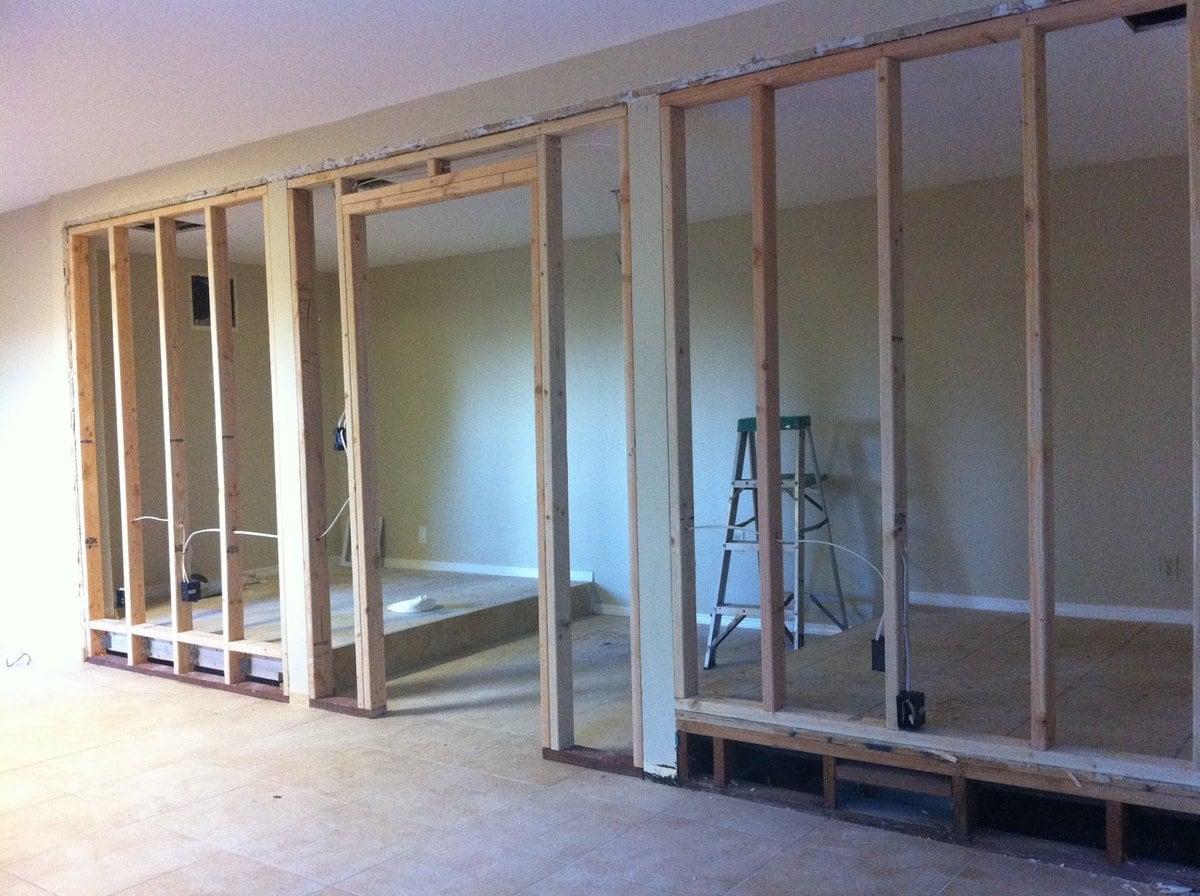 |
| The door was later moved to the left |
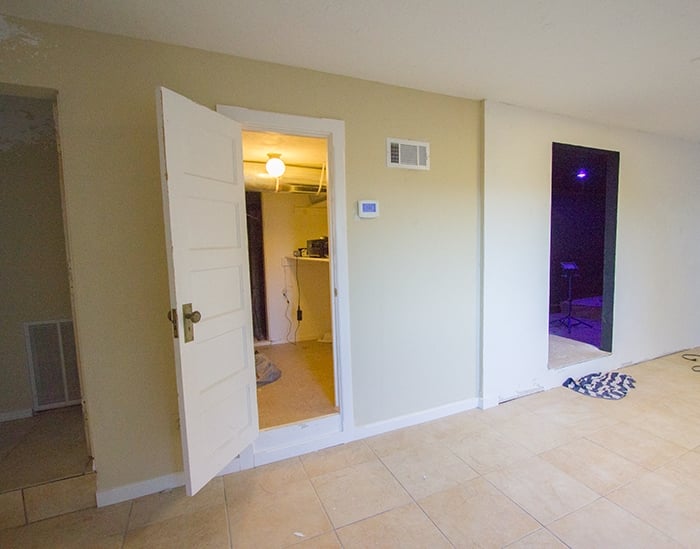
There was a closet adjacent to the theater which made the perfect equipment room.
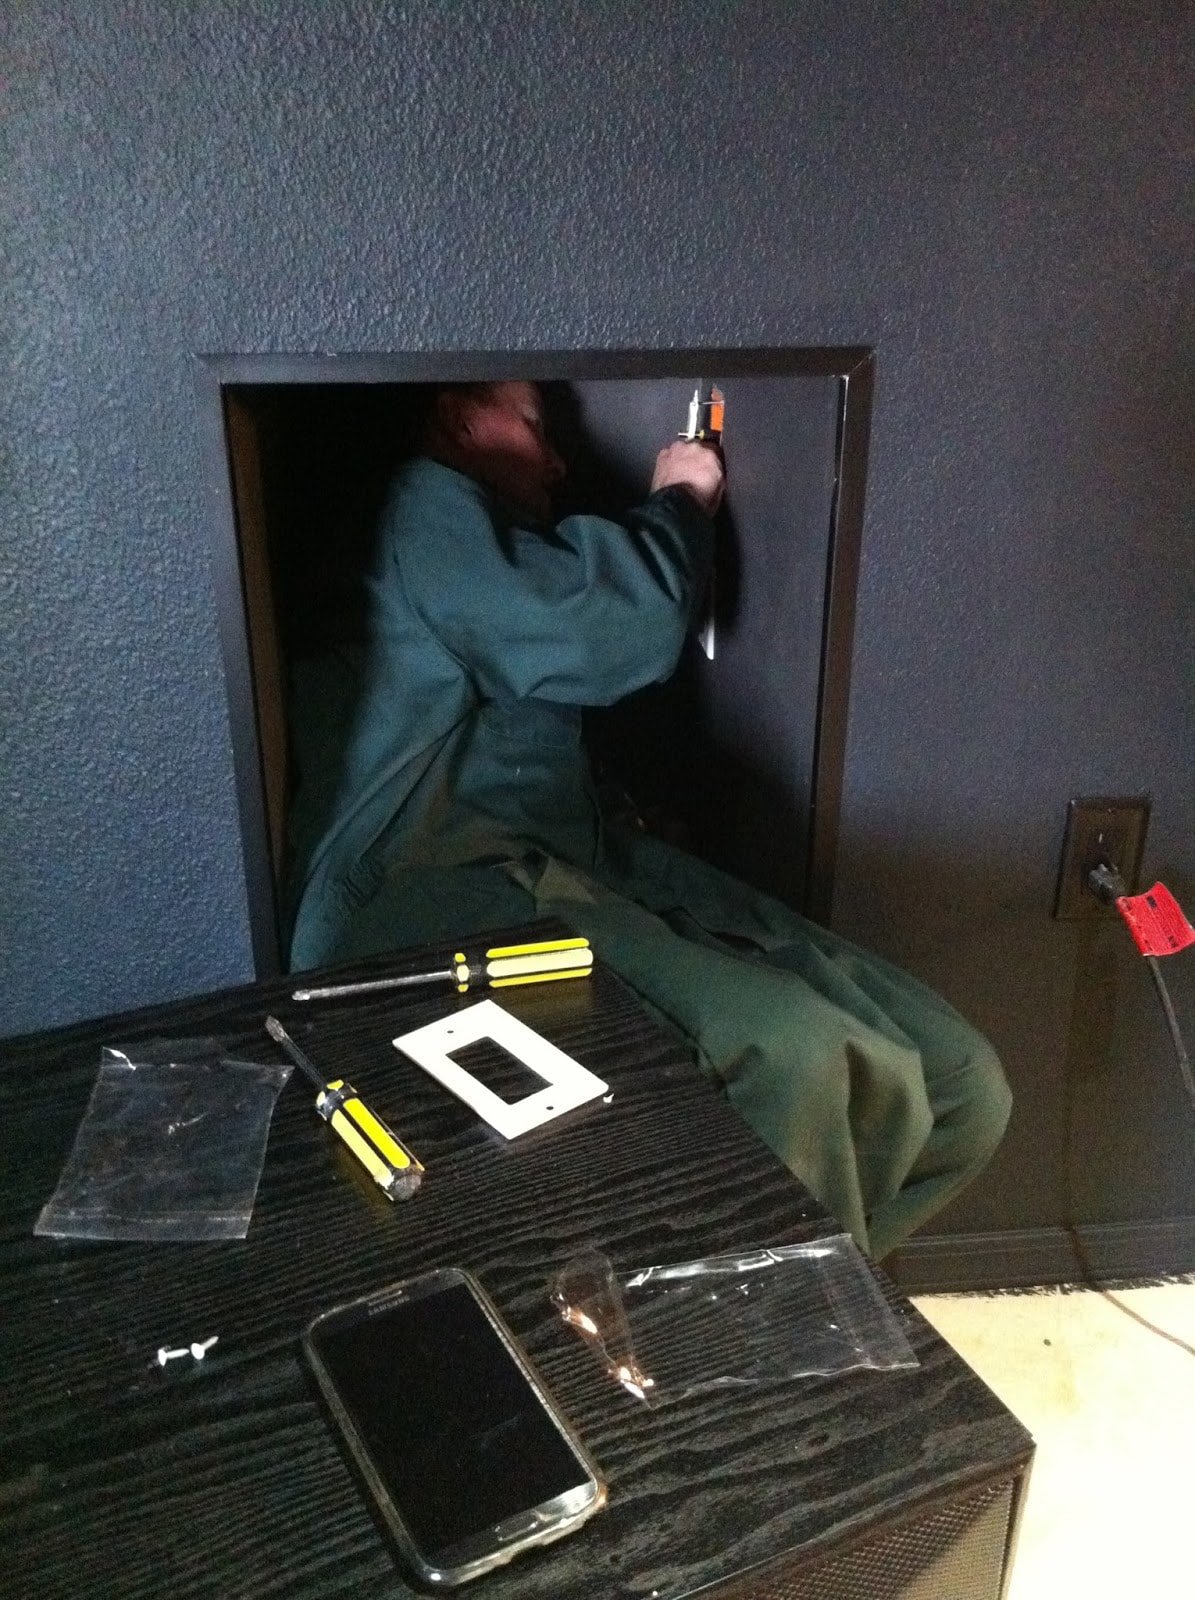
Brad painted the walls black and wired a bunch of speakers…
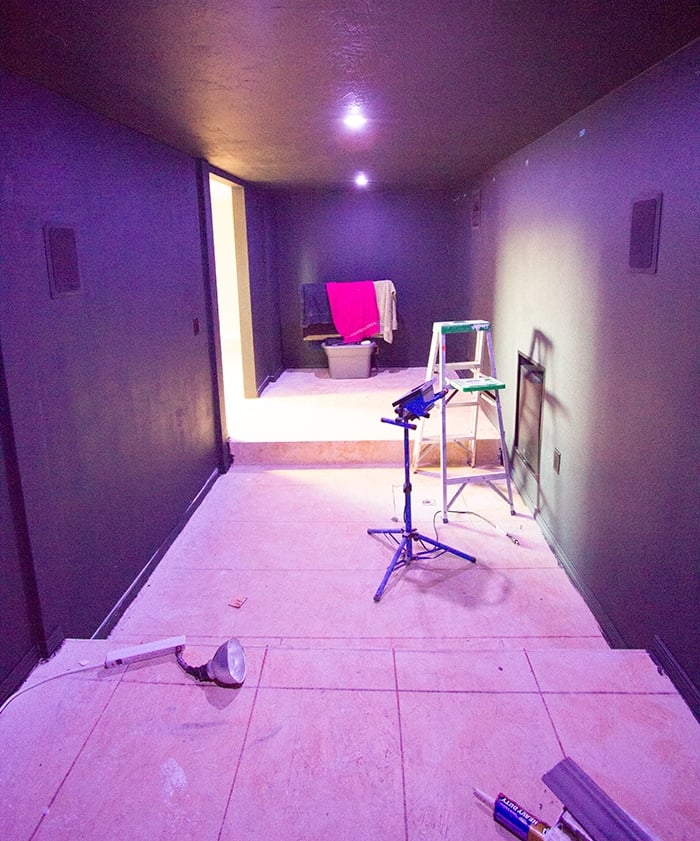
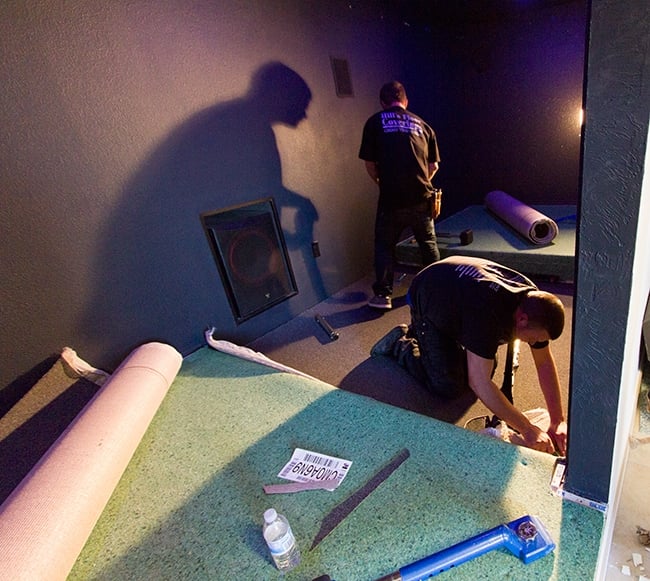
Added carpeting…
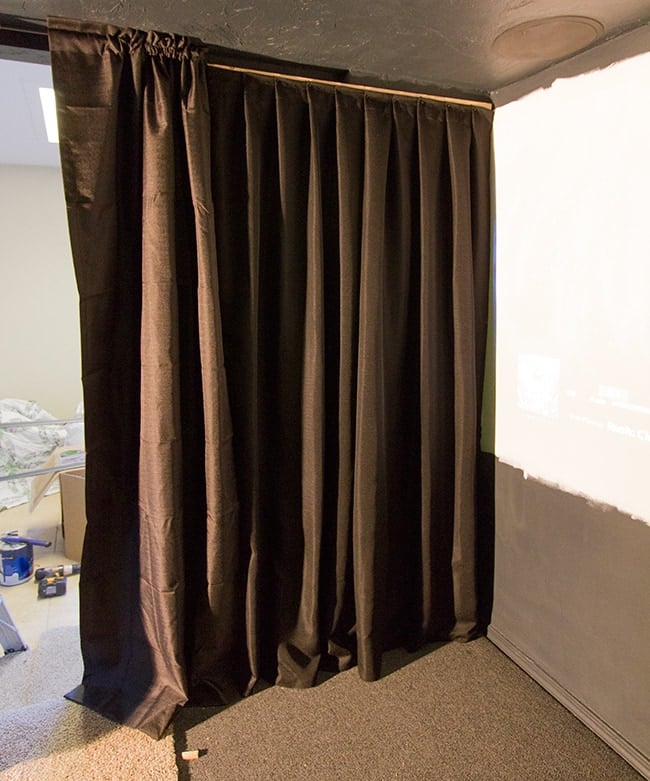
I ironed, hemmed and hung a bazillion curtains around the perimeter…
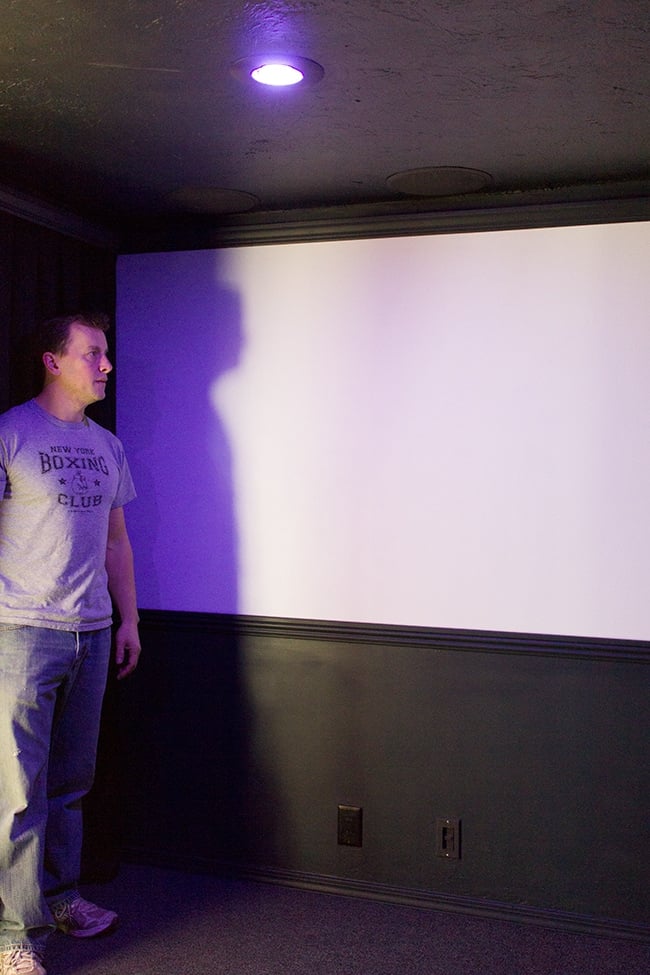
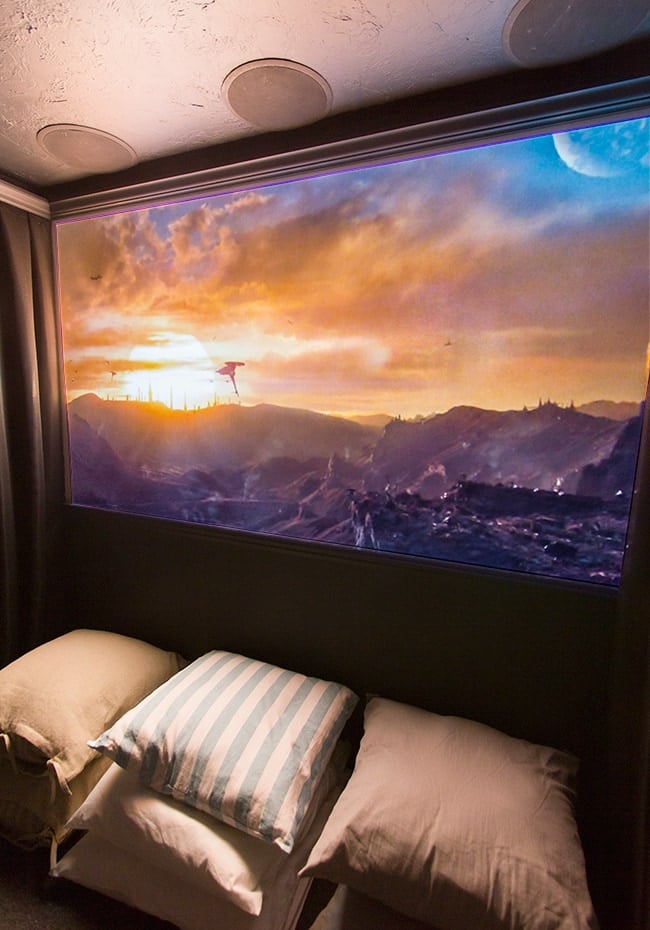
We used special paint on the back wall to serve as our screen, finished it off with trim…
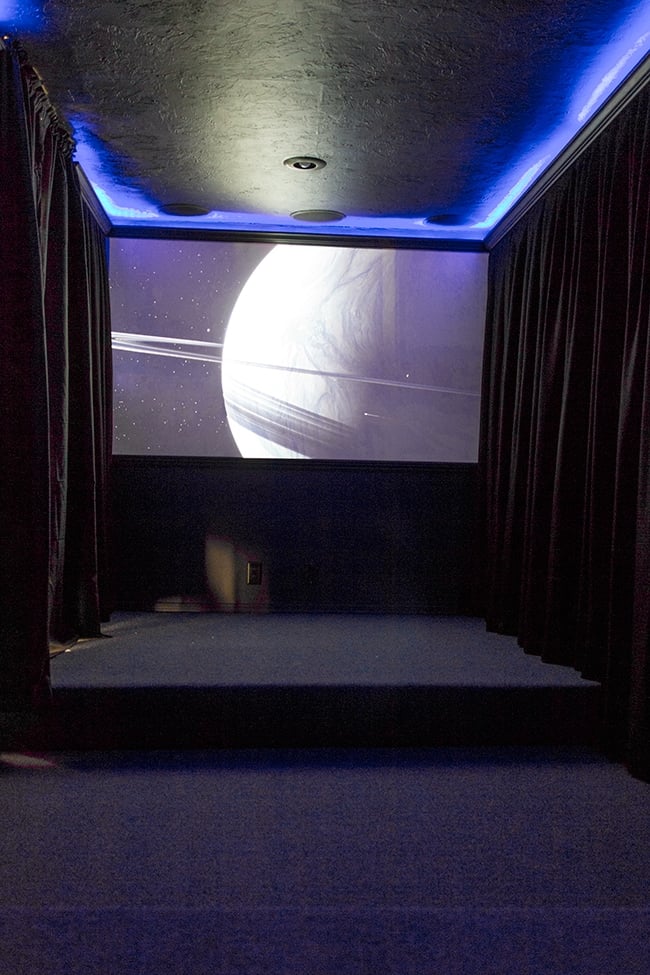
And installed fancy lighting…
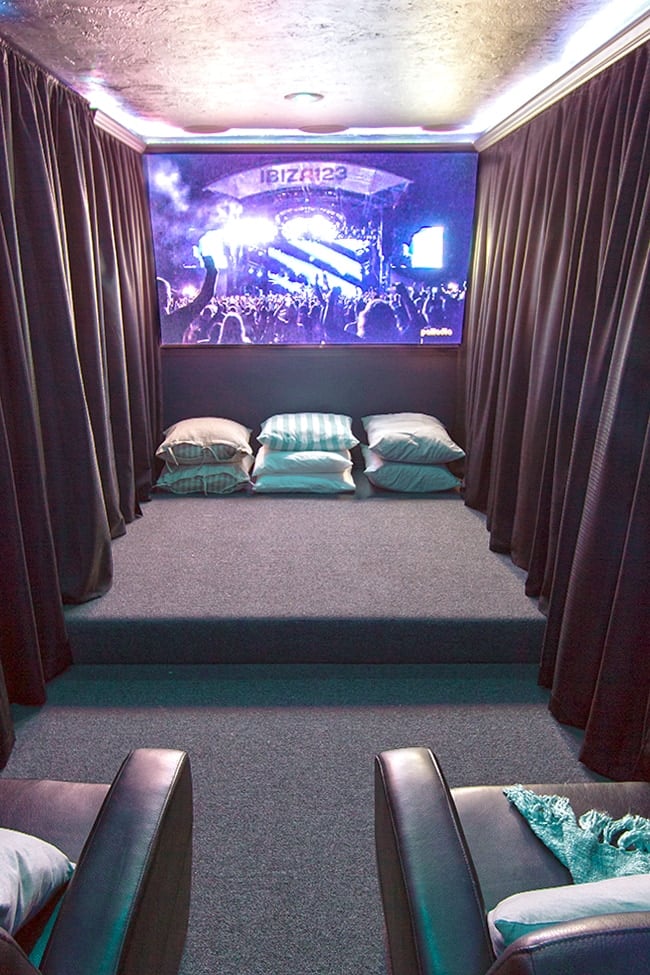
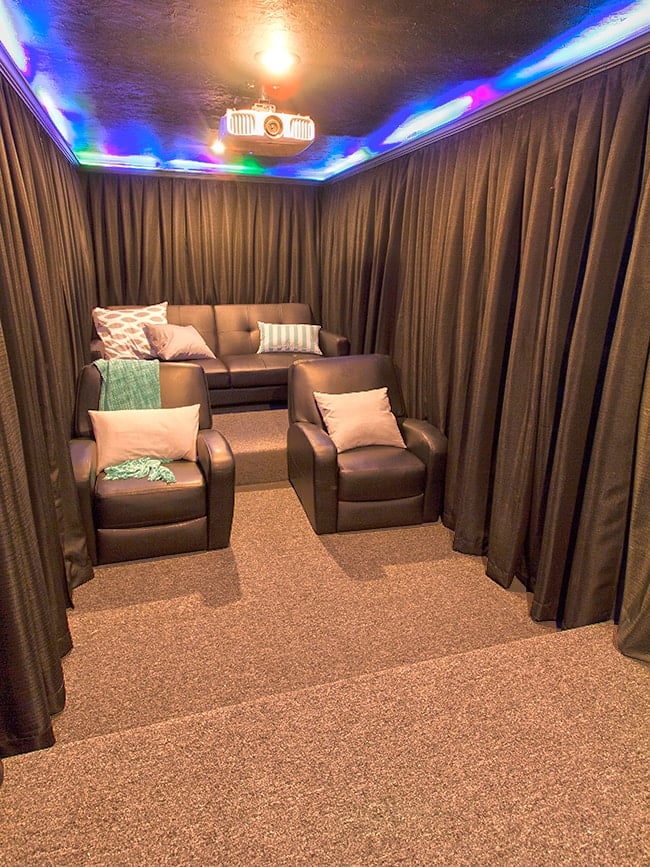
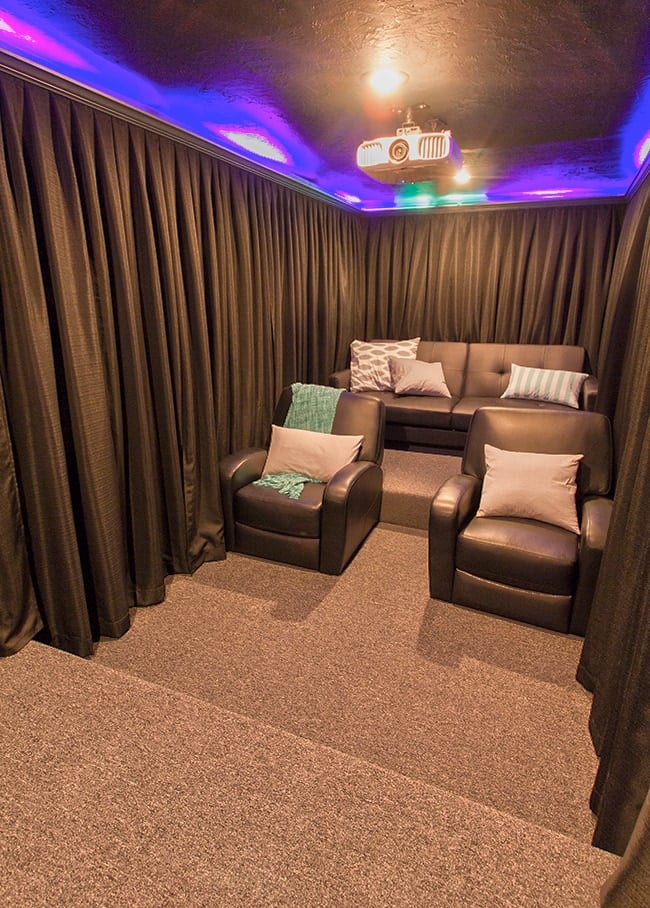
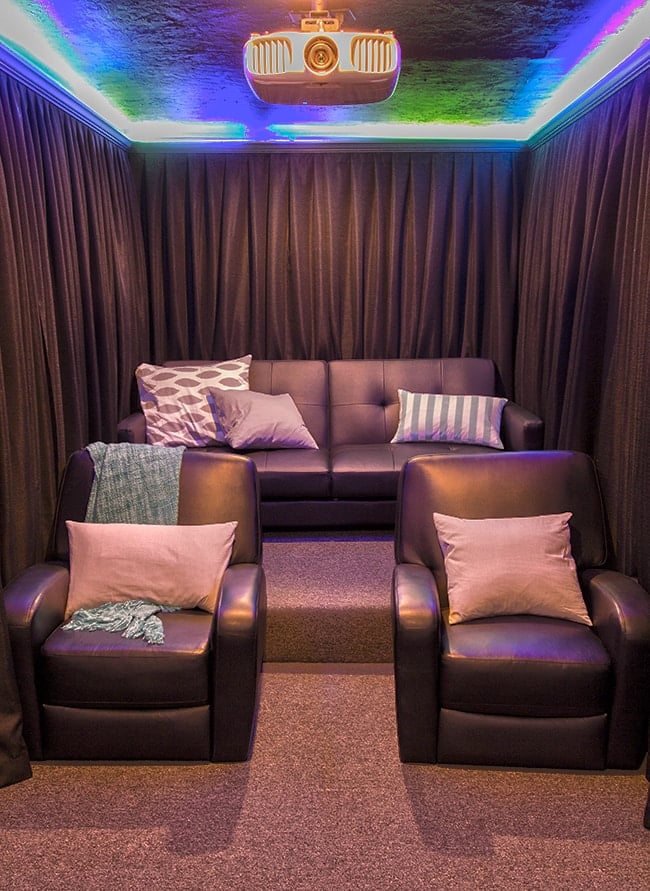
Finally, we added furniture and cushions for a cozy viewing atmosphere. So I’m calling this project Done.
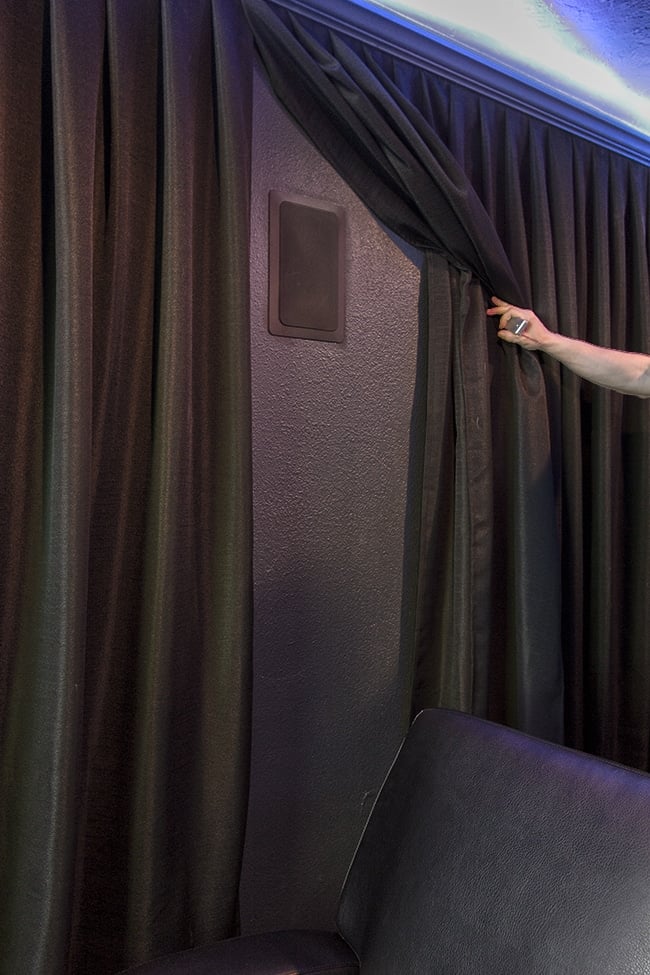
This room is a little tricky to photograph—because it’s so dark, I have to set longer exposures so the lighting is a little wacky. Tucked inside the crown molding is a color changing LED strip with a bunch of different settings controlled by a remote. The two lights in the center also change colors via remote, so we can control the mood at any time.

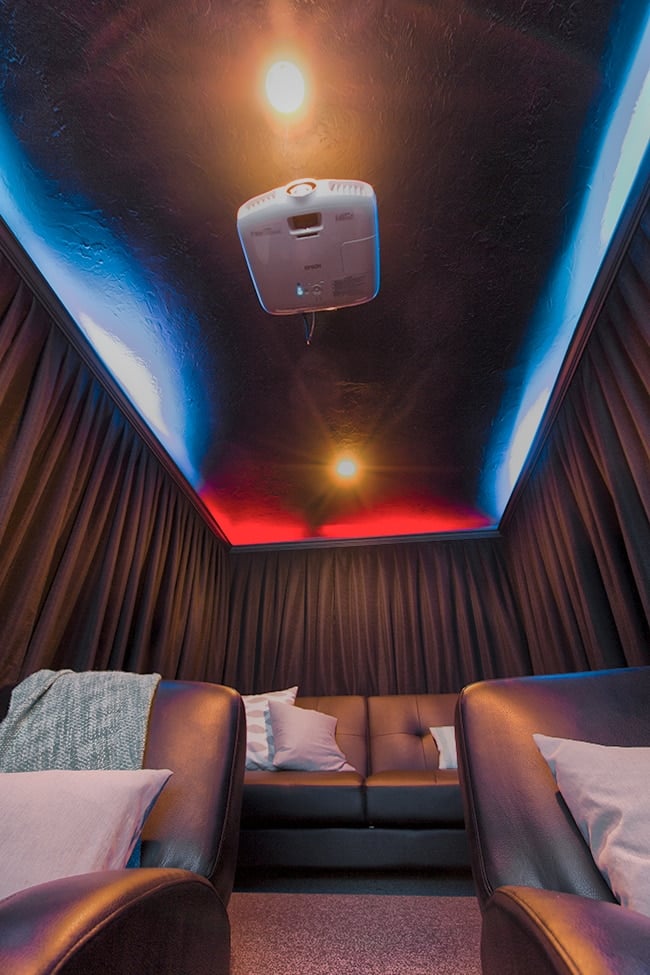
We picked up a couple of these black faux leather recliners along with this couch that folds out into a sofa bed if we ever need extra room for guests. They didn’t break the bank and so far we are really happy with them.
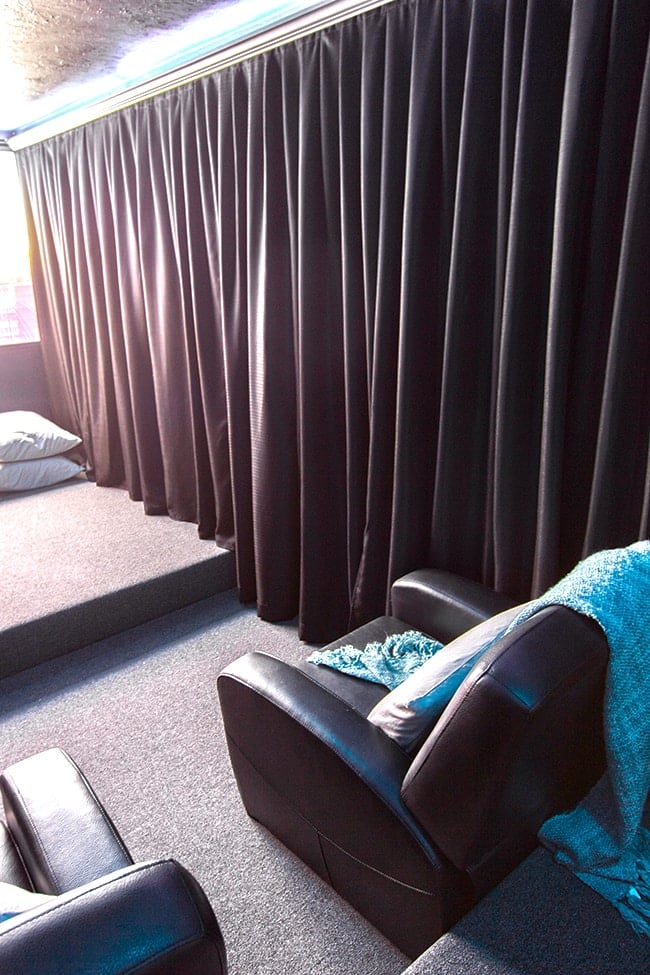
The entrance is behind those taller curtains, in case you were wondering:
There’s seating for 5-6 people up here…
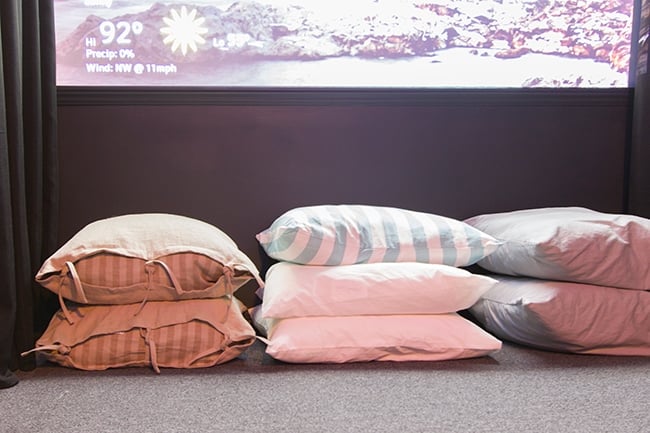
But there’s also a good amount of floor space, so I brought in a bunch of large cushions for more casual seating.
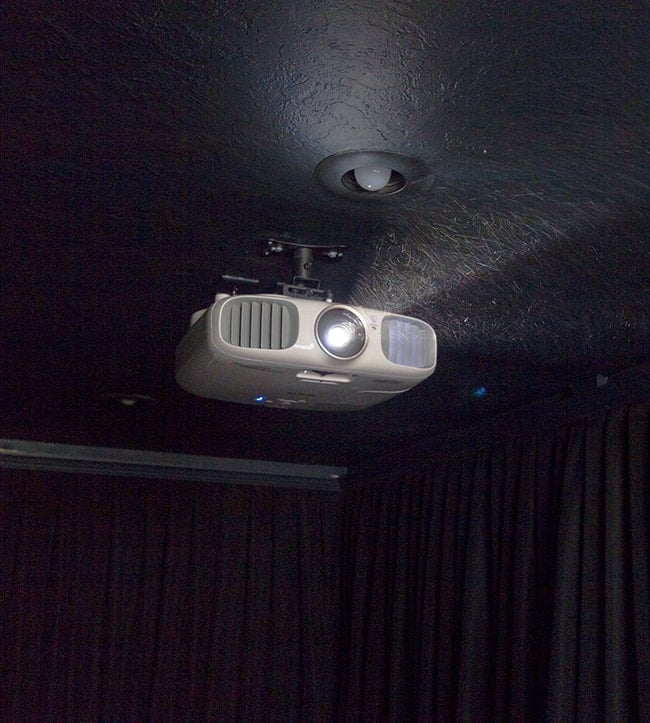
The projector is seriously impressive. It’s an Epson PowerLite Home Cinema 3020 and it does 3D (which is awesome!)
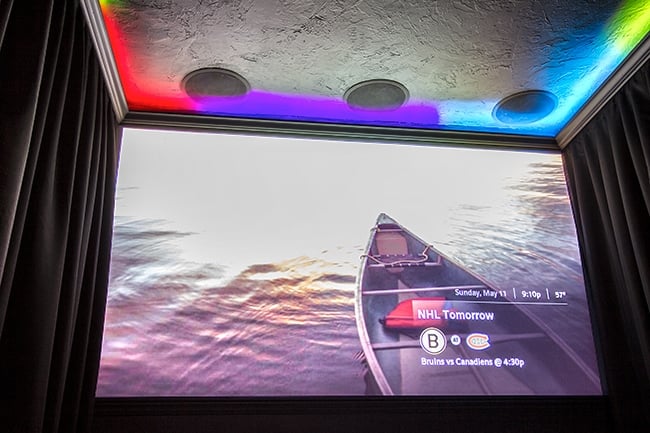
To create the screen, we sanded down the back wall with a super fine grit and used a special white paint color designed to optimize the picture. It was much cheaper than buying a separate screen and we have no complaints so far.

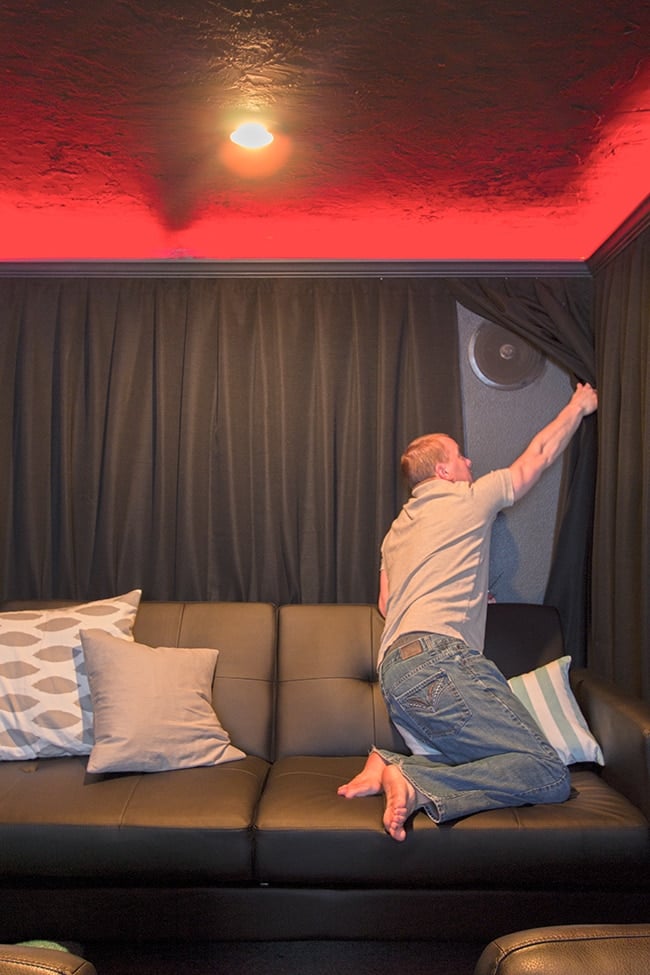
The most impressive thing in the whole room has to be the sound. Brad installed this set of angled speakers up in the front (left, center and right channels)…
Two of these surround speakers on either side of the room..
This 12″ Cerwin Vega powered subwoofer (which shakes the whole room…)

And two of these on the back wall:
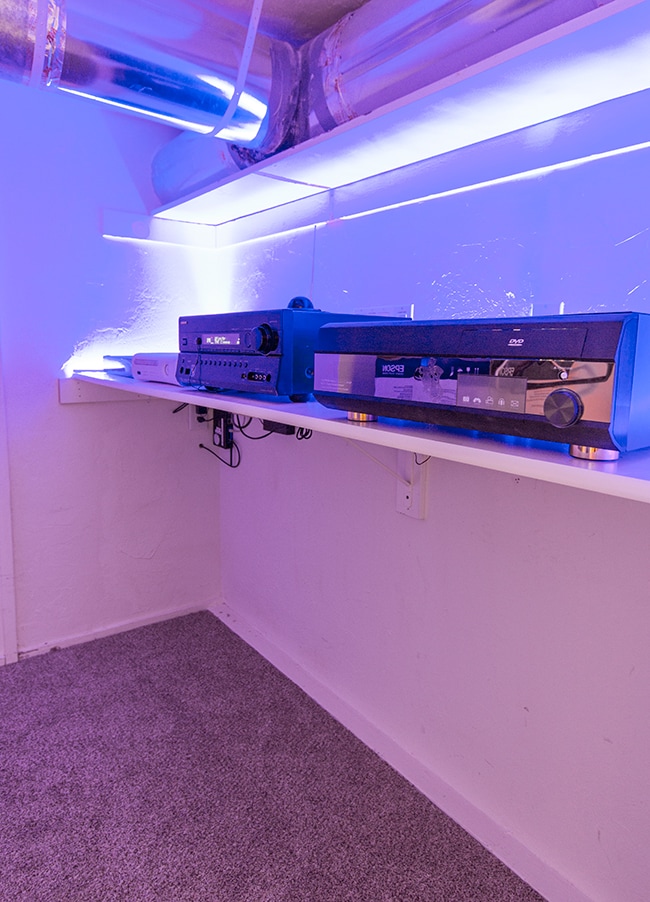
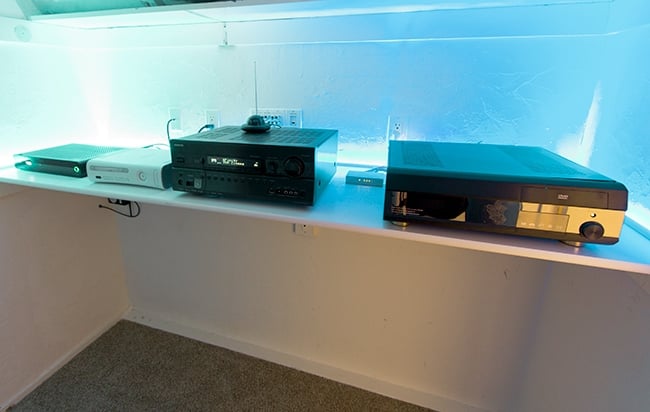
In the equipment closet next door, we have our Comcast Xfinity receiver, Xbox 360, amplifier, and Home Theater PC. All of these are connected to the room so we can do everything from watching cable TV to playing video games to browsing the internet and it will be projected on the screen.
If you care to know the technical details, here’s a summary from Brad (he’s also happy to answer any specific questions you have in the comments):
The Onkyo HT-RC270 7.2 Channel Receiver is powering the 7.1 Surround Sound system in the theater room. All the wiring is run inside the ceiling and walls via wall plates behind the receiver (visible in the picture of the equipment room.) There is an HDMI cable running from the receiver, to the wall plate, then up through the ceiling to provide video to the projector. The whole system is supplied network from the main switch in the upstairs closet via Cat 5 ethernet cable, which connects to a wireless router and 5 port switch in the equipment room. There is a Home Theater PC on the shelf which can play any content and stream from the internet. The Comcast Xfinity Remote Control is RF so it works though the walls. We are using an RF Extender on the Onkyo receiver (looks like a UFO on top of it) to be able to use the remote control in the next room. The Home Theater PC uses an RF wireless keyboard and track ball to operate from the next room.
And of course, there’s color changing lights in here too.
I wish I could invite you all over for a movie night, but you’ll just have to trust me that it really feels like you’re inside a theater (but better because it’s not 50° and you don’t have to sneak alcohol in your purse…)
I took a quick video last night which doesn’t do it justice of course, but it’s still fun to see it in action!


dennymour says
Wow! Really I am very impressed by looks of your Home Theater. Home Automation can be implemented in such a way too that I never imagined at my end. Now I am very curious to have the same at my newly built house.
BHS says
Looks really amazing! I dream about room like this in my house!!
Zach Thalman says
I really like how your theater room is just the right size for those couches and chairs. You did a really good job hiding the speakers and theater system with the curtains. I like how it gives it a move theater feel when you look at it. I wonder what it is like to sit in the room and see a movie.
Zach | https://www.avconnectonline.com
William Walker says
Oh my goodness, that is so awesome! I know what my next home renovation is! I would probably use it for a game room as well. It would be so fun to play some shooting games with surround sound. https://streamaut.ca/
Bill Stewart says
That looks like it's a lot fun. I didn't even consider the idea of a theater being in such a small place. I'm going to look around my house again and see if I can build something like this. https://murphysproducts.com/home-theater-system
Janice says
This is awesome! We're in the middle of planning our house renovation to accommodate a home theater but nowhere near you guys in terms of being hands-on about it so we enlisted https://www.millenniumsounds.com/solutions/home-theater/ to help with the whole thing. My husband's not too big a handyman so yeah, the most he's onto now is to pick out which LA-Z boys to purchase for the room. Love the color changing lights!
Anonymous says
Thanks! I was just reading that exact article haha
Brad says
I got it from an article online, it's here but we didn't use the Sherwin Williams paint, we used the second best recommended paint. We still have issues with brush lines though. It's VERY difficult to get it 100 percent flawless.
https://www.projectorcentral.com/paint_perfect_screen_$100.htm
Anonymous says
Hi, this looks amazing!! Could you elaborate on the special paint you used for the screen? Thanks!
Paige Jones says
wow. so awesome!
Pine Tree Home says
Such a fun space! Enjoy it. I love checking out what you've done with the new digs.
Cindy @Made2Style says
Amazing!! I'll be right over! Haha
Amy says
uh……… i now want to do this to a room in my home, that is incredible!
Jenna Sue says
Yeah, the guys seem to be a little more impressed I've noticed 🙂 We have RF extenders so all of the remotes and wireless keyboard can transmit through the wall.
Anonymous says
Looks awesome – my hubby would be drooling if I showed him… maybe it will boost him to help me get the basement finished! Quick question, when you want to change channel, pause movie, etc do your remotes work within the theatre room or do you have to go to the equipment room?