Today I’m celebrating the first day of my 31st year of existence. It’s bittersweet knowing that the most challenging, heart breaking, beautiful and defining year of my life has officially come to an end. I can only hope this year will bring half as much joy and clarity as my 30th. I feel good about where it’s headed, and am looking forward to taking you on this new adventure with me 🙂
Anyway, back to the reveal. This post has been a looong time coming.
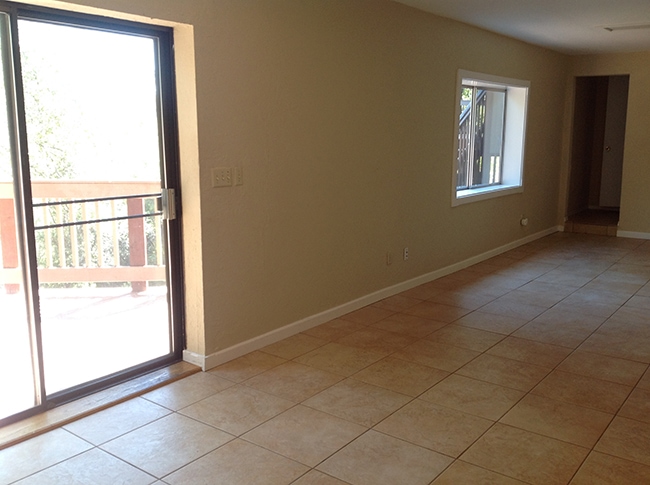
The downstairs level of this house was rarely (never) shown or discussed on this blog, and for good reason. It looked like this for nearly all of the 2.5 years I’ve lived here:
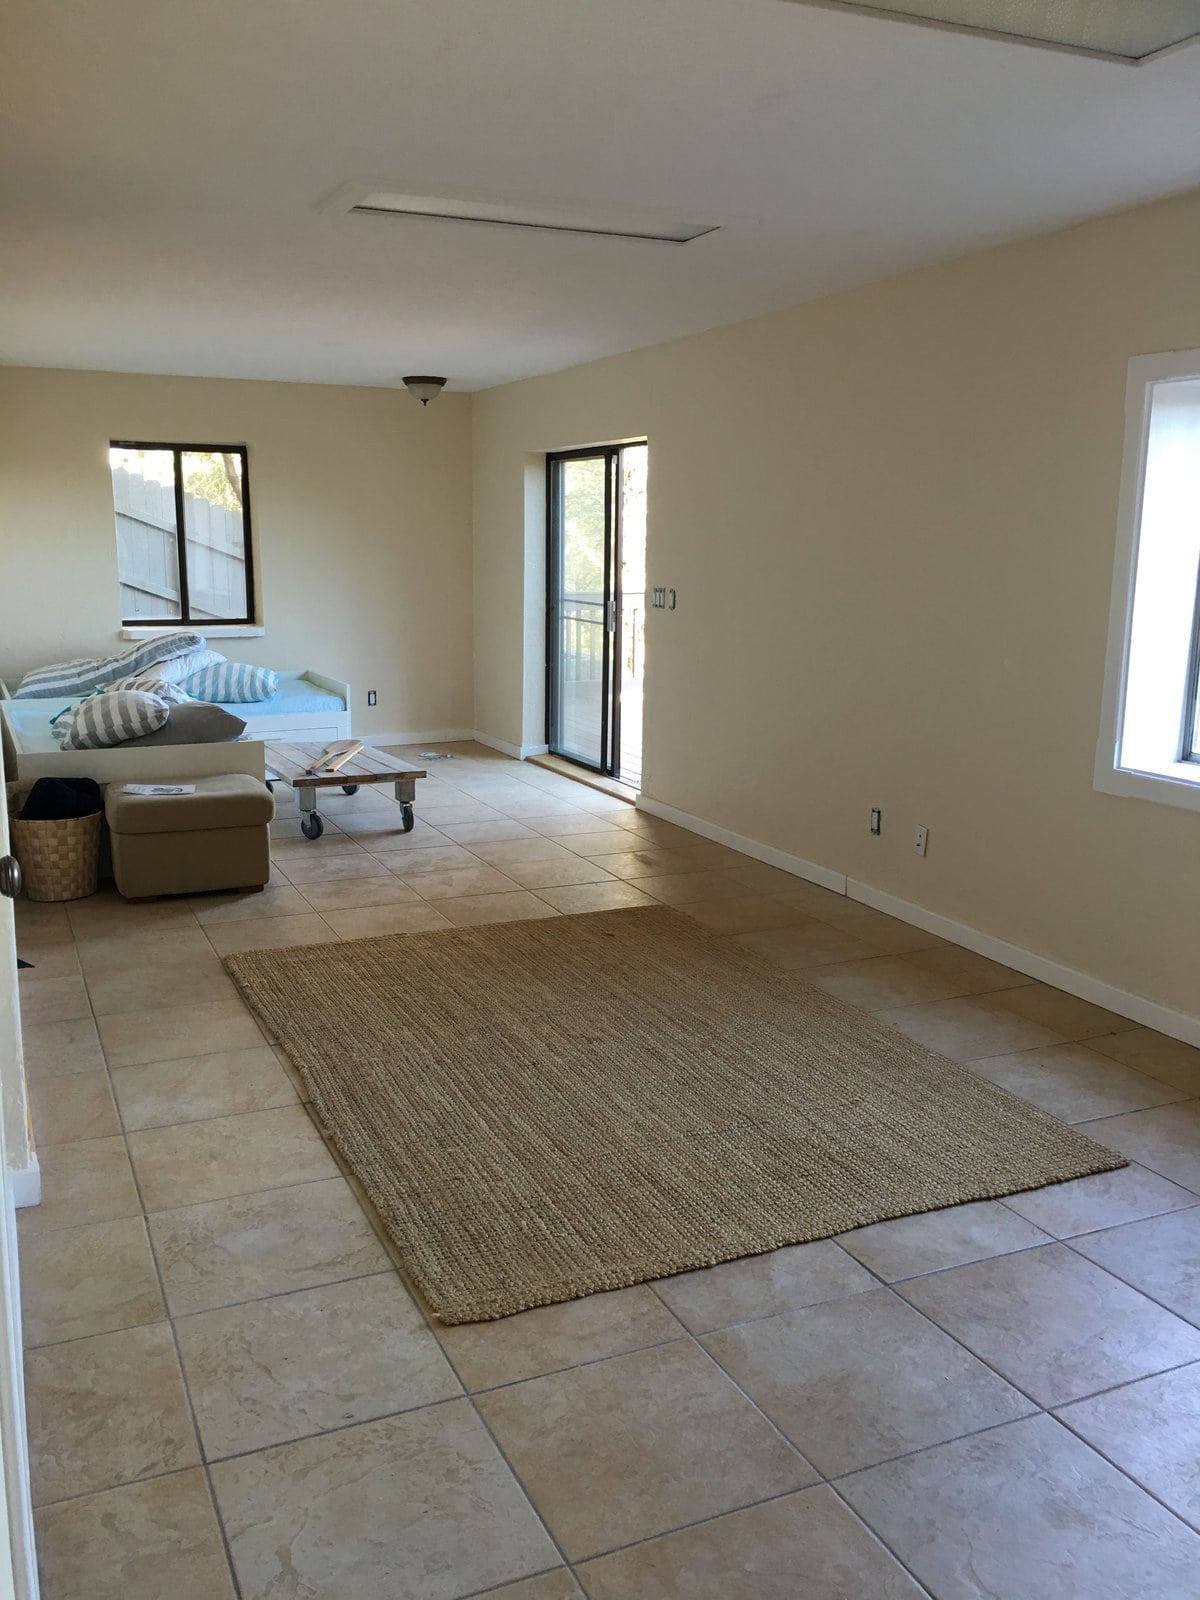
I didn’t know what to do with this area. It was long and narrow and awkward, and there’s more than enough living space upstairs that I never even had to come down here.
So I ignored it.
But then it came time to sell the house, and that meant it was time to address the last room standing—the final frontier.
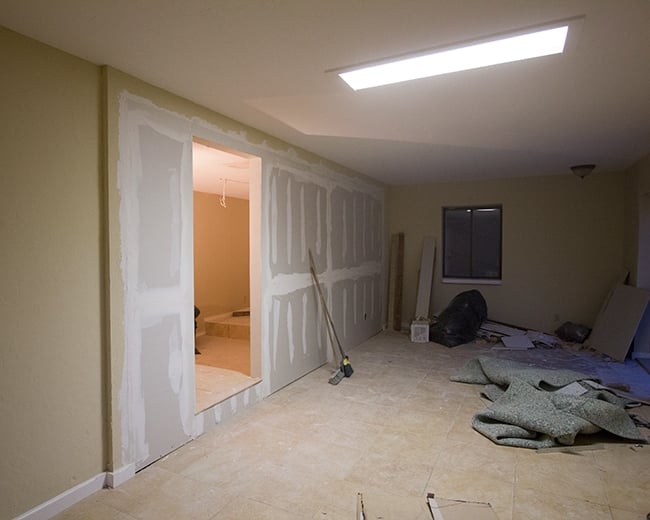
Before the reveal, let’s do a recap of the full evolution. Going back to the one major change we made in the very beginning… my long time followers may remember this:
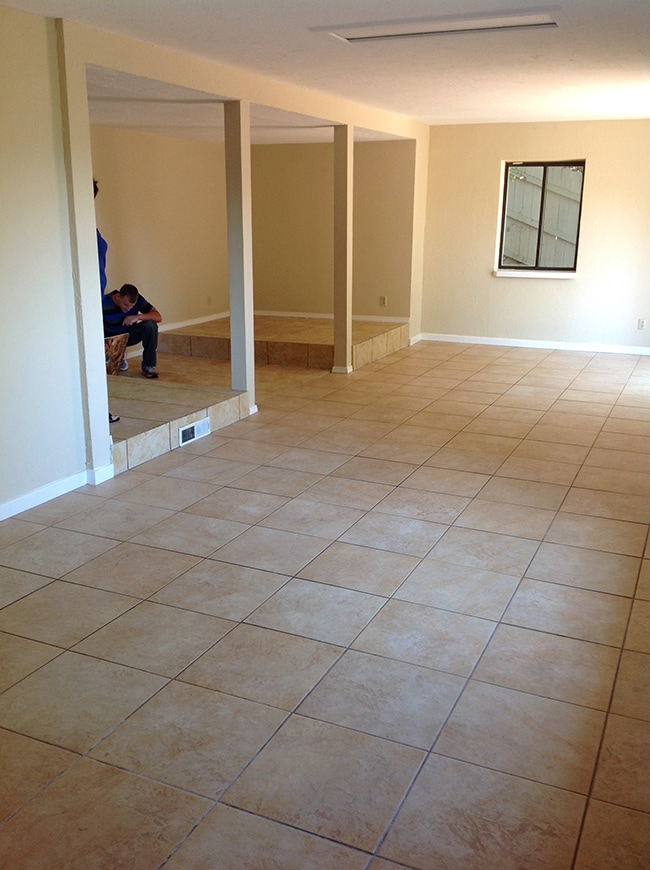
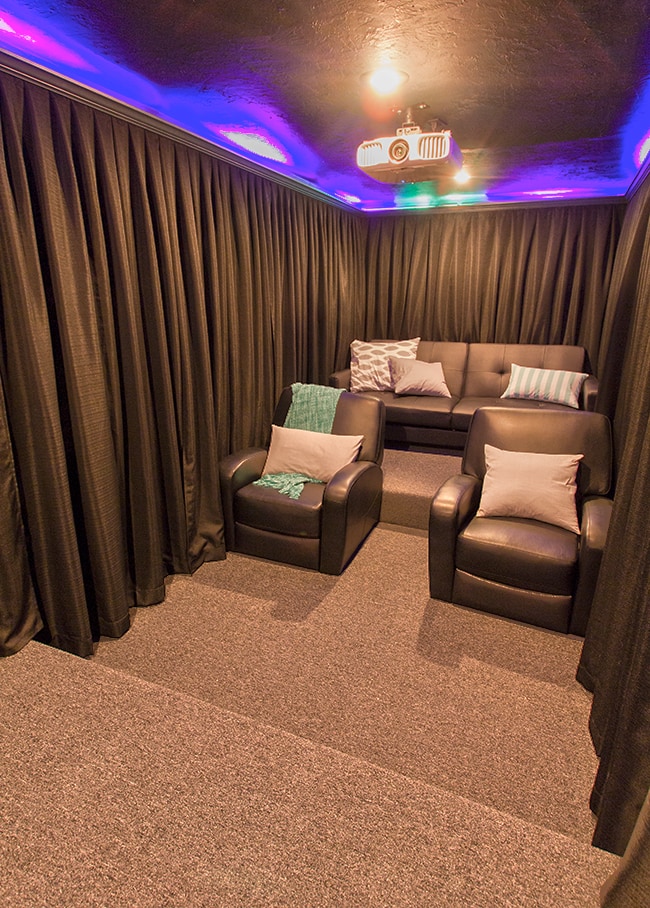
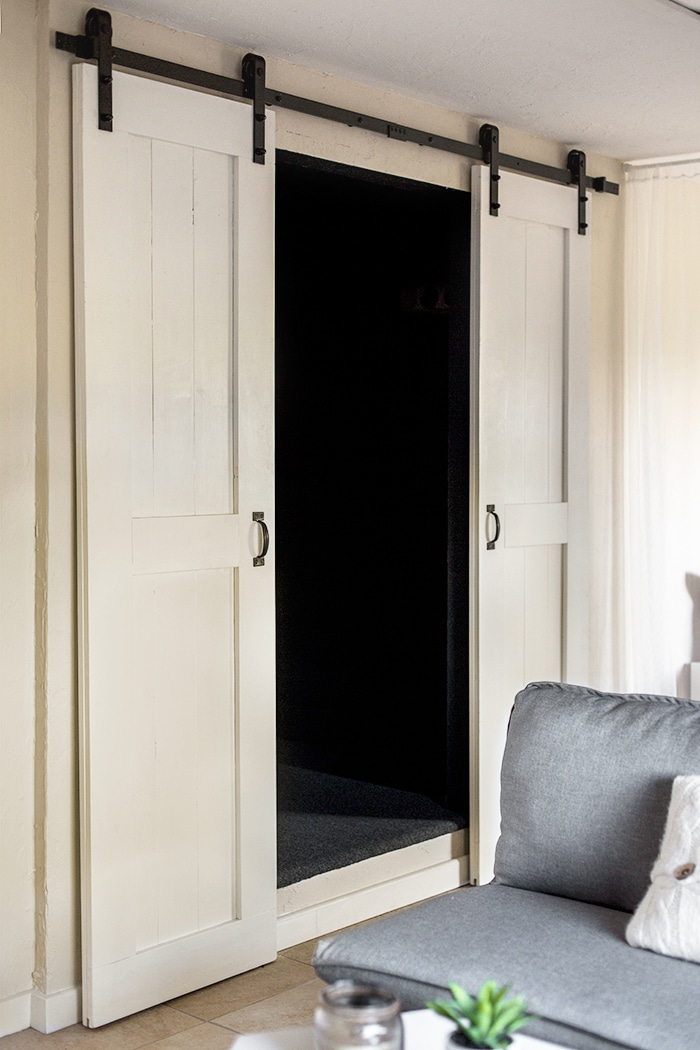
We separated that space on the left by converting it into a home theater. You can read all about that process here.
But then for two years, the rest of the downstairs remained forgotten. Until now.
Because I was working with a very limited timeline and budget, the goal wasn’t to create a dramatic transformation as I’m normally inclined to do—but rather, a simple facelift. That meant using what I already had, ordering affordable furniture, and DIYing the rest.
First, I gave the room (and adjoining hallway) a fresh coat of Kelly Moore’s Laguna Beach, which is a warm antique white.
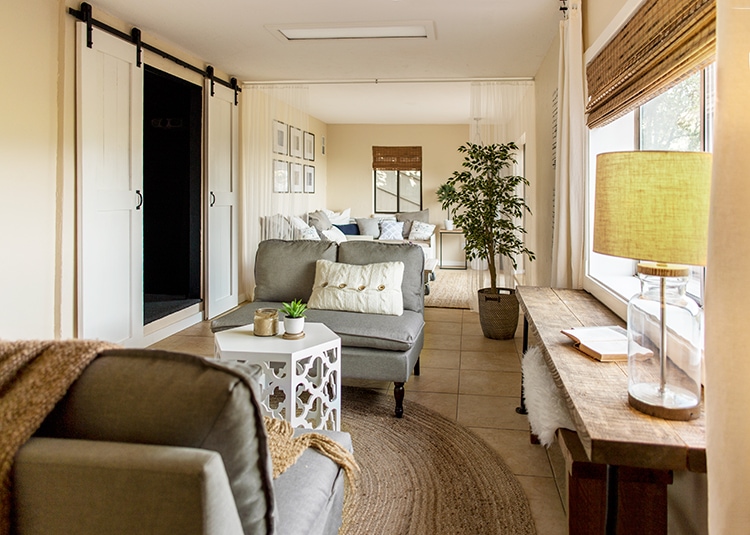
Then the sliding double DIY Barn doors were installed over the home theater entrance, which you can see a couple shots of back in Vlog Episode 8.

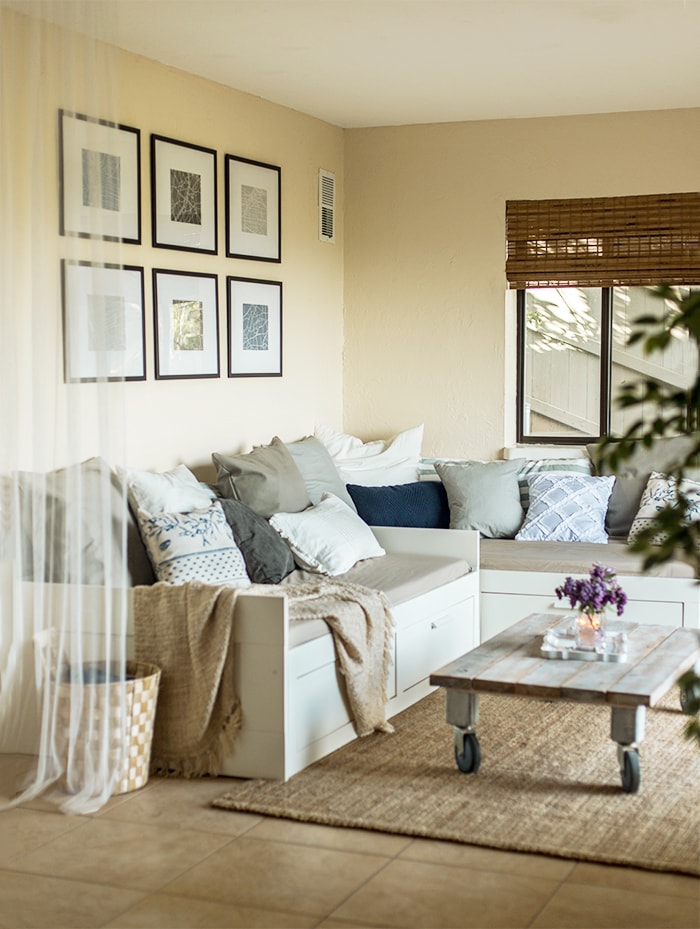
Next I had to plan the layout. There were already two Ikea Brimnes daybeds in the back of the room (originally from the sunroom in our Florida home), along with a jute rug and DIY coffee table so I decided to leave those as is, and divide the room into two sections by creating a separate seating area in the front.
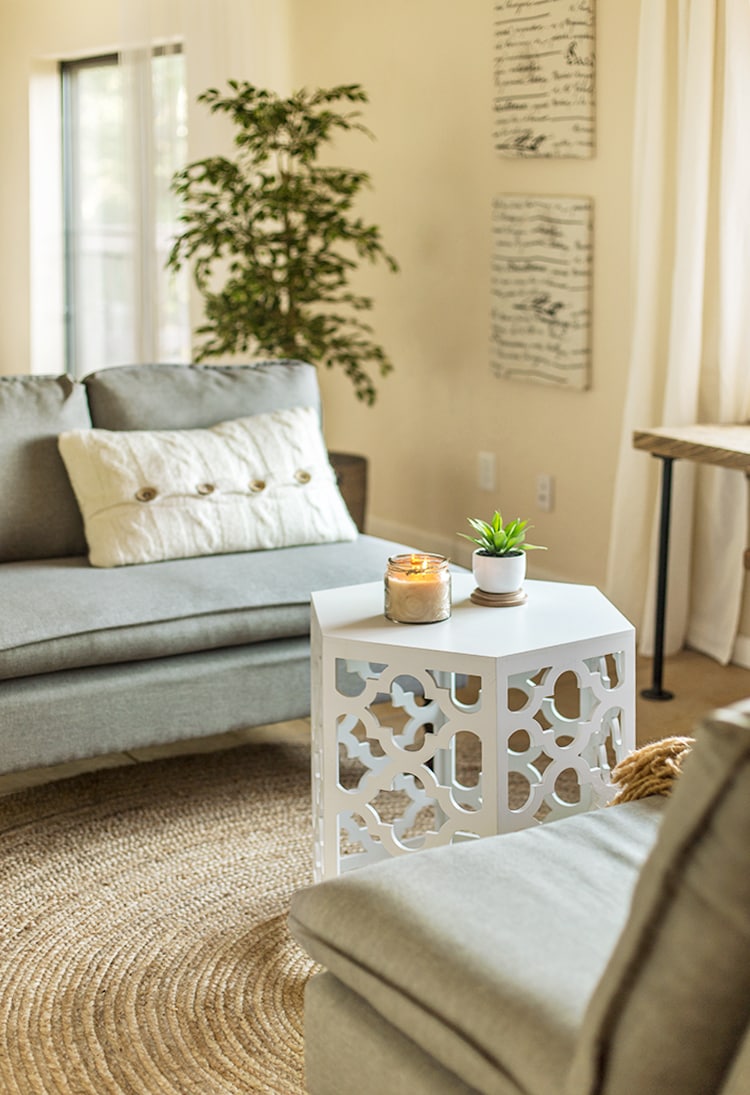
Because the width of the room is only 10’9″ with doors on one side and a window on the other, this required a little creativity. A standard couch would be too large but chairs were too small, so I found a happy medium with these settees from Overstock:
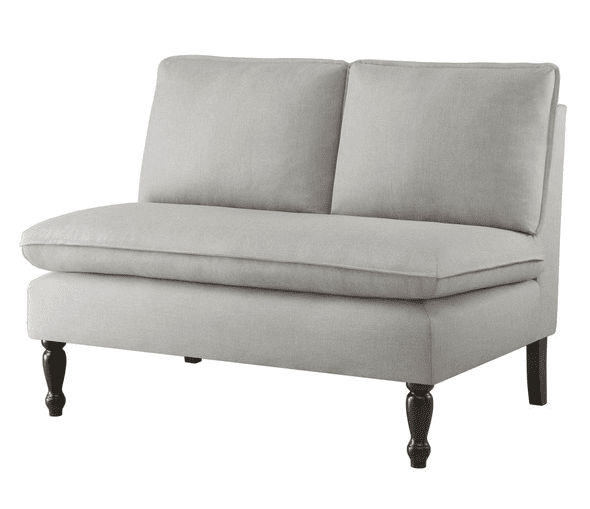
I love how classic and versatile the look is and knew I could use it in future homes, so I bought two to place across from each other.
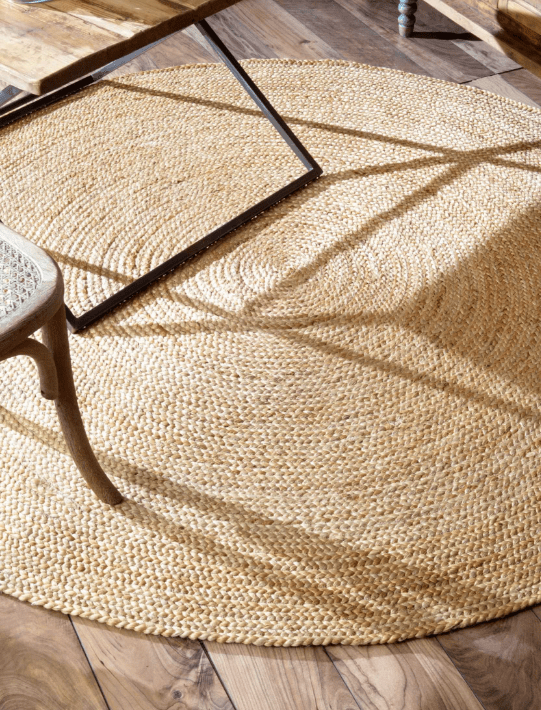
Then, my favorite rug source was having one of their biggest sales of the year, so I jumped on it and picked up this 8′ round jute rug for just $130 shipped:
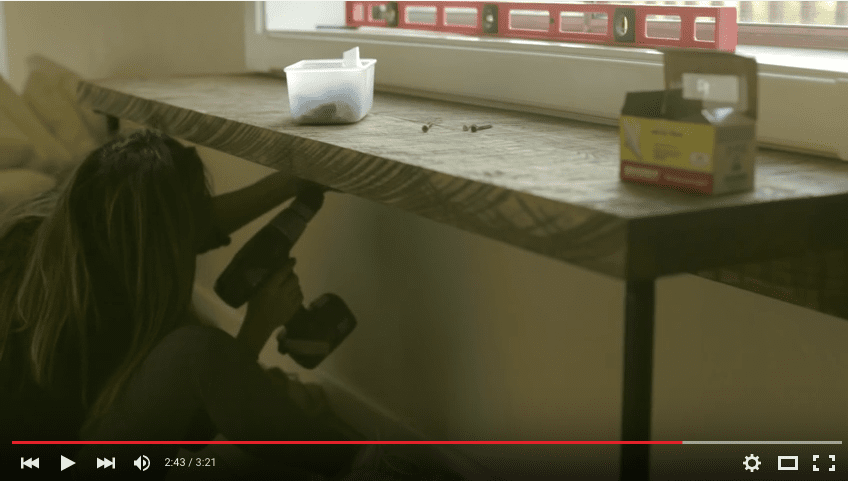
Now that I had my basic seating area layout, it was missing one essential piece—a DIY wood project!
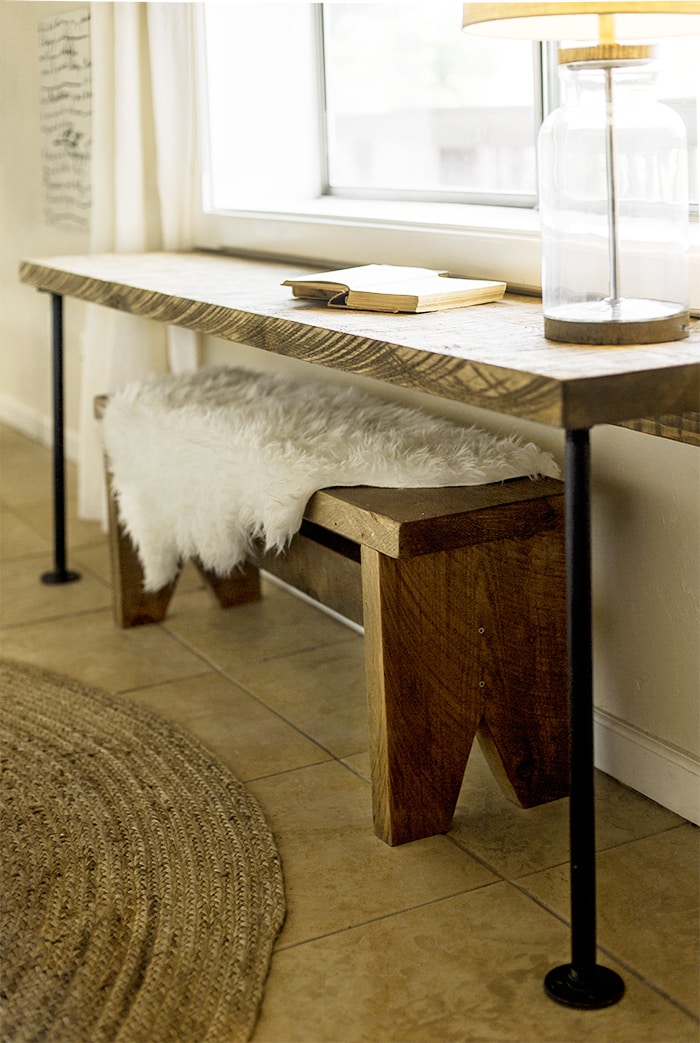
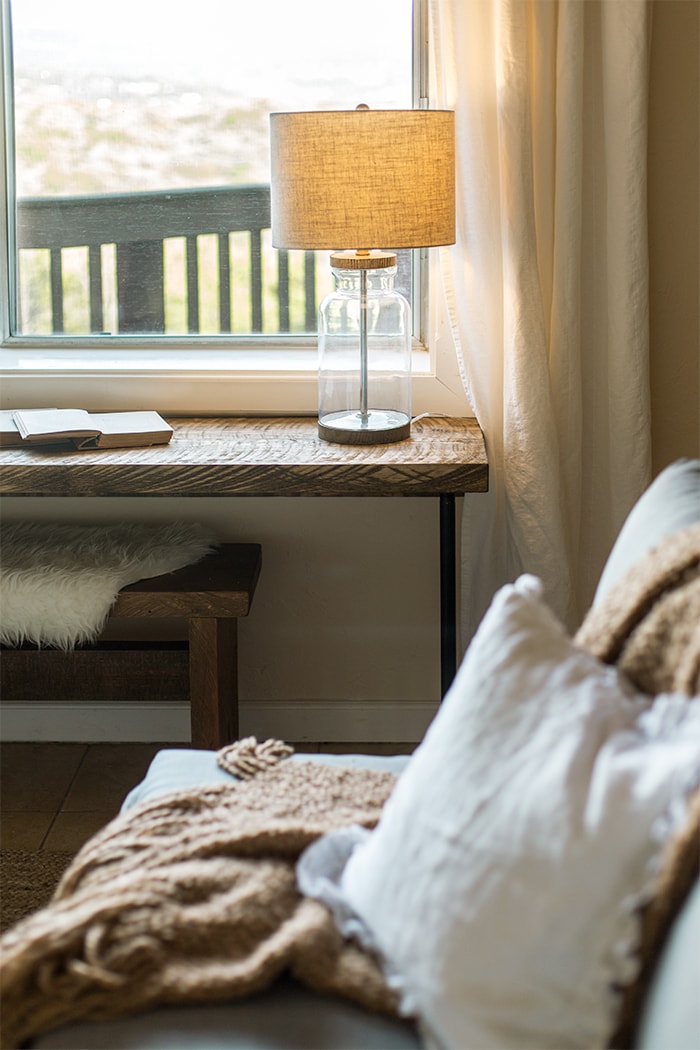
This window (on the right) would make the perfect spot for a built in desk ledge.
You can watch me building that along with a bench in Vlog Episode 10, and I’ll also be posting a full tutorial next week!
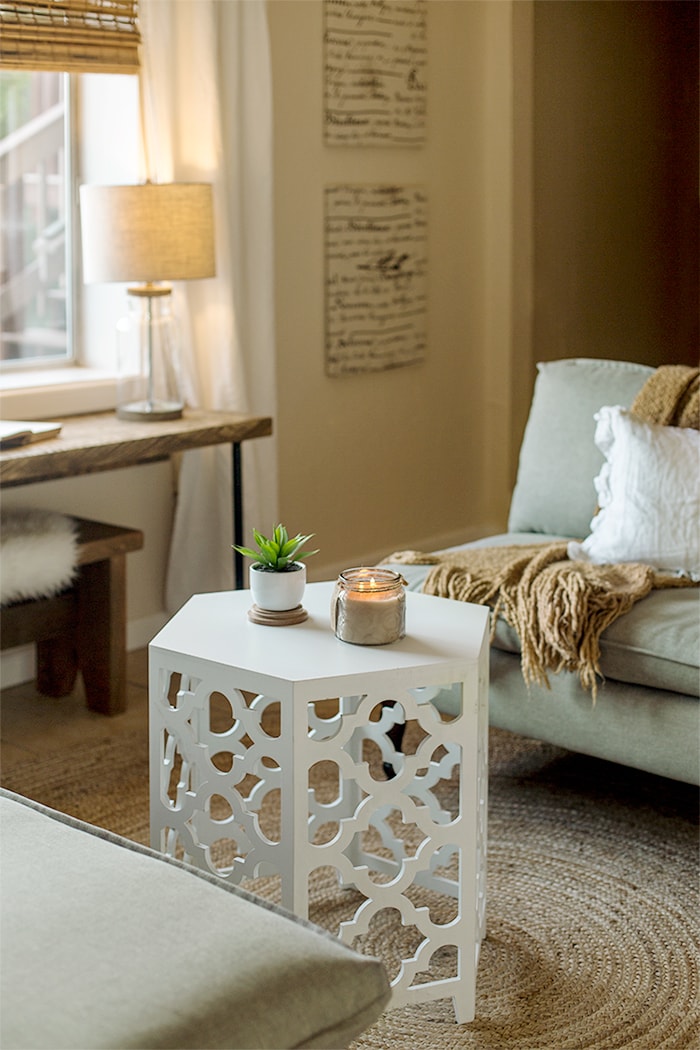
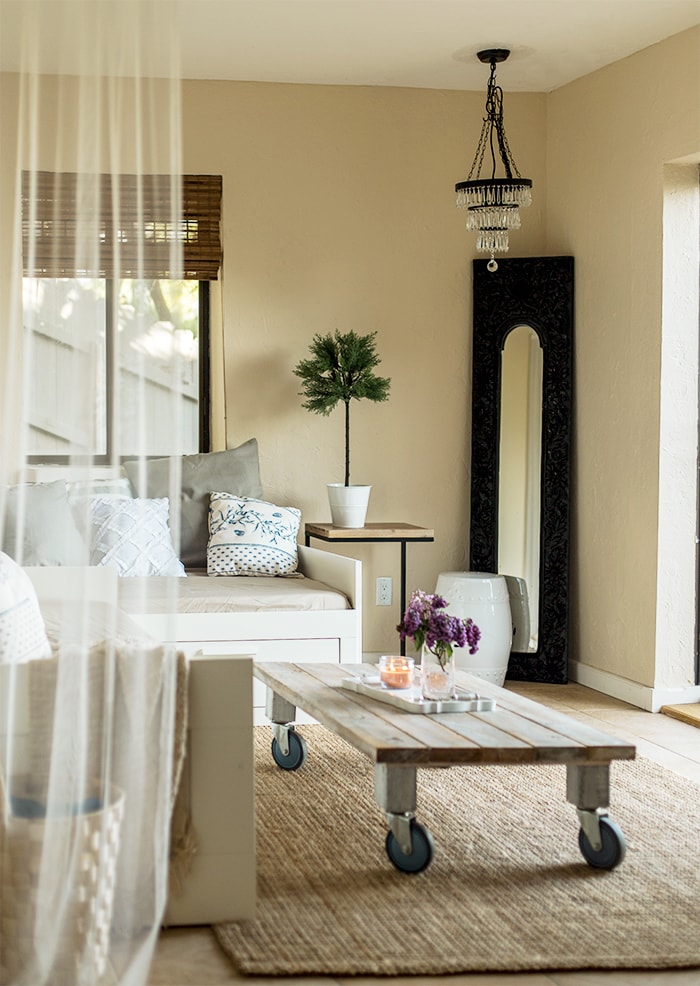
After the basics were in, it was all about the details. I picked up curtains, a tree and a few accessories at Ikea, a coffee table at TJ Maxx, hung woven shades, and brought in pillows, blankets and artwork I already had for the finishing touches (full source list at the bottom of this post!)
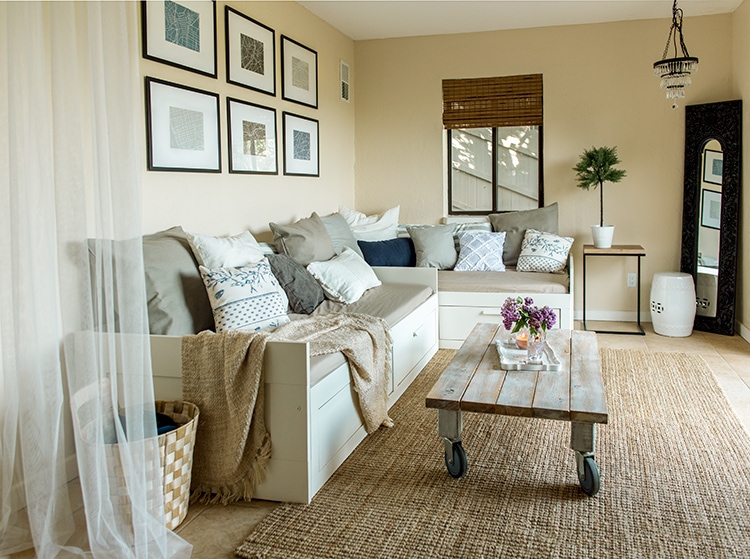
And here she is today…
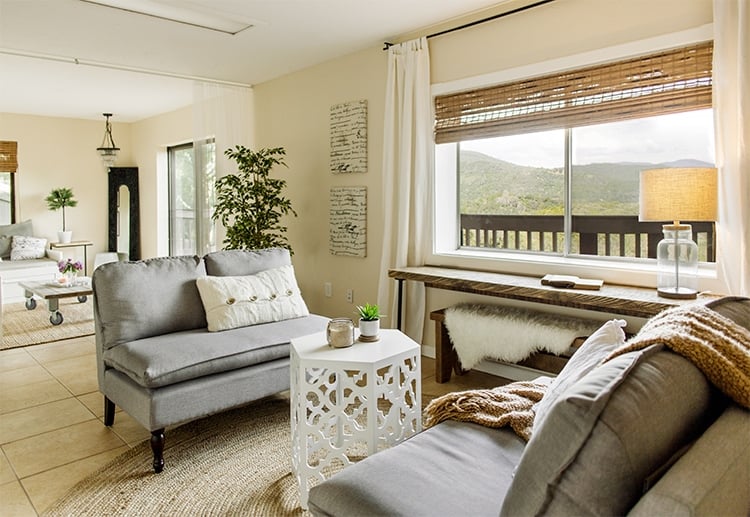

Pretty cozy, right?
This desk and bench were built in less than a weekend for under $120… can’t really beat that! Looking forward to sharing the process with you next week.
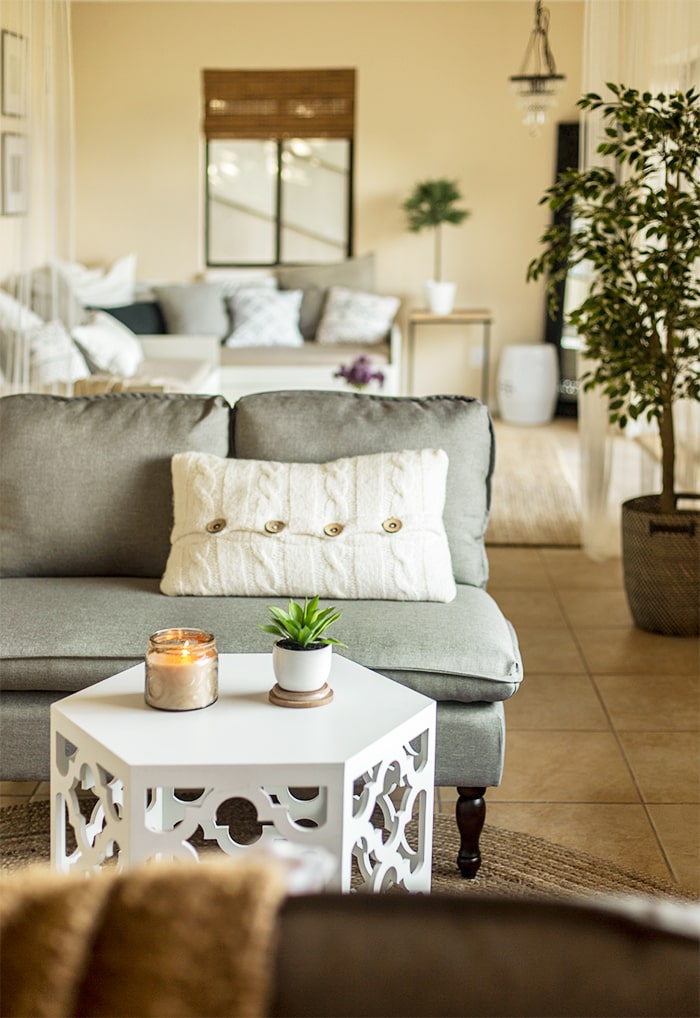
The daybed seating area was divided from the front of the room using gauze sheers and a curtain rod hung from the ceiling. I love the breezy romantic touch it adds…

By using what I already owned and sourcing inexpensive options, this space cost very little to put together. That’s my kind of makeover.
Source List:
Wall color: Kelly Moore’s Laguna Beach
Rectangle jute rug: Ikea
Round jute rug: Rugs USA
Daybeds: Ikea Brimnes
Gauze curtains: Ikea Lill
Window curtains: Ikea Lenda
Loveseats: Overstock / Toulouse French Seams Gray Loveseat
Wood coffee table: DIY
White trellis coffee table: TJ Maxx
White garden stool: TJ Maxx
Metal & wood side table: Ross
Crystal chandelier: Overstock
Woven blinds: Amazon
Black frames: Ikea Fiskbo 16×20″
Art prints: Jenna Sue Design city maps
Canvas art: DIY
Woven floor basket: Ikea (old)
White coffee table tray: Kirklands
Pillows & blankets: Ikea, Etsy, gifted, thrifted, etc
Black mirror: Borrowed
Barn doors/hardware: DIY
Desk & Bench: DIY (coming soon!)
Sheepskin rug: Ikea
Lamp: Lowe’s
And that should cover it! If I had more time and funds for this room I’m sure it would look quite different, BUT, given the constraints I had to work under I really am quite pleased with the results and hope the future homeowner will be able to really enjoy this space.
Let me know if I’ve missed anything in the comments or if you have any questions/clarifications/thoughts. There’s a full week of projects ahead including shooting a DIY furniture makeover, a backyard patio transformation, hosting a wine party and working on that desk/bench tutorial—all coming your way within the next couple weeks! You can catch all the behind the scenes action by following me on snapchat @ jennasuedesign, or frequent updates on instagram, facebook and twitter.
Enjoy this last week of April!


Ava says
Happy birthday! And thank you for yet another great post! You are such an inspiration.
Sally says
Love following your blog! Always such beautiful work. Wishing you a very happy birthday!
Natalie S. says
Wow, everyone asked all the questions I was going to ask! Happy birthday! May this year be more adventurous and amazing than the last! ????
Julie Carter says
What about the guest room you re-did… will we get to see that?
jennasuedesign says
Yes, that’s on the way!
Brooke says
It looks great! I think any buyers will really value that space as extra sleeping or a rec room. Speaking of, will you be sharing if you’ve received any offers and what the list price is? I’d love to know how all of your improvements have affected the value!
jennasuedesign says
Thanks Brooke! I have an update coming soon 🙂
Nichole says
Amazing job, I just love your style! I have followed your blog for well over a year and a half now, always stunned. I am curious about Brooke’s question as well. Not sure how you can tell us that without all the information in cyber space for the world to see.
I have recently gotten big into DIY and just got my real estate license. So I am curious say if you put $30,000 into your home not including furniture and all that if you are at least getting an extra $30,000 on top of what you paid for the home.
And Happy belated Birthday!
jennasuedesign says
Thanks Nichole! I figured people will be curious about that. Without getting too specific, I’ll elaborate a bit more on renovation costs vs profit in an upcoming post 🙂
Dani at Danielle and Co. says
It’s beautiful! So warm and cozy, and I do think it’s quite a transformation – before it did look pretty generic. Nice, but without a lot of personality – you definitely added a very different vibe to it!
MichelleV says
I love it – especially the built in desk/console. One thought…did you consider moving the other daybed under the window further out to the right ? You could put or build/ place a square table in the space between the two beds in the inside corner and have more usable space from both of the beds being fully accessible. Just a thought…you are very driven and I admire your hard work!
jennasuedesign says
Thanks Michelle! I actually did consider that but ran out of time/desire to do anything since that space is barely used 🙂 It’s a good idea though!
Andrea says
Happy Birthday (my 30’s have been my greatest years yet)! beautiful reveal!! I really look forward to your post on Hosting a Wine Party.
**Following up on an email I sent- can you tell me the brand of Pink Sparkling Lemonade you had out during your Home tour last Spring??
Thank you!!
jennasuedesign says
Thanks Andrea! I can’t remember off the top of my head as it has been a while, but I got it at Safeway. I’ll try to remember to check!
Gail says
Happy Birthday??another simple elegant cozy room. Great job as always. Thanks for your ideas.
Andrea says
Amazing as always! I so wish you were still doing design consulting because I am at a loss with some spaces in my new home! Also, happy birthday!
Linda Grubbs says
Again….beautiful!! Love how you pulled it all together…but with some separation. I also have a long narrow room to deal with at my house, it’s not an easy decorating situation…but you really did a nice job. BTW, Happy Birthday sweet girl!! Wishing you a day of joy…and a year of much happiness!! xoxo
Elizabeth says
So incredibly beautiful – like everything you do!
Amy says
I actually really love this! My kids playroom is similar in dimension as this room and I’m right in the middle of planning a little facelift for that room as well. This post has given me some really good, practical ideas. Thank you!
Amy says
Oh! Happy Birthday! I forgot to mention it in my original post. May the next year be filled with hope, joy, and blessings! Enjoy your special day!
jennasuedesign says
<3
Valerie says
It looks great! You say that if you had more time and money to work on this room it would look quite different. I’m curious… what do you think you would have done with the space if this was going to be your forever (or at least “for the see foreseeable future”) home?
jennasuedesign says
Thanks Valerie! I would have had to think about it more and decide how I would actually use the space. I personally don’t need any more living areas so at one point I thought a exercise area would be a good option… or there’s always turning it into a studio and renting it out. Who knows 🙂
Dominique says
As usual you did an amazing job. The room looks beautiful.
Wishing you a very happy birthday!