This weekend we built our bar!
I figured it would be one of those projects that dragged on all weekend and I’d be scrambling to put the finishing touches on right now, but nope… it was done by Saturday afternoon (thanks to my Dad’s help).
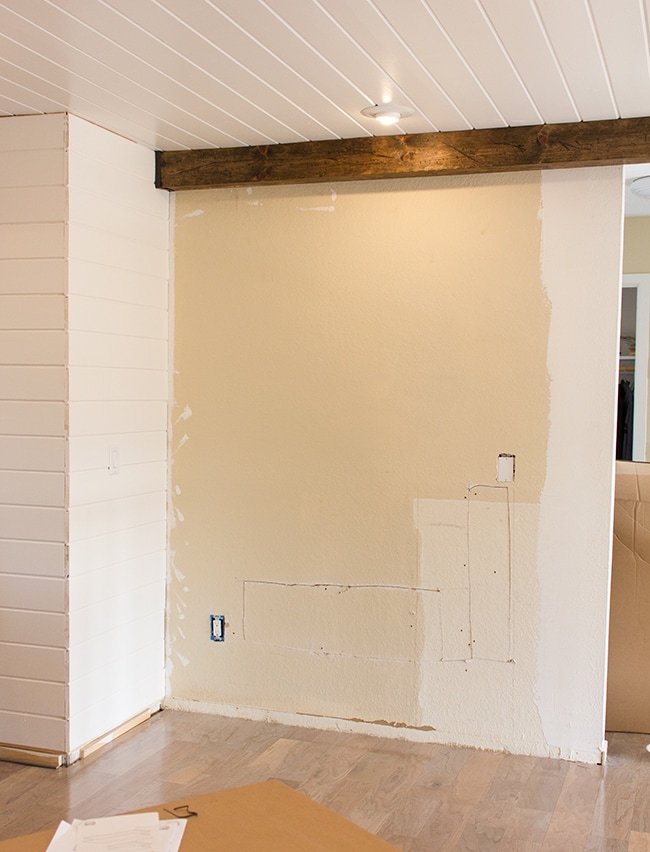
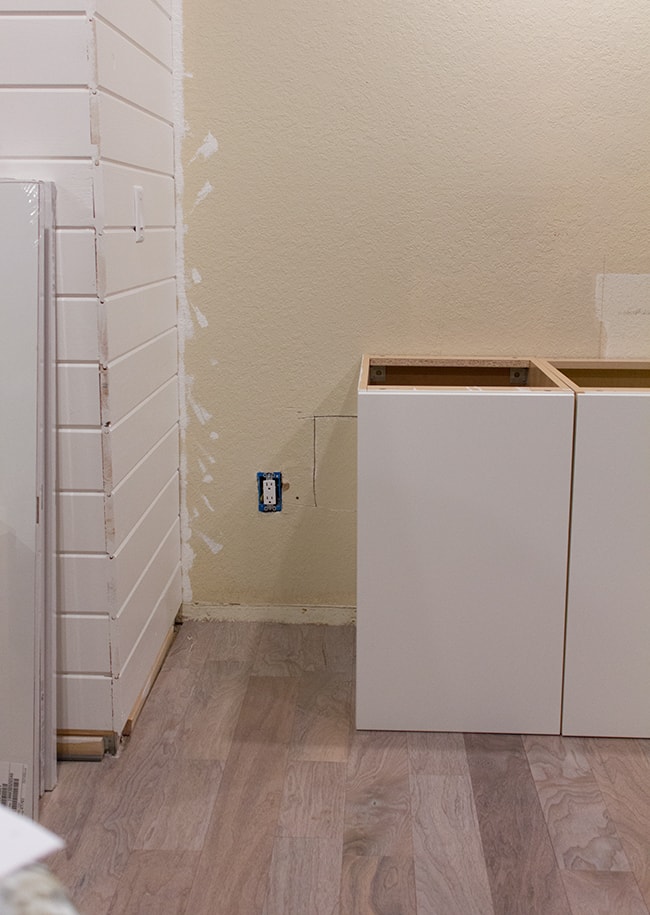
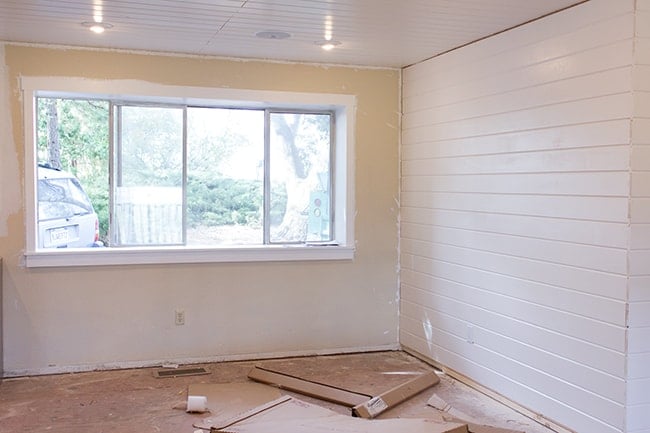
Let’s rewind a bit… here was the space we were working with:
When we bought the house there was a bar here, but clearly it had to go…
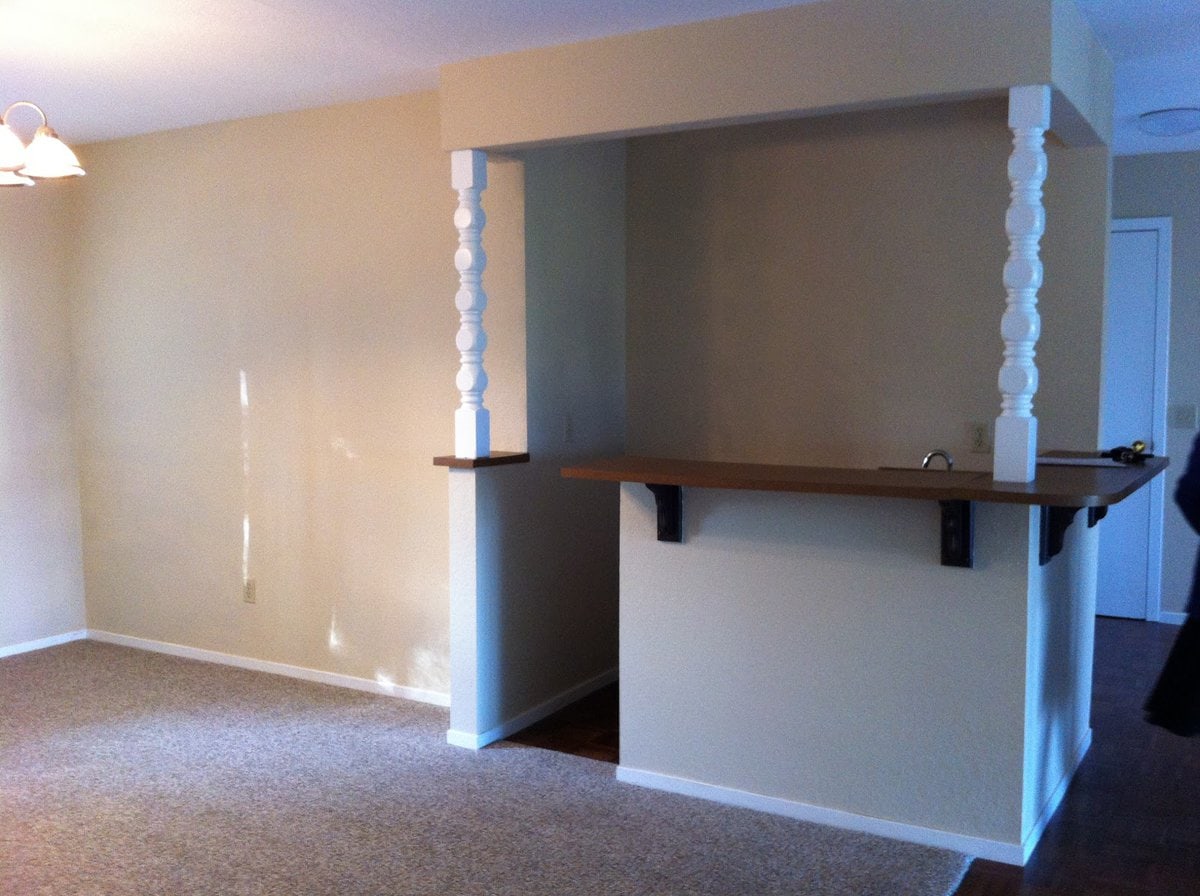
I still liked the idea of having one as we love to entertain, but something less gigantic and in your face.
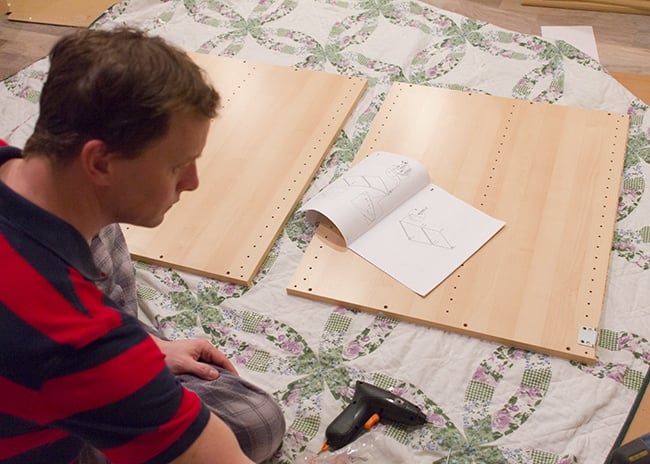
We had a wine fridge at our last kitchen and really enjoyed it, so we decided to do that again. To fill up the rest of the space, I looked to Ikea for inexpensive cabinets. Luckily they come in a variety of sizes, so I was able to choose two of these Akurum cabinets that were the perfect width to fill the space and allow proper ventilation on the sides of the wine fridge.
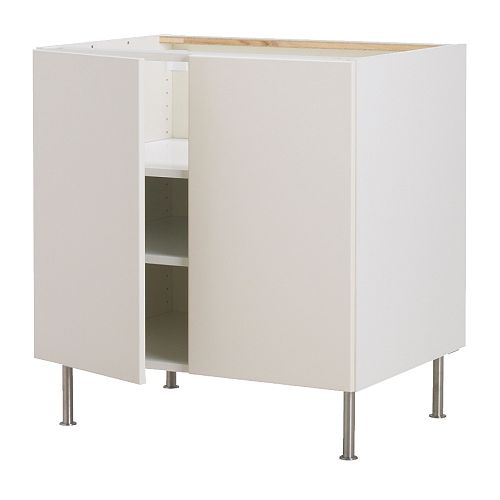
When it came to door styles, I decided to go with the Applad white style shown above for a few reasons.
1) It was clean and simple—it wouldn’t compete with or try to match with the rest of the kitchen cabinets, but it is the same flat panel style as our drawer fronts.
2) I didn’t want to have to paint them, and the Applad white is a true white (not off white like some of the other door styles)
3). It was the most inexpensive option—just $200 total for an 18″ and 36″ wide!
But when the delivery came and I unpackaged the boxes… my heart sank. In my rush to get everything on my list during our big Ikea trip, I forgot to change the default “birch effect” to “white” when I added it to my shopping list. Ugh.
Fortunately, the doors were still white, but because you would see the side of one of the cabinets, I had to resort to painting.
I used the same white satin paint I’ve used everywhere in the kitchen (the plank walls, ceiling, and pantry)…
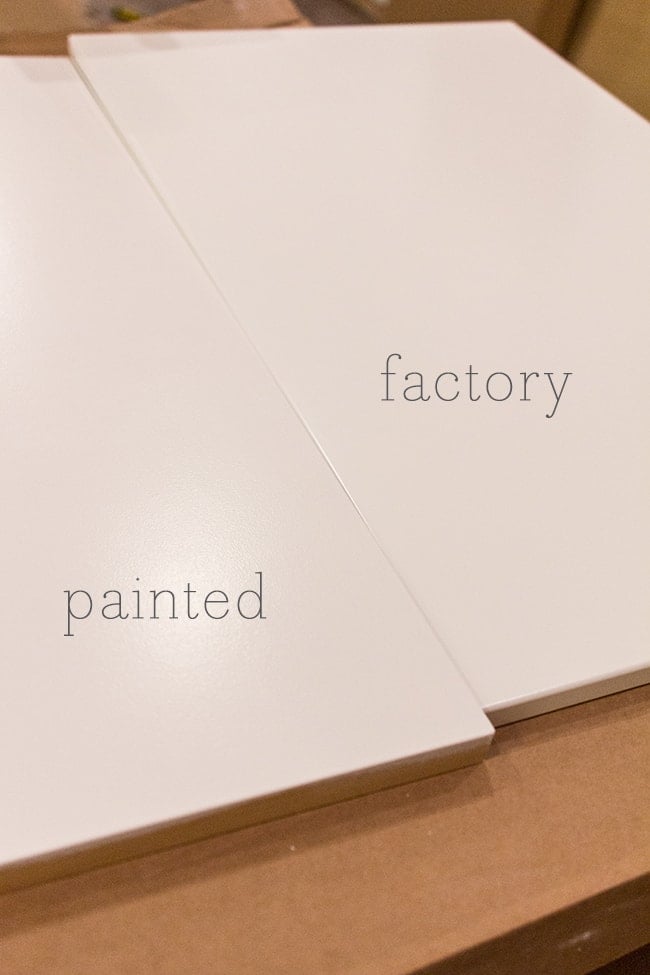
And to my surprise, they were actually pretty close to the doors. It wasn’t an exact match, but it was close enough for me to have hope that I wouldn’t have to paint the doors too.
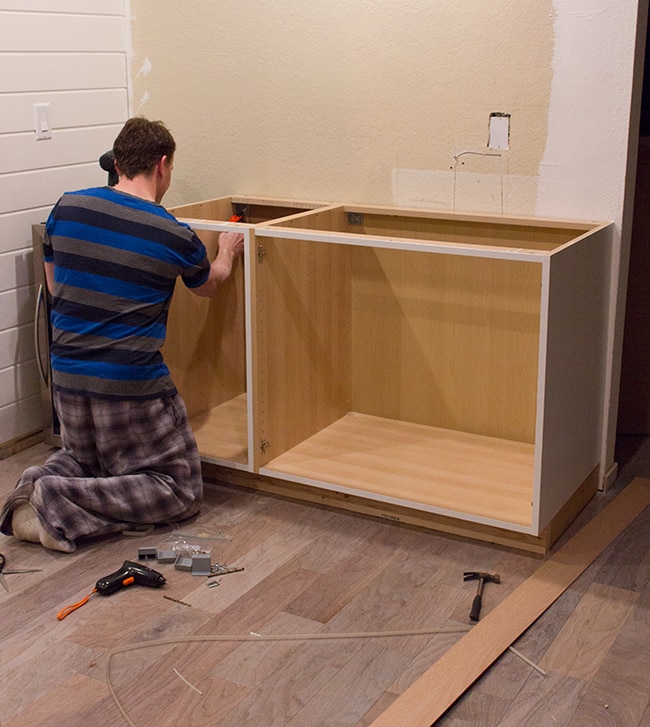
Let me tell you, these cabinets were a breeze to assemble. Quite possibly the easiest Ikea assembly ever. I would absolutely not hesitate using them for a full kitchen remodel in the future.
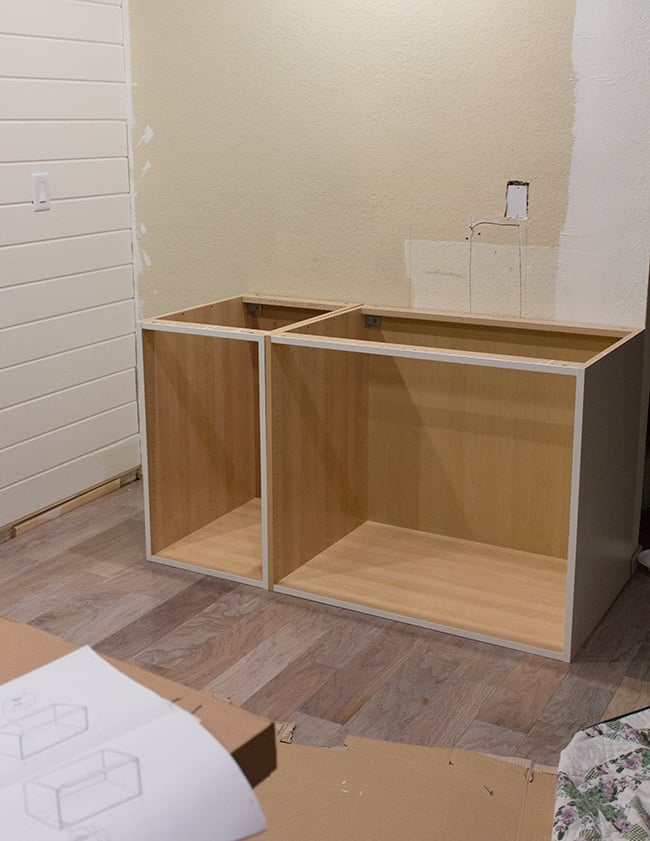
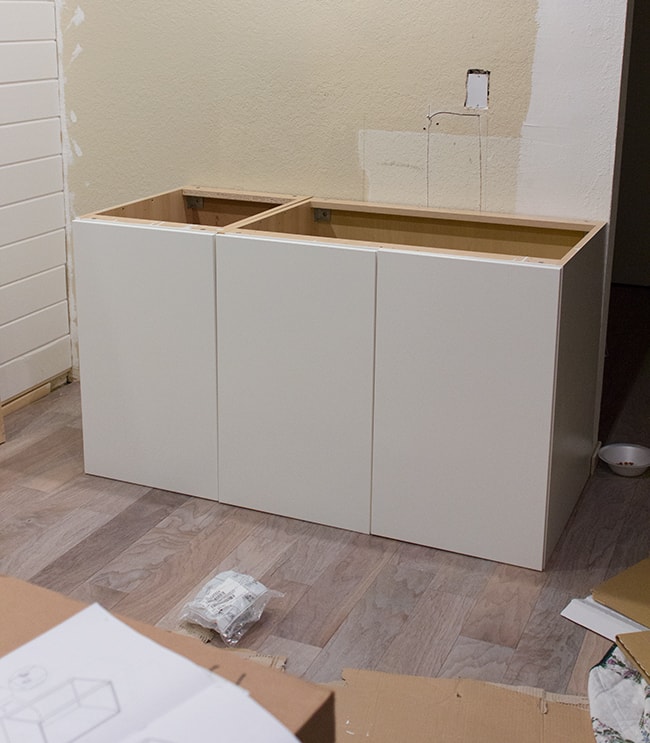
Here they are roughly in place:
 |
||
| I had forgotten to paint the front of one edge before assembly… whoops! |
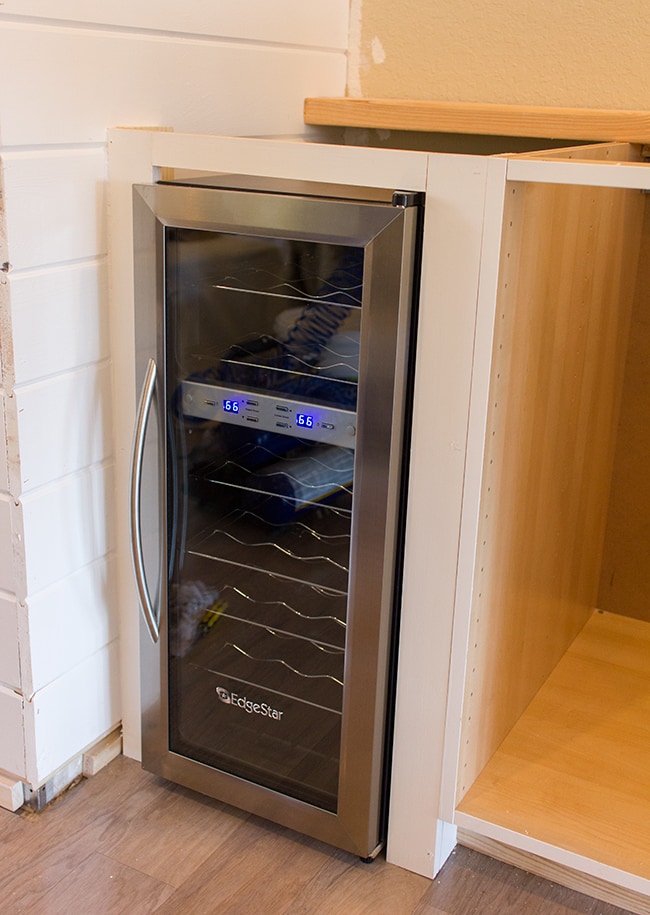
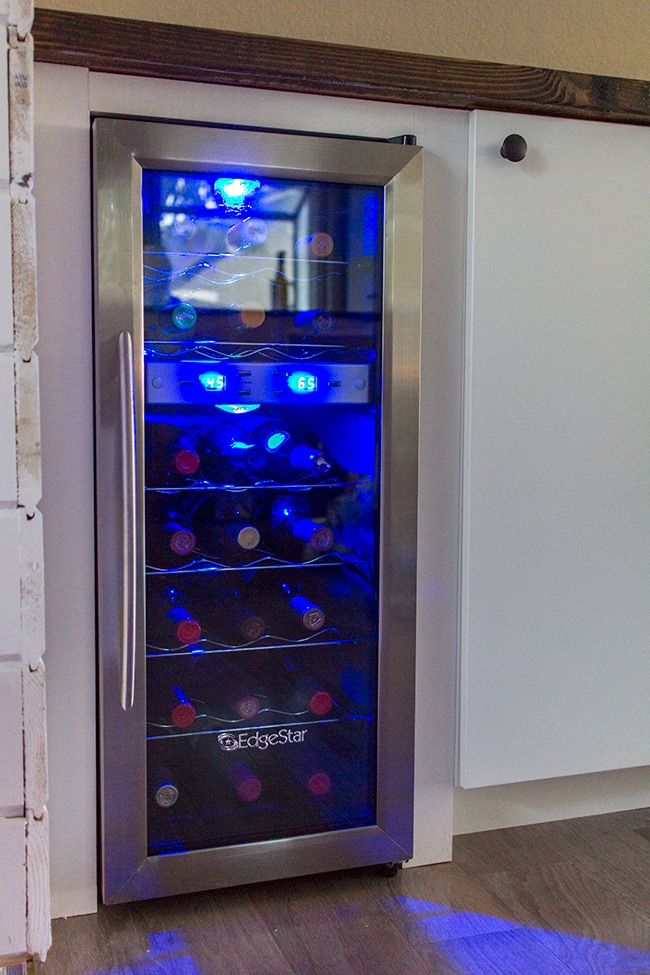
After researching and reading lots of reviews, we found 21 bottle capacity Edgestar on sale for $237 shipped:
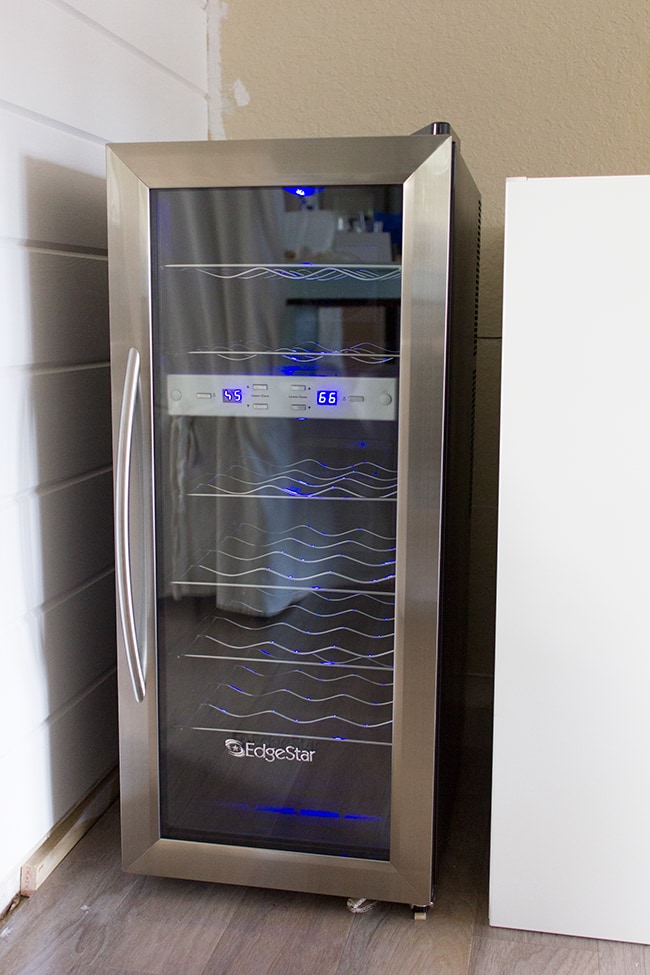
I kid you not—I ordered it on Wednesday afternoon and it was plugged in and running by Thursday afternoon. Amazingly fast service.
Back to the plan—first, I had to build a toe kick to elevate the cabinets.
I used basic 2×4’s screwed together, and made the depth a standard ~4″ less than the cabinets (to match the rest of the kitchen)
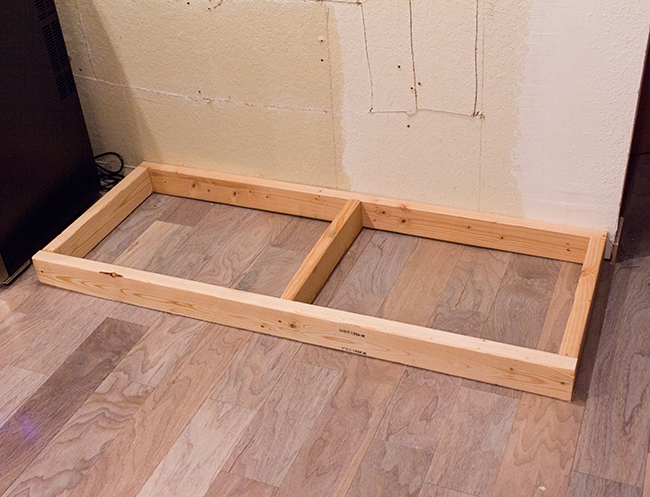
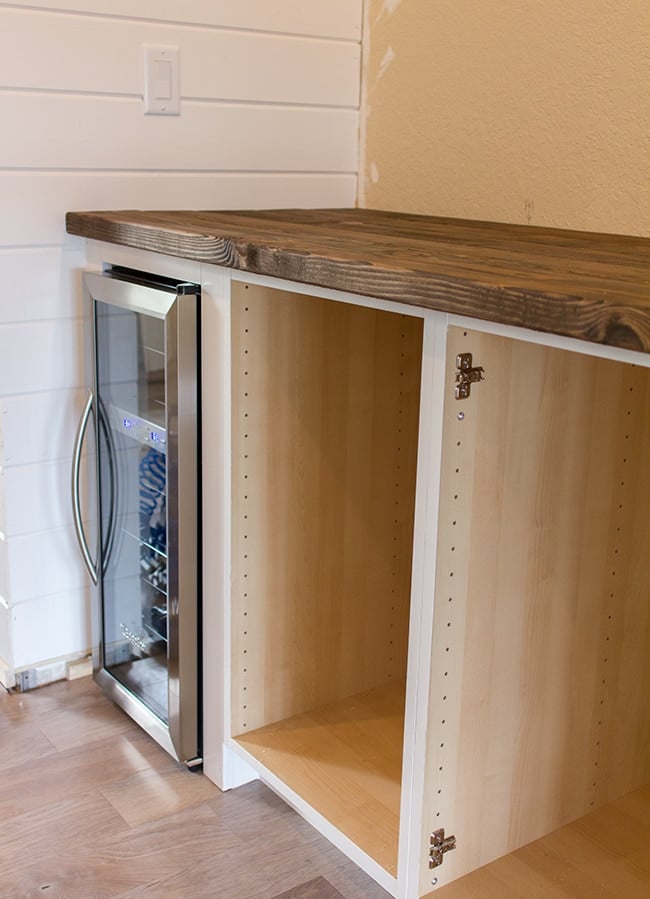
After securing the base to the wall, we placed the cabinets back on top and secured them to each other and the studs along the wall.
Then we had to address this empty space around the fridge.

The gap still needed to be there for proper ventilation, but I decided I want it to look built in so I came up with a plan.
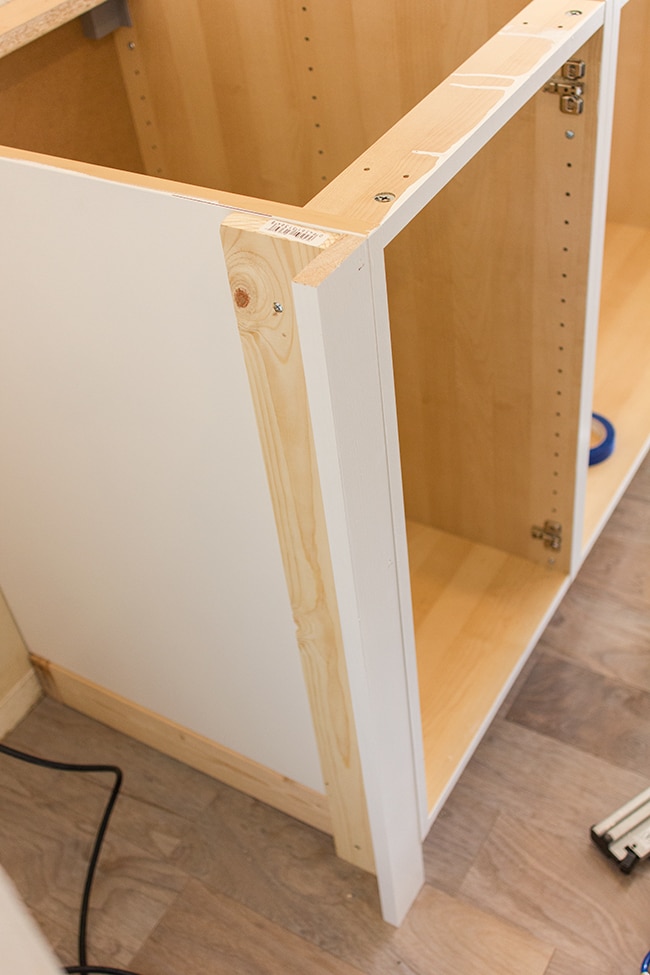
First, a 1×4″ screwed into the side of the cabinet:
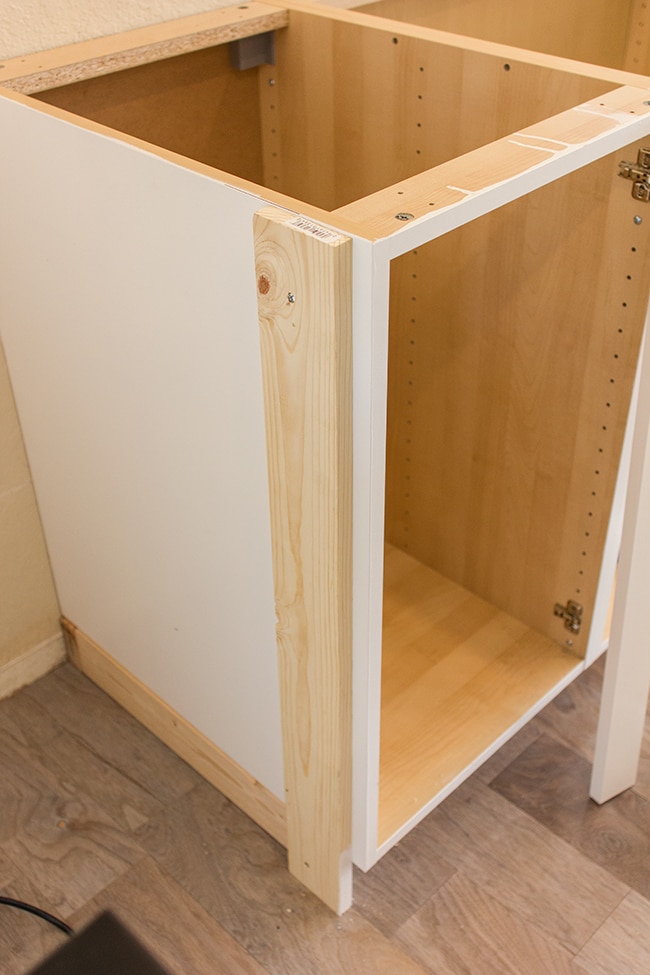
Next, a painted 1×3″ nailed into it, flush with the cabinet (I spent a couple more dollars on the smooth and solid top choice wood vs the cheaper 1×4″ whitewood boards)
I repeated the process on the other side (I had to leave a bit of a gap because the wall wasn’t entirely level with the fridge, which I later filled in with caulk):
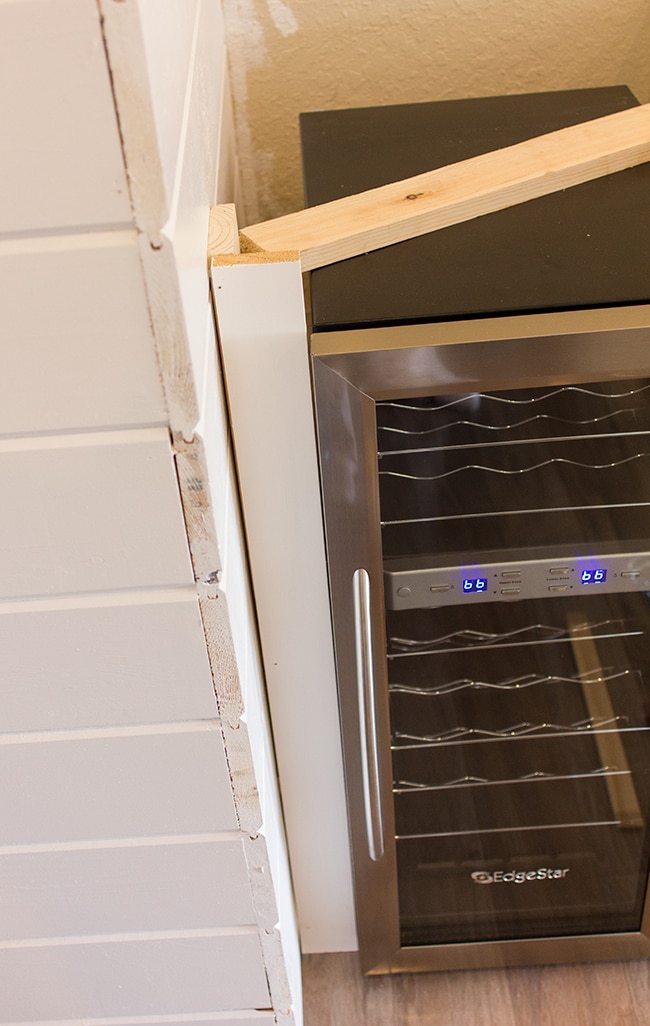
I got lucky—the 1×3’s fit right up next to the wine fridge perfectly so I didn’t need to rip them down at all.
For the top, I used a 1×2 secured to sides using pocket holes (my first project with my new Kreg Jig!)
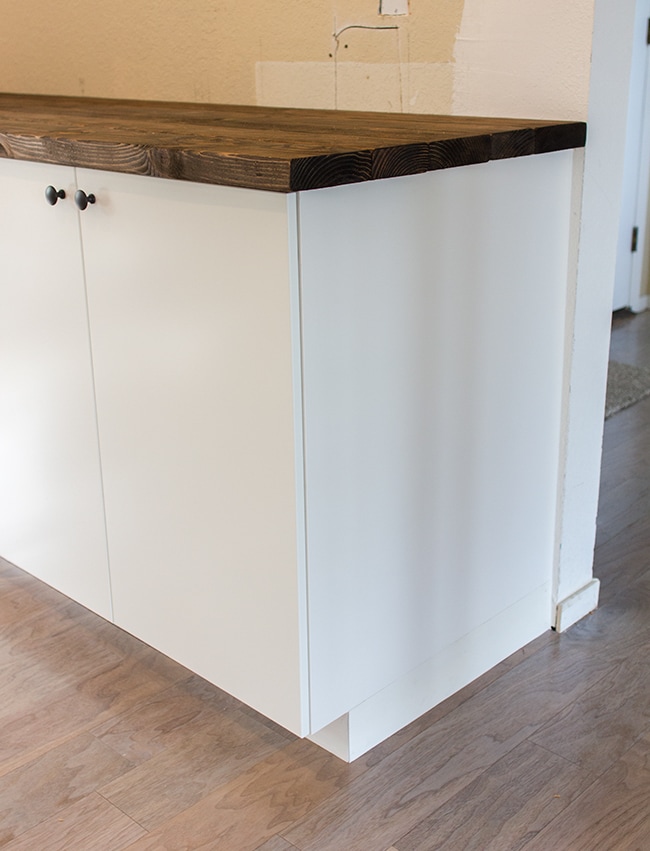
Here’s how it looks on the outside:
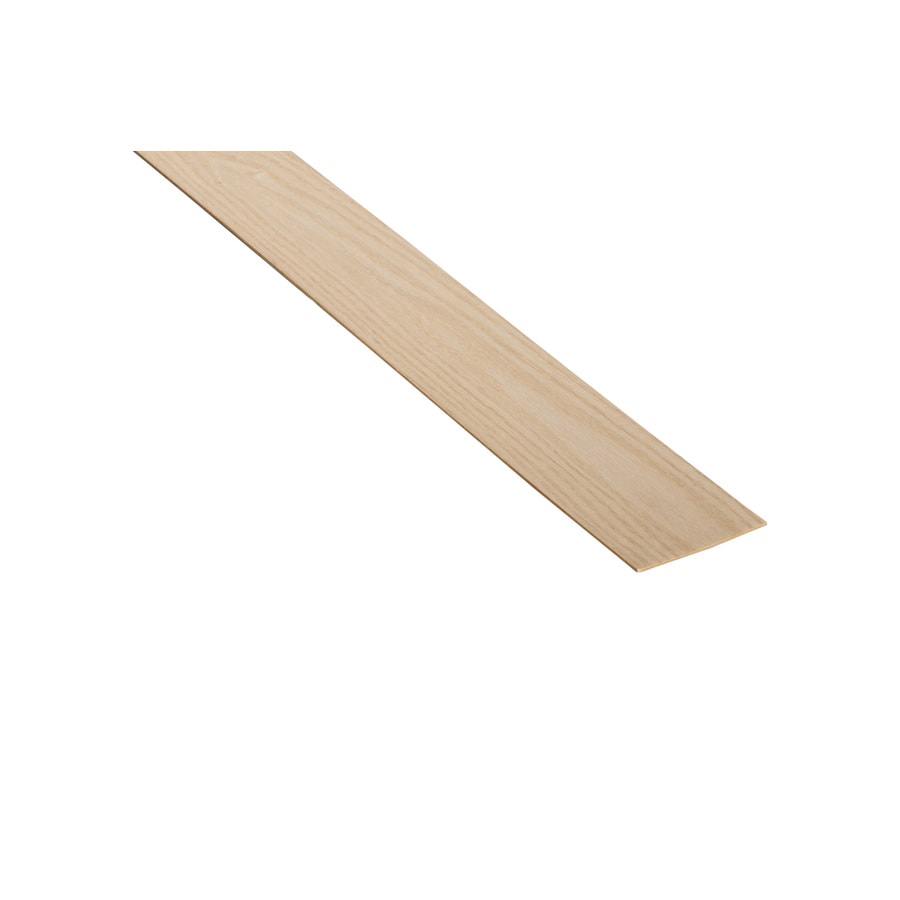
Next it was time to cover the exposed 2×4″ toekick. I found these thin pieces of 8′ toekick in the cabinet aisle at Lowe’s:
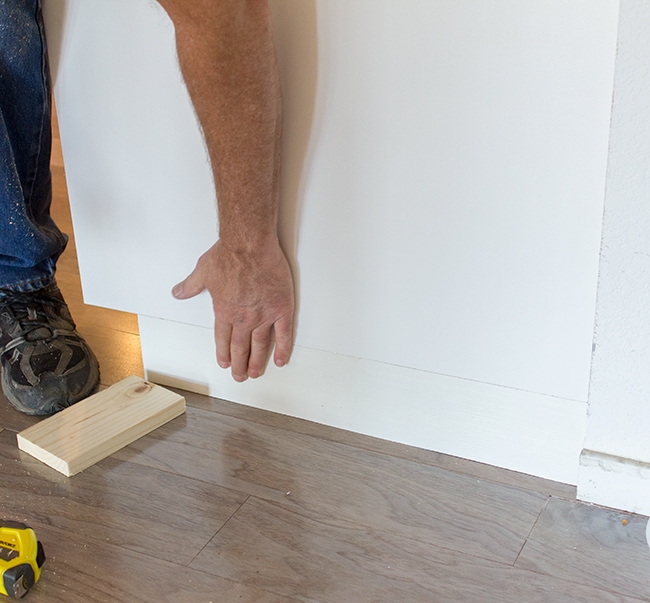
I painted them white and nailed them up to the face of the 2×4″s:
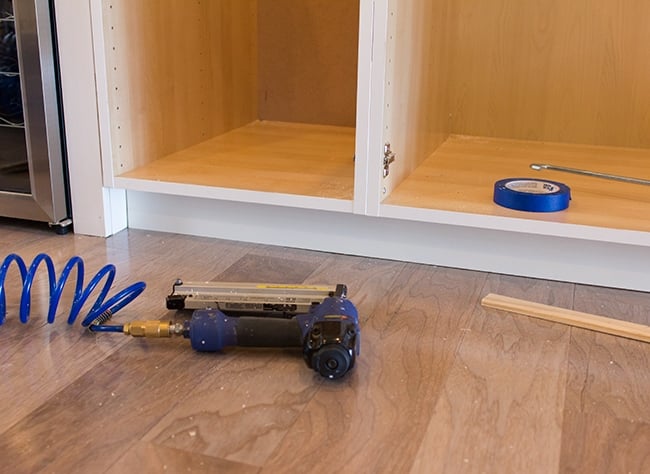
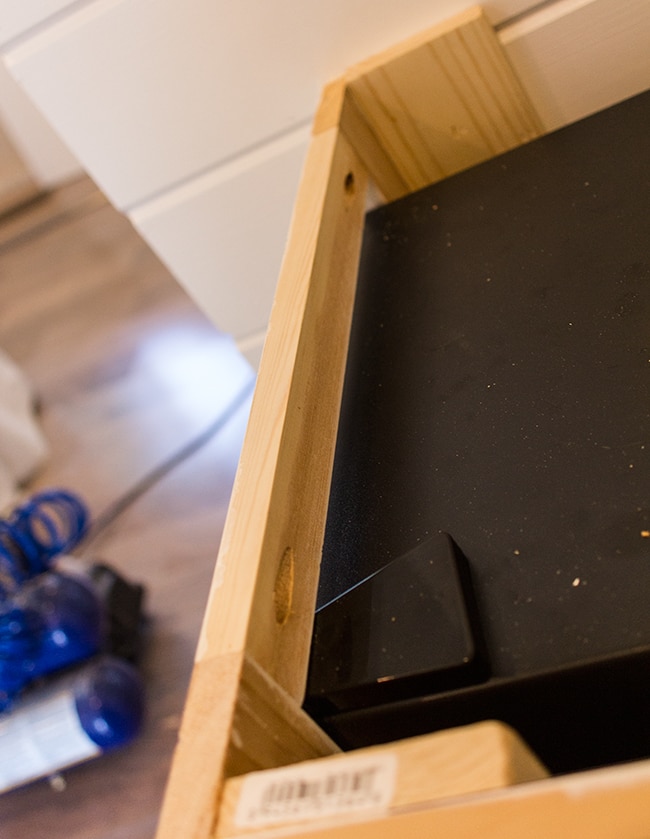
On the side of the cabinets, we made sure the 2×4″ was inset 3/8″ from the cabinets so the toe kick could line up flush with the side:
Then it was time to move on to the counters.
I decided to go with 2×6″ boards instead of stone because I love the rustic touch wood adds, and of course it’s (by far) the most economical solution.
It took just five boards to cover the surface, and so we wouldn’t end up with 4 full boards and one sliver piece, my dad ripped down a couple inches off the width of two boards and alternated them between the three full pieces.
The wood was really rough, so we made sure to go over it well with our electric sander.
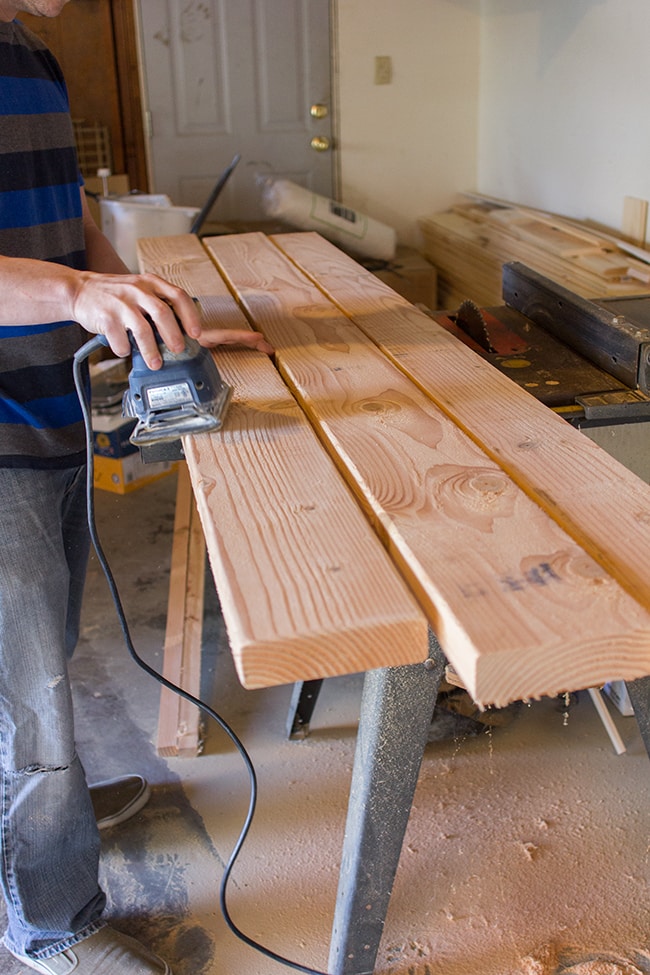
My dad also beveled the corners of the two ripped down pieces so they would match the full boards (he’s full of great ideas).
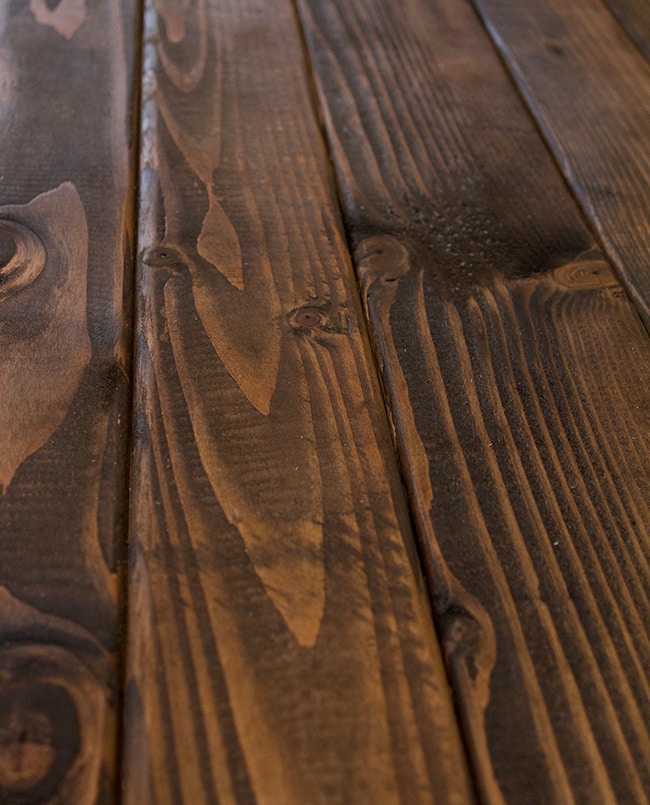
After they were sanded and trimmed, I stained them (the same color as our ceiling beams, Minwax’s Dark Walnut) and they were ready to go!
We had cut them all the same length, but after lining them up, we realized that the wall was at a slight angle so the boards didn’t line up at the opposite end:
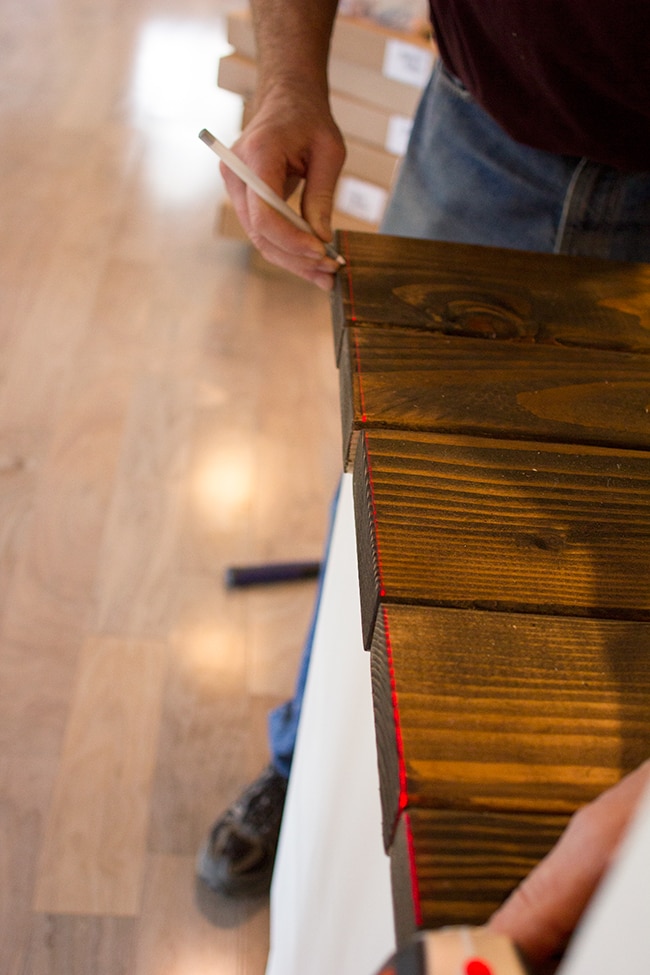
Marking a straight line with a laser and trimming the edges off did the trick.
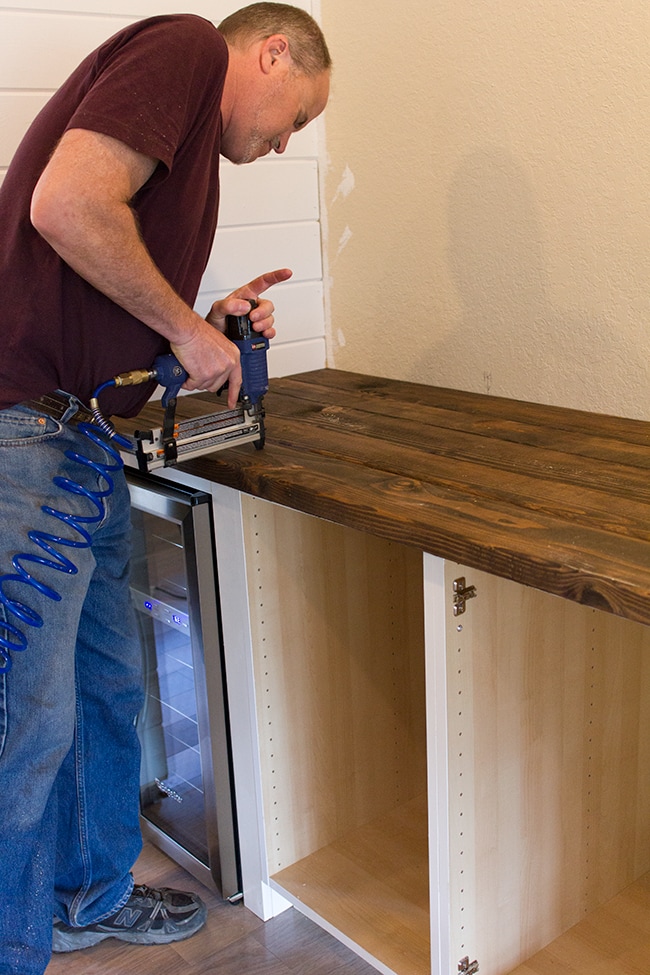
Then we attached them to the cabinets one by one using a nail gun (no liquid nails or wood glue).
To protect against stains and spills, I sealed the wood with three coats of poly:
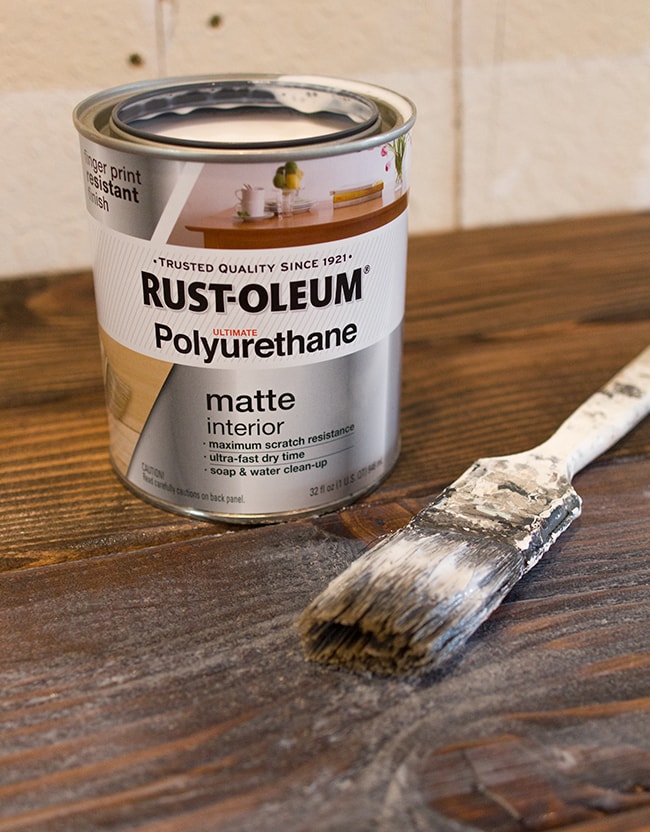
I chose matte over a glossy sheen to keep it looking as natural and rustic as possible. It goes on a milky white and dries clear.
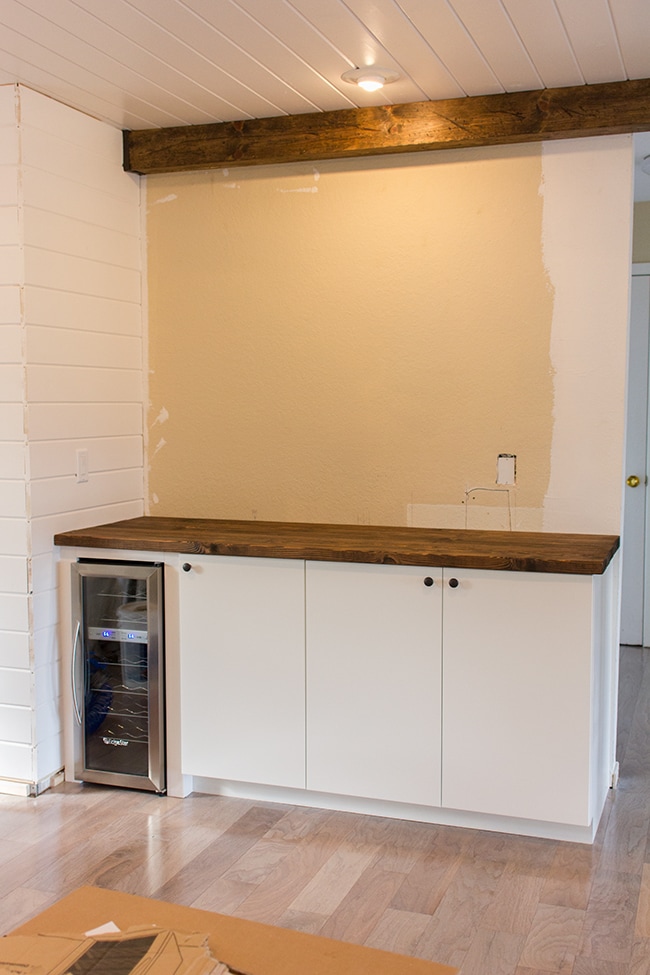
Looking sharp!
Finally, we installed the shelves and doors…

Then added hardware (the same knobs that we used in the rest of the kitchen):
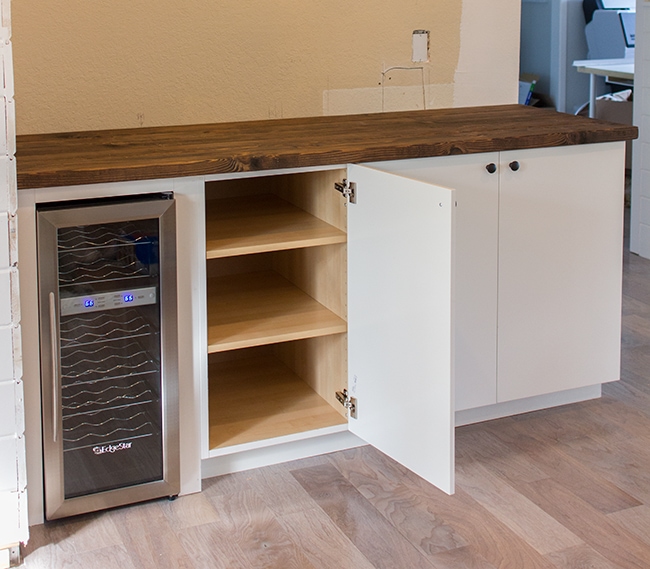
Love, love, love the results.
And the slightly different whites? Hardly noticeable at all. Whew.
Safeway was having a big wine sale so we stocked up yesterday!
Once the window bench seating is in, we’ll be able to put up all the trim on the plank wall so it will look a bit more finished.
We picked out our stacked stone at Lowe’s yesterday, so we just have to coordinate with our tile guy to finish the wall above it! Can’t wait for that part…
Now that we have the toe kick/cabinet installing process down, we should be able to knock out this bench seat in the next few days:
If all goes well, I’ll have a post up for you Thursday with the results!


jay says
Hello,
I bough the same flooring for my house. How’s the floor holding up?
Thanks!
gwen says
thanks
flirtingwithdiy says
Thanks for the encouragement! I took a deep breath and dove right in 🙂 Referenced this post as my inspiration, hope you don't mind!
flirtingwithdiy says
Thanks for the encouragement – I took a breath and dove right in last week! 🙂 Referenced this post as my inspiration, hope you don't mind!
Kristen says
Looks great! I'm so amazing at the speed in which you get projects done!
Jenna Sue says
Thanks for the love! Don't be scared of woodworking… gotta start somewhere—good luck! 🙂
flirtingwithdiy says
Gorgeous! I've been reading your blog for a while and finally got around to commenting (shame on me for not doing it before!) but I have to say I love your style and the effort you make. I might be inspired to tackle a project of my own tonight (even though I'm terrified of woodworking; it'll be my first time) after seeing that beautiful wood bar top!