I don’t know how else to describe last weekend. It was a whirlwind of setbacks and progress and chaos and I’m so glad it’s over. And much like the worst storm in 10 years that just hit our area, I think the darkest days of this journey have passed. At least we can hope.
But there is a silver lining in this… keep watching/reading til the end:

I try to maintain a positive and uplifting narrative but it’s also important for me to be open and honest, which means sharing the not so fun parts of this experience. And what good is a story without both the highs and lows? The struggles make it so much more rewarding in the end. So thank you, stressful weekend, for making this journey that much richer.
Let’s start from the top… in no particular order, as there is no structure to the madness right now.
It has been an unseasonably rainy/snowy winter, which is great for the drought in California but horrible for productivity. Last Friday the clouds parted for a brief moment, so I had to schedule moving all of the furniture into the flip. I had been planning this for a while, and it was designed to be perfectly timed as the flooring was supposed to have been done the week before, so all of the bedrooms would be clean and ready to start setting up the furniture. The furniture had to be moved in ASAP so that I could arrange it, figure out what I still need to order, and have it arrive by the photoshoot (scheduled in less than four weeks).
Well, we show up and the house is exactly in the same condition as we left it on Christmas. Piles of sawdust and wood and trash everywhere, baseboards not even installed—there wasn’t a single room that was finished or even clean enough to move furniture into.
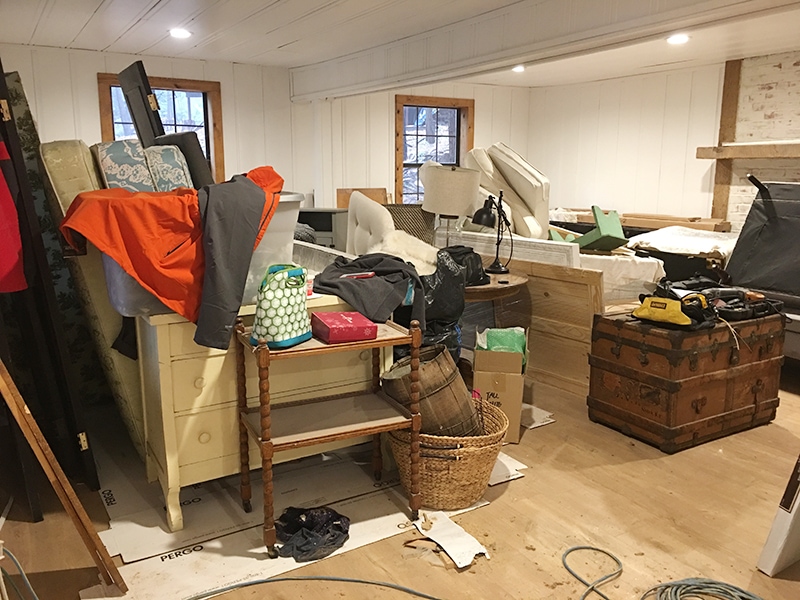
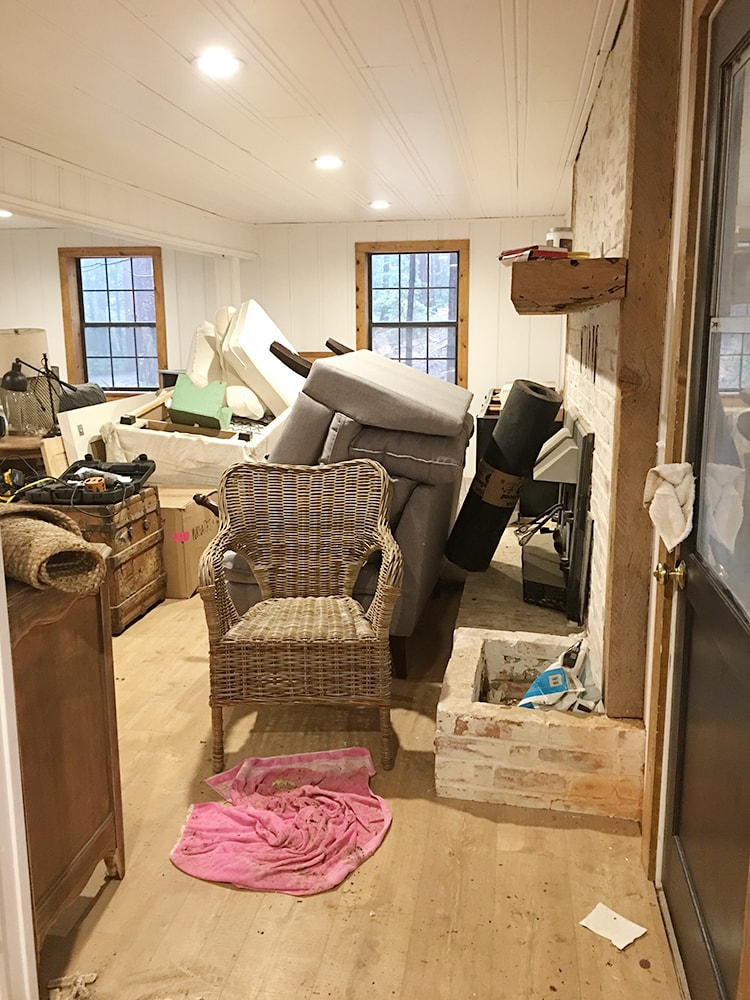
Apparently the last box of wood was damaged so they were waiting on replacements, and when they tried to drive to the house there was a snow storm and their van couldn’t make it. There was no dry place to store the furniture outside, so we had to pile it on the rubble in the living room:
And just like that, the entire schedule went down the drain. It was a sad day.
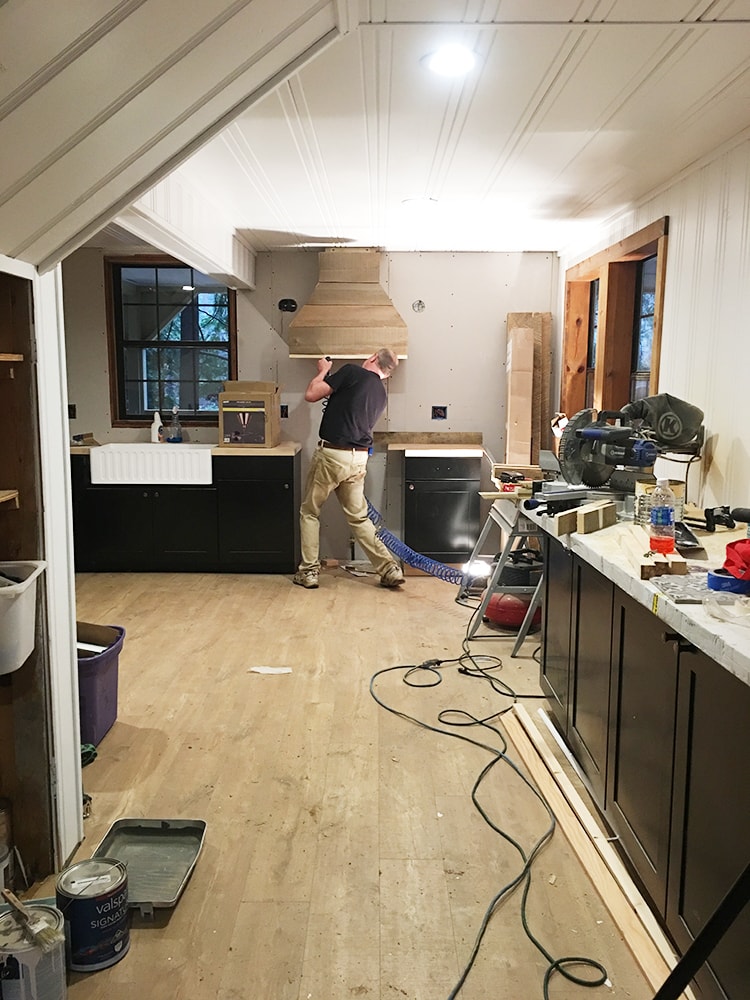
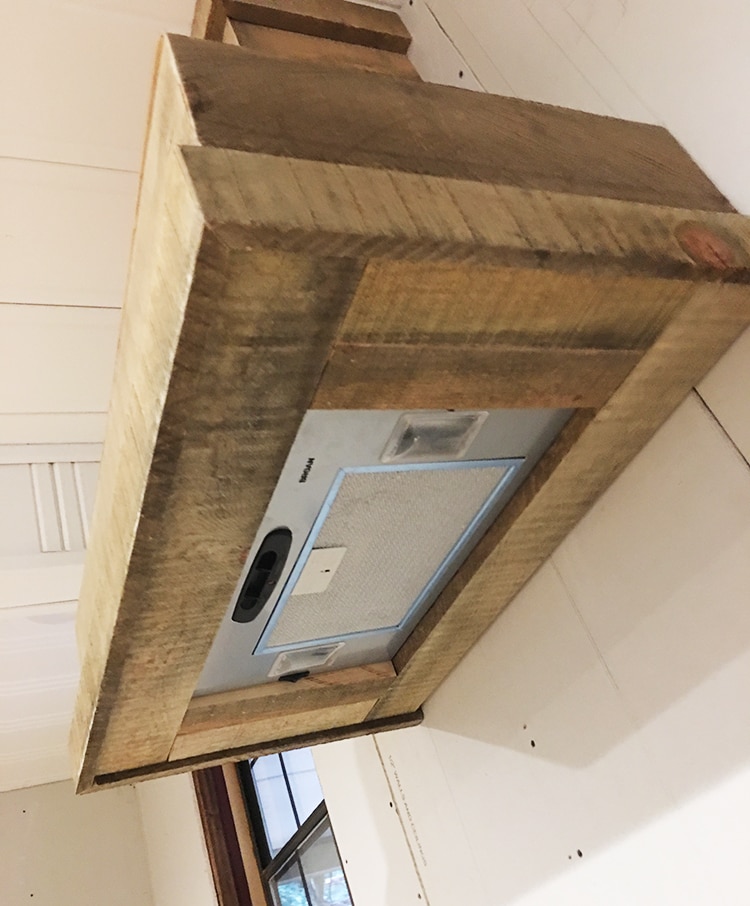
At this point I can’t afford to waste time, so my parents and I got to work, doing whatever we could manage to do. My dad put the final pieces of range hood trim in place:
If you watched Episode 9, you may remember that we weren’t quite finished with our DIY vent hood. I’m happy to report that it’s finally done… and looking quite awesome, if I do say so myself. Here’s how we finished it off underneath:
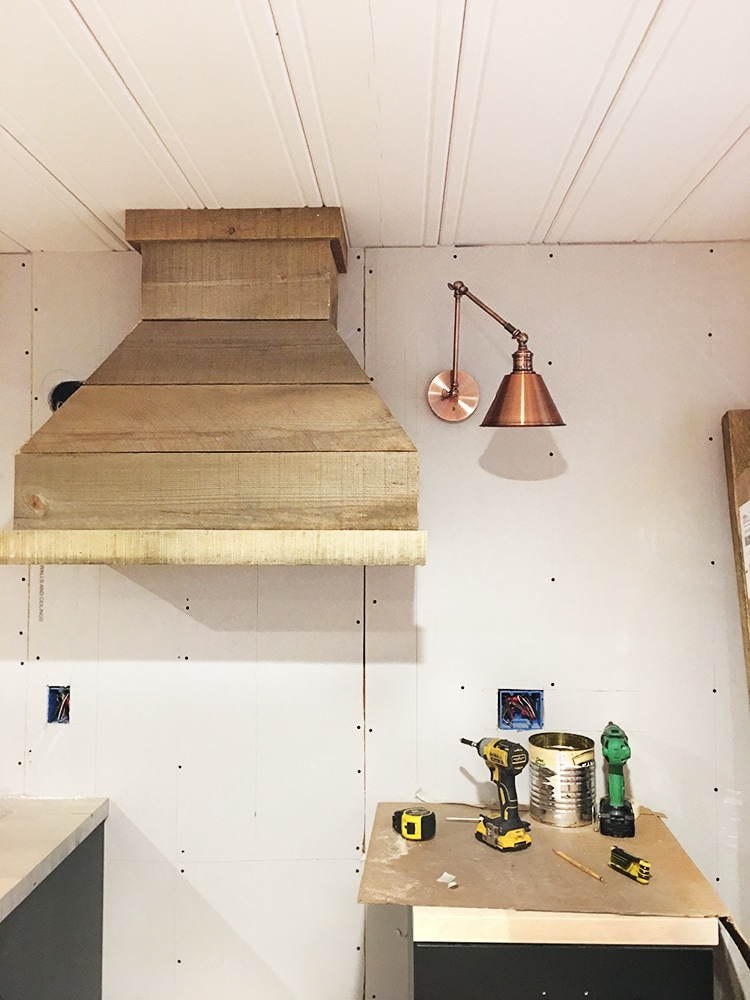
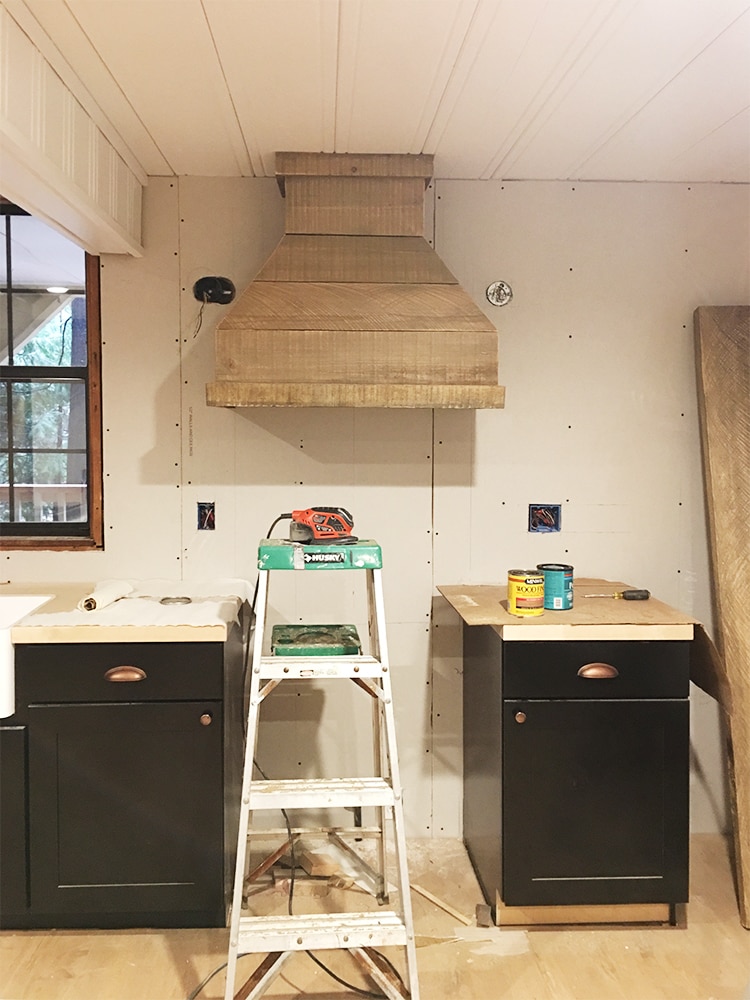
After the final piece was nailed in, My electrician did a sconce test fit to make sure the spacing was all good:
There’s not much room to work with but I’m happy with the arrangement. I think the sconces will look great with my new copper cabinet pulls & knobs:
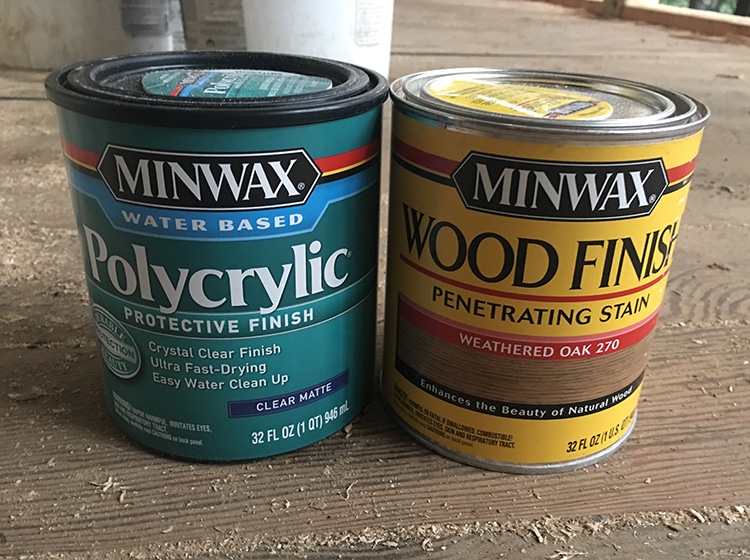
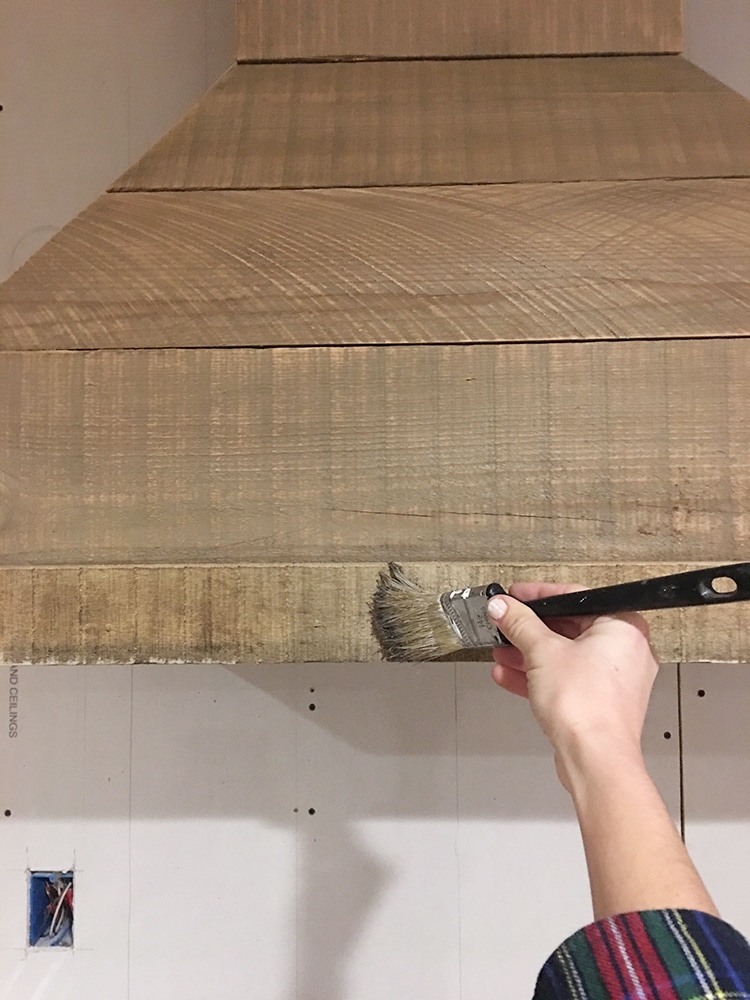
The reclaimed wood we used for the hood wasn’t quite as uniform as I’d like, so I found this Minwax stain at Lowe’s and thought the color was a good match:
I lightly sanded the boards and dabbed a bit of the stain on:
Perfect!
For those who were asking, I also plan to stain the counters in the same shade and use the water based poly to seal them (along with the hood boards). I came to this decision after reading through numerous bloggers posts and experiences, and weighing the pros and cons of poly vs Waterlox vs Mineral Oil. The only downside to the poly is that it isn’t food grade, but not having orange counters was a better trade off in my book 🙂 I’ve stained butcher block with poly in my previous laundry room with amazing results so I feel confident about going that route again.
UPDATE: I just spoke directly to the butcher block counter manufacturer about this and he’s looking into options for food safe coatings that can be applied to the stain without changing the color. I’ll let you know what happens!
Side note—the appliances were delivered but the delivery guy couldn’t get his lift up the snowy hill and my contractor has to rent a dolly to bring them in, so the fridge and stove are sitting under a tarp up the street. Let’s hope they survive.
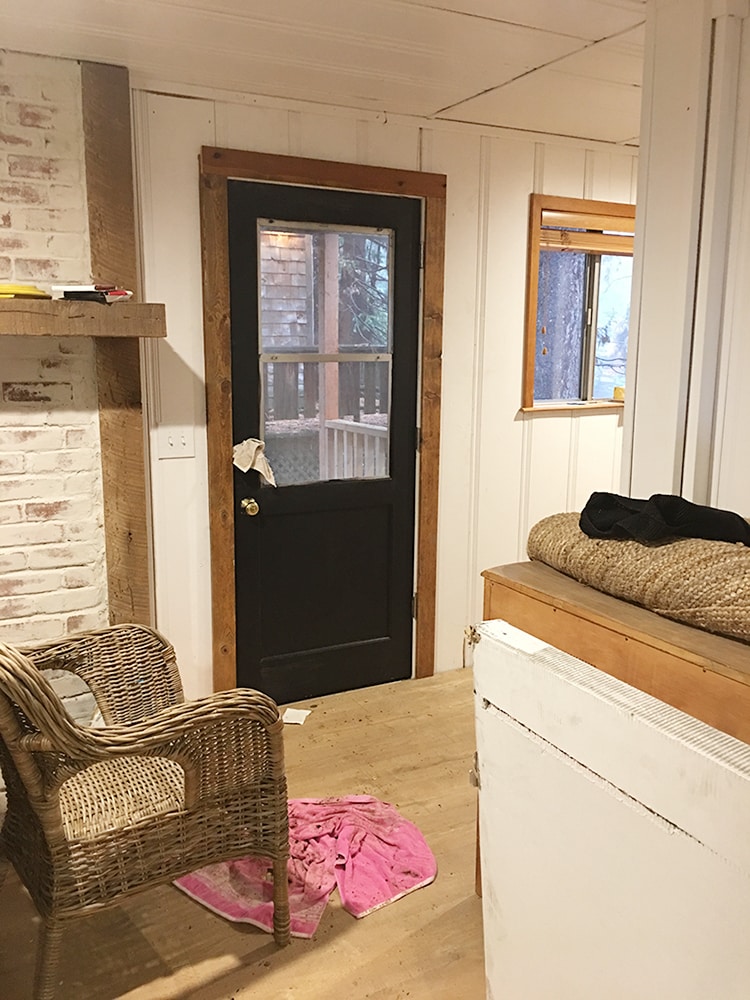
While we were working in the kitchen, my mom grabbed a paintbrush and started working on the exterior doors:
Leaning towards painting that door trim white—thoughts?
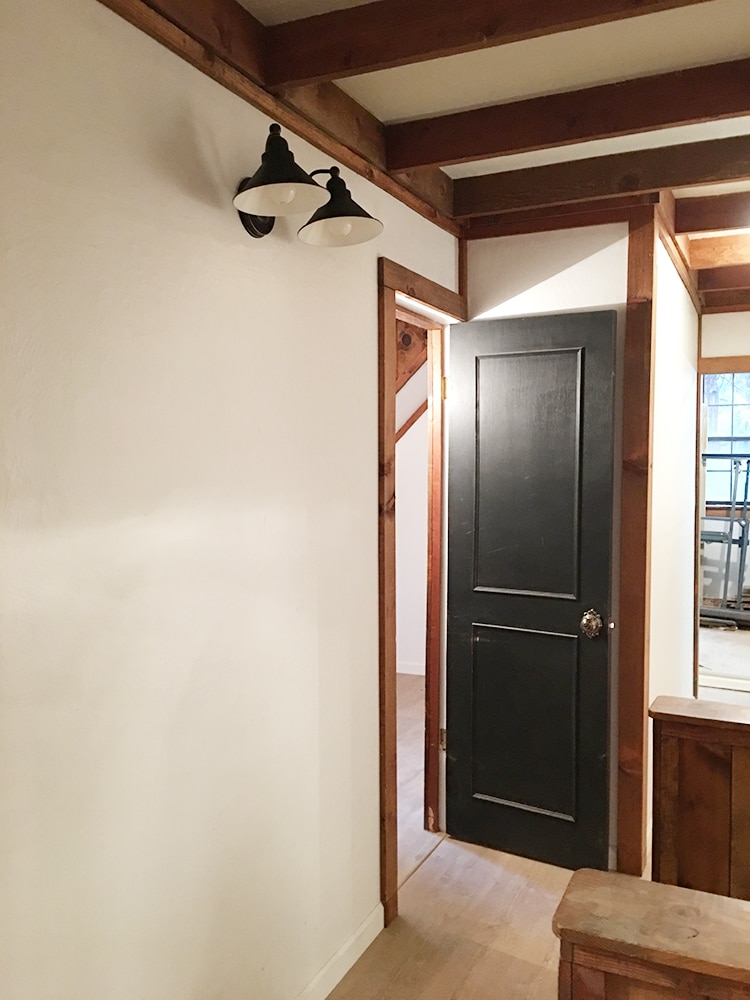
Meanwhile, my electrician swapped installed the new hallway light fixture:
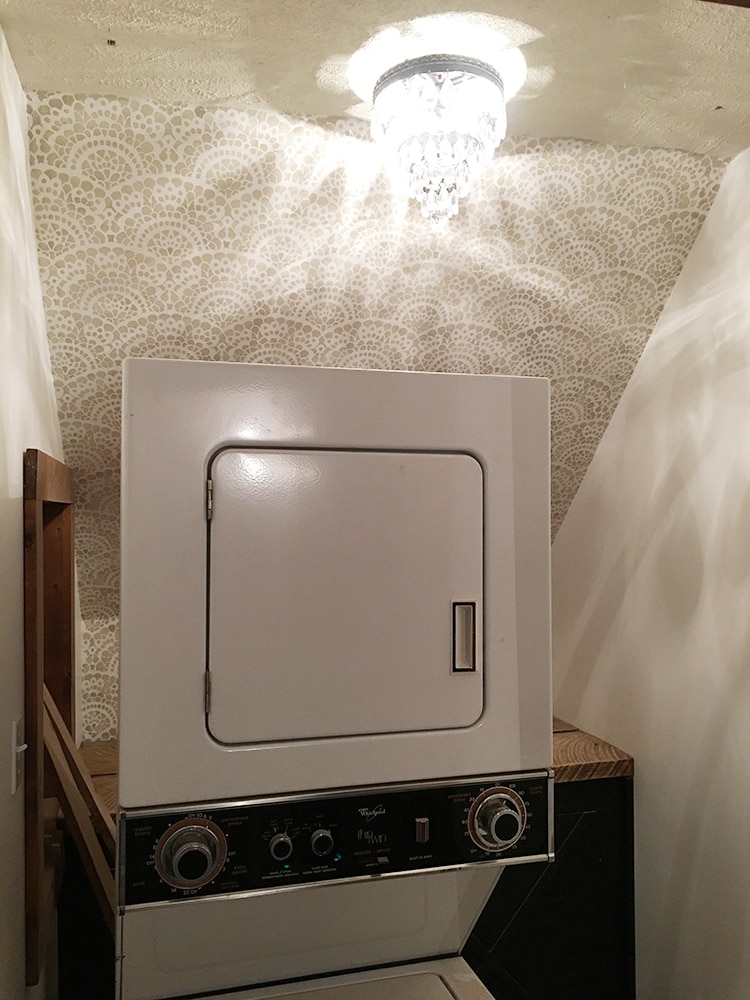
And a new laundry room chandelier—the lighting in here is SO gorgeous in person. I wish my phone could capture it… ignore the washer/dryer, they’re back in place by now.
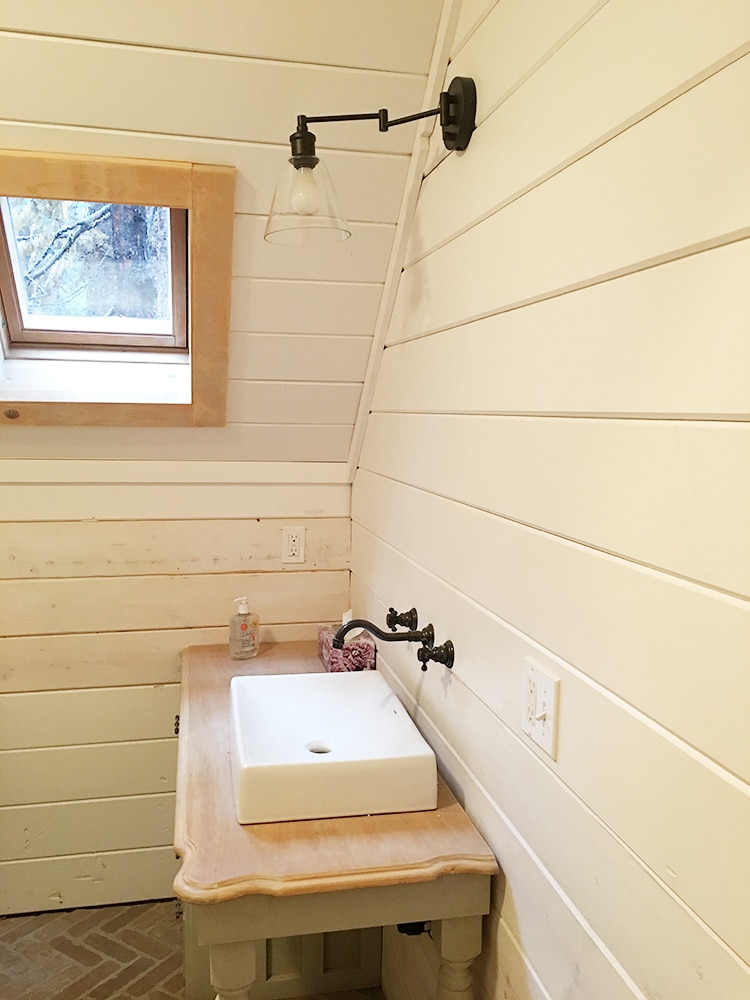
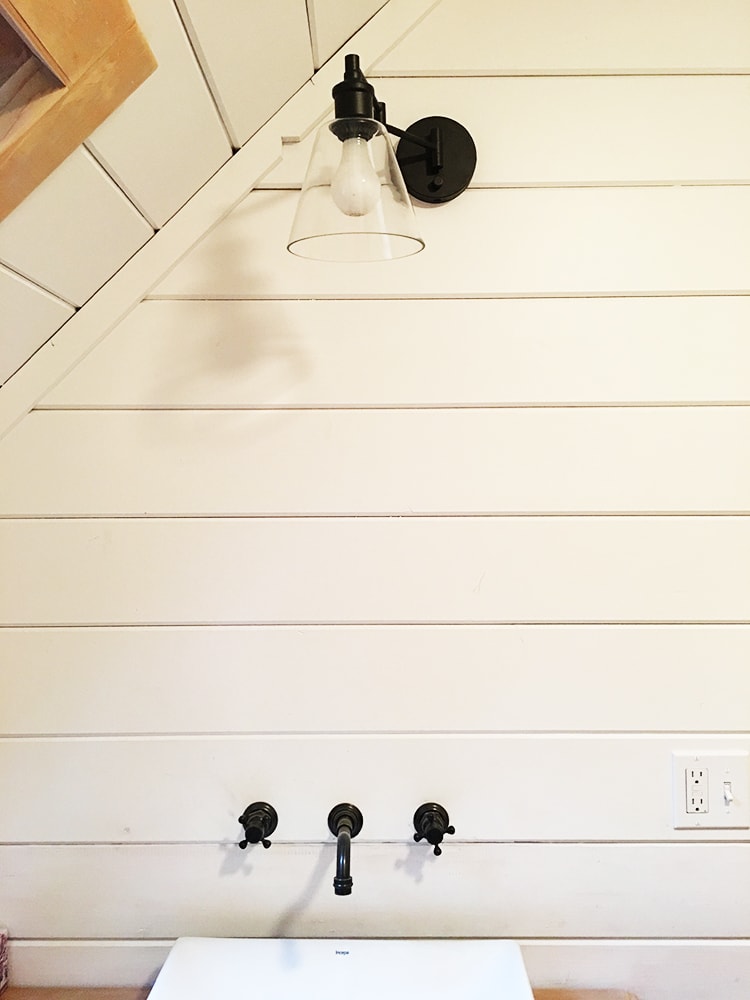
And perhaps my favorite… the upstairs bathroom swing arm wall sconce. Yum.
I love this fixture so much I ordered four more for the bedrooms 🙂
A beautiful round gold mirror will be hung there soon!
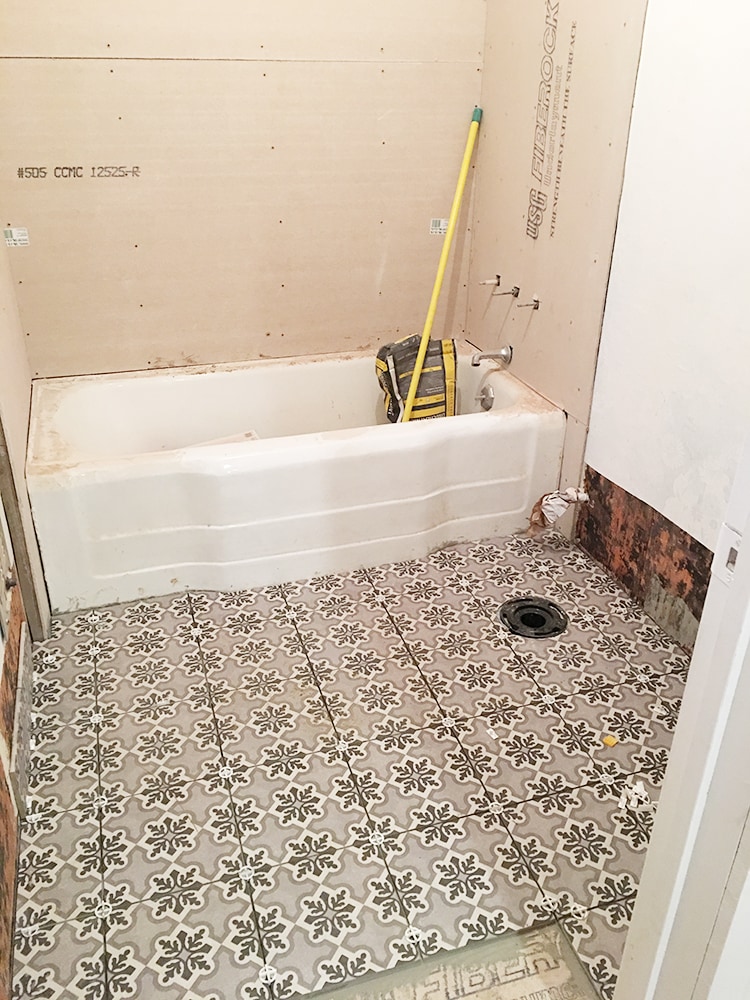
Speaking of bathrooms, I was pleasantly surprised to find the beginnings of my tile work in the downstairs bathroom:
So pleased with my tile choice. It looks greenish online but it’s really a neutral gray in person, for anyone considering it. It has my seal of approval.
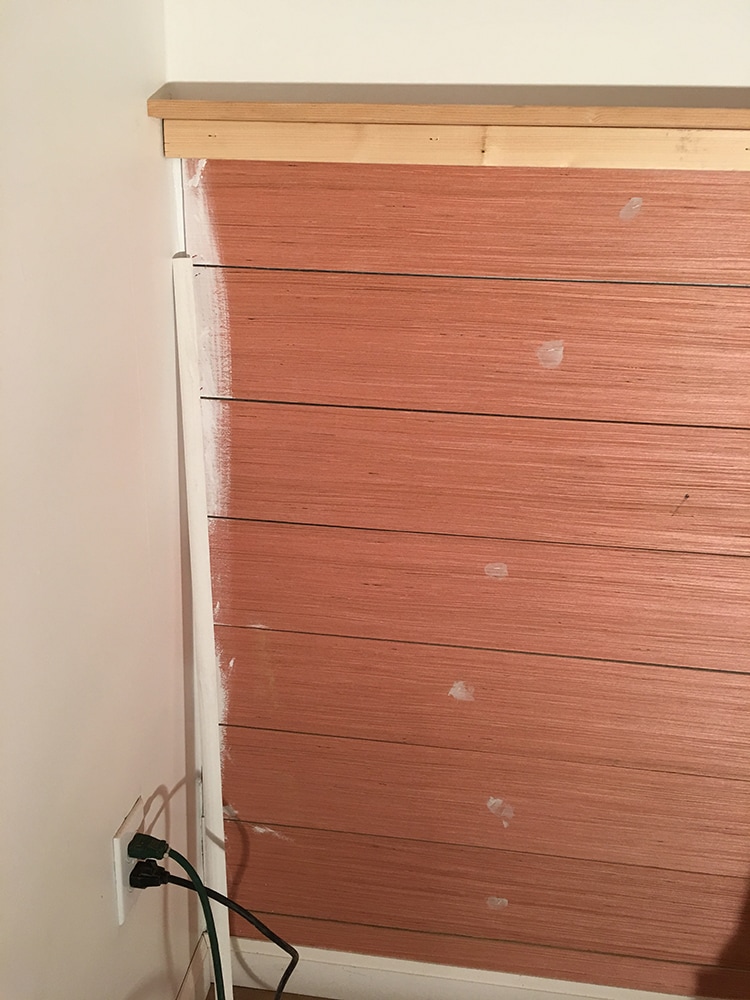
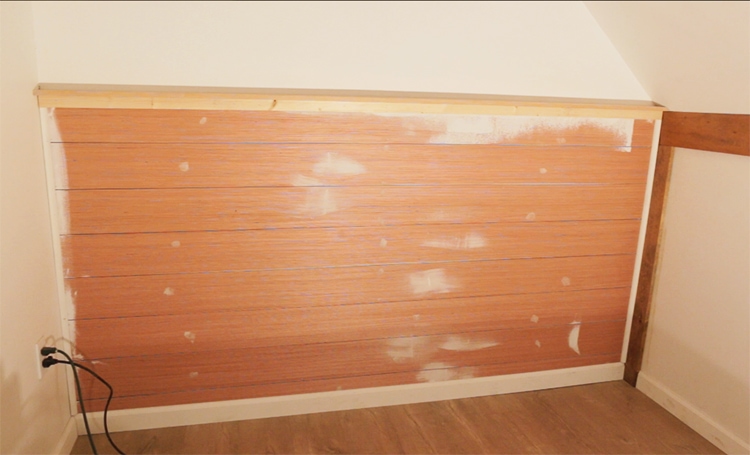
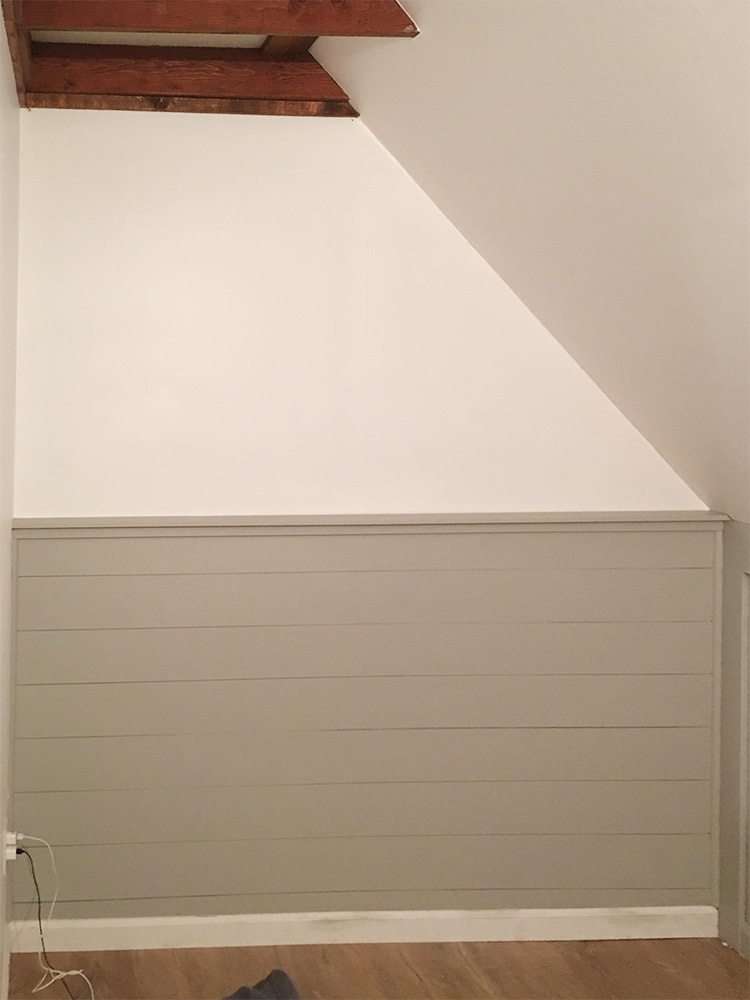
Back upstairs, my dad helped me finish off the trim for the shiplap wall I started a month ago:
I used my easy DIY shiplap technique, and we finished the top with a 1×2″, a 1×2″ shelf ledge, and quarter round strips vertically in the corners.
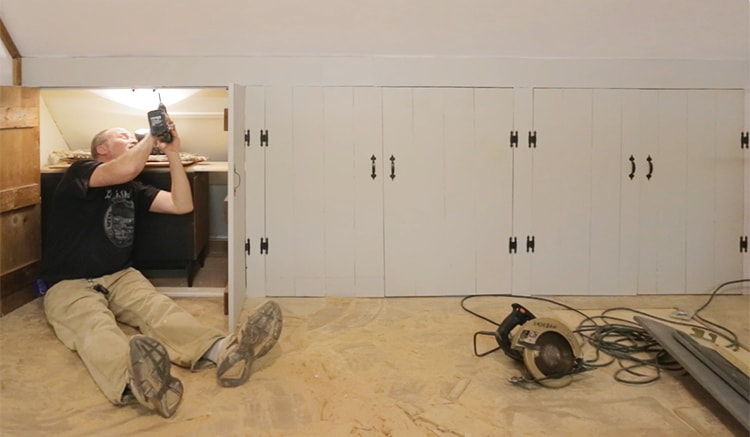
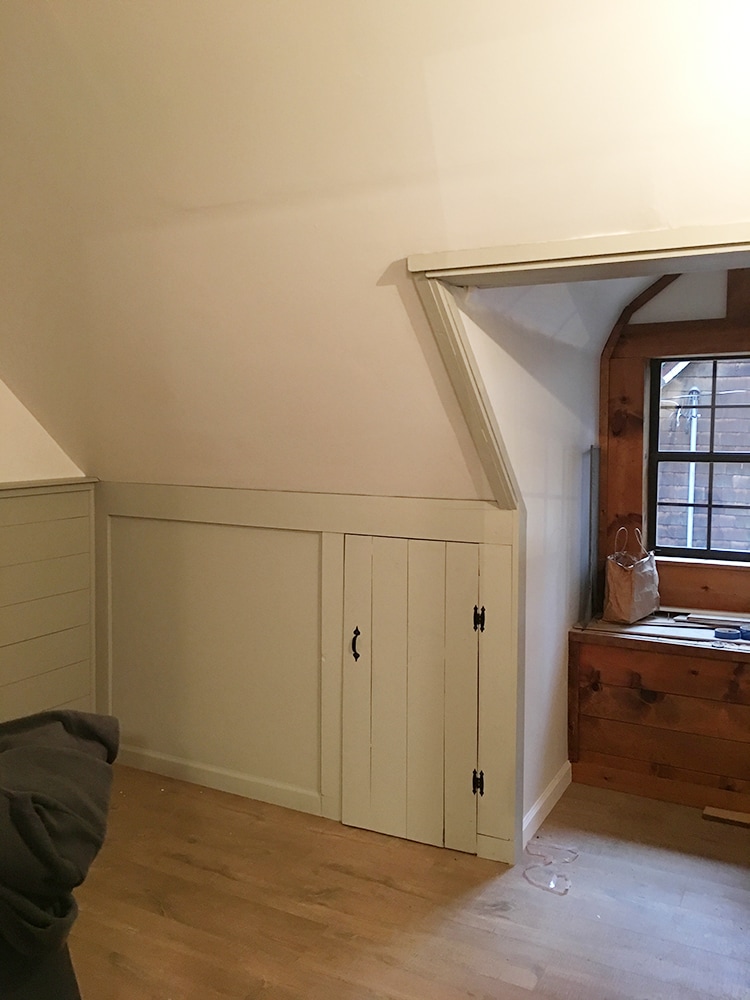
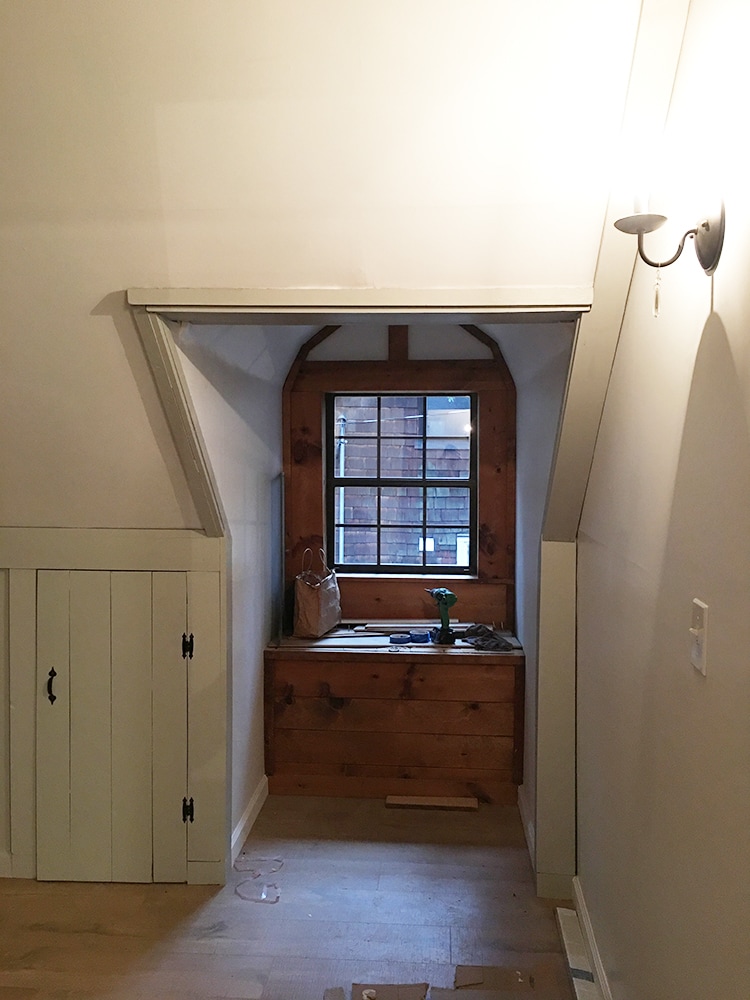
In the two main bedrooms, we reattached the small closet doors we had removed weeks ago to paint. A quick and simple task, right? Of course not. There were missing screws, the doors were suddenly too big or crooked and didn’t fit back into place properly… or maybe we just didn’t notice it before. Either way, a 10 minute project turned into 3+ hours after having to cut them down and sand them and make another trip to Lowe’s for missing screws and get magnets to hold them in place and repainting…
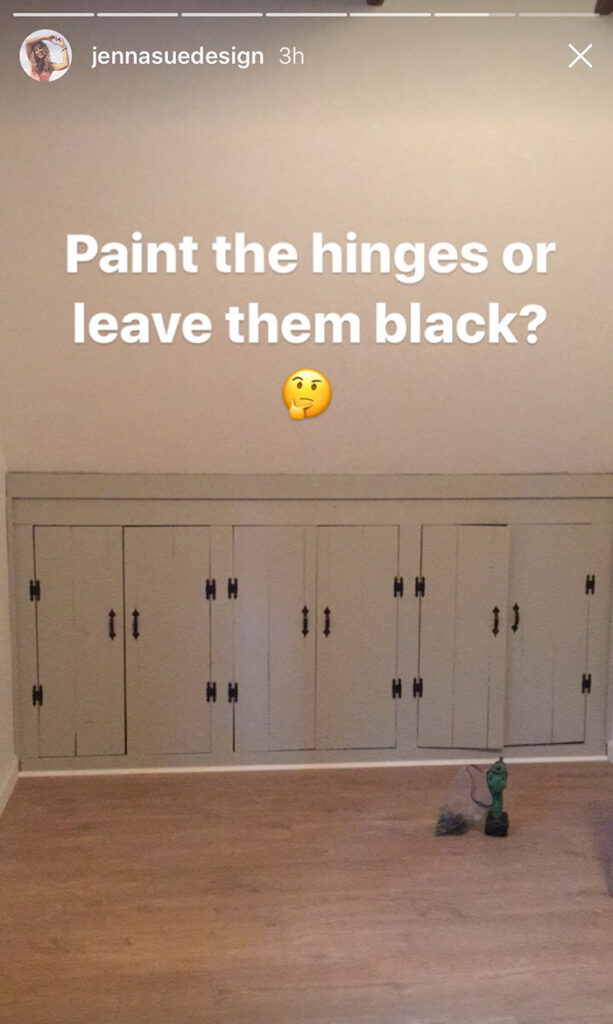
During this process I asked you guys on instagram and snapchat what you thought about the hinges. I wasn’t sure if I wanted to keep them black, even after going through all the work to remove the doors…
Every single one of you (except one) said to keep them black. So that’s what I’m leaning towards.
Speaking of door hardware, we went through a similar situation in the kitchen downstairs…
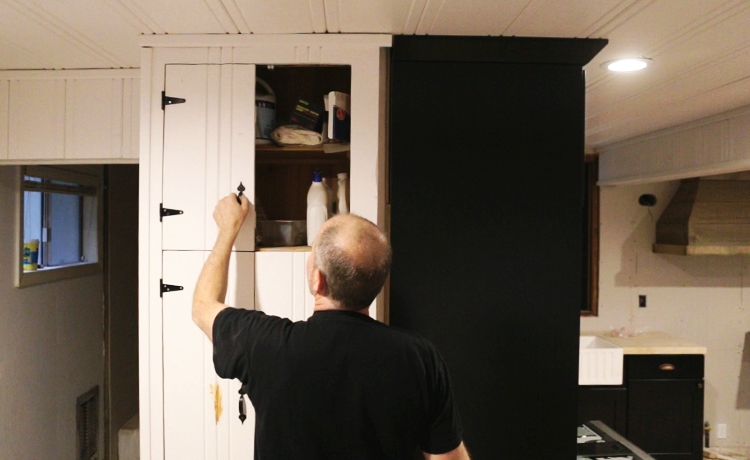
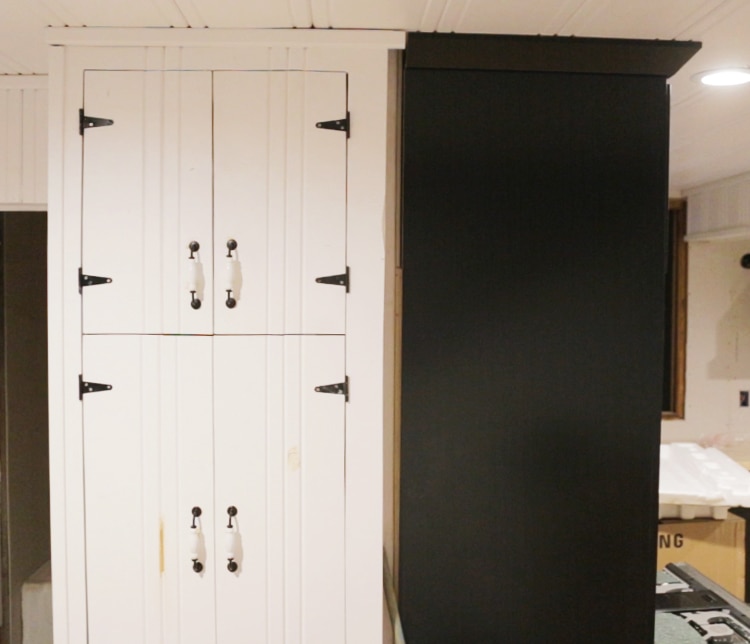
For whatever reason, the doors didn’t want to go back on straight so we had to make some modifications. There were also missing screws, and one missing hinge which I can’t find a replacement for so that’s one more tiny but crucial detail to go on my ever growing to-do list.
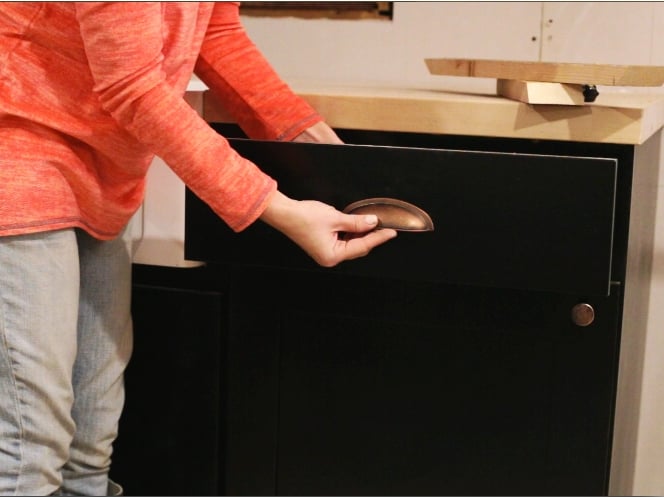
But at least I got to install these fun (& inexpensive!) new handles:
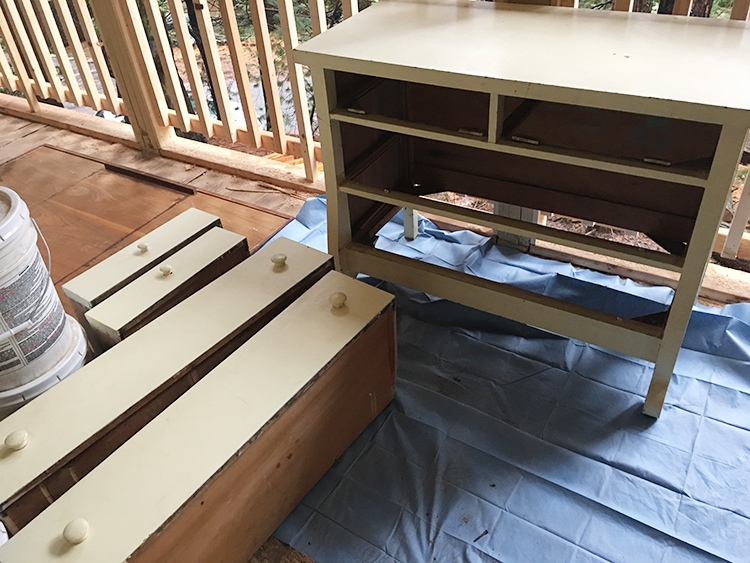
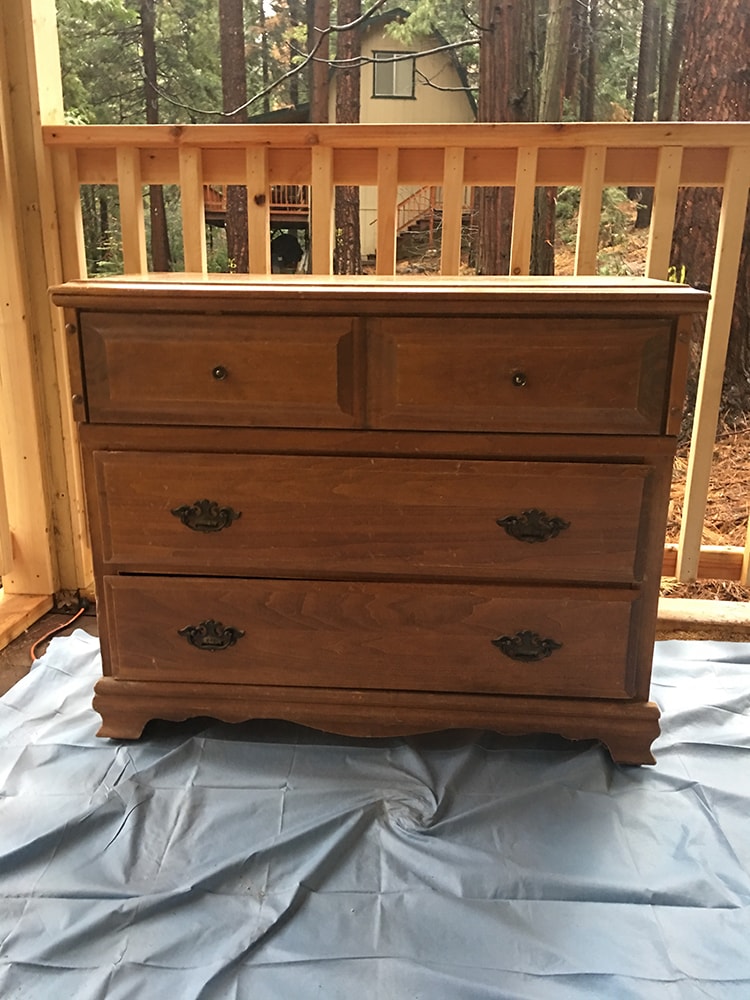
And that sums up Friday afternoon & Saturday. On a stormy Sunday morning, my mom and I trekked up to the cabin ready for a full day of painting the bedrooms. I walked inside, flipped on the light switch, and nothing. Pitch black. The storm had left us without power but the clock was still ticking, so my Plan B was to drag a couple dressers out onto the porch where there was just enough light to see, and attempt to get some furniture painted.
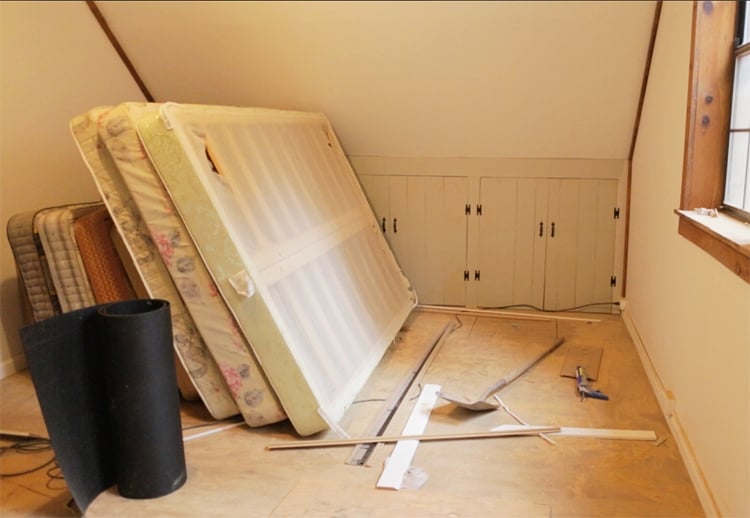
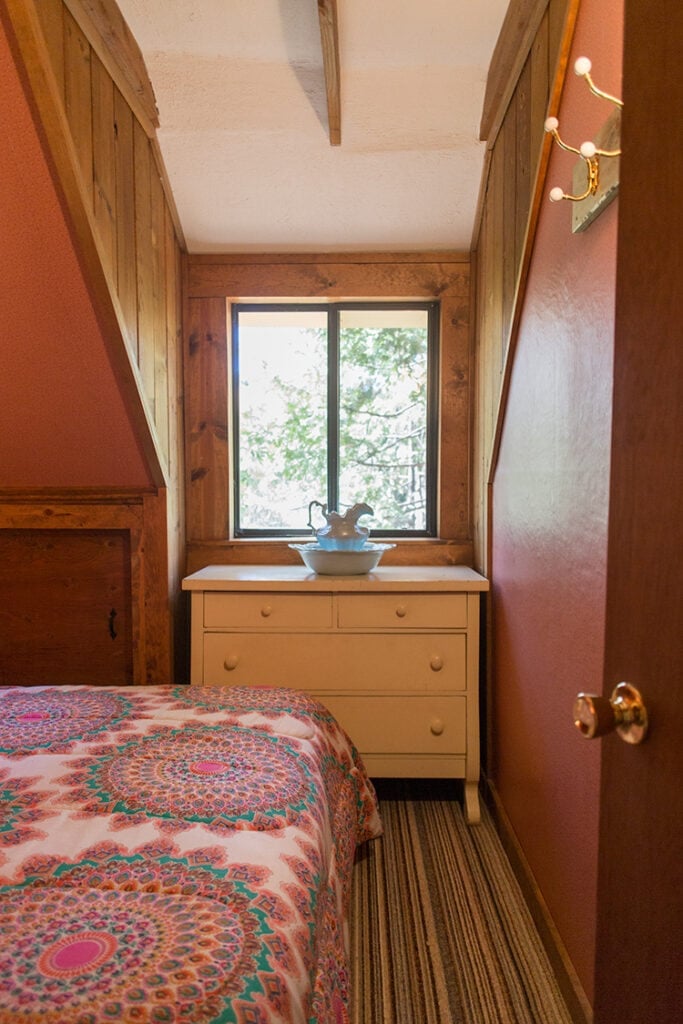
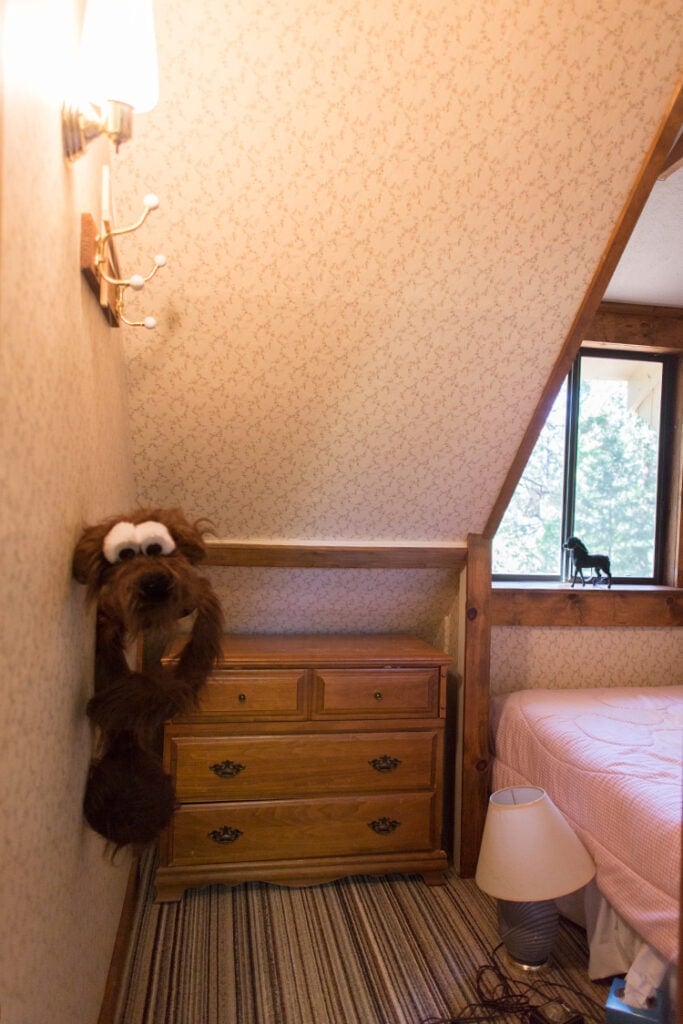
The dresser above came from this room:
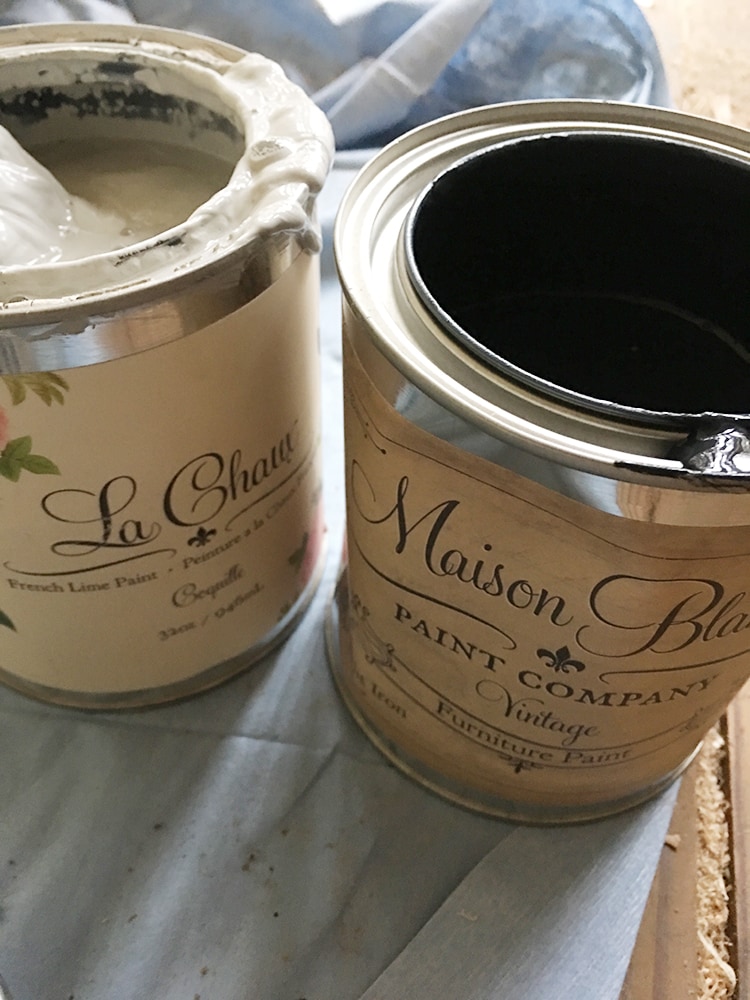
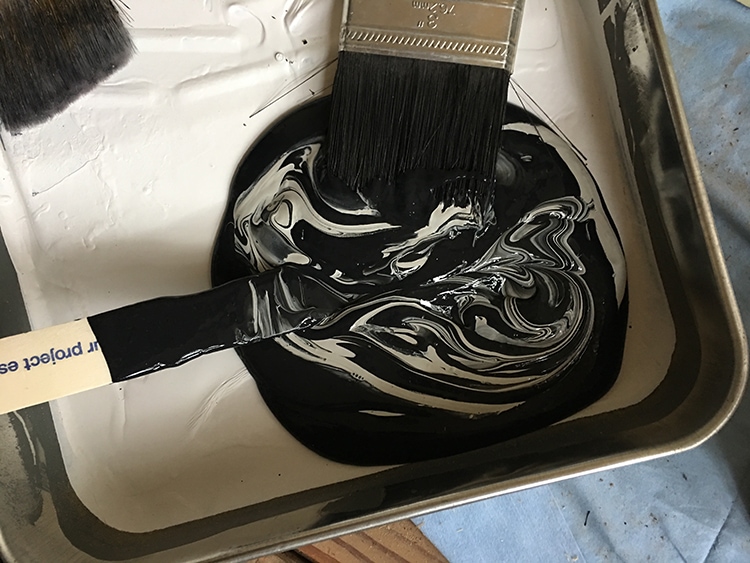
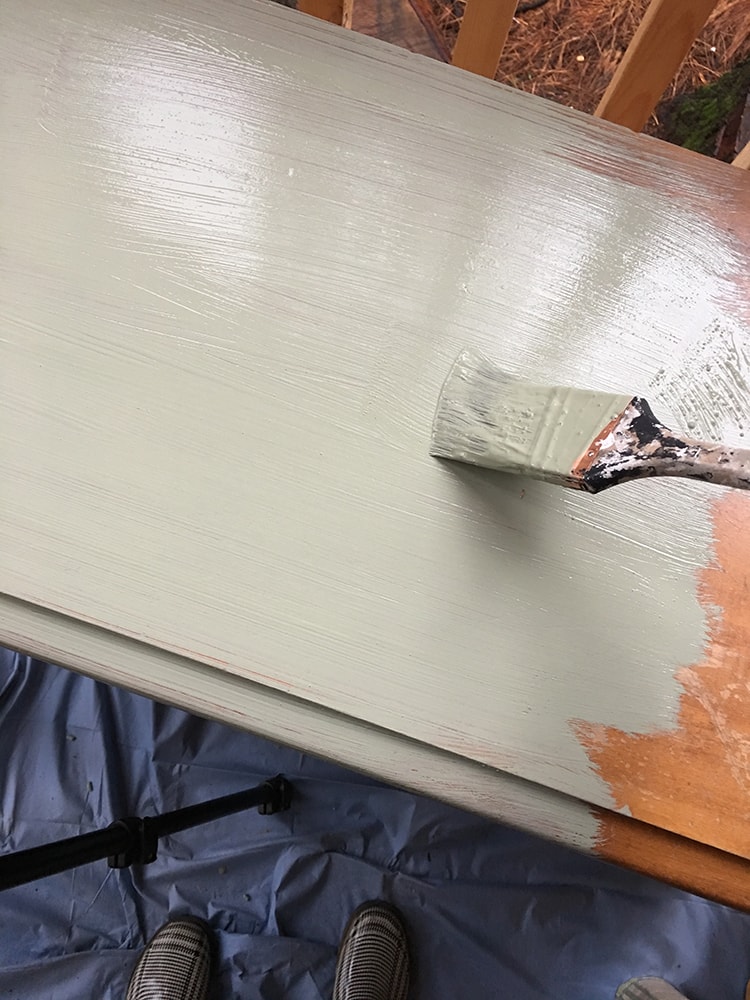
The trim work behind it will be painted a light gray, and I was wanting a dark gray for the dresser but didn’t have anything close, so I improvised. Maison Blanche’s Wrought Iron mixed with a bit of Coquille.
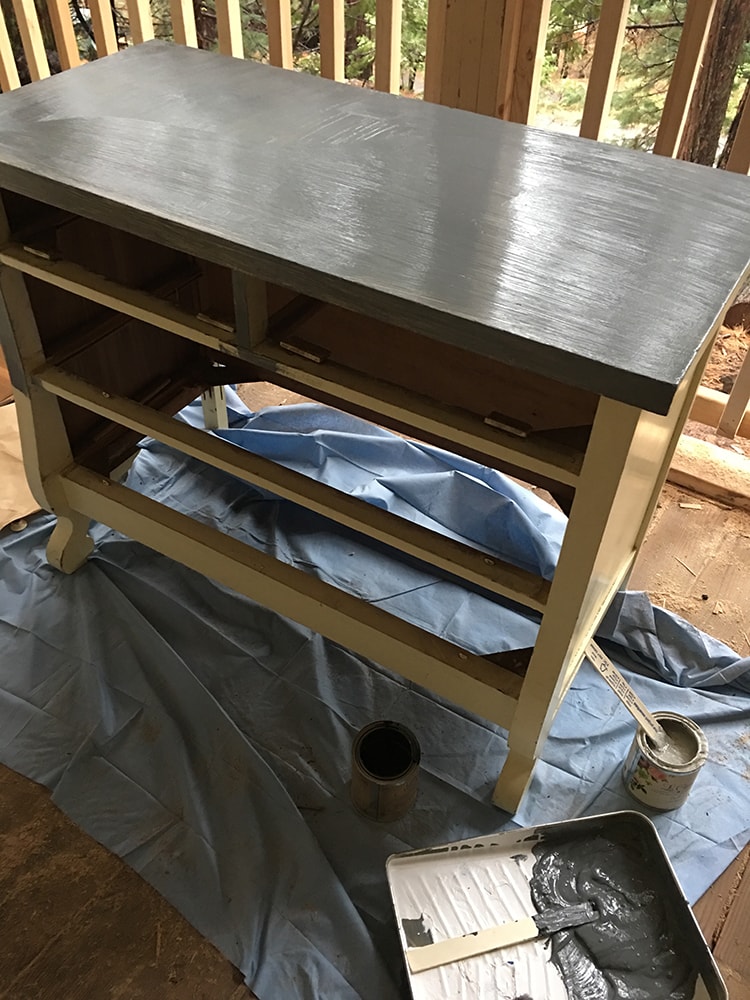
Let’s see if this works…
I painted it on as fast as I could before the winds started to pick up…
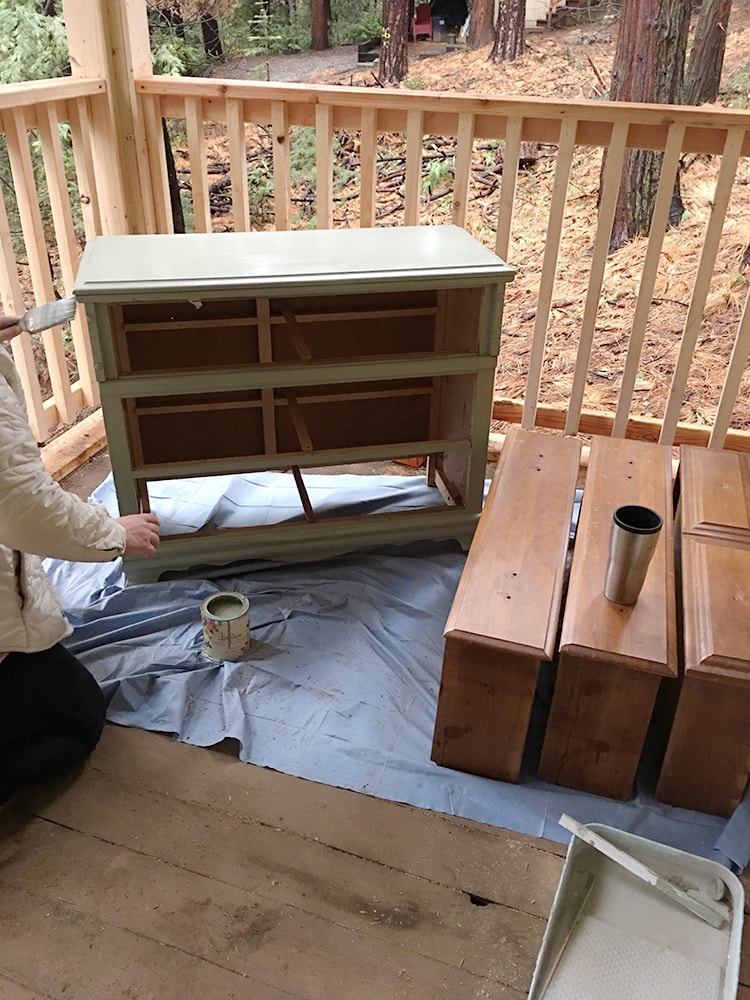
Meanwhile, my mom was next to me painting this dresser:
Which will go back in this room:
And for this one, I chose Maison Blanche’s Printemps. The most beautiful shade of pastel green you ever did see.
But after the first coat went on, it started pouring. Then the wind came. Then the dressers were soaking wet and we tried to bring them inside but dropped one in the dirt and the paint came off and we gave up. Now they’re sitting outside up against the house because there’s not enough room inside and we’ll have to try again another day.
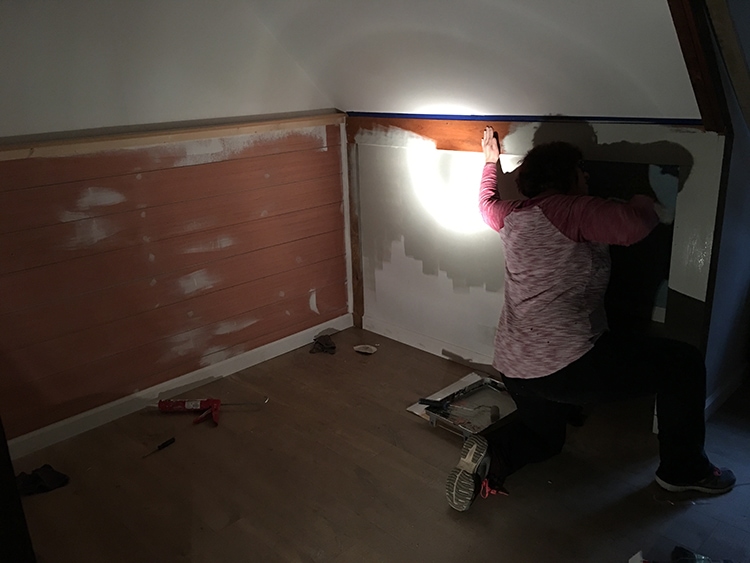
The bedrooms really needed to be painted, but the light from my phone wasn’t cutting it. Then I found a flashlight and we rejoiced like it was Christmas morning.
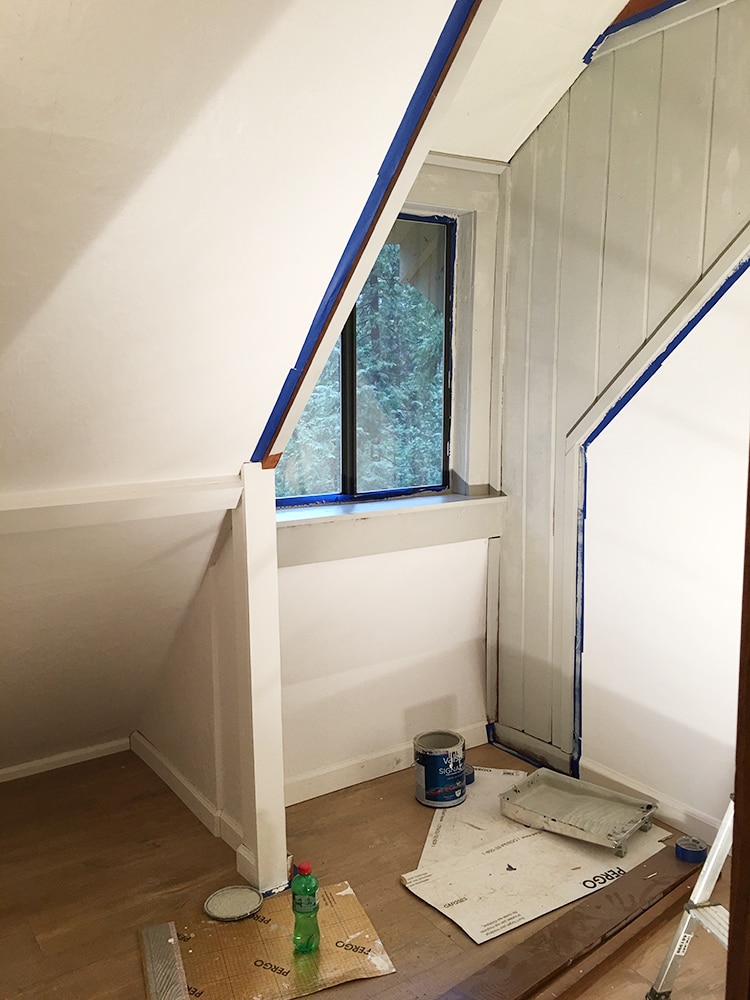
We carefully taped and caulked and coated the trim, painting in the dark for hours while branches fell on the roof and loud noises that at one point we swore was someone banging on the window made us consider grabbing our bags and fleeing to the safety of home. But these rooms aren’t going to paint themselves, especially now that we’re a week behind schedule thanks to the unfinished floors.
Just as we were about to call it quits, the power was restored and we stuck it out long enough to paint 70% of the second bedroom (we were supposed to finish four rooms, ha):
I left the middle section wood in case I thought I’d like it better that way, but nope. It got painted.
After a day of defeat, it was a solemn car ride back to my parents house as I came to terms with having to do this all over again the next day rather than return home to the city as I normally do on Mondays. My sweet parents felt so bad for me that they both agreed to take the day off work to come help me. I don’t know what I’d do without them.
We showed up bright and early Monday morning to the welcoming sight of the flooring installers, who weren’t even expected to show up. They assured me the floors would be done in a couple days or so which was the best news I’d heard all week.
While they were scurrying around the house installing baseboards, my general contractor was there with his crew installing countertops and shelves, digging trenches and building benches while my tile guys were wasting no time in the downstairs bathroom and going over kitchen plans.
I was running around trying to film & instagram & snapchat it all while answering contractor questions and helping my parents paint upstairs.
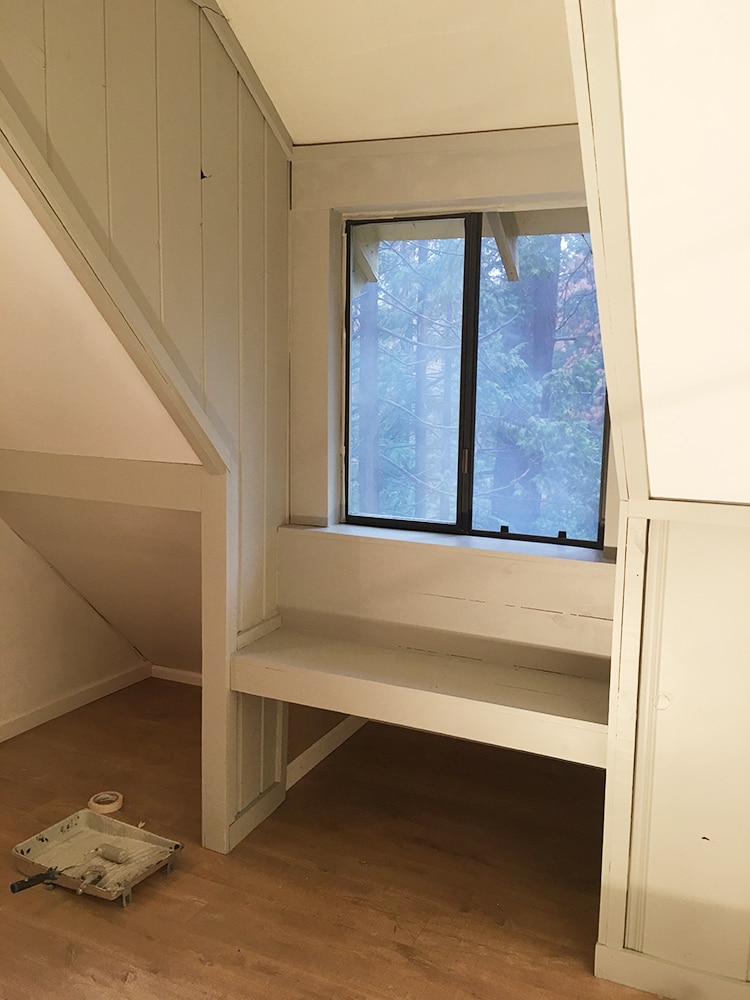
This paint, Valspar’s Woodlawn Colonial Gray, is one of the best decisions I’ve made for this house:
It just opens up these rooms and looks so heavenly with the new floors.
With the three of us working all morning, we finished almost three rooms…
How bout that shiplap?
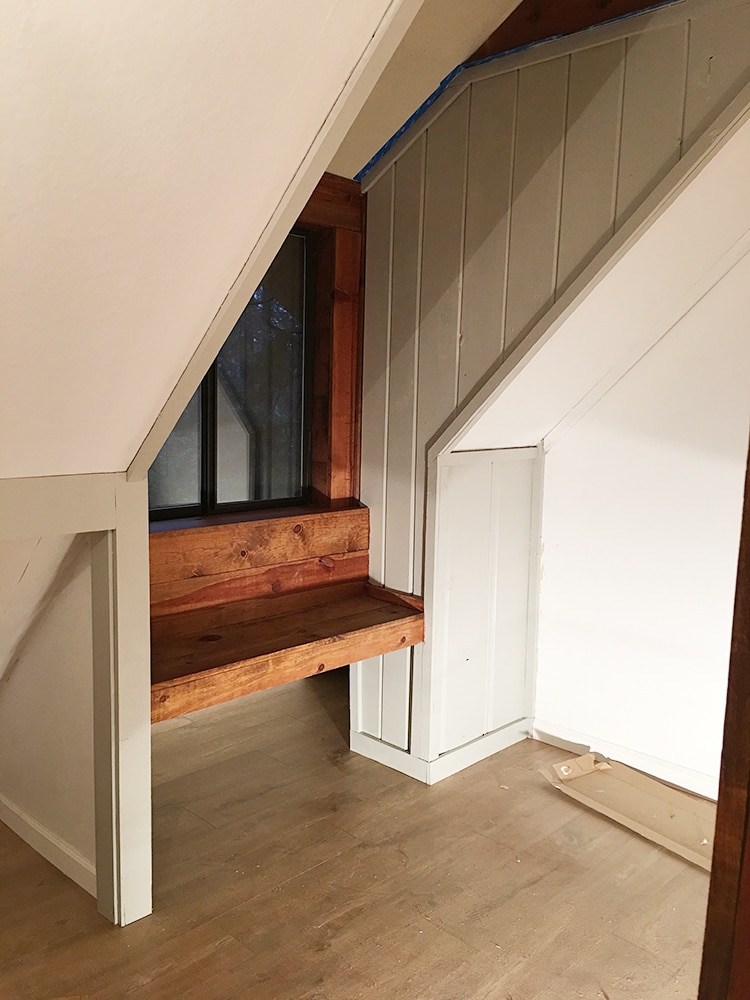
I wanted to keep some of the original wood so I left this nook unpainted. Still undecided.
Unfortunately, we ran out of paint on the third bedroom so our day ended there…
But seeing those rooms transformed by paint really turned things around for me and brought my spirits back up. Next Friday I’ll be back to finish it off before finally moving the furniture in.
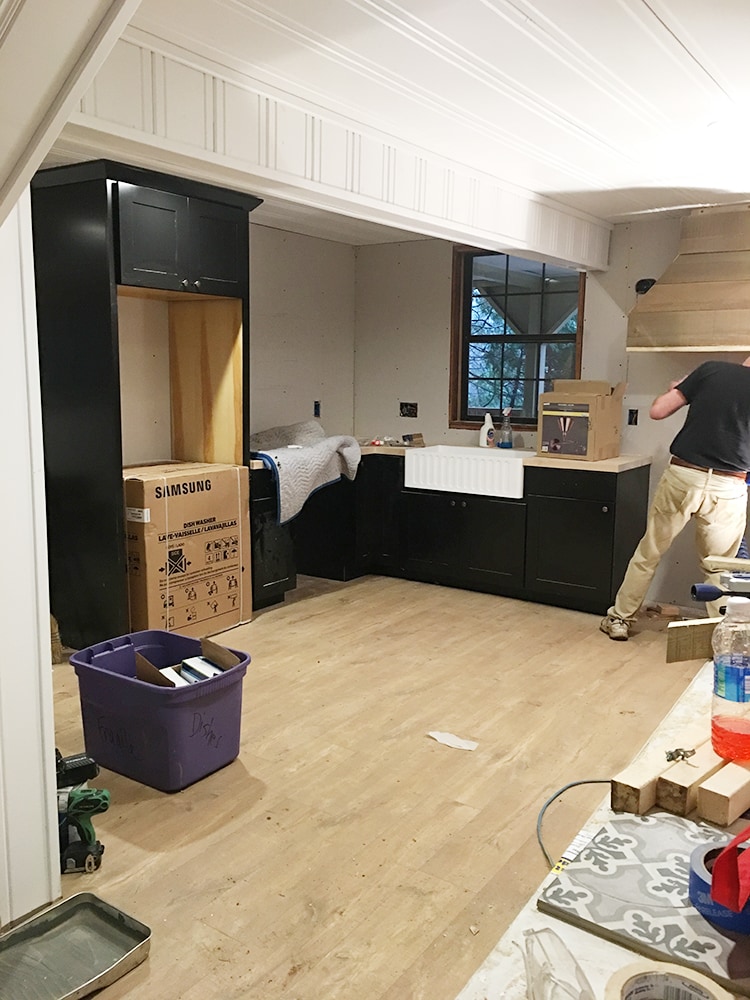
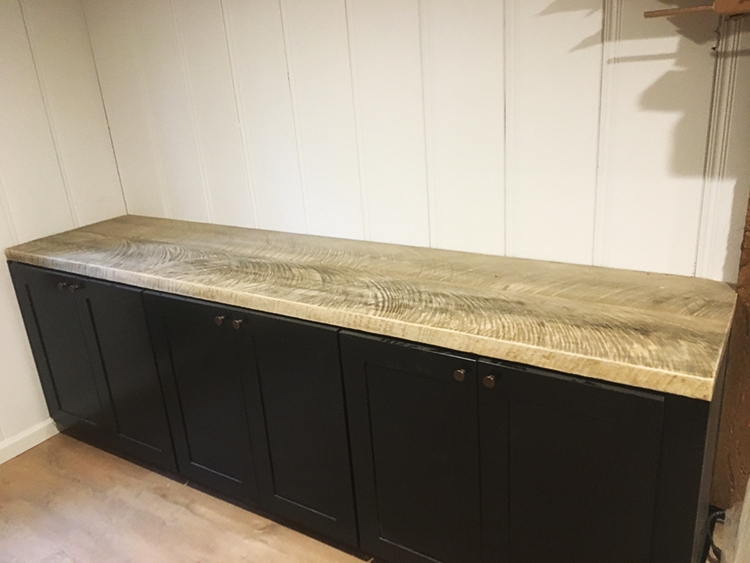
Let’s revisit the kitchen for a sec with some real time updates! As I type this, my contractor has been sending me updates and here’s the latest. First, newly installed countertops over on the living room cabinets by the fireplace. I used reclaimed wood again—may end up staining them, will have to see how it looks in person:
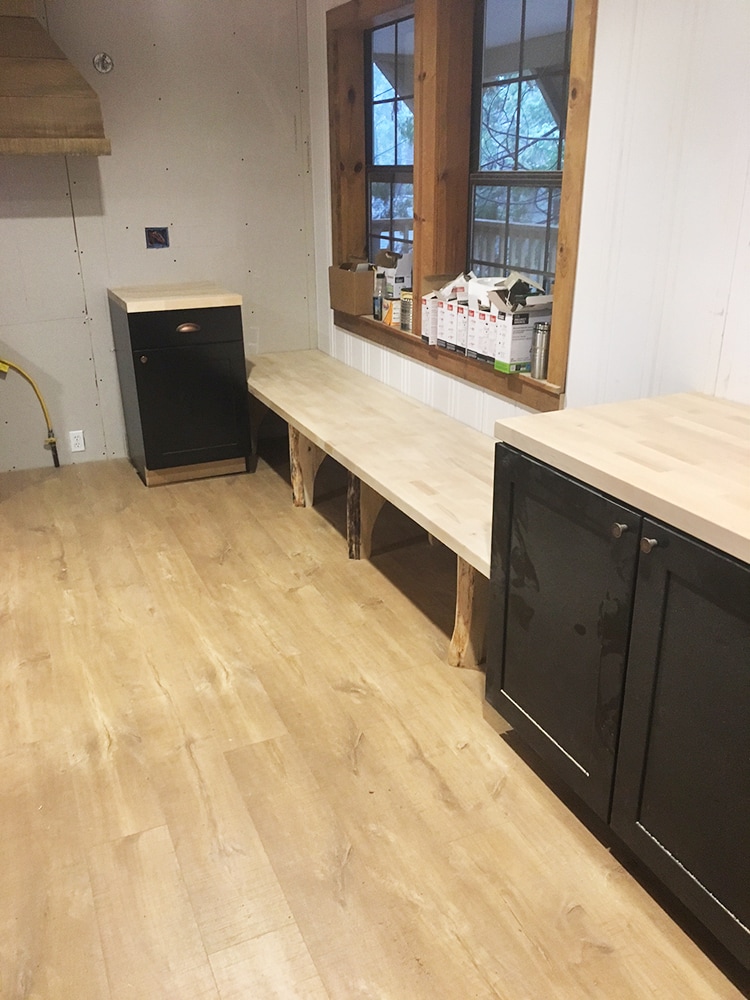
Second, we have our window seat bench!
The top was made using the same butcher block from Lowe’s. It’ll all be stained & sealed with Minwax Weathered Oak and polycrylic. And there’s a 50/50 chance I’ll end up painting the window trim light gray to break up all the wood.
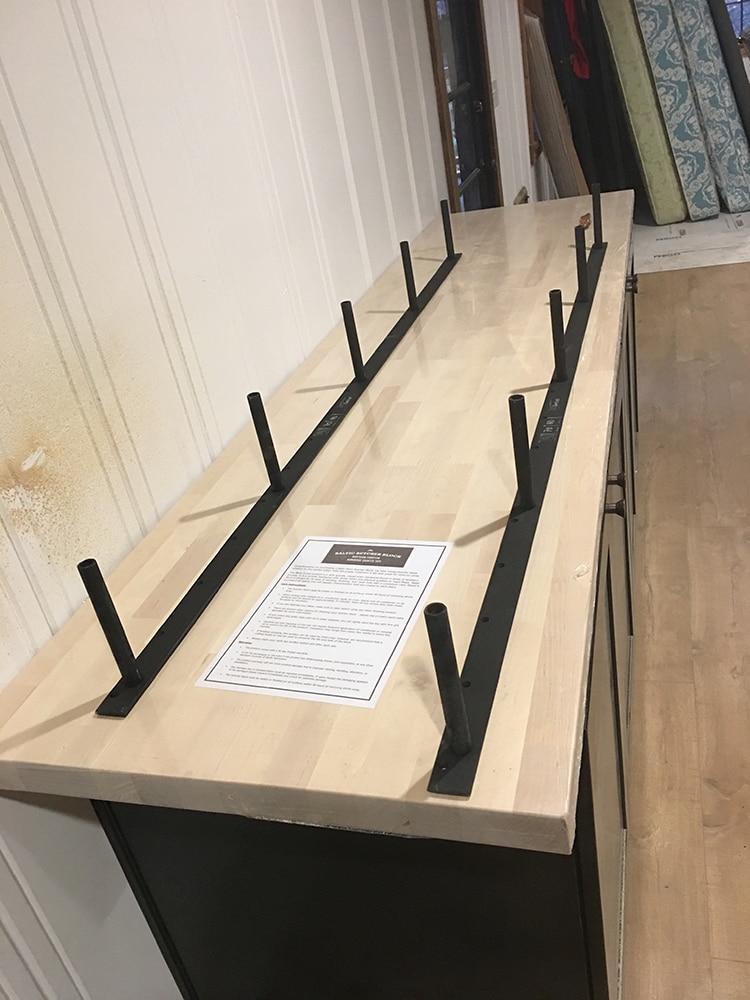
And last but not least… floating shelves! My hardware arrived from Silicate Studio a few weeks ago and I’ve been dying to put it to use:
My contractor was awesome enough to send a quick video of the final install, for anyone wanting to see it in action:
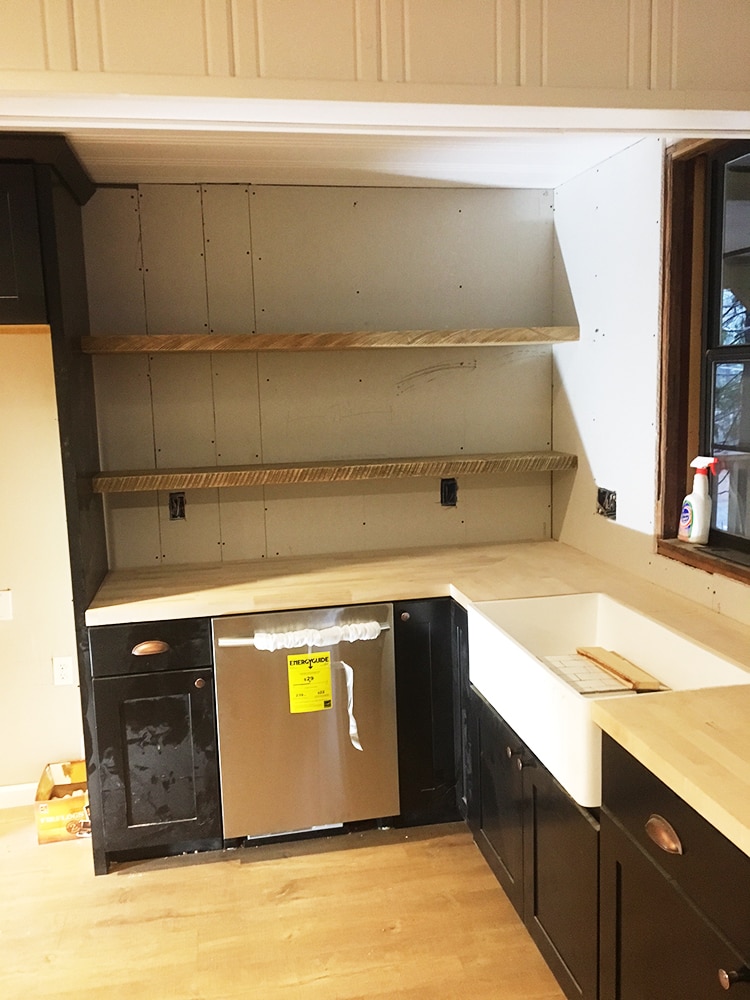
And here they are!
Can’t wait to decorate those babies.
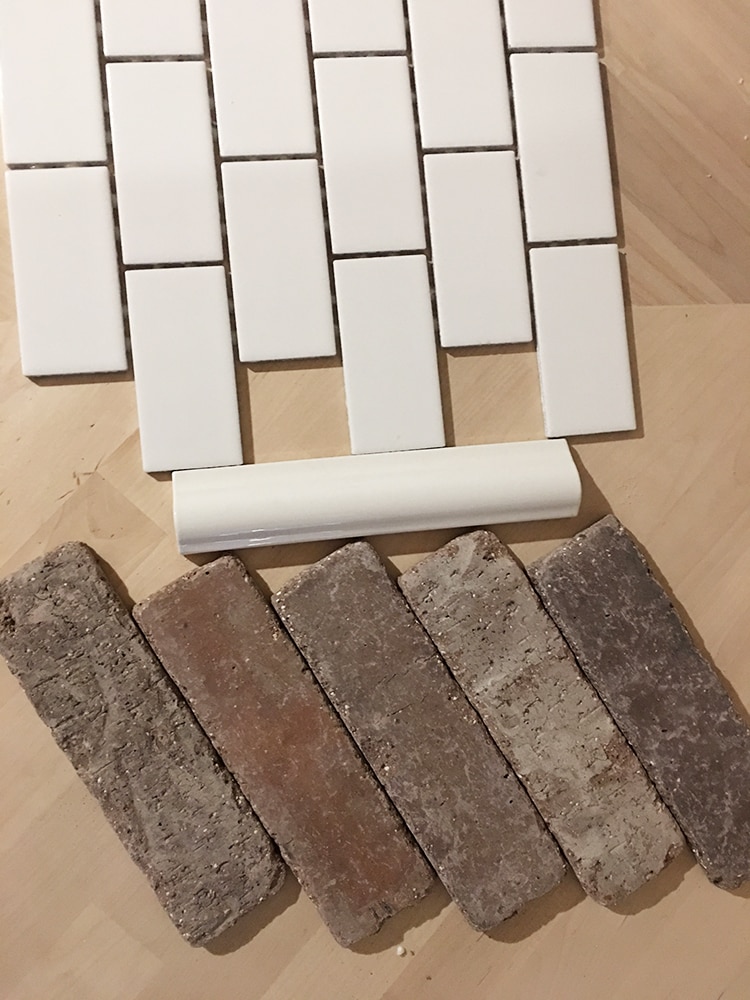
Oh yeah, here’s a fun teaser… I decided to do something a little different with the kitchen backsplash. My tile guy and I worked on a plan and I am super excited to watch it come to life…
You’ll just have to wait and see!
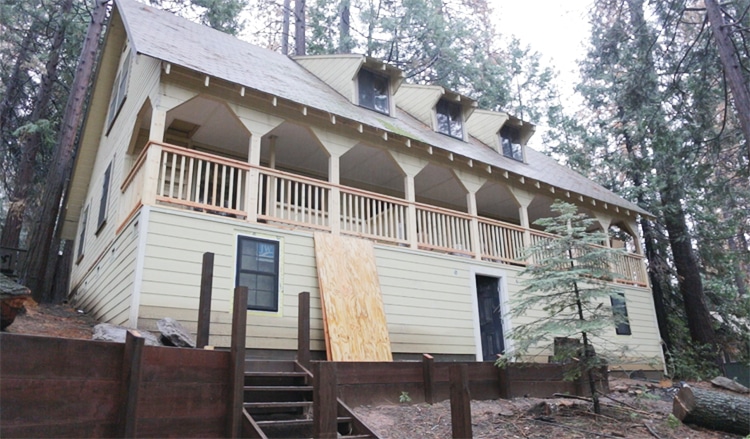
In other news, two major ongoing issues that have been adding stress to this project are the exterior paint and new roof. Because of the nonstop rain/snow/freezing temperatures, there hasn’t been a window of opportunity in months to paint or replace the roof. After talking to several roofers, at this point and with the projected forecast, it’s just not going to happen. The roof is structurally fine, it’s just nearing it’s lifespan and has fallen behind on maintenance, so all we can do is clean it up and hope for the best.
In order to paint the exterior, the weather must be both dry and above 32* for several days for the paint to properly cure. That is not a possible scenario here in winter, so they’ve been looking into renting fumigation tents to cover the entire house and industrial heaters to keep it from freezing. We’re talking every possible creative solution here. They searched the entire state and were unable to gain access to one, so Plan B is to attach plastic tarps from the roof to the ground as a protective barrier. Not exactly a simple mission for this house.
We’ve been constantly checking the weather to watch for any possible openings, and it looks like there may actually be one this weekend—it will be freezing but at least no rain. Send all your positive vibes my way that the forecast doesn’t change—we really need a break here!
Whew…. that was a long winded post. Who wants to get into house flipping? Don’t all raise your hand at once now.
Honestly though, I am eternally grateful to even have the opportunity to be doing this. It certainly adds a lot of pressure when you’re on a deadline for a magazine shoot that will shape your future opportunities and you’re documenting every minute of it for the world to see and judge and your life savings is on the line and it could all go down the drain with a bad snow storm that you have no control over. But I wouldn’t want any other career 🙂
Enough blogging, I’ve got another weekend at the flip to prepare for. If you still want more after this novel of a post, you can catch the daily updates on instagram, snapchat and facebook and watch the madness unfold in real time. Your comments & feedback are appreciated more than you know!
Disclosure: Some of the products listed were provided via sponsorship—all of which I selected and fully approve of.




Jen Gilday says
Everything looks amazing! I’m in awe of the floating shelf brackets! I pinned that for an upcoming project! Quick question though…did you purchase one of their wooden shelves (from Silicate Studio) or did you use your own reclaimed wood? I love how it turned out!!
Jen Gilday
Jen Gilday Interiors
athomeinthenorthwestblog.com
thegildays@comcast.net
jennasuedesign says
Thanks Jen! I used my own wood 🙂
Nancy says
Where or how can I watch episodes 1-9?
jennasuedesign says
Hi Nancy, they’re all at my Youtube channel! https://www.youtube.com/c/jennasue
Liz says
Hi Jenna,
I love watching all the updates on your flip. My husband and I have done a couple that we use for rentals now. I’m curious when I watched the painting it didn’t look like you used any primer prior. Is this a paint/primer combo? We had issues with that before with the wood bleeding through after a year or so. We now always use an oil based primer on anything that has knots. Just curious?!?
Keep up the great work!
jennasuedesign says
Hey Liz! All of the wood was primed with an oil based primer 🙂
Leah @farmastyle says
You’re almost done!! Great great job Jenna!!!!!
xoxoxo
Leah; )
jennasuedesign says
Thank you Leah! 🙂
Karen Simon Peterson says
You are doing a wonderful job with this old house. I really like all of your design decisions so far. Painting all of that wood has really brightened up the place.
Kristin says
Jenna you are an INSPIRATION! Regardless of whether anyone likes or dislikes what choices you have made design wise no one can doubt your tenacity and drive to complete this project – and to take the time to share your journey so openly and honestly with the world is just brave.
I eagerly look forward to your posts, I love your style and I most importantly I enjoy following your journey, I’m sure there are only bigger and better things ahead for you – THANK YOU!
jennasuedesign says
Thanks so much Kristin! I really appreciate your support 🙂
Julie says
Hi JennaSue,
I can not wait for updates!! I am so excited for you and to see the updates on this project. I live in NorCal and know we’ve had some rotten weather (for us) the past few weekends. I hope you get the break in weather you need this coming weekend! Your style is so spot on…not too farmhouse, not too vintage but just the perfect blend of all the elements that I ADORE! I am SO glad you are back to blogging about design…you are meant to do this! I’m also very happy to see that you have a new love in your life. I imagine that the past few years haven’t been the easiest and am so glad you have found happiness and are following your passions. I will gladly help you paint in your next flip if it’s near the Livermore area! :). Or partner with you on a flip…seriously! You haven’t scared off this reader…just wanted you to know that. Take care!
jennasuedesign says
That means so much Leslie… so glad you are enjoying the journey and I’m looking forward to sharing more!