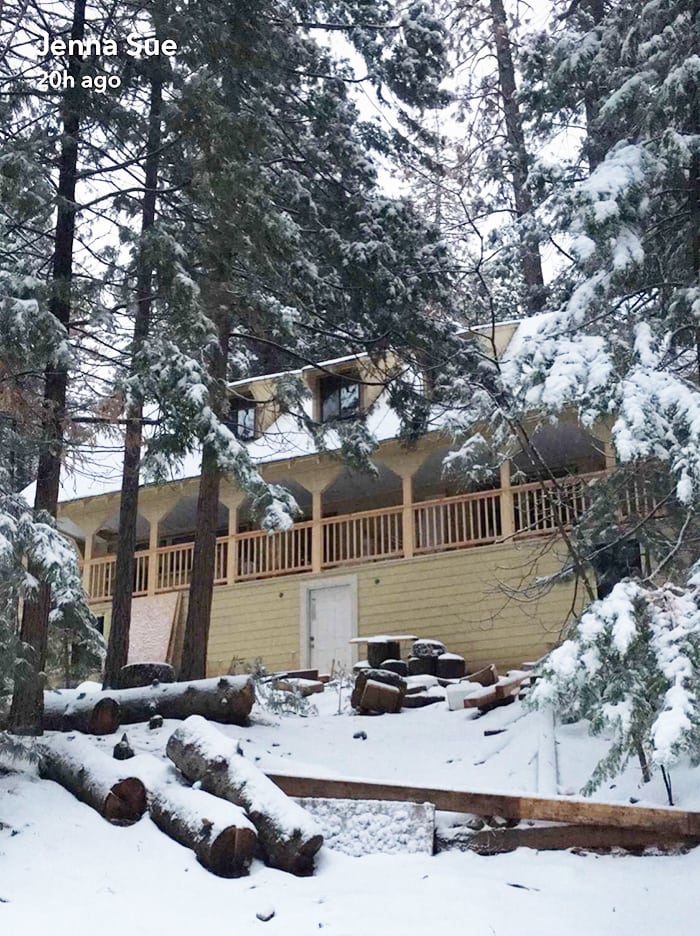
Whew, what a week it’s been! I hope you all got to enjoy a nice, long relaxing break (some of you still are, cheers!). We were blessed with a white Christmas at the flip:
I had hoped to accomplish an ambitious list of projects over the weekend, but realized pretty quickly that it was too much to try to squeeze in around the holidays when there’s family in town. You can watch it all go down in this week’s Cottage House Flip Episode 9:
The most important task was to install the vent for the stove and build a hood cover for it. I’d also hoped to mount two floating shelves and stain & seal the counters. Spoiler alert: We only completed 90% of task #1.
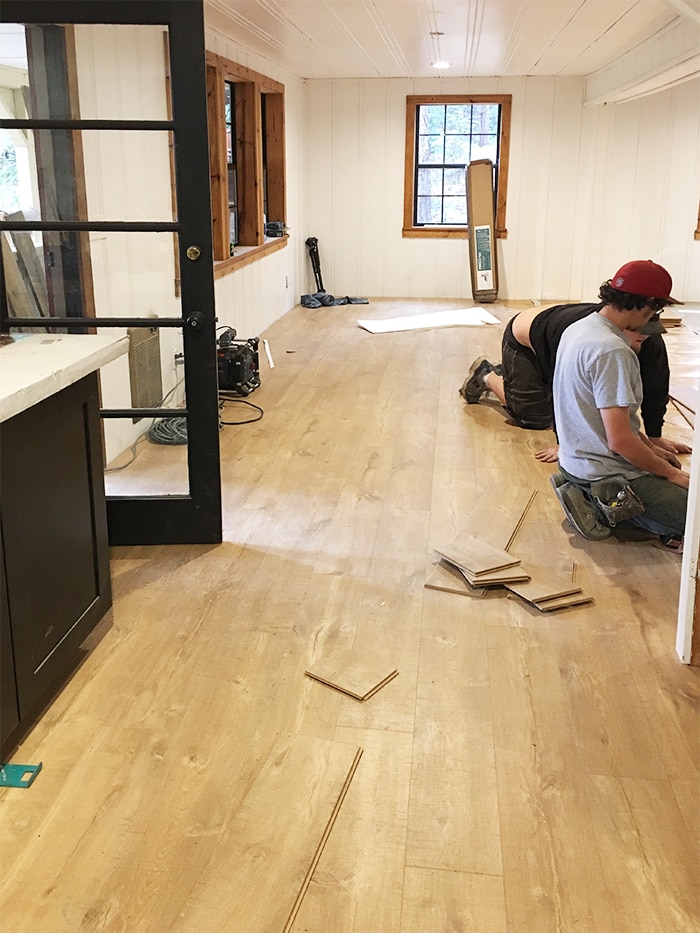
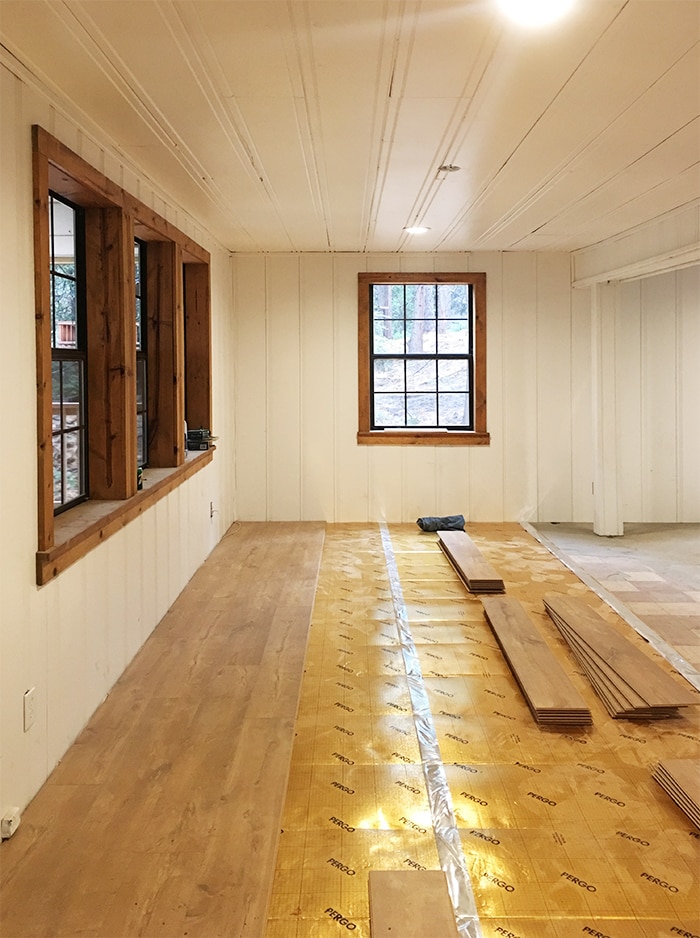
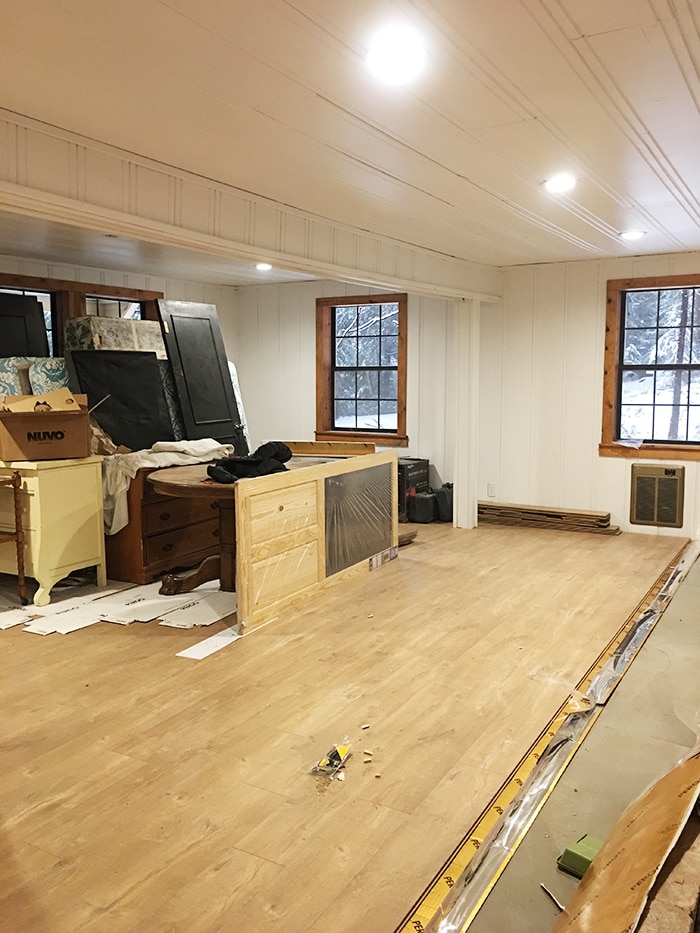
But before we talk DIY, let’s check out all of the other updates. Since my last post, we have one really big exciting change: new floors!
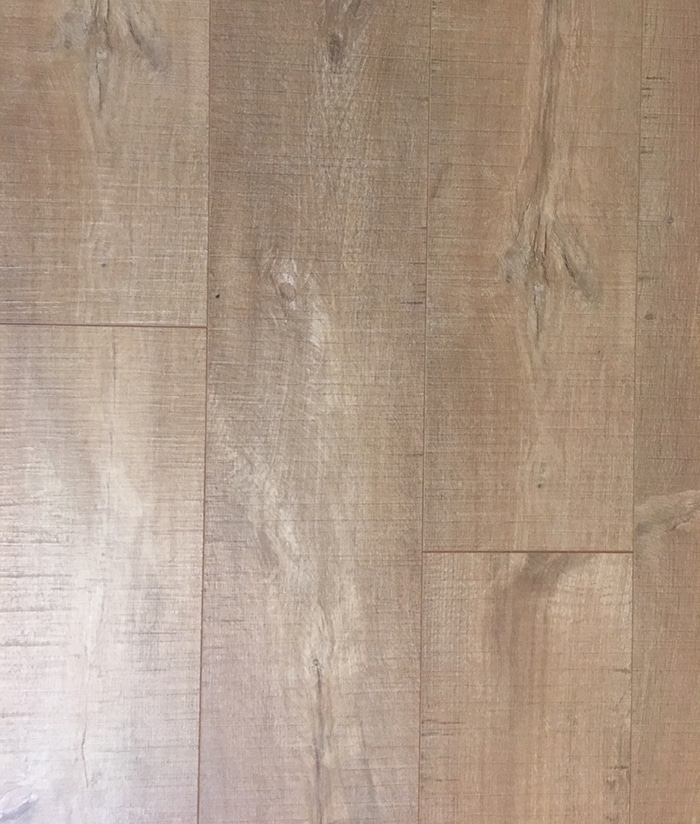
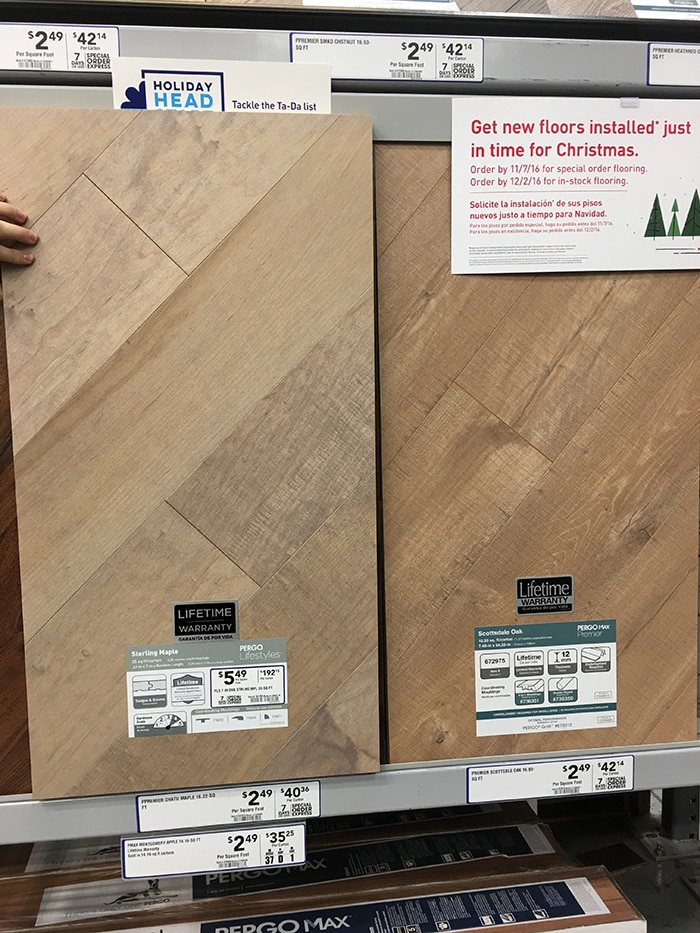
Well, mostly. Those are also 90% installed, but should be done by the time I come back. I decided on the Pergo Max Premiere in Scottsdale Oak (Update, this color has been discontinued, but you can find a similar shade here.
They’re 7.5″ wide plank laminate and have a nice matte finish with an embossed texture that makes them look more like authentic rustic wood.
Originally I was set on engineered wood, but while at Lowe’s these caught my eye and I actually preferred the look to the wood (you can see the wood sample on the left and Pergo on the right):
With a lifetime warranty, high durability and scratch resistance, 5 star ratings online, and oh yeah—less than half the cost of the engineered wood—it was a pretty easy choice. And I think I chose well.
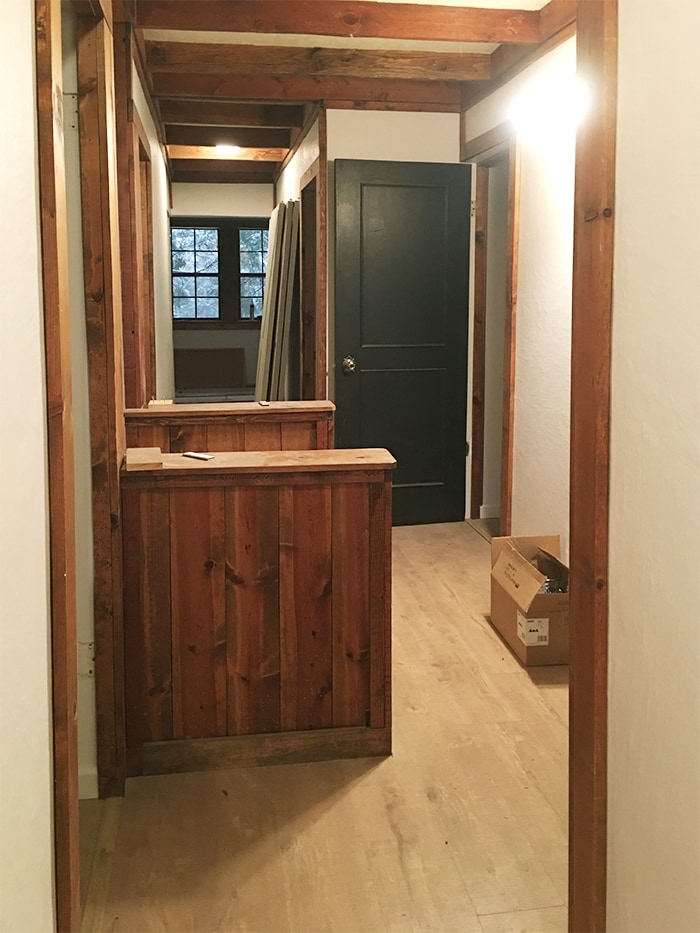
I was on the fence about painting some of the wood trim upstairs, but this has made it abundantly clear that the stair landing wall and most of the wall paneling in the bedrooms will be need to painted:
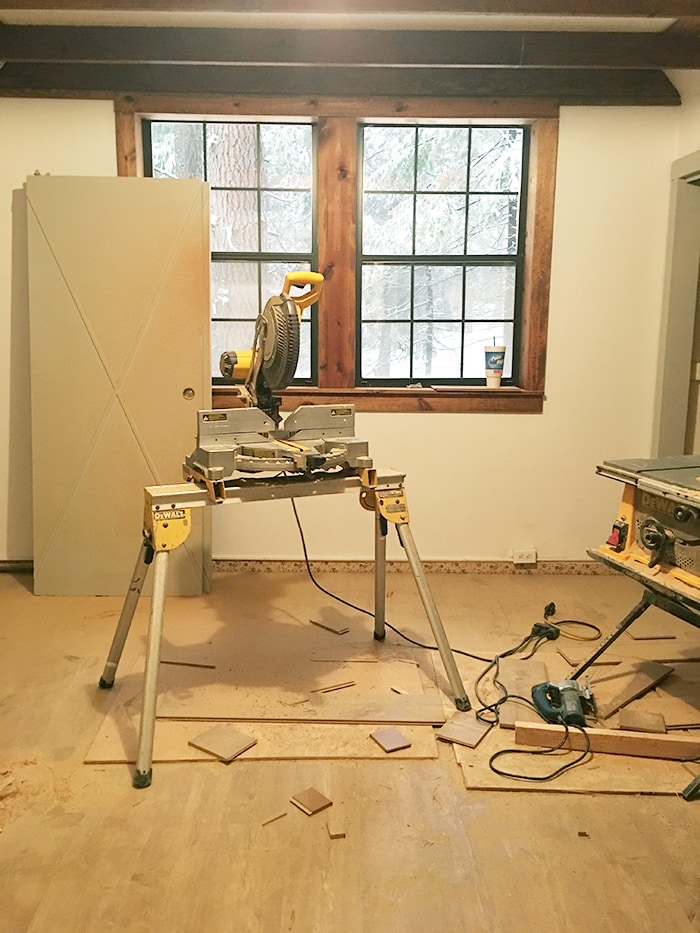
In the same soft gray as the bedroom closet doors, Valspar’s Woodlawn Colonial Gray (excuse the sawdusty mess, but you get the idea):
Who wants to come help paint? 🙂
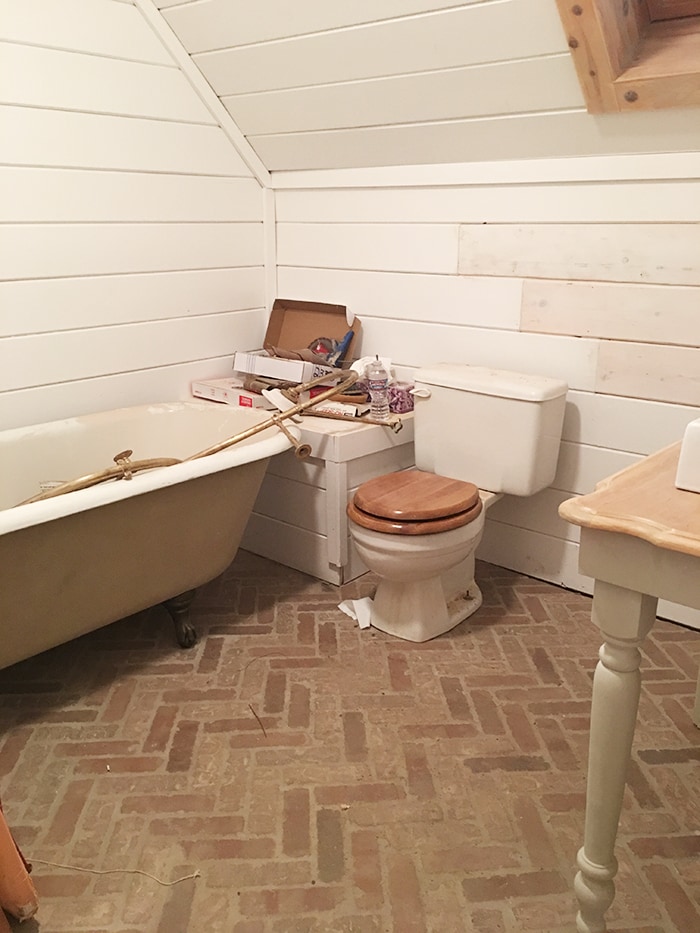
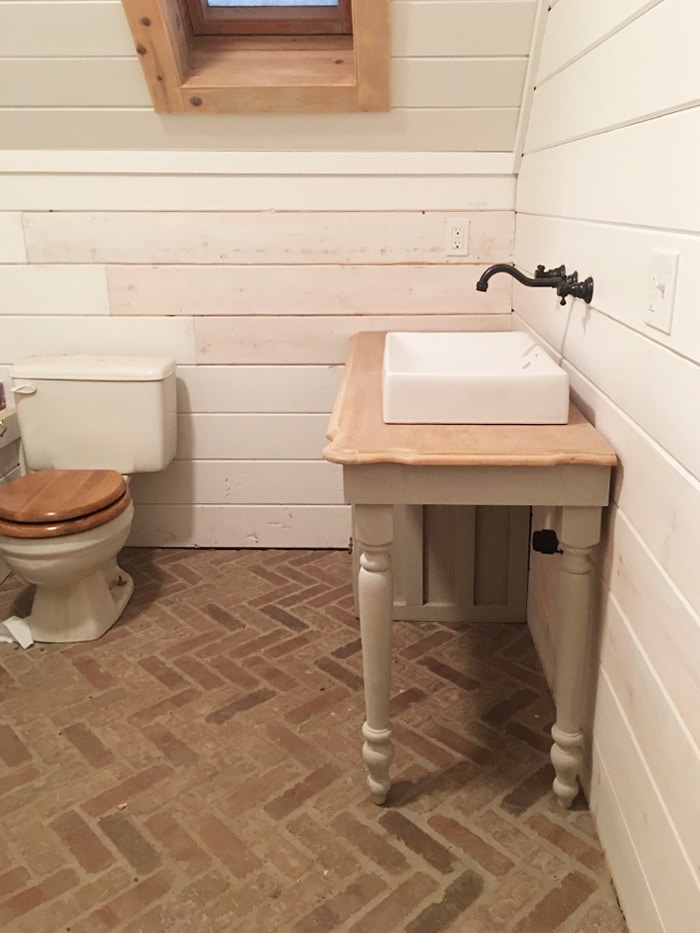
Let’s move on to my favorite space… the upstairs bathroom!
The wall boards have been patched, the tub is back in place, and the faucet and sink are almost functional…
It’s so close, I can feel it!
I’d be happy to just talk about and stare at this room all day, but we’ve got a ton going on in the kitchen, so let’s head downstairs.
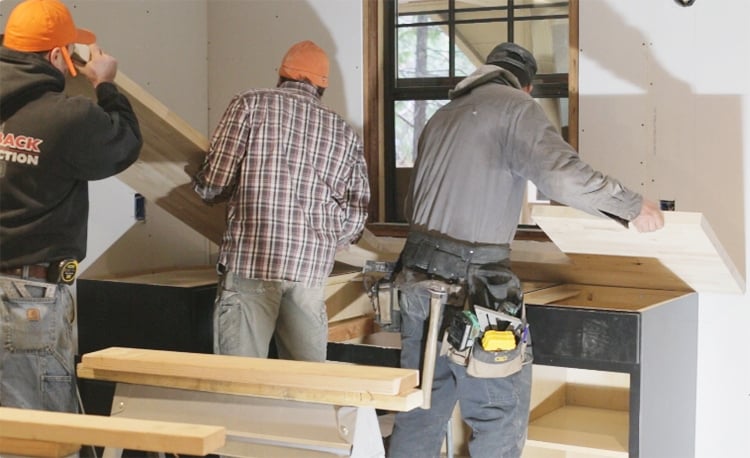
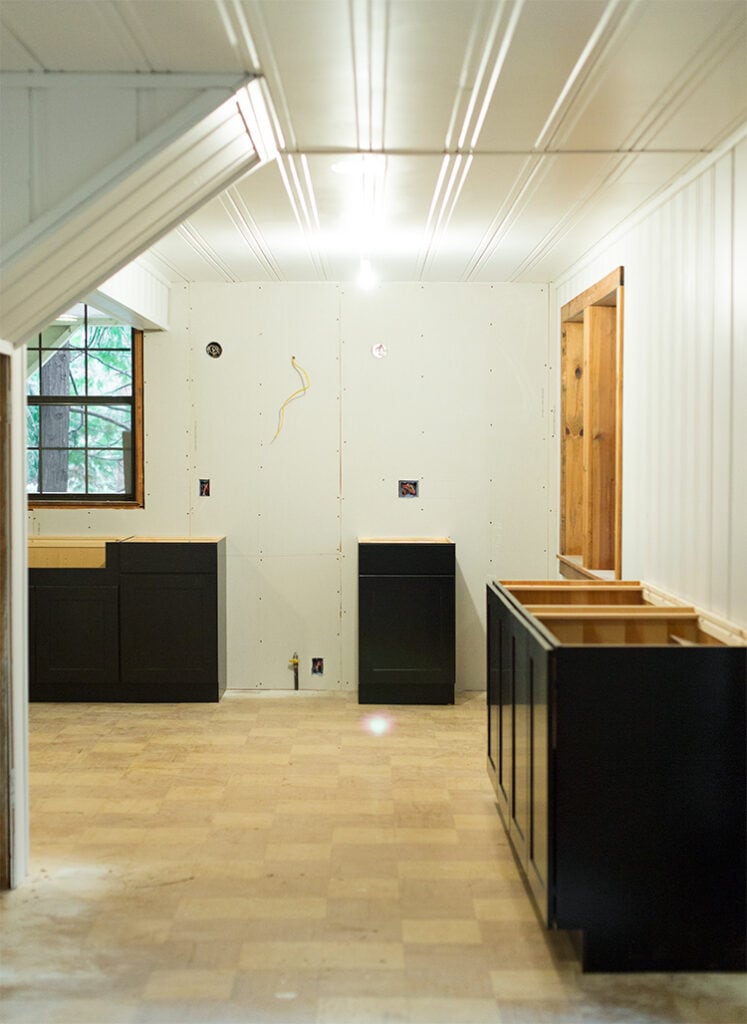
It was a mad house at the flip on Saturday morning, with 3 guys laying floors, 2 more installing the counter and sink, another just outside and my dad, Lucas and I trying to figure out the vent hood situation—all fighting for space in a small kitchen. But we made it work.
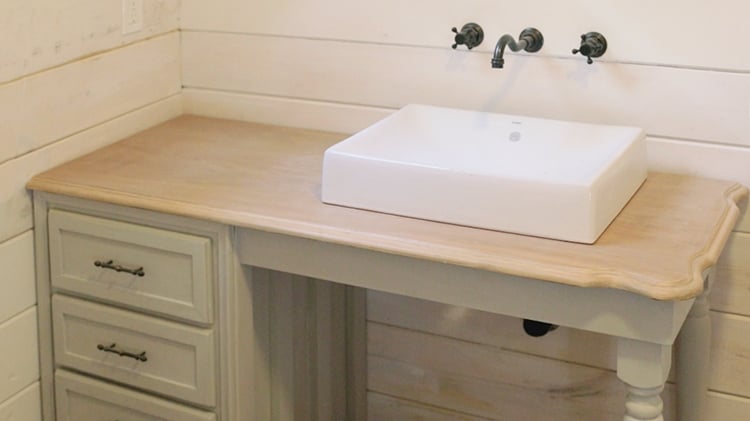
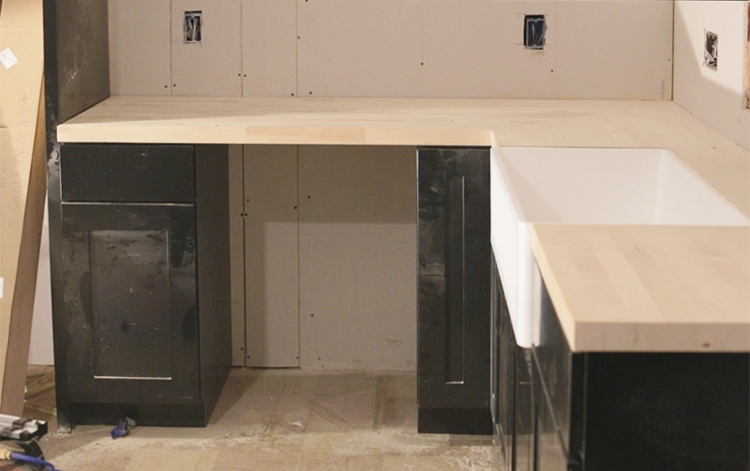
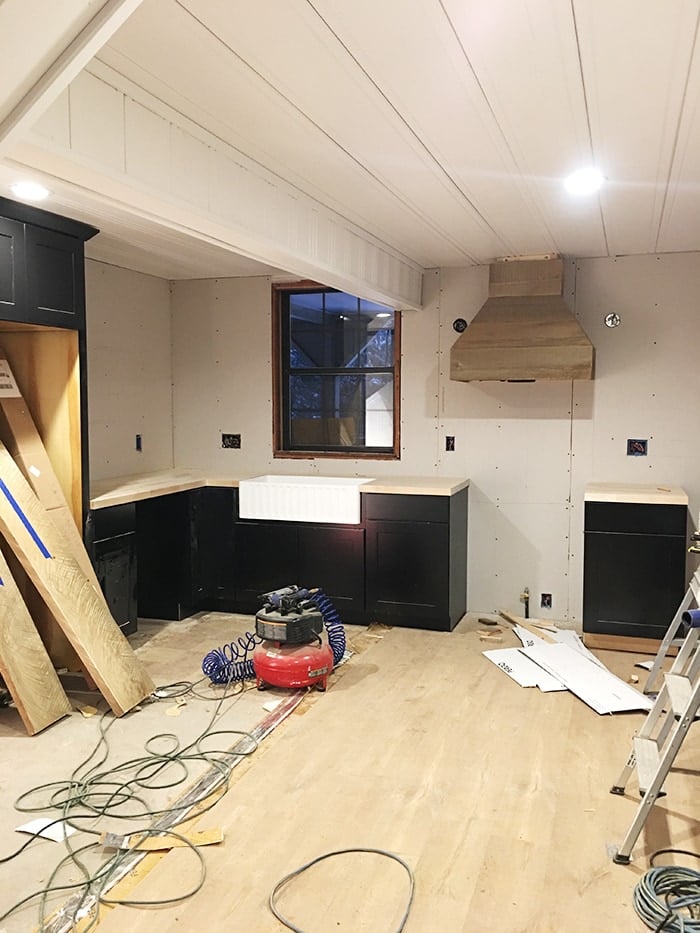
…and check out the new sink and counters!
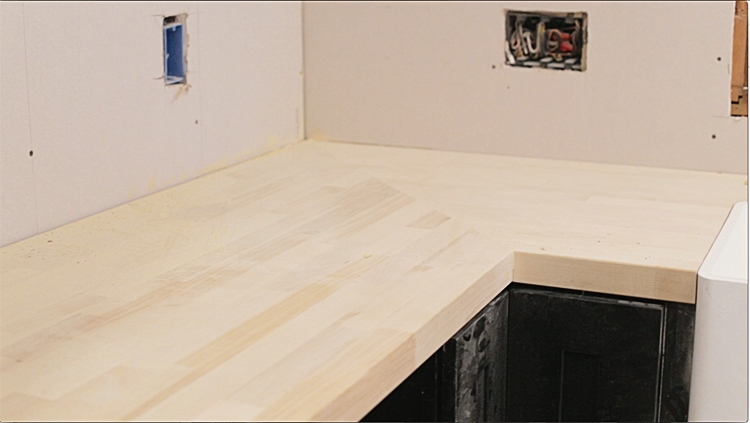
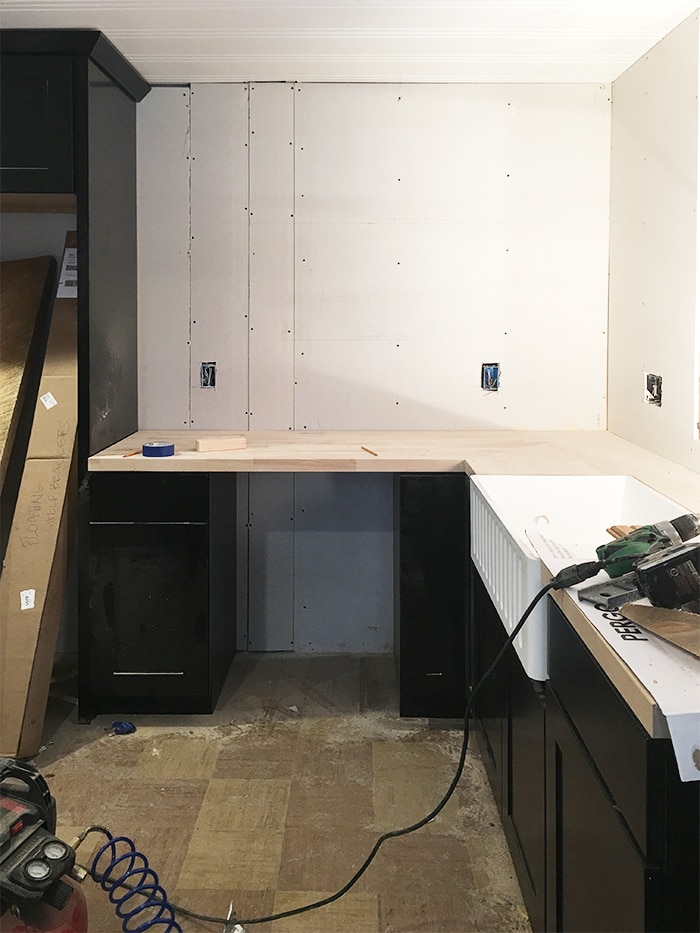
I mentioned after my Kitchen Plans post that I’d switched to Lowe’s baltic butcher block instead of Ikea (I wasn’t able to make it to Ikea and it didn’t make sense to pay for delivery, plus the Lowe’s butcher block is solid, thicker, and comes unfinished):
My contractor did a great job mitering the pieces and making it look seamless, and now all it needs is some stain and sealer. I plan to stain it in light/medium neutral shade, similar to the floors.
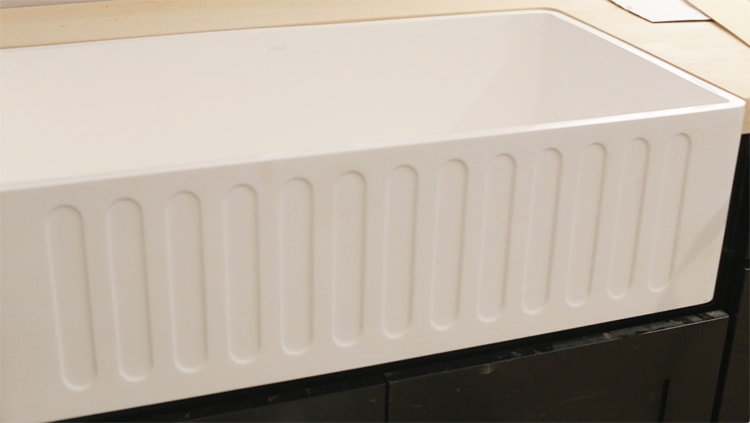
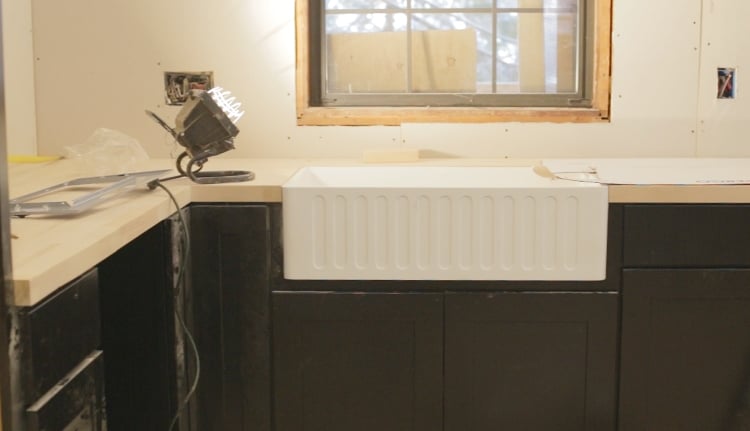
And this sink…
Isn’t she pretty? I also switched my original Ikea plan with this massive 36″ Vigo model from Lowe’s.
I love the slotted detailing on the front and think it gives it a nice unique touch. So pleased with how both of these turned out!
Okay… now for the DIY project. Let me preface this by saying I’ve built everything from tables to cabinets to doors & more, and nothing comes close to the level of complexity that was this vent hood. I made my calculations and drew up fancy computer generated plans… and ended up tossing them as soon as I realized what I’d gotten myself into.
With that said, this tutorial will not be thorough, because none of us can even explain what we did—including my dad who is a former carpenter.
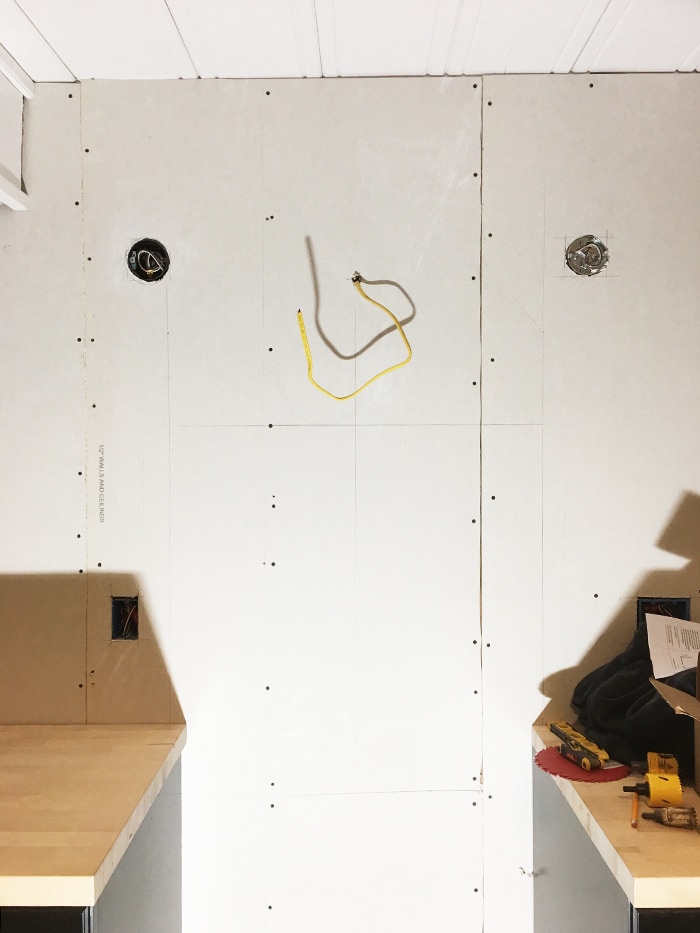
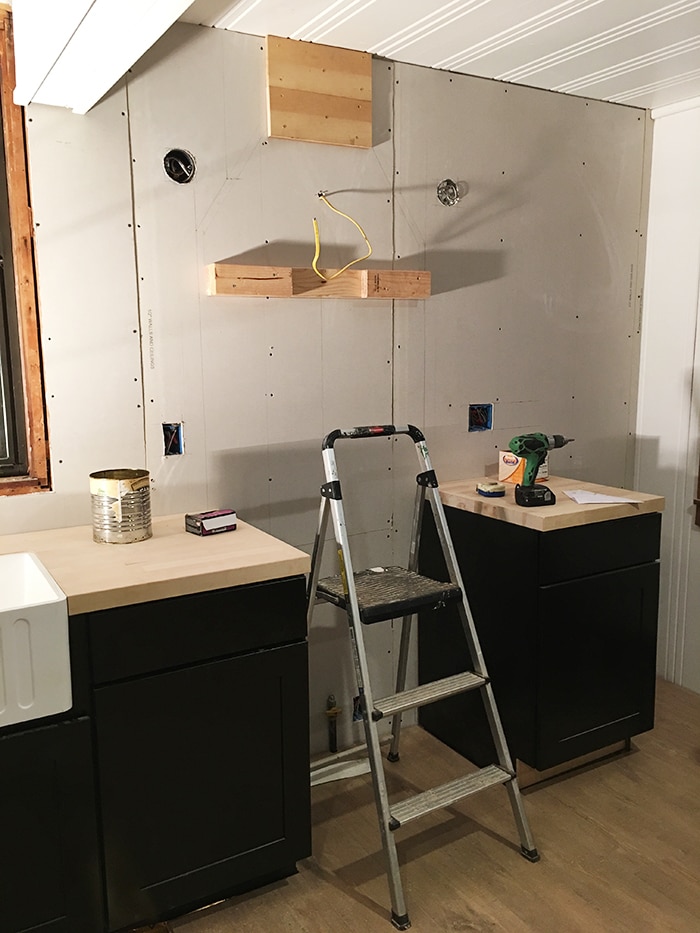
But let’s back up for a second. Here’s the empty wall I was working with, above the gap where the stove will go:
I had my electrician install wall sconces to flank the range hood:
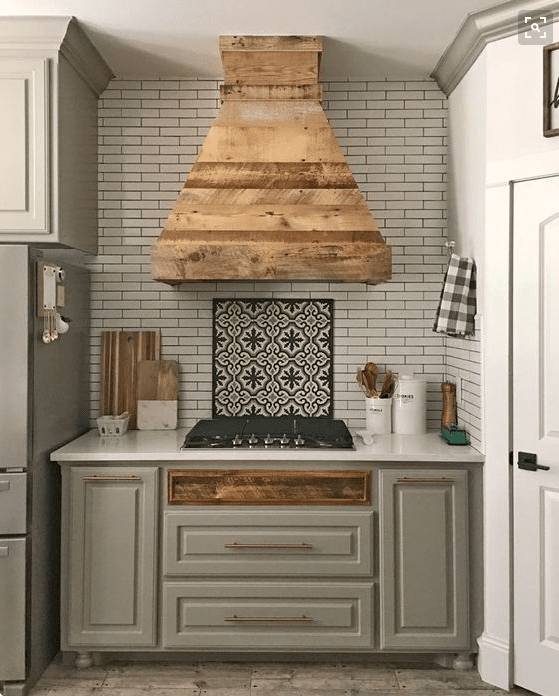
And I was picturing something along these lines:
Seems pretty straight forward, right? Just build a frame, attach it to the vent, and nail up some boards. A fun little weekend project, spending some quality time with my boys.
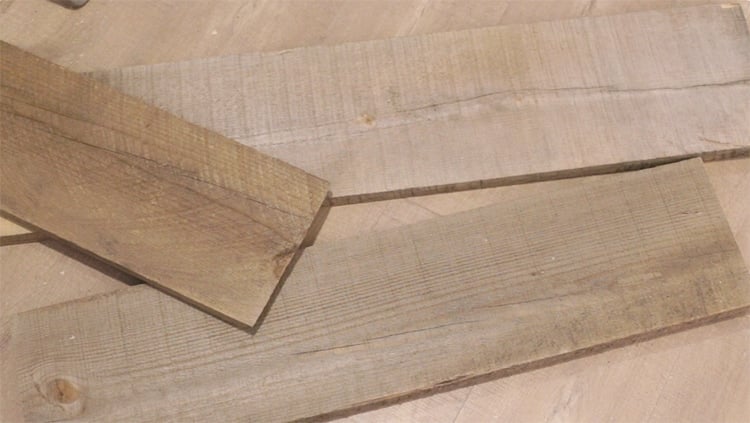
On Friday we went to the lumber yard and grabbed about 30 feet of these 1×8″ reclaimed wood boards, which just so happened to match the new floors quite nicely:
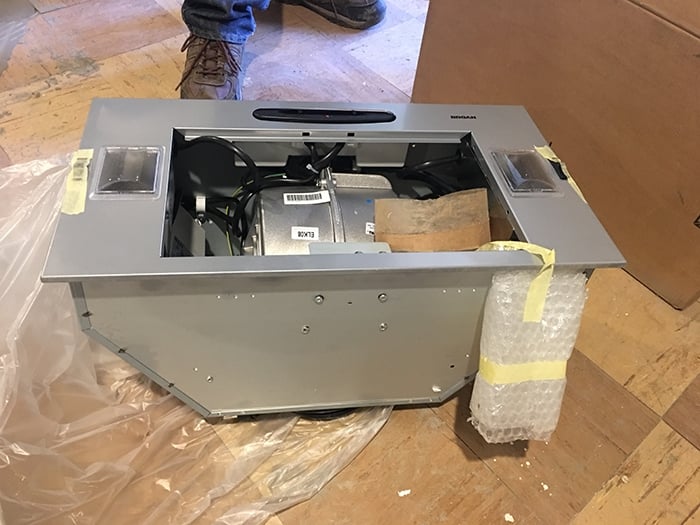
But those would come into play later. First we had to build a frame to hold this shiny new vent hood to the wall:
It’s a Broan PME300 from Lowe’s, and I also picked up a 6″ duct kit to vent to the outside (which is always recommended).
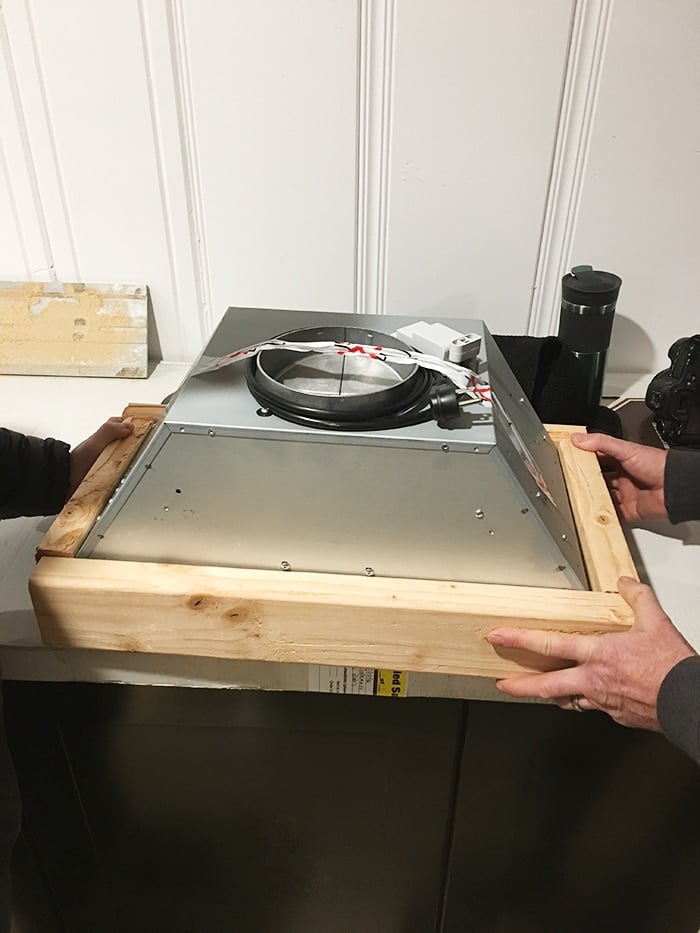
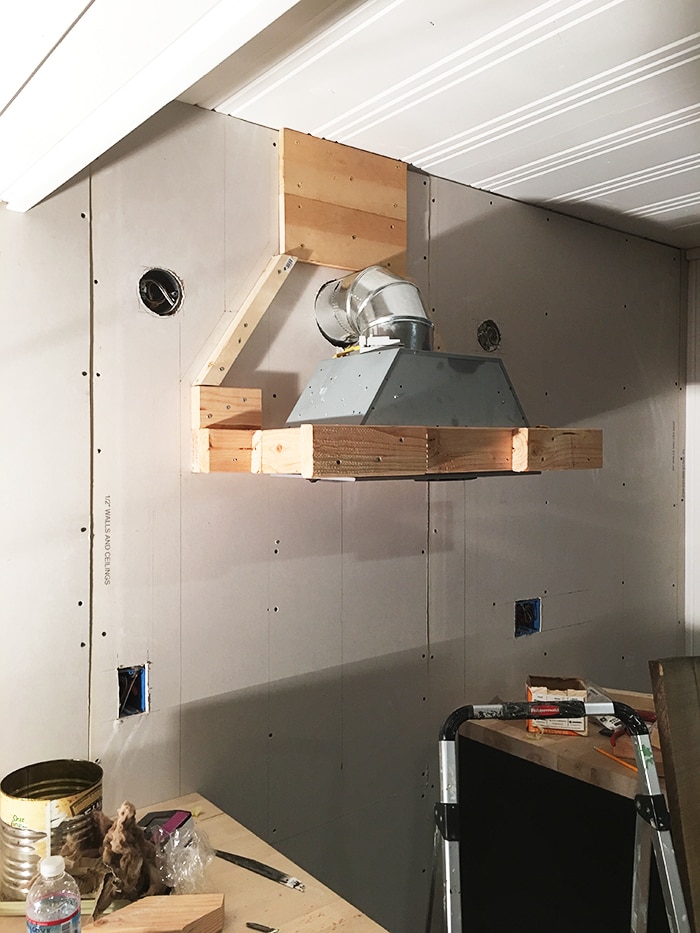
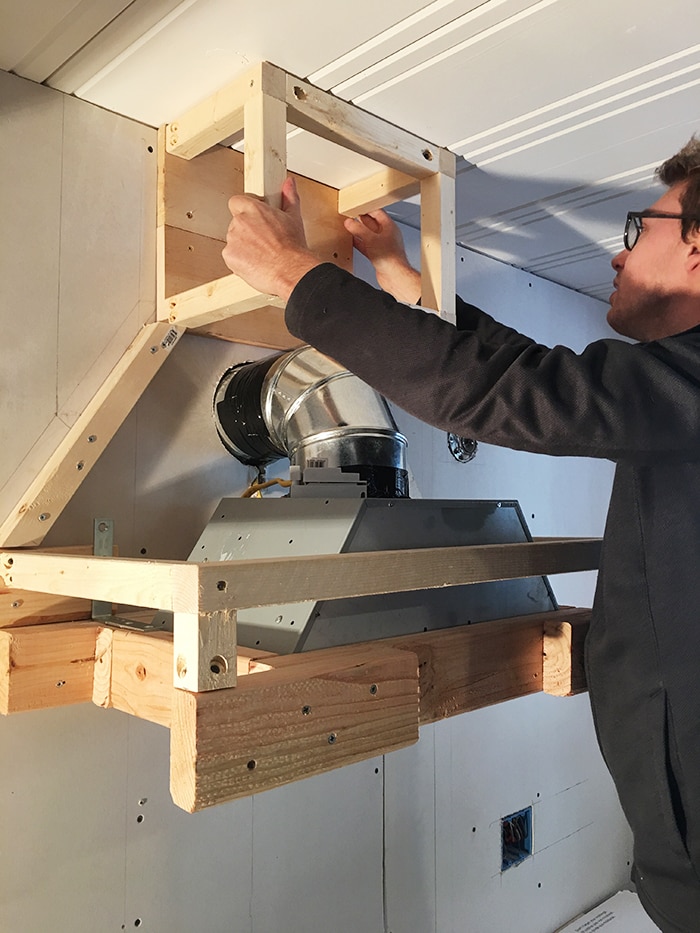
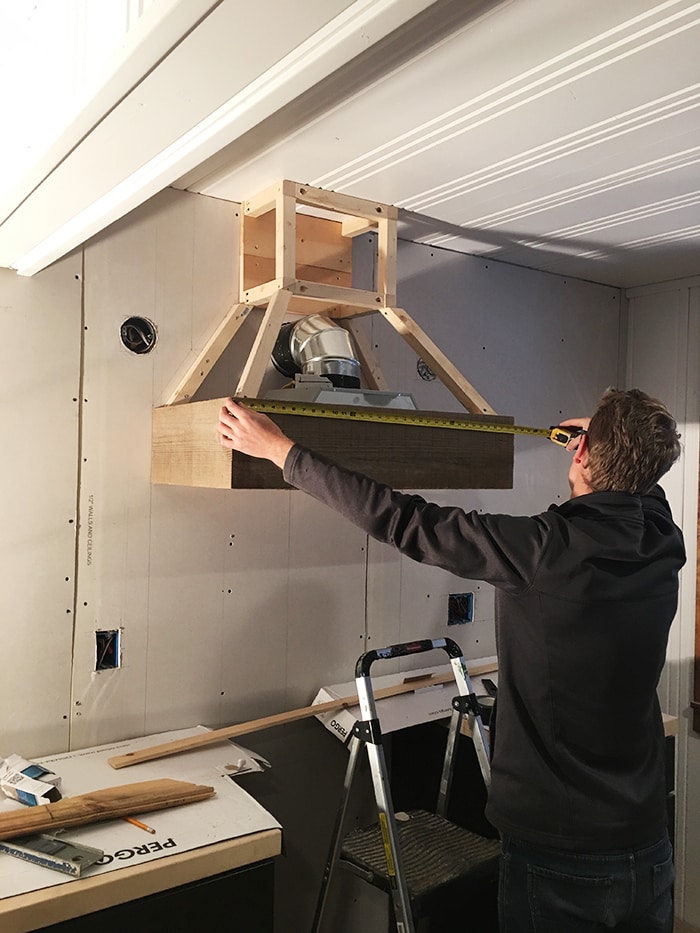
After measuring and drawing out my dimensions on the wall, we built a frame out of 2×4’s which fit snugly around the outside:
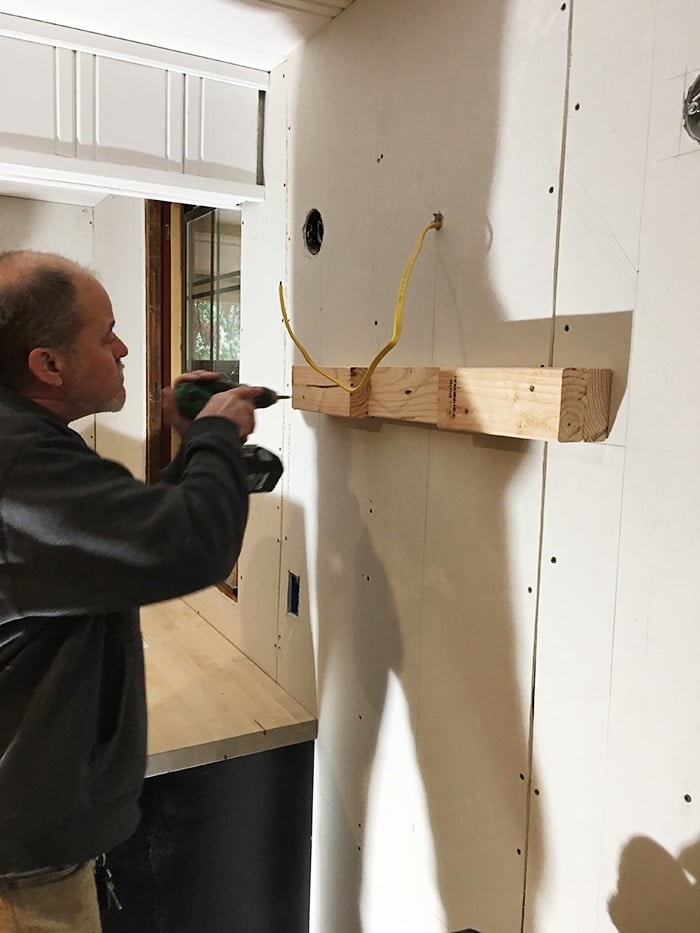
Then we secured a couple boards to the back wall to push the vent out a bit, since it has to be positioned close to the center of the stove for best results.
At the top, we nailed up a few pieces of 1″ boards where the hood narrowed. Here you can see that the sconces are a bit too close—those were added before the drywall and cabinets were installed so the measurements changed a bit. It’s a tight fit between the ceiling beam but my electrician will go back in and adjust them a couple inches.
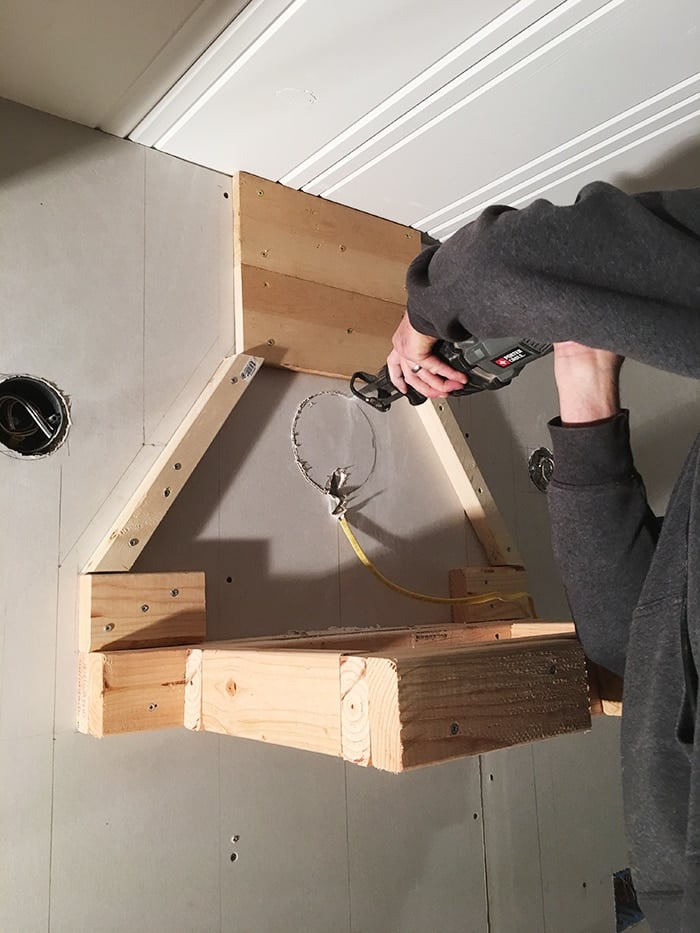
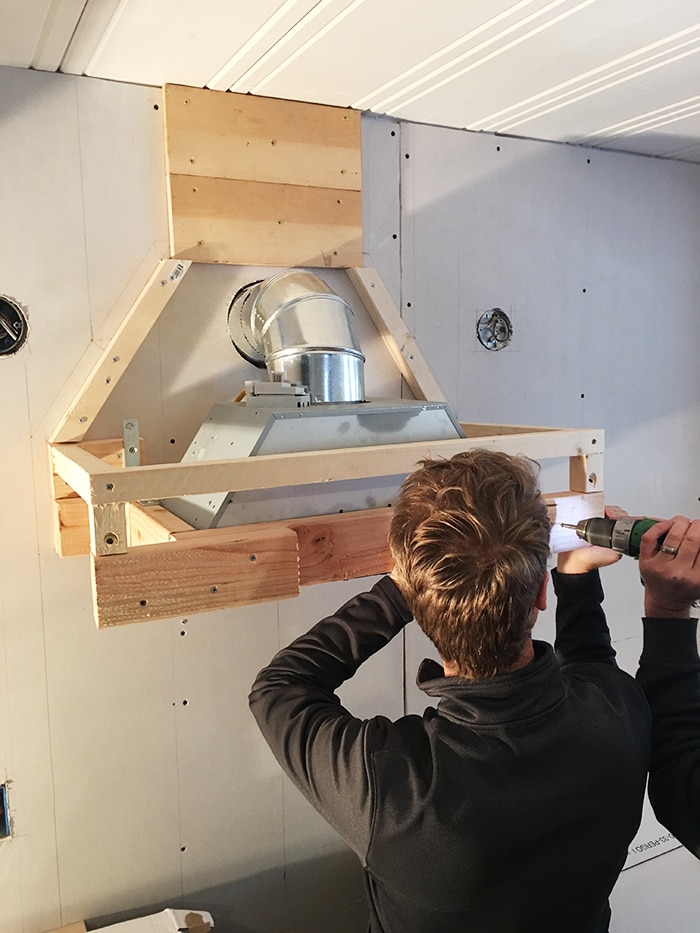
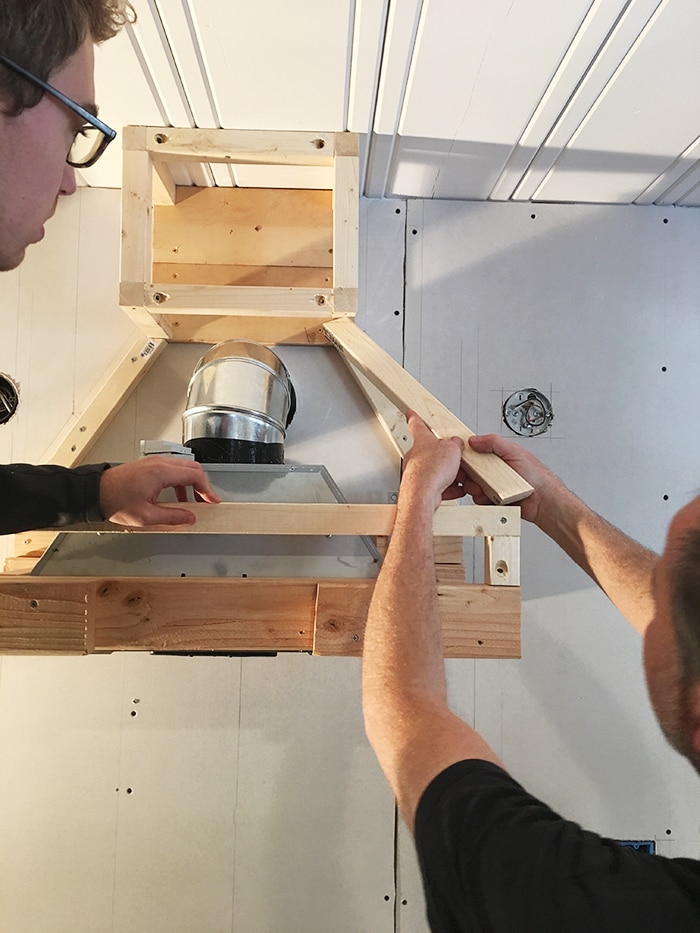
Next, the angled pieces were added along with the vent frame, and we cut a hole for the duct.
Once the hole was cut on both the interior and exterior siding, the outside wall cap was installed and the vent wired up, set into place and screwed into the wood frame.
Then we called it quits for the night and went home.
The next day was Christmas Eve, and I was not confident that we’d be able to complete this hood that day (there was a winter storm and we had to return before dark for our holiday dinner).
We assumed the trickiest parts were behind us, but that was not the case. I have to give so much credit to Lucas for stepping in and taking charge of figuring out each step. It was a collaborative effort between him and my dad (I helped wherever I could but it was mostly them) and I’m so impressed with how quickly he’s learning the ropes of DIYing, and even more thrilled that he’s genuinely enjoying it. #proudgirlfriend
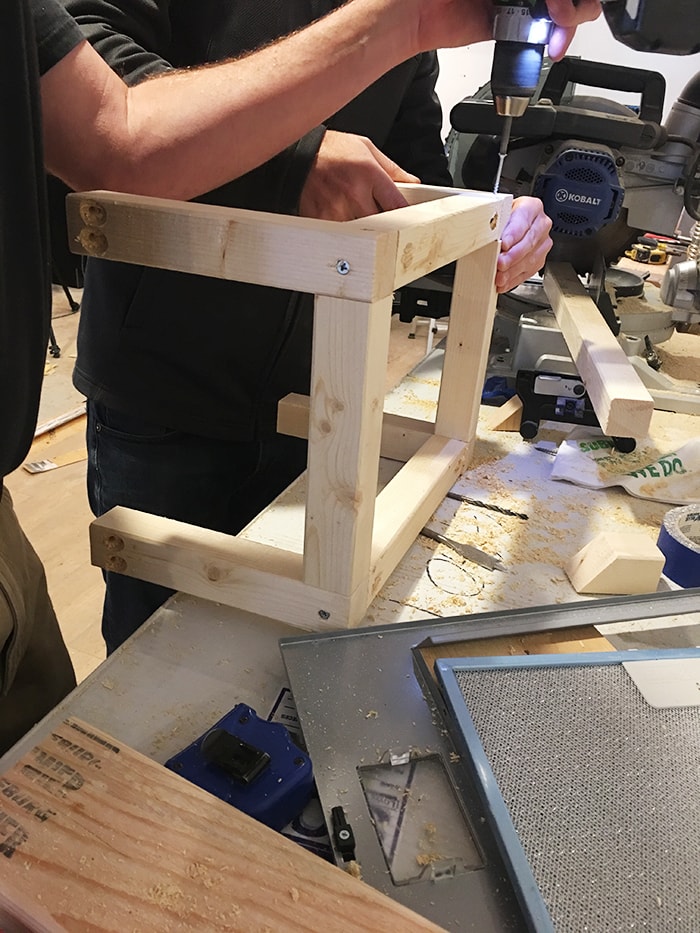
Anyway, the building of the frame continued…
One step at a time. Some parts were easier than others.
Like anything with 90 degree angles.
These pieces? Not as much…
It took a few several tries to get it just right. And by “just right” I mean “close enough.”
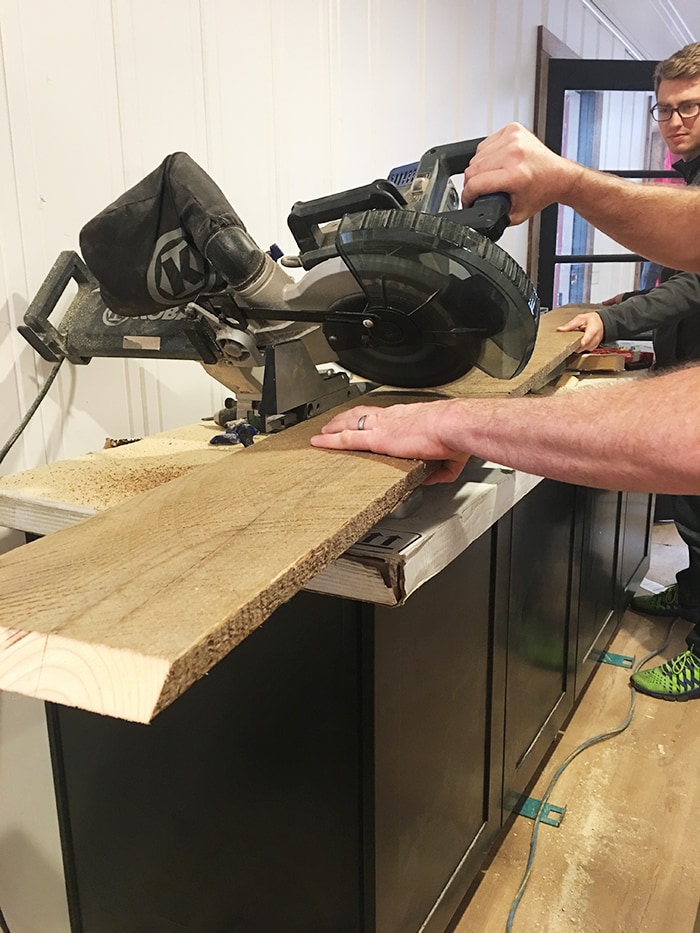
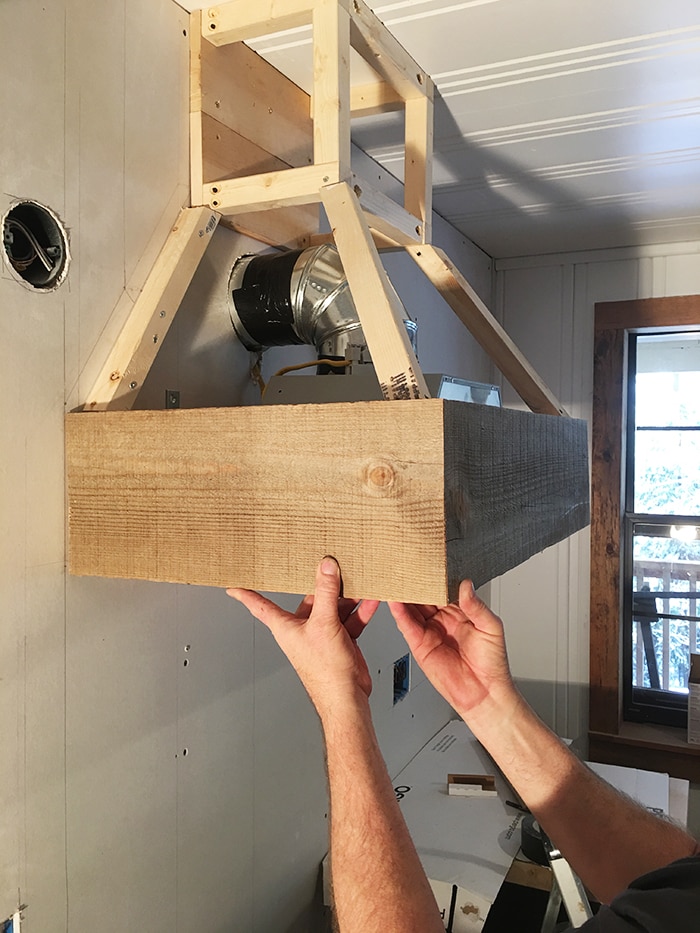
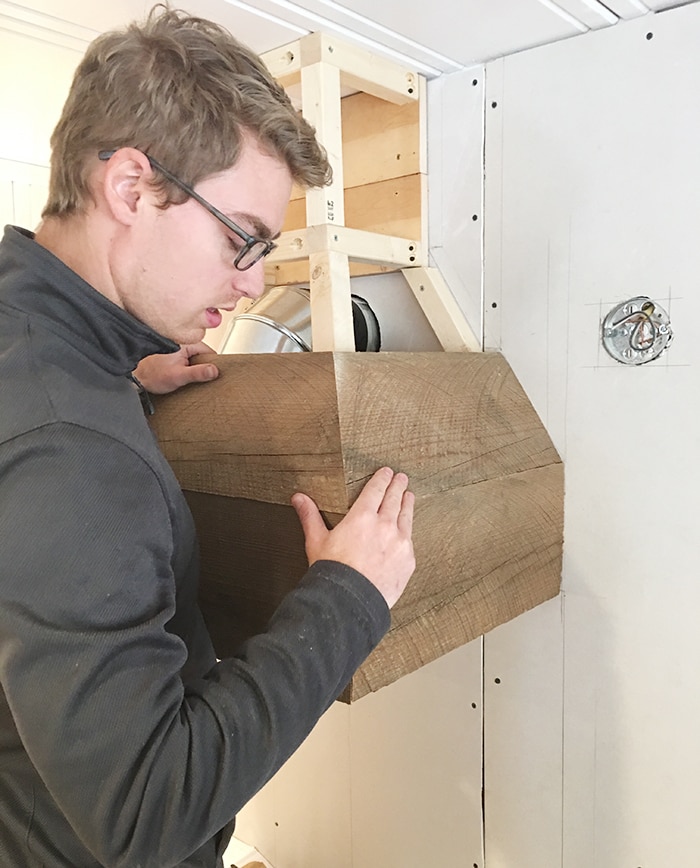
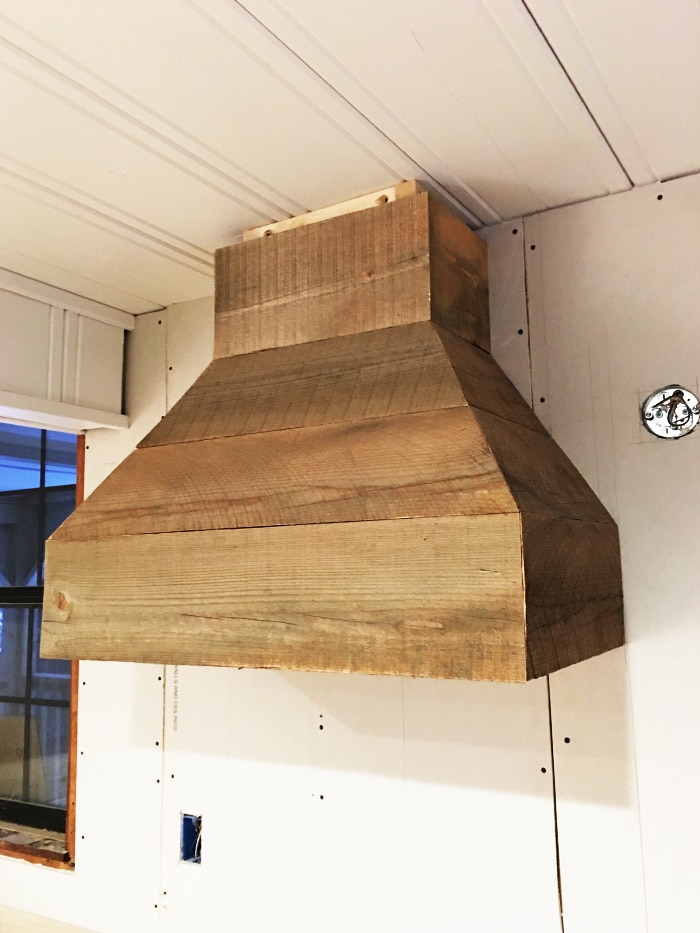
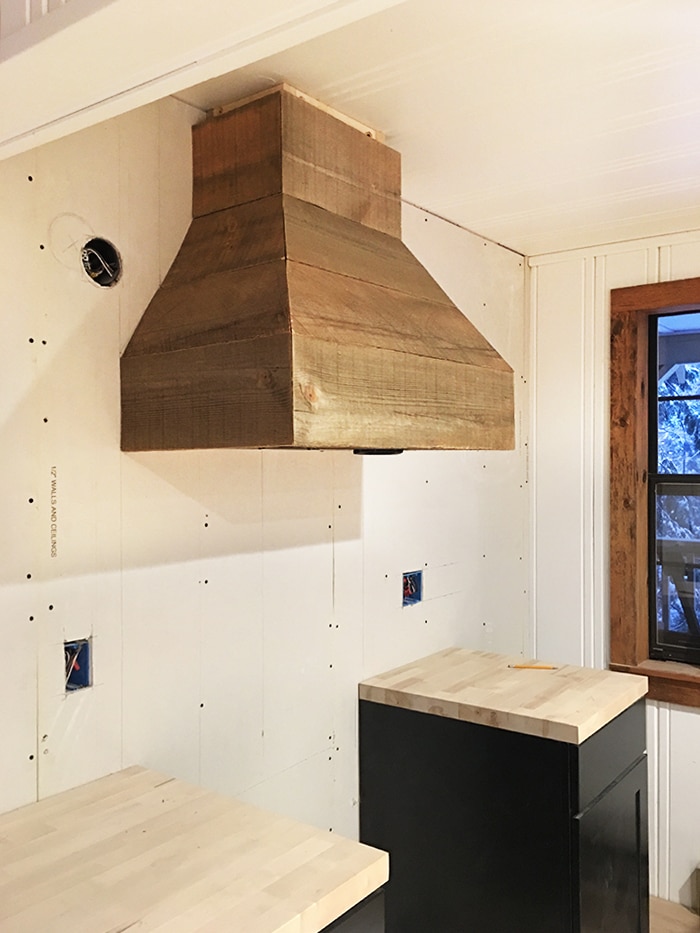
Eventually, our frame was finished and ready for the reclaimed wood! I decided to make our lives difficult and miter the edges. The first row of boards were straight, so that was easy enough:
Except that reclaimed = bowed and imperfect, so the joints didn’t exactly match up perfectly. Good thing it’s supposed to be rustic…
The boards were attached using finish nails, so they can be individually removed without any issue if the vent hood/duct/wiring should ever need to be repaired or replaced.
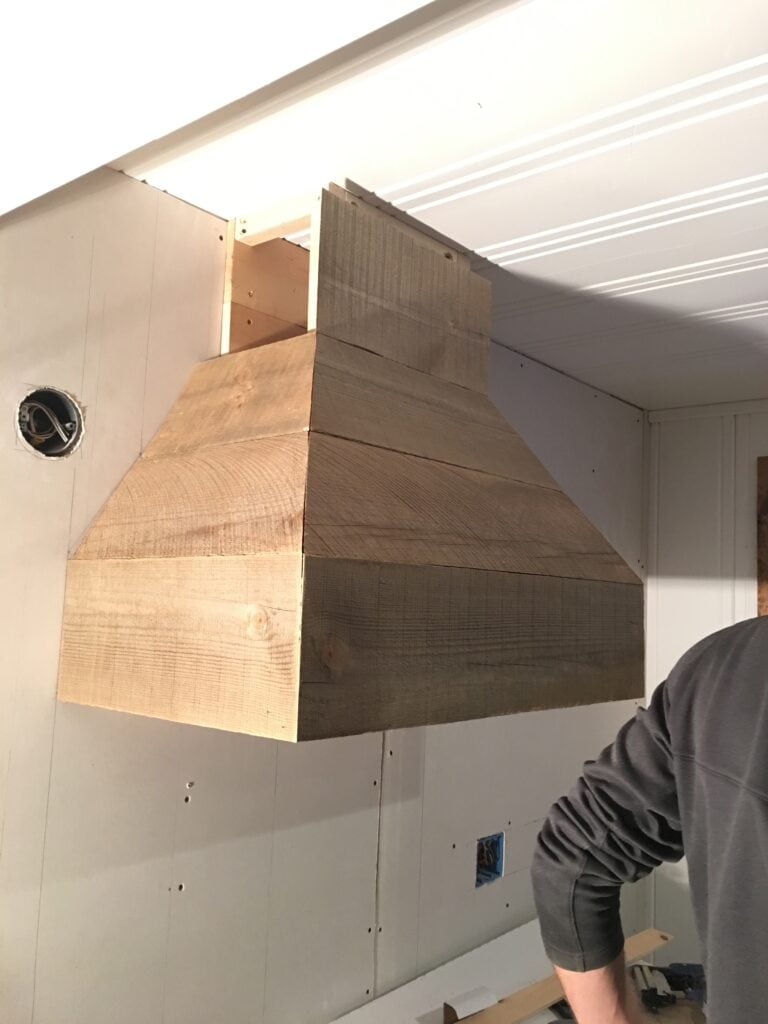
Then came the tricky compound angles. Not only did the side cuts have to be angled, but they had to be mitered at the right angle, matching both the frame and each other… using boards that were both bowed and tapered. It was literally mission impossible.
We had to make some adjustments and compromises along the way, but we did the best we could.
And it didn’t look half bad.
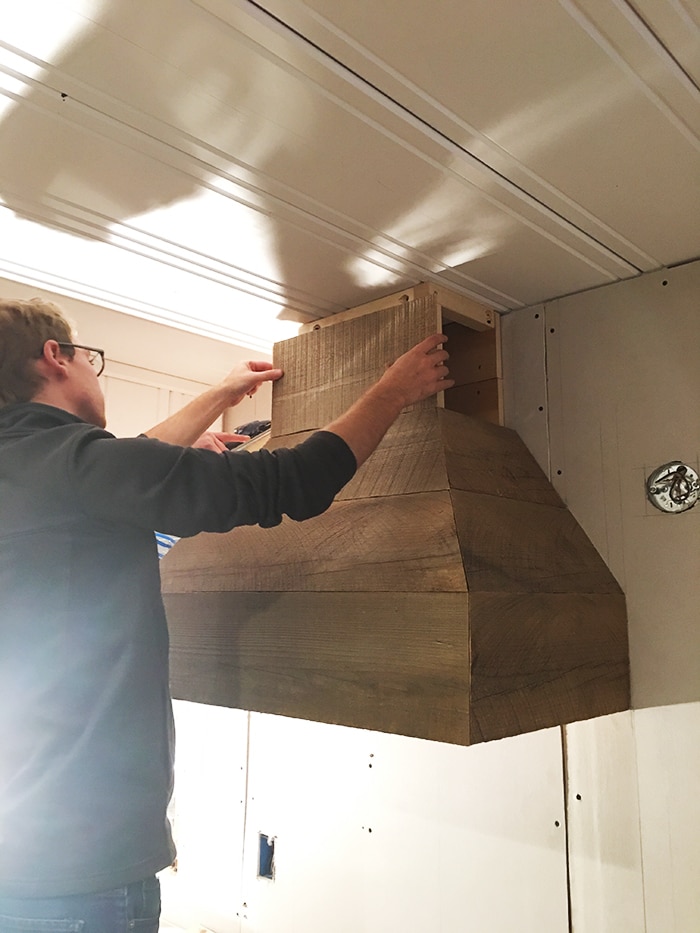
Each board probably took 20 minutes of measuring, remeasuring, cutting & recutting since every board and angle was different.
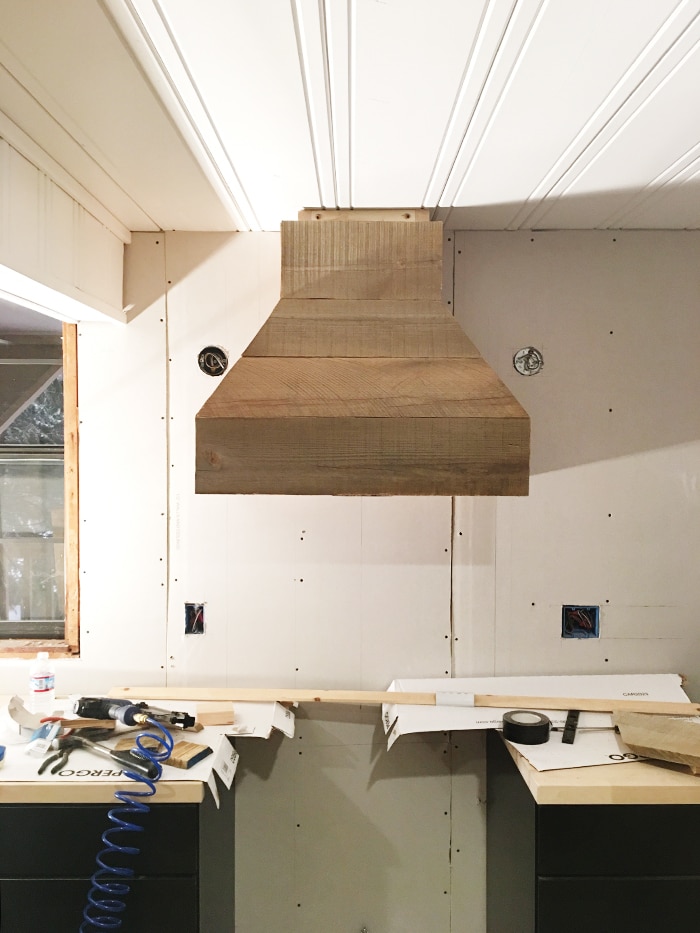
By the time we reached the top, I realized I wanted to add some extra trim to finish it off. We ran out of wood, it was dark and dumping snow, so that is where this project ends.
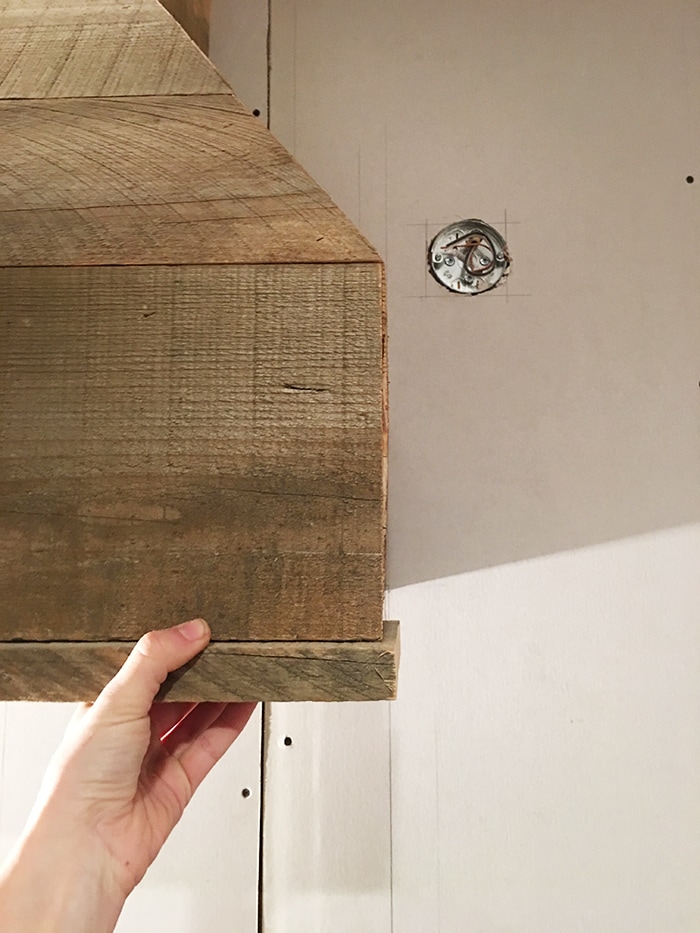
On the bottom, I’ll attach another board which will end up looking like this:
And to finish off the top where it meets the ceiling, I’ll run another board along the outside to give it a nice finished edge:
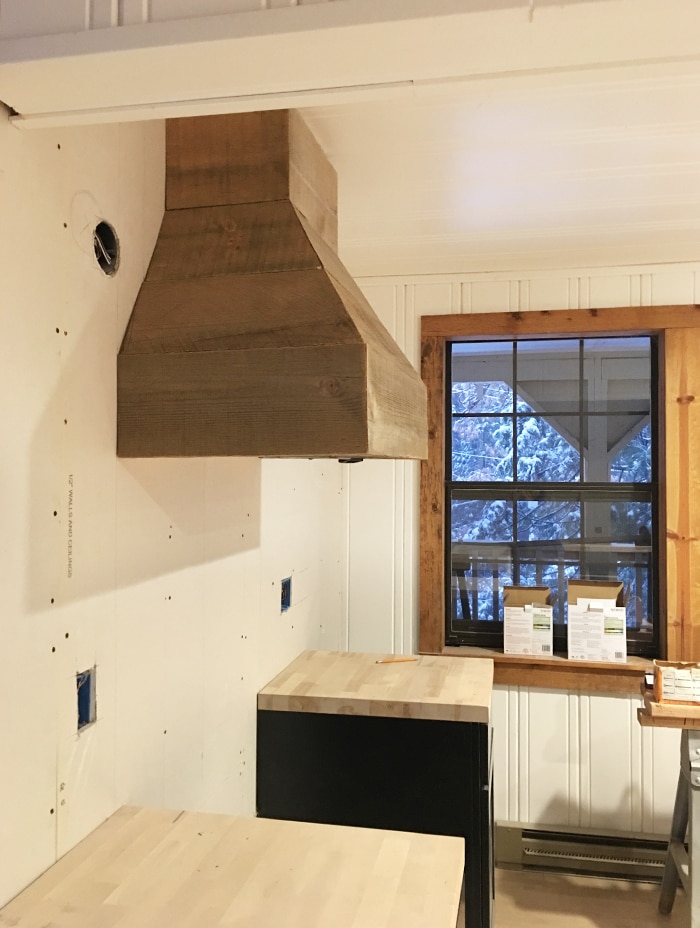
I’m bummed we couldn’t even completely finish one of the projects on my list, but still pleased with how it looks…
I was on the fence about painting it white or gray, but I think I like the natural wood—at least for now. We’ll see once the tile is in place and counters are stained.
What do you think?
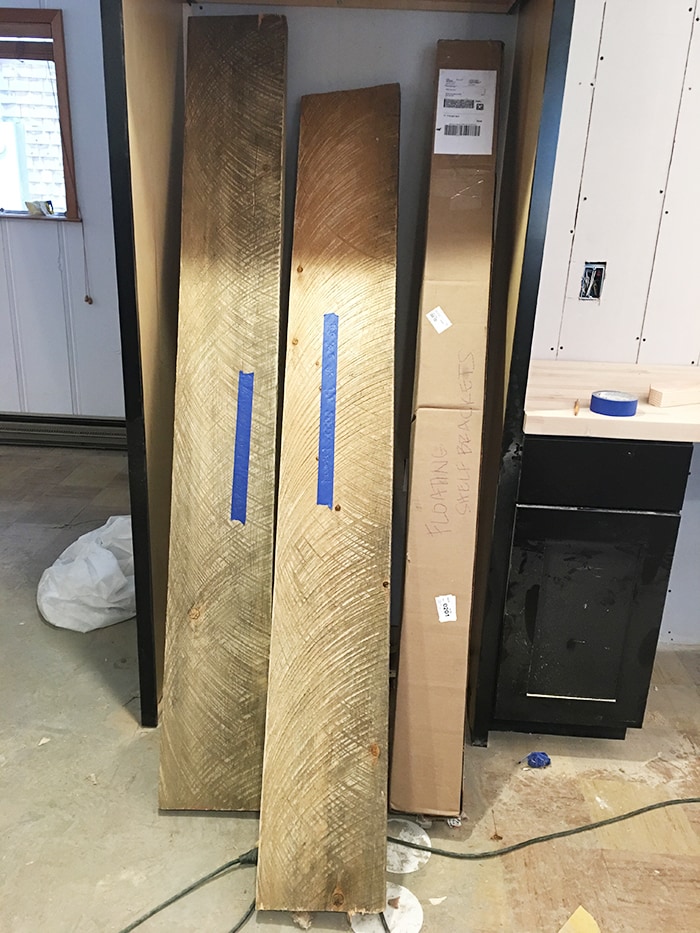
While I was at the lumber yard, I picked up a couple 2×10’s to use as floating shelves:
They’ll be installed along this wall…
Using these shelf brackets from my favorite shelf hardware shop (remember those fun master bath shelf brackets?)
That will happen in the near future (hopefully) and in the meantime I’m crossing my fingers for dry, non-freezing weather so we can finally get the exterior of this house painted. These next five weeks are going to be challenging. But they will also fly by, and I’m looking forward to everything the new year has in store…
On a more reflective note—2016 was such a monumental year of change and growth for me, both personally and professionally. Between falling in love, finishing and selling my home, moving to the city, traveling and buying my first flip, it’s going to be hard to top. But I have a feeling 2017 will be the best one yet… 😉
I’m so thankful for this past year of your encouragement and support, and hope you’ll continue with me on this journey through 2017. There’s going to be some changes, but I’ve never been so sure of what I want and where I’m going, and can’t wait to experience another year of this big, amazing adventure called life.
Wishing you all the happiest ending to your 2016, and I’ll see you in 2017!
Disclosure: Some of the products listed were provided via sponsorship—all of which I selected and fully approve of.



erin says
hi jenna! i know i’m jumping ahead a bit — but i’m about to refinish my butcher block counters and i’m dying to know what you’re planning to use on yours! my original finish was Waterlox and i was never 100% happy with the unnatural-orangey look they have. the way you describe how yours will match those beautiful floors is exactly what i’m hoping for second time around! any chance you know the products you’re going to use to get that natural but protected look? love love following this flip! thanks for all the work you put in to share it with us!
jennasuedesign says
I found the same thing when researching options. Another blogger actually sanded off her Waterlox and ended up using regular wood stain and water based polycrylic (which I’ve used in the past with great results) so I bought those yesterday, both Minwax brand. I’ll post more about them in a few days!
Rebecca says
Everything is coming along nicely and I’m loving that bathroom. The vent hood is very unique and I like it; my only concern would be the ability to keep it clean in it’s natural state. I don’t doubt you’ll be able to figure out a way to make it work though.
jennasuedesign says
Thanks Rebecca! I’ll be sealing it with matte poly (and/or painting it if I decide there’s too much wood!)
Angela says
Omg! I can’t believe how great it’s coming along! You have totally inspired me to tackle my rehab this upcoming year. Can’t wait until the next episode…Happy New Year!
jennasuedesign says
Thank you Angela, glad to help inspire! Happy 2017 😀
Kristen says
I live up in Northern Ca as well and wondering what lumber yard you go to for all of your beautiful reclaimed wood? Love how the flip is coming along, anxious to see it finished!
jennasuedesign says
I go to Deutschman Lumber in Sonora, he’s the best!
MrsSW says
The comments about sealing the raw wood are right on. I have raw cedar in my kitchen and it it nearly impossible to clean. Having lived with that for 10 years my choice would be to seal, paint and seal again. We are having our kitchen painted and all the cedar will be covered with a laminate.
jennasuedesign says
Thanks for sharing your experience, I’ll make sure to seal that wood!
Karen says
I love everything you’ve done thus far. There are few blogs I follow and yours is hands down the best! The rustic elements and farmhouse style is right up my alley. And I love the fact that you always try to be cost conscious. I also look forward to your videos! Thanks for sharing.
jennasuedesign says
Thank you Karen, that means a lot! <3
Tanya says
Its great to see the progress but I (unlike the other commenters) don’t like the mixture of so many woods & their colors. The trim around the windows and upstairs is yellowy, knotty pine? and the butcher block countertops, hood vent, flooring is confusing to the eye. Your kitchen sink is beautiful but the white is stark and floats on the black. I guess it will make sense at the end.
jennasuedesign says
I agree it is a lot of wood so I’m not completely sold on it yet — we’ll have to see how it looks after it all comes together. I may end up changing some things around!
AlisonG says
You are making lots of progress. The hood looks great, so does the flooring. This should be a sponsored post by Lowes. I hope you are getting compensation for all the mentions and links. Cute photo of you two at the end. Happy New Year! P.S. If it was warmer there, I might help paint but I don’t do snow. 🙂
Erin says
Love it! I think the tiny imperfections make it even better and stays true to your rustic cabin feel. I can already see your vision and it is divine! Also would like to give you props for not only showing your process, but also sharing your trials and mishaps with different applications is so insightful and I appreciate the tutorials and your honesty. You are gonna knock this one outta the park-get it girl!
jennasuedesign says
Thank you Erin, I really appreciate the encouragement!
Briana says
Absolutely love what you are doing!
jennasuedesign says
Thanks Briana! <3
lilly says
you got it just right. i love the warm floors and the hood is magnificent by color, deep and texture. i admire how imperfect is, transfers warm and hard work. all the best for you in 2017, i will say that the best is yet to come 🙂
jennasuedesign says
Thank you Lilly — Happy 2017!
Jenni says
First off, the hood looks great! I like the tone as is. I understand the stresses of working with bowed wood, and dealing with those angles would put me into a panic! Are you going to seal it? The reason I ask is that range hoods tend to get a lot of grease and grime on them. The rough texture of the wood might make it hard for future buyers to clean. Just a thought.
Pam B. says
I agree with Jenni as those were my thoughts as well! I love cooking and know how grimey my above- the- stove microwave gets. I think you mentioned staining and sealing it, but make sure it’s as smooth or wipe-able as you can get it. Such a beautiful job you’ve done on it- hate for it to be nonfunctional because it can’t be cleaned easily!! I agree with you and partial to the unfinished look, but I also think gray or white paint could look lovely!!! Can’t wait to see what you decide to do!
jennasuedesign says
Thanks Pam, I’ll add some matte varnish to the hood for protection! 😉
jennasuedesign says
Thanks Jenni! I hadn’t thought about sealing it but I am using a matte varnish on the counters so I could add it to the hood as well for protection without changing the look. Thanks for the tip!