Today I’m trying something new.
Normally I stay behind the scenes as I’ve never considered myself as the outgoing, on-camera personality type, but you know what? My life was never the same when I faced my fears last year and I’m not about to stop there. So long, comfort zone.
I wasn’t sure where this new video medium would lead when I started, and I still don’t to be honest, but I’m getting more comfortable at it each day and absolutely loving the process. And that’s what life is all about, right? Enjoying what you do while working on yourself.
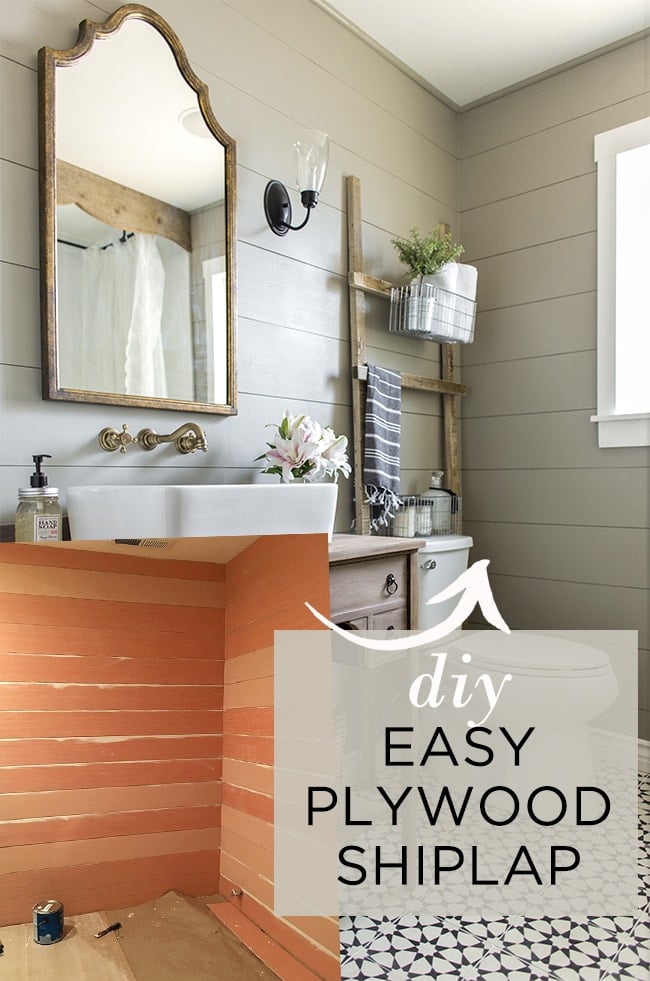
So just before I started planking my bathroom walls a few days ago, I decided I’d go all out and make a how-to video tutorial. If you’re a visual learner like me, you’ll definitely get more out of this than the standard blog post recap—though I already did one of those back in 2013 during my first wall plank attempt in the Florida house. Time to switch it up!
Here’s my DIY shiplap wall planking tutorial:
Let’s rewind for a second. Originally I had planned on nailing up beadboard sheets (because it’s quicker, cheaper and easier… not gonna lie) but when I saw it next to the tile, I decided I preferred the look of shiplap and it was worth the extra bit of effort.

After all, it worked out great in my guest bathroom…
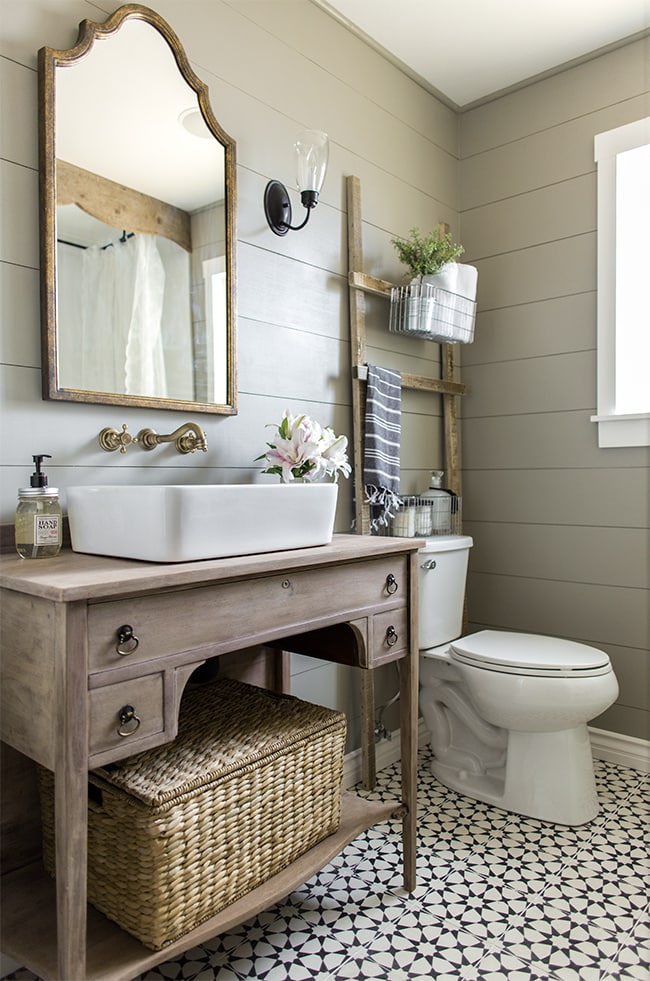
Shiplap has become a loosely used term these days (I blame Chip & Joanna for its addition to the general population’s lexicon) and if you’ve followed me for a while, you know I’ve tried my fair share of wall treatments. This happens to be the easiest, quickest and most inexpensive way of achieving that shiplap look in my experience.
From a bare beige wall…
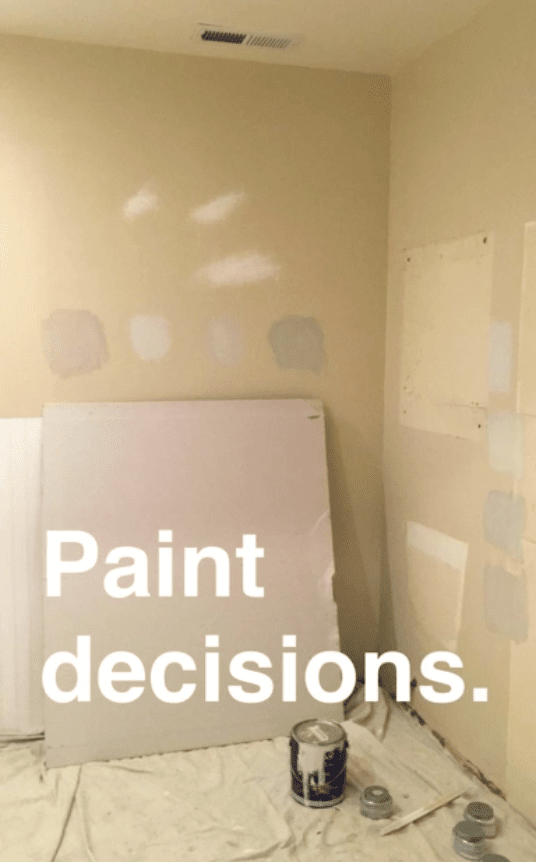
To a trip to Lowe’s for supplies…

And a few long nights of measuring, cutting, nailing, spackling, caulking, sanding and painting…
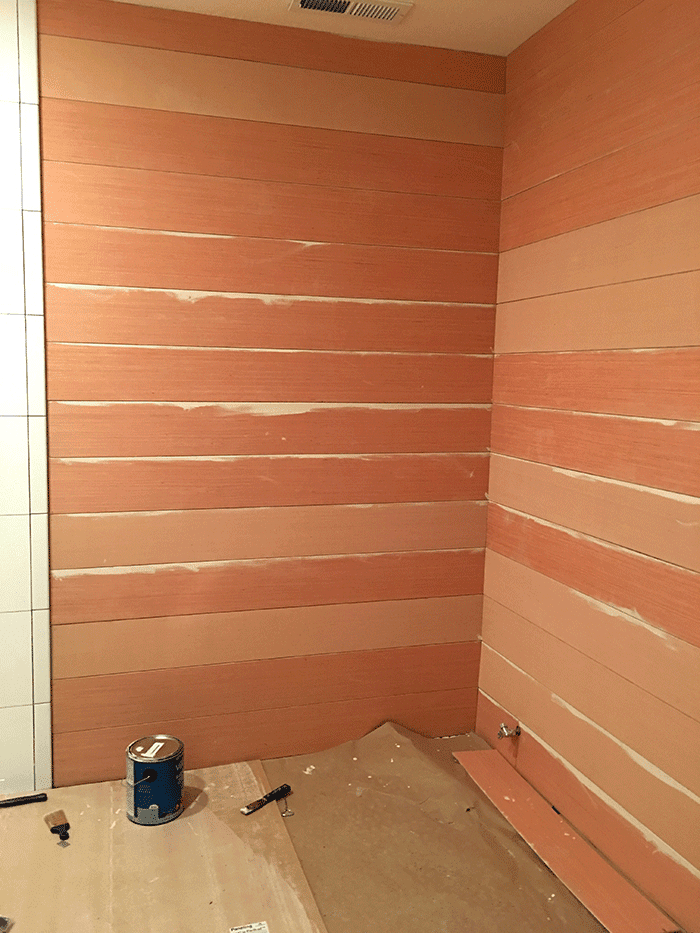
And $175 later… I now have this:
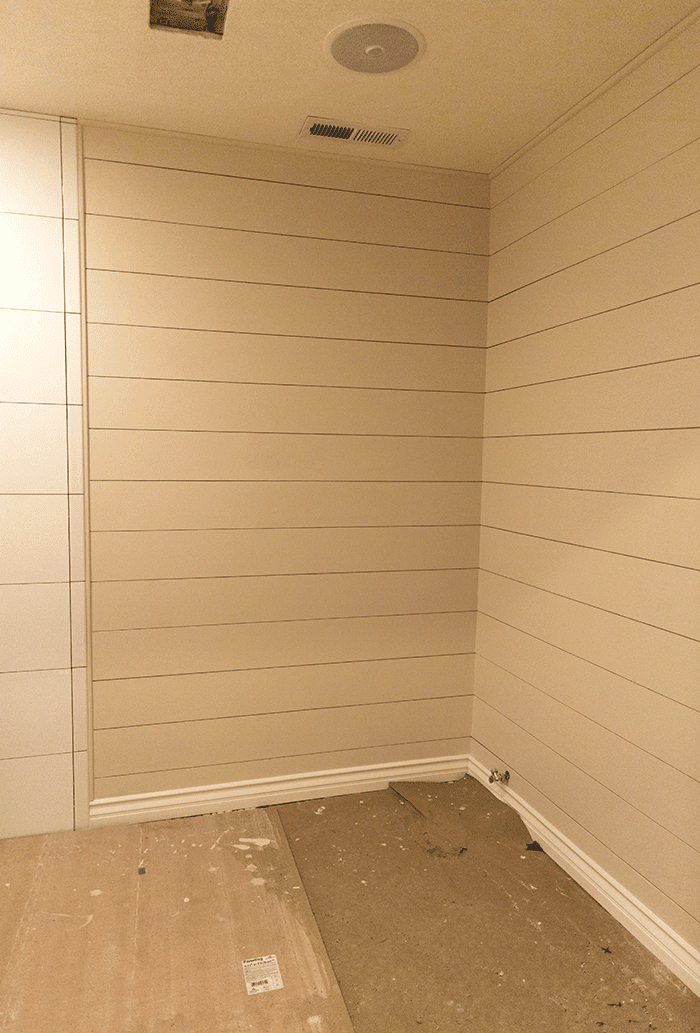
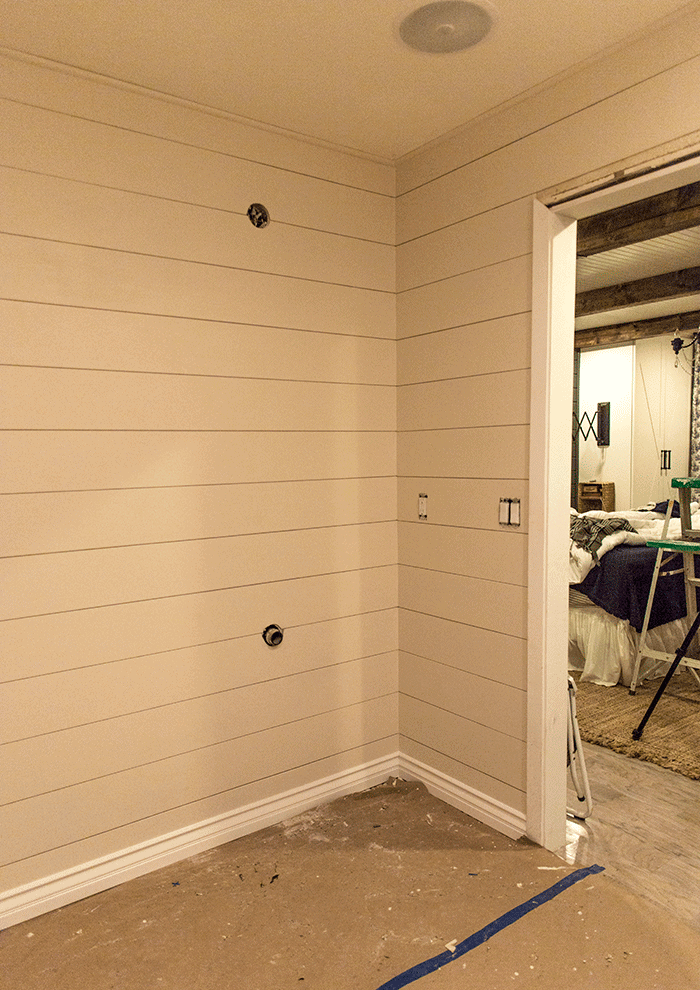
The wall color is Valspar’s Coconut Milk and yes, I finally chose a non-gray paint! It’s a soft ivory-putty color, if that helps. And I think it will be perfect once everything comes together.
Speaking of timeline—things are about to move fast in this bathroom. Aside from the shiplap installation, this past week the drywall was patched and retextured, and plumbing installed and ready to be hooked up to the fixtures. Next week all of the tile will be grouted and sealed, and the toilet, vanity, sink and mirror will be installed—hopefully along with the wall lighting and possibly some wall shelves. Then all that’s left to do is a few quick accessories and the glass shower wall which should be a simple drop-in. I’m still on track to get this house on the market in two weeks!
There’s a few detailed posts in the pipeline, but I’m waiting until there’s more progress so I can get some nice After photos for you. Appreciate your patience, guys! In the meantime, I’m all over snapchat right now (@jennasuedesign) and as always, still checking in on instagram and facebook.
Let me know what you think of the video tutorial and if you’d like to see more content like that! I’m still learning so things are bound to improve, but I could definitely see more of these in the future. I hope you enjoy it as well. Happy Weekend and (almost) first day of Spring!


Astin says
Absolutely LOVE the video!! Now I feel like I can give it a try and it not look totally terrible!! haha! Plus I LOVED seeing your fun personality! Can’t see that so much through pictures! Keep up the awesome work and I look forward to seeing more tutorials!! 🙂
jennasuedesign says
Aw thanks Astin! xo
Marilyn Gubbels says
Jenna Sue….you were born to do what you are doing.. I found this very helpful and just about ready to do the same thing to a bathroom so watching this will help me out more than you know. Great job and you did GREAT!
jennasuedesign says
So sweet of you to say… thanks Marilyn! <3
Jessica M says
Love the video and am wanting to do something like this for the wall behind my bed. I love the modern/country look of the eight foot panels all lined up, but our walls are longer than eight feet across. I am wondering about your suggestions for staggering the boards. Is there a measurement you suggest? Thanks!
jennasuedesign says
I would say longer the better! The seams can/should be random though. We ran into the same thing in our kitchen and living room and made them random and it all worked out 🙂
Erica says
Great video, you are adorable and your projects are inspirational. My husband and I used your tongue and groove posts to shiplap our mudroom and its my favorite space in our house. Please keep sharing your work, I can’t get enough.
jennasuedesign says
Awesome, thank you for the love Erica!
Caroline says
Loved it, Jenna! Job well done!????
Jade Carter says
I love all of your tutorials. I find that they are described with great detail and documented well for easy follow. Thanks for putting the time in for creating them – the blog posts and the videos.
Amy says
I love it. So, is the plywood also known as plywood underlayment at home depot?
jennasuedesign says
I think so? It’s in the trim section next to all of the paneling 🙂
Karen F says
great job on the video tutorial!
Rachel says
Loved the video! My husband and I are thinking about doing ship lap on our bedroom ceiling – have you done the plywood version on a ceiling before? He thinks maybe it wouldn’t hold up very well with just nailing into the trusses and we definitely don’t want to glue it to the drywall… Thoughts?
jennasuedesign says
I haven’t but I don’t see why it wouldn’t work any differently than on a wall! Plywood is so light that gravity really shouldn’t make it sag over time if it’s nailed into each truss. I wouldn’t worry about it 🙂
Barbara H. says
Great tutorial!
Kristen says
I’m usually a lurker but I just wanted to let you know you did an awesome job with this video. I pinned it just to share it with the rest of the world even though I have no intentions on shiplapping anything as my husband and I just finished completely gutting and remodeling an old farmhouse from the 1920’s. It took us 17 months and after we move in next weekend I’m going into a self imposed DIY recovery program. As you can imagine I have Youtubed many, many, videos in the course of our remodel and most of them suck. Your’s did not. Congratulations on a job well done, and can’t wait to see the bathroom complete. I can tell already it is going to be stunning.
jennasuedesign says
Aw, reading that makes me smile! Thanks so much for the support, Kristen ? <3
Rose says
Love the tutorial! Really appreciate the time and effort you spent on it. Would love to see more like it. You really have a special talent for decorating and design!
jennasuedesign says
xo <3
Amy H says
I love this tutorial!! Please oh please do more so my house can look just like yours lol 🙂
jennasuedesign says
Will do, thanks Amy!
Jen says
Love this tutorial. Your personality is so fun and it’s great to hear your voice with the video! You need an HGTV show!!!! I hope wherever you move to is a place with some projects to be done, because you are one of my favorite DIY blogs by far and I wish you the best!
jennasuedesign says
So sweet, thanks Jen! I’ll keep at it 😉
Marcia says
I love it!!!