Today I’m trying something new.
Normally I stay behind the scenes as I’ve never considered myself as the outgoing, on-camera personality type, but you know what? My life was never the same when I faced my fears last year and I’m not about to stop there. So long, comfort zone.
I wasn’t sure where this new video medium would lead when I started, and I still don’t to be honest, but I’m getting more comfortable at it each day and absolutely loving the process. And that’s what life is all about, right? Enjoying what you do while working on yourself.
So just before I started planking my bathroom walls a few days ago, I decided I’d go all out and make a how-to video tutorial. If you’re a visual learner like me, you’ll definitely get more out of this than the standard blog post recap—though I already did one of those back in 2013 during my first wall plank attempt in the Florida house. Time to switch it up!
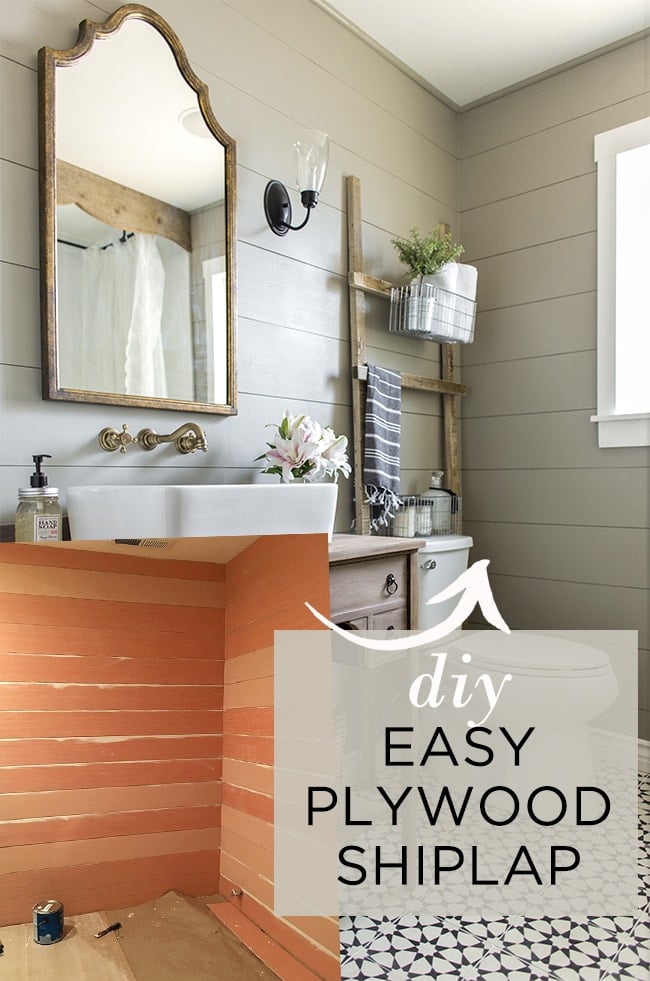
Here’s my DIY shiplap wall planking tutorial:
Let’s rewind for a second. Originally I had planned on nailing up beadboard sheets (because it’s quicker, cheaper and easier… not gonna lie) but when I saw it next to the tile, I decided I preferred the look of shiplap and it was worth the extra bit of effort.
After all, it worked out great in my guest bathroom…
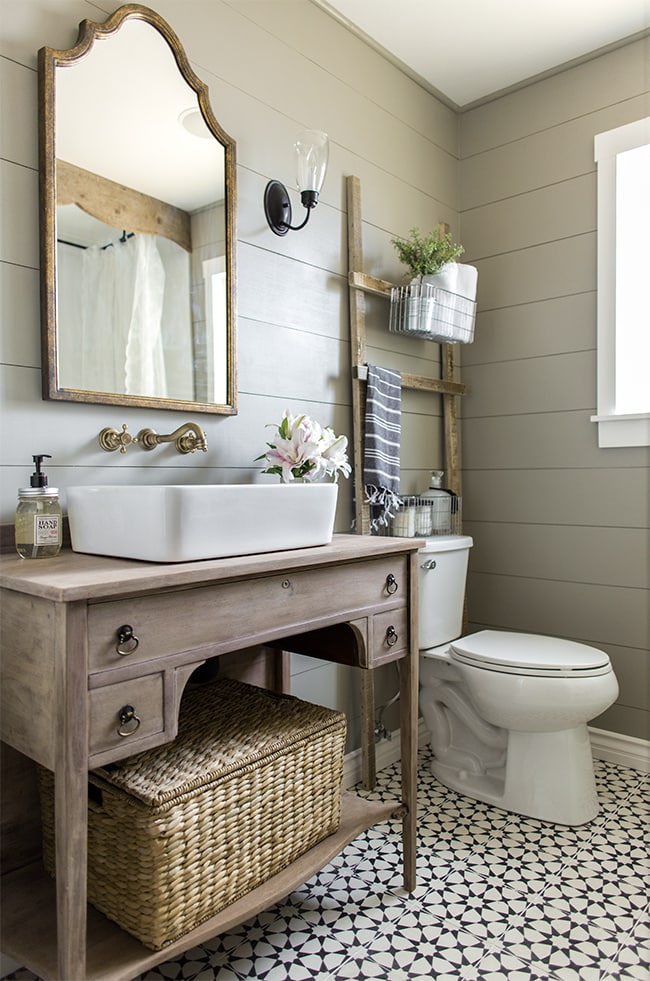
Shiplap has become a loosely used term these days (I blame Chip & Joanna for its addition to the general population’s lexicon) and if you’ve followed me for a while, you know I’ve tried my fair share of wall treatments. This happens to be the easiest, quickest and most inexpensive way of achieving that shiplap look in my experience.
From a bare beige wall…
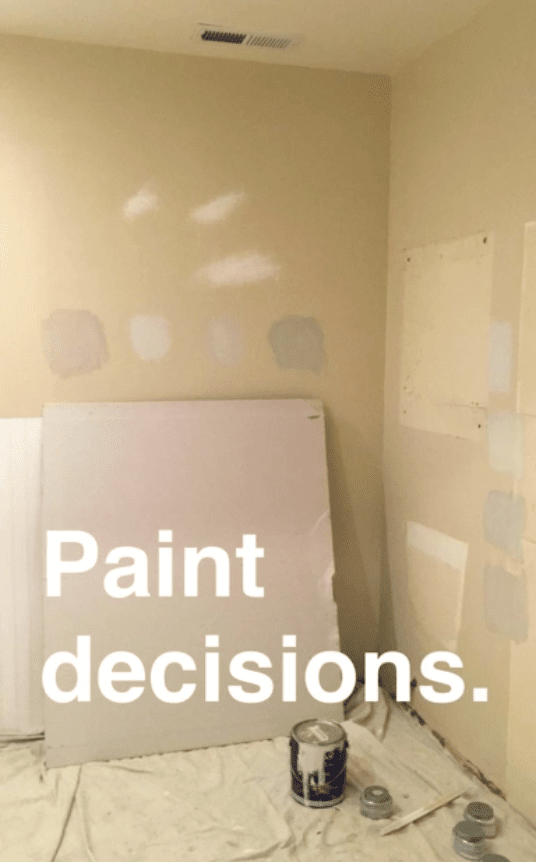
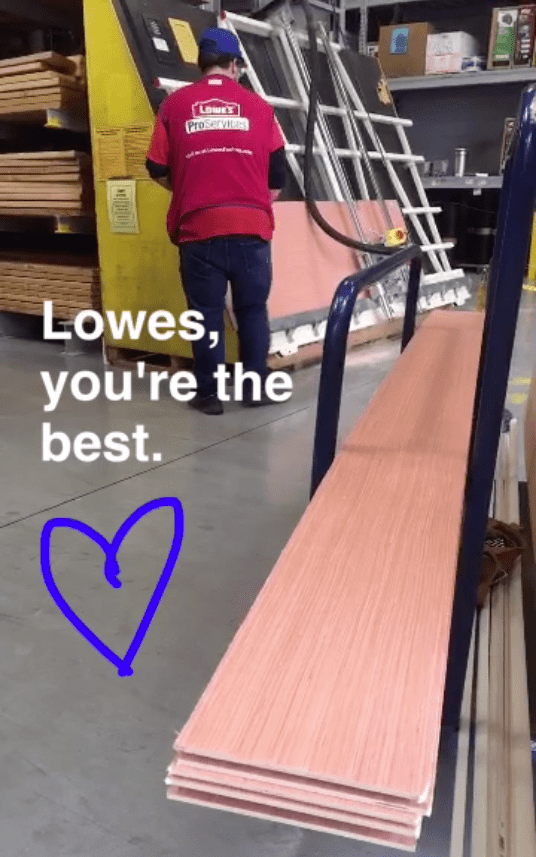
To a trip to Lowe’s for supplies…
And a few long nights of measuring, cutting, nailing, spackling, caulking, sanding and painting…
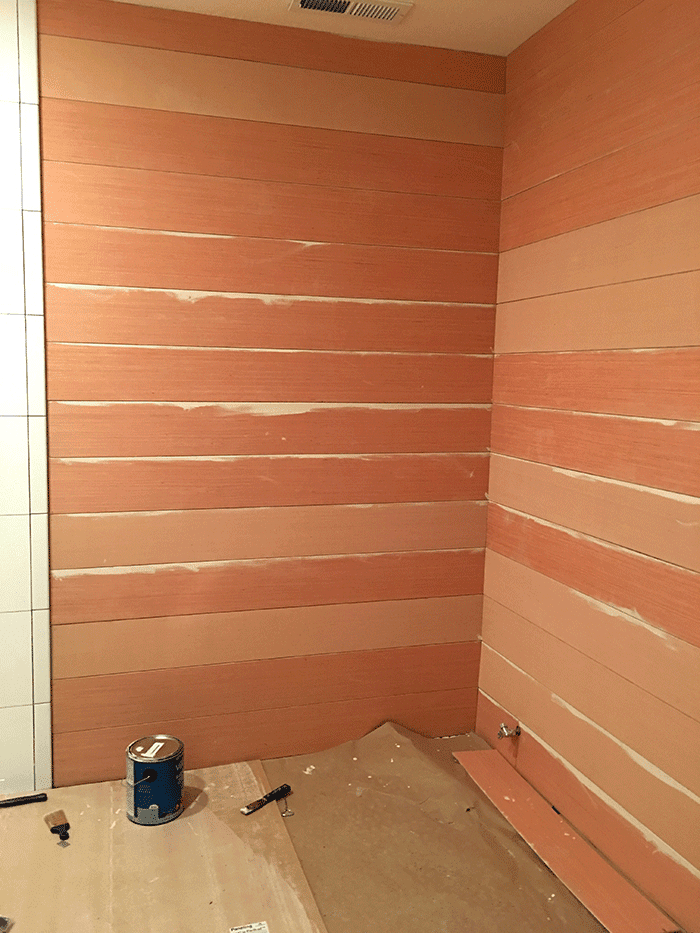
And $175 later… I now have this:
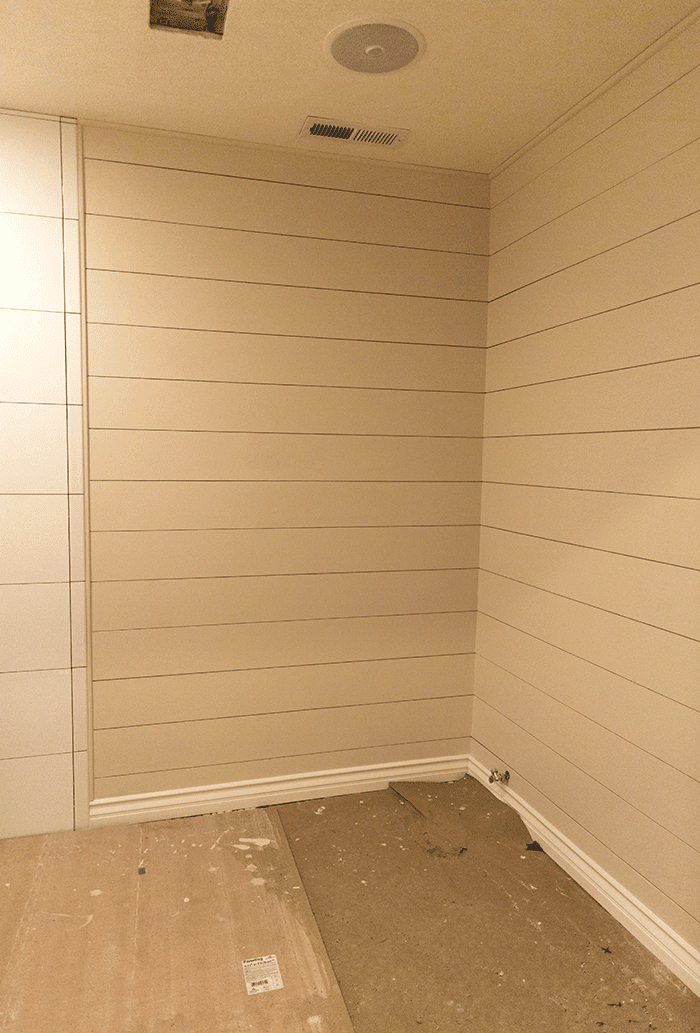
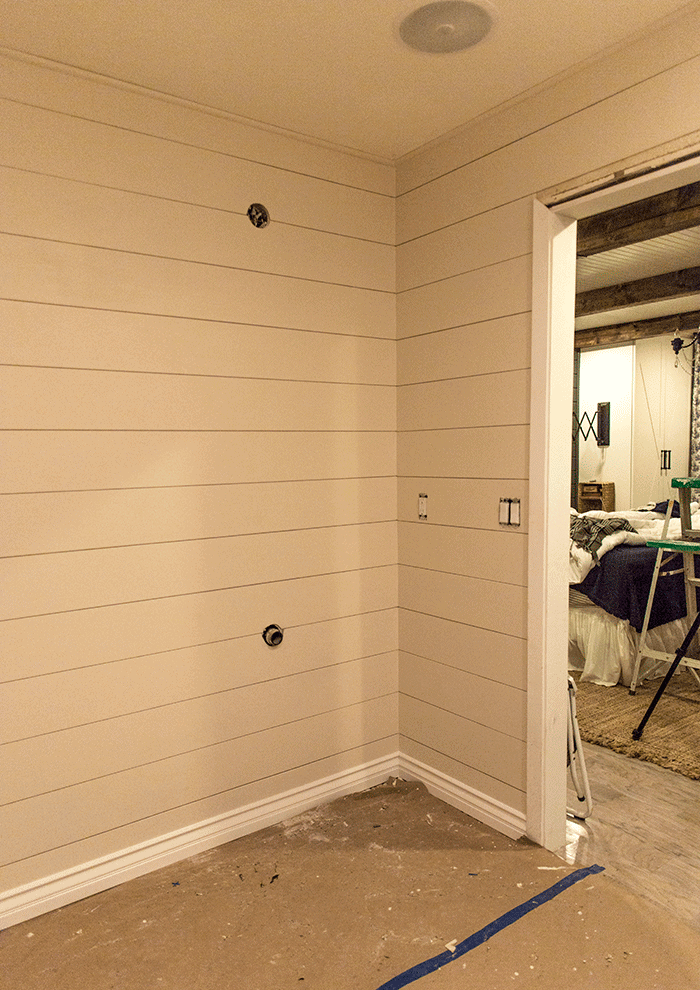
The wall color is Valspar’s Coconut Milk and yes, I finally chose a non-gray paint! It’s a soft ivory-putty color, if that helps. And I think it will be perfect once everything comes together.
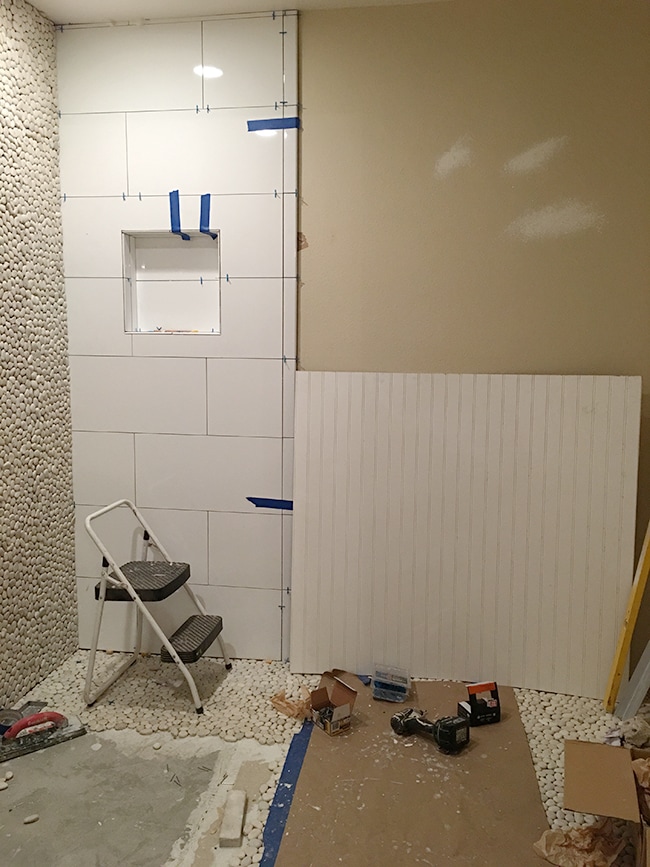
Speaking of timeline—things are about to move fast in this bathroom. Aside from the shiplap installation, this past week the drywall was patched and retextured, and plumbing installed and ready to be hooked up to the fixtures. Next week all of the tile will be grouted and sealed, and the toilet, vanity, sink and mirror will be installed—hopefully along with the wall lighting and possibly some wall shelves. Then all that’s left to do is a few quick accessories and the glass shower wall which should be a simple drop-in. I’m still on track to get this house on the market in two weeks!
There’s a few detailed posts in the pipeline, but I’m waiting until there’s more progress so I can get some nice After photos for you. Appreciate your patience, guys! In the meantime, I’m all over snapchat right now (@jennasuedesign) and as always, still checking in on instagram and facebook.
Let me know what you think of the video tutorial and if you’d like to see more content like that! I’m still learning so things are bound to improve, but I could definitely see more of these in the future. I hope you enjoy it as well. Happy Weekend and (almost) first day of Spring!


Bonnie says
Really nice!
Karen Webster says
Hi Jenna
Love the video! We are in the middle of a main bathroom redo and we are going to apply the shiplap, however I have a small bathroom and I am very concerned about the seams matching up on the inside and outside corners and what the corners would look like when finished. Thought about using corner pieces of wood and just making sure they are painted to match the walls. What do you think? I haven’t seen any of our work where you have used anything on or in the corners.
jennasuedesign says
I just took my time, made the cuts carefully and used caulk in the seams, but you could use corner pieces if they don’t match up.
Crystal says
Would you suggest gluing then nailing the planks on the wall if in a bathroom? Or is nailing enough? I’m so worried about bowing and so is my contractor! But I’ve tried to convince him that “everybody’s doing it” 🙂
Thanks!
jennasuedesign says
Glue wont hurt but it’s definitely more permanent if you ever wanted to change it in the future. As long as you have adequate ventilation and don’t turn it into a sauna you should be able to simply add another nail in if a board does start to warp over time.
Tannis says
You are entertaining, you should do more videos. I hope I do get the time to do something like this in my bathroom or bedroom. You made it look simple enough to tackle.
Cindy says
Great job! My bathroom wall puzzled solved! Thanks!
Earls says
This process worked thx!
Laurie C. says
I just loved your tutorial and your walls look great! I plan on going halfway up a bathroom wall. However, I am so sad to report that here in Michigan at least, new regulations are now in place that prohibit Lowe’s or Home Depot from cutting plywood in strips less than 12 inches. I am so disappointed! So, Plan B will be to use 1 x 6 x 8 tongue and groove boards. Won’t be exactly the same look as shiplap, but after it’s all painted I’m sure it will look beautiful.
jennasuedesign says
Oh no! I hope that new rule doesn’t catch on :\ The T&G boards will look amazing though!
Eva @ Design Café says
Awesome tutorial, Jenna Sue! I enjoyed seeing you in front of the camera, and to be honest I prefer these video tutorials to posts any day. Risk has it’s rewards, way to go!
Angela says
I love the look of this and want to do it in my bathroom. I have a couple of questions. Do you do anything to make the boards resistant to mold especially since they are located in a bathroom? Secondly it is hard to tell online what the boards look like up close once painted. I like the cheaper option of plywood, but I am concerned that it will still look like plywood even when painted.
Thanks,
jennasuedesign says
Thanks Angela! I think as long as there’s enough ventilation, the paint should be fine to protect the wood from mold. Real shiplap is made from wood, and this plywood is very smooth—even smoother than the tongue and groove pine I have elsewhere in the house so I wouldn’t worry about texture at all!
Moriah says
Thank you so very much for your tutorial! You are my favorite blogger! I absolutely love your style and cannot thank you enough for these tutorials. We are going to plank our bedroom like yours (in thirds) , do our kitchen similar to yours (White Island, gray cabinets, subway tile, floating shelves, planked ceiling, faux wood beams), and plank our family room wall (thx to your tutorial). Oh, I did my doorknobs faux vintage style thanks to your help. I apologetic for not saying thank you soone or on each post I followed. I pray this next chapter of your life is blessed with all God’s blessings as you’ve been such a blessing to me.
jennasuedesign says
Thanks Moriah!
Rebecca says
Loved the video, you did an amazing job. Makes me think I can do it too! I also enjoyed your humour. 🙂
Danna says
Jenna, you are so talented! Love your design style. I have a question. After you’ve hung the shiplap and go back to put your plates back on the outlets and lights, do the little screws still hold them on or do you need longer ones? If so, where do you get different ones?
jennasuedesign says
Thanks Danna! I made sure to cut the planks at exactly the right length so that the outlet plate rests on it but it’s above the screws. You could cut it lower but you would most likely have to get longer screws, and also drill pilot holes in the plywood. You can pick up longer ones at any hardware store–an employee will help you find the right match 🙂
Danna says
Thanks, Jenna!
Pam says
Is there a page on your guest bath redo? Love love love it! Your style is so cute! Id love to see more dyi videos as well. Wishing you much success in your future… And happiness!
jennasuedesign says
Thank you Pam! There’s a few posts if you search Master Bathroom, and there will be more on the way!
Kristin says
Awesome! I’d love to see more projects like this that give timid beginners some “easy” projects to try!!
jennasuedesign says
Coming right up! ?
Rebecca says
You are absolutely adorable and I just love your spunky personality. You’ve done some really great projects and you always do such a wonderful job. I sincerely hope that wherever life takes you after you sell your home that it continues to include some DIY and decorating.
jennasuedesign says
Thanks so much, Rebecca! & I think you’ll be pleasantly surprised… 😉
Rebecca says
On a personal note. I just want to say that while life through you a curve ball last summer (I’m sure that’s putting it mildly) you certainly appear to have made it through the storm and come out the other side in a much more positive place than where you were even though my guess is you didn’t know it at the time (do we ever?). As a mom myself and probably close to if not being old enough to be yours I can’t imagine how proud your parents are to see that growth in you. My son is looking for a girl to make a life commitment to and I hope he finds someone with the same character and strengths as you. You wouldn’t be interested in moving to Texas would you? 🙂 Just kidding.
jennasuedesign says
Aww Rebecca, you just made my night! It’s a great feeling to know that others can sense the change. I never knew I could be this happy and it affects everything I do. Thank you, so much, for commenting on that. Xo <3
Sarah says
Loved the video, you make it seem like a totally doable project!