After more than two years of planning, building, setbacks and challenges, highs and lows… the Hacienda backyard is officially FINISHED! This was our longest renovation to date (and the most stressful) so to say we’re relieved is an understatement.
To appreciate how far this space has come, we need to take a second to really get a sense of where it all began…
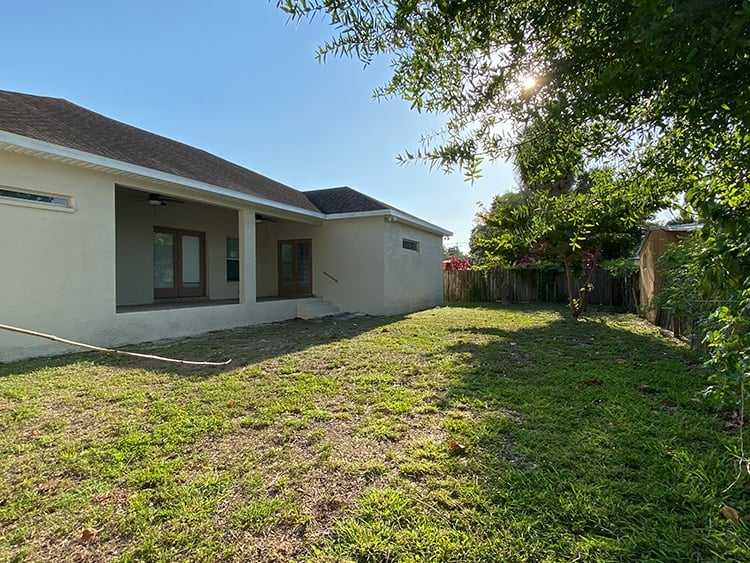
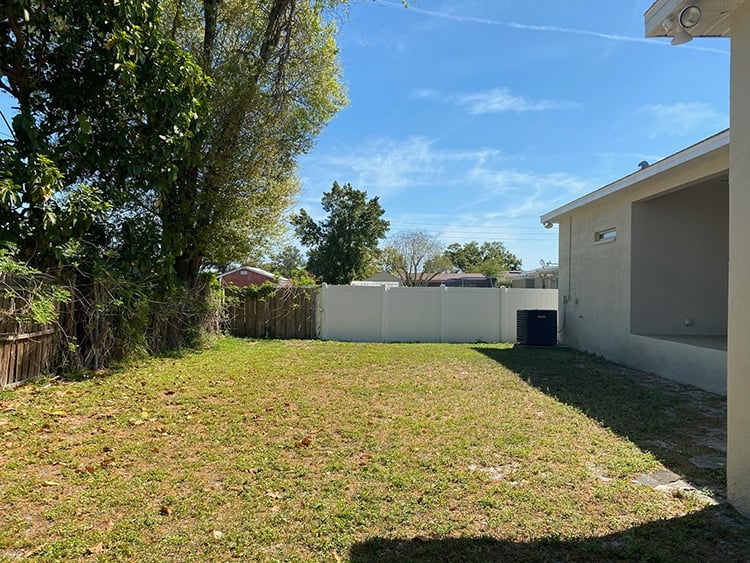
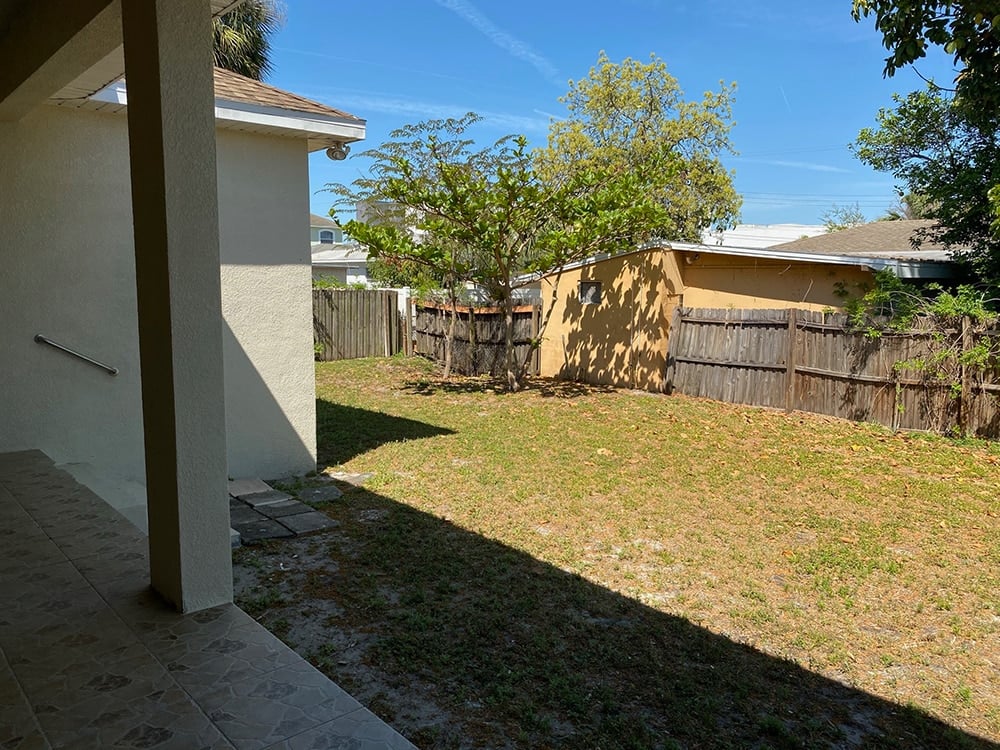
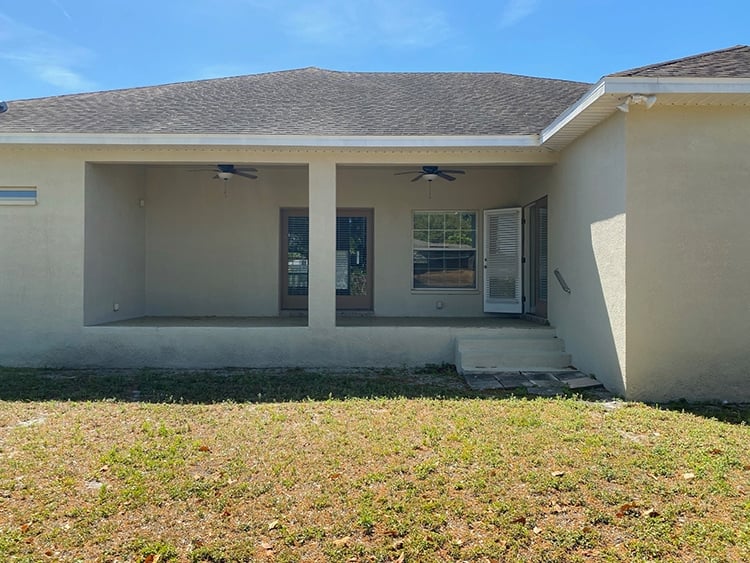
Just a sad, neglected yard—overgrown with weeds and lined with mis-matched crumbling fences.
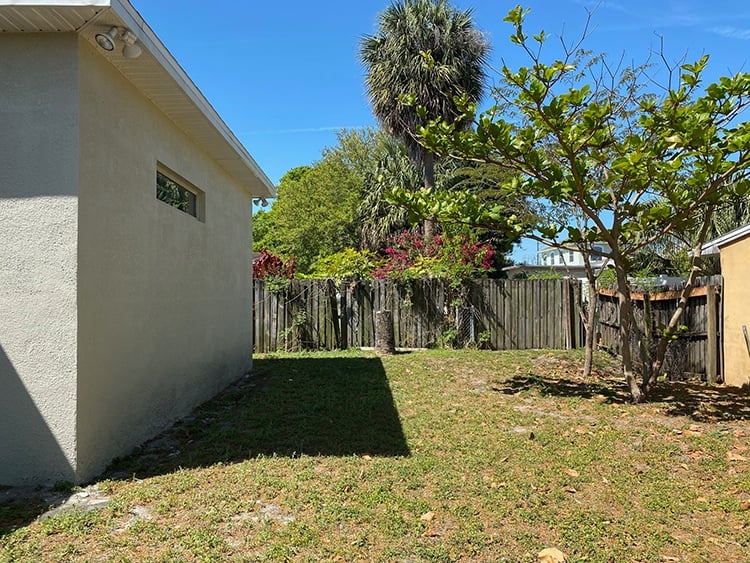
I looked past the lackluster appearance, and saw so much potential…
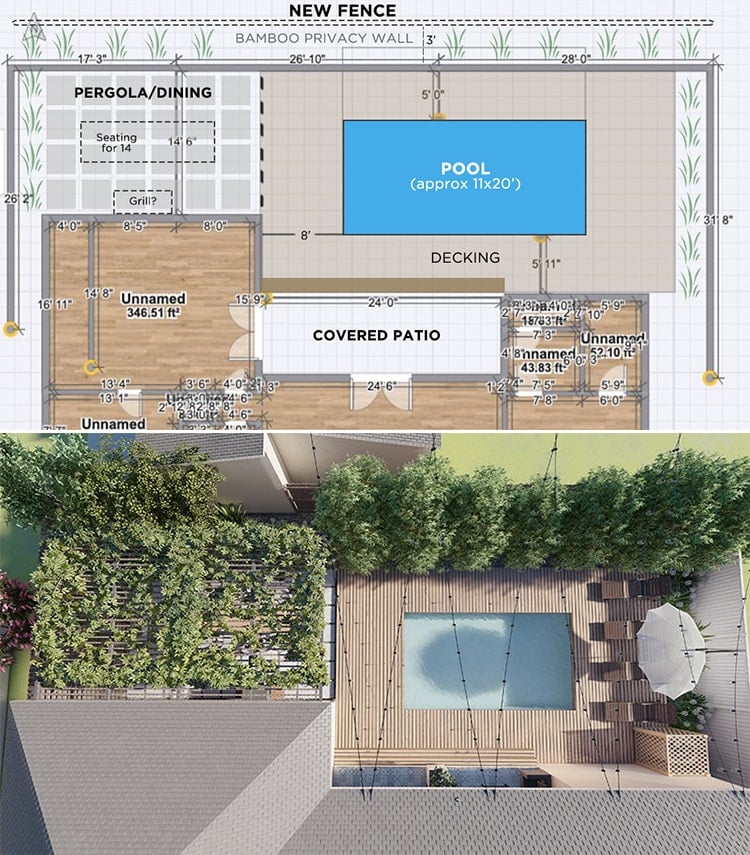
After dreaming up a plan and sketching it on paper, I enlisted the help of Yardzen to bring the vision to life through renderings. You can read all about our original plans in the Backyard Kickoff post:
A few details have changed since our original plans two years ago, but overall I’m quite happy with the way it all turned out. The pool was the biggest delay and source of frustration. It was originally supposed to be installed in the spring of 2022 (a year after we ordered it) but that got pushed to fall 2022.
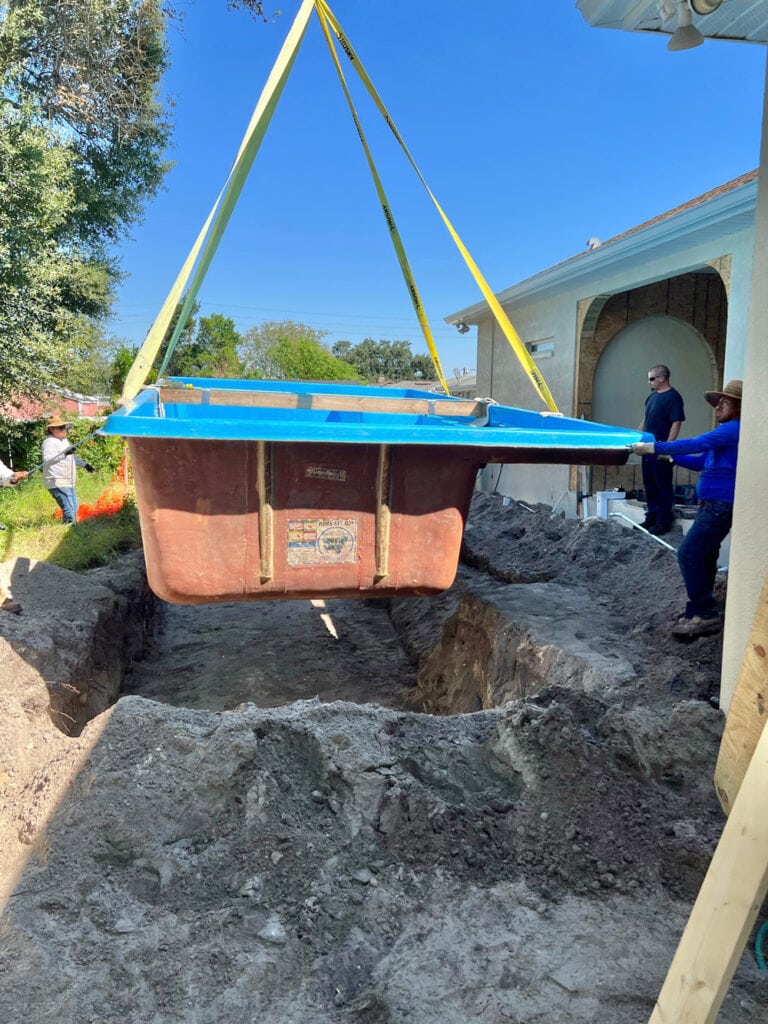
It then took another nine months to pass the final pool inspection, as we dealt with contractor communication challenges and permitting issues.
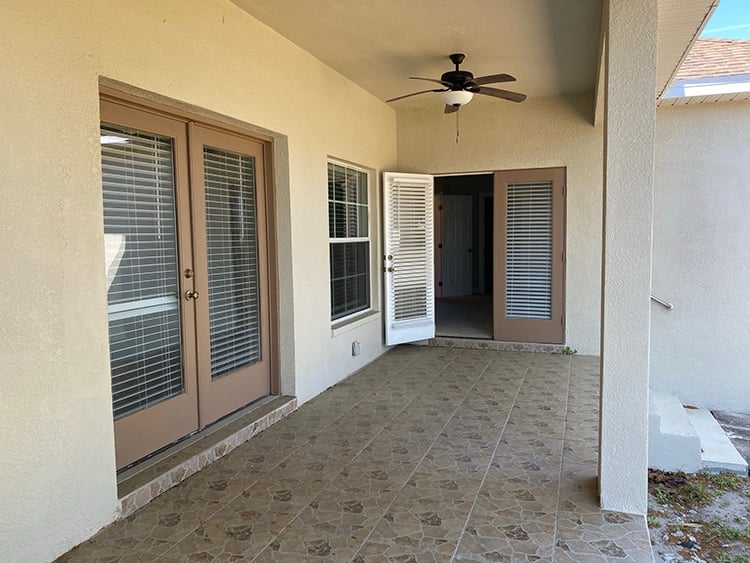
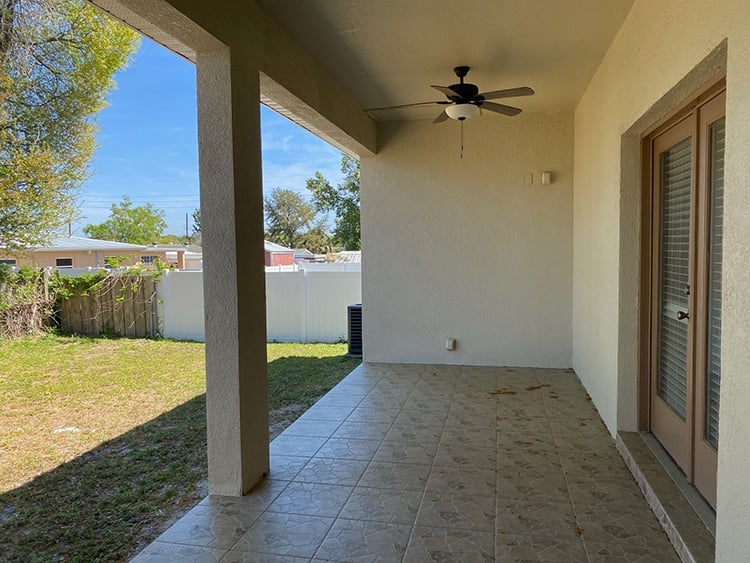
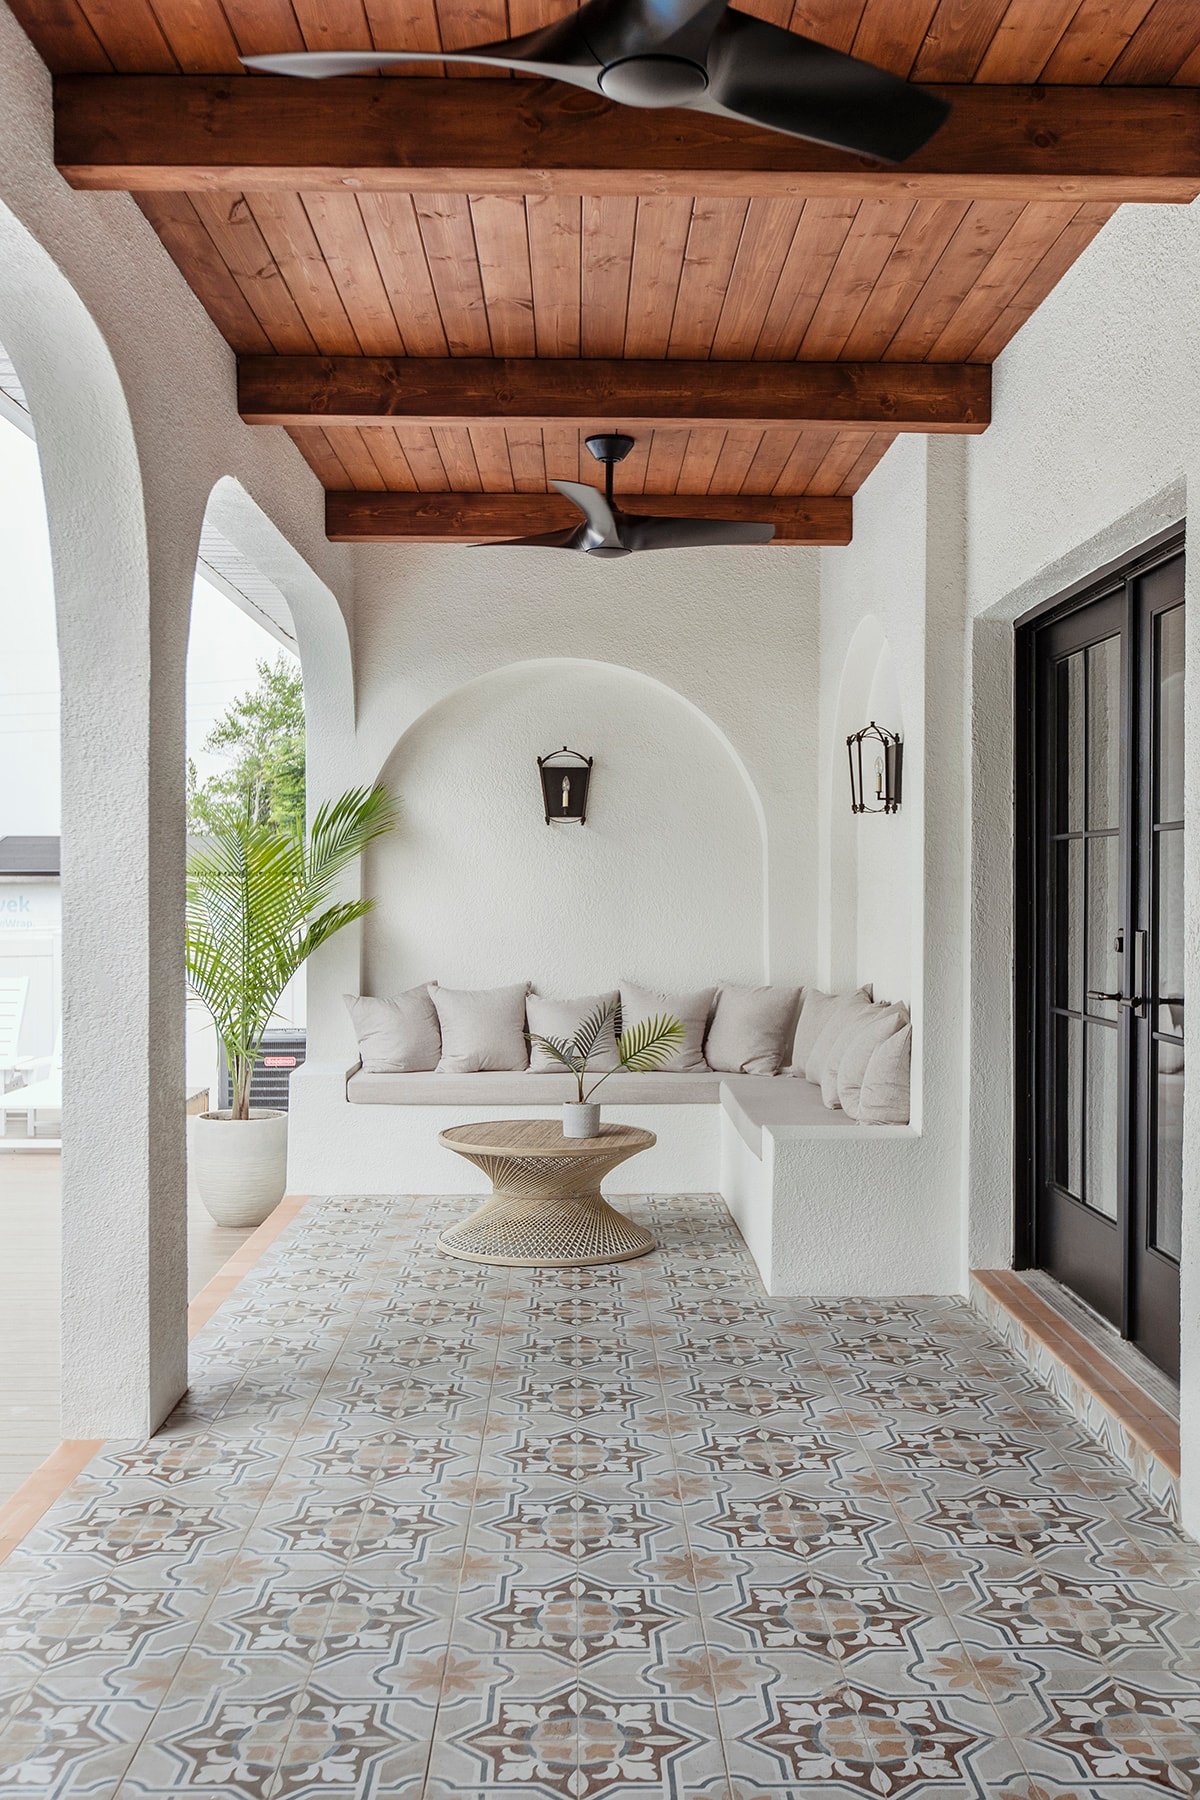
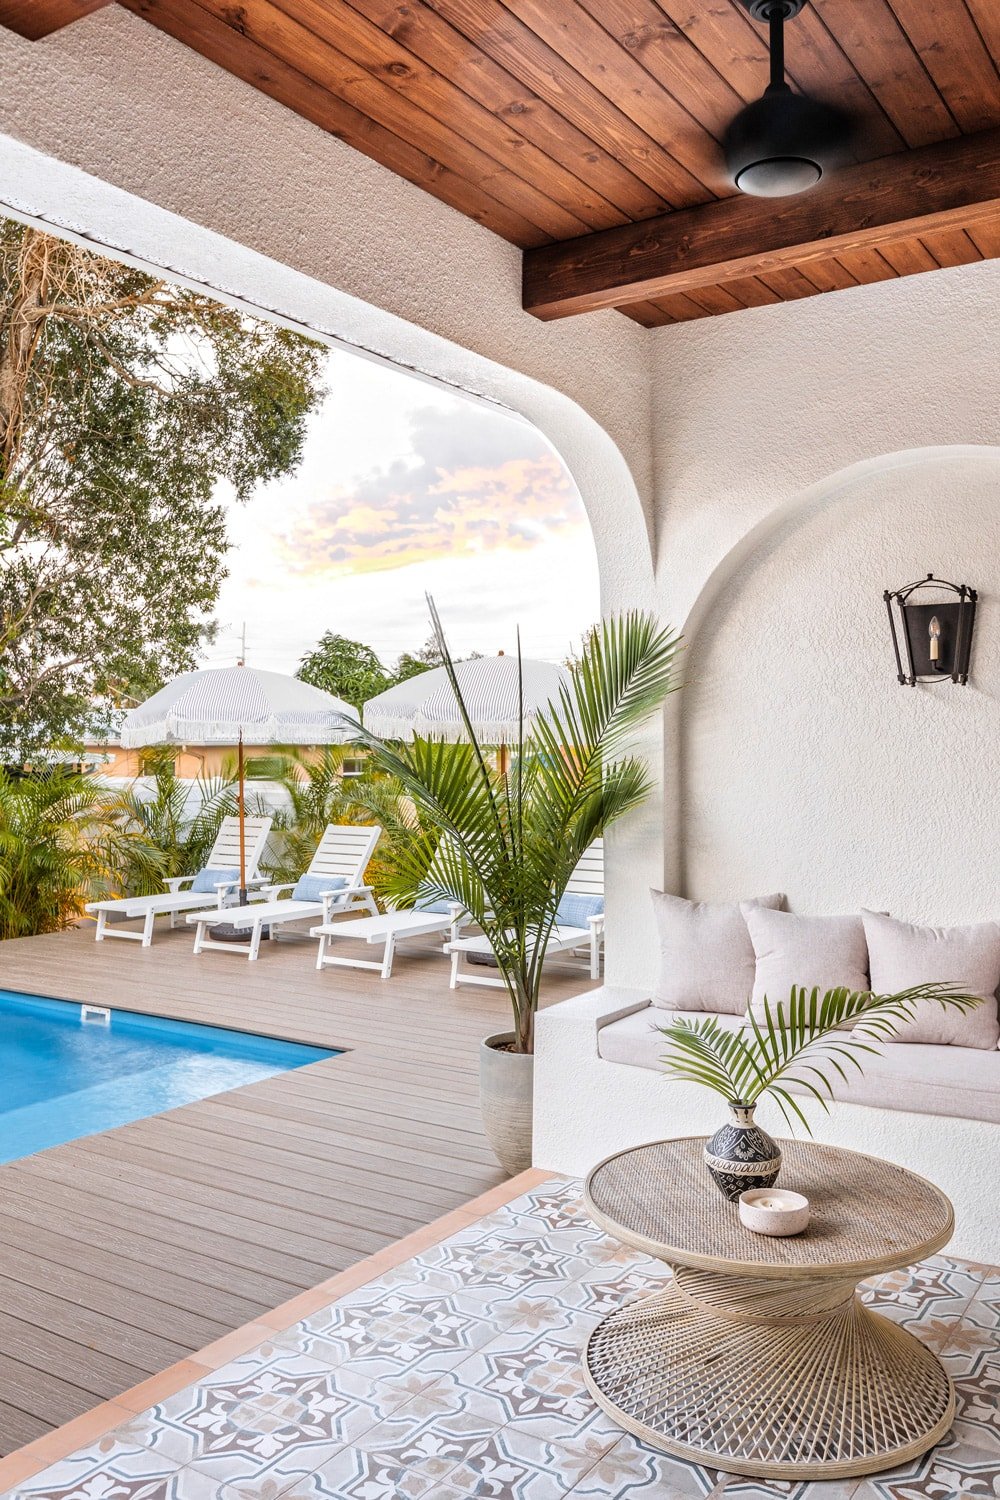
In the meantime, we were able to complete the covered porch makeover, install the paver patio, landscaping and final touches over the last few weeks.
Ready to see it all now?!?
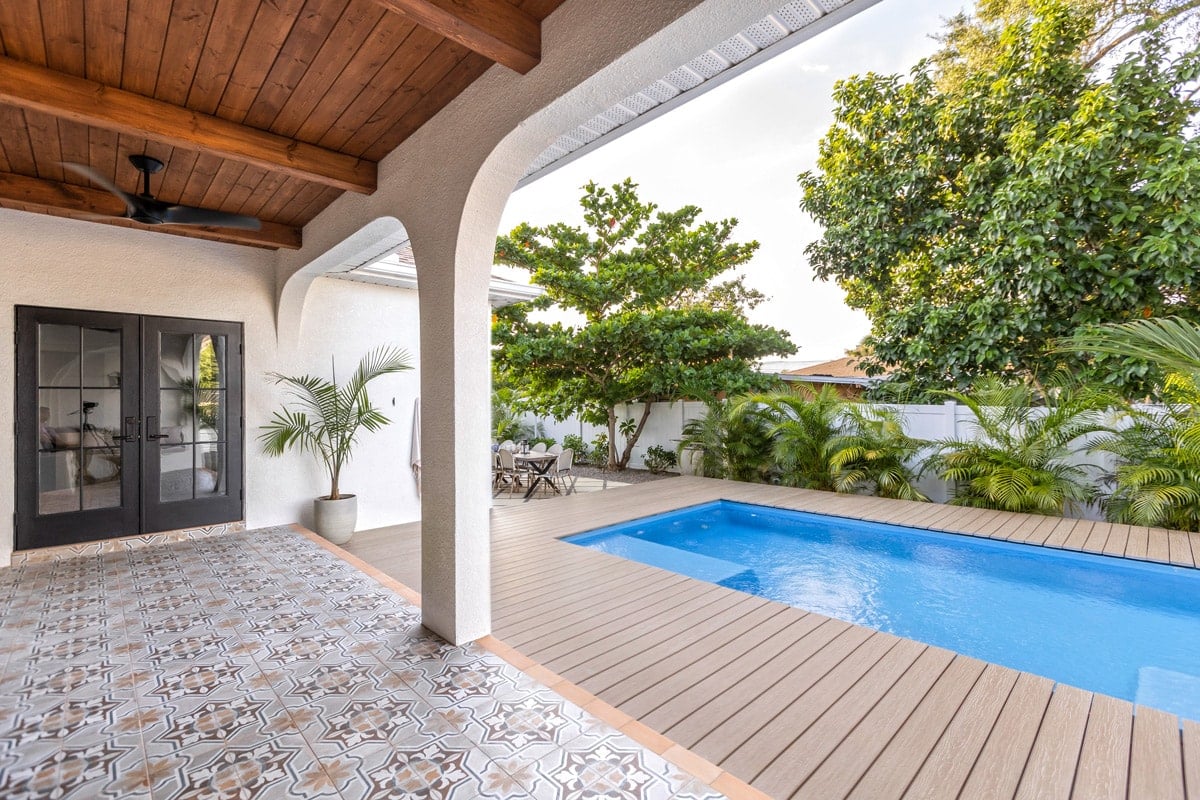
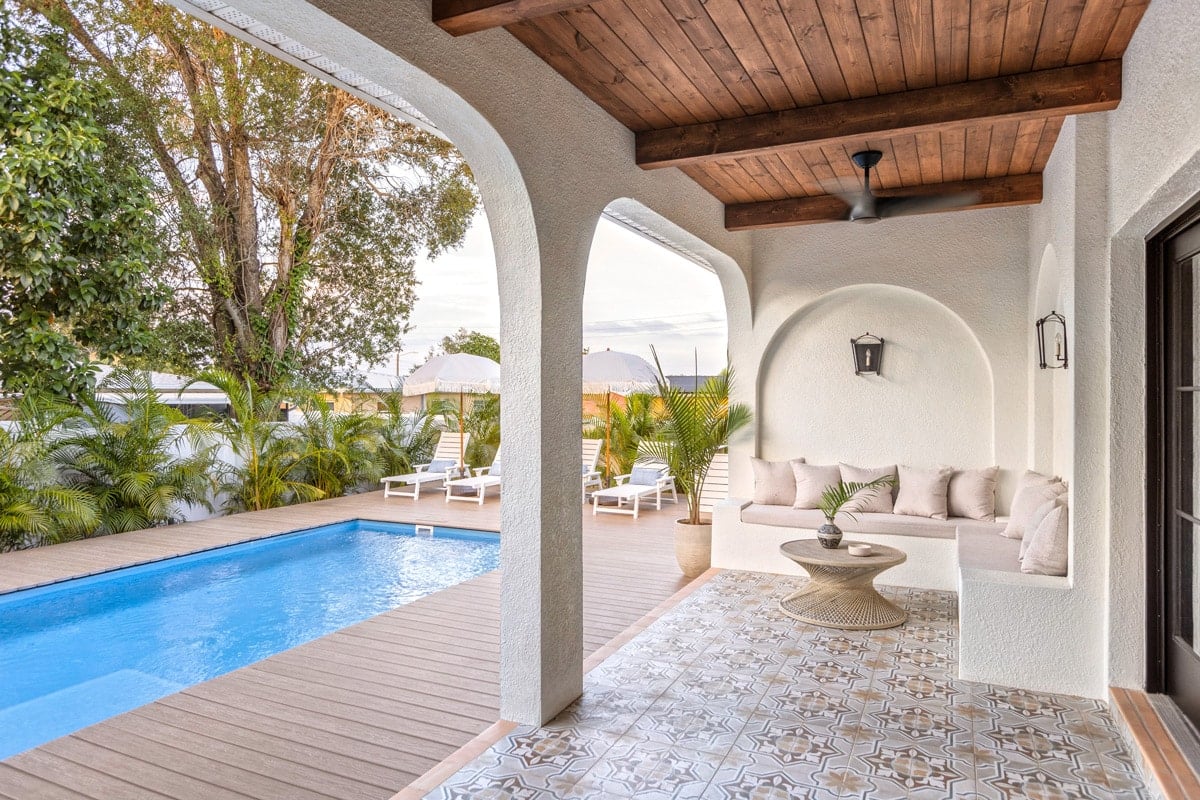
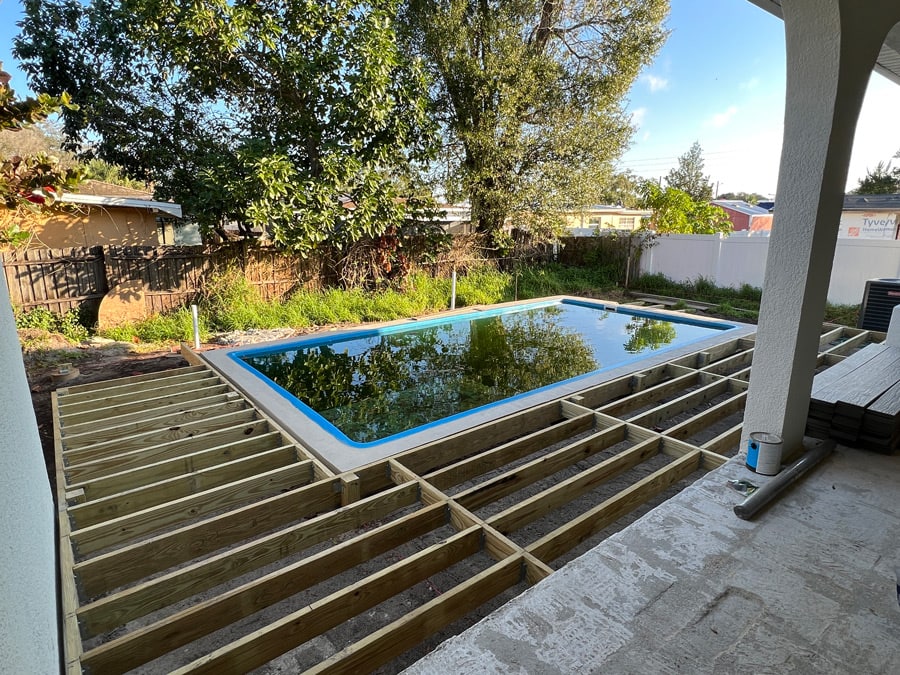
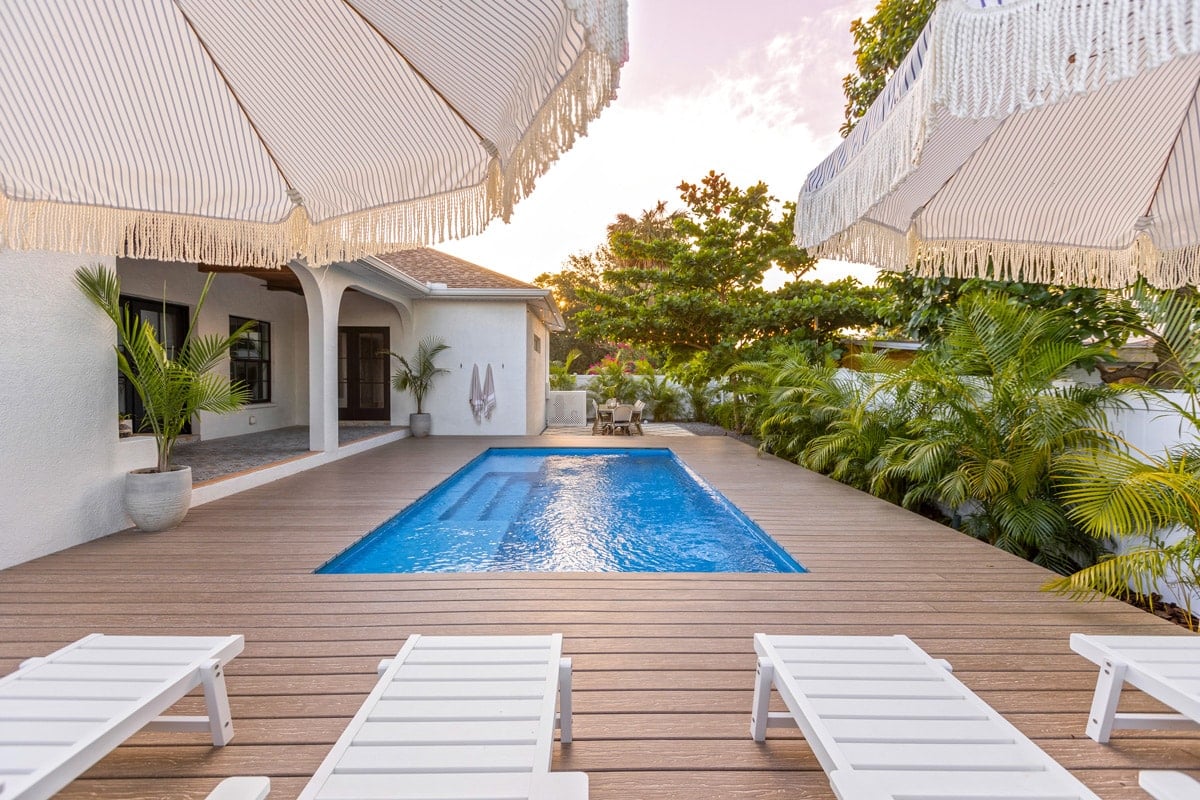
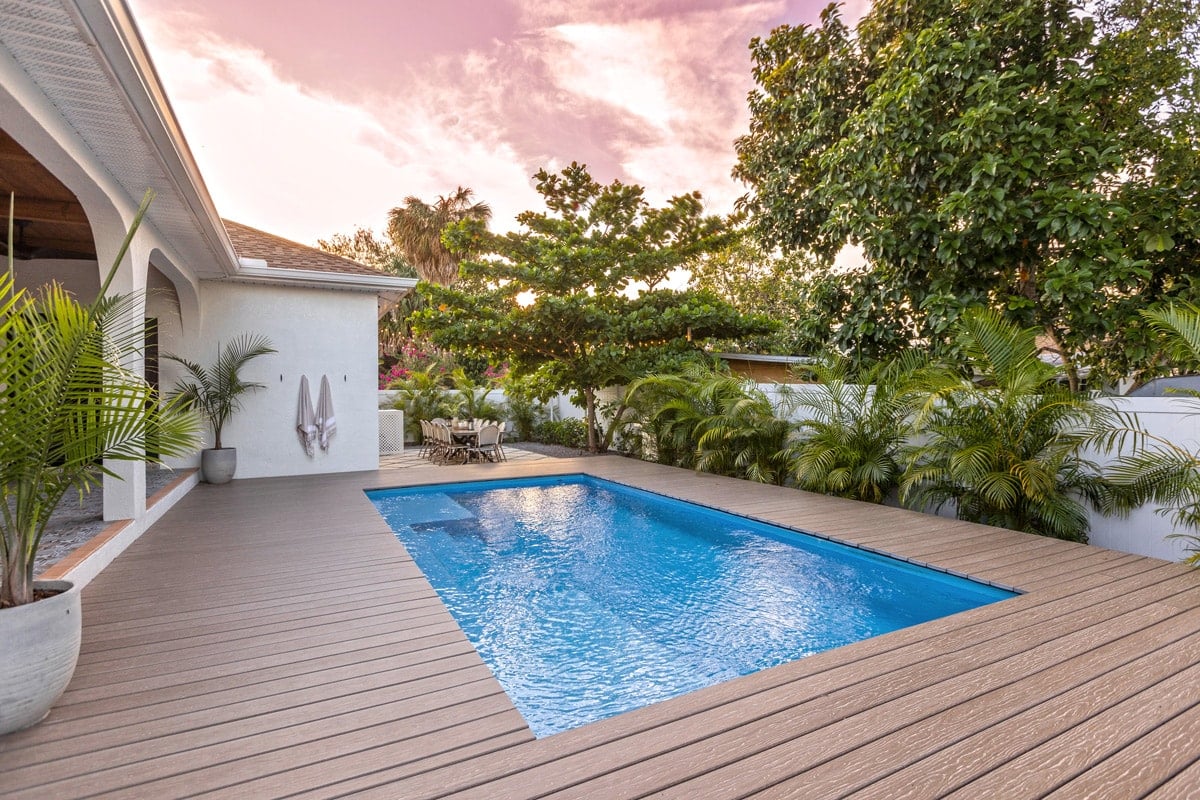
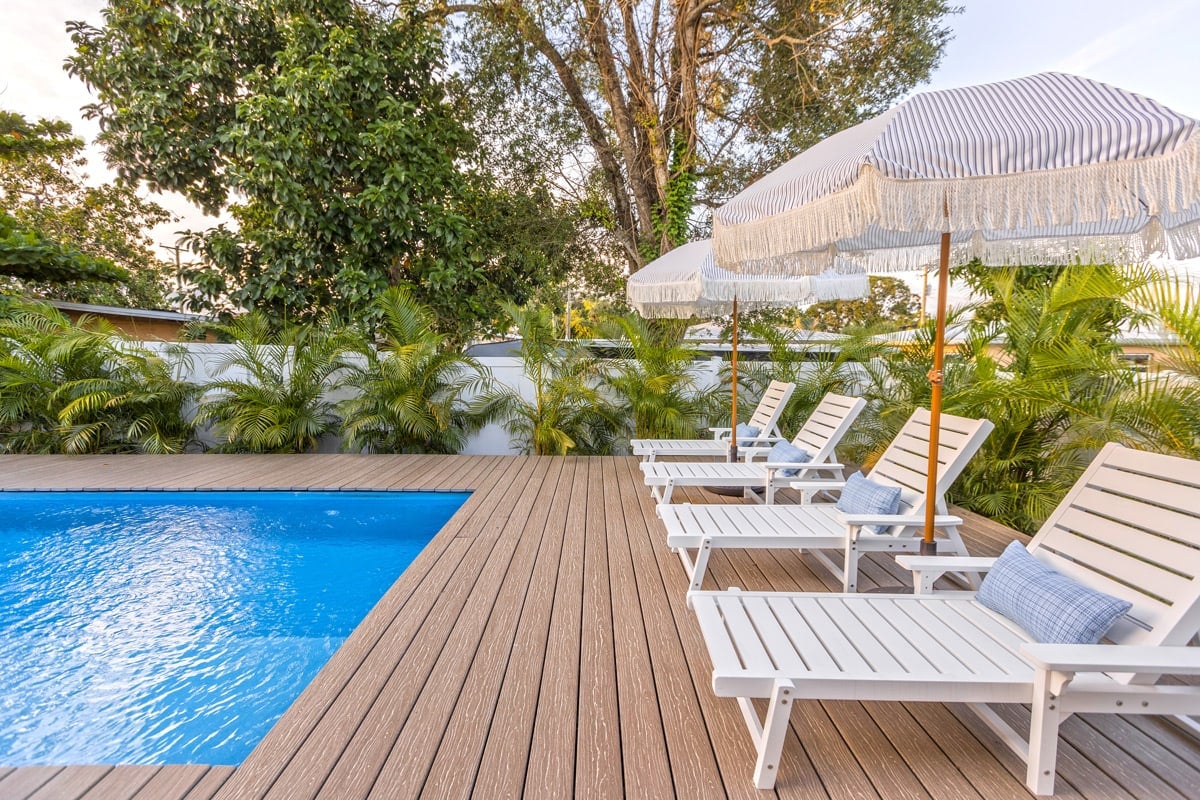
The pool is fiberglass made by San Juan Pools. It’s their Broadway model, measuring 10’11” by 20″10″. The size is perfect for our yard (we couldn’t go any wider due to setbacks) and I love the family-friendly design with the wide ledges.

Because the depth is only 4′, the temperature stays very comfortable and the pool will be usable for most of the year.
We chose fiberglass because of the low/no maintenance and lifetime warranty, so only time will tell if that holds true and it was worth the extra long wait. I’m hopeful it was the right choice for us!
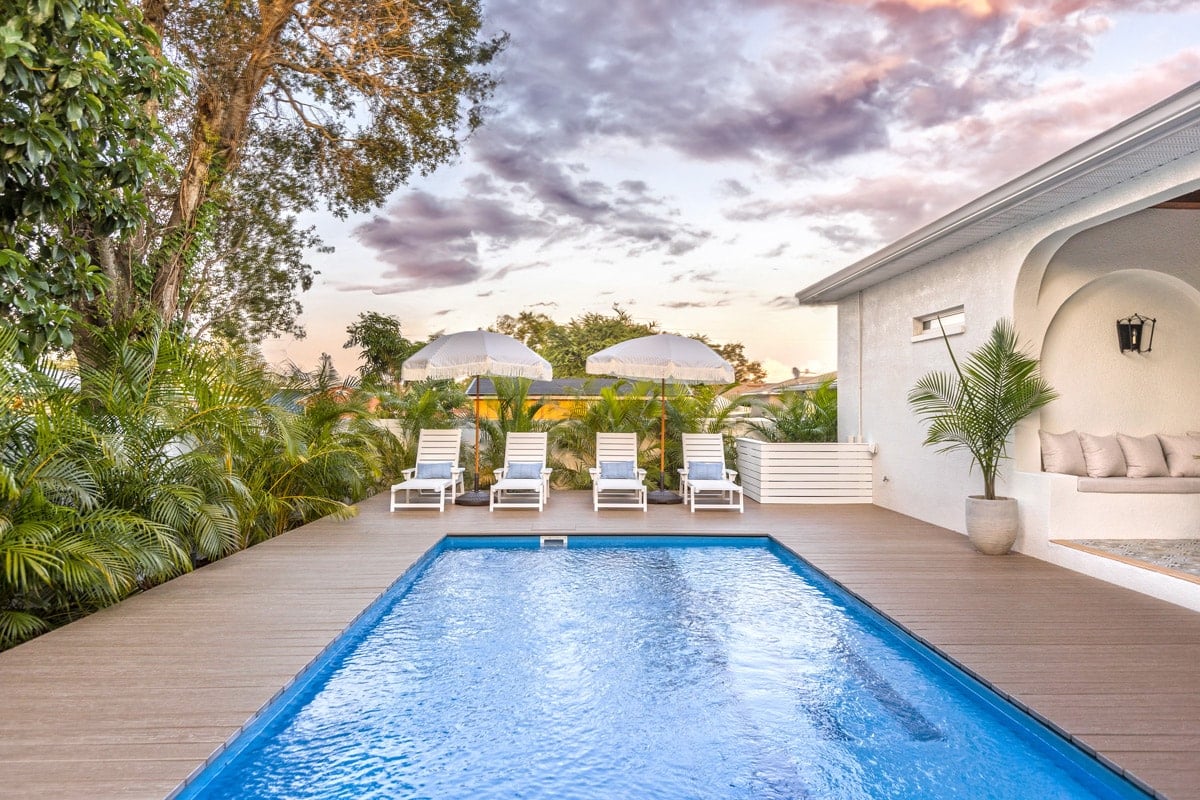
For the decking, I partnered with MoistureShield and chose their top of the line Vision series in the color Mochaccino. It’s a slip-resistant composite decking (real wood does not survive one season here in Florida) with CoolDeck technology, so it won’t burn your feet.
Heat, humidity and insects are the biggest threats in our climate and this deck is protected against all three. Our installer was impressed with the product (he preferred it over Trex) and I’m optimistic it will hold up for many years to come. If you’re considering building a deck, you may find it helpful to start planning and budgeting with their Outdoor Project Hub.
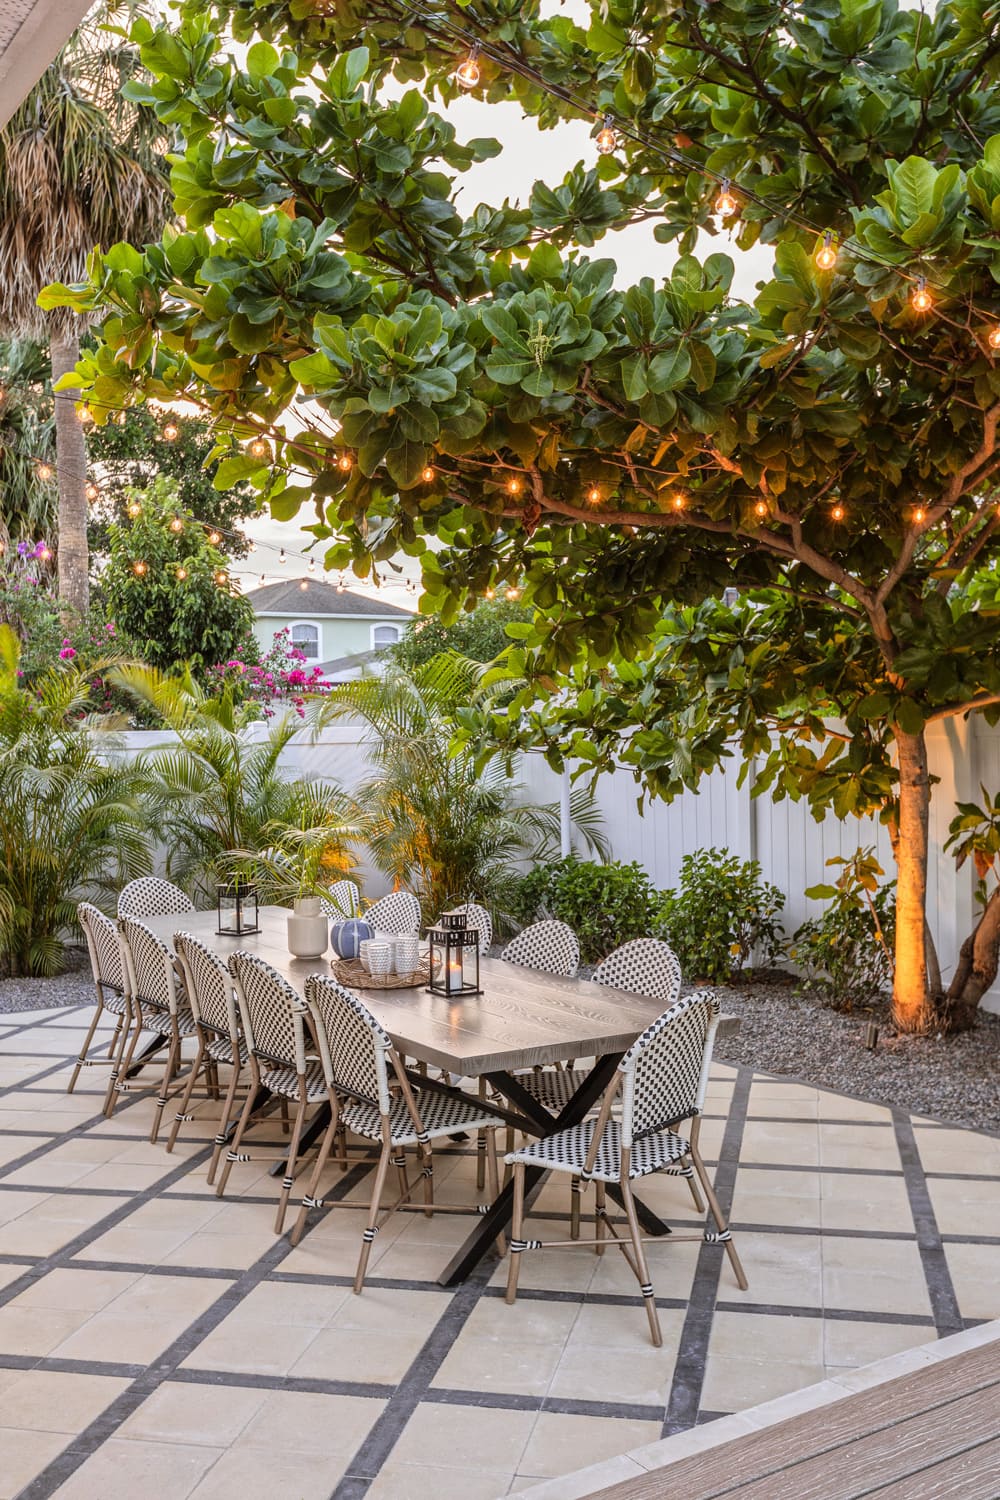
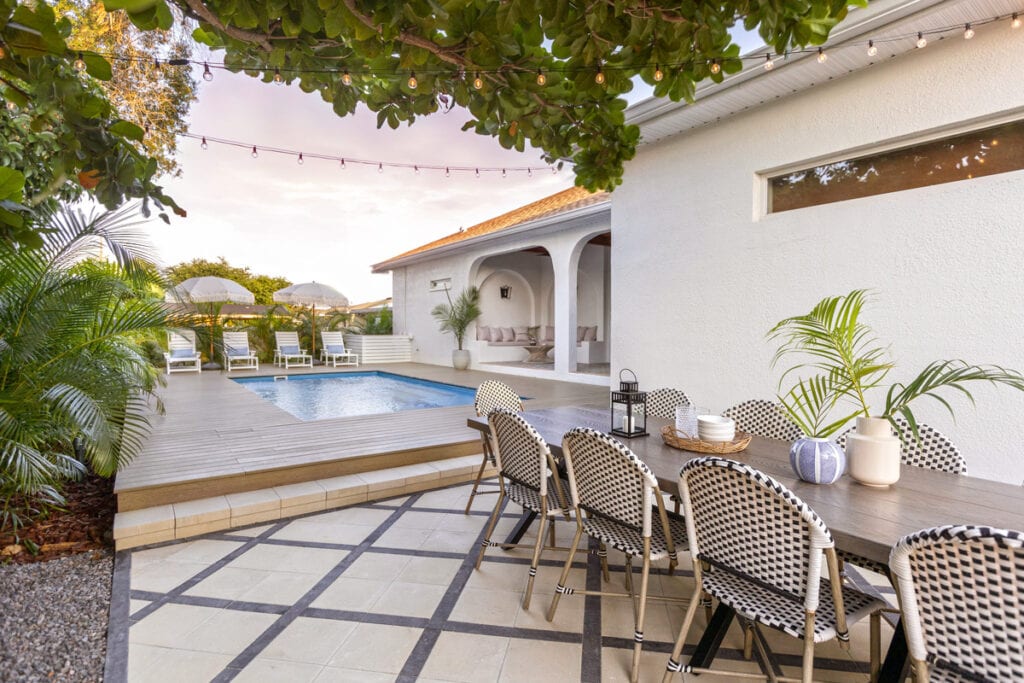
The smaller space on the left side of the yard was the perfect spot for a patio dining area. We were originally going to use pavers separated by gravel, but I realized it would be more functional underneath a dining table with full pavers.
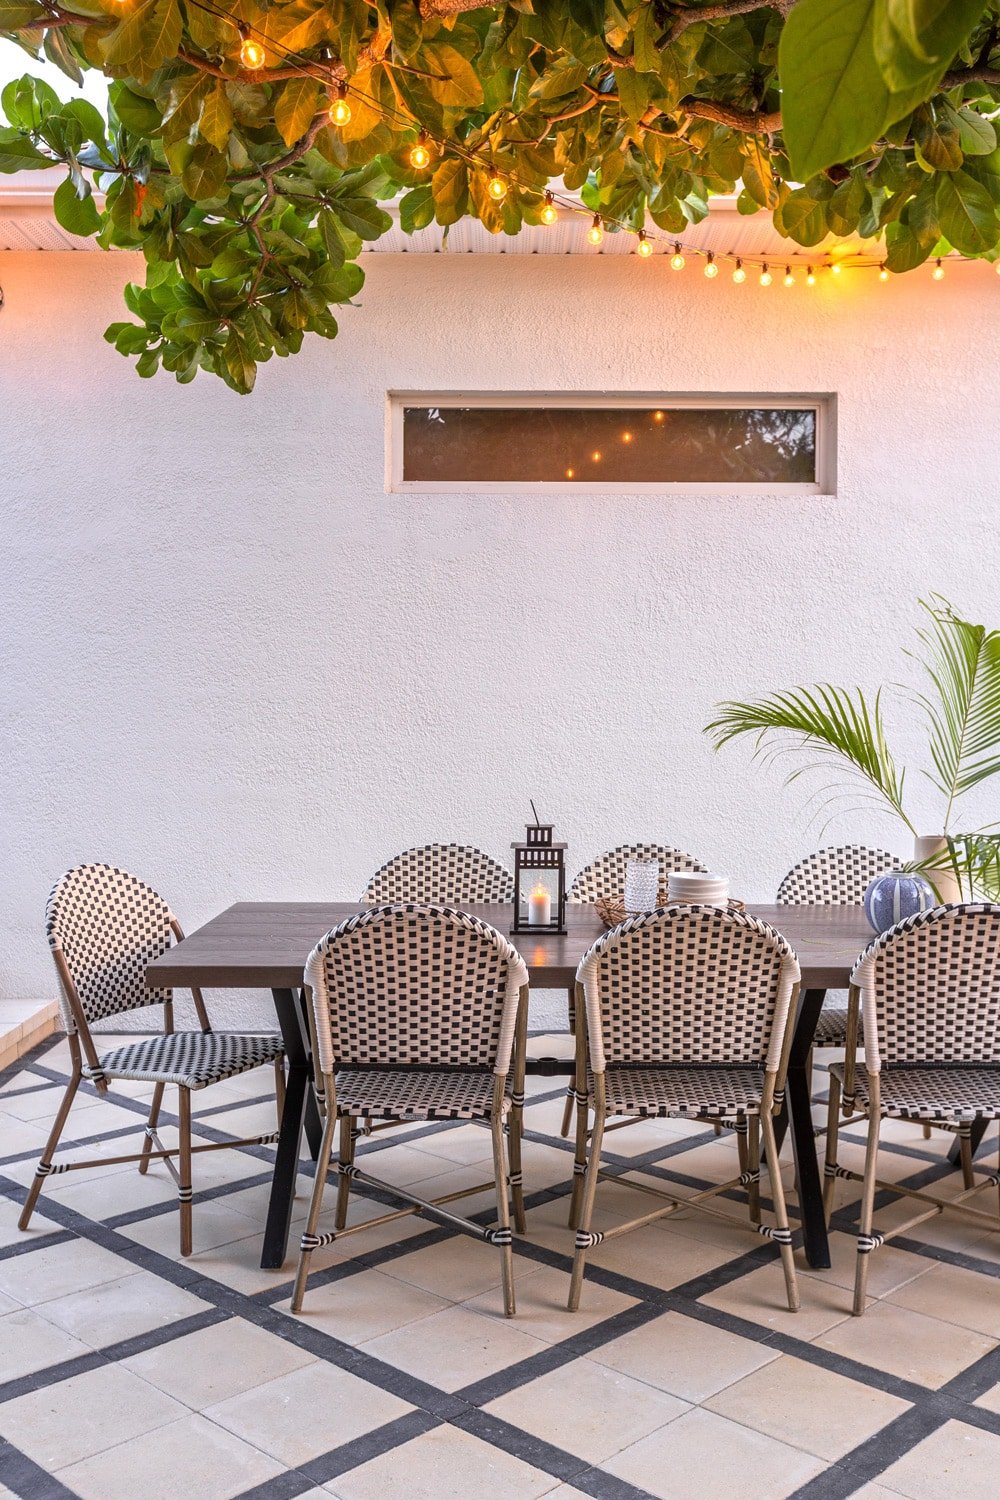
I partnered with Belgard and selected their Dimensions series. To create the diamond pattern, I used the 12×12″ in Cream, and 3×12″ in Charcoal. They offer many different sizes and colors, so you can really get creative with the design. We hired out the install and it was done in a day!
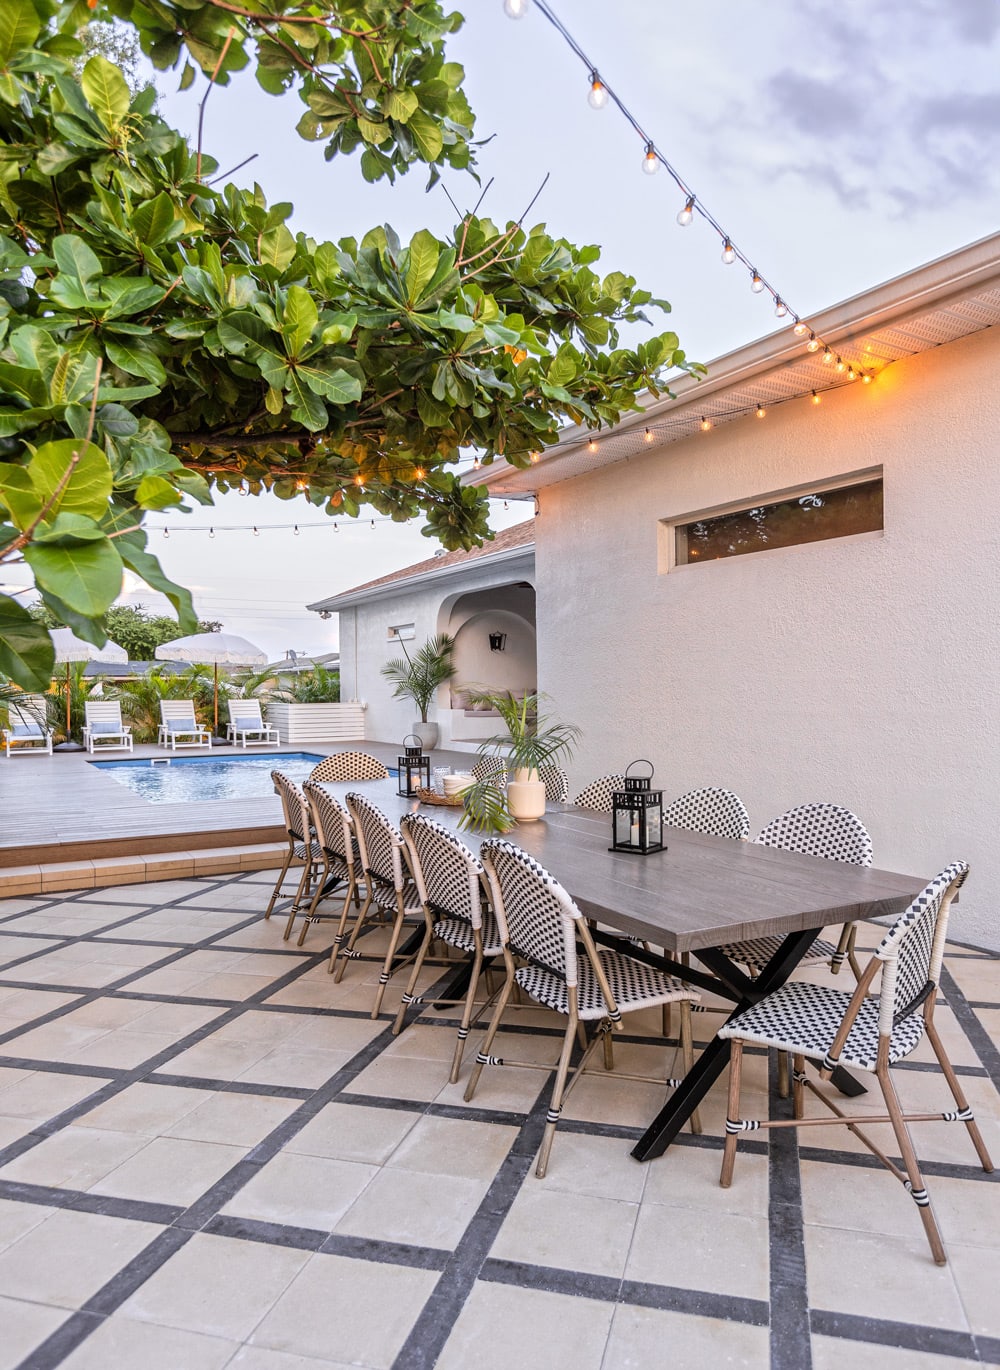
The tropical almond tree provides a natural canopy to shade the dining area, and the string lights add such a nice ambiance. So pleased with how this corner turned out!
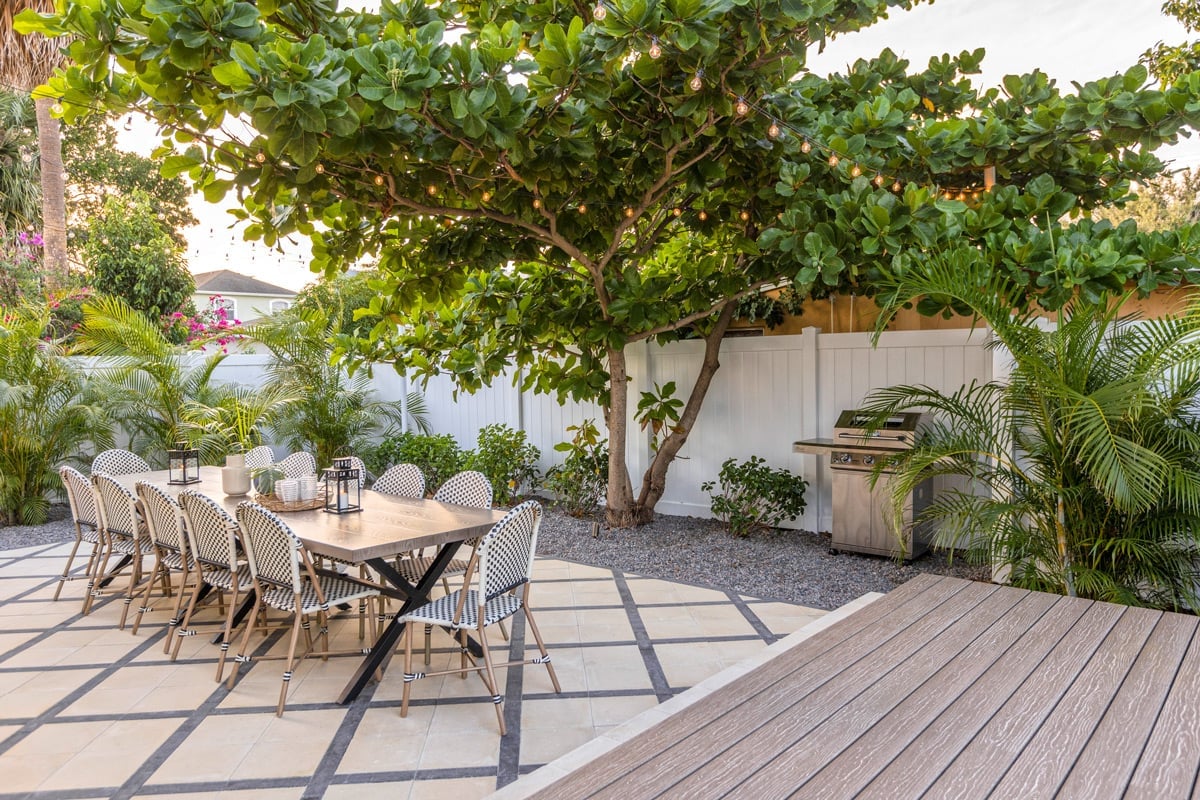
We installed a white vinyl fence around the perimeter of the property, added landscape rocks and mulch, and planted areca palms and hibiscus bushes.
The palms are already visibly larger just over the last month, and they’ll continue to grow and create a privacy wall to make the yard more secluded.
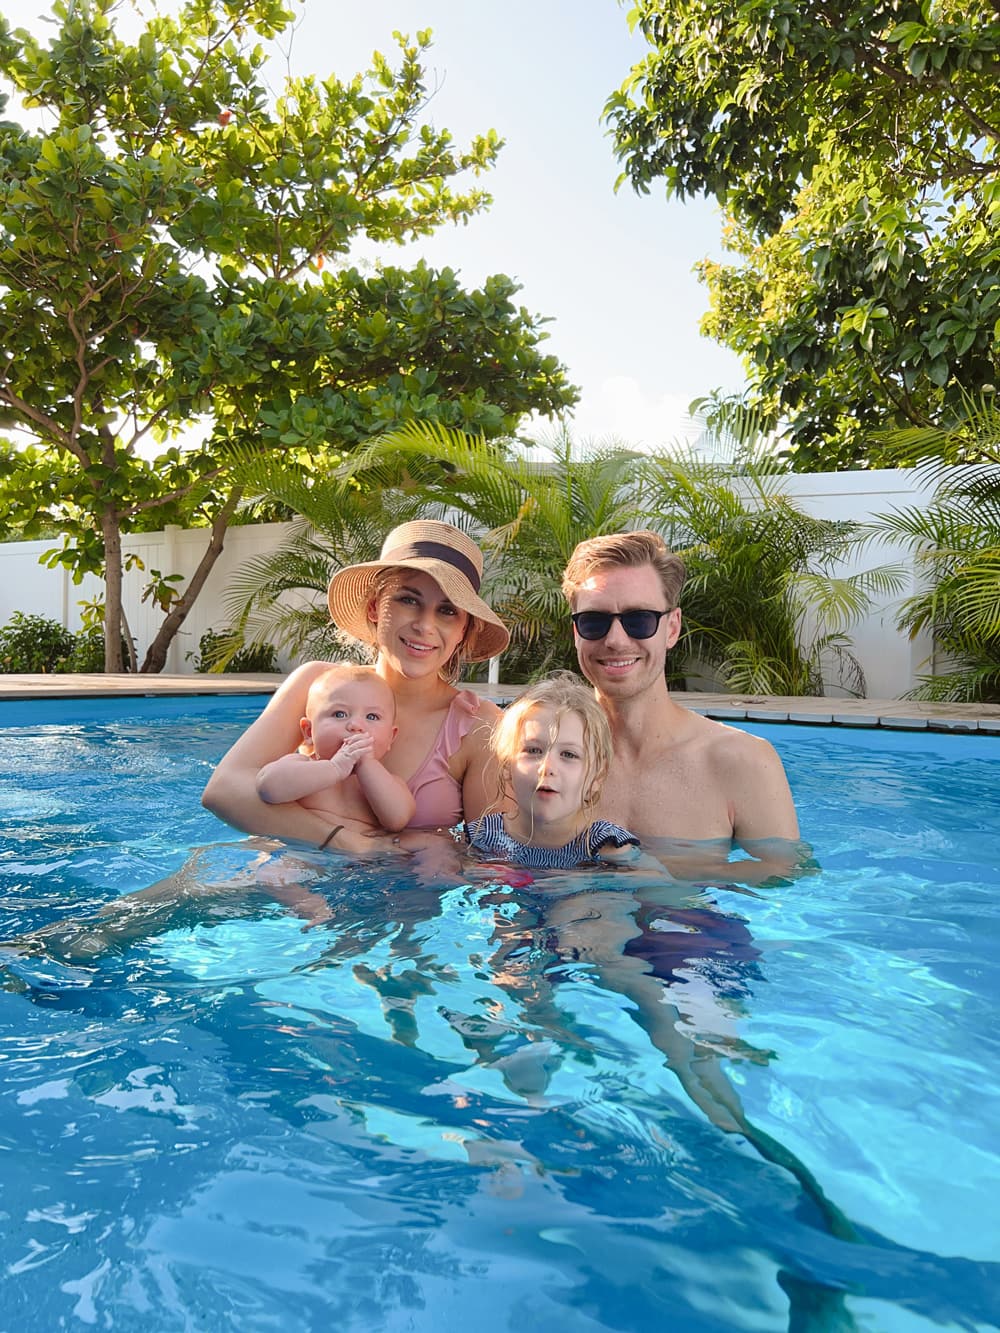
I still can’t believe this 2+ year saga is over, and we can finally enjoy the fruits of our labor. We’ve already thrown a few pool parties, and it’s the perfect space for entertaining. Our own backyard isn’t ideal for hanging out, so we’ll definitely be taking advantage of this house and spending vacant evenings over here as much as possible!
Sources
- Pool: San Juan Broadway in Blue Lagoon
- Deck: MoistureShield Vision in Mochaccino
- Pavers: Belgard Dimensions series / 12×12 in Cream, 3×12 in Charcoal
- Exterior paint: Sherwin Williams Alabaster
- DIY Porch Makeover
- DIY Window Grids
- Patterned tile
- Terracotta tile
- Custom sofa cushions
- Ceiling fans
- Coffee table
- Lantern sconces
- Planters
- Chaise lounge chairs
- Umbrellas
- Outdoor lumbar pillows
- Dining tables
- Dining chairs (discontinued, similar linked)
- Cafe lights
Cost breakdown
| Pool | $36,893 |
| *Decking (materials) | $14,500 |
| Decking (labor) | $10,450 |
| *Paver patio (materials) | $2,000 |
| Paver install (labor) | $2,660 |
| *Landscaping/irrigation | $17,000 |
| Fence | $5,680 |
| DIY sofa/arch supplies | $611 |
| Stucco (labor) | $1,750 |
| Paint (labor) | $1,100 |
| Wood beam ceiling | $1,102 |
| Sconces and fans | $955 |
| Tile | $3,300 |
| Tile install | $2,300 |
| *Furnishings | $2,703 |
| Miscellaneous | $1,455 |
| Total | $104,459 |
*A few notes on the cost breakdown:
- The decking and pavers were sponsored (material only) so these numbers are a rough estimate, and our actual cost was approximately $10k less
- We redid our front yard landscaping as well, so I did my best to separate the backyard portion only, but it’s just a ballpark estimate (total cost for both = $23,900).
- I already had the dining chairs (purchased two years ago) so the furnishing total does not include those.
This certainly wasn’t an inexpensive project, but if you’ve gone through a backyard renovation recently, you know how pricey they can be. We were budget conscious every step of the way—from sourcing the most cost effective (and quality) materials, getting multiple labor quotes, and DIYing as much of it as possible. If we handed everything over to a GC, it would have easily cost multiple tens of thousands more.
This backyard is the featured attraction of the home and the main gathering area for guests. It also needed the most work, so we allocated a large portion of our renovation budget here, and I think the investment was worth it.
Here is where I need your help! Which of these should use as the cover photo for our AirBnb listing?? Let me know in the comments—1, 2 or 3?


Now, onto the next project! We still have four more rooms to finish by the end of the year—think we can get it all done in time?? Follow the progress on my Instagram and find out!
Dining Room reveal coming up next…


Diane Warne says
Fabulous design & work effort! I prefer pic 1
Kami Rossler says
#1!!!!!!!
jamie says
What a dreamy space. Your best outdoor area yet! I prefer number 3, but they are all great photos. Adding the palms was a good choice. It just amps it up to pure luxury. I’m definitely checking out those pavers. The decking around the pool was a great choice. So clean looking. Enjoy it as much as you can. I have a feeling you won’t have any problem renting it out.
Marne says
I love this transformation. I like #1 because of all the details showcased…the tile, the wood ceiling, the blue water… so inviting.
Caitlin says
If I were browsing for a rental, #1 would stop me in my tracks, hands down!
Lisa Samuelson says
#1 is the best one to showcase all the hard work you’ve done! Beautiful!
Faye says
NUMBER 3
Celina says
#2 for me.
Wow!!! This is the type of airbnb I would have a hard time leaving to go visit the sites. So beautiful!
Amanda says
It’s gorgeous!! Bravo Jenna! I love everything, but especially the paver patio! I’m so glad you didn’t go with gravel, this is so much prettier and cleaner. I love the first picture for the listing, shows the pool, but also the indoor/outdoor lounging beautifully!!
Jessica Stollenmaier says
What an incredible transformation! #1
Emily Lane says
#2 to make it feel more secluded, #1 to showcase the beauty of all the features
Kari says
I like #1 for the cover. It gives an idea of overall depth of materials. The other 2 photos obviously can be included in the photo stream. Would love to stay here!!!
Monica says
Beautiful! You really knocked this one out of the park!
Jaime Nystuen says
Pic #2 for me! We have fiberglass as well and have had gunite too- I prefer fiberglass because of lower maintenance and comfort on our feet and bums!
Ahna Fulmer says
Ahhh love! #1 for sure.