It has been quite the eventful/stressful past few days—but I survived! And I’m not even talking about the election—more like broken shop equipment, broken laptop, flat tire, expensive tow truck rides, project plans derailed and DIY frustrations. But you’ve gotta take the bad with the good, and despite the setbacks, life is good.
You know what else is good? Magical potions that instantly transform shiny brass to aged perfection…
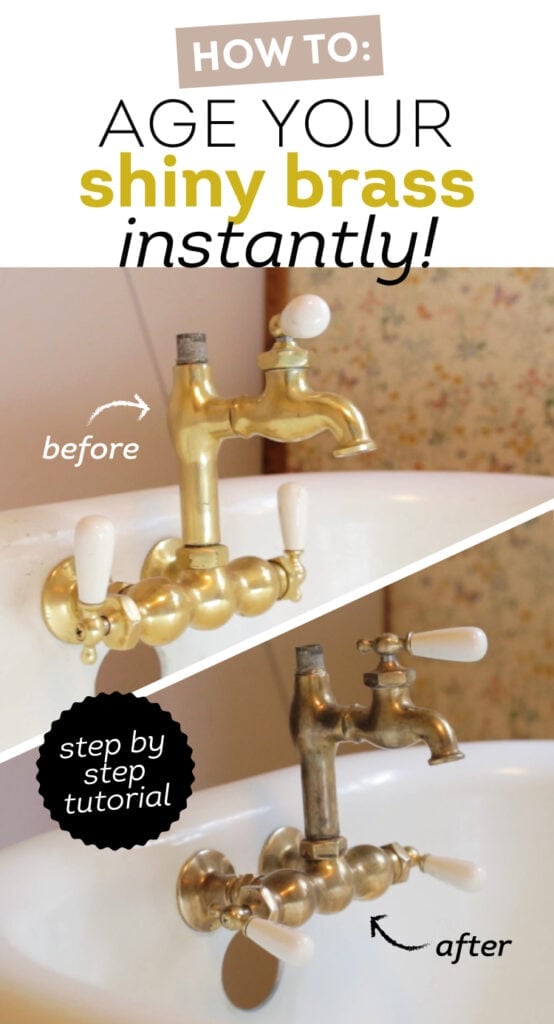
It’s true, and I’m not sure how this has fallen under my radar for so long—but this miracle liquid exists and it’s my new BFF.
Today I’m sharing a quick recap in this post, but to watch the process in action (and see more house flip updates) you’ll want to check out this week’s video:
Let’s back up for a second. I was fortunate enough to inherit this beautiful clawfoot tub in the upstairs bathroom:
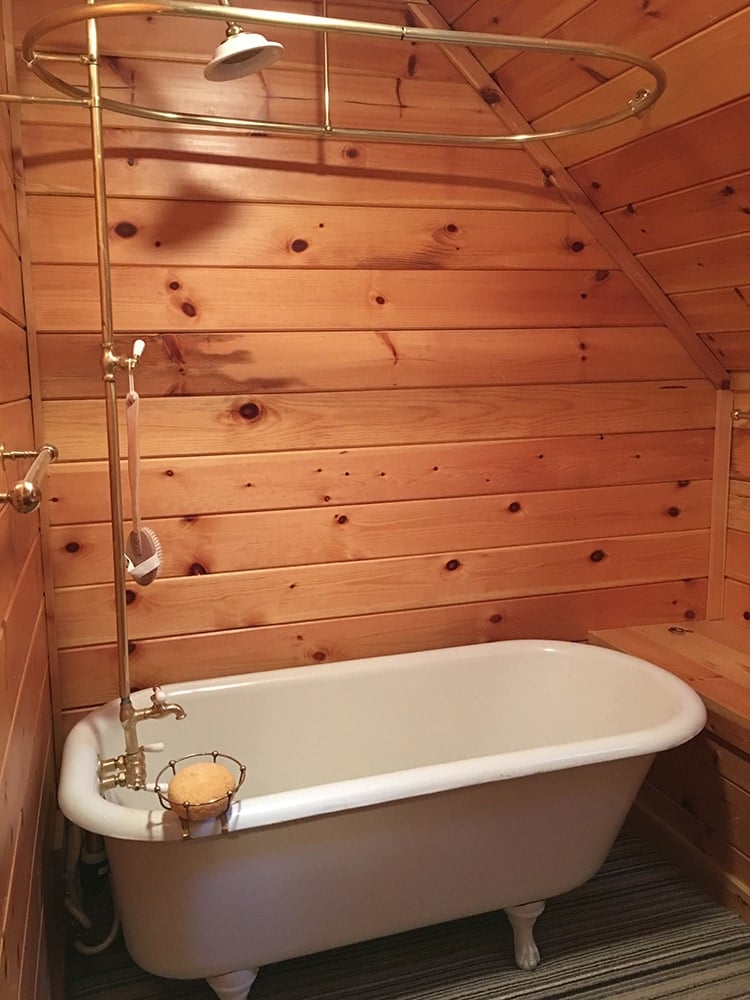
I love the idea of gold hardware (remember the bathroom in my last house?) but this wasn’t exactly gold… it was shiny brass. So I thought about it for a while, and then I stumbled upon an old video demonstration of Martha Stewart aging some brass handles—what a trendsetter she is.
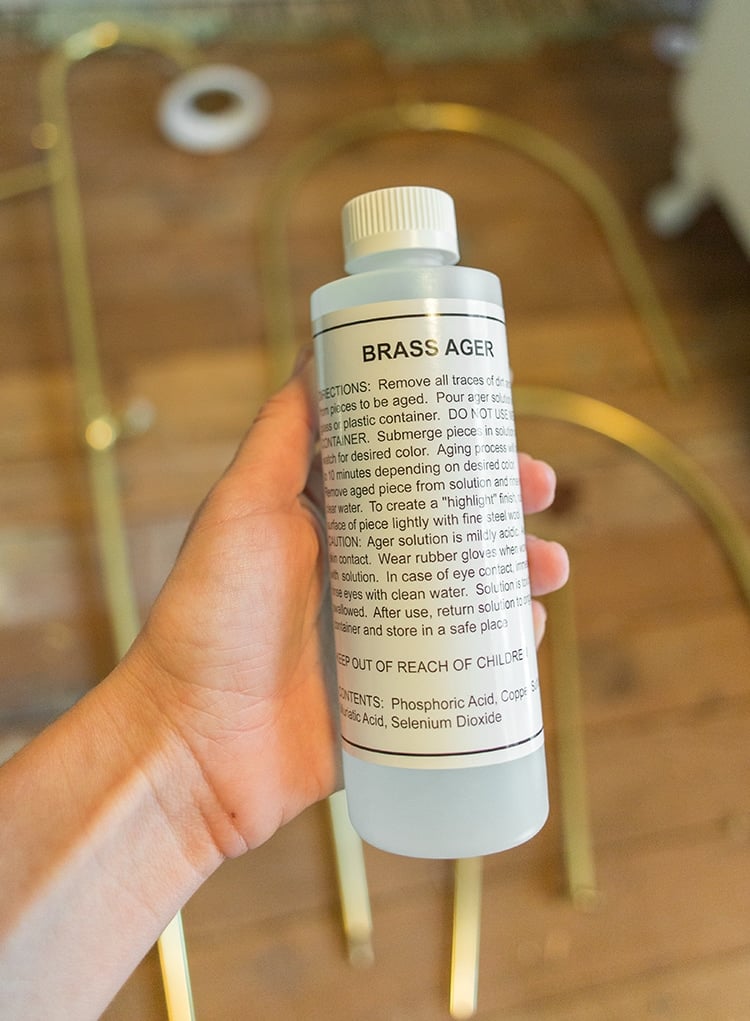
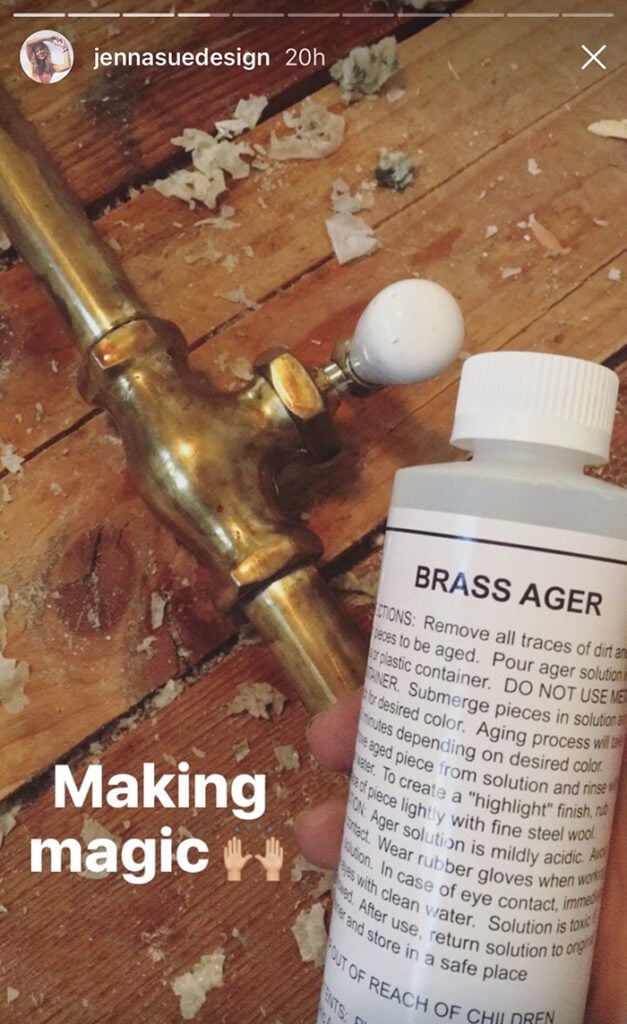
Upon further investigation, I found that a few others had discovered this potion and used it on smaller hardware, but I wasn’t sure it could be done with larger pieces. After shopping around, I decided on this brass ager for just $11 online and figured at that price, it was worth a shot:
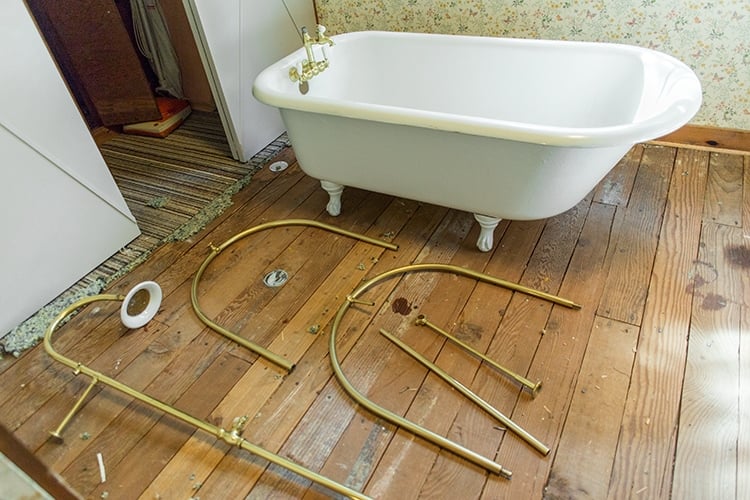
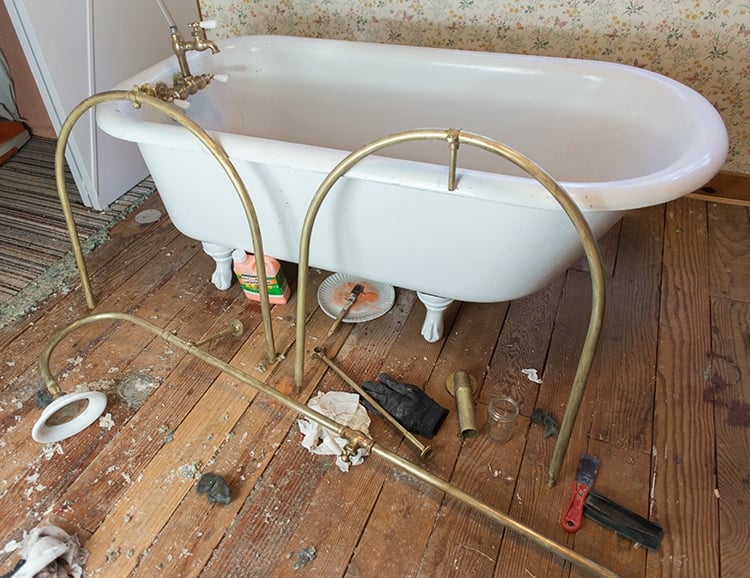
The tub and hardware were relocated into a nearby bedroom during bathroom demolition so I had my work space all set up:
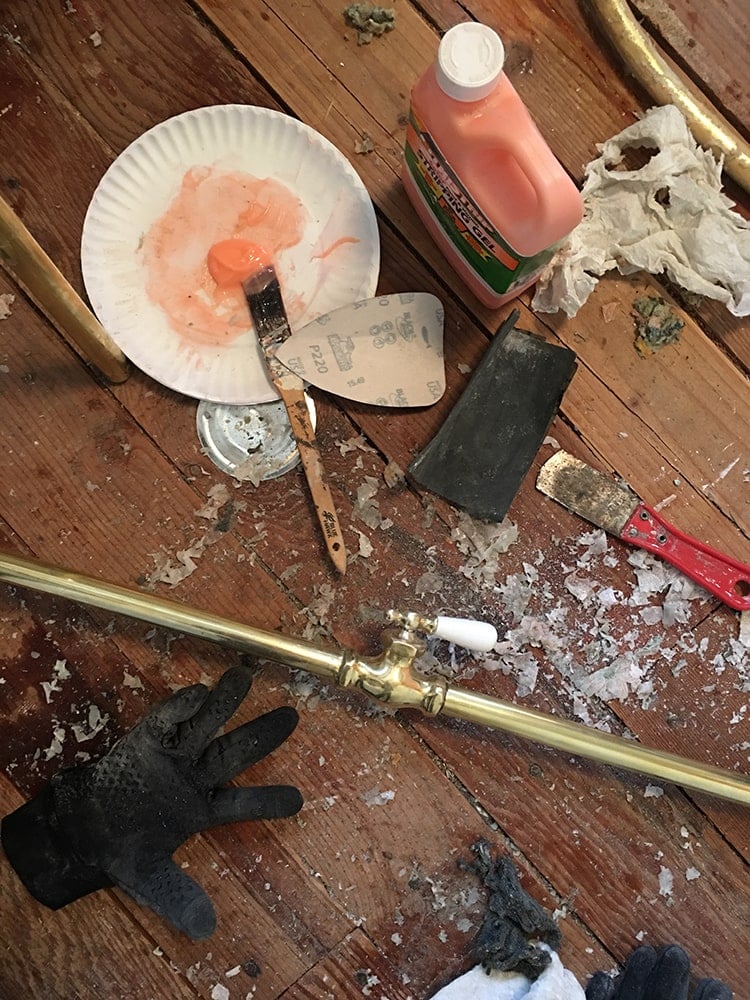
You won’t need a lot for this project—just the brass ager and some fine sandpaper/steel wool if your pieces are small, or a sponge/sponge brush for larger items.
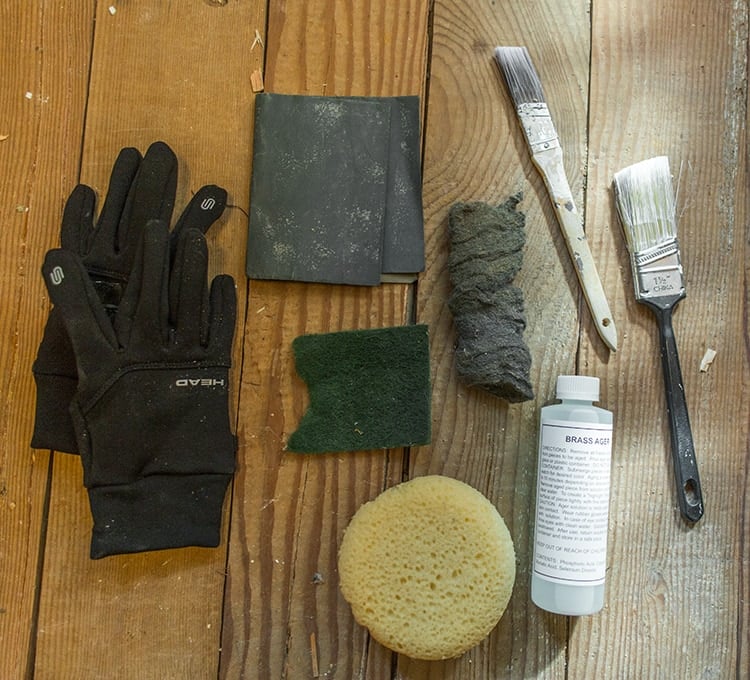
Note that this process only works on real brass! I tried it on the cheap faux brass plated stuff (by mistake) and nothing happened, so don’t waste your time.
Real brass has a clear coating to protect it from tarnishing. This coating has to be removed so that the metal can react to the solution. You can sand it off, or you can make your life a lot more difficult and use paint stripper like I did. I didn’t realize what a pain this would be until it was too late, but that is why I’m the guinea pig for these experiments—so you can learn from my mistakes 🙂
I already had the paint stripper on hand (from the fireplace makeover):
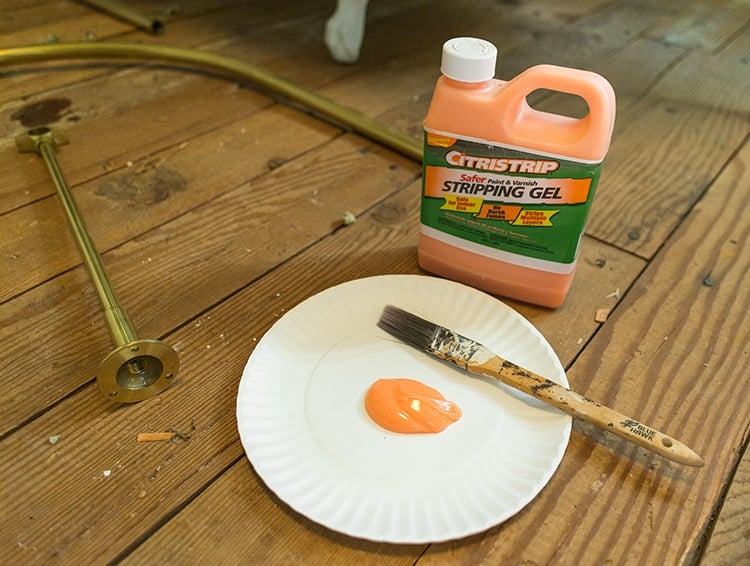
This part’s easy, you just brush it on:
Except unlike the photo, you need to use tons of it. Coat that stuff on as thick as possible. More = better. I didn’t use enough the first time around, so after waiting around 40 minutes for it to dry, I tried to scrub it off and was left with a stubborn, globby mess:
The whole room was a mess.
I tried every form of sand paper and abrasive pads but felt like I was getting nowhere after hours. So I gave everything a good, thick recoating and called it a night.
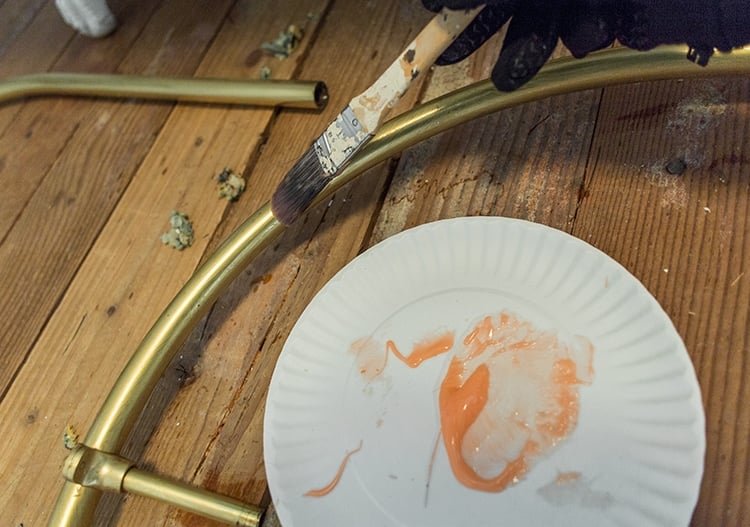
The next day I came back to a nice bubbly coating and was much more optimistic:
When it looks like that, it comes off nice and easy. Plumbing is still a bit tricky with all the joints and tight spaces, but I did the best I could to scrub it all off:
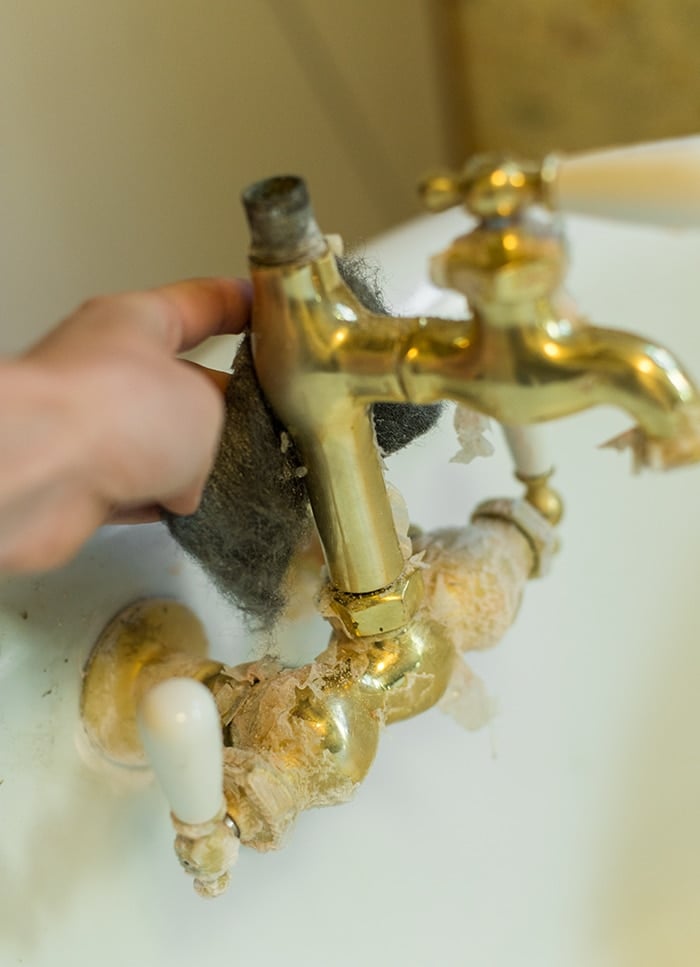
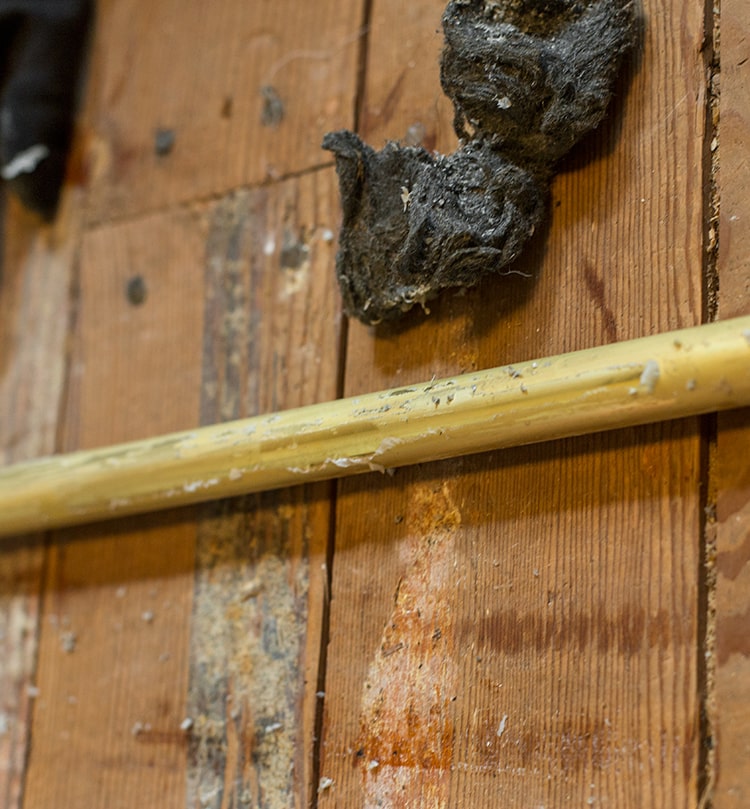
There was definitely still some stubborn parts, so I recoated, waited and rescrubbed for the third time (see why you should just sand it?) until it was all gone—about five hours of work in total.
The brass will look exactly the same as it did with the clear coating, but it will now react to the aging solution. And now the fun part begins!
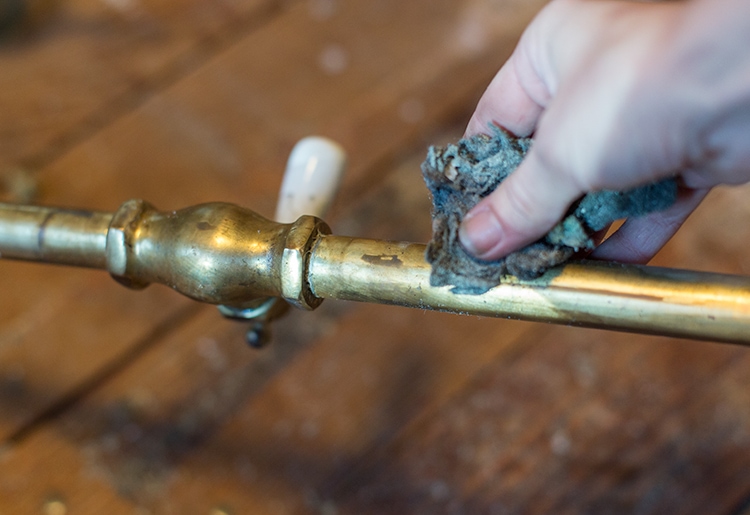
If your pieces are small enough to be submerged or dipped into a container of the solution, lucky you—you’ll be done in under a minute. If they’re larger, you’ll need to continuously coat & recoat with a sponge. It takes a bit longer but the almost instant gratification is still fun!
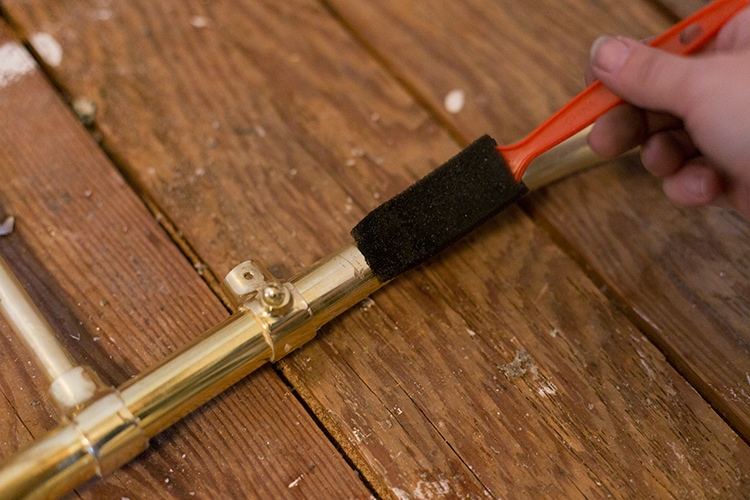
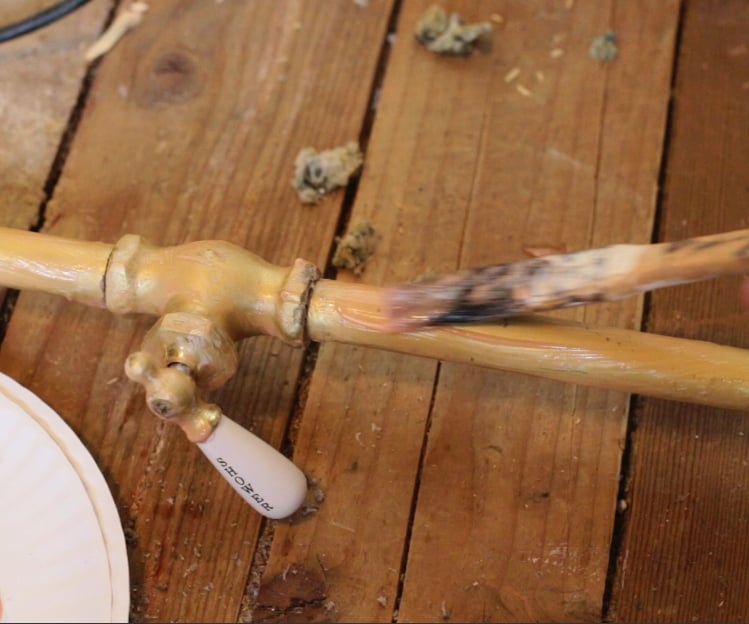
The higher concentration of solution, the faster the metal will darken. Even with the sponge brush it still reacts really fast. Here’s how it looks after about 30-60 seconds with a light coat on one side:

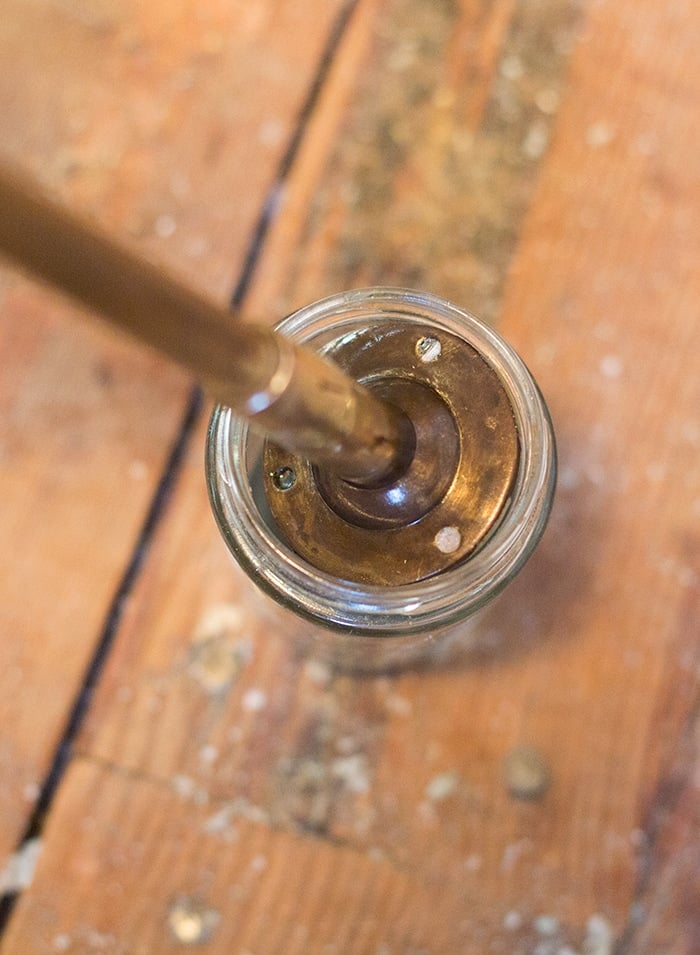
You can see it’s much darker where the liquid is pooling. I also tried submerging part of it directly into my container to see the difference. It worked so well! Much darker after about a minute:
If you were watching my instagram stories that day, you caught the first preview:
The great thing about this process is that you’re in complete control of the effect. You can darken it as much as you want, and easily remove areas where it’s too dark with a light sanding. With the sponge brush application, you’re bound to have streaks where the liquid has settled, but they’re easily buffed out:
Click on the video to see this part in action:
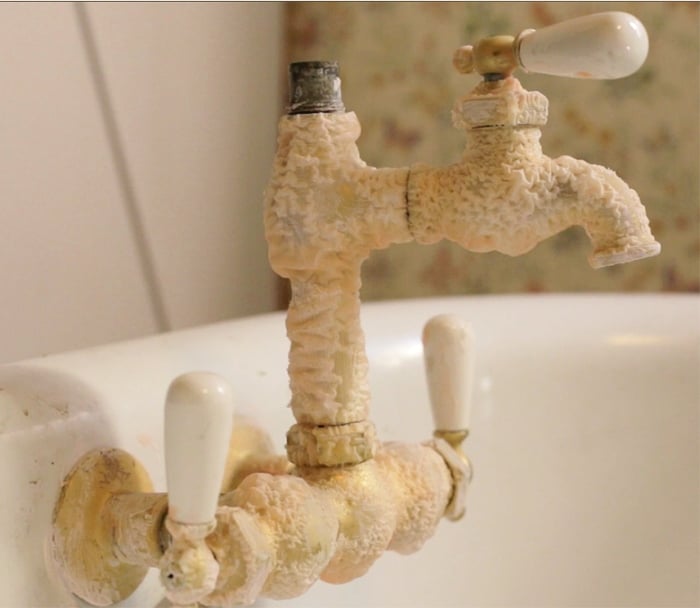
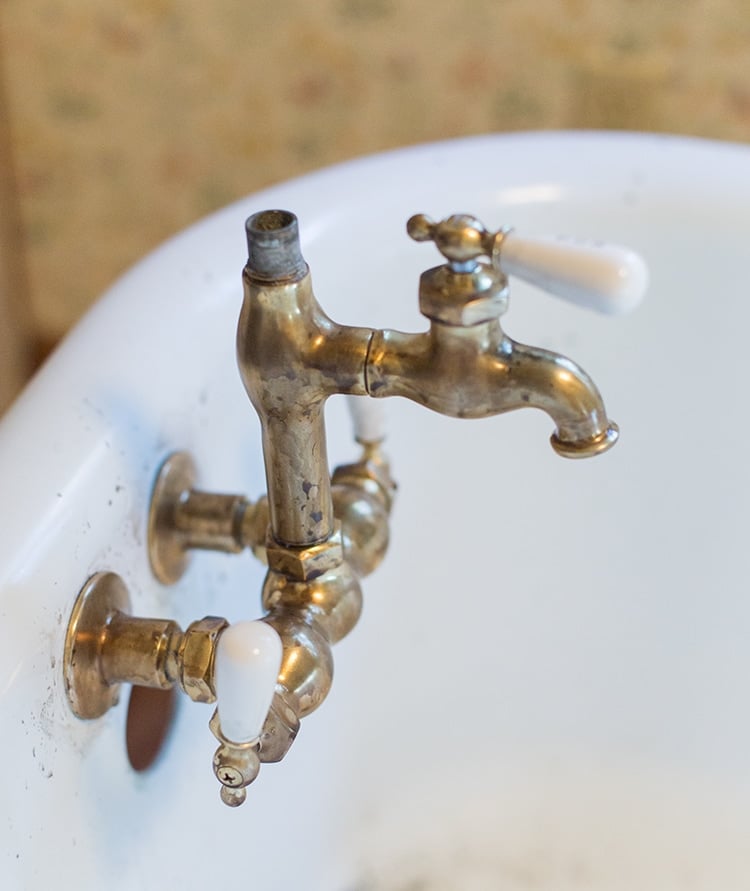
Real aged brass has a natural patina that varies in color, so I wasn’t necessarily looking for a uniform shade throughout. I enjoyed the process of coating, sanding and repeating to achieve my desired look.

So long, shiny brass!
I’m looking forward to getting everything reinstalled—that probably won’t happen for another month or so—but I’m not done with this tub makeover yet! Next week I’ll be testing some special paints for the exterior and feet, and of course you’ll get another step by step video tutorial!
In other news, the house is currently being ripped apart:
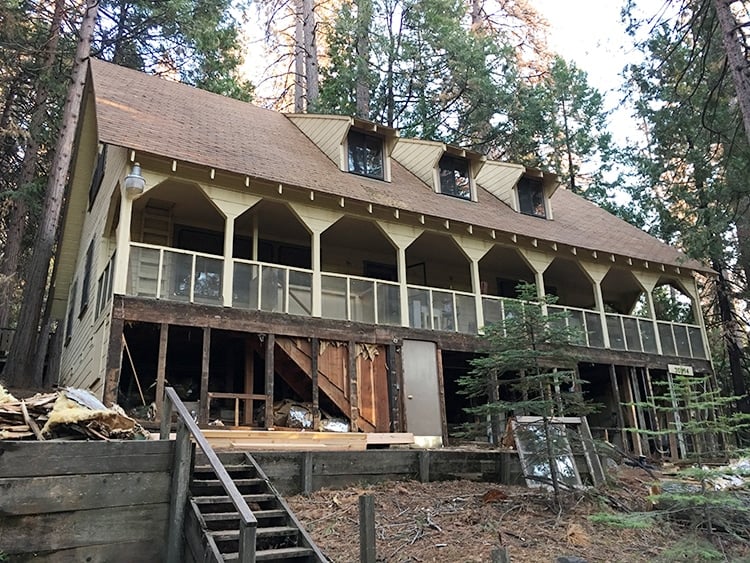
The new foundation should be done by Friday and then we can start rebuilding the exterior. Next week I’ll have new siding, windows and front door so things are finally moving!
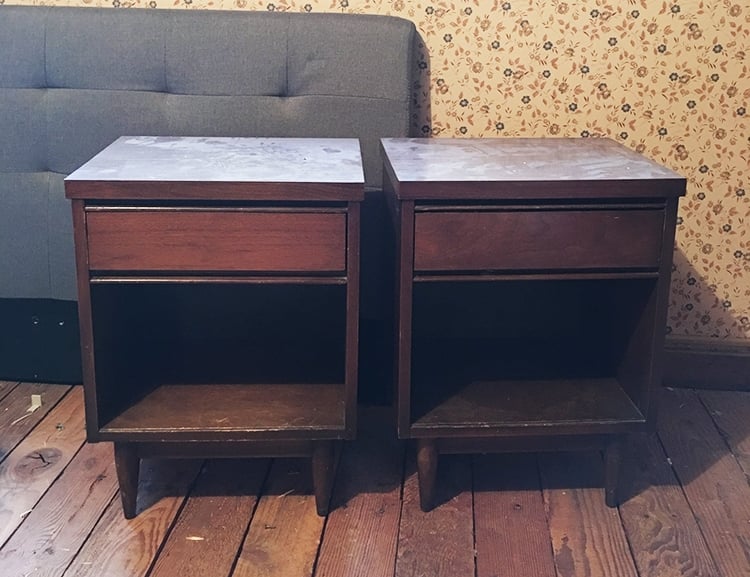
On Sunday I also managed to squeeze in a quick night stand makeover:

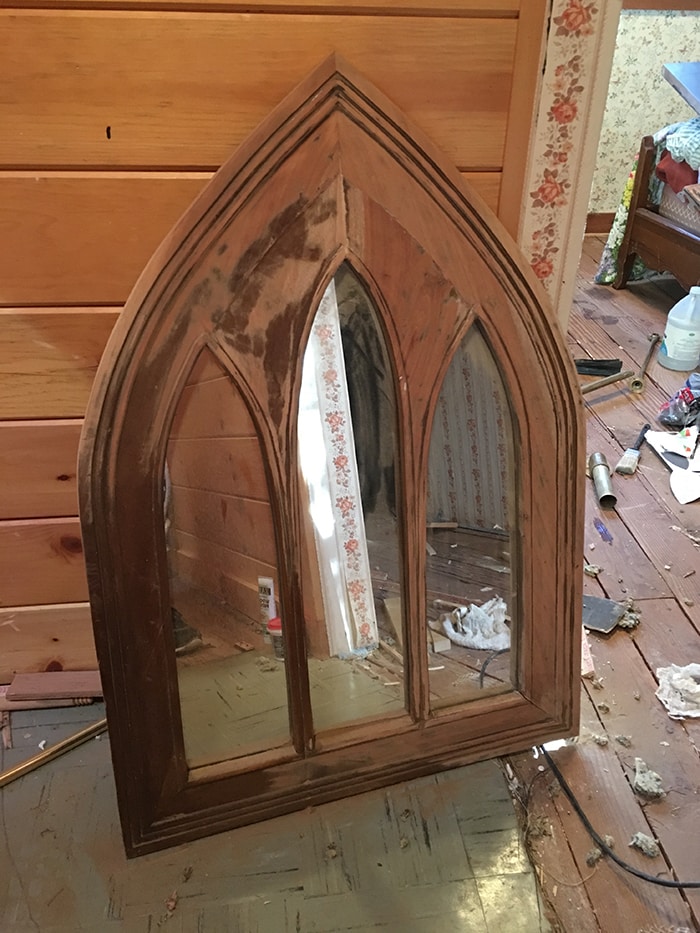
And get a head start on refinishing this vintage mirror, which I plan to hang over the tub:
I still feel like I’m behind schedule and there’s so much to do and coordinate (all in a very specific order, of course) and it’s a challenge living almost 4 hours away and only being there 3 weekends/month, but, I think it’ll get easier over time once the major projects are underway and I can focus on the details. I’m holding onto that light at the end of the tunnel and staying focused!
Thank you all for your continued support and encouragement. Your instagram & snapchat messages help me stay motivated while I’m working hard at the flip so keep ’em coming! Until next week…


Leanne says
You work some serious, real, actual magic. I swear. You talk about Martha Stewart being a trendsetter, but YOU are going to be the one that people reference in the future. “I bet Jenna Sue has done this before!” 🙂
jennasuedesign says
You are too kind, I wish I could take the credit for this! I’m just the experimenter 😉
Monica says
Oh, I totally agree with Leanne!! Thanks so much for sharing with us. You have such a good eye.
Shauna Roux says
Great tutorial, good ideas, can’t wait to see how this all comes together. Plus…I really needed to have this lovely distraction today.
Keep up the great work! It’s going to be stunning.
jennasuedesign says
Thank you Shauna! <3