But back to decorating. It’s time to get serious about our living room.
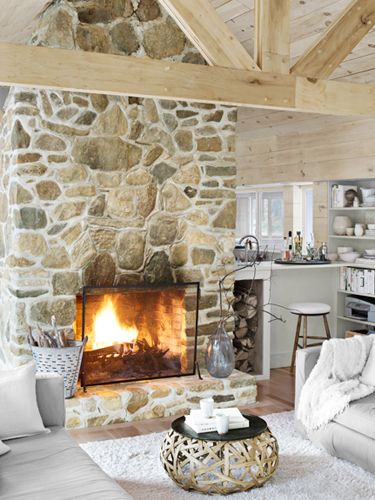
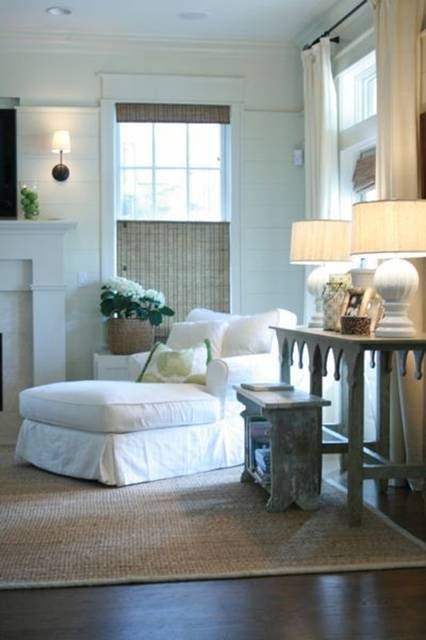
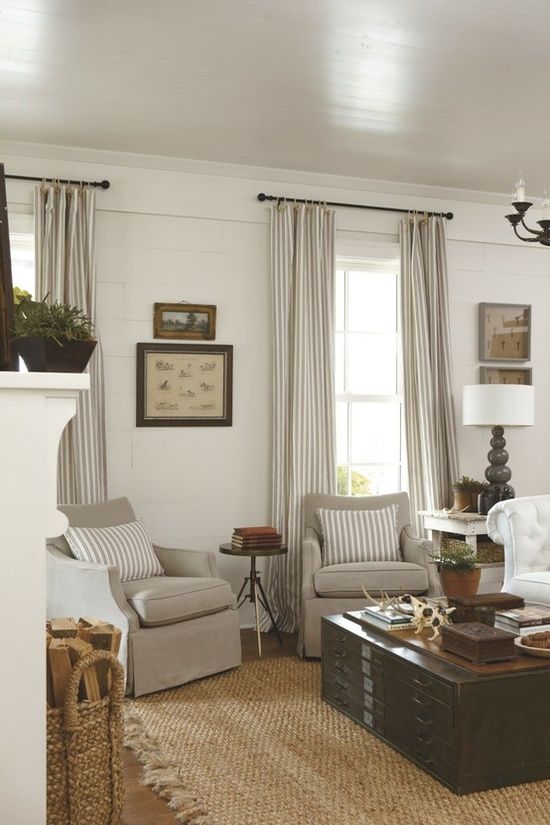
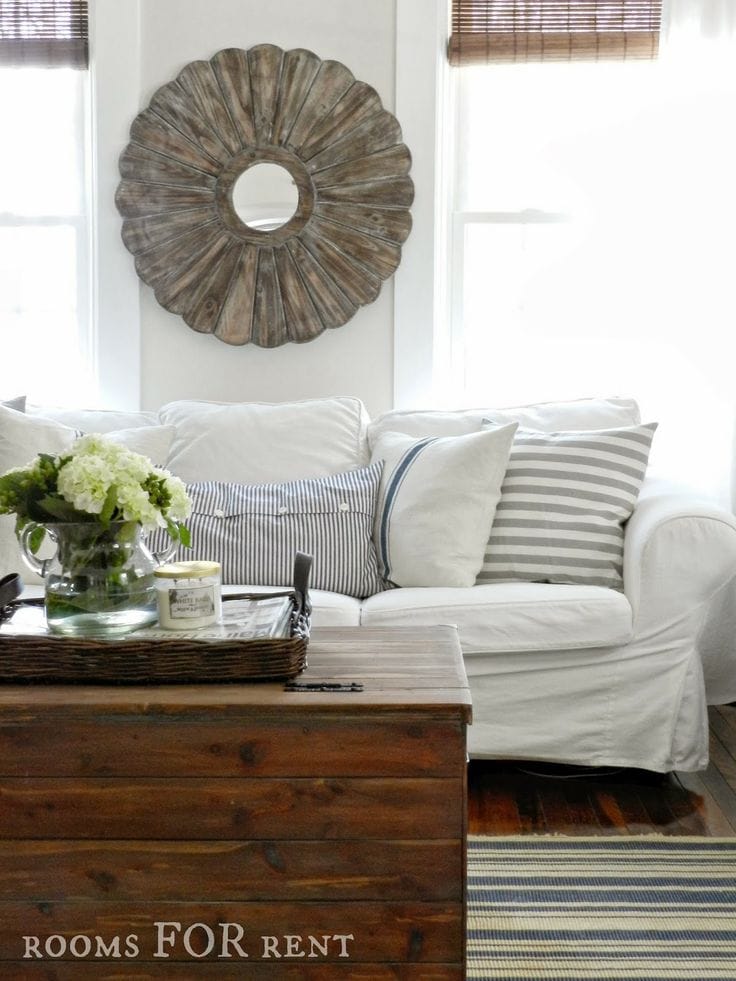
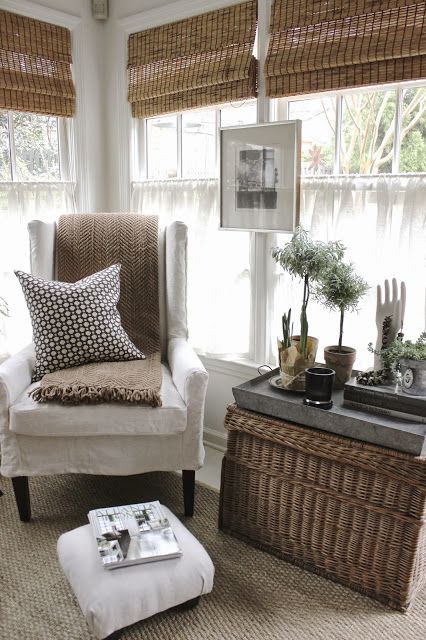
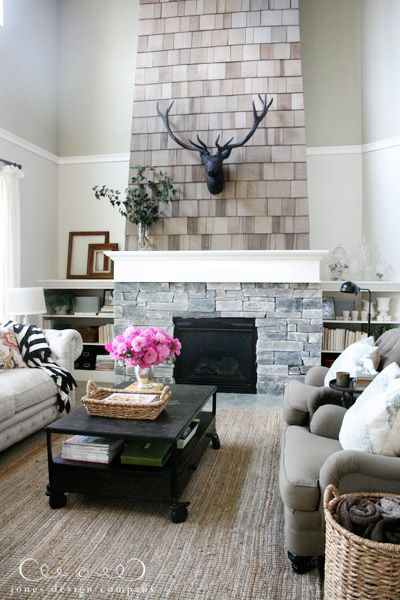
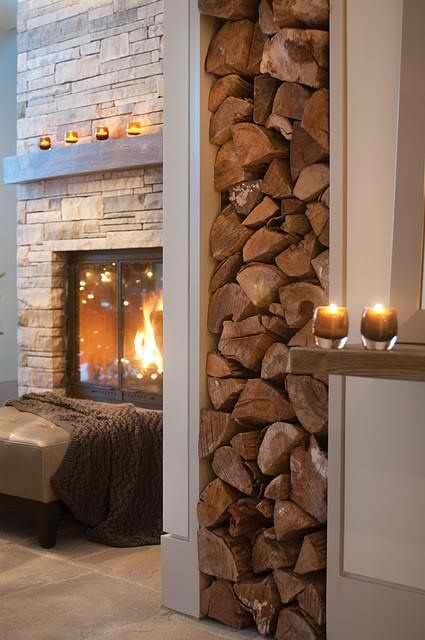
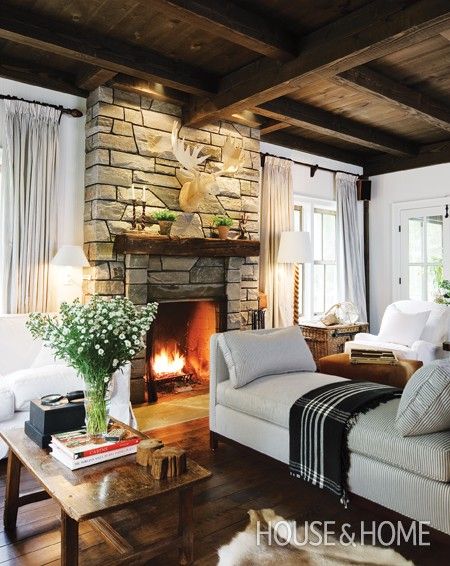
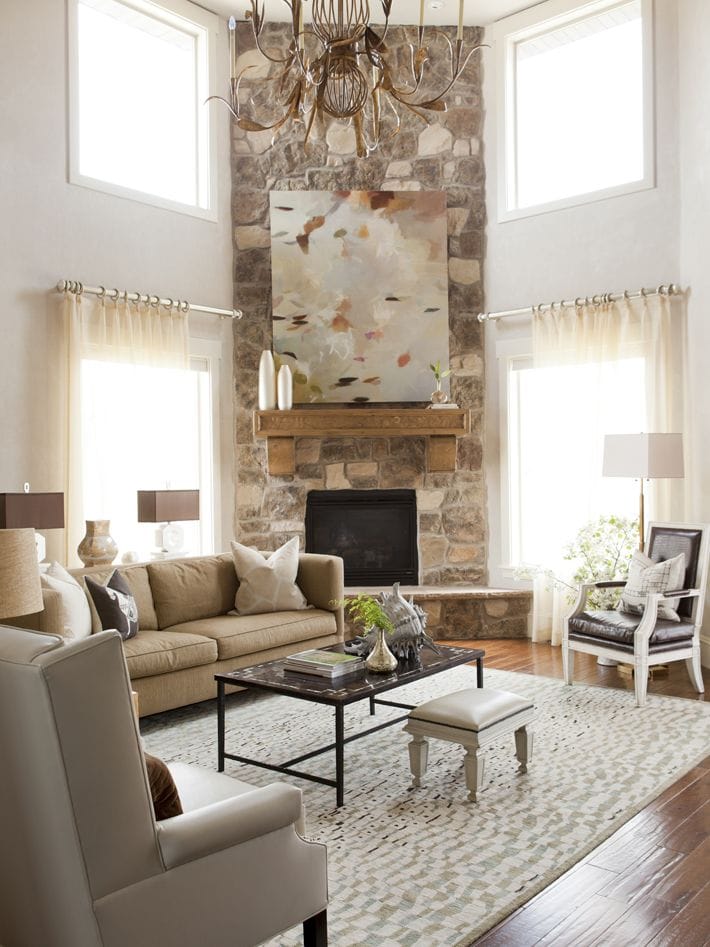
Before I talk about the specifics, here’s what I’ve been pinning for inspiration…
 |
| Source |
 |
| Source |
 |
| Source |
 |
| Source |
 |
| Source |
 |
| Source |
 |
| Source |
 |
| Source |
| Source |
 |
| Source |
 |
| Source |
 |
| Source |
Get the idea? A mix of rustic, cottage & farmhouse, open & airy, casual, calm, and most importantly, cozy. Just like the rest of the house, basically.
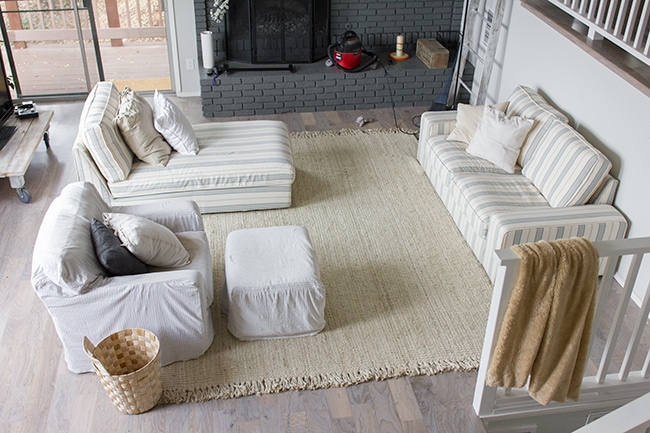
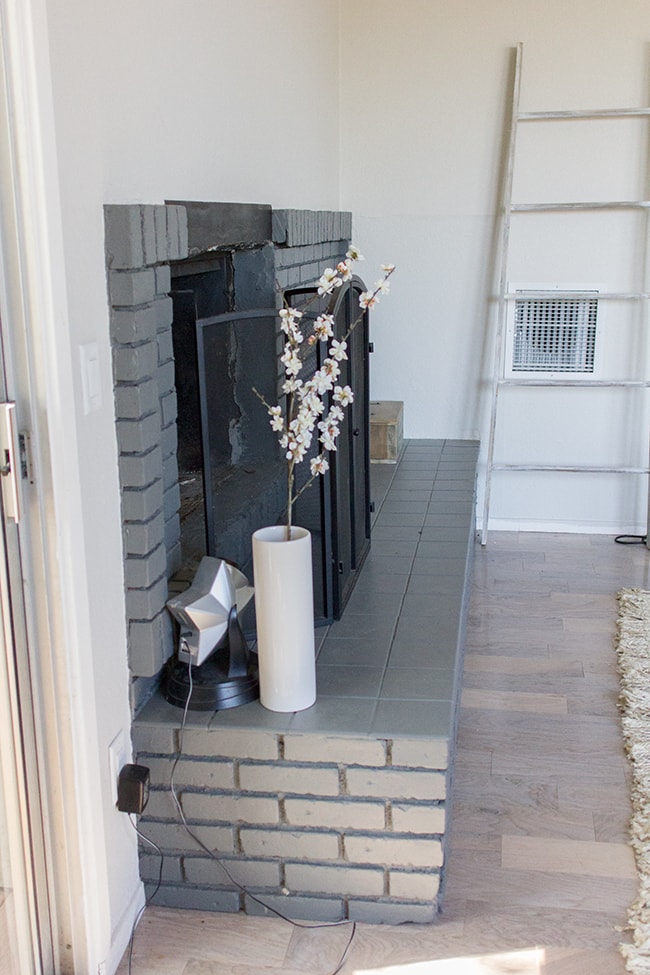
This is the current state of affairs…
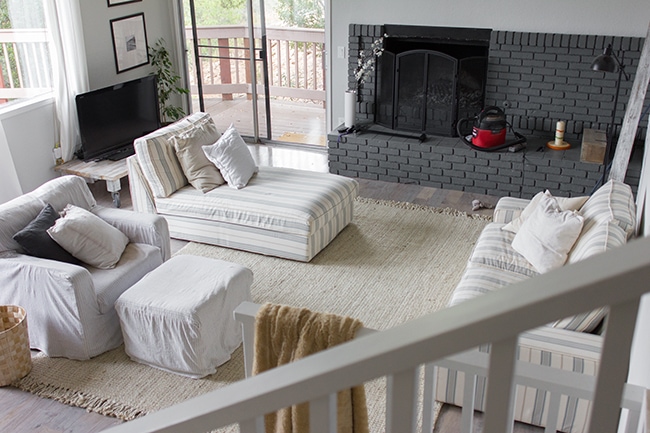
I posted this photo a few weeks ago to ask for opinions on a slipcover solution. I listened to all of your suggestions and ended up making my final decision.
To keep costs down, I’m going to stick with the arm chair instead of getting another Kivik lounge. And nope, I’m not going to rearrange the furniture—after going through every possible combination, this layout still works best for us.
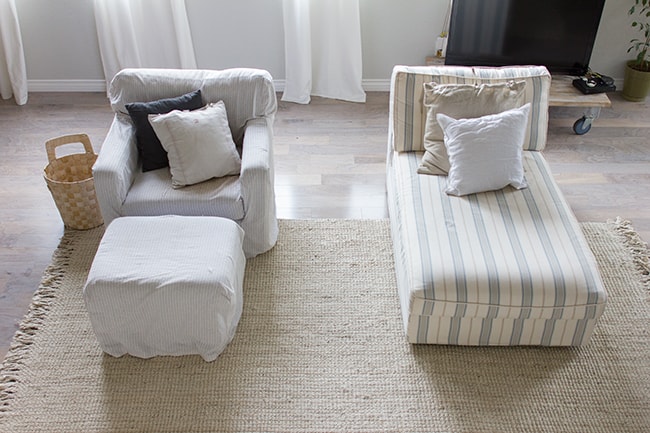
However, I’m ditching the footstool in favor of a large cable knit pouf, similar to this:


A tree stump or two from our backyard in between the two chairs…
 |
| via Pottery Barn |
And some light sources which have yet to be determined. It will stay nice and simple to let the real star of the room shine…
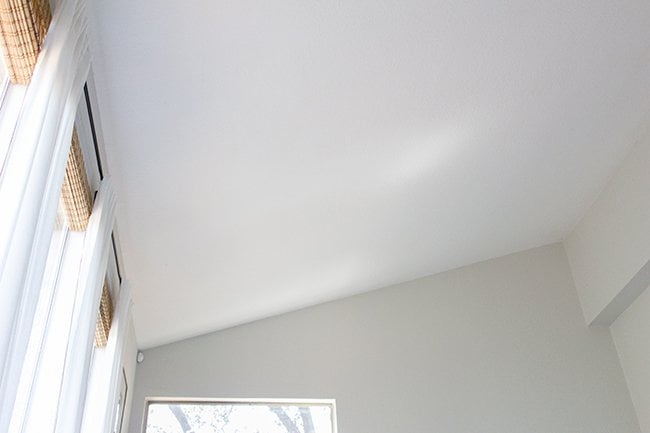
The fireplace.
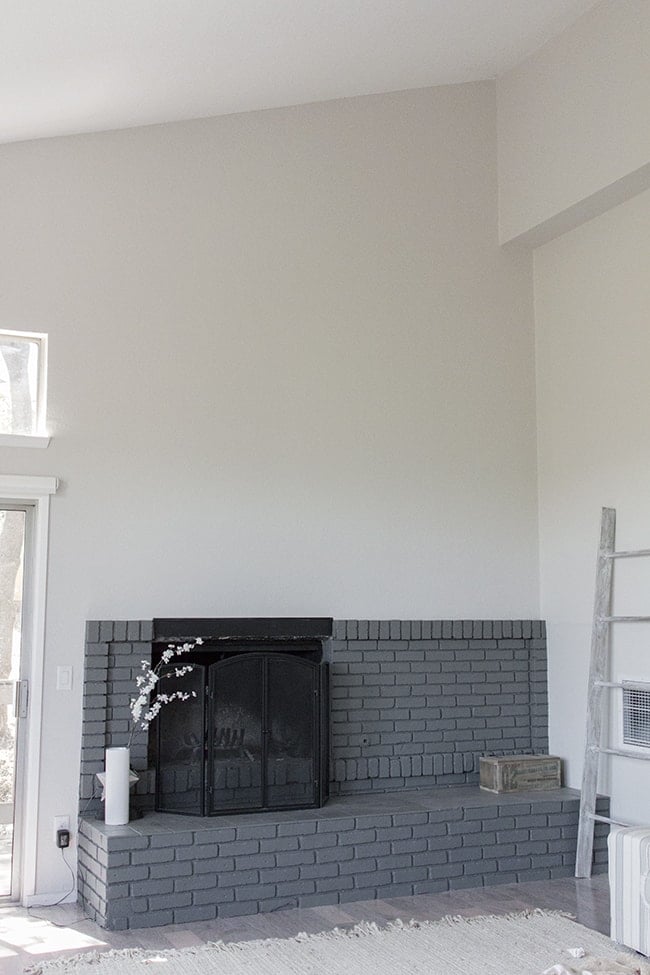
There’s not much to look at now, but you just wait. In a few weeks (fingers crossed) you won’t even recognize it.
Our handyman (the guy who built our stair railing) is going to cover the brick by building out a base from 2×4’s, then a tile guy will cover it with cement board and tile it with stone all the way up to the ceiling. It’s going to be a show stopper.
Why not do it ourselves? Well, the ceiling is over 16 feet tall at the highest point and not only am I too chicken to attempt to tile that high, but we don’t own scaffolding. Some things are just worth paying for.
We’ve decided to go with the same quartz ledgestone we used on our bar wall in the kitchen:
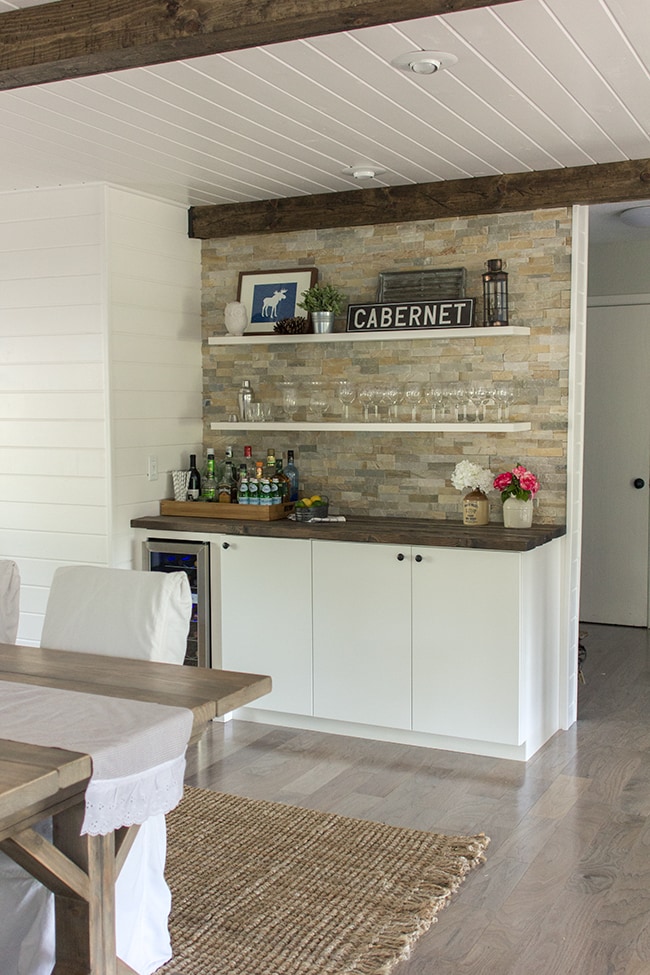
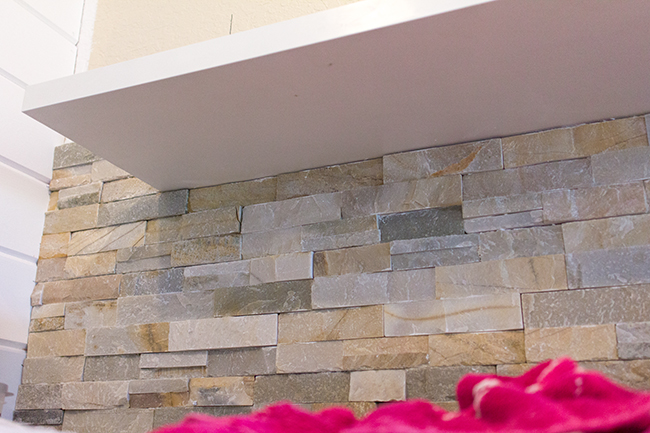
The rooms are open to each other so it will be a nice way to tie them together, and it also pulls in the shades of gray and brown throughout the house. And while it’s not cheap ($8/sf), our fireplace is in view as soon as you walk through the door and the intention is to make it the focal point + heart of our home, so I’m willing to invest some cash to give it that extra “wow” factor.
And of course, no fireplace is complete without a mantel. I pretty much hit the jackpot with this one. Because we live in a tiny mountain town, logging and sawmills are everywhere, so a few days ago I took the truck out to one of them in hopes of finding “the one” (if you follow me on instagram, you saw the live update):
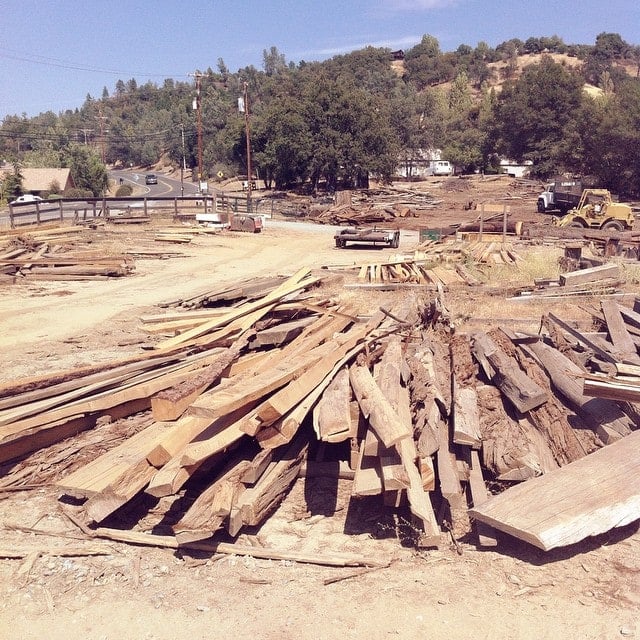
Acres of every type/shape/size of wood you can imagine. Piles upon piles of reclaimed wood… it was a DIY’ers heaven.
The owner quickly helped me locate the perfect timber (already the correct dimensions—12″ deep x 4″ thick—he just had to cut the length to 9’6″ to fit our fireplace width):
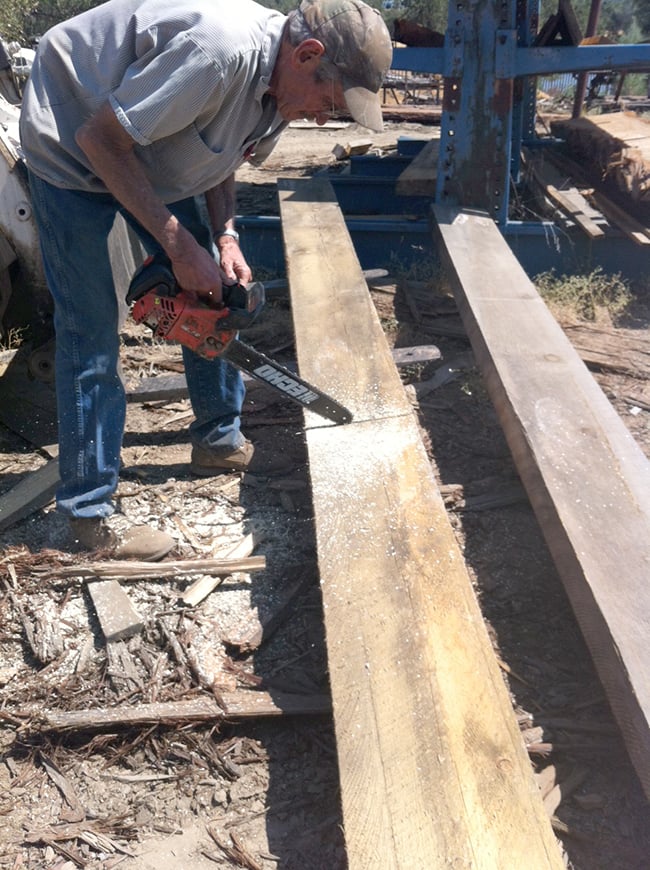
And it was only $70. I’ll definitely be back here for more.
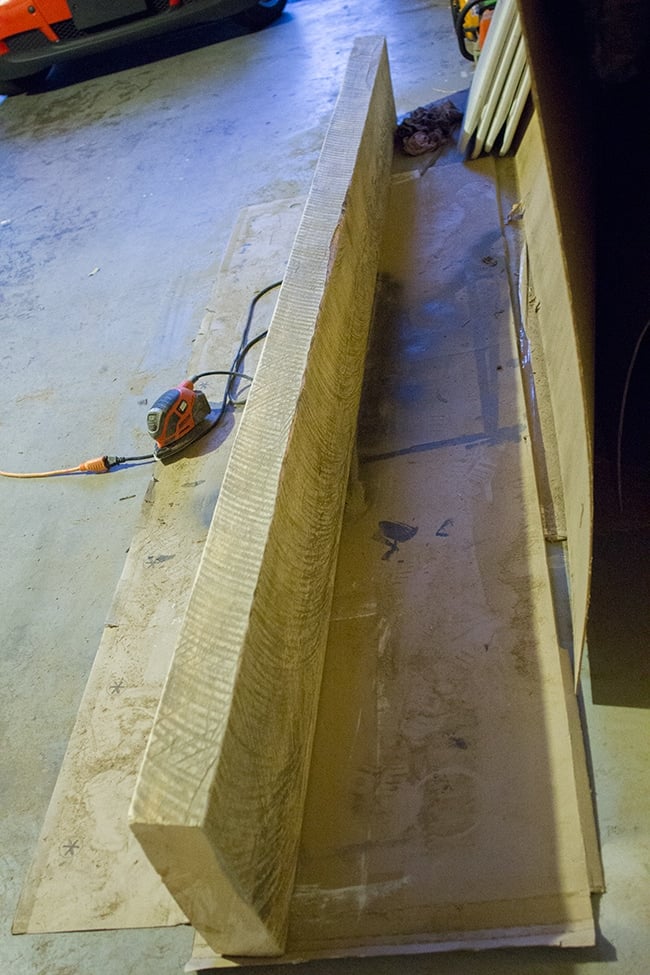
Here it is back in the garage:
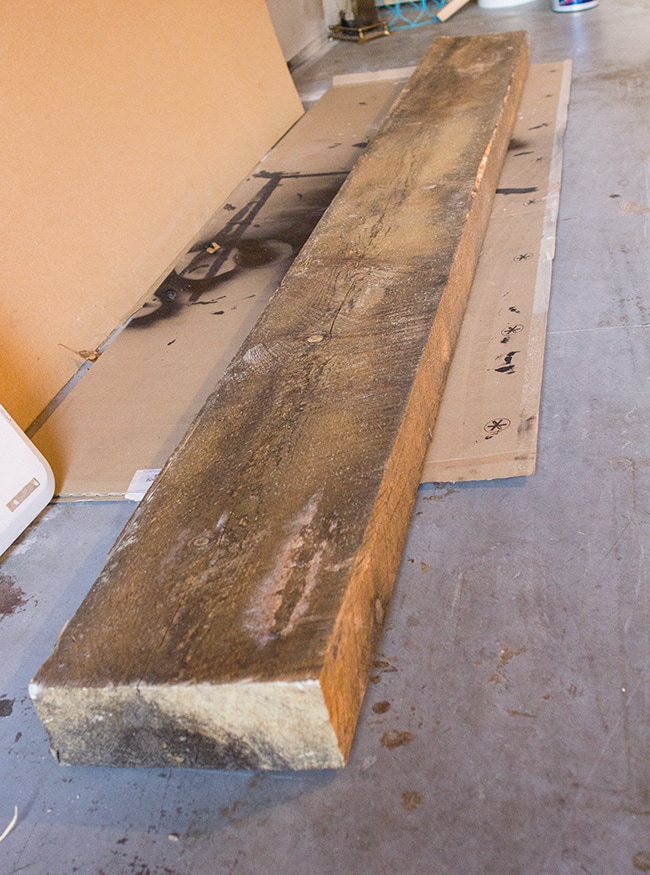
The raw wood was really rough and splintery…
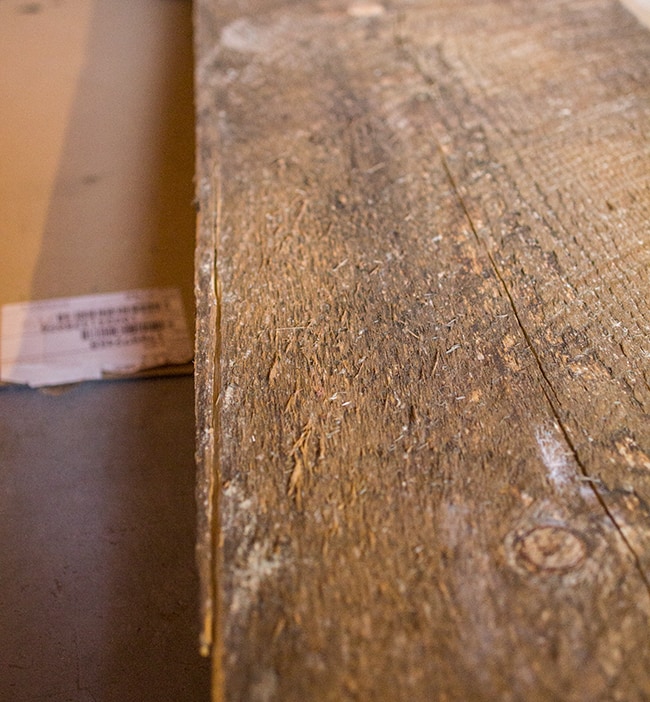
I used my Mouse sander with some 50 grit paper and went over it as best as I could. Since it’s not your normal piece of treated wood, there’s no way to sand it smooth—I basically just took the furry parts off.

This made the color much lighter…
so I picked up some dark brown stain to give it a nice rich contrast against the light tile.
I used Minwax’s “Provincial” stain (the dark walnut I had turned it black) mixed with a tiny bit of weathered gray to lighten it a bit (this type of raw wood really grabs the stain so you have to go lighter).
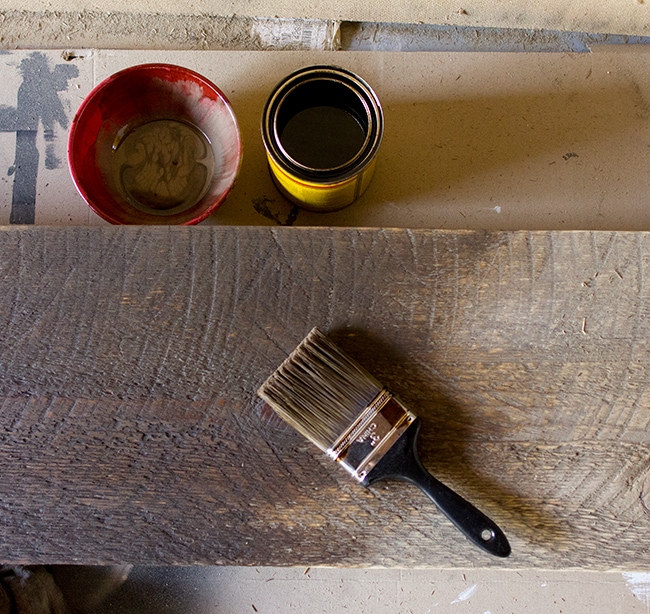
Because the grooves were so deep, a bristle brush was the only thing that could penetrate the surface (normally I just wipe on using a cloth).
Here it is ready to be sealed!

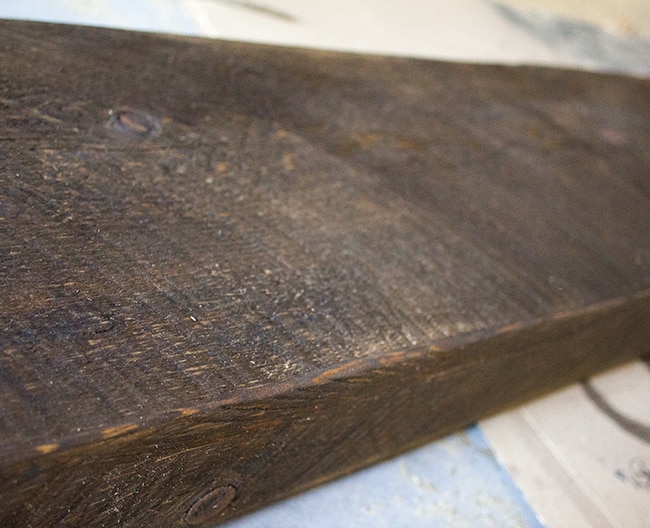
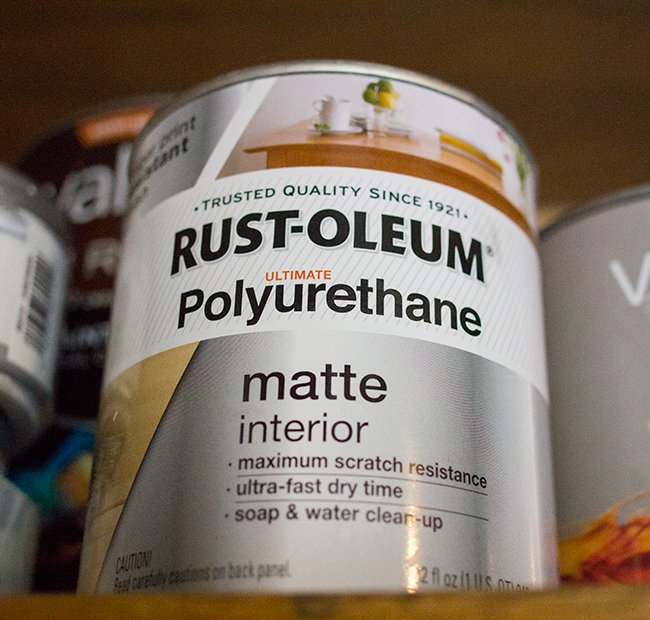
It has to dry for 8 hours, then I plan to use a few coats of this matte poly:
So the mantel will be ready to hang next week. Now I just have to wait for our guys to do their thing.
But wait, there’s more!
This ceiling is getting the full tongue and groove + wood beam treatment as well…
When we were house hunting, a tall living room with beams was my number one request (aside from a killer view). I’m not letting go of my vision so now’s the time to do it. It’s going to be just like the kitchen (same materials, paint, etc), except with just two beams evenly spaced (8′ apart, the room is almost 24′ wide).
Here’s a shot of the kitchen from the living room, to see how they will look side by side:
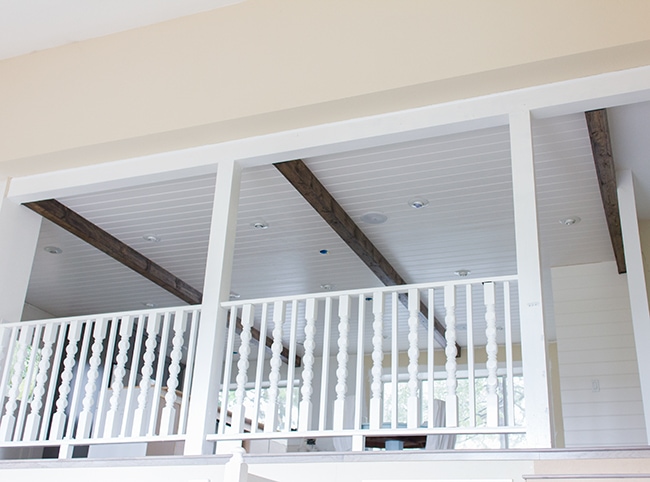
It only seemed fitting to continue it into the living room.
Plus, we need to add recessed lighting and speakers (it’s so dark in there at night!) and there’s limited attic access above the ceiling because it’s vaulted, so the only way to do that is to cut out pieces of the ceiling from below to run the wiring. Now we’ll be able to just cover right over it with the wood planks and not worry about replacing drywall or patching—so it solves that problem.
Oh, and of course we’re not doing this part ourselves either. We’ll prep and cut the planks and construct the beams, but our handyman will be doing the install.
We also have to relocate the TV to the fireplace mantel…
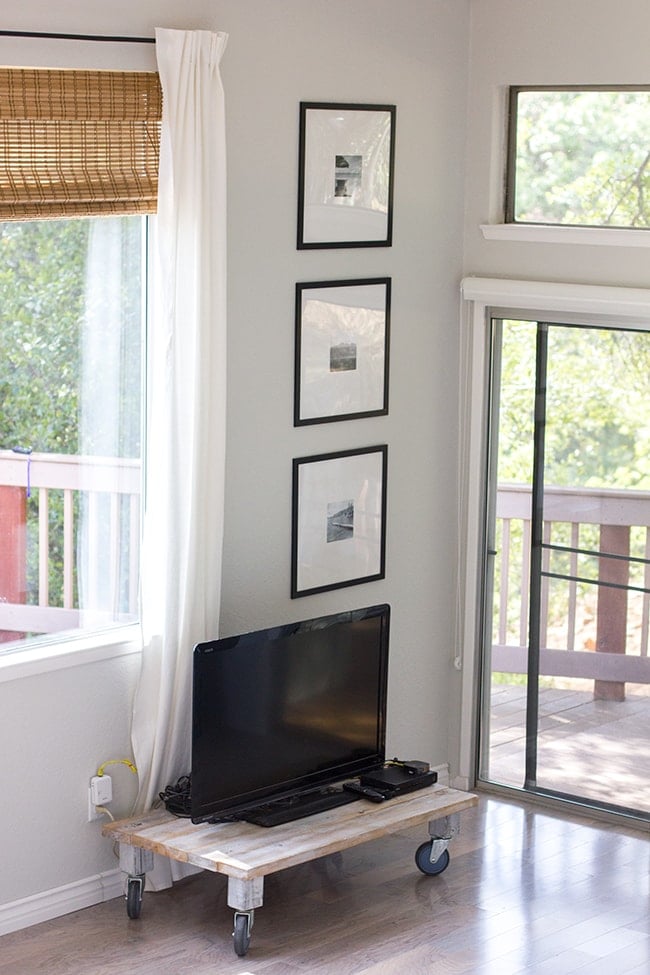
Unfortunately, the cable is connected to that outlet and it has to be ran back outside and then inside to the fireplace somehow—Brad’s figuring that part out. However, because there’s an outdoor TV right on the other side of that wall, the cable box and receiver needs to remain there, so I’ll need to find/build a small console table to place under the frames (and I’ll have to convince Brad to move the outlet over so there aren’t ugly wires running across the wall…)
And finally, I’m giving this sideboard an update:

It’s a little too shiny and new looking for me right now—I see some farmhouse style in the future for this one.
Alright, that’s a lot of information crammed into one post, but now that it’s all out in the open I look forward to getting started! Timeline for completion is anticipated to be 5-6 weeks. I can’t commit to a posting schedule (partly because we’re relying on other people) but I will update as often as I can. Hope you can follow along and enjoy our newest transformation!


Jenna Sue says
I don't think we're entirely sure how we're going to do the wiring as of yet, lol. Since this post we decided to get rid of the amp and cable box completely in the living room and relocate it to the hall closet upstairs, so there will be some wiring ran through the attic. I still don't know what Brad has planned for behind the TV though—I know he has to add a couple receptacles that will need to be hidden in the empty space next to the 2×4's (behind the stone wall). We still have some things to figure out 🙂
Oh, that photo with the 70's spindles is old! We had them replaced a few months back: https://jennasuedesign.blogspot.com/2014/04/we-have-new-stair-railing.html
Jacqueline Noto says
Firstly, I love your ideas – can't wait to see!
I think I'm confused about the cable/TV part of your description – is it going to be run around the sliding doors through the 2×4 base you're having done? Or can you not have the cable going behind the stone so you'll have it under some sort of lip like in the Alicia Lane fireplace?
One more question – do you like the spindles in your railing or do you have an idea for replacing those down the road?
Best,
Jackie
Astin says
Can't wait to see it finished and I look forward to each update!!
I do have a question, I LOVE white furnature like couches and chairs, but I'm so scared they will get dirty if I get one. How do you keep them so clean and what do you do about stains?
Jackie says
I think the ledgestone fireplace will look amazing,
DianeTaylor says
Jenna that sounds so cool – can't wait to see how it all turns out !!!!!
Ashley @ Life on the Parsons Farm says
I am most excited about the fireplace process. I just know it's going to look great! As well as the ceiling. I am so glad I found your blog because your style is right up my alley!!
atparsons.blogspot.com
Chocolate and Heels says
Sounds great! I can't wait to see the finished result 🙂
Anonymous says
I agree. I'd run the living room beams in line with the kitchen beams since both rooms are open to each other. Either way, it's all going to look fantastic!
S says
It sounds like a plan, and a good one, I might add. I will look forward to seeing it come together.
Cindy @Made2Style says
Everything sounds so great! I cannot wait to see how the fireplace turns out, it's going to be amazing!
BlueClearSky Elizabeth says
Your plans sound great. Carrying the ceiling and beams over is a great idea. The rough cut mantel wood is a great piece. My father-in-law used to have a sawmill here in Ontario, Canada and we didn't think at the time, as newlyweds, to stock up. Now he's retired. I look forward to seeing the changes when they happen. I am so happy to have found your blog as I love your style.
Jenni Ahokas says
I´m so looking forward your living room update! The fireplace is going to look amazing! And that mantel, wow! I totally understand why you want wood beams, they complete the room. But I´d run them from those kitchen beams, as if they continue to the living room (a little like in the first inspiration picture). Hope you can understand what I mean! You could then put those recessed lights in those beams and run all those wires inside the beams. My sister has done like that and it looks great.
You are doing wisely and hiring someone to do the hardest parts, so you can take some time off or concentrate on other things!
.
Jenna Sue says
There's currently nothing in the living room that's distressed/aged so it actually would be there to break up all the clean lines 🙂 I've lived with it for months now to see if it would grow on me and unfortunately it hasn't—just feels too formal for a space I want to be more casual. It wasn't an expensive piece so I don't mind having fun with it. No gray stain though, it will stay wood/brown.
c says
I love all your plans except distressing/chicken-wiring/gray staining, whatever old-ifying you're going to do to that lovely sideboard. Wouldn't it be nice to keep something different from the rest? If it's *all* distressed and country don't you run the risk of living in a theme-park like recreation? It's so pretty now.
Lisa @ Fern Creek Cottage says
I am so excited for your living room makeover!! Especially the fireplace! It is going to look amazing!