The time has finally arrived to discuss my favorite part of this bathroom—the tile!
Before any of this room was planned, I knew pebble tile would be the main feature. My Pinterest board was filled with stunning river rock bathrooms and I actually almost used it for my One Room Challenge makeover, but decided to save it for the master bath instead. So I’ve been waiting an entire year for this moment and it feels so nice to finally be able to see my vision come to life!
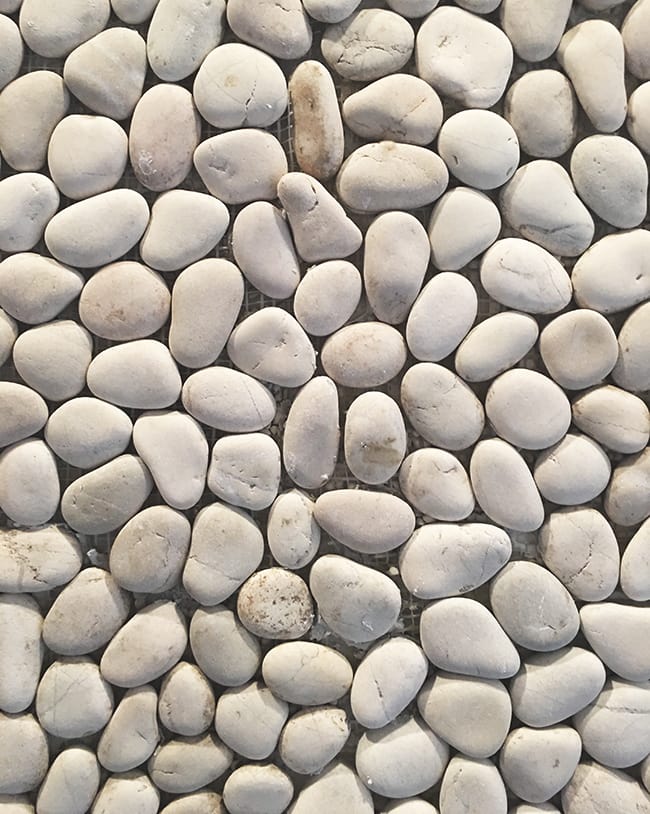
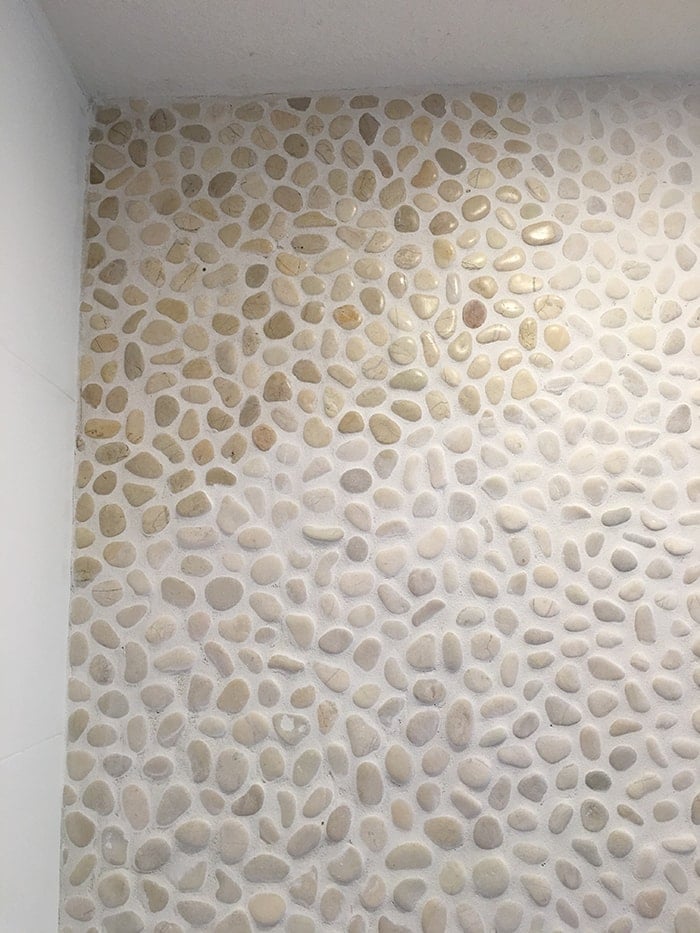
I found my dream tile at The Tile Shop—12×12″ sheets of white pebbles:
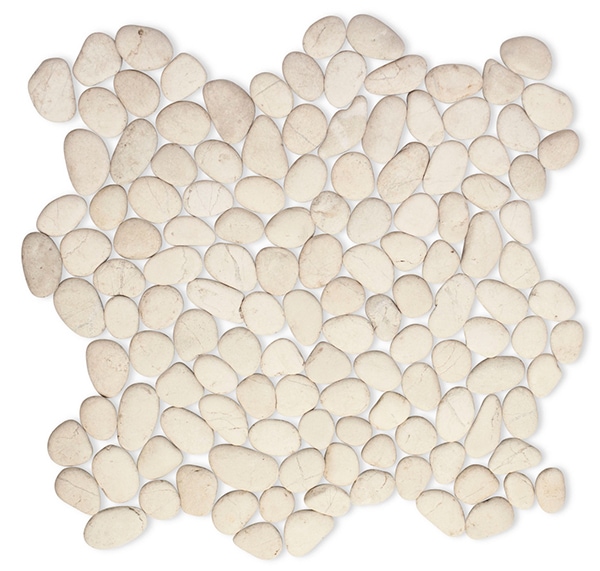
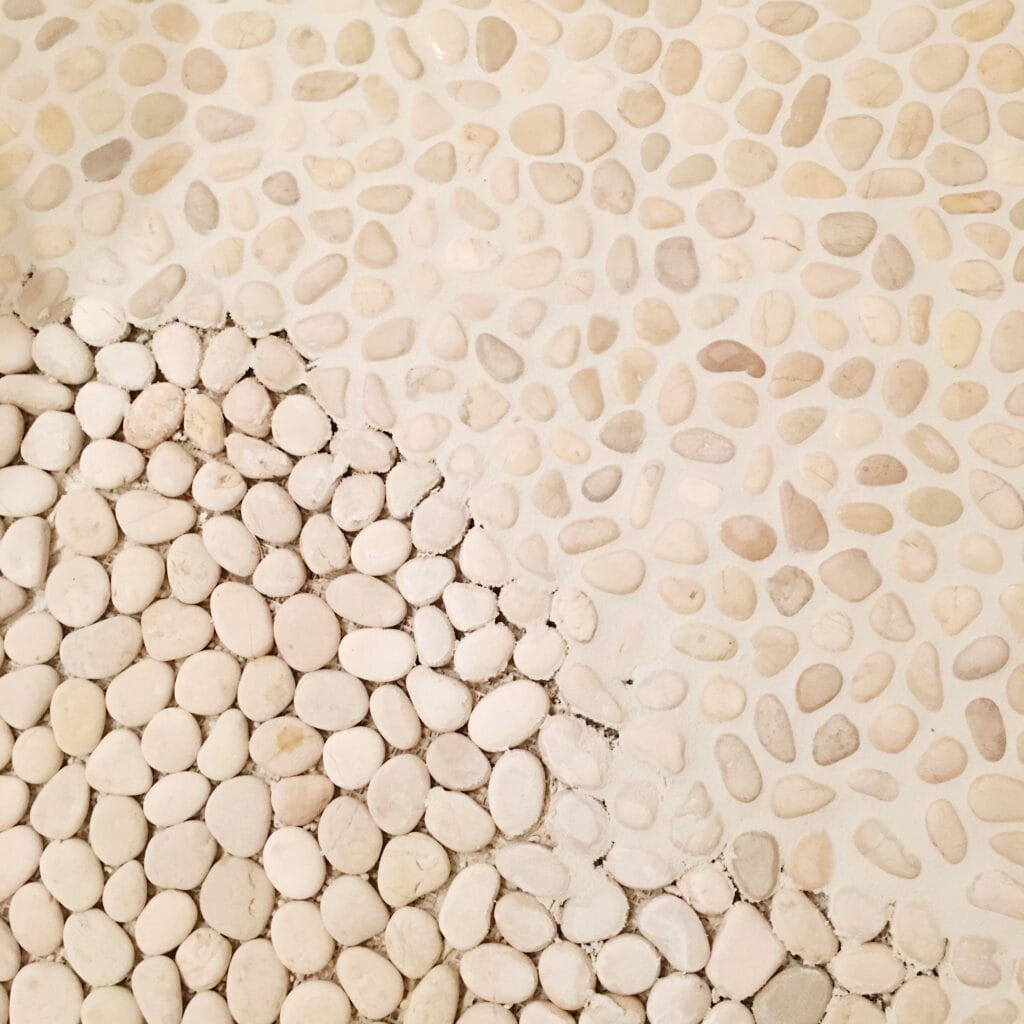
Once installed/grouted/sealed, the coloring ends up a bit more varied with some natural golden hues (which I was hoping for!) and it ends up being the perfect light monochromatic scheme for a light and airy spa-like feel.
When I approached The Tile Shop with my design mockup and plan for the space, they were super excited and offered to partner with me on this project, and make sure the ordering process went as smoothly as possible from start to finish.
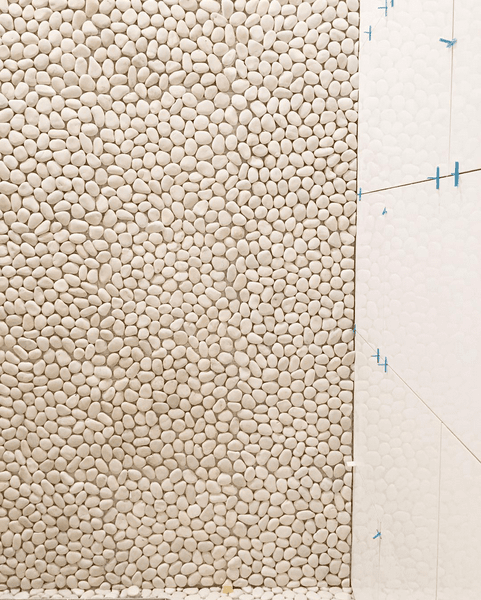
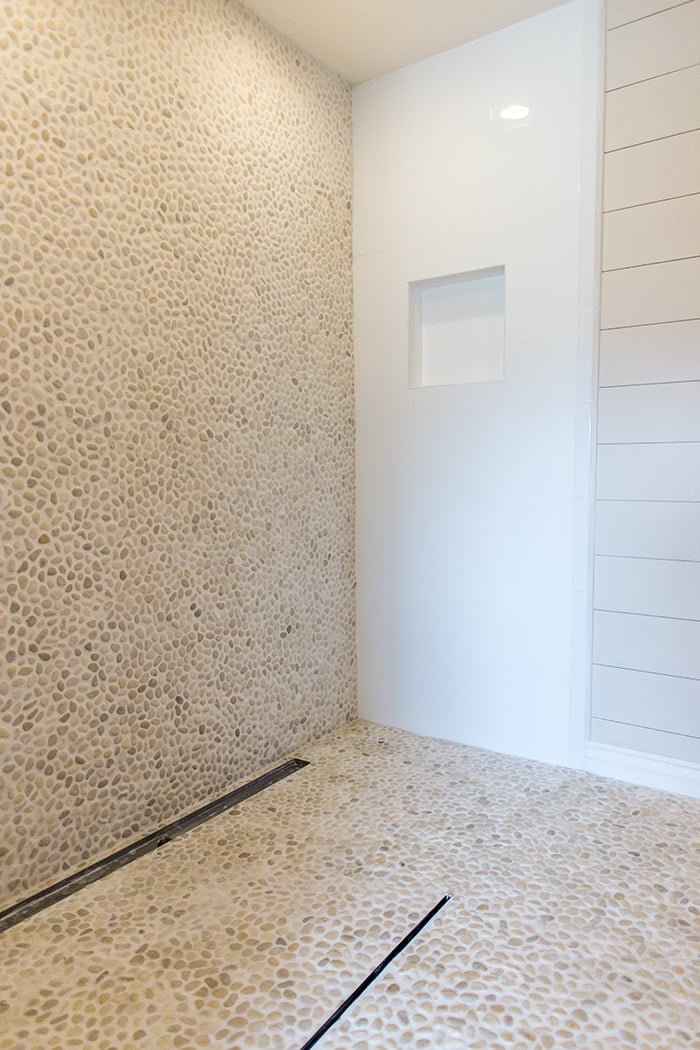
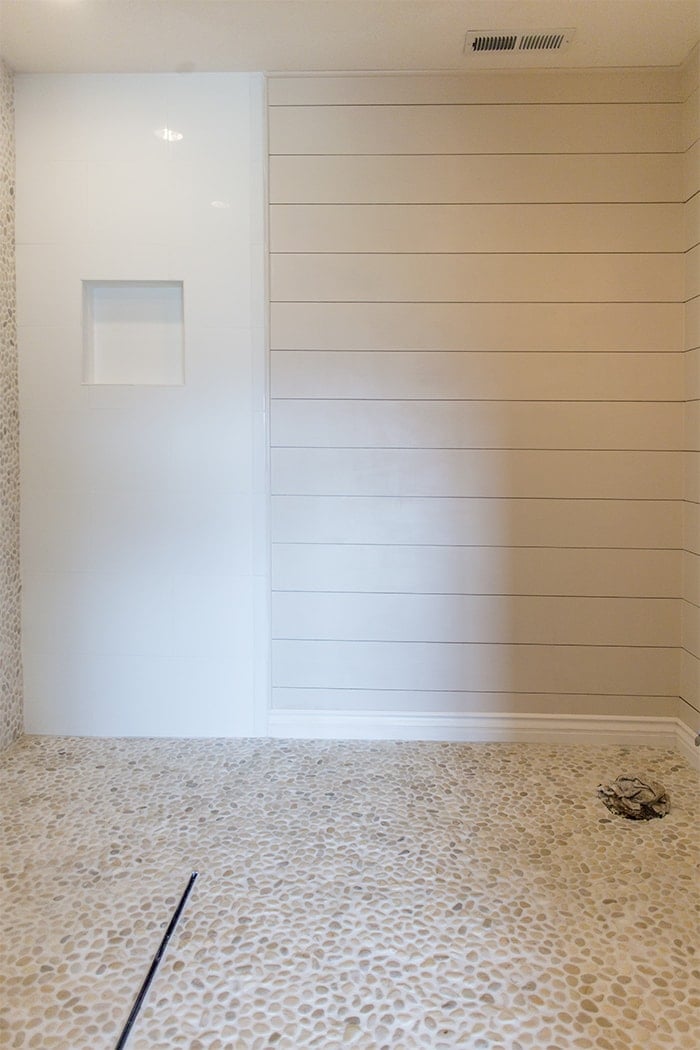
I ended up ordering around 130 sq ft of pebble tile to cover the floor and back of the shower wall, and they also worked with me to find the perfect shower wall tile and trim. I also picked up around 60 sq ft of the Imperial Bianco 12×24″ ceramic tiles and coordinating bullnose tile for the two shower side walls. The simple white finish from floor to ceiling makes the room appear larger and allow the pebbles to really stand out.

Knowing I’m on a tight schedule, my customer service rep took care of all of the installation materials and made sure to include thinset, caulk, grout, admixture and sealer with the tile delivery so my installer could get right to work.
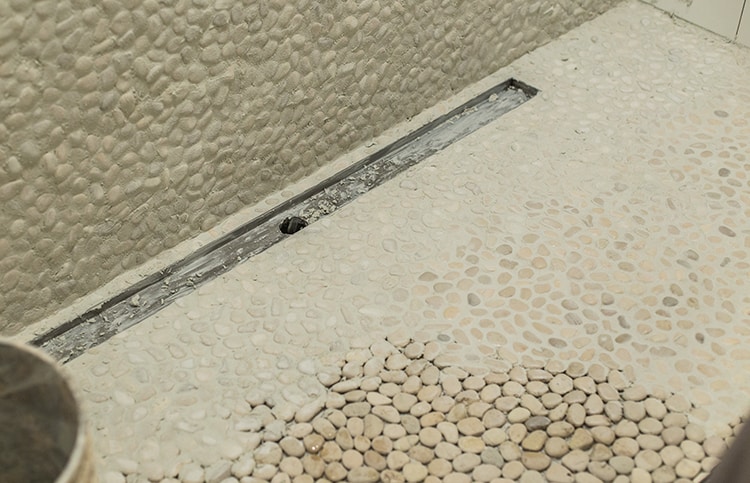
Speaking of—my tile guy suggested using a linear shower drain which not only makes draining more efficient by increasing the surface area, but allows the floor to be sloped in a single direction rather than multiple planes when using a standard center drain.
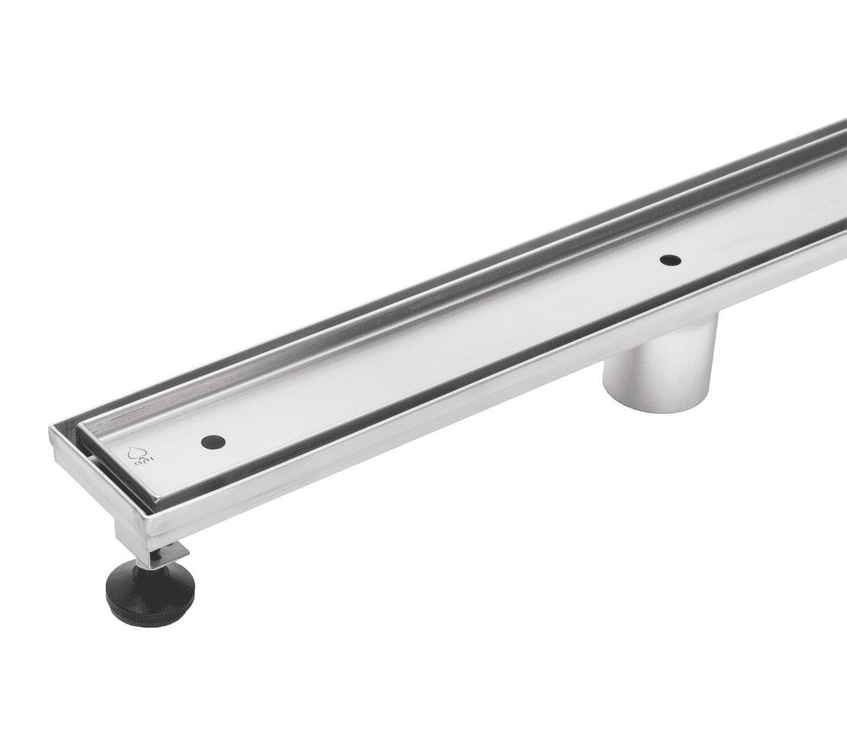
By using the tile insert design above, we’re able to fill the channel with stones once installation is complete so that it all blends together and I’m able to avoid an unsightly metal grate in the middle of the floor. I shopped around for the best price and ended up with this 48″ model from Ebay.
Now that my plan was set, it was time to get started! Just for fun, here’s an original throwback photo…
During demo, the adjacent linen closet was removed to open up the space. Bonus video time!
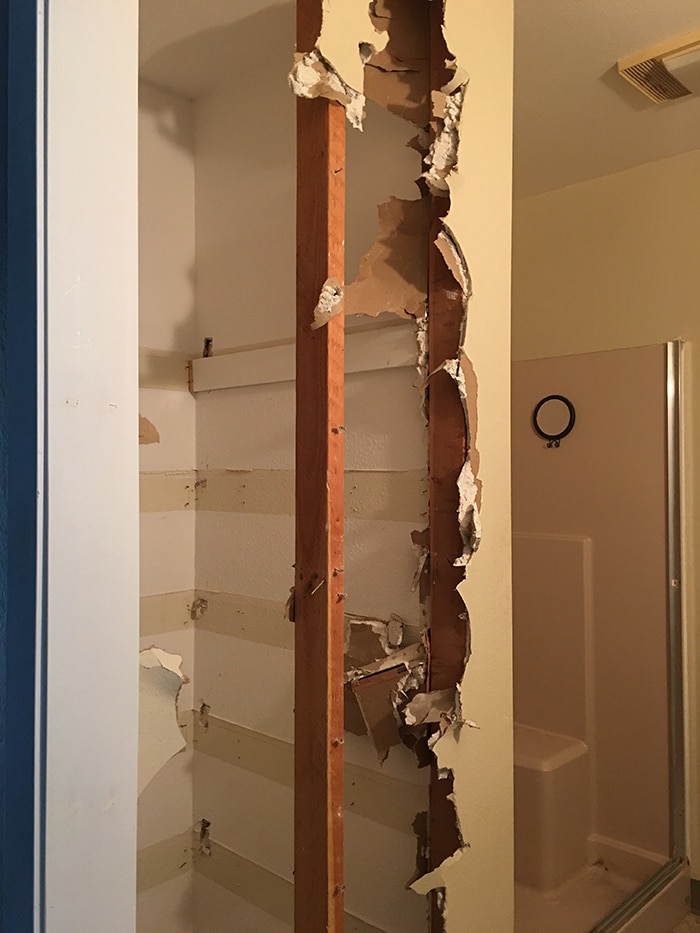
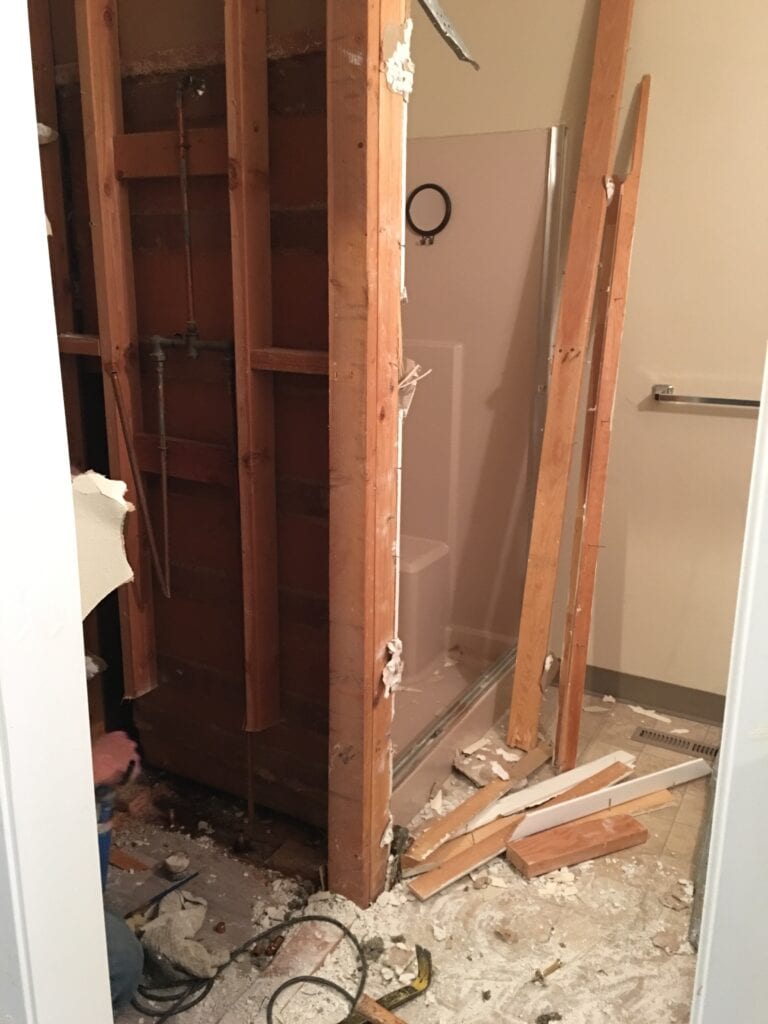
Once the drywall was out, subfloor gone and the plumbing re-routed, it was time to start putting it all back together:
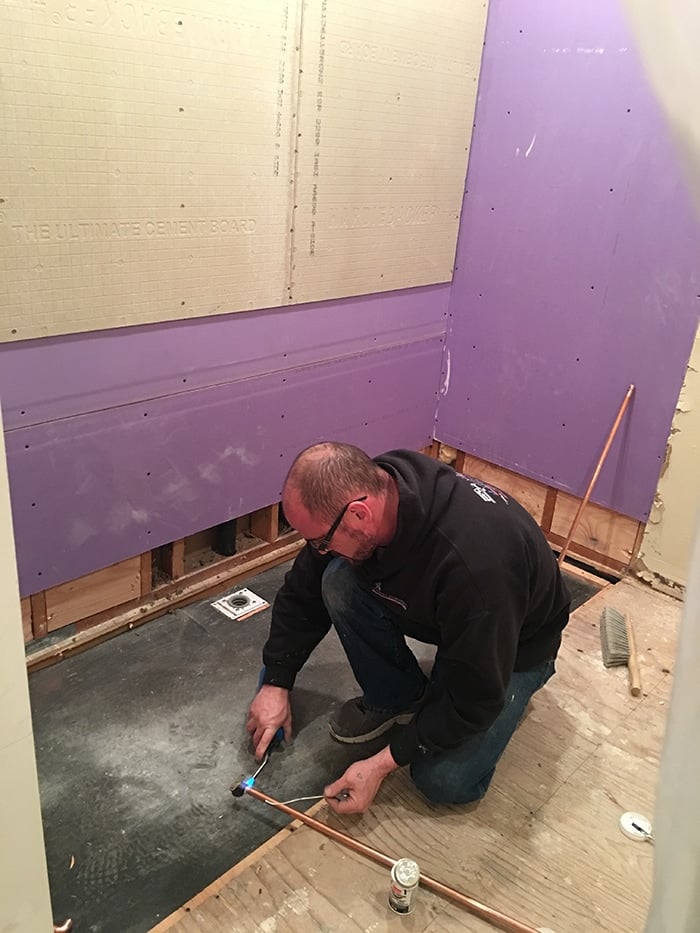
My tile guy (Matt) rebuilt the flooring on a slope leading to the linear drain:
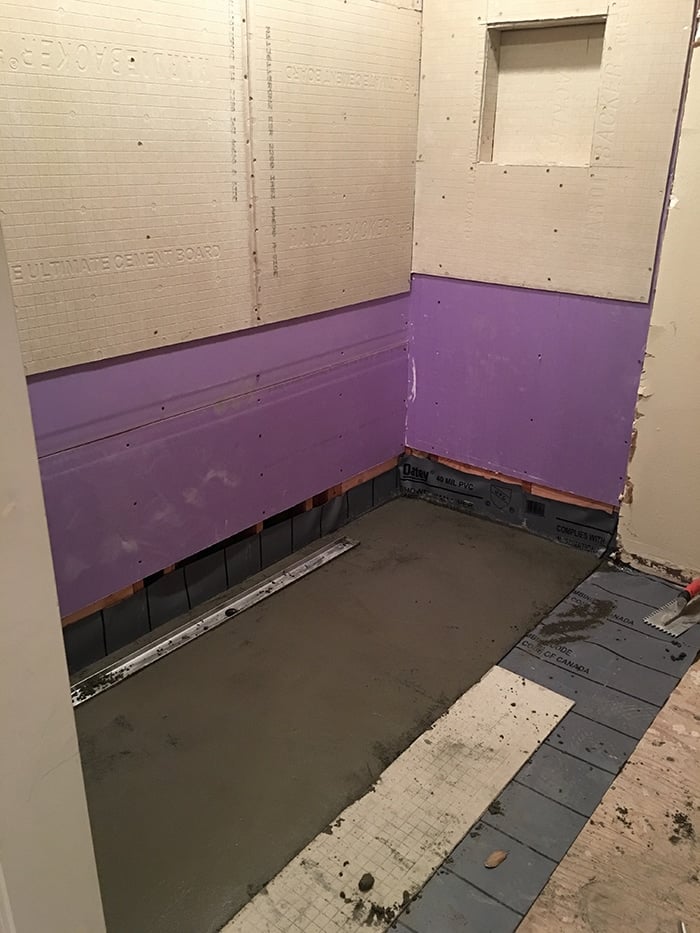
Then the cement board went down in preparation of the tile (psst, if you’ve been watching my weekly vlogs you’ve seen all of this before!)
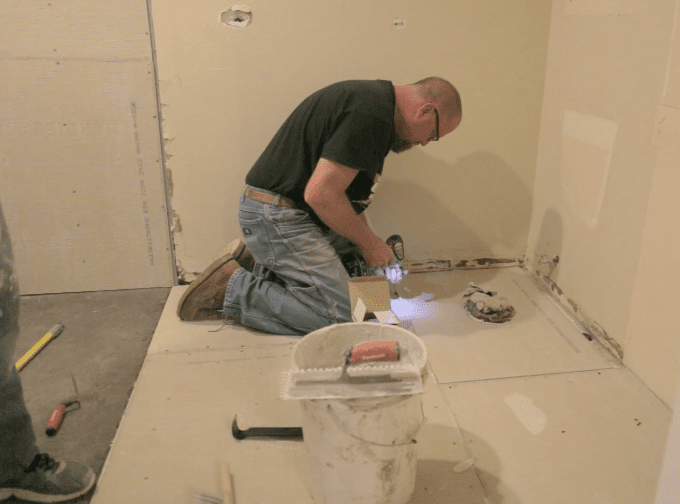
And finally, the tile installation:
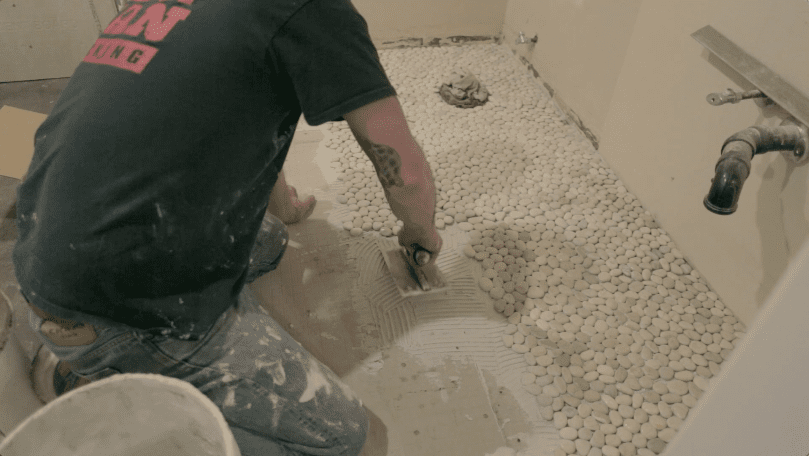
I’ve tiled a few walls and floors in my day and honestly, if you’ve never tiled and want a good beginner project to start—pebble tiles are the best. Because of their imperfect nature, you don’t have to worry about straight lines or spacers or perfectly even flooring/walls. As long as your surface is level enough, it will look great.
I almost wish I had the time to do this whole job by myself, but I managed to get involved by letting my perfectionist side come out and make adjustments.
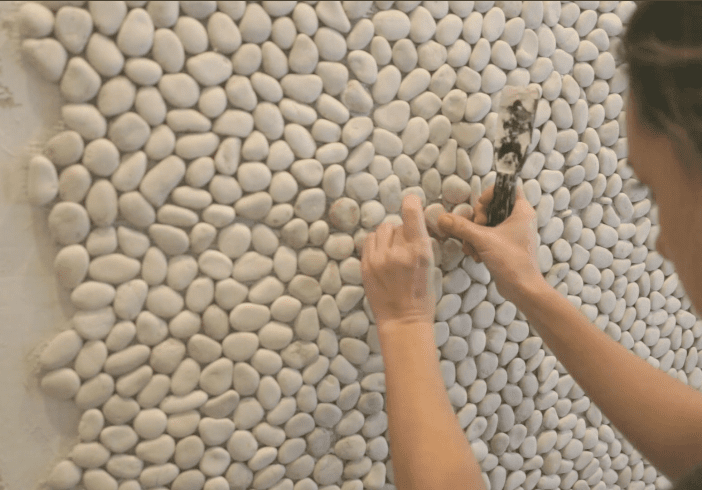
The pebbles are glued to the backing, but you can easily pop them off individually and move them around if desired.
Like this area with a noticeably larger gap:
A few swapped/rearranged pebbles later and problem solved…
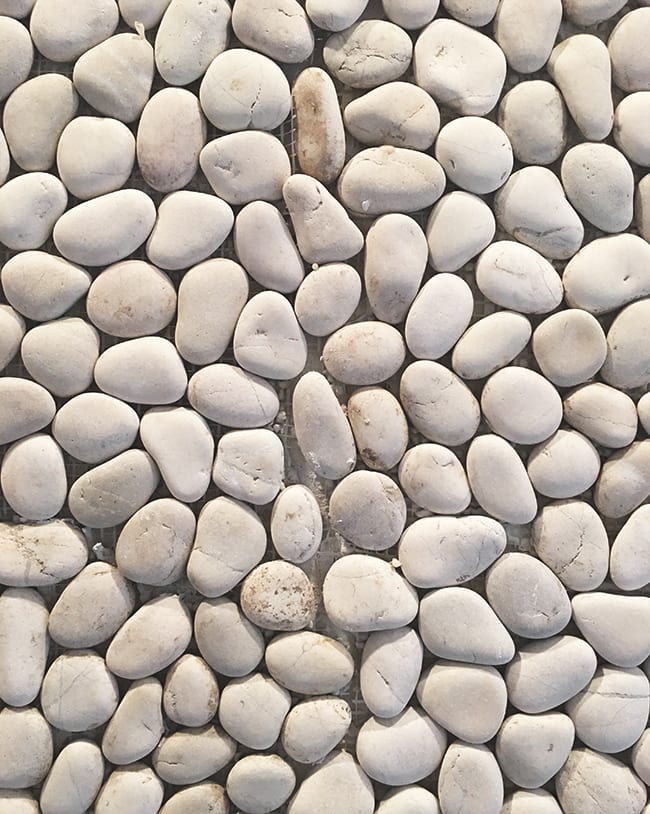
So, that part was fun for me. There’s something oddly therapeutic about working on little details… just me? Anyway, I later learned that as obvious as the gaps and inconsistencies may be after the tile is set, it pretty much all goes away once grouted so there’s no need to try and make everything too perfect. After all, real life rocks are random in nature!
I could barely hold my excitement in watching it all come together.
Speaking of watching, here’s more video installation action:
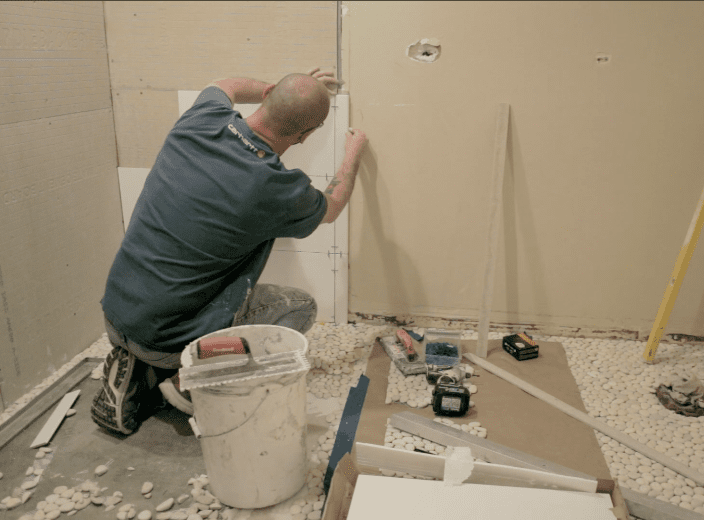
Moving along. The side walls were also built up at the same time…
Oh so pretty…
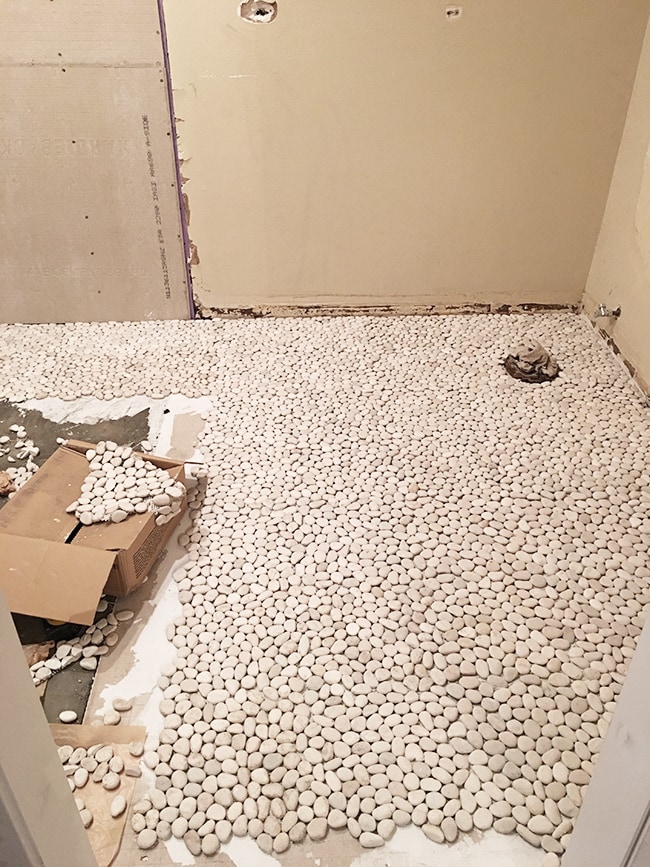
I was out of town when phase 1 of the tile was finished, but Matt sent me this photo after completion:

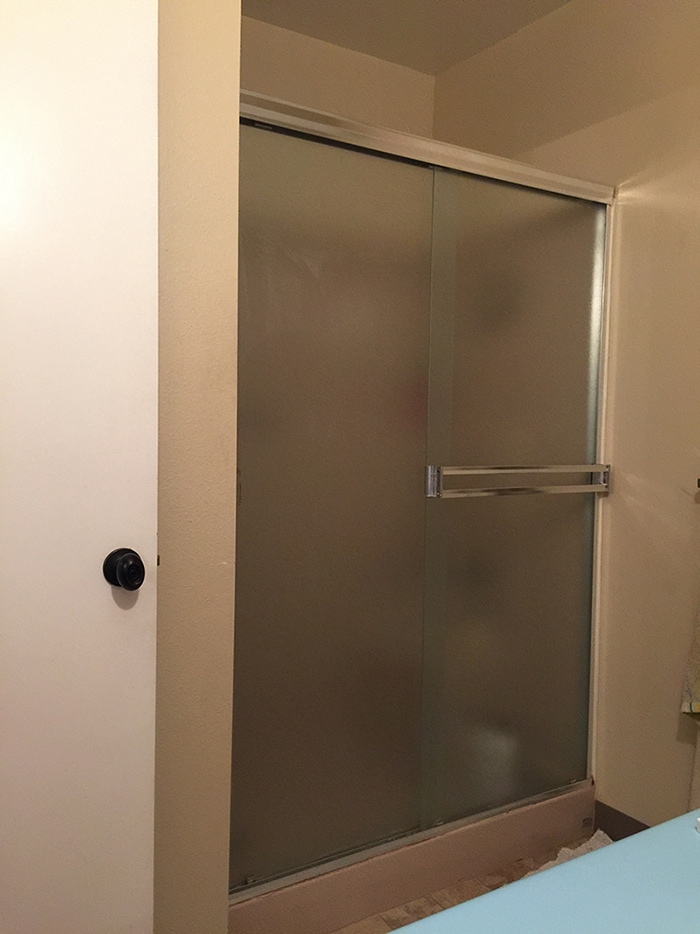
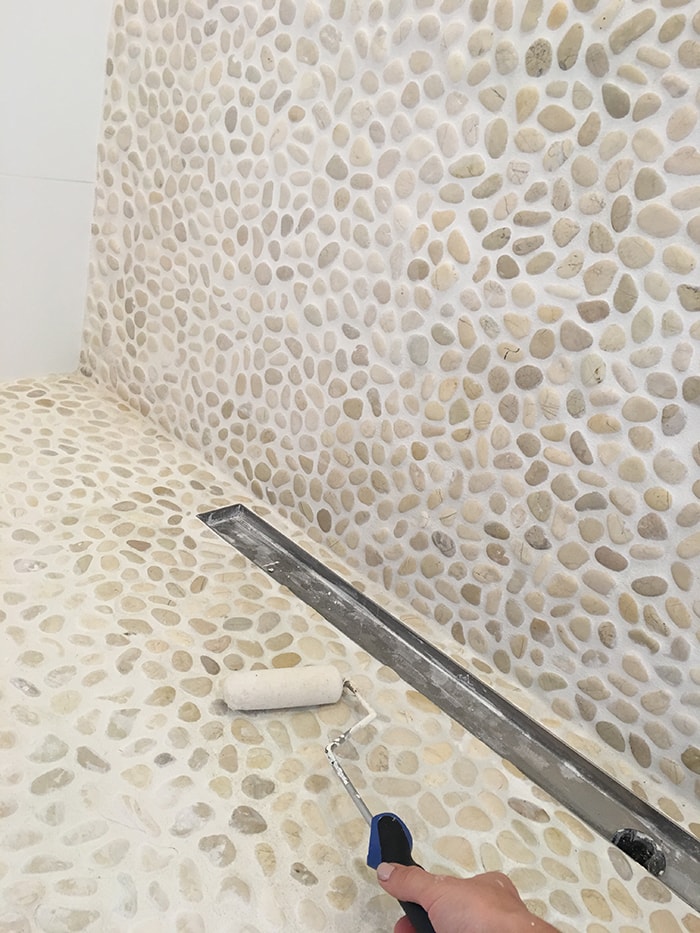
You may be wondering what that black channel is all about. Rather than order a glass shower wall and door kit which can cost thousands of dollars, I decided to keep a more open layout and have a 7’h x 4’w fixed glass wall panel to divide the shower area. Not only does this make the room feel larger and more spa-like, but the total cost was only around $700 (from a local glass company) and I think it looks so much nicer! That will be the final step, installed next week.
On Tuesday, the grout was installed and I was on pins and needles as he began…
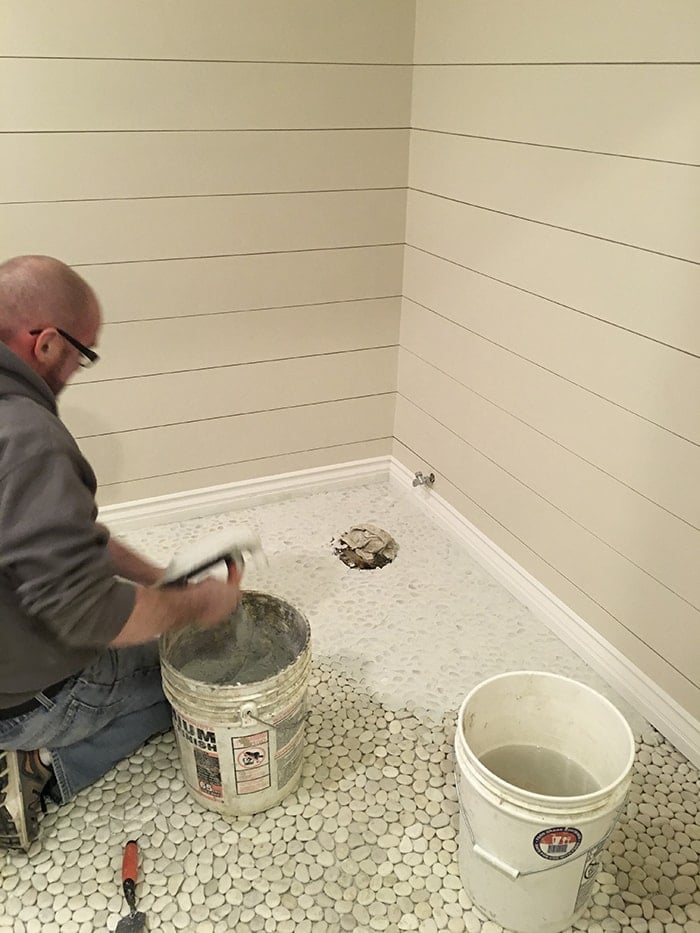
Lots and lots of (sanded) grout is needed for this tile—more than we’d planned for—so make sure to buy extra if you’re using pebble tile!
When the excess was wiped off, it was everything I had ever hoped for. Perhaps more.
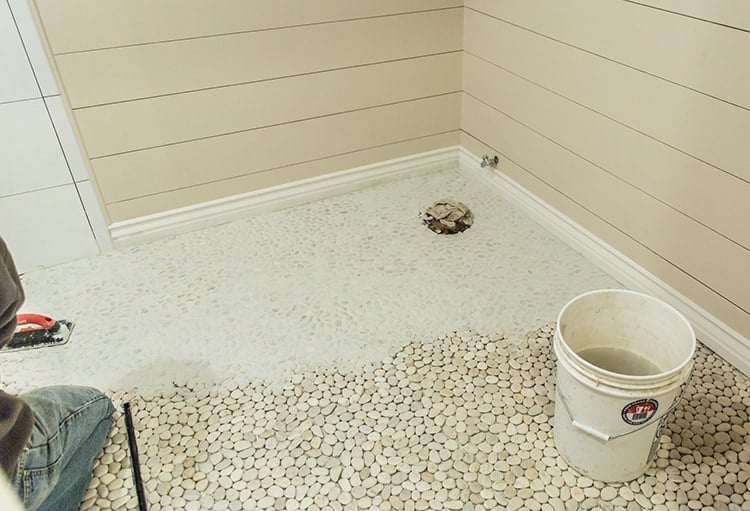
See how big a difference grout makes?
Any gaps or imperfections I was worried about had all disappeared.

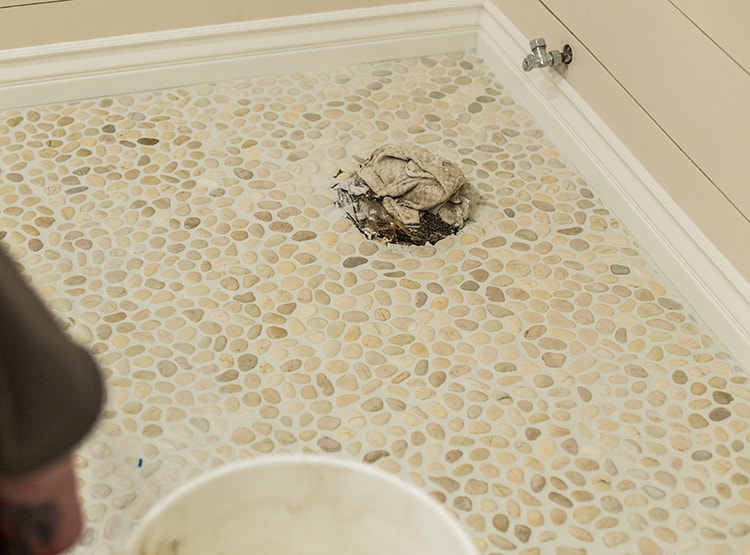
Close up shot of the drain which will be filled with rocks soon. Can’t wait to see how that turns out!
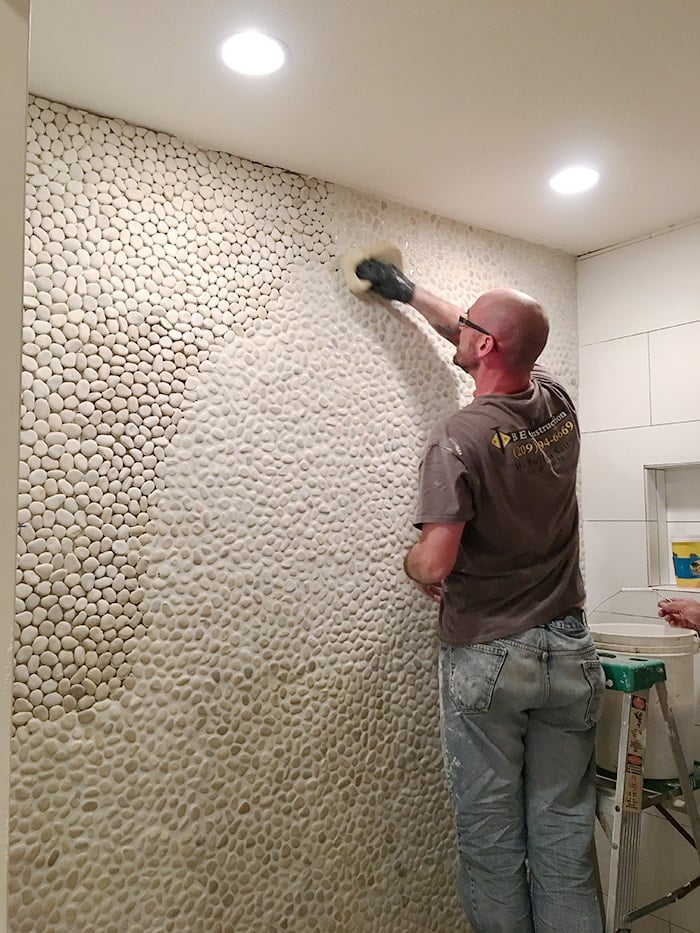
Thursday morning I sealed the tile using this natural stone sealer from The Tile Shop:
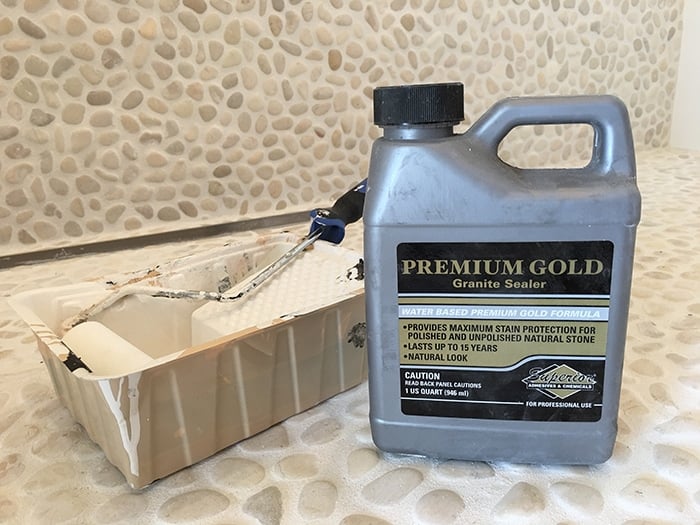
I used a smooth foam roller to speed up the process, and the porous stone and grout surface soaked it all right up so no wiping was needed. The colors will darken a bit during this process but it goes right back to normal once dry.
I applied two thick layers ~30 minutes apart, and by the second layer noticed that the surface was already be coming water resistant so it’s doing its job! Hopefully it will protect against staining and make cleaning & upkeep as easy as possible.
As of the time this post was written (Thursday afternoon), here’s how the bathroom looks:
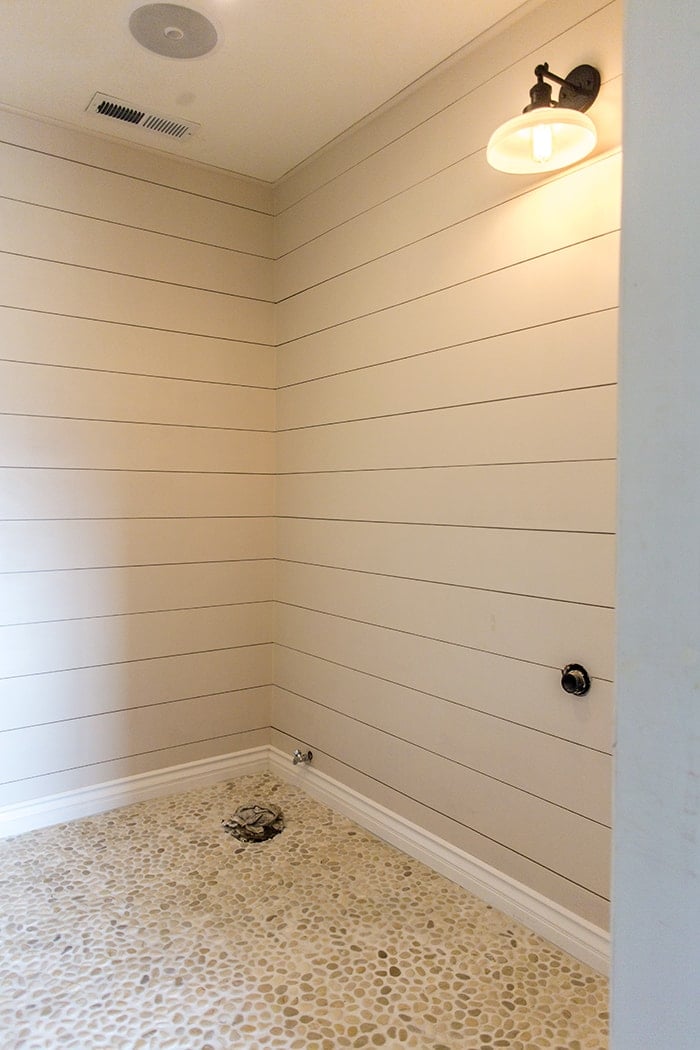
Now that the tiling is officially complete, I’m super happy with my wall color choice (Valspar’s Coconut Milk) and love how it pulls from the tones of the pebbles to create a cohesive look.
Two of my contractors are scheduled to show up any minute to install the toilet, vanity, sink & faucet, shower faucet, mirror, and help me with some wall shelves if time allows. Hopefully by the time you read this post Friday, the bathroom will be 90% done—and all that’s left to do is install the shower glass and accessorize—just in time for my open house next Saturday! EEK!
I have a fun and free Spring inspired DIY project planned for the bathroom wall and guess what? I’ve decided to do another video tutorial for you guys! I’ll have that ready next week, along with Vlog Episode 10, and—if time allows—DIY barn door plans and/or DIY industrial desk and/or wood bench projects… I’m functioning on 5 hours of sleep and can barely keep track of it all right now. If you feel like jumping on board this crazy train with me, follow me on snapchat @ jennasuedesign for constant live updates!
Hope your weekend is more restful than mine…


John says
This looks so great, it’s a shame you won’t get to enjoy it for too much longer. I can’t imagine how hard it must be to resist making sure each stone looks like it’s in place, but the end result shows that everything worked out well enough. Thanks for sharing!
Natalie S. says
So pretty! Just sad you probably can’t enjoy it very long, because I wouldn’t be surprised if your house sells THIS weekend!! ??
Leah says
Oh wow, granite sealer on the pebble tiles and grout??
This bathroom looks GORGEOUS……
Great job JennaSue!!!
Keep smiling, this house is going to sell FAST!!
Leah: )
Britt says
Jaw dropping! Seriously, this is going to be one beautiful bathroom. Hate you won’t get to enjoy it much longer–but hope you get some good showers in before you sell! Can’t wait to see more.
Barbara H. says
I’m not receiving your blog posts in my Yahoo email account. Don’t know if it’s on your end or a Yahoo problem. Thought you might want to know in case this is happening to other people.
Barbara H. says
Oh yes, the bathroom is lovely! Beautiful house – it’s come so far and it wasn’t all that bad to begin with.
Kathryn says
So beautiful. And I’ll consider it for our master bath. You may have a hard time leaving that pretty bathroom when the time comes. Thanks for posting the process. Grateful!
Dani says
This is so beautiful! I have never seen a tile job like it. It really does have a restful, natural look… almost like an outdoor shower, but much more luxurious. I can’t wait to see the final reveal – you’re doing such a wonderful job!
https://danielleandco.com/blog/2016/hiding-cords-sofa-table
Jessica says
Love this! I’m such a huge fan of yours.
I love this so much I’m thinking about adding pebbles to my bathroom.
Question: I have a tub, would you still do pebbles on the back wall and floor if it was broken up by a tub?
jennasuedesign says
Yes, absolutely! 🙂
Celestte says
LOVE, LOVE LOVE this! And love your style. Have enjoyed following your journey — truly an inspiration. Best wishes on the next chapter. I look forward to following along.
Vivian says
This bathroom already looks so pretty! I love pebble tile. Btw, where’s that mirror from?
jennasuedesign says
Thank you! Wayfair and more details on that soon!
Valerie says
It is lovely…. you must be sure to use it before you move. I love love the pebbles and truly is just like a relaxing spa. Good luck on your future plans, you are an inspiration.
drake says
looks amazing! you are such an inspiration.
Hillary says
That looks fantastic! I pretty much love every design decision you make though. Great minds and all… 😉
Question: Is it just the angle of the picture that makes it look like the shower floor is sloping towards where the glass wall will be and not the drain?
jennasuedesign says
Thanks Hillary! I don’t see what you’re seeing but it’s definitely sloping toward the drain 🙂
Angela says
How will you ever part with this house? You’ve put so much of yourself in it! What will you do after it’s sold? Is your FL house going on the market too? Just wondering about it all. I’ve been following you for a long time!
jennasuedesign says
It won’t be easy, but I’m also ready for the next season of life! Brad will keep the Florida house, and I’ll be sharing more details about future plans soon 🙂
Jenna says
I absolutely love your designs, all through your house. No doubt that your house will sell quickly. But where will you move to? an apartment? out of state? I love following your journey.
jennasuedesign says
I’ll be sharing that soon! ?