Today’s post is all about refurbishing a dresser to achieve a natural, aged wood look:
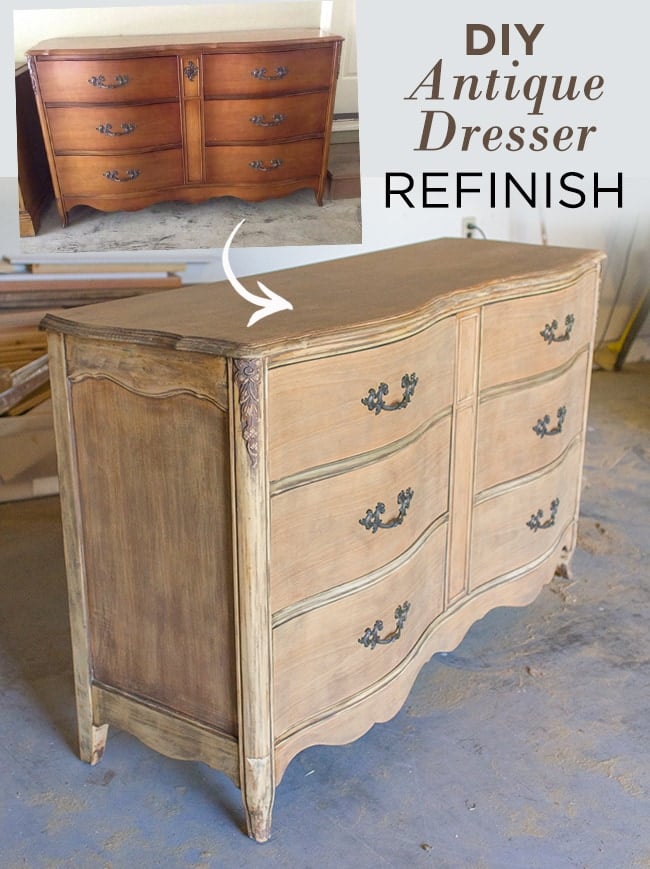
I’d been stalking every local thrift/antique/furniture store and local online sale sites looking for the perfect antique dresser to refinish. And then, last week, it came out of nowhere:
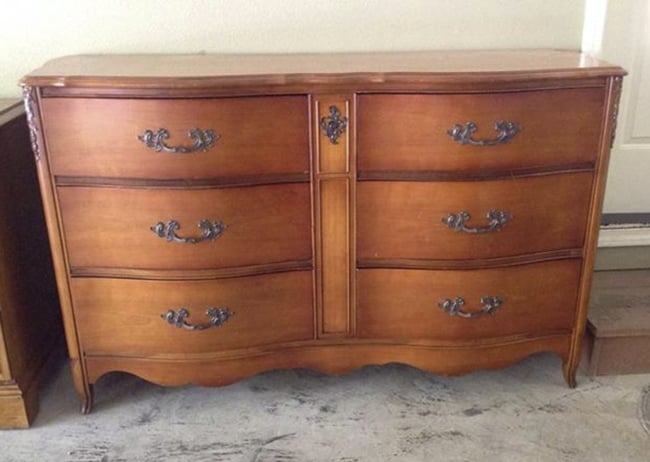
It was just what I had envisioned. And it was only $90! I hit the jackpot. An hour after I spotted it online it was in my garage and disassembly had begun.

While the style/shape/size were perfect, I wasn’t a fan of the finish. I don’t mind warm wood tones, but this thing was a very outdated shiny reddish-yellow hue that would never work for our style.
Warning: this project was very time consuming + labor intensive, and was completed over the course of a week as I couldn’t handle more than a few hours at a time.
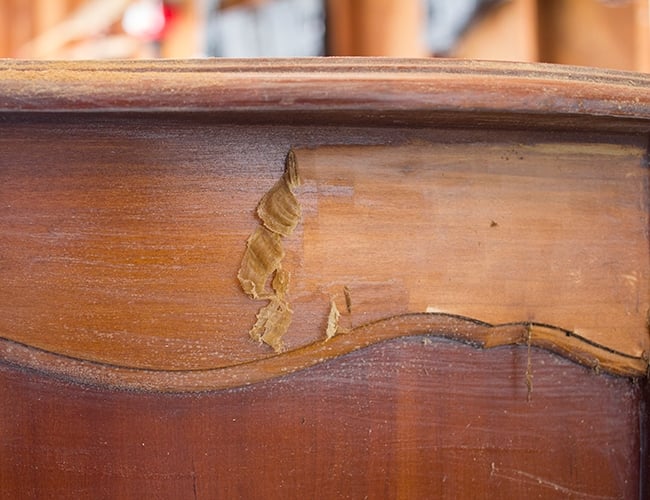
The dresser was in pretty decent shape, but there were lots of very obvious scratches:
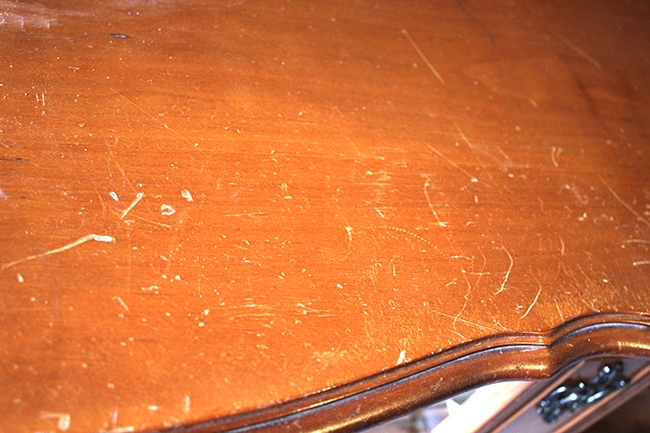
I had planned on sanding it down to the bare wood so this didn’t matter at all.
Jump to:
Step 1: Strip the paint or vanish
The dresser had thick layer of varnish so that had to go first. Instead of sanding it away (which would quickly clog up the sandpaper), I grabbed a hand scraper and got to work.
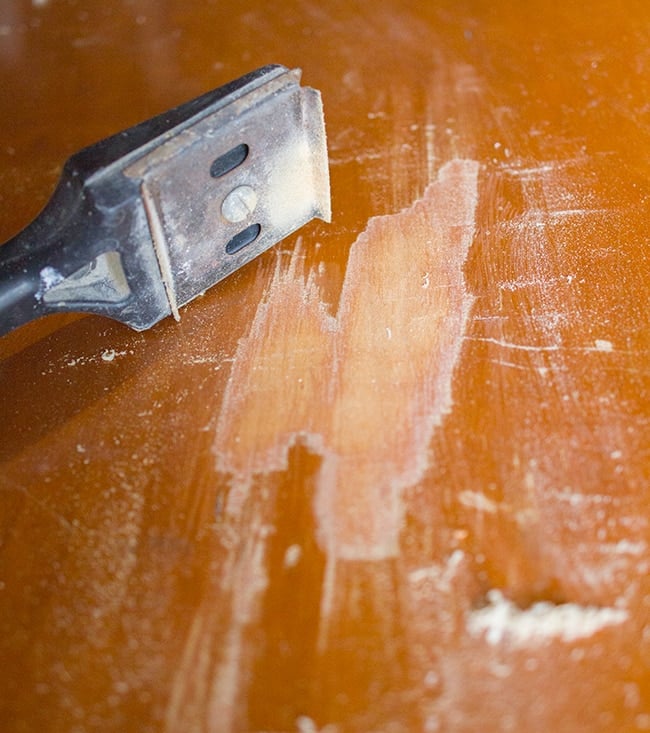
So very tedious.
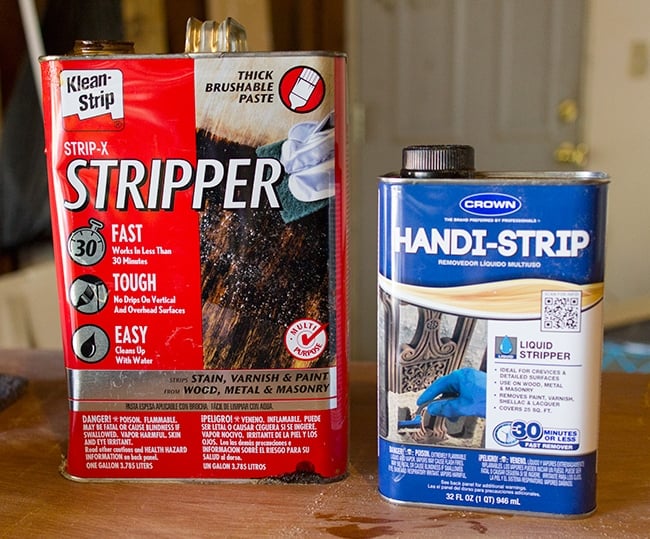
I finally decided I had enough and busted out the paint stripper. I picked up a new can of liquid stripper (on the right) to try out, and it was worthless. Stick to the paste/gel!
Here’s the gel, doin’ it’s thing…
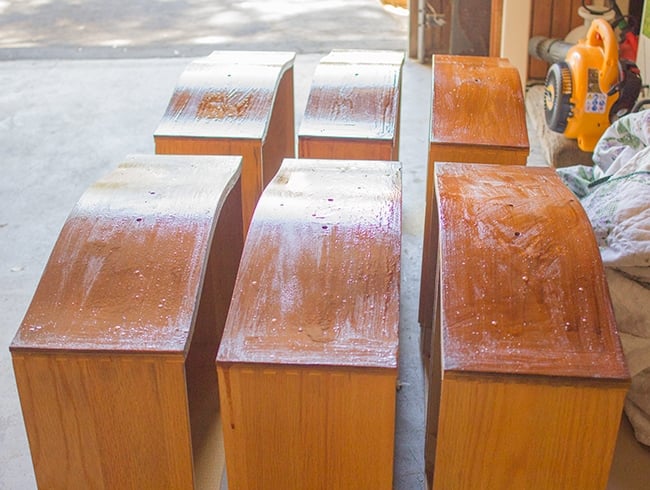
It makes scraping much easier, but it also doesn’t take up as much so I was still left with the reddish stain (whereas the scraper alone could get down to the bare wood).
And the drawers…

Oh yeah, stripper is probably the messiest stuff you’ll ever work with.
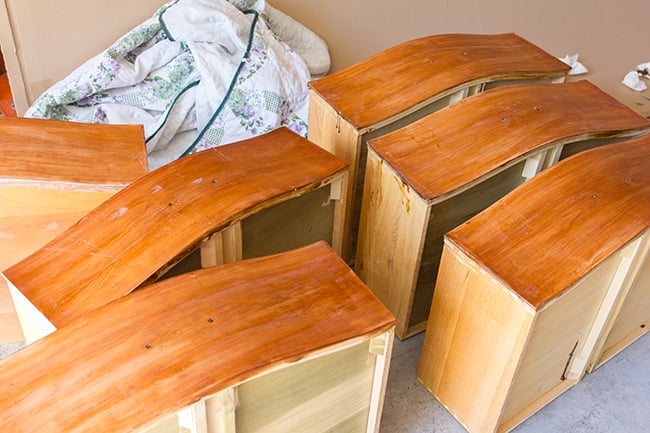
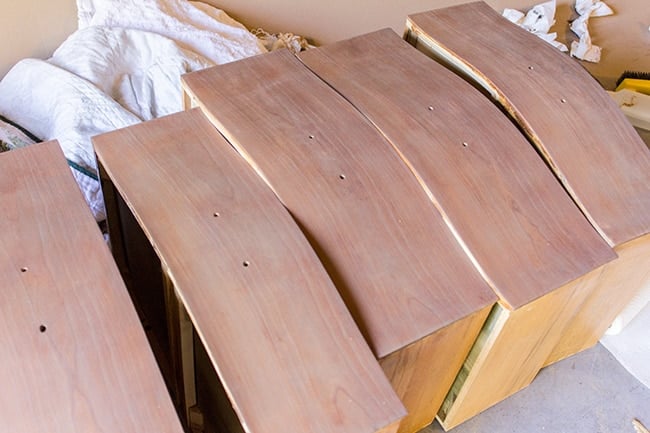
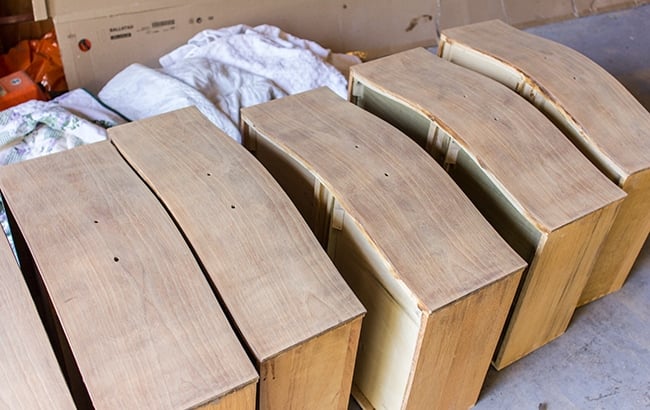
Here’s all of the drawers, de-lacquered:
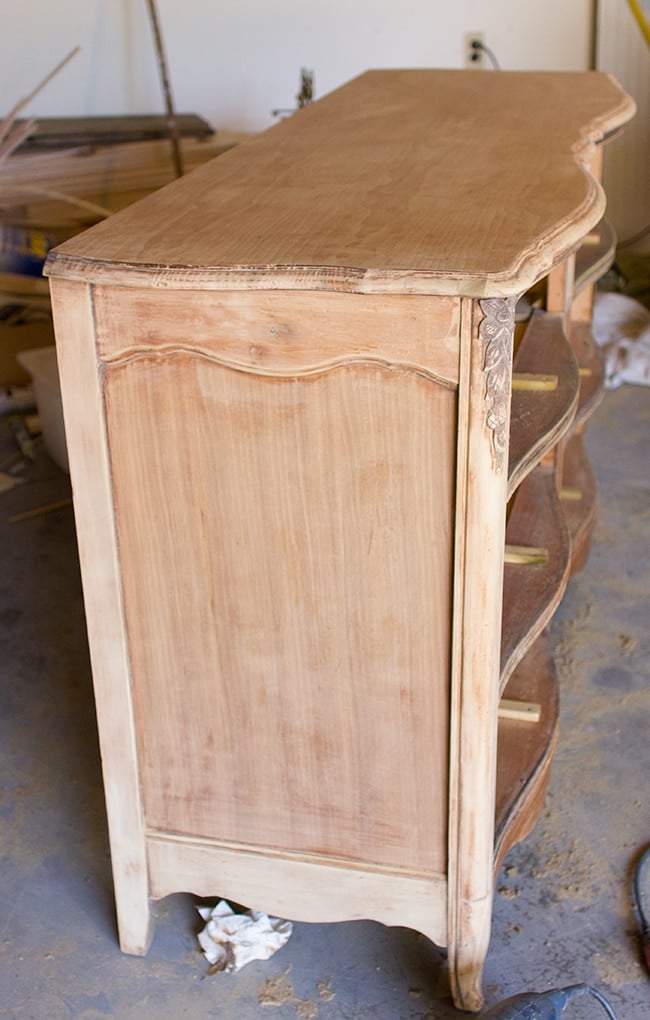
The sides of the dresser were a huge pain. The wood was different than everywhere else and it did not want to let go of the varnish, even after two coats of stripper.
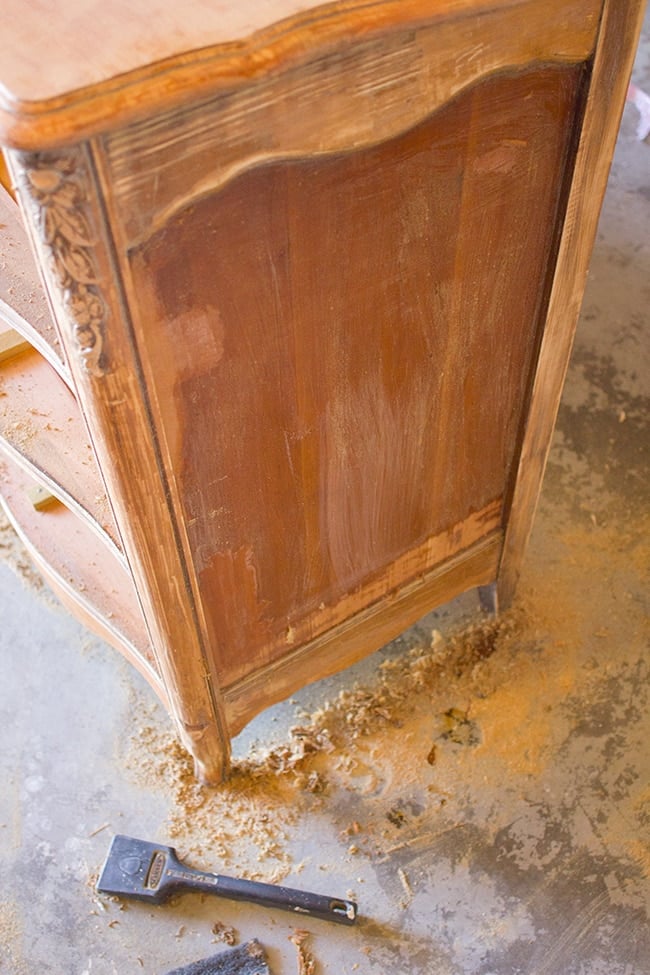
Mid-progress… bear in mind it was also 100° in this garage every afternoon. I had old sticky paint stripper and sawdust stuck all over me the whole time (so glad this project is over).
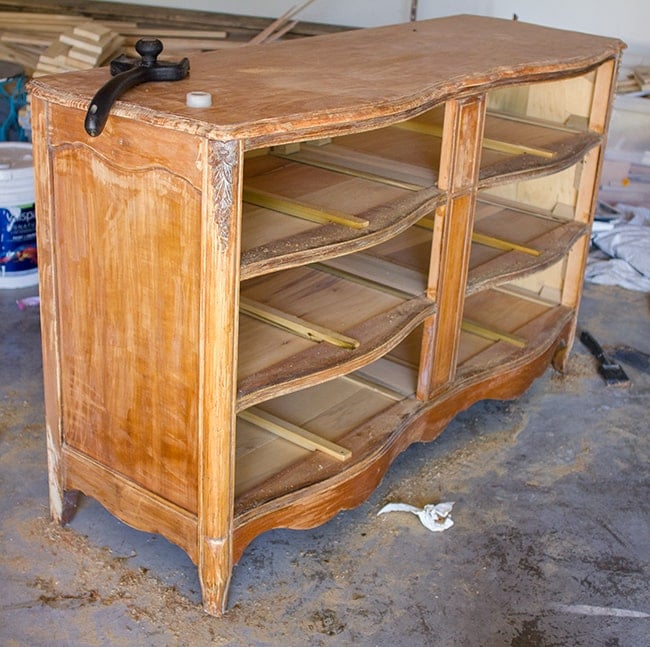
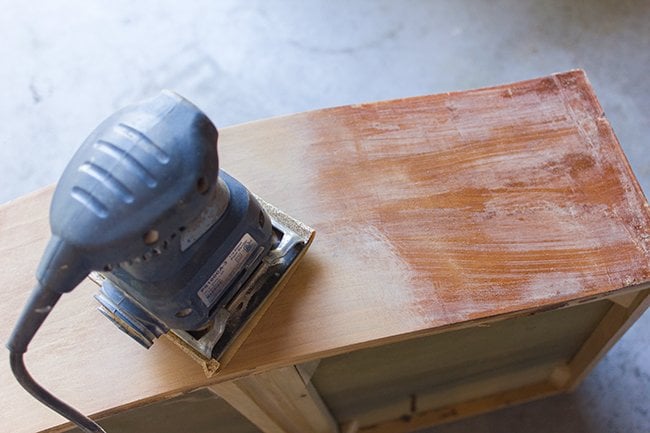
Step 2: Sand
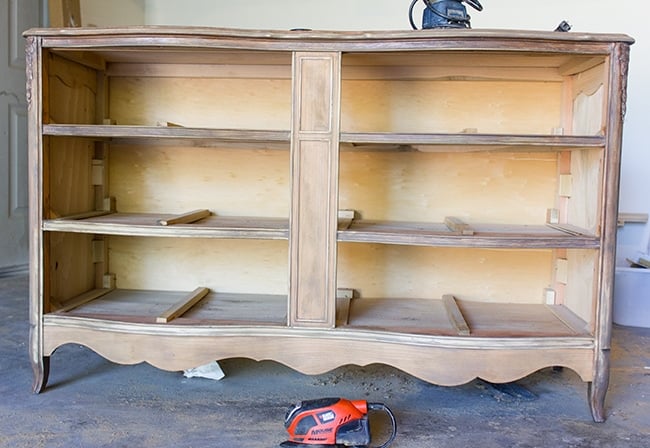
After several days, I had finally all of the varnish removed and it was time to start sanding.
But first I used my scraper to roughen things up a bit and give it that weathered look.
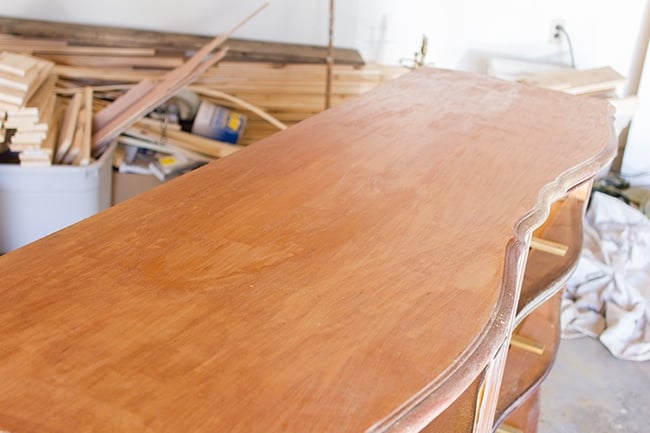
As soon as the sandpaper hit the wood, I started to see the light at the end of the tunnel. It really diminished the old red stain.
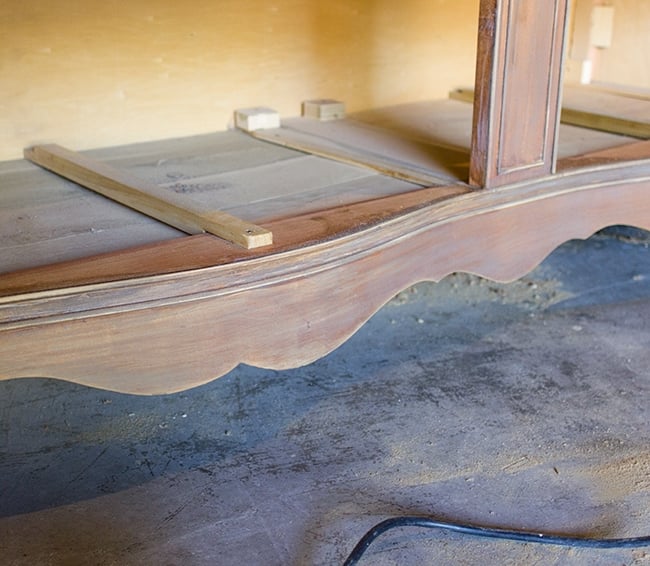
Ahh, fresh bare wood!
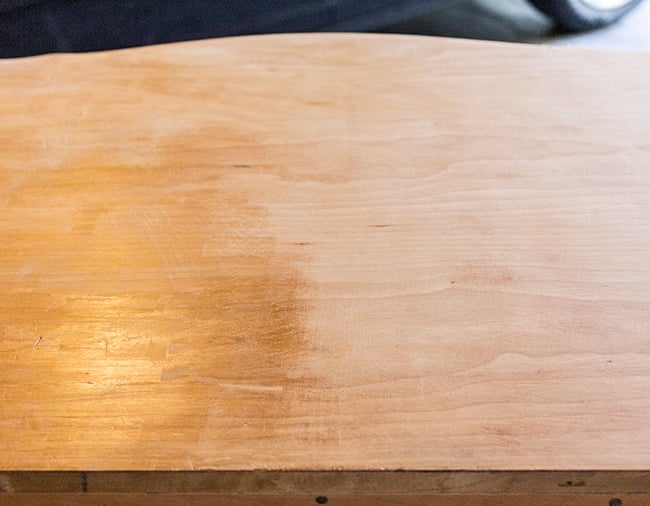
Looking much better. The legs and trim pieces were different types of wood than the sides, top and drawer fronts so they sanded down to a nice colorless wood, while the rest retained most of its natural red tone, which was a little frustrating.
Step 3: Stain to desired color (optional)
After I deemed it sufficiently sanded, it was time to stain. I used a concoction of dark walnut, driftwood, and weathered gray and began to apply….
And I was not a fan.
I thought the gray would combat the red tones, but instead it intensified them and made everything pinkish looking. Huge fail.
All I could do was sand all the stain off and try again. I was a few hours into it, and then tragedy struck…

It was working overtime for this project and just couldn’t handle the pressure any longer.
So I upgraded to a Mouse sander:
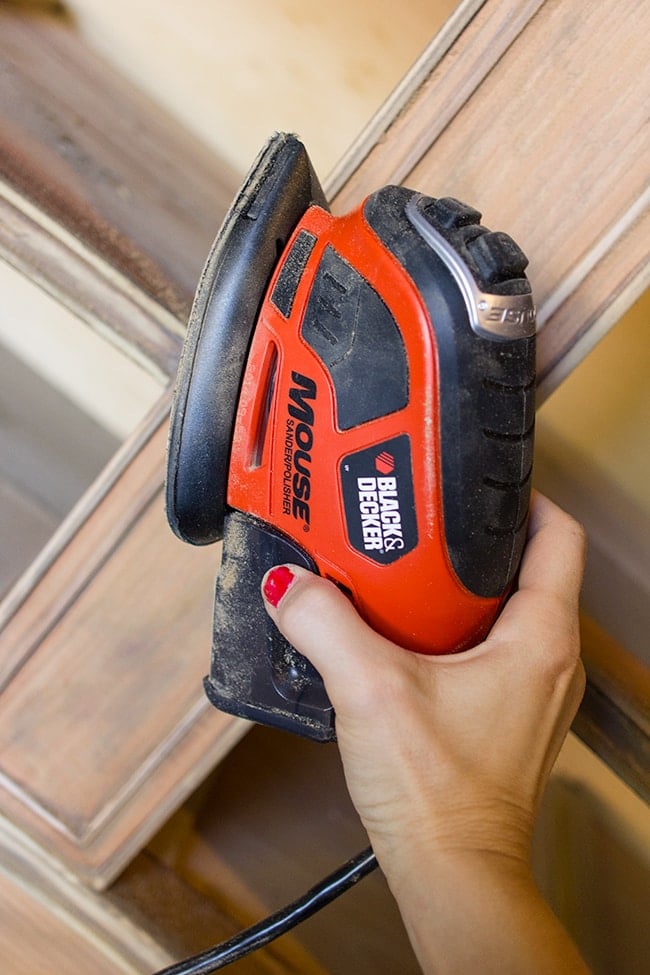
Seriously, I’m kicking myself for not getting one of these earlier. It’s night and day from the old hand sander—I was blown away at how well it worked, especially for this project where there are so many small crevices and detailed areas where the other sander just couldn’t cut it.
Tip: an orbital sander is even better to cover large areas quickly.
Finally things were starting to look up, and I was able to finish sanding all that stain off in no time.
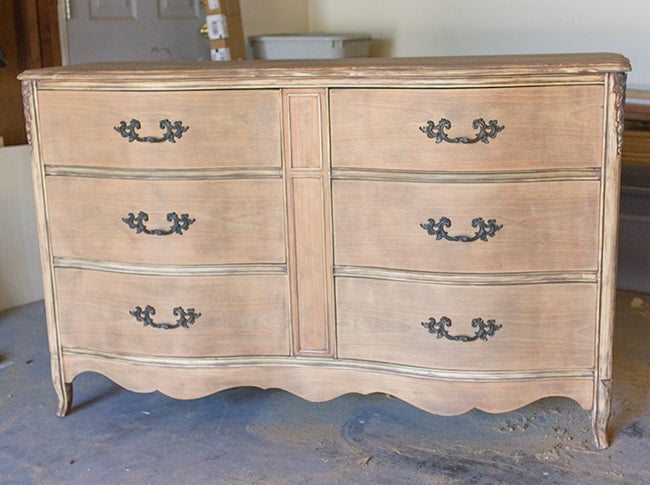
Knowing that any stain I add would bring out the red again, I decided to go au natural and embrace the mostly-bare wood tones.
Step 4: Seal the wood (optional)
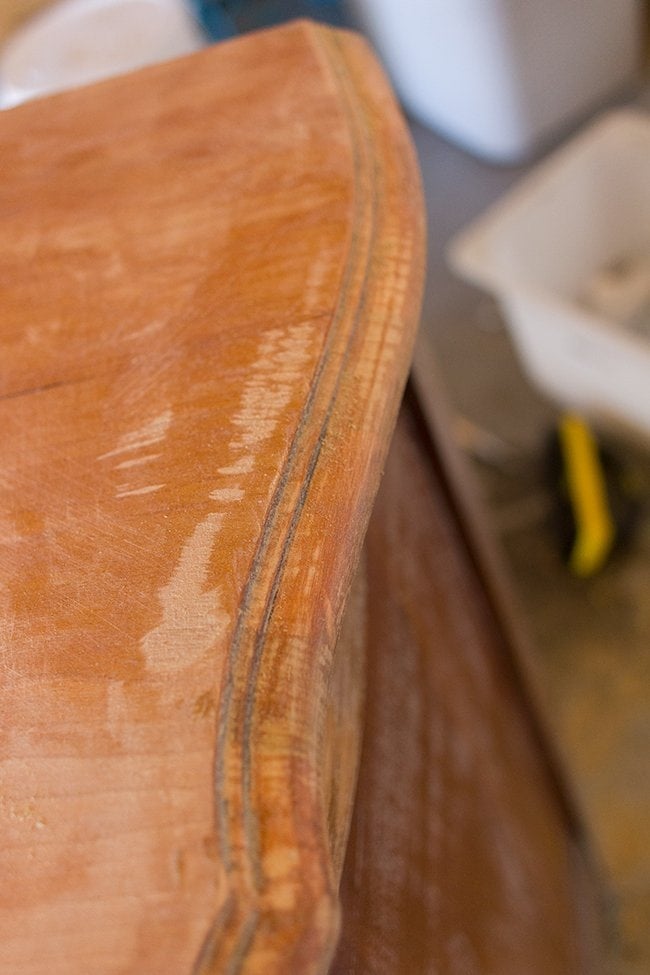
But I still wanted to seal it somehow… so I picked up this wax, hoping for a coating that wouldn’t be visible so I could retain the old weathered look.
Sadly, that wasn’t the case.
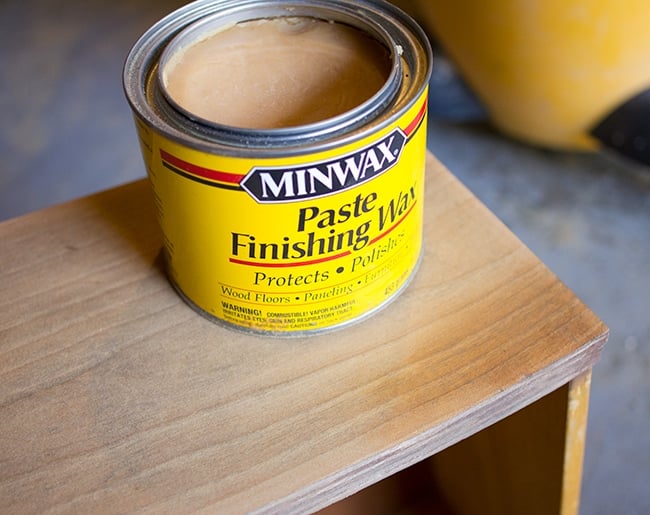
You see the little orange spot on the corner? That’s after buffing out a bit of wax, and it turned it red again. It doesn’t look so bad in this photo, but trust me, it was right back to where I started and I didn’t want to go down that road again.
So I’m leaving it natural. Any dings and scratches will just add to the character. Amen to farmhouse style.
Tip: If you choose not to seal the bare wood, be careful not to spill any oils/liquid on it, as it will stain the surface.
I reused the original handles as I don’t mind them, but I’m open to swapping them out. It might be a little tricky since the drawers are curved though.

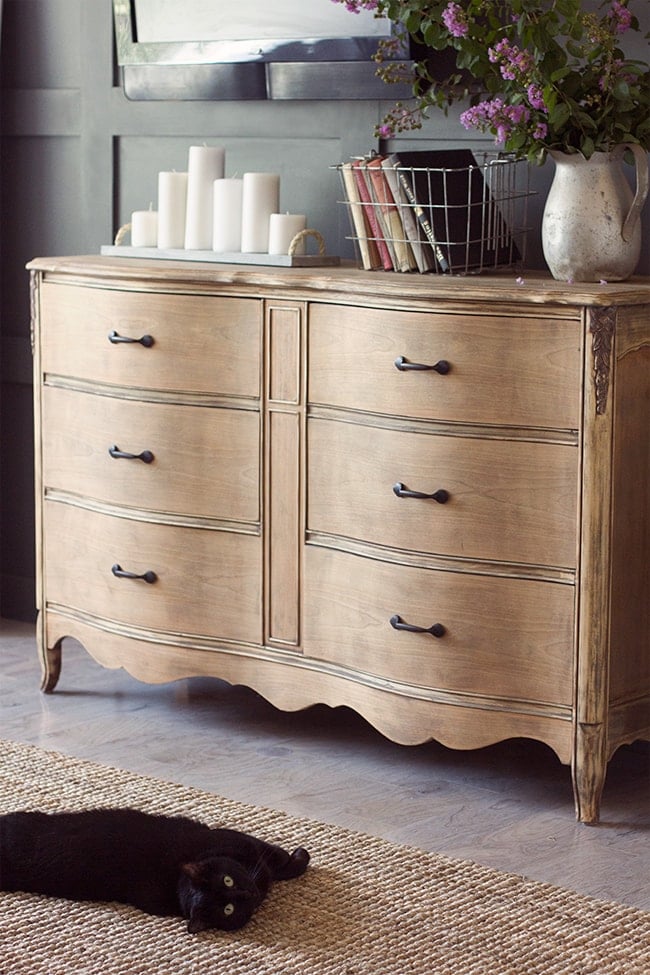
Dresser reveal
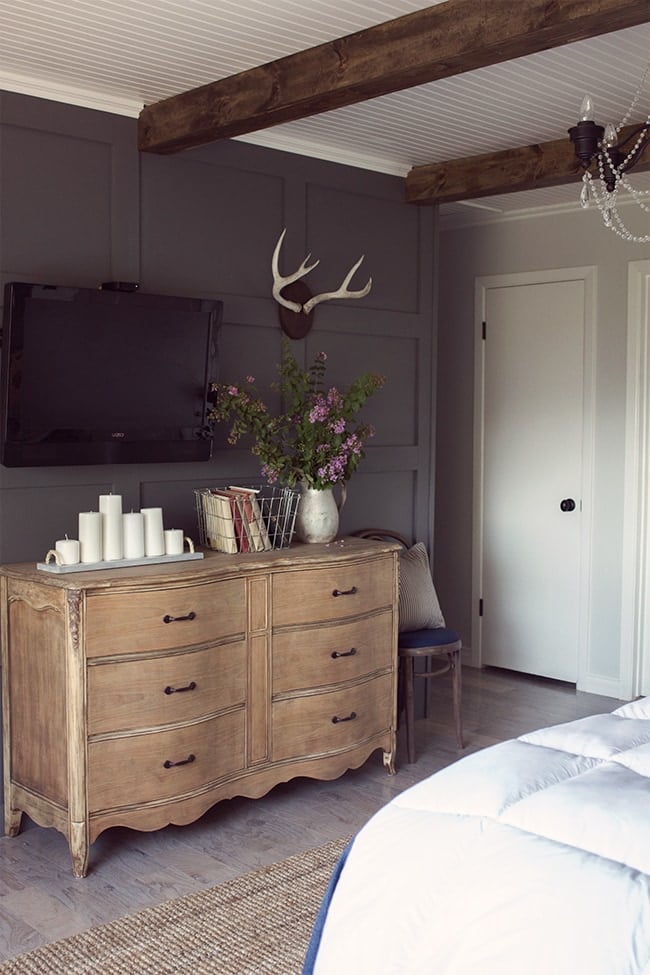
Update: You can see how the dresser looks in our completed master bedroom makeover!


Jen says
In your master bedroom reveal this beautiful dresser has some spiffy new pulls! Would you mind sharing where you bought them?
BrianAngieMattTimMeredith says
Late to this discussion (just found your blog). Janell Beals from Isabella & Max Rooms blog is a designer I've followed for quite awhile (houseofifty on Instagram), and she highlighted a Minwax Wood Finish “classic gray 271” stain that she was considering for her banister. Not sure if that would still bring out that red coloring or not. Maybe something to test out…
Lisa Marie Wells says
I'm going to give the sanding a whirl!! Stripping twelve drawers is not something I feel like tackling right now!! Thanks again!!
Jenna Sue says
I know, it's the worst! Sanding is easier but paint and varnish clog it up really fast so you'll just end up going through a lot. Stripping it is more efficient but so time consuming and annoying, especially when the areas aren't flat. I believe I used 80 grit initially and then both 150 and 220 at the end. Hope this helps!