Today I can breathe a big fat sigh of relief because this stenciling project is over!
I started Wednesday night, and continued to work on it daily until I applied the finishing touches yesterday (just hours before guests arrived to our labor day pool party). Thankfully I was able to get it all done in time, but it was not a fun task, let me tell you.
The stencils arrived in good shape (although curled from the shipping tube), but not wanting to waste any time, I immediately got to work.
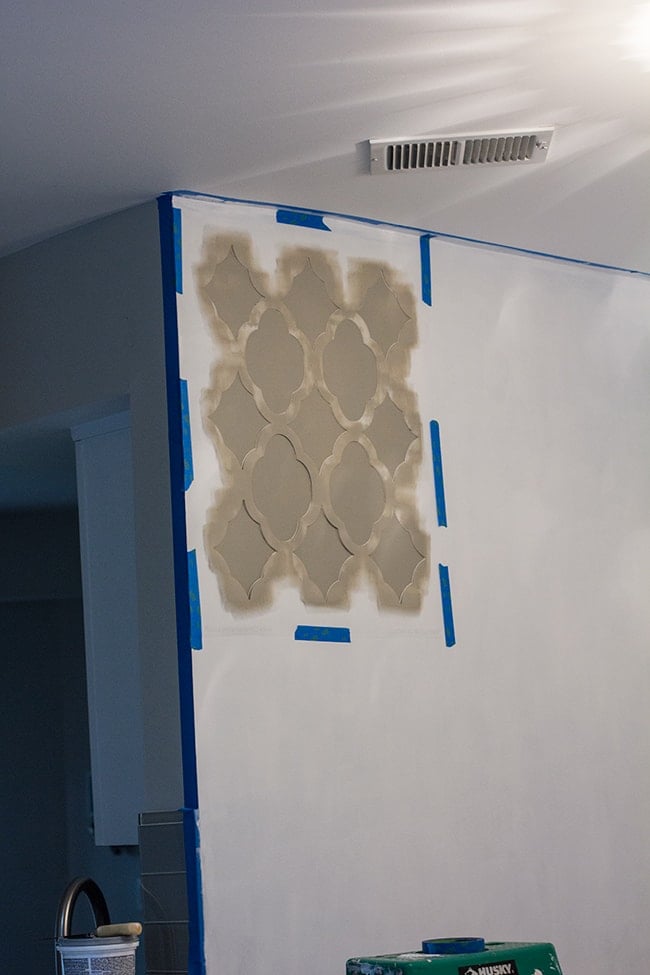
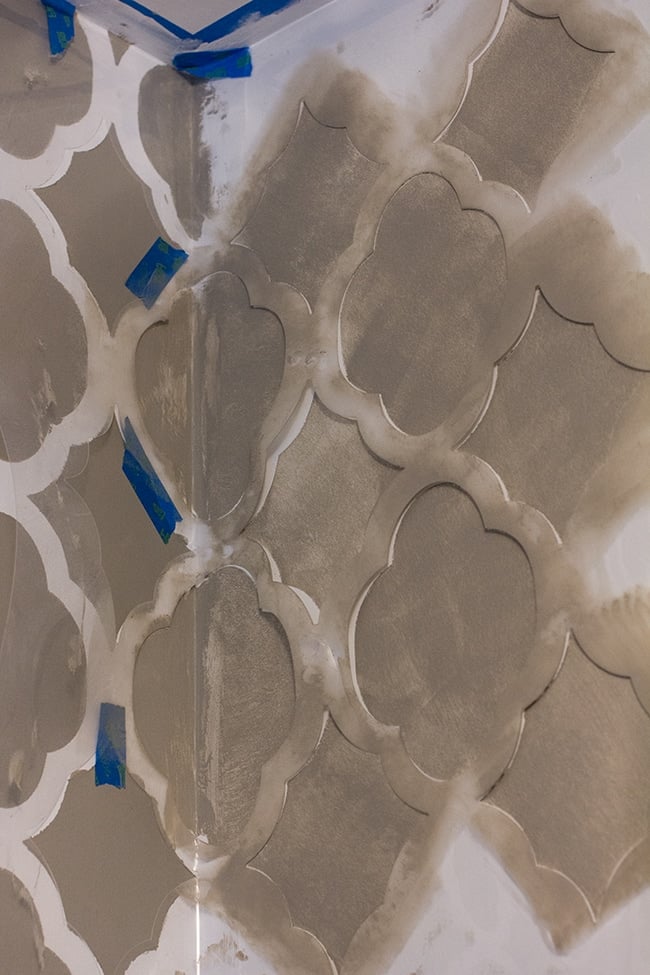
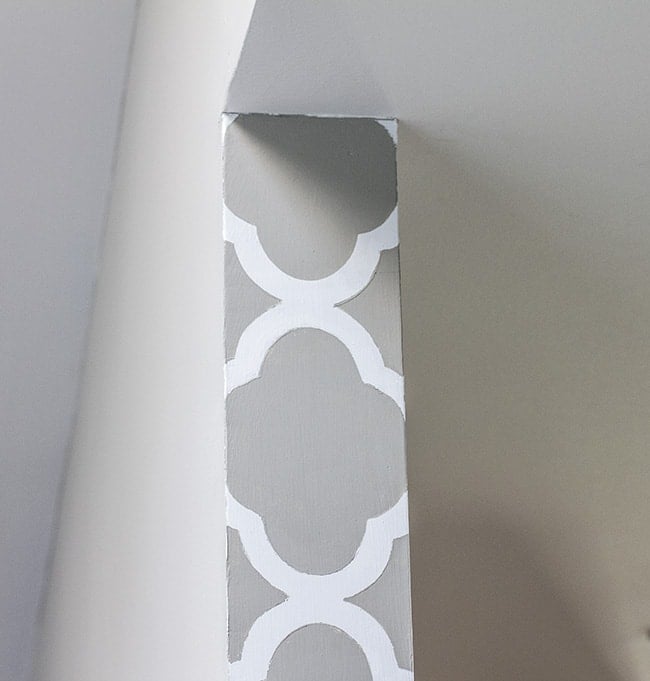
Before proceeding, I made sure to read through the instructions at least 3x and watch every instructional video on their website. The corner seemed like a nice level place to start, so I carefully taped it up and began.
The stencil was not completely flat on the wall which worried me. I was tempted to use spray adhesive but the directions insisted that this was not necessary at all, so I cautiously proceeded as normal.
The technique I used (as instructed) said to saturate a foam roller with paint, evenly roll it out, and then make a few light passes over a paper towel to wipe off the excess.
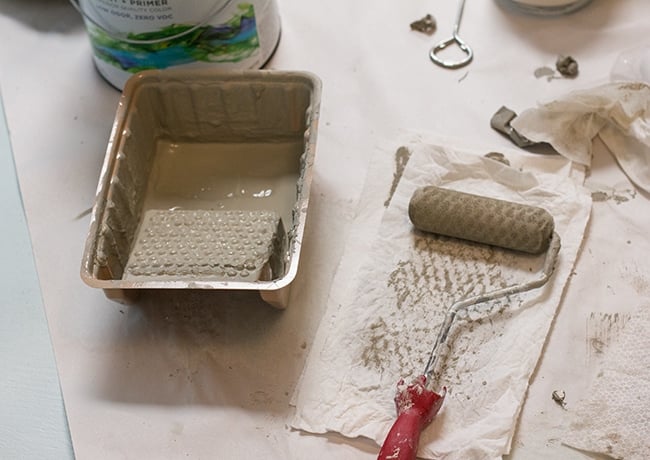
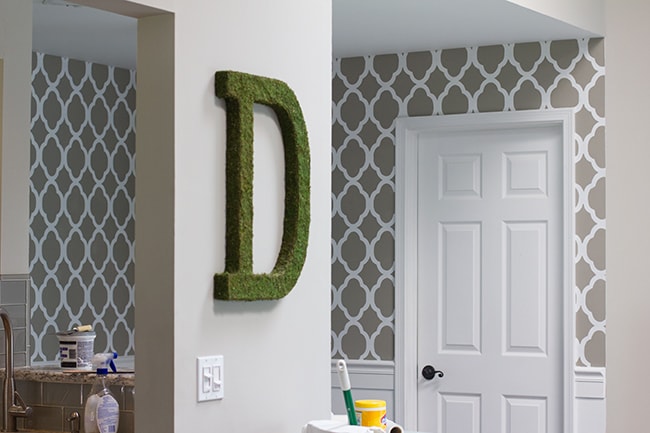
BTW, the color I used was the color that was previously on the walls and is also in my foyer—Valspar’s Magic Spell.
Once the roller had the appropriate paint saturation level, I used light to medium pressure to apply my first coat.
Since one coat wasn’t enough to fully cover, I had to wait ~5 minutes for it to dry, apply another coat, wait another ~5 to dry, apply a final coat, and then wait for that to dry. About a hundred times.
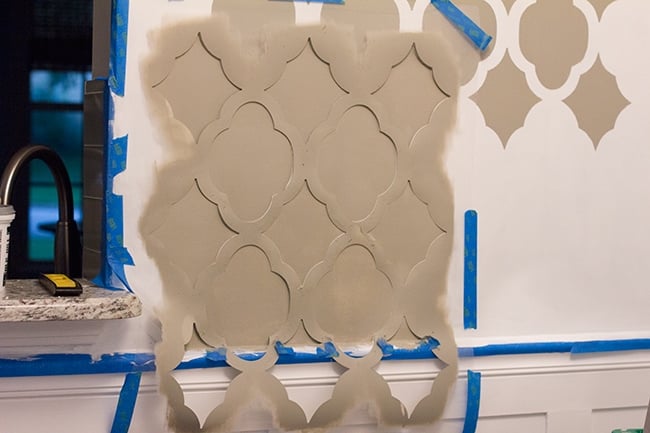
After my first stencil area was complete, I nervously peeled it back to inspect the results…
I wasn’t thrilled. I guess I was expecting a clean smooth line, but there was just no way that it was going to happen. With the next pass, I applied spray adhesive to the back hoping it would do the trick, but there was absolutely no difference. Then I tried a slightly different roll-on approach to prevent the line seepage, but the outcome was the same every time.
Sigh.
The stencil manual did warn that this would be a “hand painted” look, and it was not going to look like wallpaper. About halfway through the third day I wondered if wallpaper would have been a better route to take.
Sometimes my roller was a bit too saturated, and this happened:
Oh, crap.
It ended up happening a lot more towards the end, so I started keeping wet wipes on hand to quickly fix any snafus. (take notes, those of you who are about to tackle a stenciling project!)
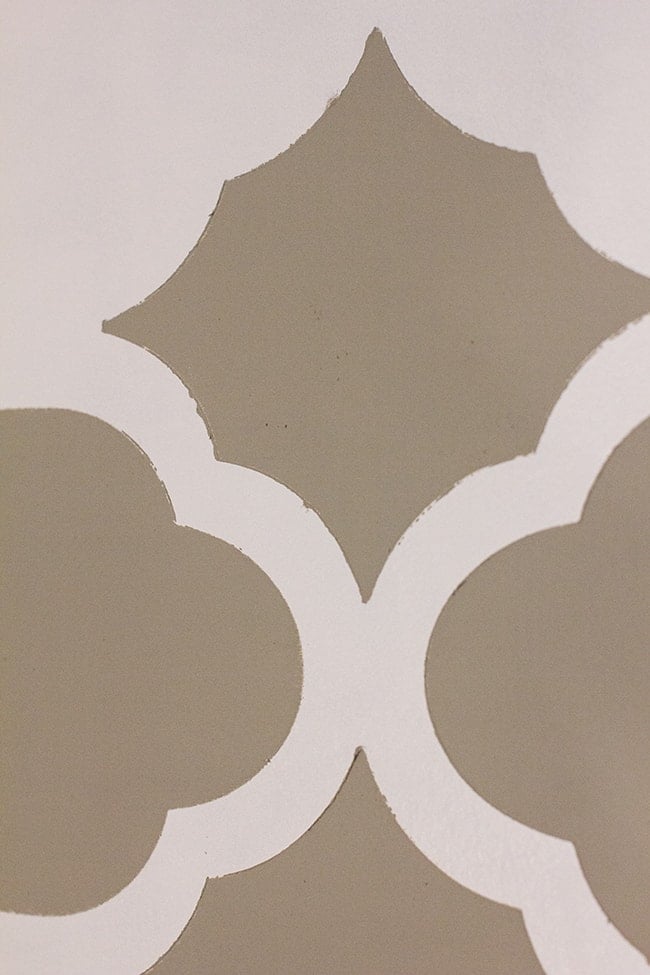
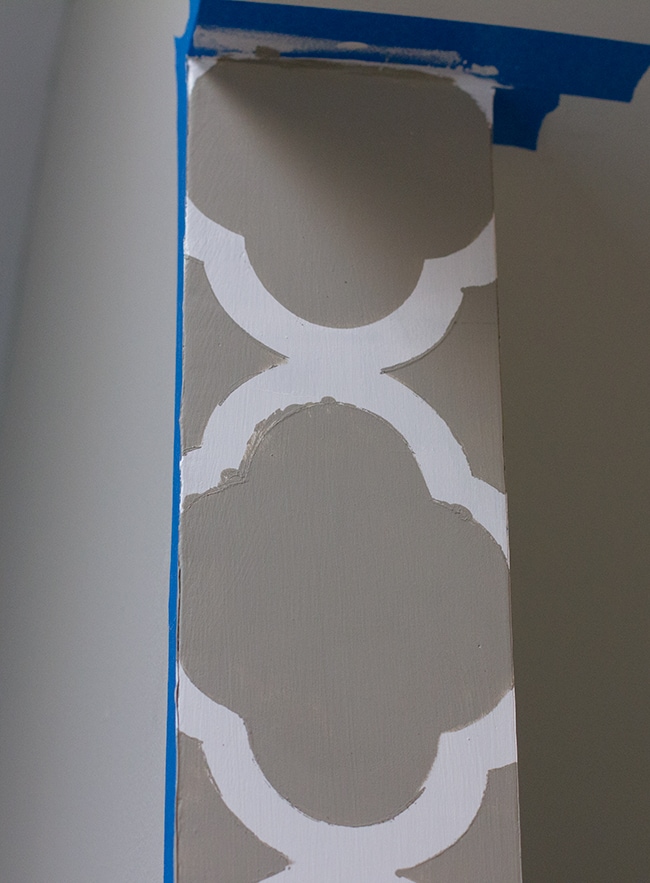
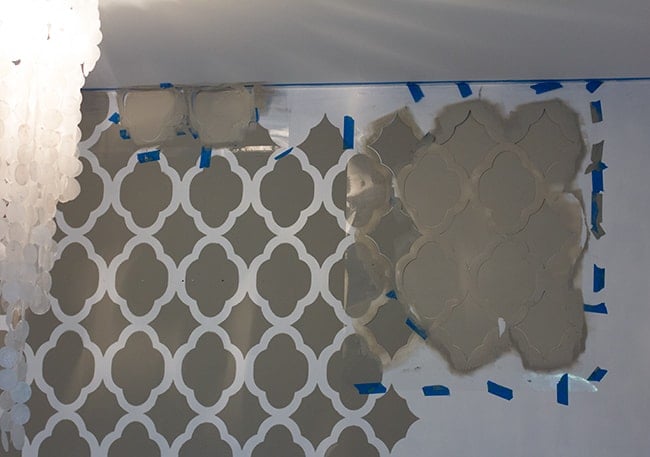
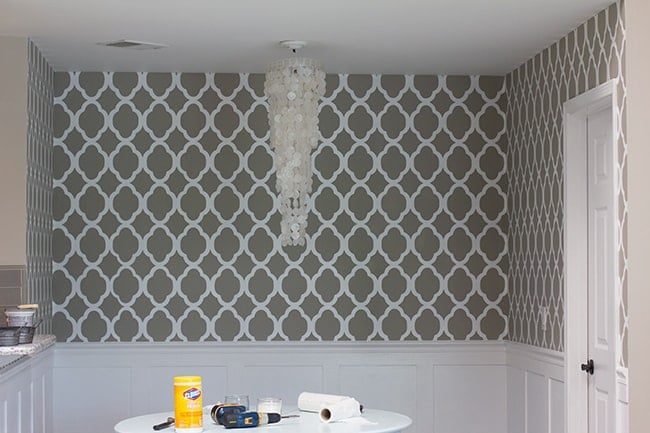
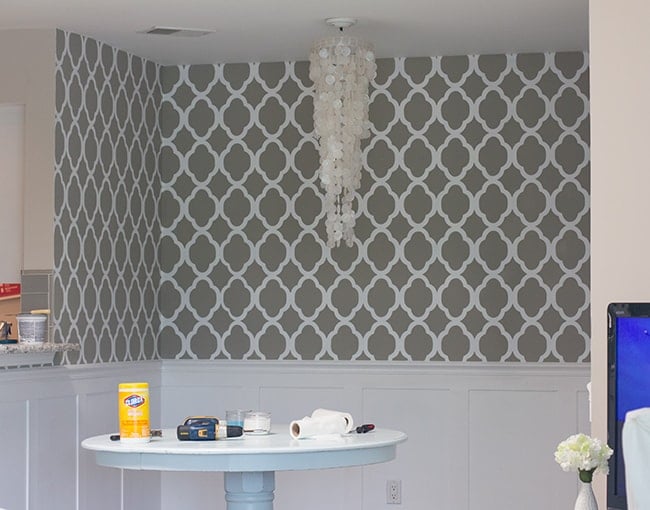
The open wall areas where I could spread the full stencil out (no corners or edges in the way) were quite easy and went relatively fast.
But there were a lot of tricky parts, too…
I just had to be extra careful and take my time. It did get messy though. And not everything lined up perfectly from one spot to the next, so sometimes I just had to fudge it.
Here’s another tip: I noticed the edges were becoming less sharp as time went on. Layers of paint had been building up on the stencil, and I tried my best to continuously peel it off but it was a losing battle. I’m pretty certain this was the biggest contributing factor to the fuzzyness. So you can either wash the stencil off every once in a while (it’s kind of a pain if you are mid-project) or deal with the fuzzy edges.
About halfway through, I used up my quart of paint and had to open up a new gallon. Earlier that week I had gone to Lowe’s and picked up a gallon of Magic Spell, asking the paint guy to make sure it matched the older quart I had purchased several months earlier.
I started painting…
and then I was on my fourth stencil move, when I noticed the paint wasn’t drying as dark as it should have been.
See the lighter color at the top?
I grabbed both paint cans to compare… and the formula numbers were completely different. Yeah, WTF. I was not a happy camper.
Annoyed, I drove all the way back to Lowe’s and explained the issue. The lady said that Valspar had just recently changed its formula to add more primer (great…) and she would see what she could do. Before I left the store, I practically made her swear on her life that this new paint would be an exact match, and she assured me it would.
Luckily, she came through on her word and it was like it had never even happened (minus the 2 hours out of my day).
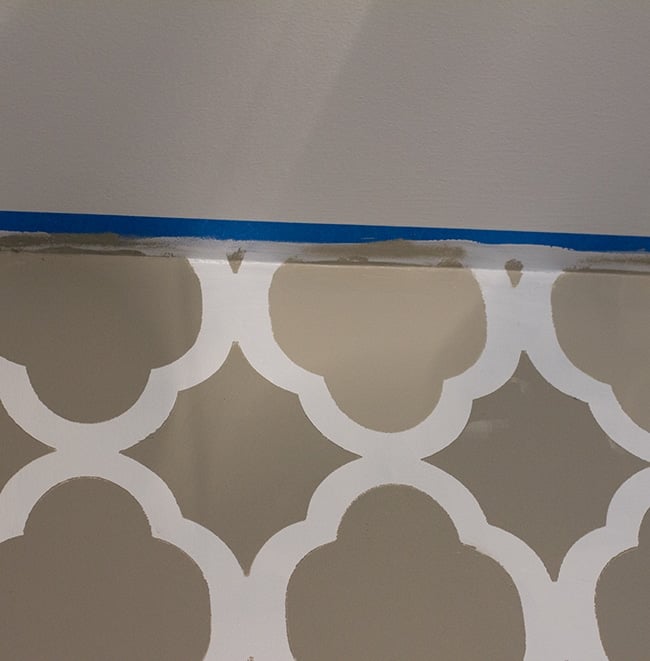
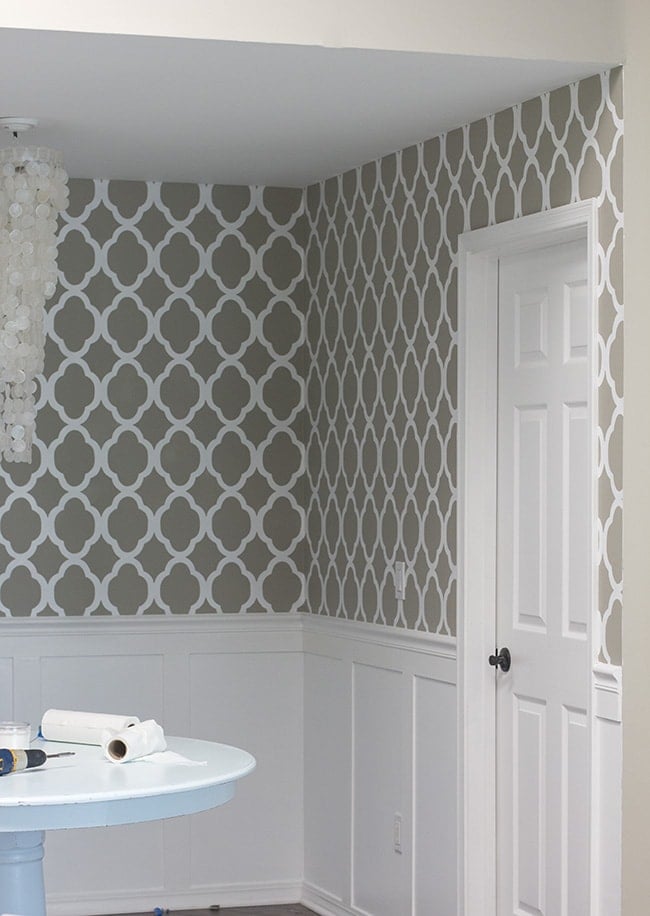
I spent the rest of Saturday finishing my stenciling, and Sunday morning on touch-ups.
Touch-ups consisted of white paint, a small brush and a steady hand. It went surprisingly well, and I was able to smooth out all of the more noticable imperfections.
Like this really bad one…
After:
But even with the fuzzy edges, it really looks qui
te nice if you take a few steps back.
I had just enough time yesterday to rehang my mirror/art/sconces before the party was underway, but I still have one more project to finish. That, along with the finally completed dining room, will come next week.
What do you think? Have I convinced anyone to take the stenciling leap, or has this made you decide that wallpaper is a better option? I definitely don’t regret it now that it’s done… but next time, I think I’ll just try wallpaper 🙂


Dina says
The best way to avoid the paint seeping in stenciling is to make the hole project even more tedious than your foam roller: use a foam stomper brush. It. Takes. Forever. But since you're applying a very small amount at a time, you get a nice crisp line. YHL used that method in their office. I've done it with small projects, but a whole room would take weeks!
Jenna Sue says
I don't think so because you'd have to block off the exposed surrounding wall/ceiling each time, that would be way more trouble than its worth! Also the stencil isn't perfectly flat on the wall, especially when you get to the corners, so you'd get overspray for sure.
Anonymous says
I wonder if a spraying type of paint would work. You know the ones that professional painters use? Maybe that would be too drippy though?!
Anonymous says
I recently did a stencil project very similar to yours in my dining room. I used a semi-gloss as my base and flat as the primary coverage in the same color. It looks great, but my stencil got really gunked up as well. Cleaning it was a huge pain. I bought my stencil at Hobby Lobby for 40% off (weekly coupon) and just bought several of them for $11 each so I could cover more area at once and not bother cleaning. I hoped to do my entire living/dining room, which is quite a large space but petered out at the end. I'm going to go back and do a few small areas, like the arched entryway and another 3' wide wall, but the big spaces will be left as they are! You did great, looks wonderful.
Anonymous says
Looks awesome I would NEVER attempt it but wow it does look great
,
Amy says
I LOVE it! And you know what, you were honest with the stenciling process! I want to do a stencil in my house, but i'm terrified i'll wreck the crap out of it. Now, seeing how awesome yours has turned out, i love how the small mistakes add such character!
Jaye @ Just Trying to Make Cents of it All! says
It looks great but I think you re-enforced my opinion of stenciling. Just too much of a hassle. I love and admire it when I see it finished in someone's home but I know the journey would be evil and I know I would be the one throwing things!
Anonymous says
Found your site thru YHL, and loving it. I am finding so much inspiration. The stencil looks like such a pain in the ass but is yeilds such great results! Your persistance def paid off! WTG girl!
Elisa @ What the Vita says
Just found your blog, love it! I really like how the stencil looks in your living room. I've heard again and again what a PITA it is to do, but I still want to do it for the results. As long as it's a fairly small room, I think I should survive. Plus, I don't think I want to deal with putting up wallpaper.. stenciling sounds more DIYable than wallpaper 🙂
buildingthisnest says
It look great!! I don't know if I'd have the patience to stencil that much wall lol but it really does look good, so I think all of the hassle was worth it 🙂
Steph
Jessica @ HomewithBaxter says
Wow I really admire your dedication and patience with this project! It really does look great from afar and all of those little “blemishes” seem to disappear. I used stencils for a canvas art project and noticed that the lines got a bit “sloppier” the further along I got. I think it was definitely the paint building up on the stencil like you mentioned. But again, it came out great! I just found your blog through your YHL feature and I love reading!
Callie says
It looks gorgeous!! I've been following your blog for about a year now? and I *really* appreciate that you don't sugar-coat projects and make them sound easy when they're not (a lot of projects that show up on pinterest seem to do that…haha). I read carefully about your framed mirror project before attempting it myself, and I have to agree that next time I would probably just buy a mirror. *_*
Again your project turned out gorgeously and I want to try it! But it's really good to know going into it about the amount of work and touch-ups needed. Did you use a little artist's brush for the touchups? That helps a lot, I find.
In The Night Sky says
You did a great job, it looks fantastic! I think I'll be giving stenciling a miss though after reading this!
Kayla Teran says
Looks fantastic!! I recently did an idea erslev rug with a similar design, but drew it on the rug and painted it. Yep, hated my life… I won't be stencilling again. Although, I wish wallpaper were easier to find and not so dang expensive!
Pine Tree Home says
Wow, it does look beautiful! I like the contrast between the colors. I tried stenciling and while I like it, I think I am much too OCD to get over the paint seepage in mine.