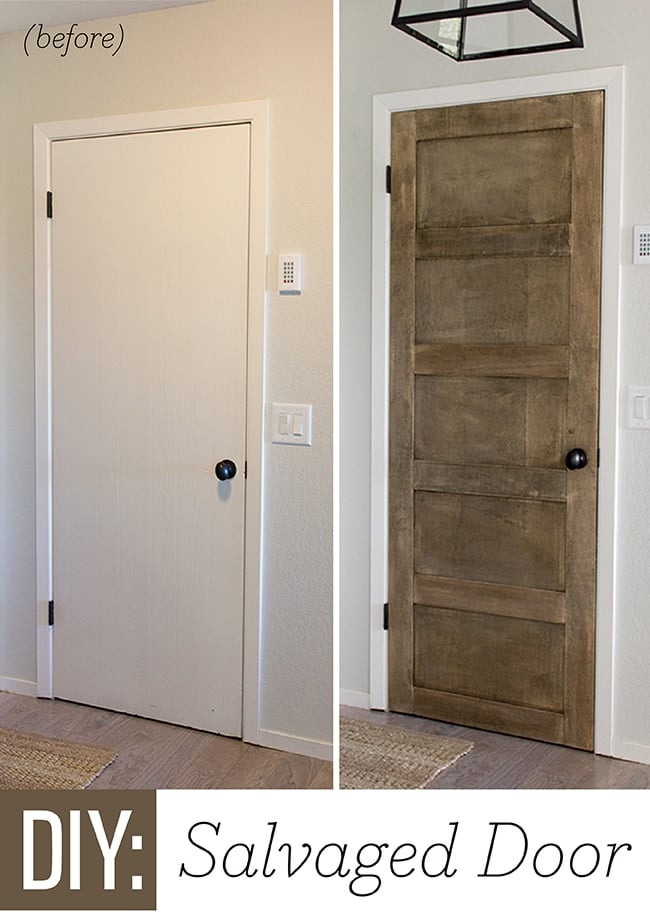
About five weekends ago I did a little foyer makeover but there was something missing—enter our new DIY salvaged door:
I couldn’t help but share a little preview on my instagram while staining it on Saturday…
Jump to:
Materials list
- 2×8′ sheets of maple wood veneer
- Cabinet grade plywood (ripped down to 4″ strips)
- Contact cement
- Wood stain
Plain door Before
There’s not a lot of sources for real vintage doors around here, and the ones I do find are either not the right size or style, or would need too many mods to fit, or they’re just too expensive.
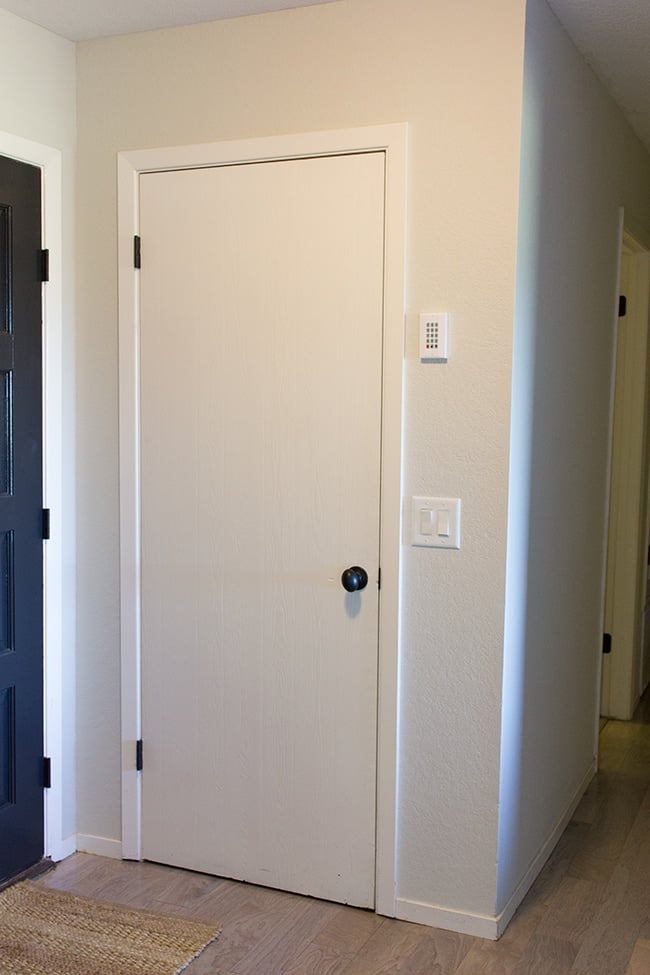
The existing door was one of those cheap-o hollow core synthetic wood deals… and it was pretty beat up. You can really see the fake wood grain texture here…
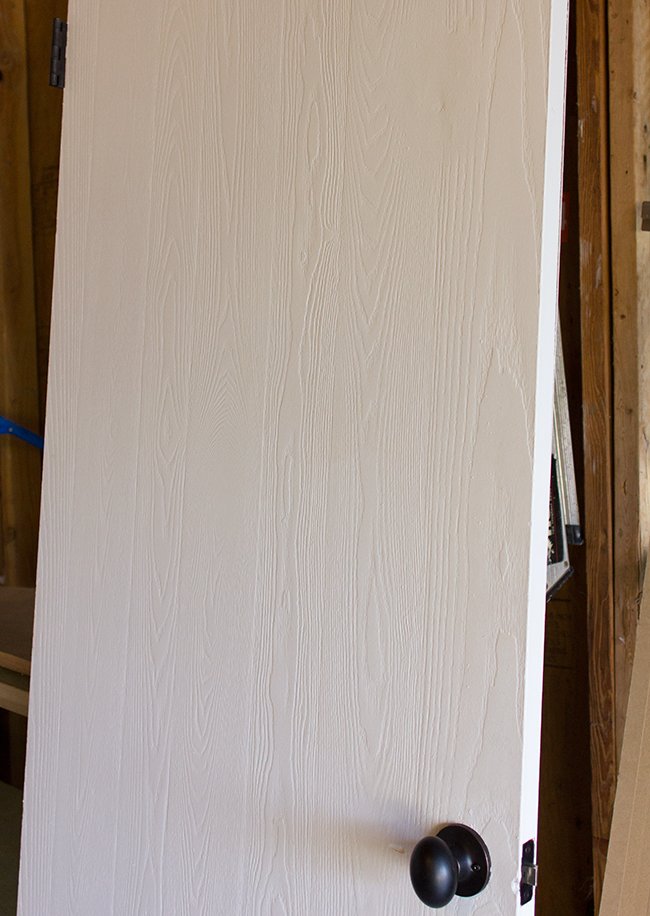
If you have one of those old school plain wood doors it would be ideal for this project, assuming you could sand down the stain a bit. Because mine wasn’t real wood, unfortunately I couldn’t strip & sand the paint off. That meant I had to face my worst nightmare again… wood veneer.
Cut veneer with a sharp utility knife
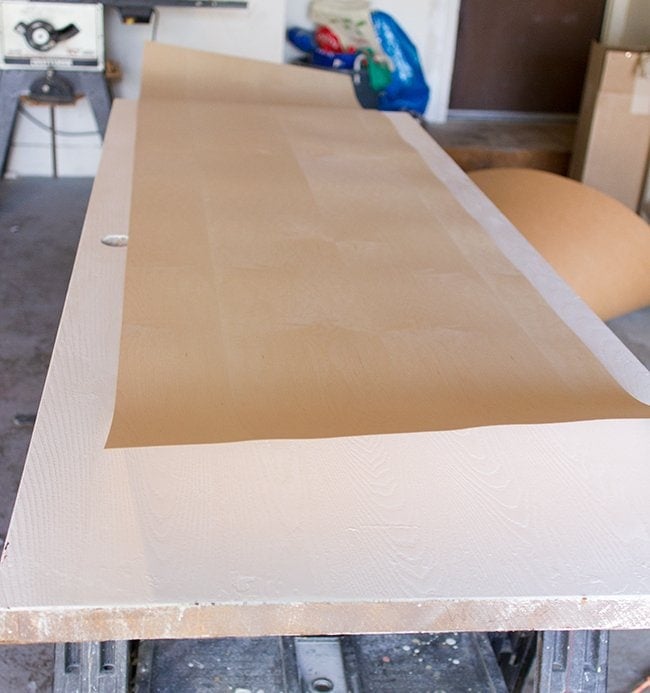
If you saw my post about my first attempt at this, you’ll understand why I hate it so much. Although to be fair, it’s the contact cement I hate—not the veneer.
Fortunately, I only needed veneer in the centers of the door so there was minimal cutting involved. I just trimmed the length with a sharp utility knife (it didn’t have to be exact at all since the edges would be covered by wood).
Apply contact cement liberally
This time I used a LOT of contact cement. Two solid coats.

Attach the veneer sheet
And I waited 20 minutes before applying the veneer.
And it worked.
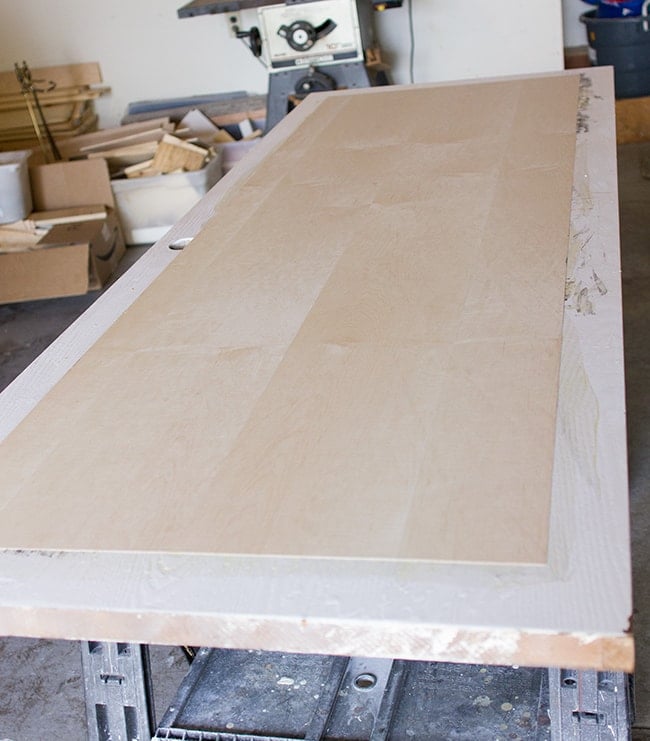
I thought I was going to have to veneer the inside edge, but I started sanding and realized this piece was actually real wood (score!) So I just stripped & sanded the paint off.
After veneering both sides, I brought the door inside of the house to adjust to the climate. On my last attempt, my table had sat in the garage for 2 days and after I brought it inside it was ruined, so the temperature shift definitely had something to do with it. I thought if I brought it inside right away, it would have a chance.
Keep in a climate controlled area while drying
That evening around midnight, I checked on it and was horrified to see that it had started bubbling! Not as bad as my console table, but still… I was so bummed. I smoothed it down as best as I could and called it a night, expecting to see the bubbles come back by morning. But surprisingly… I woke up and it was completely smooth.
Not sure what happened there, but I didn’t want to take any more chances so I decided to finish this project inside…
Back in the garage, I had plywood strips cut to 4″. I bought a sheet of cabinet grade plywood at Lowe’s ($30) and had them cut it for me. I would have done it myself, but the sheet was too big to fit in my car so I let them do it.

Let me tell you… those workers don’t care about your project as much as you do, so they’re just going to run your board through the cutter as fast as they can and you’re going to end up with a lot of crooked pieces.
I only needed about 7-8 boards, so I set aside the straightest ones to use for this project.
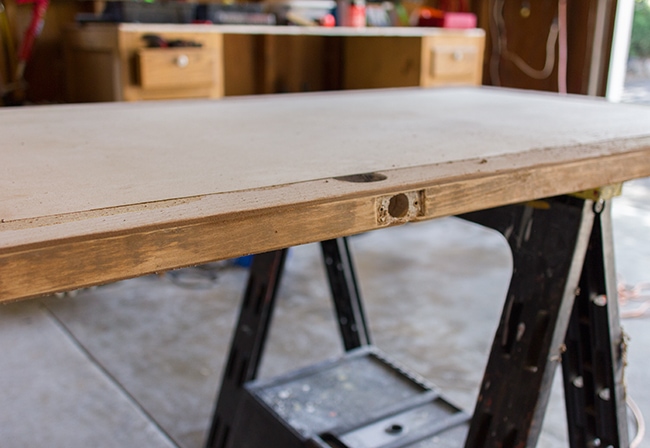
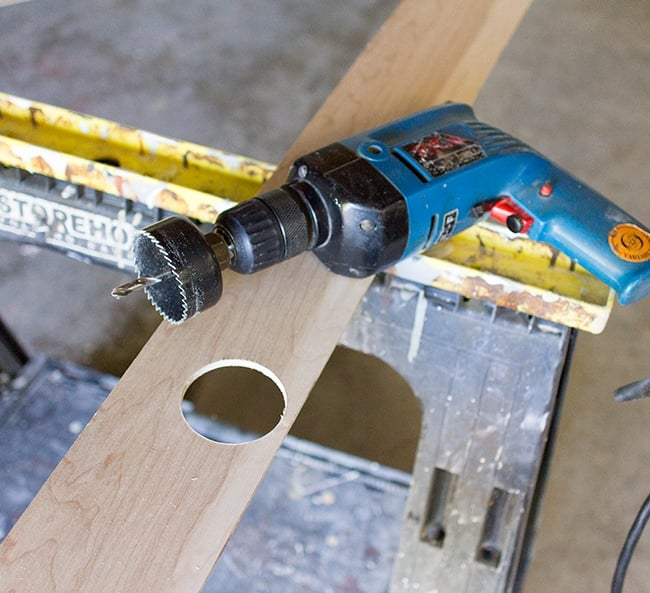
Use an arbor bit to cut a door handle opening
I started with one of the vertical pieces that ran along the outside edge where the door handle would be. After cutting the length to size, I traced inside the door hole and used an arbor around the same size to cut it out:
Attach longest plywood strips
Then I lined it back up on the door and used 1″ finishing nails every several inches to attach my piece:
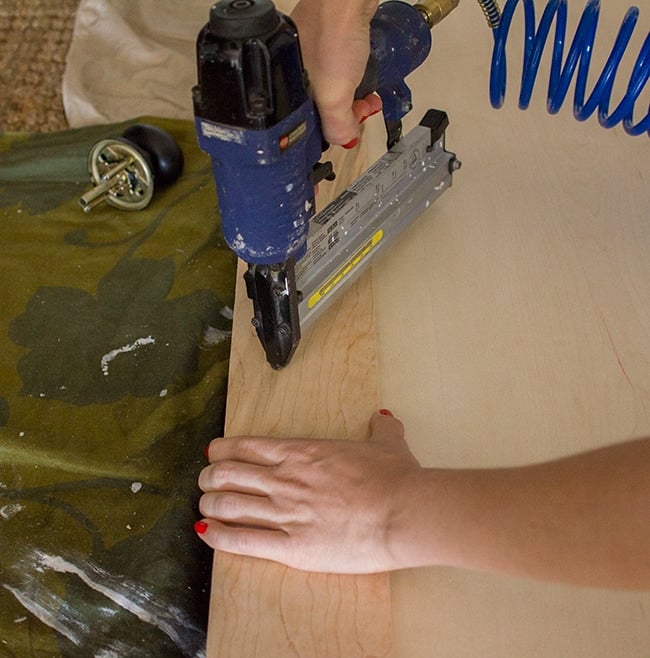
And the first piece was on!
Up went the next one…
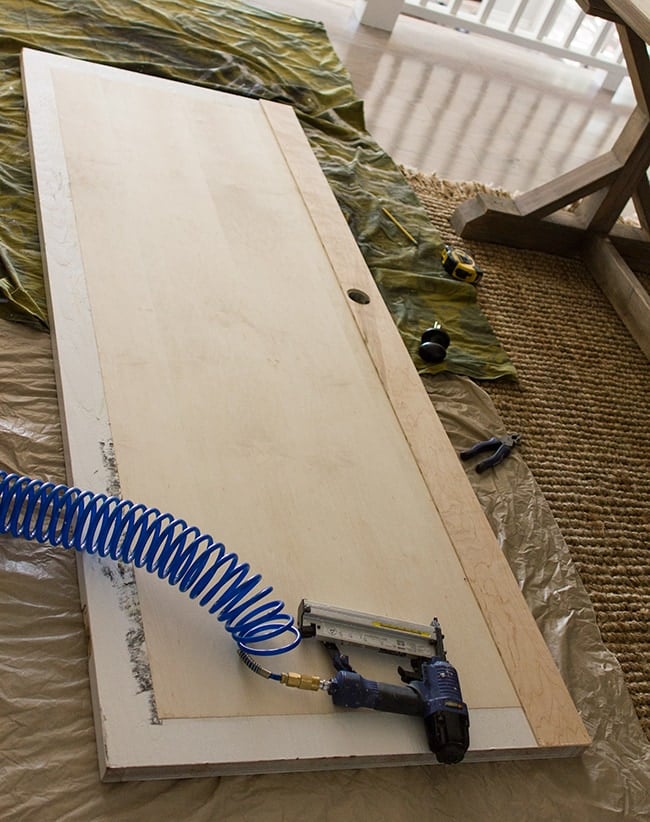
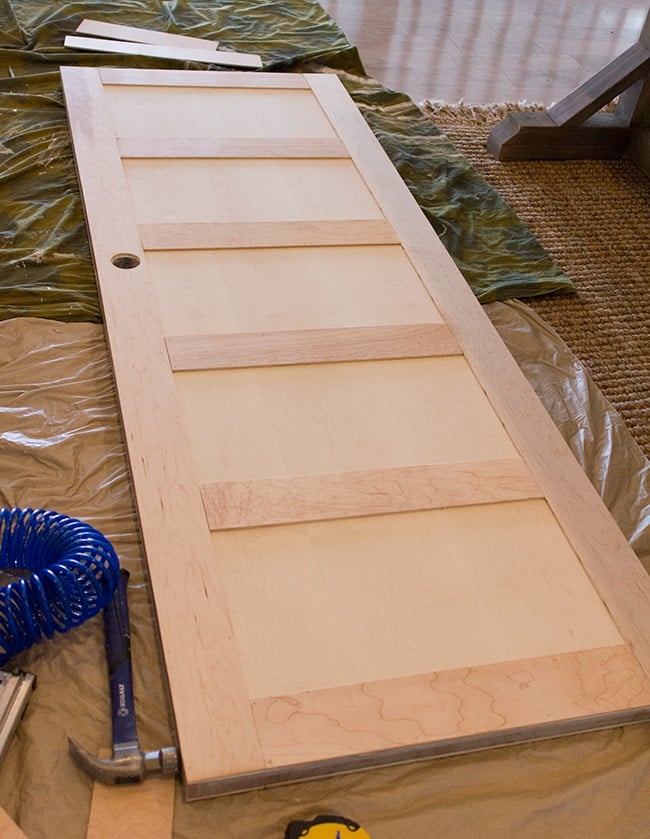
Attach horizontal plywood strips
Then I measured and cut my horizontal strips. I went with 6 which appears to be standard for old doors.
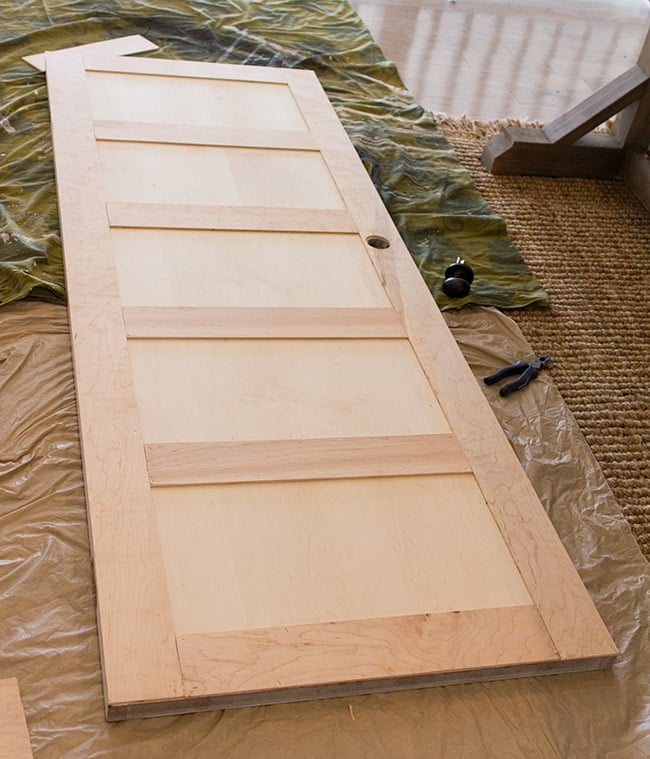
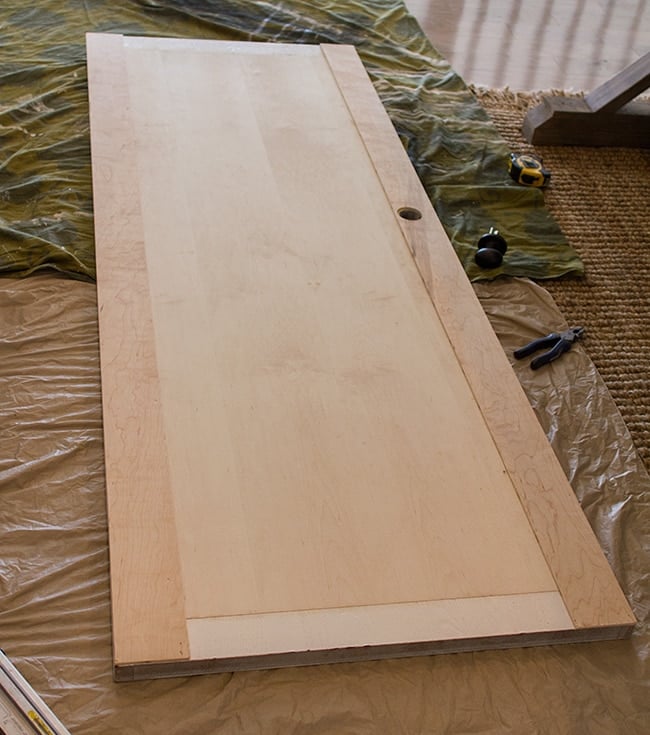
Then I flipped it over and repeated the process:
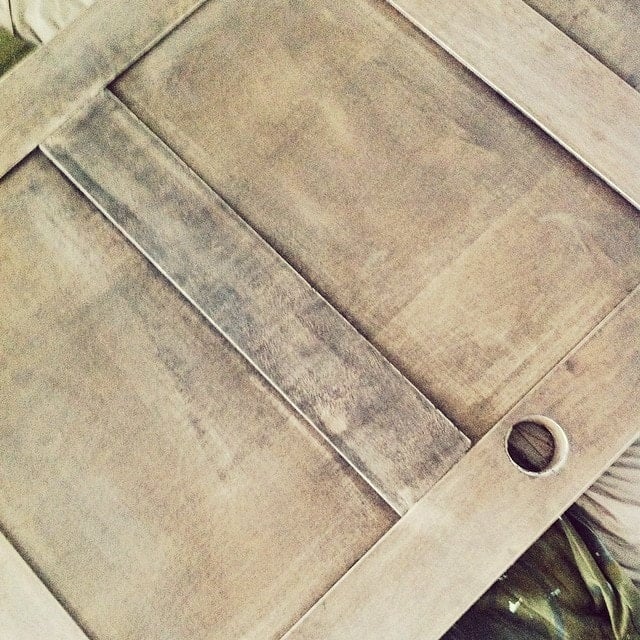
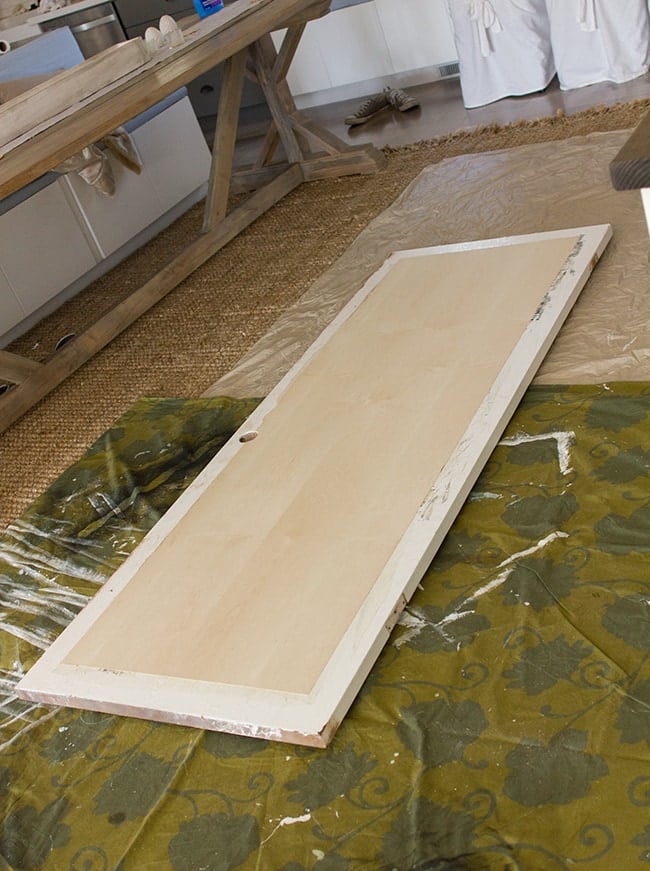
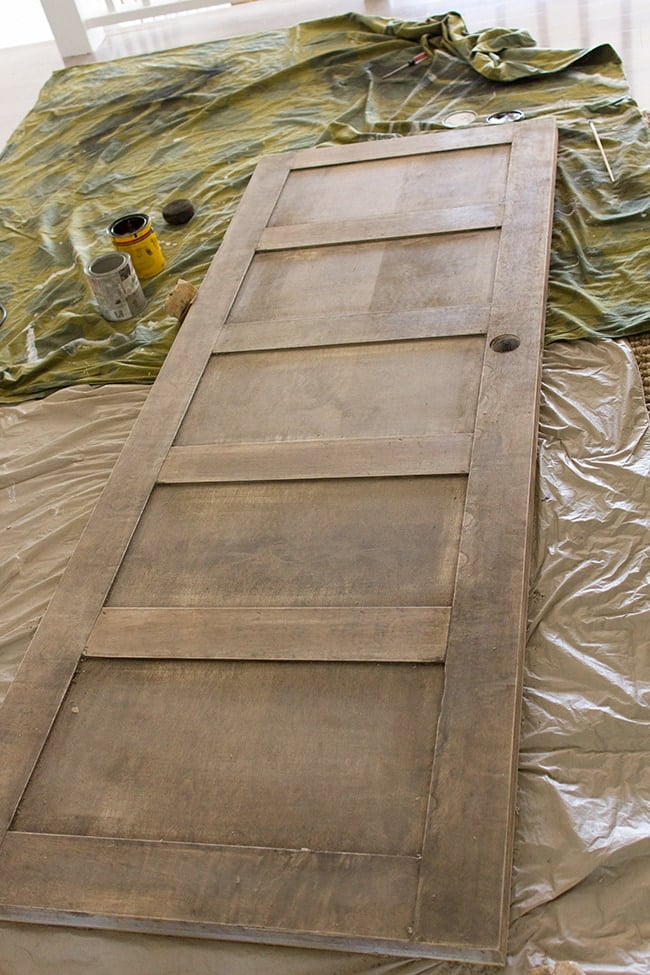
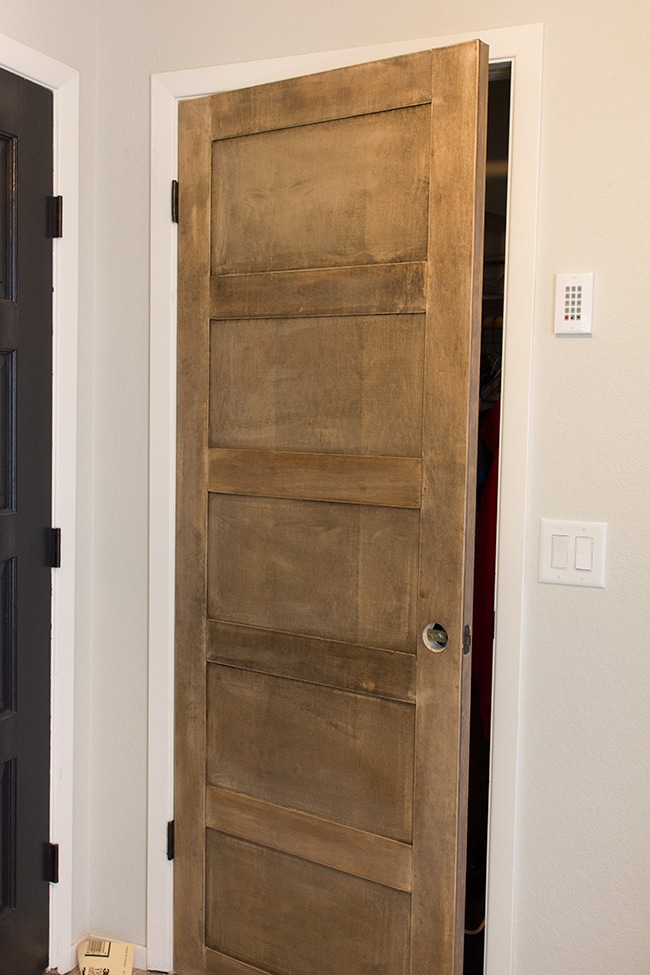
Stain door
And finally, it was time for stain.
I used a blend of Minwax’s Dark Walnut combined with touches of Rustoleum’s Driftwood and Weathered Gray. There was no real method to this… I just dipped my sponge in and spread it around however I thought looked best. I intended for it to look weathered so I wasn’t aiming for perfection.
Tip: use wood conditioner first for more even coverage!
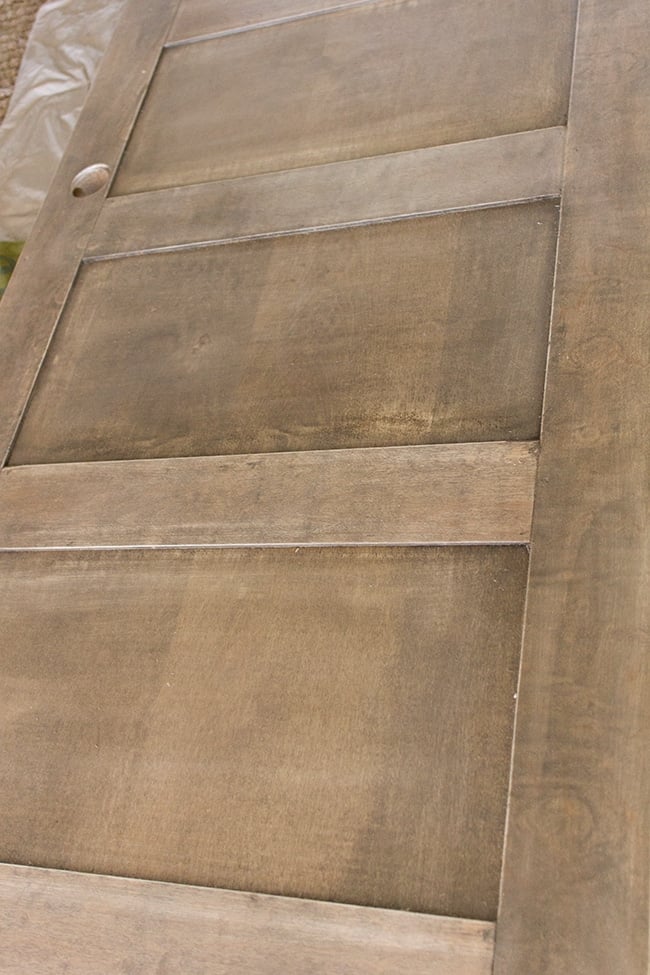
Lightly sand to age wood
Then I took some 60 grit sandpaper and roughed it up until I was happy with the results.
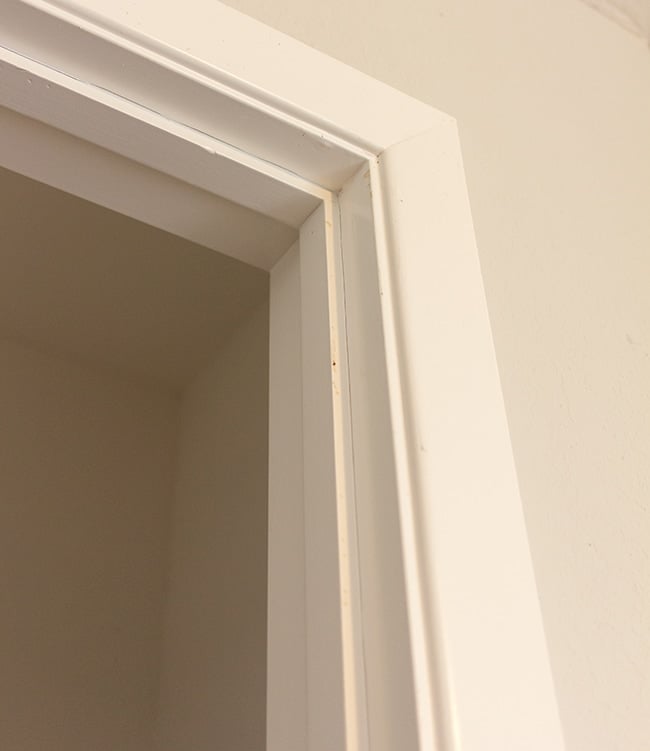
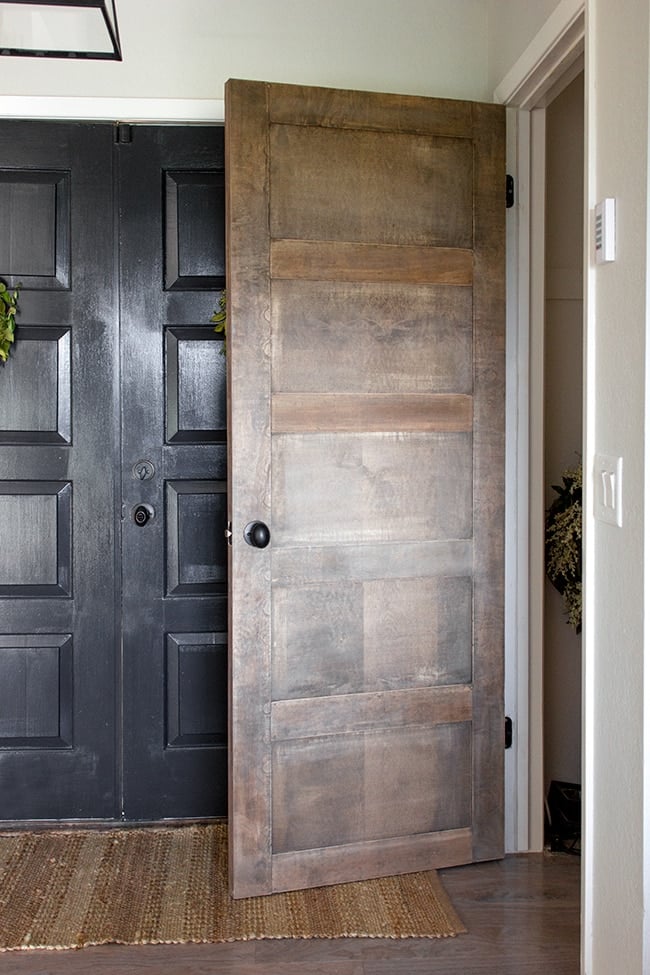
Adjust and reinstall door casing trim
Before rehanging it, we had to deal with this door casing. Because I made the door wider, these inside pieces of trim had to be pushed back so the door would latch properly.
We removed the strips…
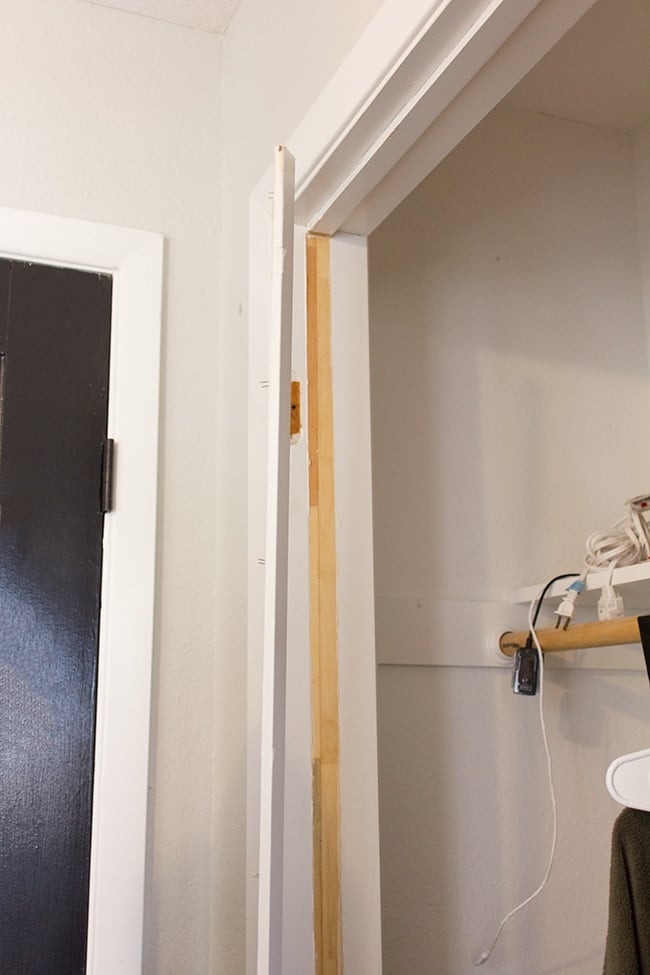
It was pretty rough looking under there, so I sanded everything down while Brad removed the old nails.
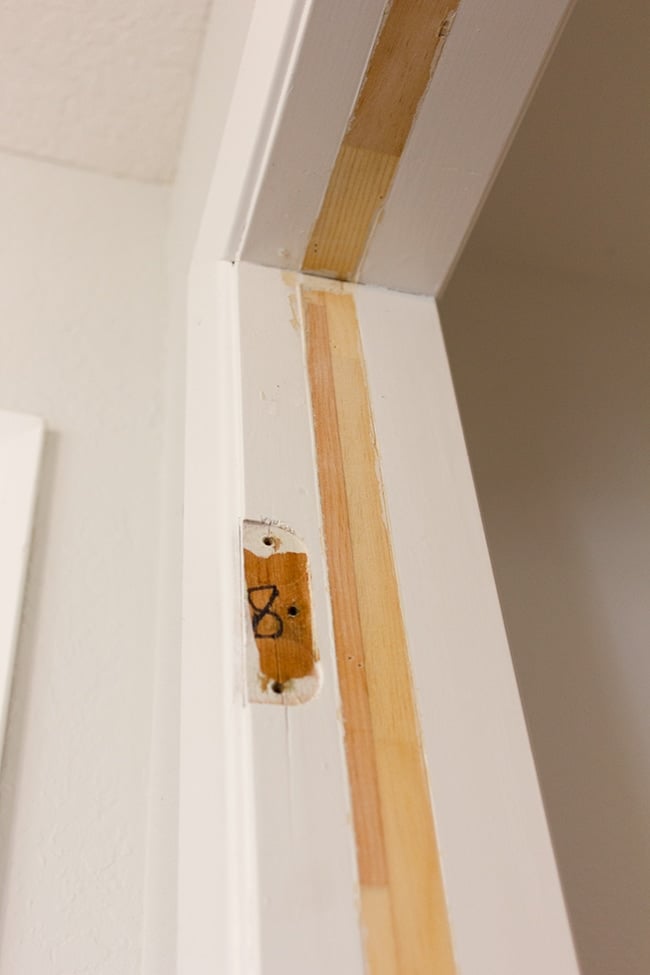
Before putting them back on, the door went back on the hinges…
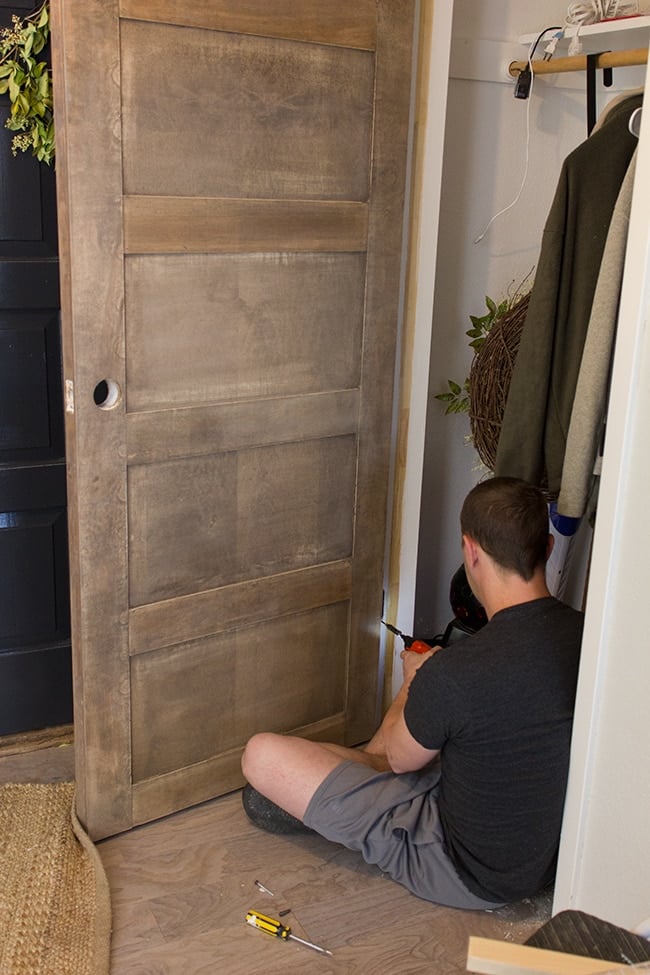
Then I stepped inside the closet with my air compressor and flashlight, shut the door, lined the casing strips back up and nailed them in.
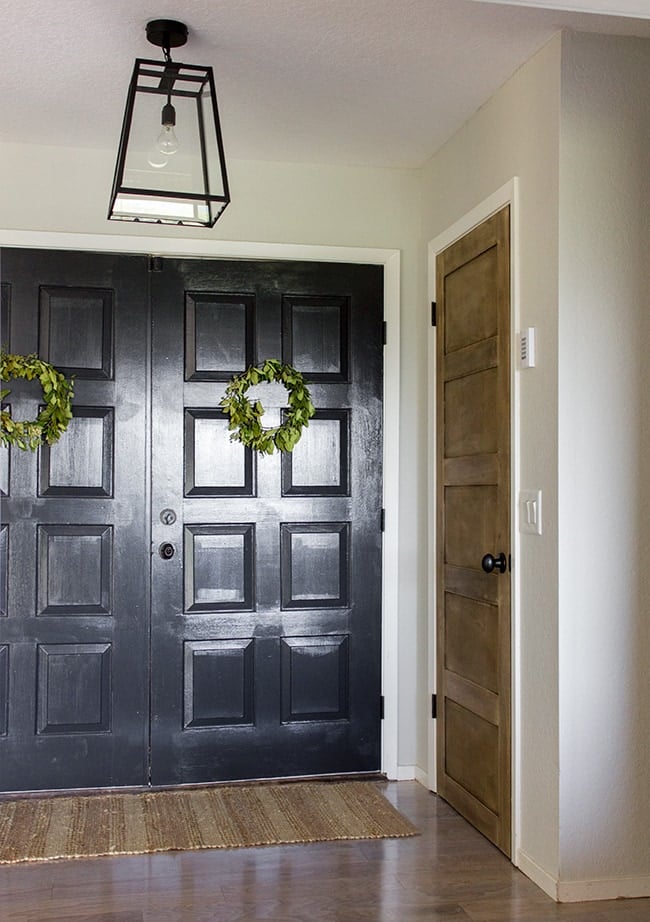
Finished result
A bit of caulk & paint later, and this project is done!
And here’s the new light in action:
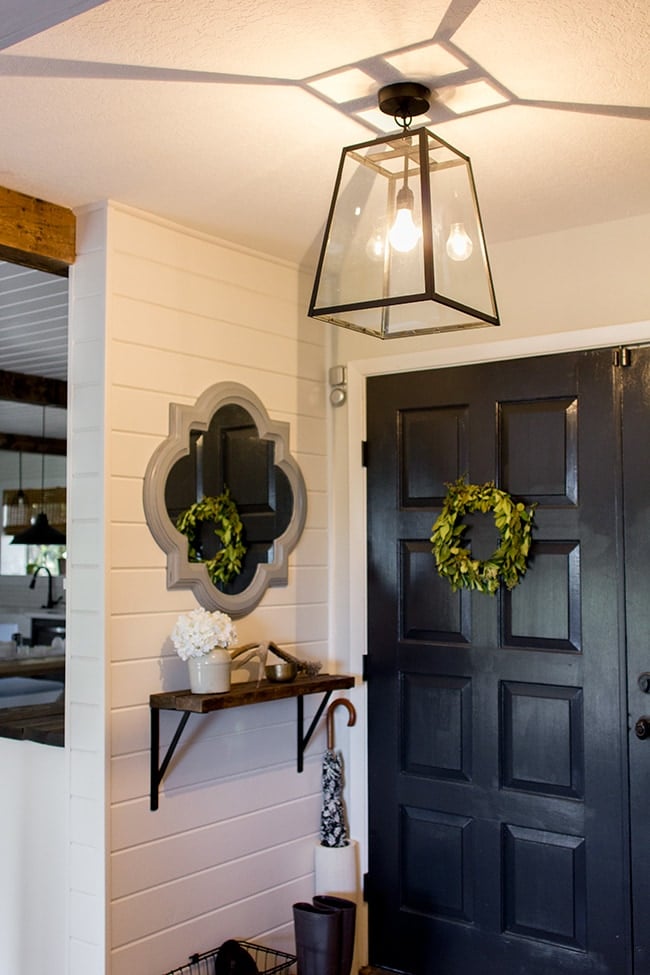
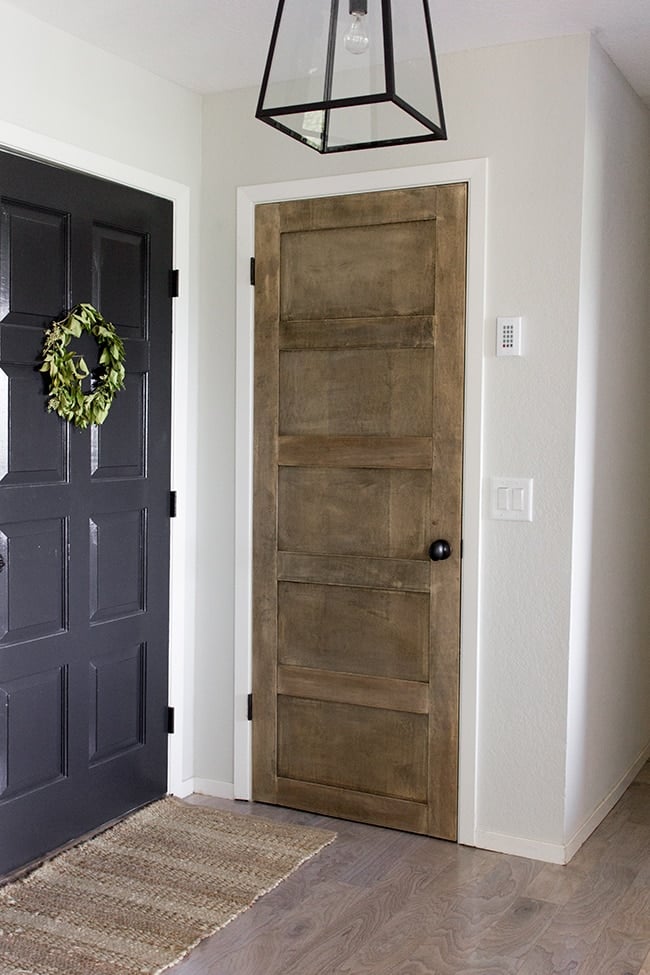
I love the way it warms up the space.

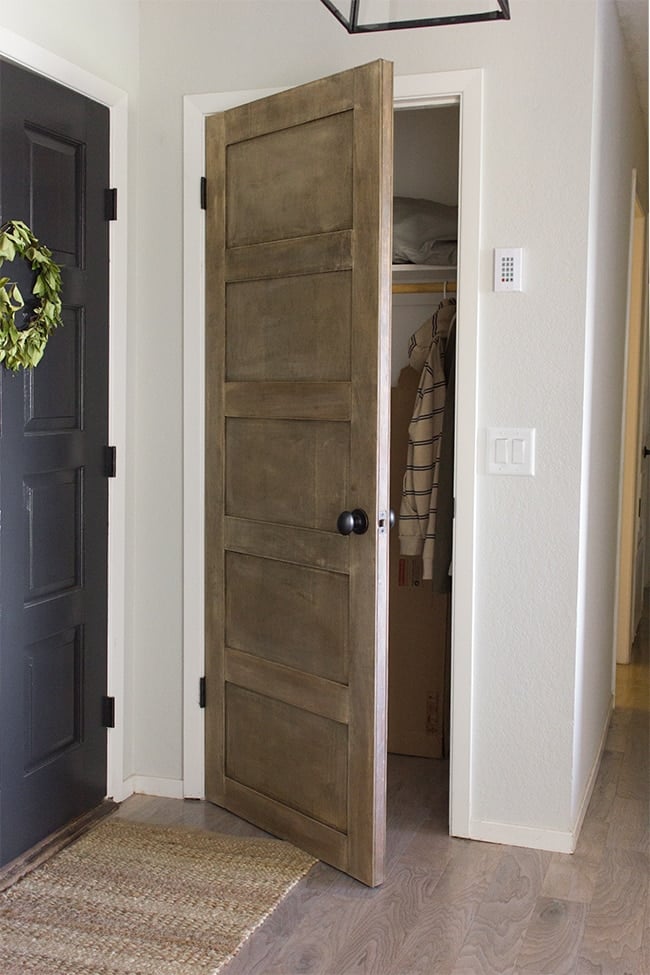
One day I’ll give the inside of this closet a makeover…
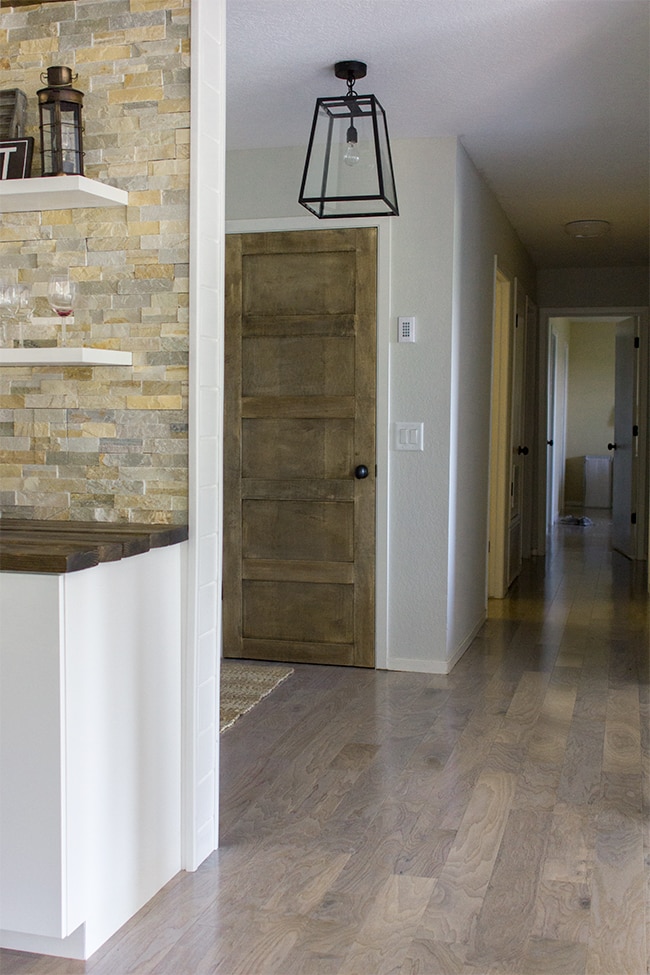
Here’s the view from the entrance to the kitchen:
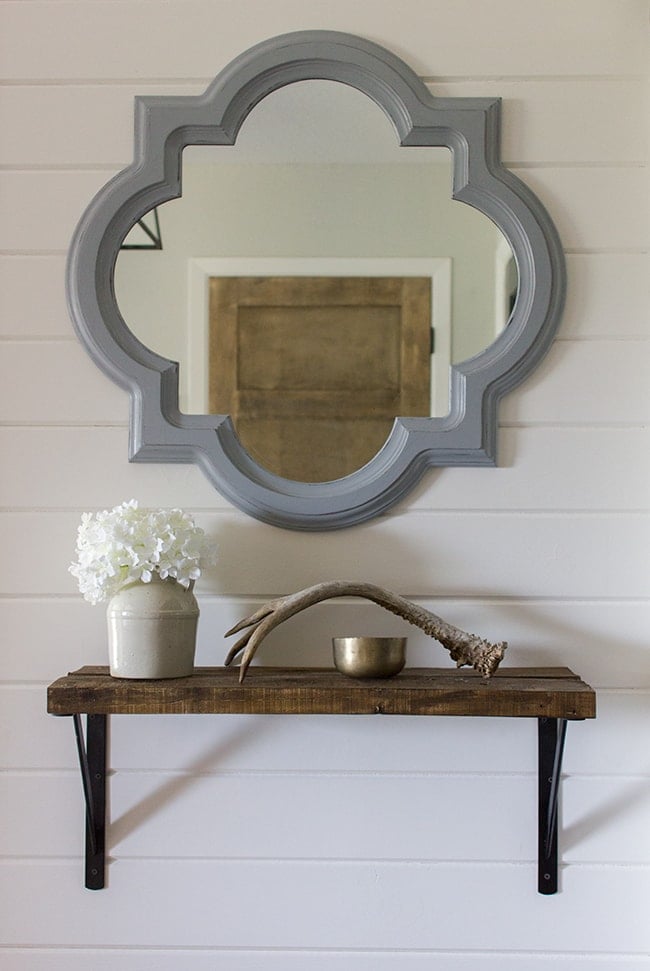
And reflecting in from the mirror…
Looking for more DIY door makeovers? Try these tutorials!
- Plain to paneled door upgrade
- The easiest DIY flat panel door upgrade
- DIY rustic barn door
- DIY X-trim sliding door
- Simple closet door X-trim


Heather says
I just got the World Market 4 pendent light to hang over our kitchen table and I love it. Could you tell me how exactly your shortened the cord on it? Thanks!
jennasuedesign says
Hey Heather! I believe they just cut the wire and removed the chain (via pliers).
Nicole says
Please whats the thickness of plywood you used. Your projects are perfection! I also dream up DIY projects so much it drives me nuts! We have a small house on Cape Cod so it has to be big on character!
jennasuedesign says
Thanks Nicole! It’s 1/4″: https://www.lowes.com/pd/Top-Choice-1-4-in-Common-HPVA-Oak-Plywood-Application-as-4-x-8/1000068909
sharon says
Hi I love this door makeover and the instructions are great! I would love to know the thickness of the cabinet plywood.
Connie says
Can you tell me what thickness of plywood you used.