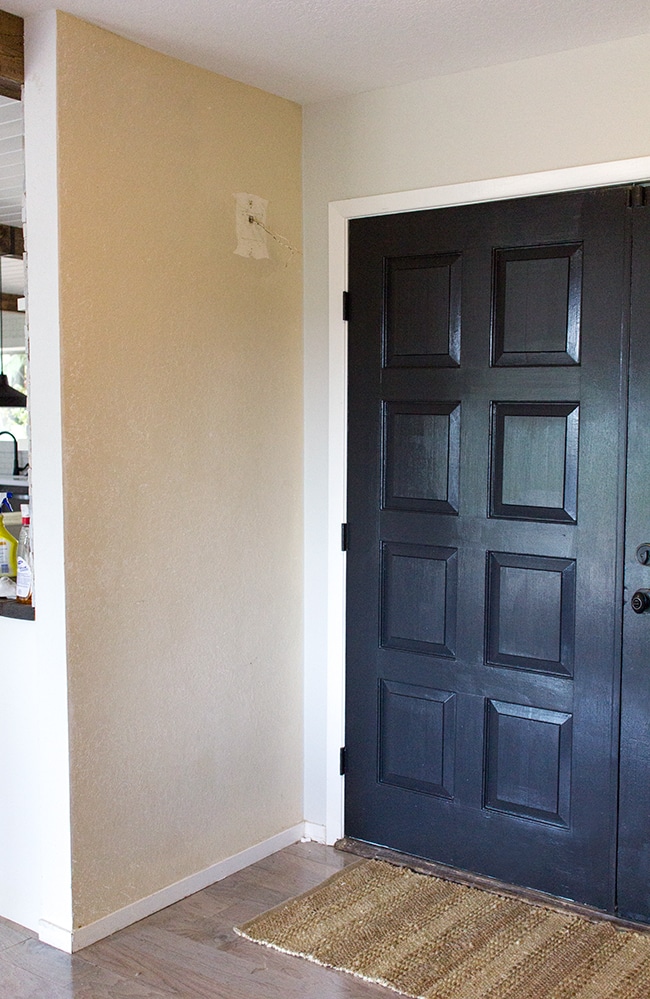
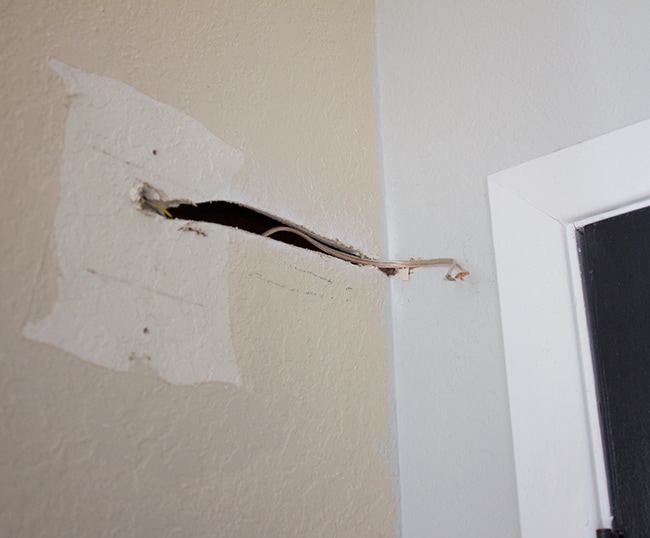
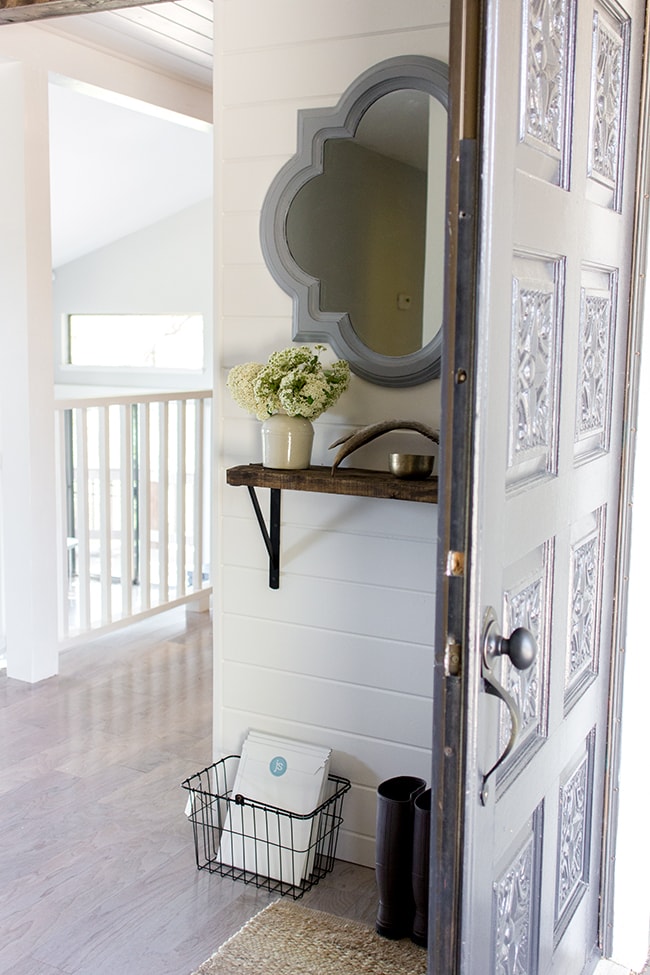
Hope you all had a wonderful Easter! I spent the weekend transforming our foyer from this….
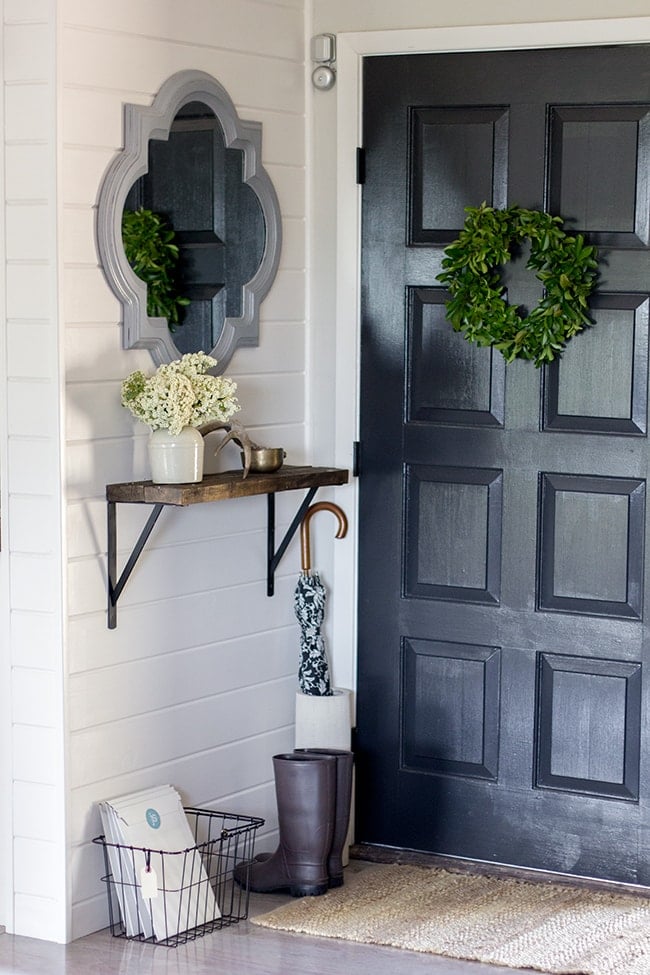
To this:
But let’s start from the beginning. Lots of photos today so grab a drink and get cozy.
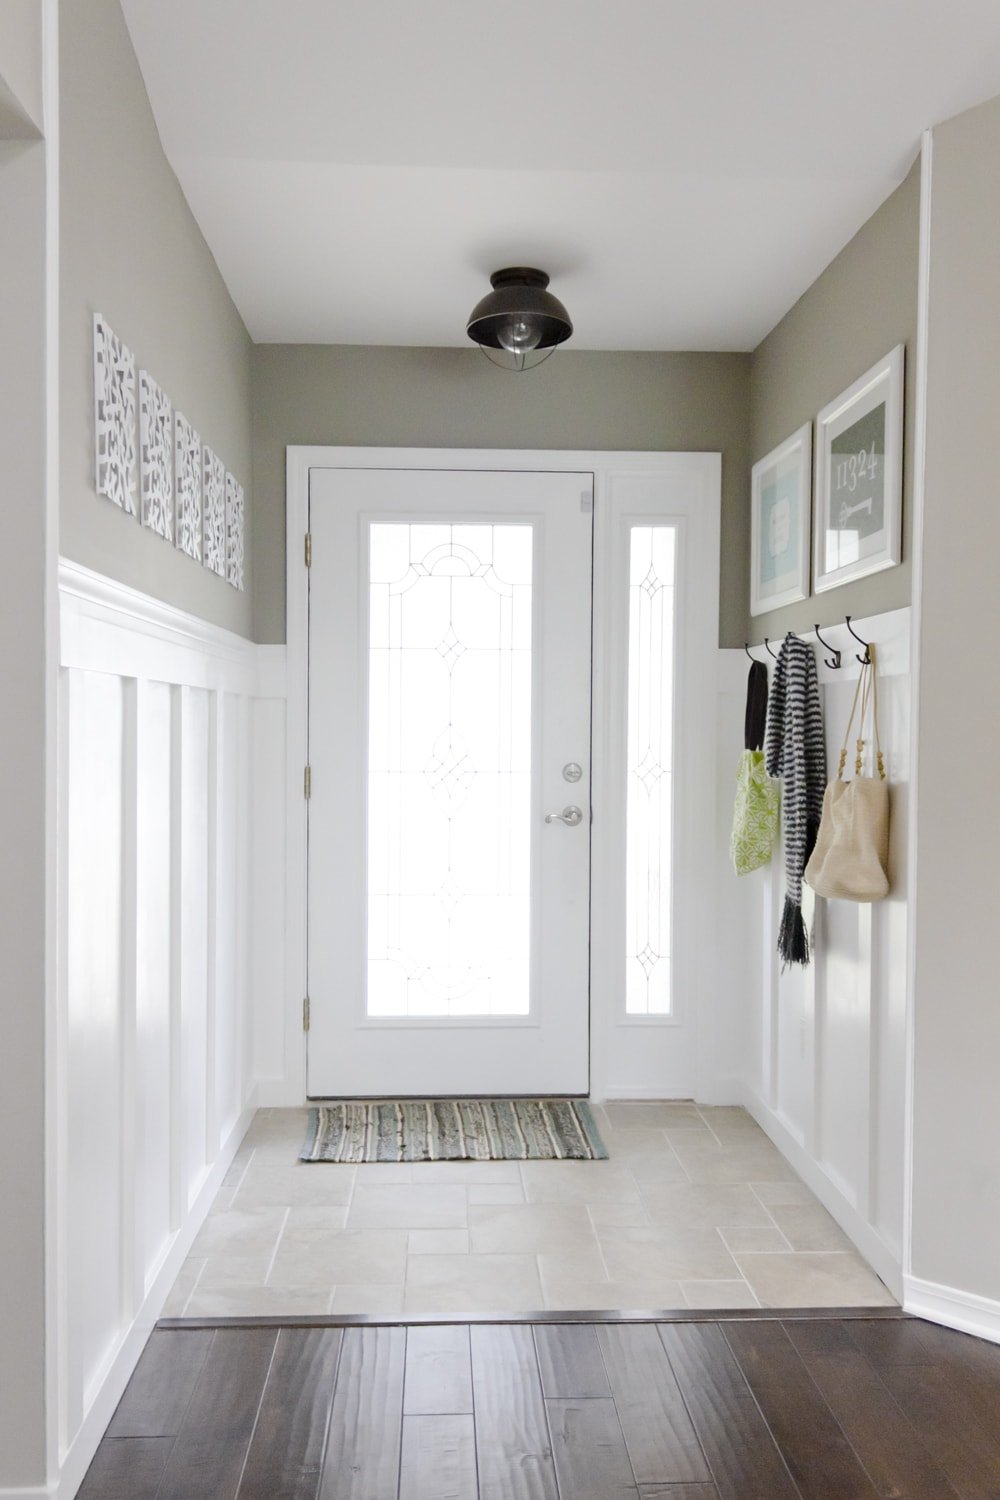
Originally I was planning on another board & batten treatment for this wall, kind of like what I did in our old house…
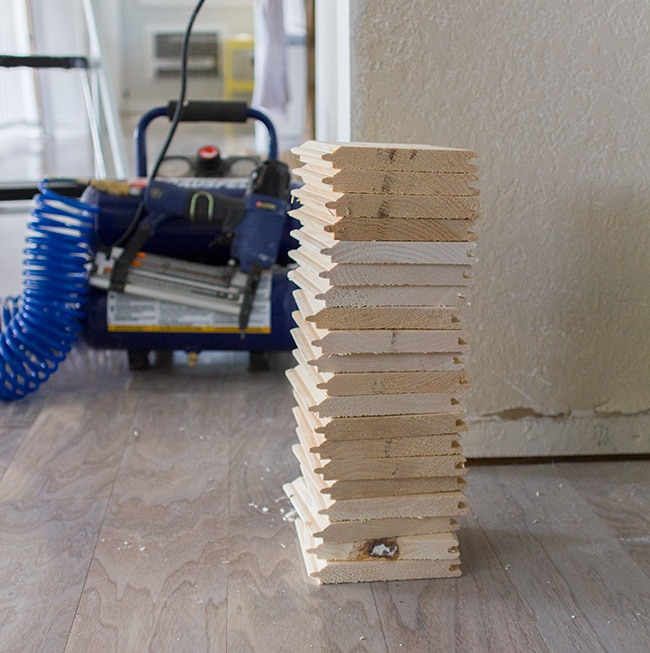
But then I remembered I had tons of leftover planks just sitting in the garage so I thought I’d save some money and use them again. It’s also nice because it’s consistent with the planking in the adjacent areas.
I won’t go into depth about the planking process (you can read all about that when we did our kitchen ceiling, kitchen wall, studio, and living room), but here’s a quick overview.
Step 1: Remove the existing baseboard.
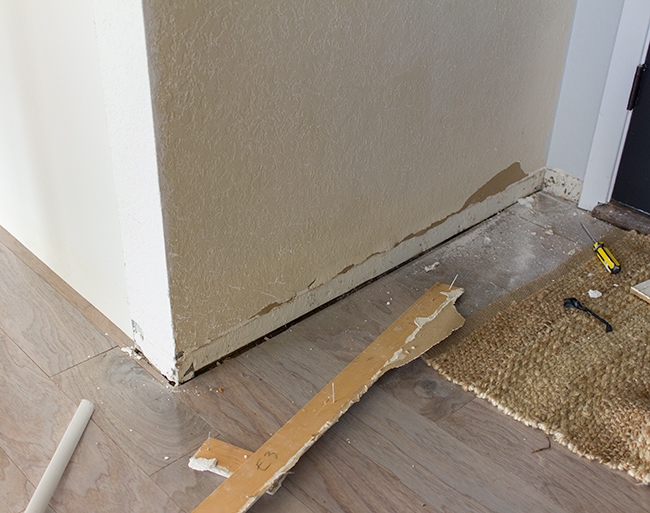
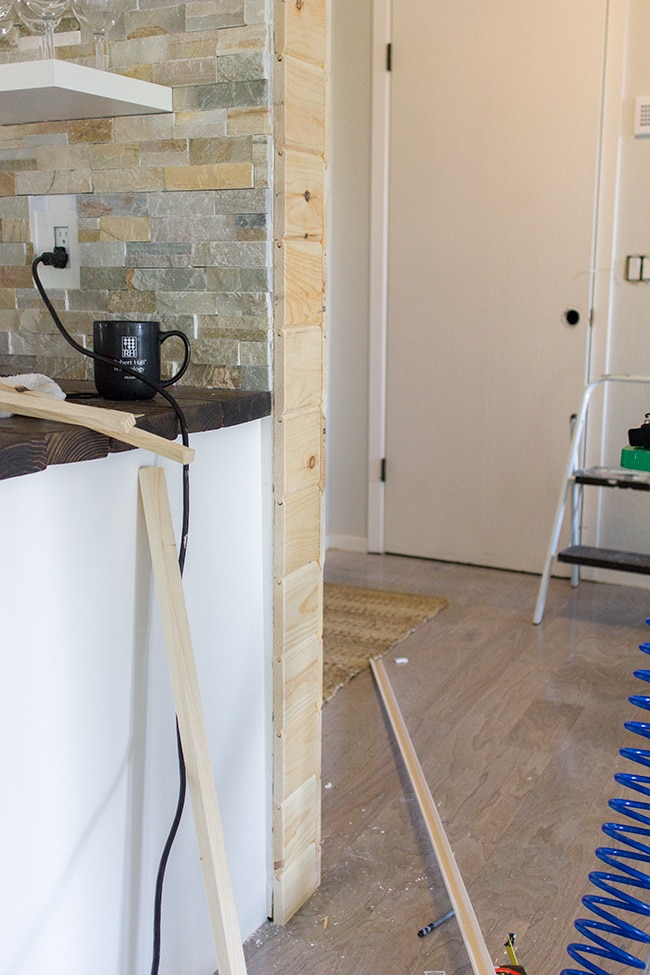
Step 2: Relocate the wiring for our door chime (this wasn’t necessary, but I thought it’d look better tucked in the corner by the door instead of on top of the planks. I picked up an old fashioned little bell to replace the giant wood & plastic relic from the 70’s.
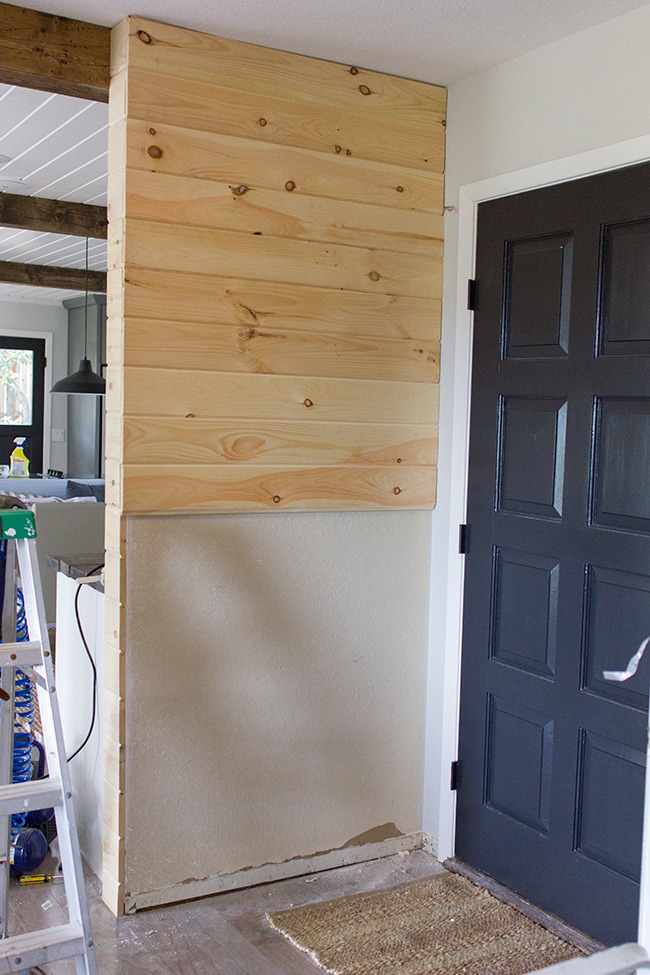
Step 3: Cut some planks. I started on the small wall first, and had to measure for each one since the wall wasn’t perfectly even all the way down.
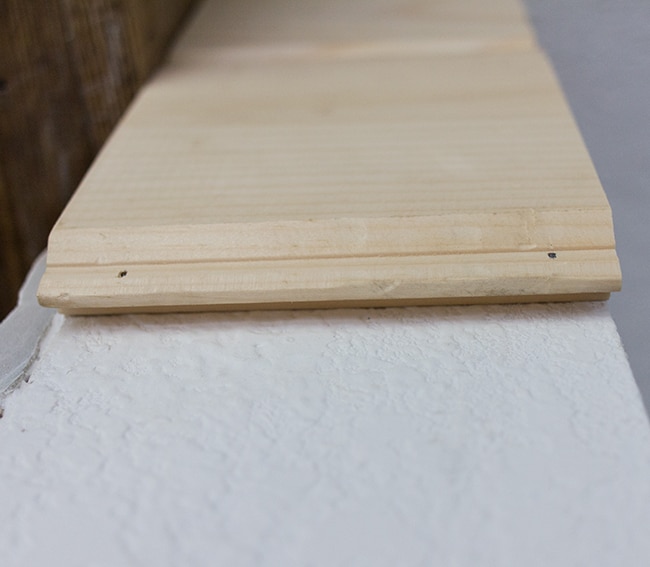
Step 4: Secure planks to the wall. On these, I shot two nails through the tongue of each to hold it in without being visible (the groove of the board below will hide them. The tongue and groove locks them together so you don’t have to go overboard with the nail gun.
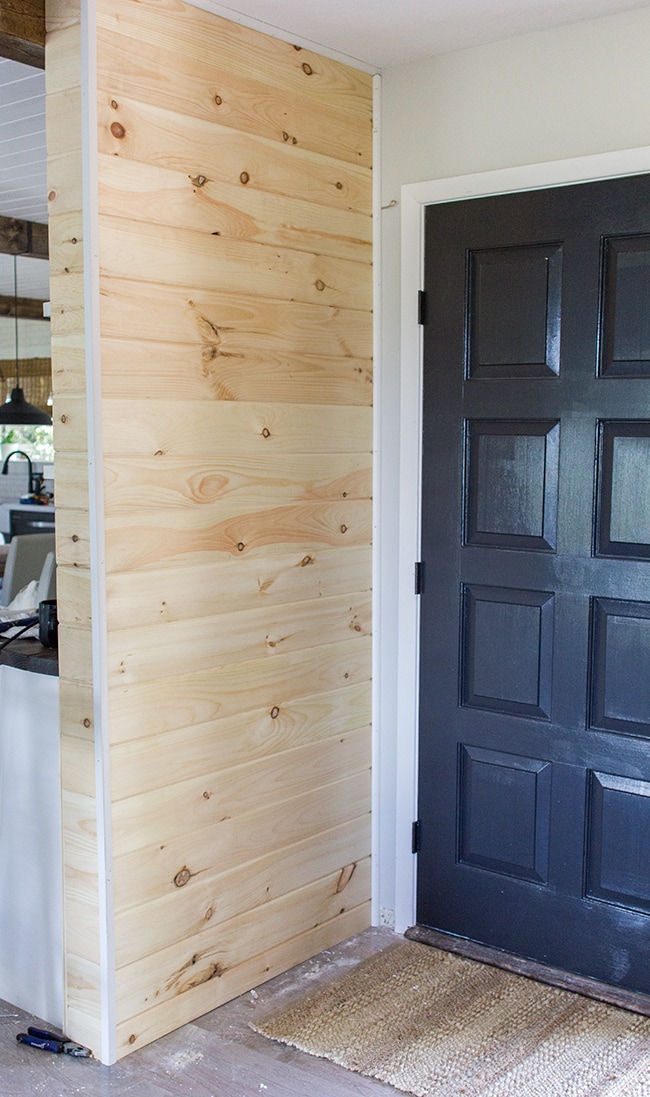
In no time, this wall was finished.
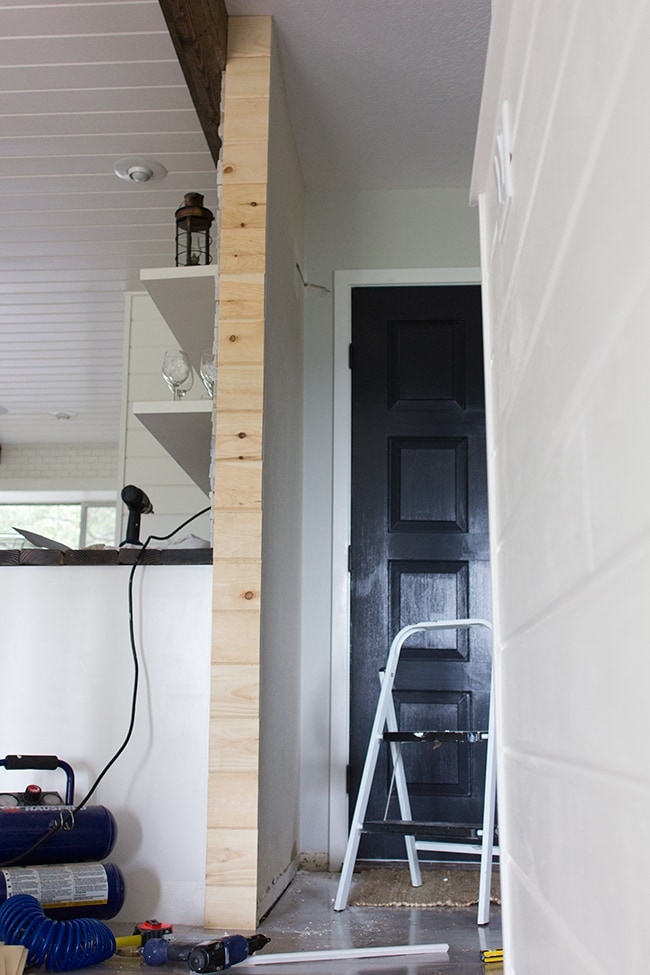
Then I started on the main wall—same process here, except I used two nails on each end instead of along the bottom since it would be hidden by trim.
For the bottom, I just ripped down the last board with a table saw and it locked in place.
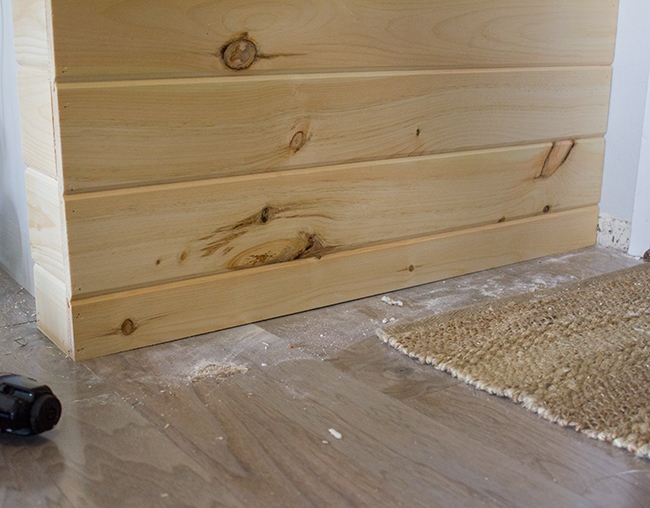
Already an improvement…
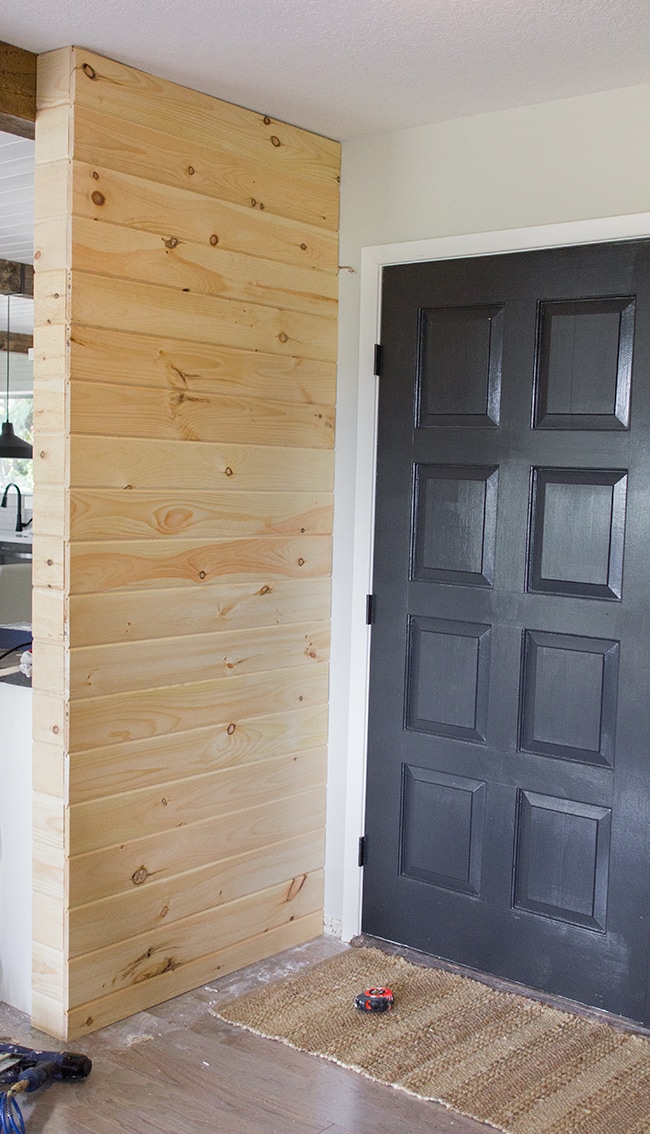
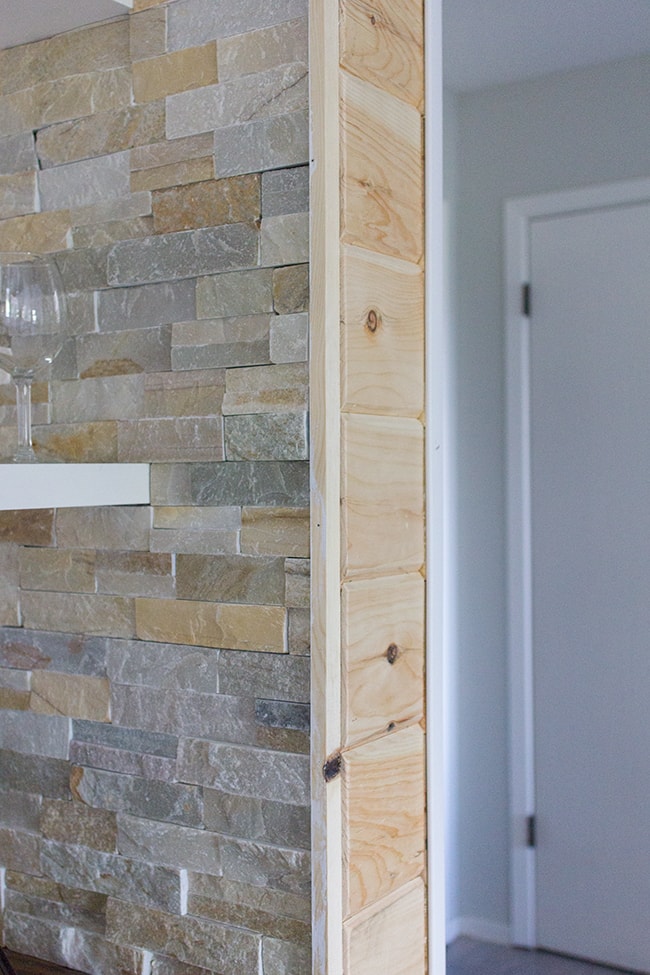
Then it was time for trim. I started with quarter round at the top…
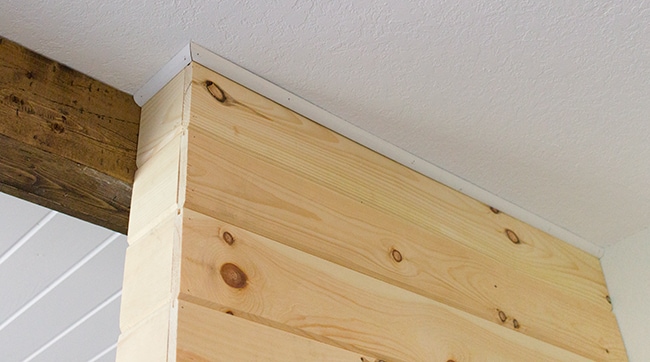
Then quarter round again where it met the wall on the right, and a 90′ piece for the outside corner on the left.
Then came the tricky part… this edge where it met up with the bar.
At first I was going to use quarter round again, but decided another 90′ piece would look nicer, and that way I could also cover the edge of the stacked stone. To give it something to nail to, I first put up a scrap piece of wood cut to 3/4″.
At the bottom where it met the counter, I cut another piece of wood the same depth but wider to cover the larger gap.
Then I secured my corner piece over them:
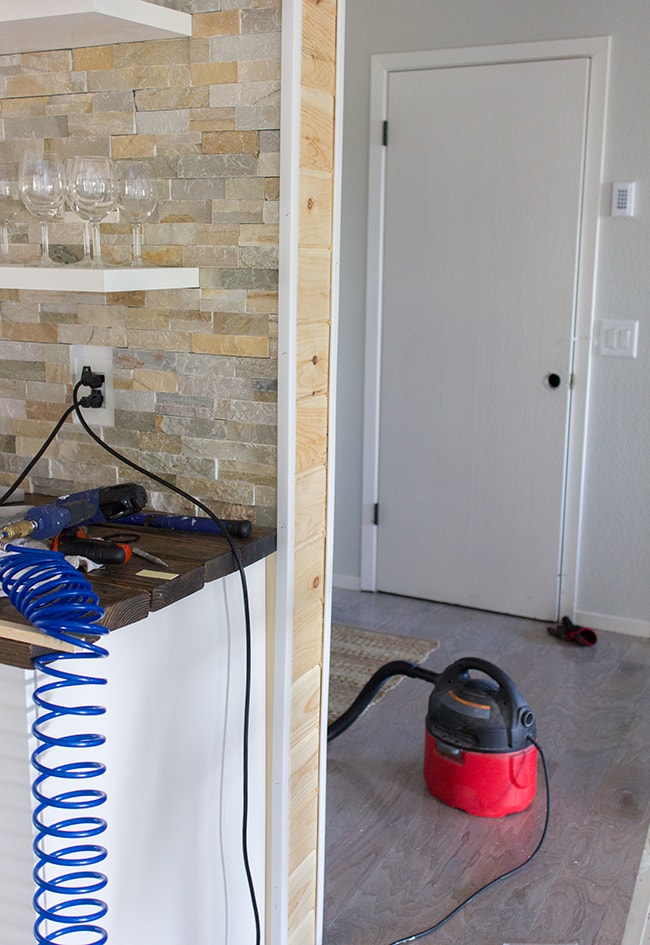
Whew, much better. And finally it was time to spackle the nail holes & caulk the seams.
It takes a whole lot of caulk to get into all the little spaces…
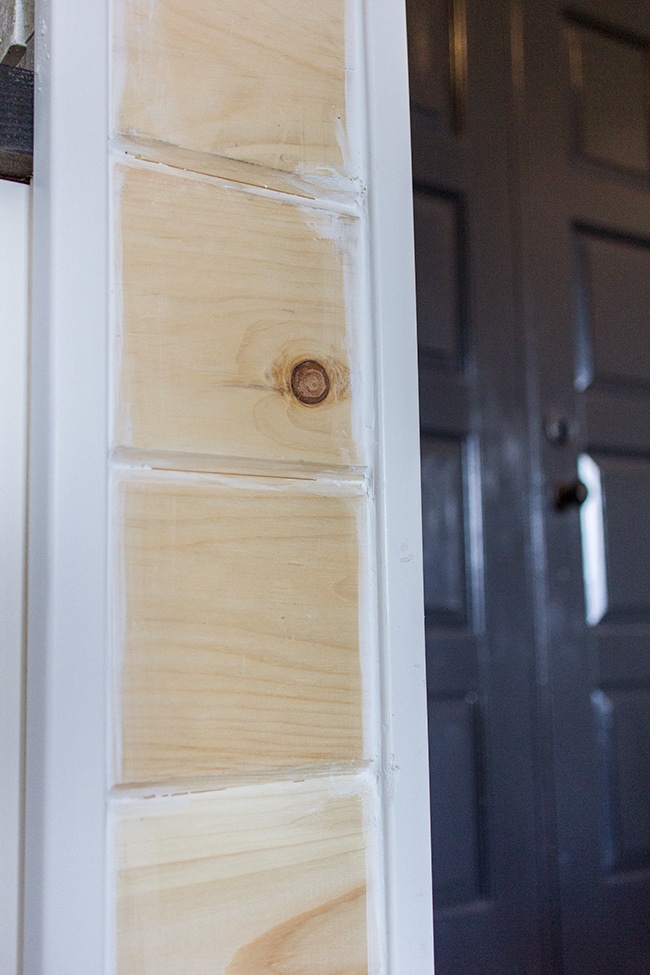
Before painting, I decided to use a primer over the knots because I’ve been noticing a slight amount of yellowing where the knots are on the other plank walls. It’s nothing obvious, but enough to take the extra step of using primer (I used Zinnser’s in the blue can for this). Since it was water based, I was able to go ahead and touch up over the already-painted walls elsewhere in the house while I was at it, and hopefully that will stop them from bleeding through any more.
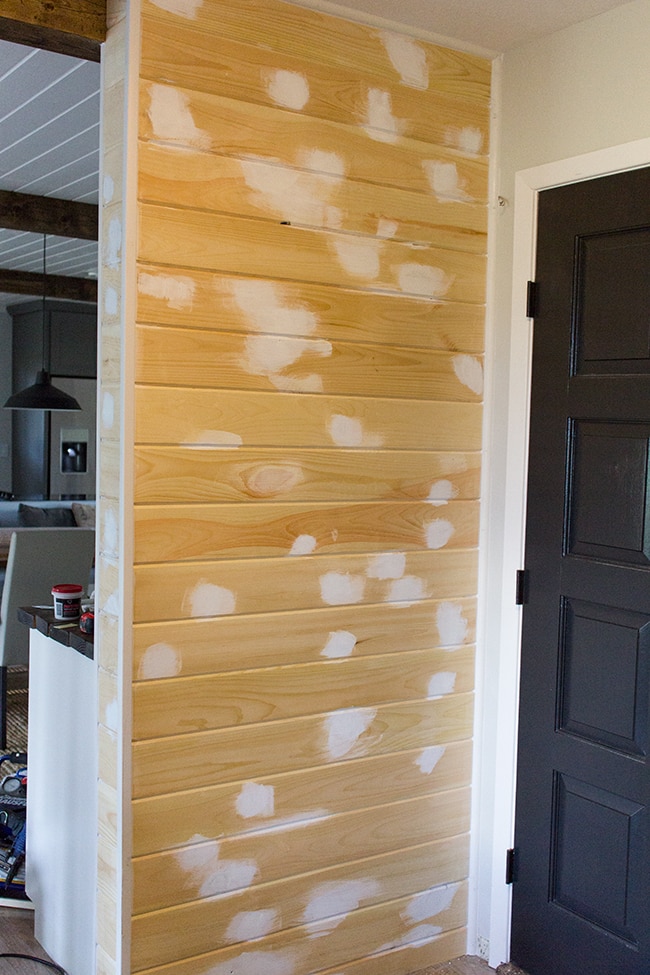
After the primer was dry, I applied a couple coats of my go-to white satin paint (Valspar Signature color matched to Kelly Moore’s Swiss Coffee), and the hardest part was over!
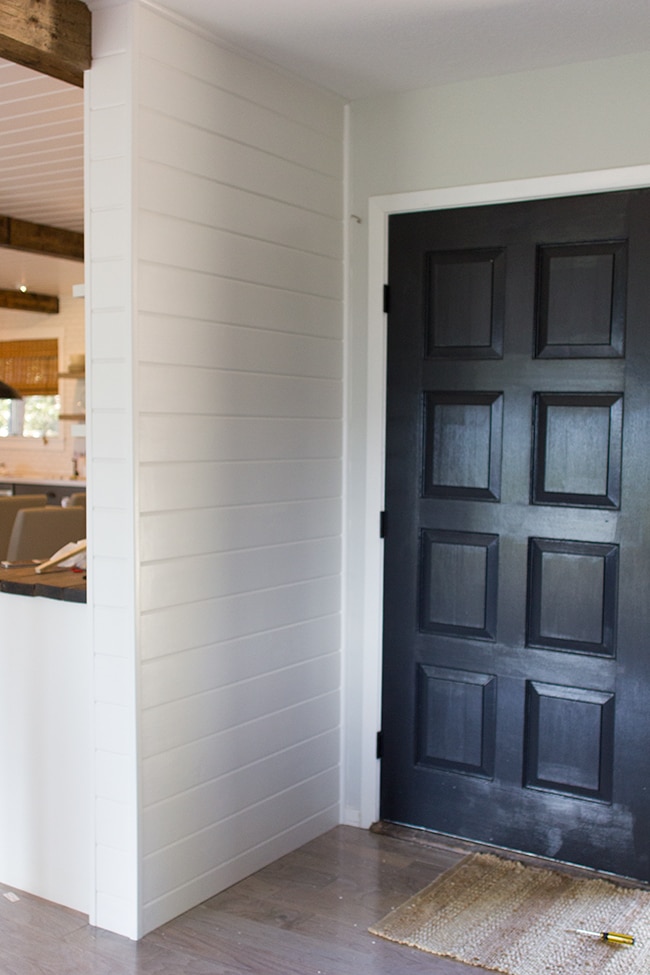
Then the real fun began—decorating.
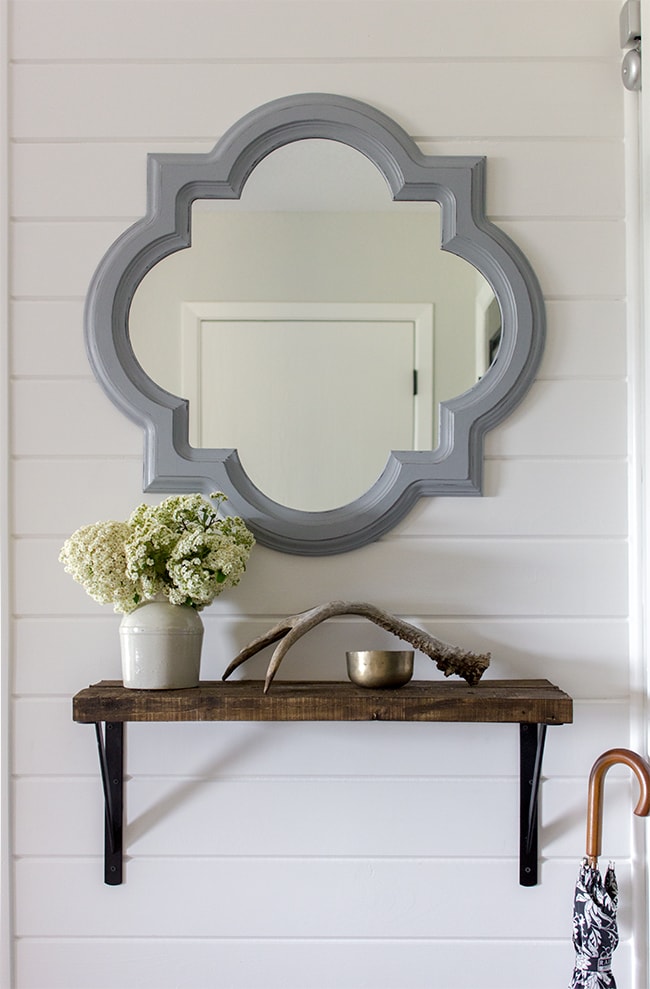
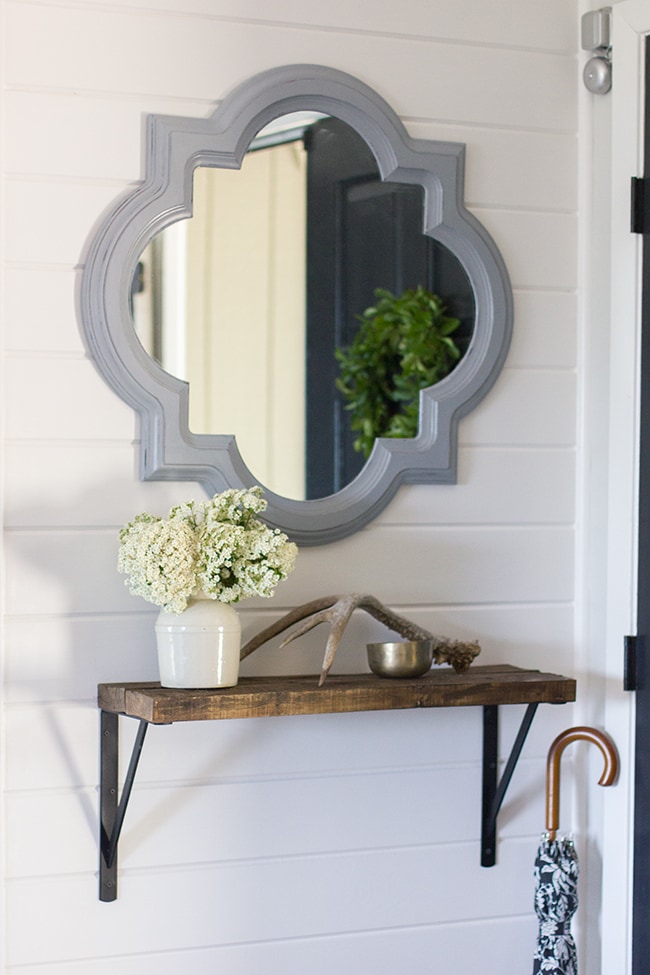
I had the perfect mirror to use… remember this guy from our sunroom?
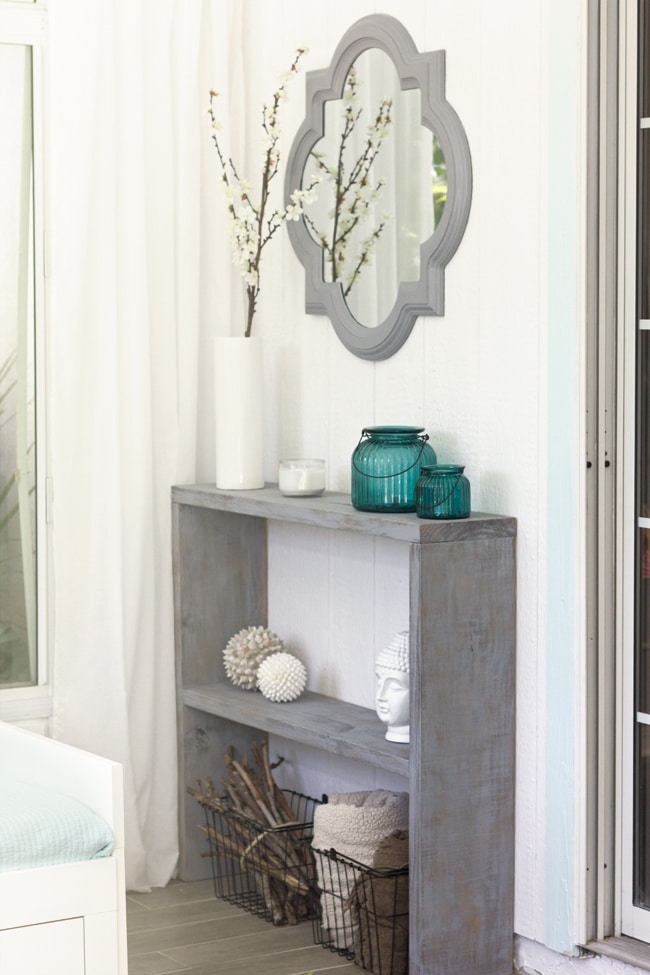
He was a perfect fit. But I decided to age him a bit by sanding the edges.
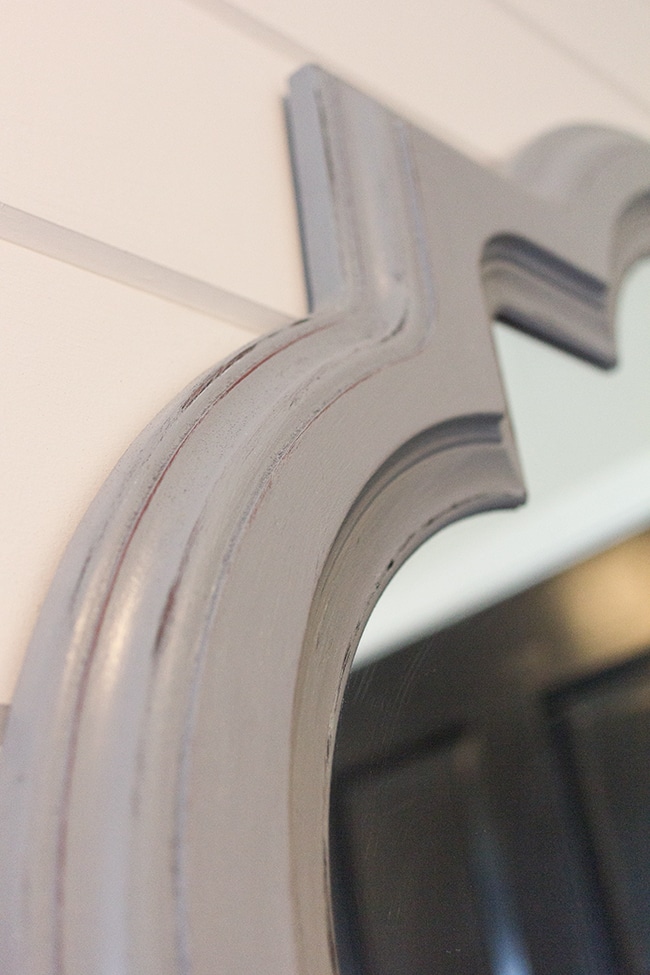
Much better.
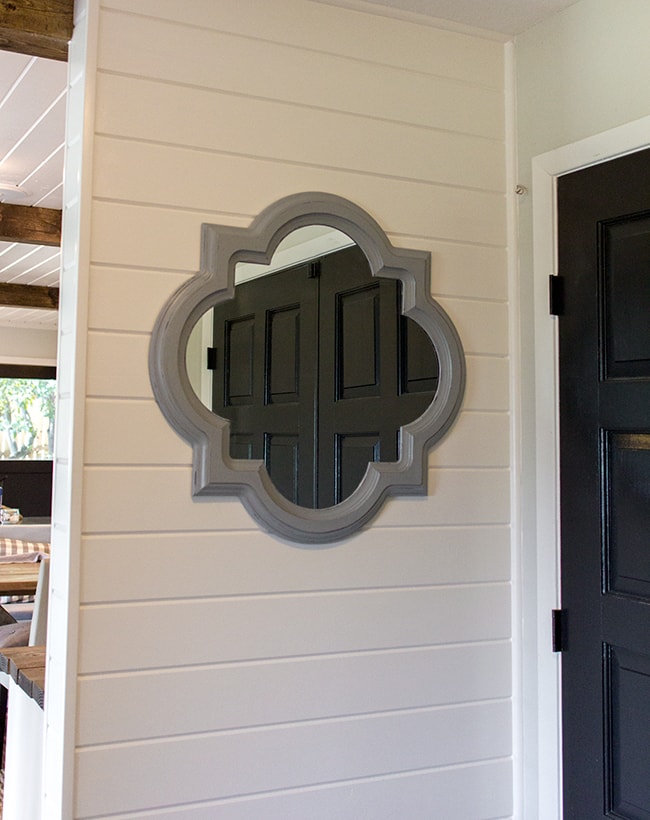
PSA: You can get almost the same mirror here at Kohl’s.
Next, I wanted to bring some function to to the wall with a shelf—but it had to be small because we open the left door every now and then to bring large things through. A custom shelf/ledge held up by brackets was what I decided on.
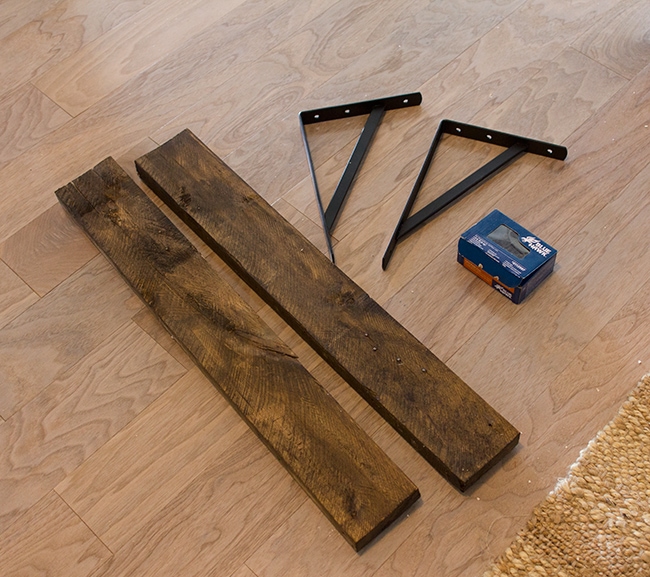
I have a bunch of old wood lying around so I grabbed a pallet and started hacking away at it. This is the first pallet I’ve ever attempted to disassemble, and seriously, I’m not even sure it’s worth it.
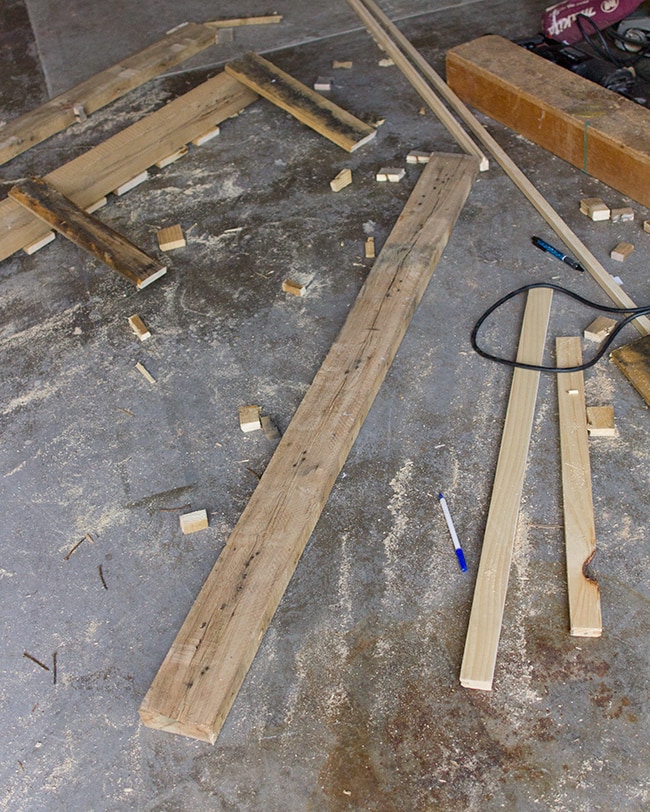
I started prying one piece at a time, and after about 20 minutes of struggling I only had one board off. Then I took my jigsaw and tried to cut them all off. Finally, Brad came to the rescue with a huge crow bar and helped me pry each individual rusty nail out. It took probably an hour just to get this one board.
I’d think I’d rather just buy a bunch of wood at Lowe’s, throw them in the backyard for a few years and let nature do its thing. That would definitely be easier.
Anyway, after I finally got my board, I cut it in half and gave them a light coat of stain (Minwax’s Dark Walnut).

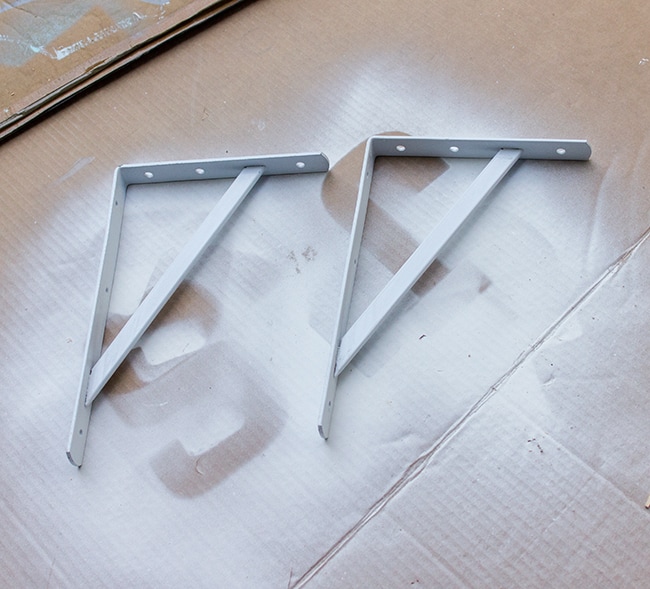
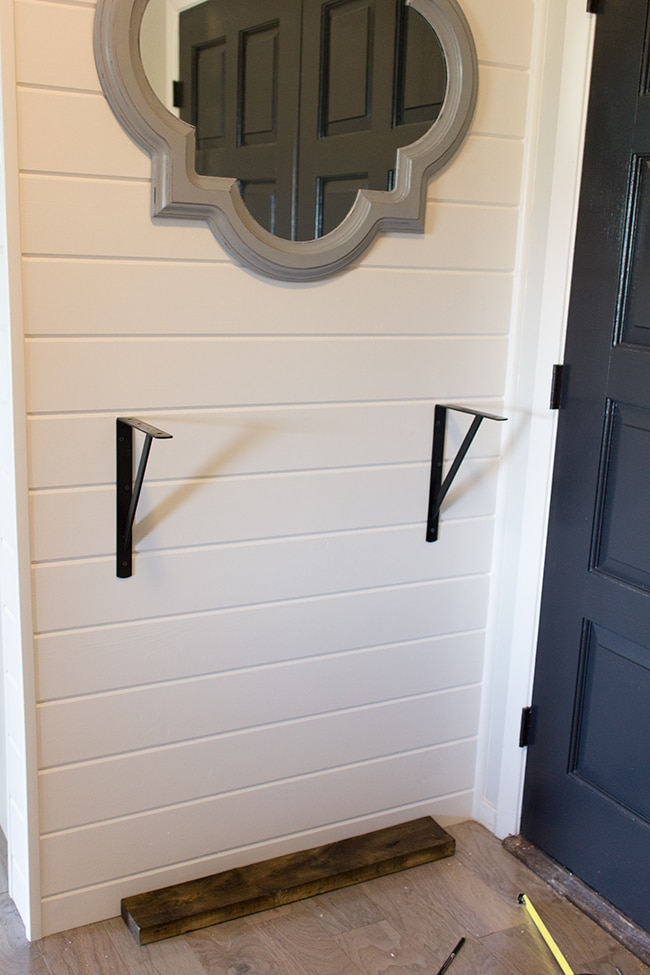
Using black drywall screws, I secured each bracket to the wall…
Followed by the wood pieces.
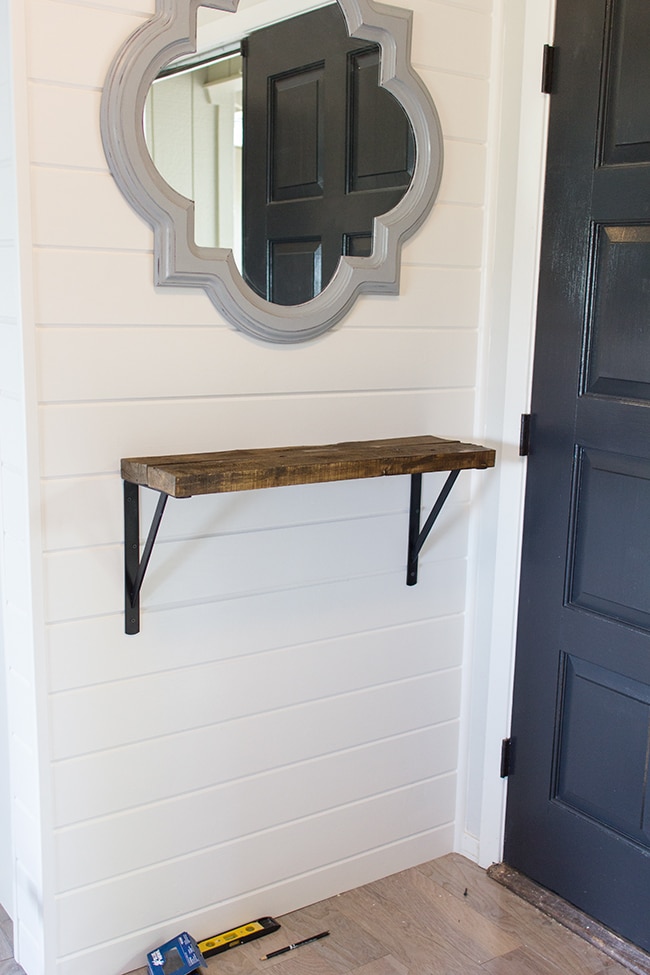
Simple as that!
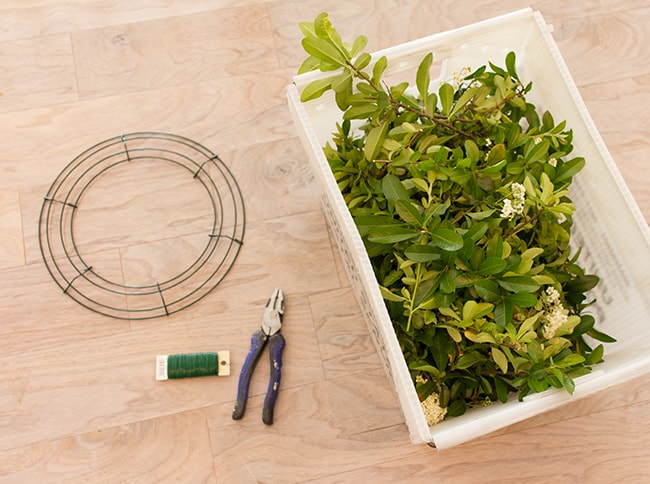
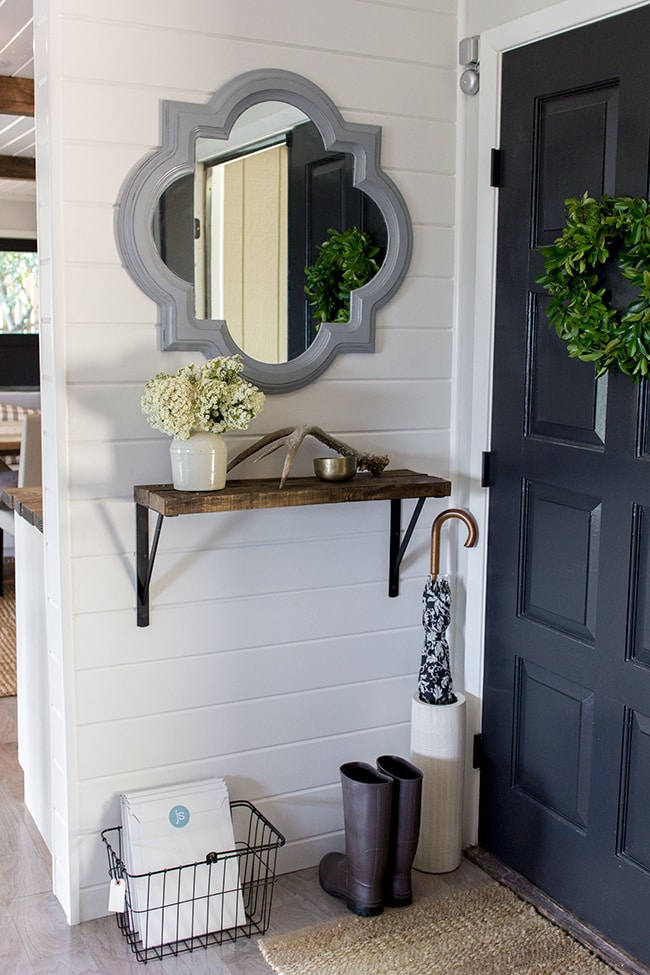
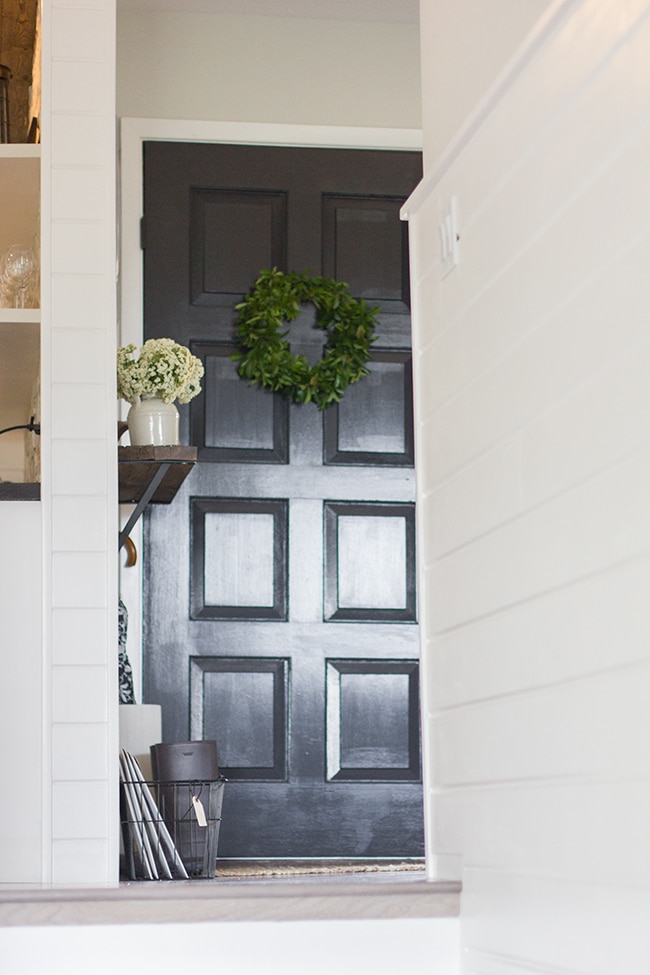
For my last project, I decided to add some greenery with a couple door wreaths. I picked up four wire wreath bases for $2.50/ea at Joann’s (I plan to make two for the front door as well) along with green floral wire.
We’re spoiled out here in the country with a large variety of plants and trees, so I stepped out into the front yard and found some shrubbery that was in full bloom. I gathered some clippings that I thought would make perfect spring wreaths.
To attach them, I snipped off small pieces of wire and bent them into a U shape…

Then starting from the outside, secured my clippings one at a time (here’s the back):

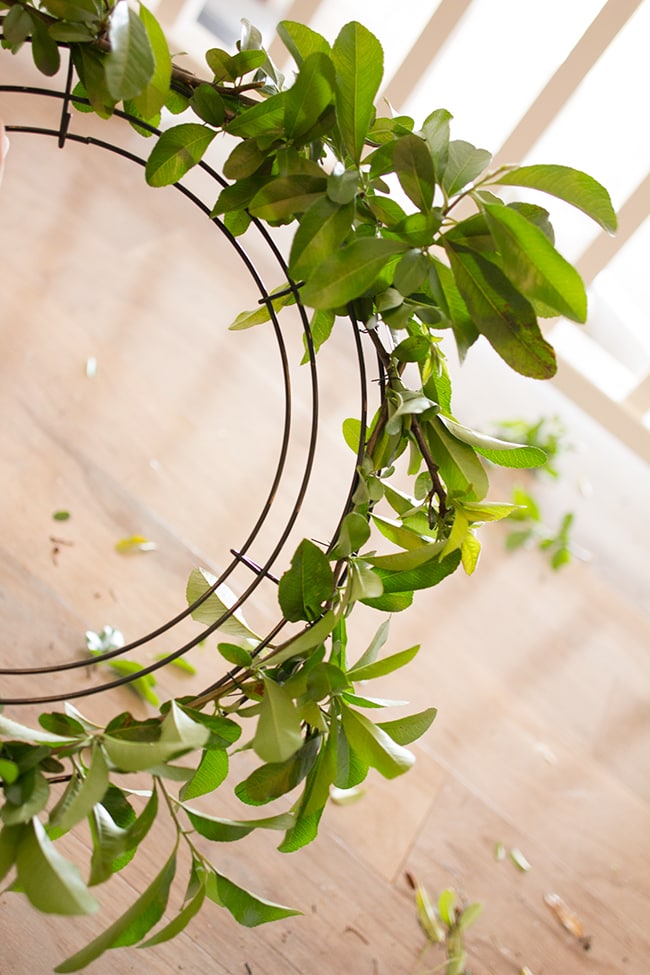
It takes a while to get the hang of it, but after the outer ring is done it goes by quickly, and in 20 minutes or so I had this:
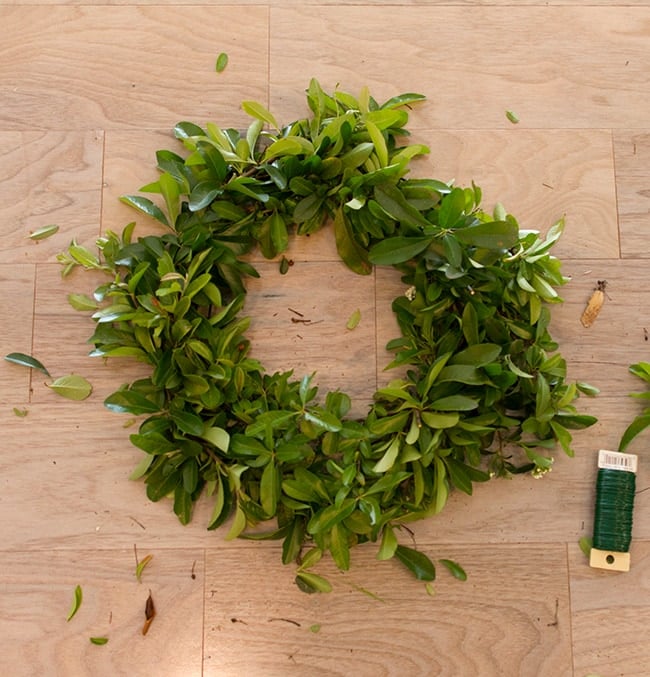
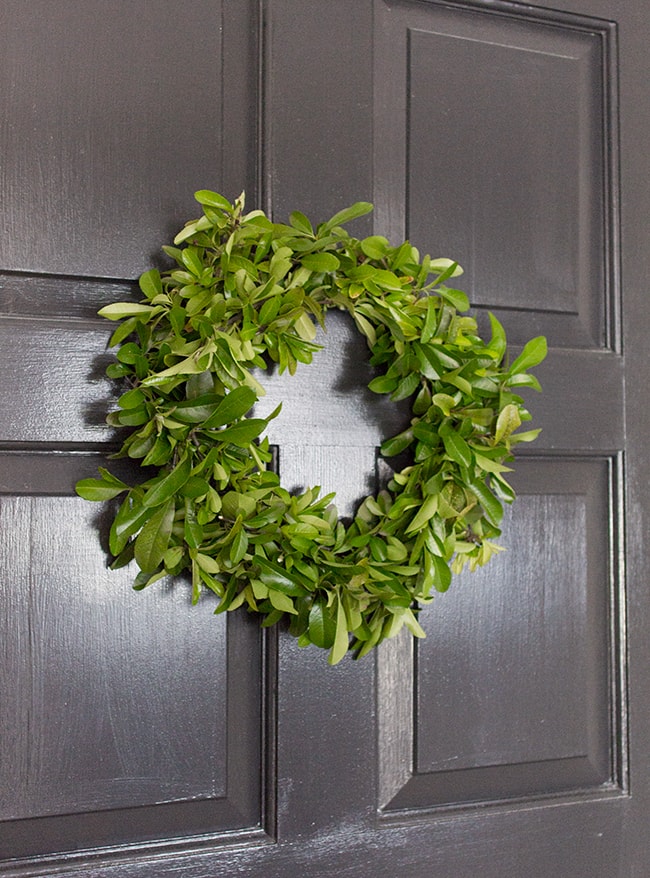
I thought about incorporating some flowers, but I loved the simplicity of the leaves so I left them as is.
I’ve never made a natural wreath before so I have no idea how long it will last, but I plan to spritz it with water frequently and hope it stays good for at least a little while!
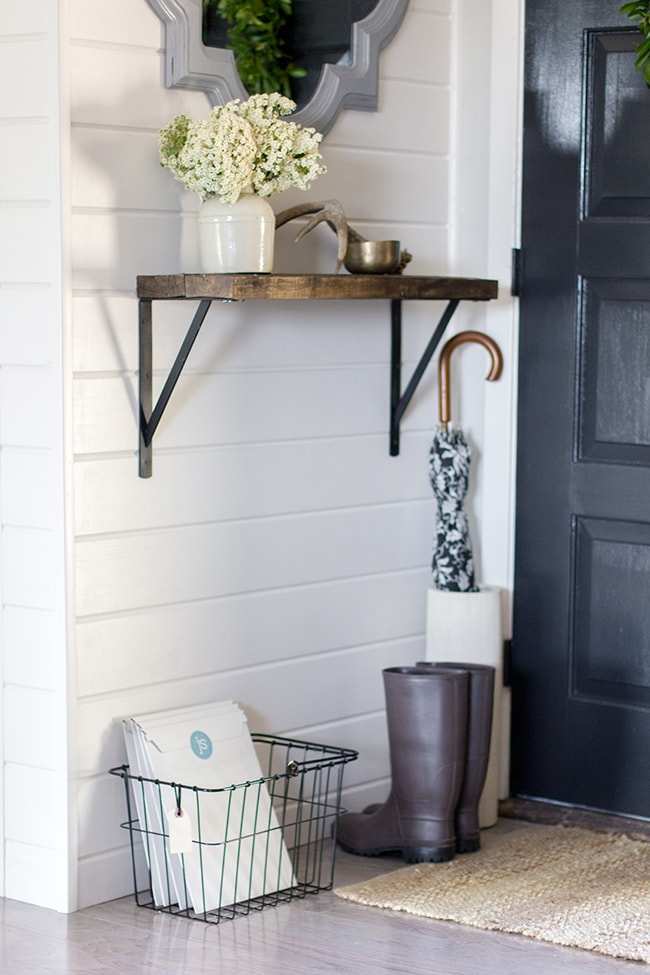
With the final touches on the door, the foyer is dressed up for spring and ready to welcome guests…
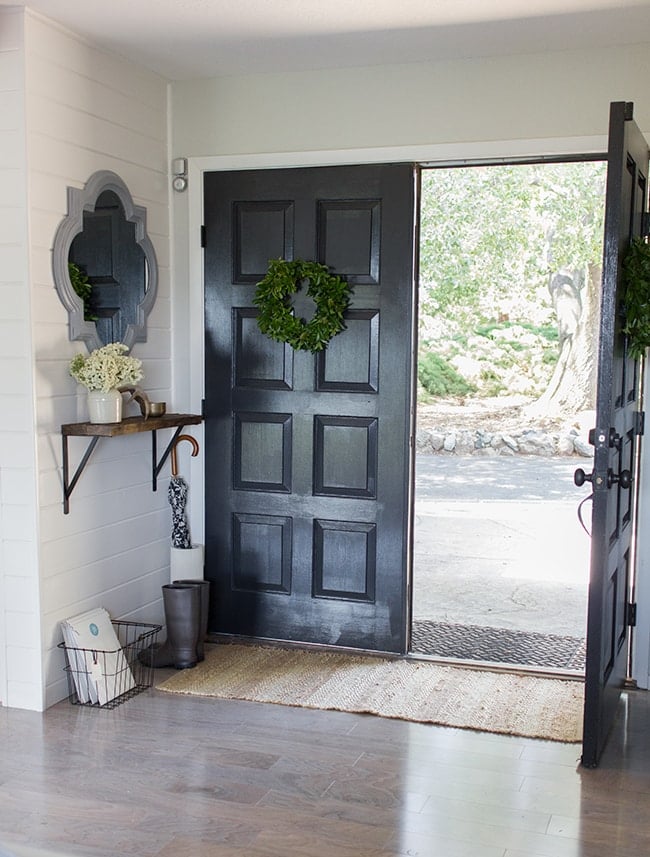
These pretty flowers came from the same shrub as the wreath leaves. They’re a big hit with bees.
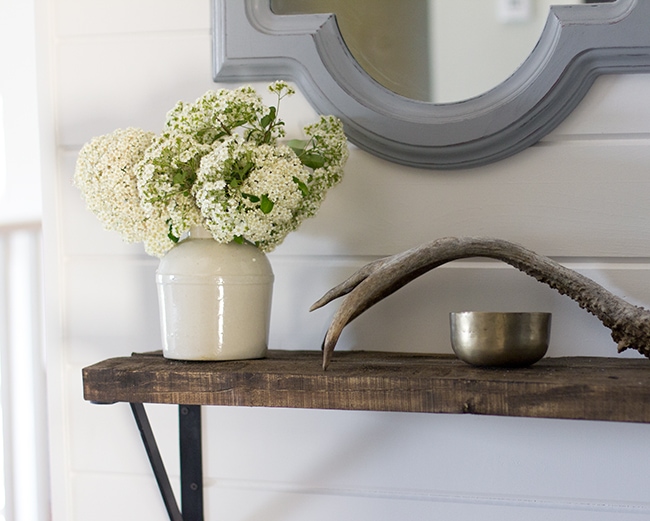
I picked up the antler at a local flea market for a few bucks, and I’ve had the gold dish as long as I can remember. It holds spare change/keys/etc.
I pulled an old Ikea vase out of storage to serve as an umbrella holder. The metal bicycle basket was purchased on Ebay a few years back and is great for mail and small packages.

Most everything was reused/repurposed in this space or I had it on hand already, so this whole makeover cost me around $30 (for the shelf brackets, trim pieces and wire wreaths).
Not a bad deal considering this is how it started…
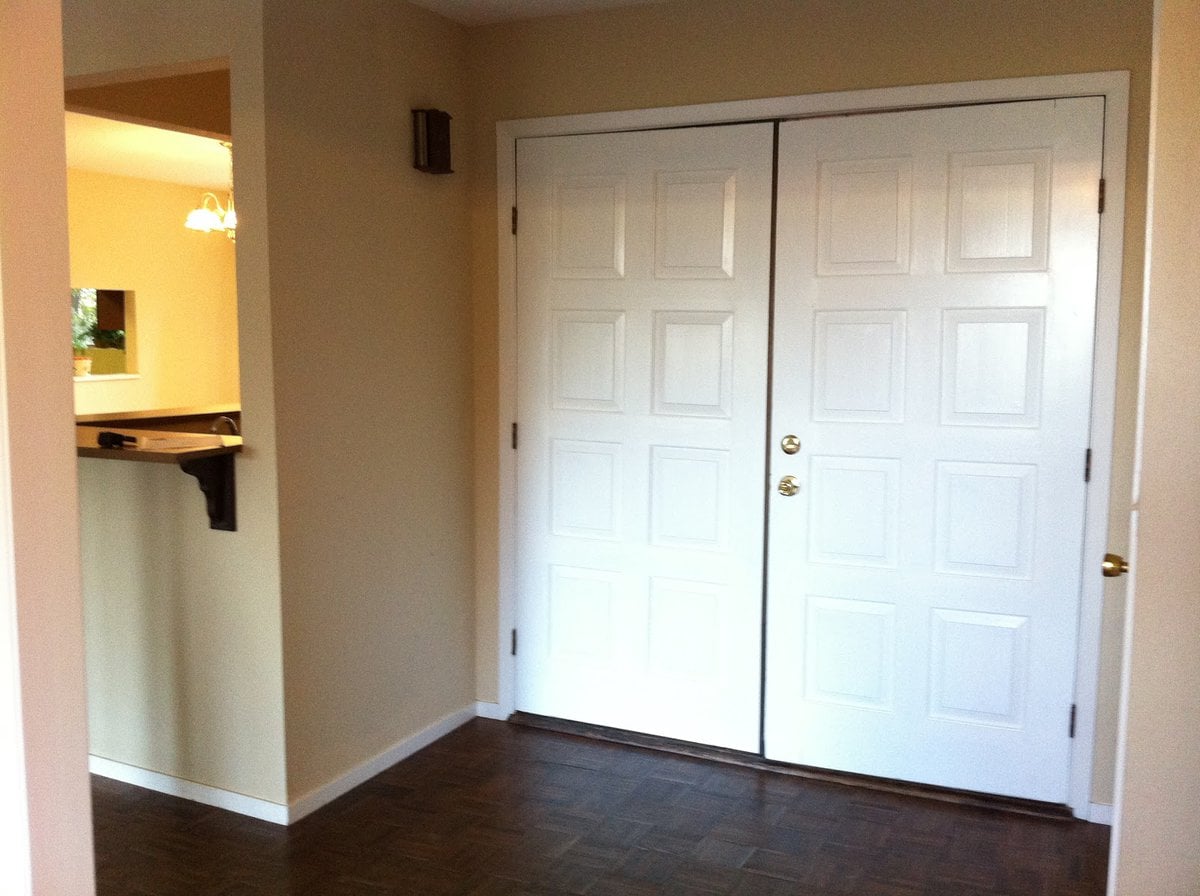
I still need to spruce up the closet door and replace the ceiling light, but this proves that you can still have a welcoming entryway even if your foyer is tiny/nonexistent. And on a budget!
Alright folks, guess what? My next post is the Big Kitchen Reveal! I’ll be doing last minute preparations over the next few days, and the post will be up first thing Thursday morning (in the meantime, you can follow my instagram feed where I may post a sneak peek or two…)
I’m so excited to share everything with you guys, I can hardly wait. The countdown begins…


Jenna Sue says
Yep, all the black doors are the same color! We haven't repainted the front of the house either. I don't think you can go wrong with a black front door—do it!
Desiree Gladney says
I love the Valspar Kettle Black you've used on your bedroom wall and front door! I was going to ask if you painted your red front doors the Kettle Black as well on the exterior, but caught a peek of one of your pictures and it looks like you did! Did you keep the house color the same? We have the same green color on our house and have a white door…but I really want something bold like this, I just can't visualize what it would look like on our home 🙂
Jenna Sue says
Valspar's Dark Kettle Black—its a soft black used throughout our house.
Fran says
Such a great job!! Would you mind sharing the paint color on your front door (interior)?? It looks like a blueish color?? Thank you so much! Pinning the image right now!!
Anonymous says
I also love the mirror. I have found a similar one at Hobby Lobby, but the frame is black plastic. Is yours wood or plastic? What kind of paint did you use? Just discovered your blog and love it. I have a lot of catching up to do.
Jenna Sue says
Lowe's, I painted it gray 🙂
Anonymous says
Where did you get the beautiful mirror?
Chaney @ May Richer Fuller Be says
Gorgeous! I love love love everything about this foyer! I featured it in my round up of lovely links for the week on my blog. Hope that's ok! https://www.mayricherfullerbe.com/2014/05/lovely-links.html
Ashley @ The Honest Room says
This is amazing. I can't wait to start following you and catch up your older projects. Beautiful work.
Tamara @ Provident Home Design says
Your entryway looks beautiful! Great job!!! I'm a sucker for using a shelf and brackets as pieces of furniture so much that I wrote a post about it here, https://providenthomedesign.com/2014/03/11/shelf/. Love that you DIYed your own shelf!
Krista thehappyhousie says
Found you through BOTB – this is so beautiful! I'm a huge planked wall fan… The whole vignette is stunning! Heading up to check out the rest of your blog now:)
Brandi says
Absolutely beautiful!!!
The Traveling Merchandiser says
I am a new reader and I am so excited to follow you! I have been on the hunt for a design blogger who blogs consistently with good sized projects and I am so excited to follow along with your remodel! Awesome entry, it makes me want to spruce mine up.
Jenna Sue says
Thank you! I found it at Lowe's for just $8, believe it or not: https://www.lowes.com/pd_50125-85538-UT-172C-00_0__?productId=3509206&Ntt=door+chime&pl=1¤tURL=%3FNtt%3Ddoor%2Bchime&facetInfo=
Anonymous says
It looks beautiful! Can I ask where you got the cute doorbell? I've been on the hunt for a new doorbell for a while now, and I really like that one.