There’s just a few more things to do after tackling one of my favorite parts last night—window treatments.
Here’s the space a few days ago:
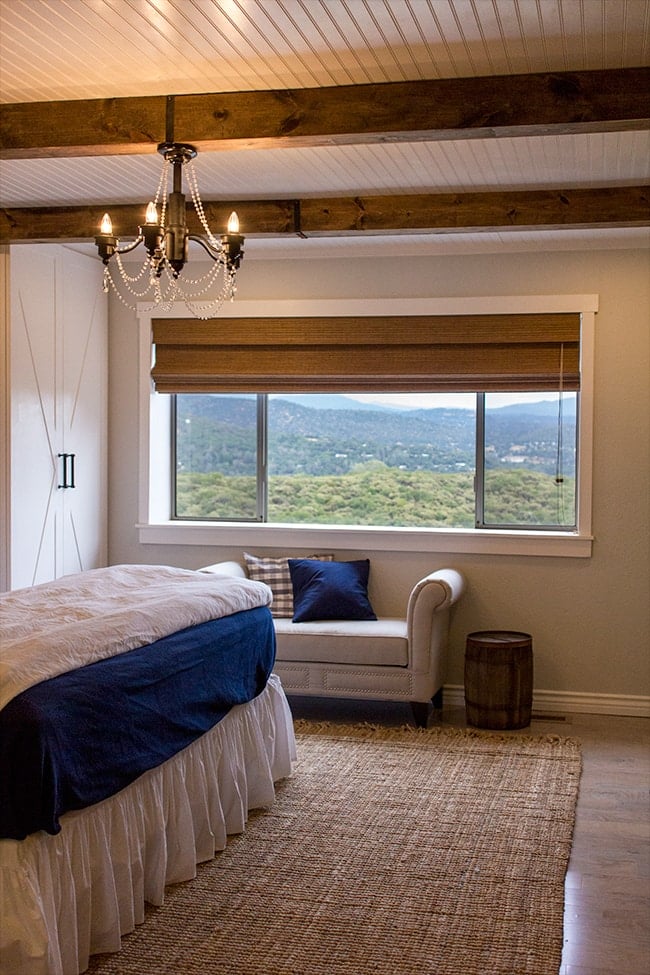
It was feeling a little cold and empty. I needed to bring some softness to the space, and flowy curtain panels are always great for that. Not only that, but this room has zero pattern (aside from subtle striped sheets). Everything is a solid color. Boring!
I knew from the very beginning that I wanted navy toile. I considered using it in the bedding but decided that it would be more commanding on curtains. Remember my mood board?
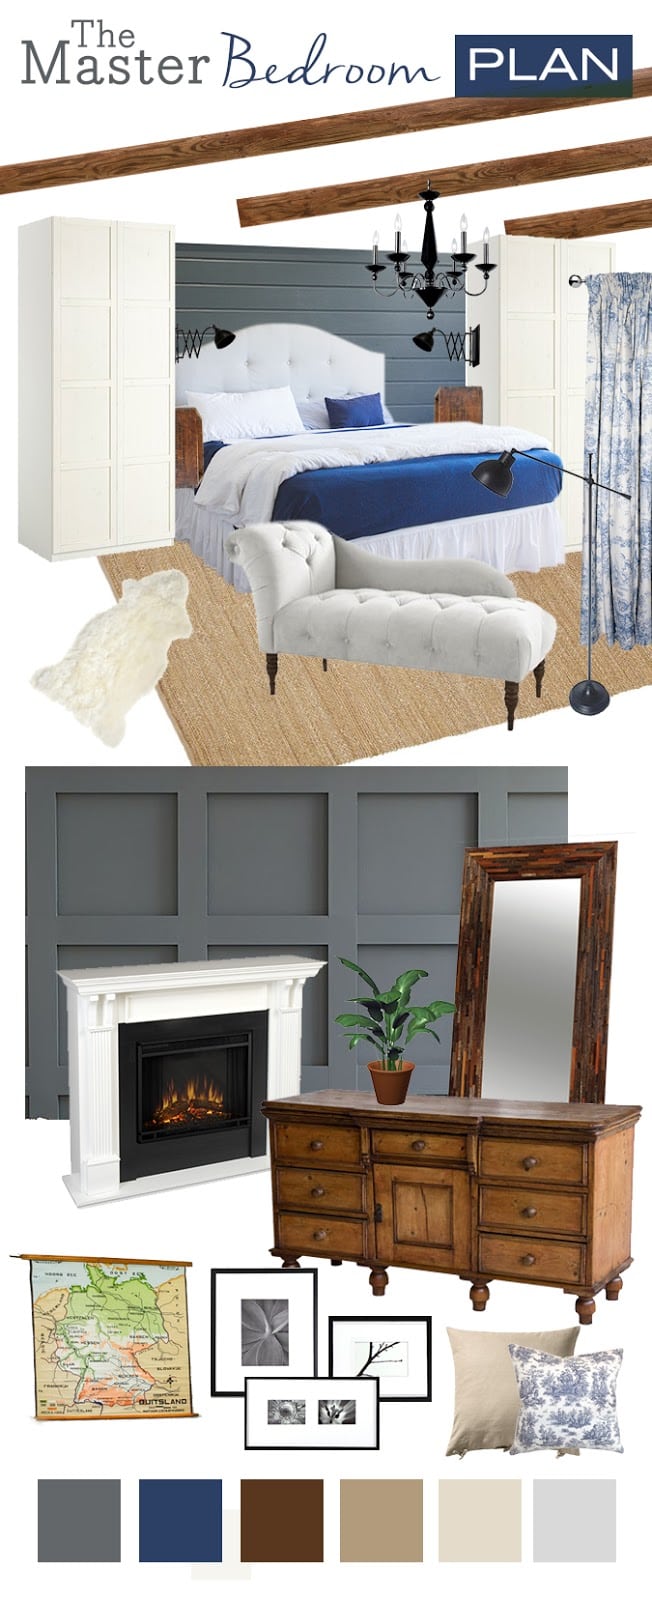
Yep, they were in there.
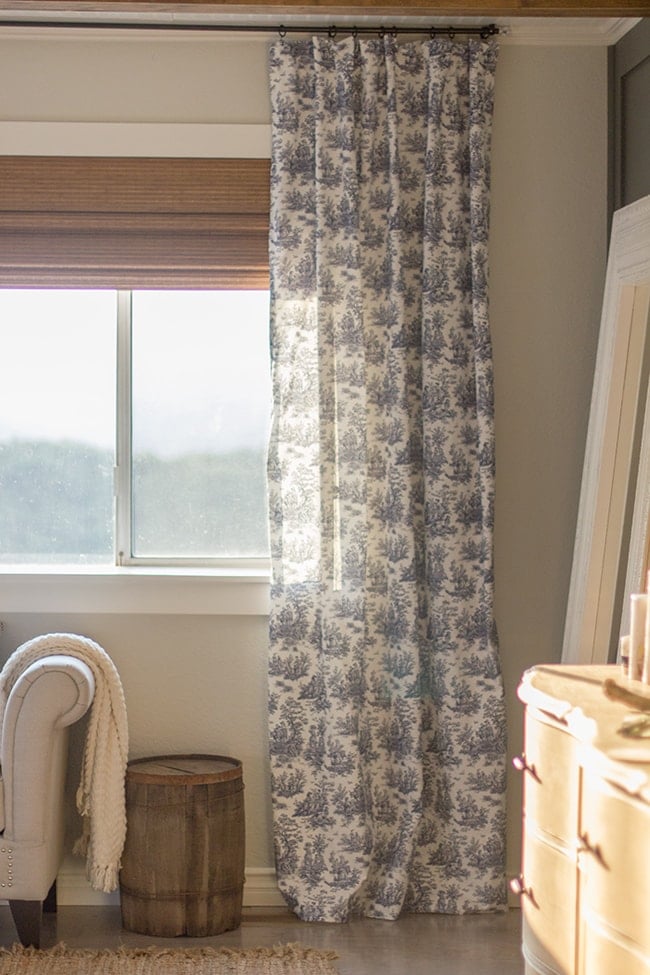
After scouring the internet for the best deals and coming up short (literally) when trying to find curtains long enough in the right fabric, I commissioned a seller on Etsy to sew some custom panels for me. I went with two 50×94″ panels and it came to $96 shipped (which is actually not bad compared to other places online). It was worth it.
Then I had to figure out how to mount these. I couldn’t use a traditional curtain rod because there was a wardrobe in the way, and the top of the door is 2″ from the ceiling. That meant I had to come up with a ceiling mounted solution. I found tons of tutorials on Pinterest using galvanized metal pipes and fittings, but even those methods would make the curtain rod stick out too far.
So I went to Lowe’s and found this 1/2″ copper pipe (in the plumbing section) for around $10:
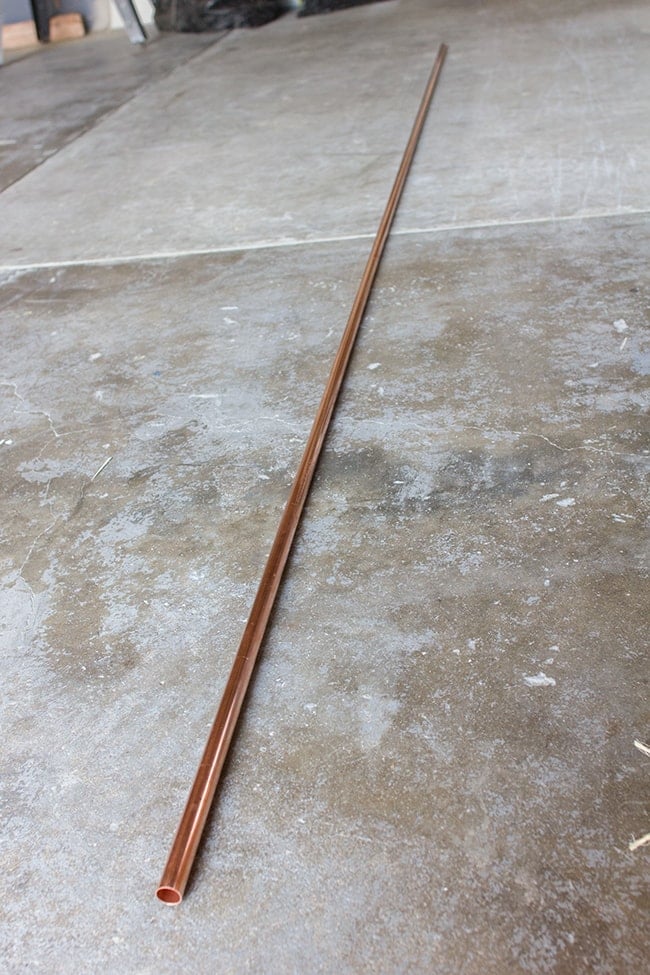
It came in 10′ sections which was perfect, I didn’t even need it trimmed down. I preferred this over the 1/2″ galvanized pipe because a) it was $5 cheaper, and b) it was super light weight (the galvanized steel is so heavy!)
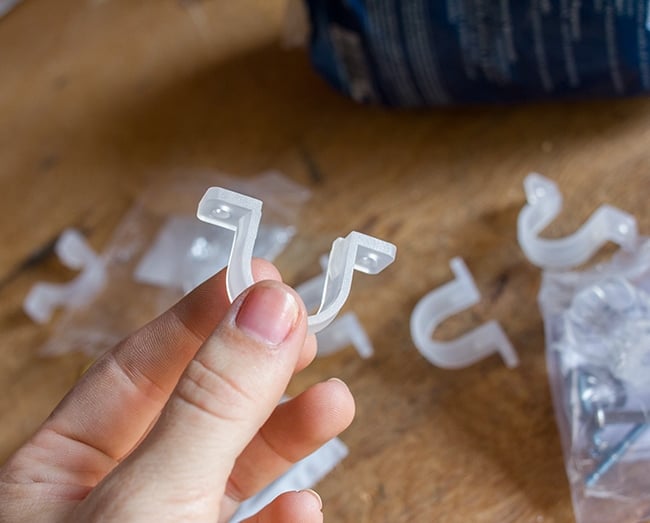
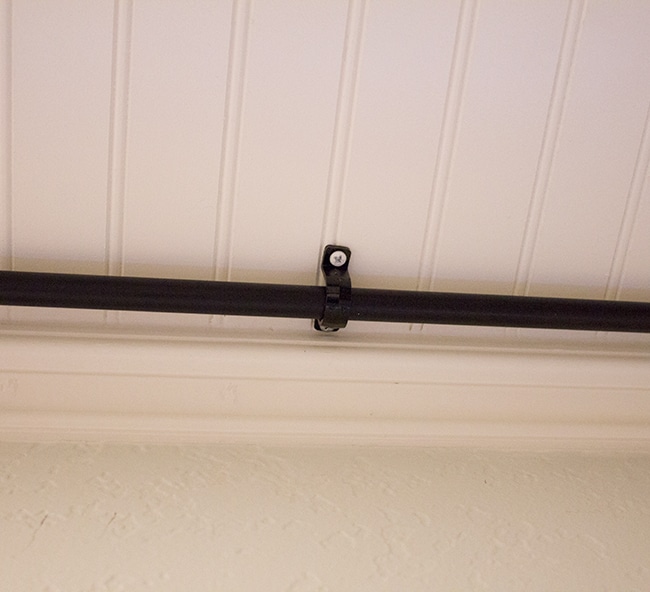
To hold it up to the ceiling, I grabbed a bag of these plastic U shaped brackets for a couple bucks (that makes this 10′ curtain rod around $12 total… nice!) I couldn’t find any metal brackets (I think those are in the electrical section) but the copper pipe is so light, and everything would be spray painted black so the material didn’t matter.
After giving the pipe a good buff with steel wool, it was time to paint.

I used a satin black for both the pipe and brackets (it’s shiny here but dries satin).

Once dry, it was time to hang!
Since we weren’t drilling into studs (just bead board & drywall) and didn’t want to deal with inserts, we used wall dog screws (best invention ever) which grip the drywall so well that you don’t need inserts.
We attached the first clamp all the way up to the corner of the crown…
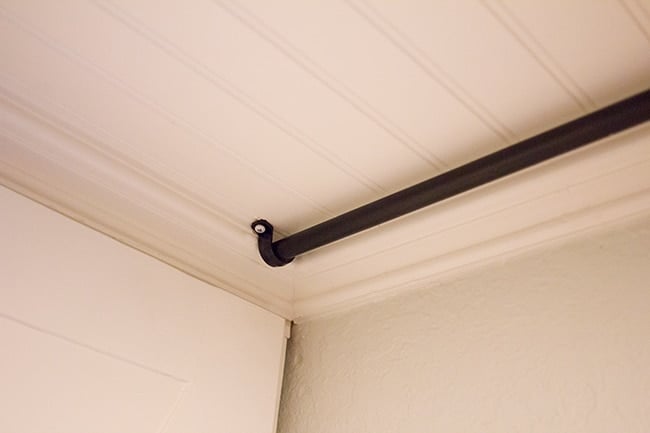
Then a clamp in the middle to keep it from bowing…
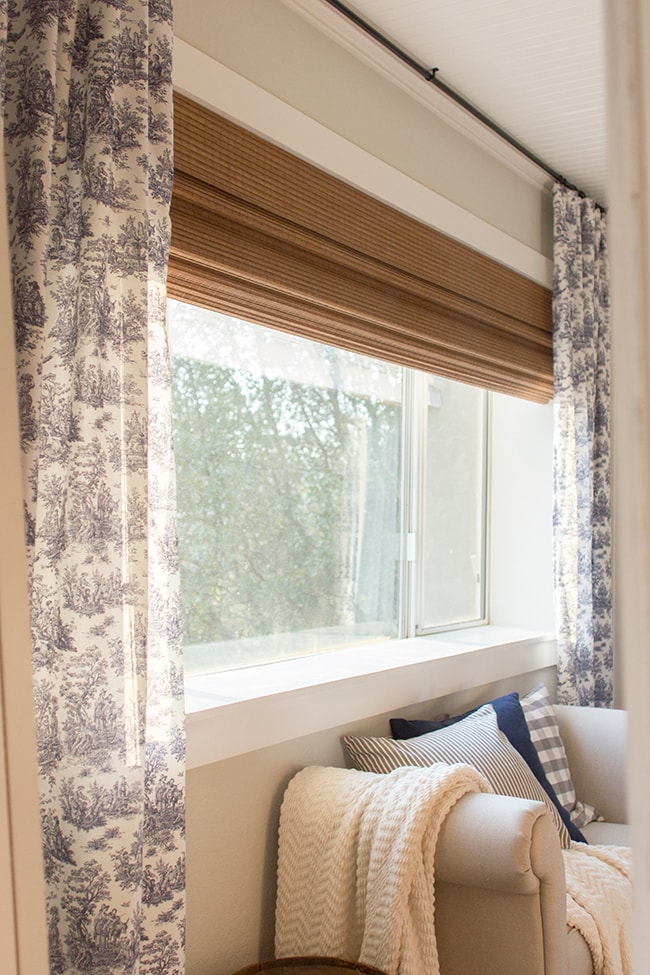
Then a third a the end. The first end was in a corner and would be completely hidden by the bracket/curtains, and I used a small glass cabinet knob to plug the visible end.
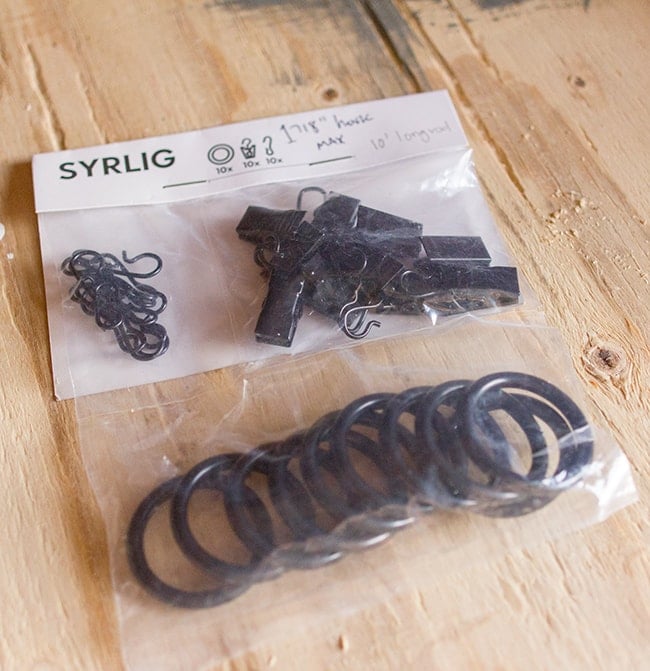
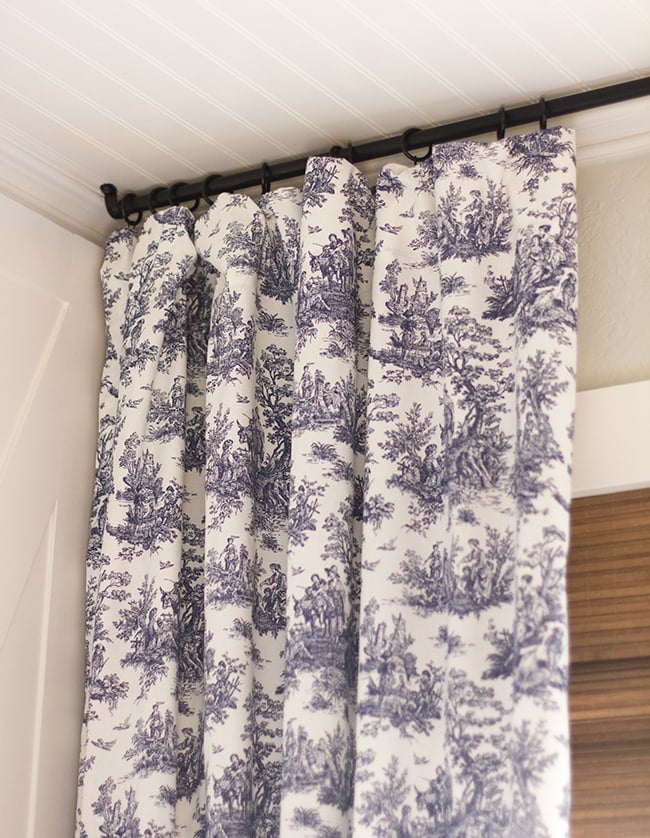
When I was at Ikea earlier in the year, I picked up a couple packs of these curtain rings. I thought I might need them for the living room but that didn’t happen—luckily they were perfect for this occasion:
After trying out a few possible ways to hang them, I decided to clip them in the back so you wouldn’t see the clips.
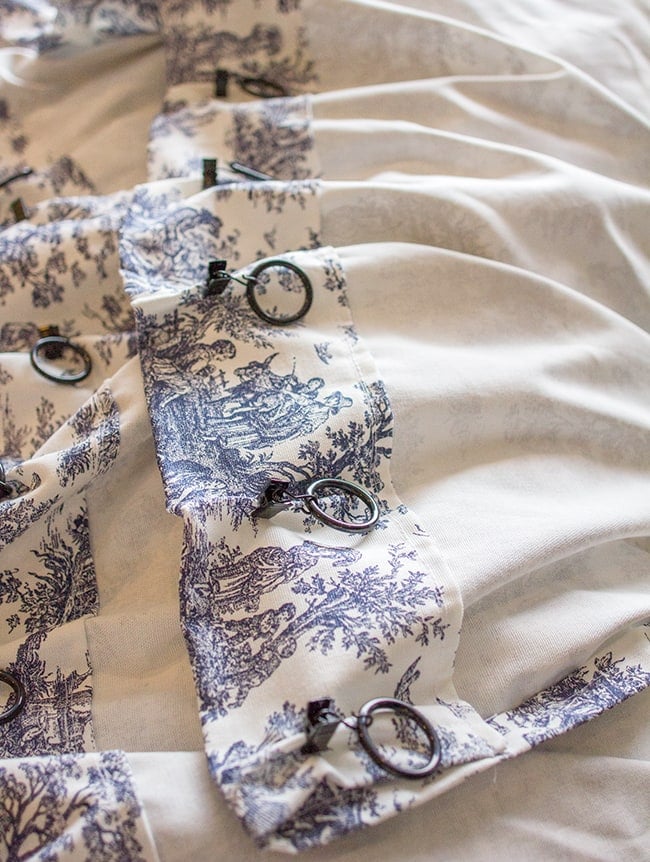
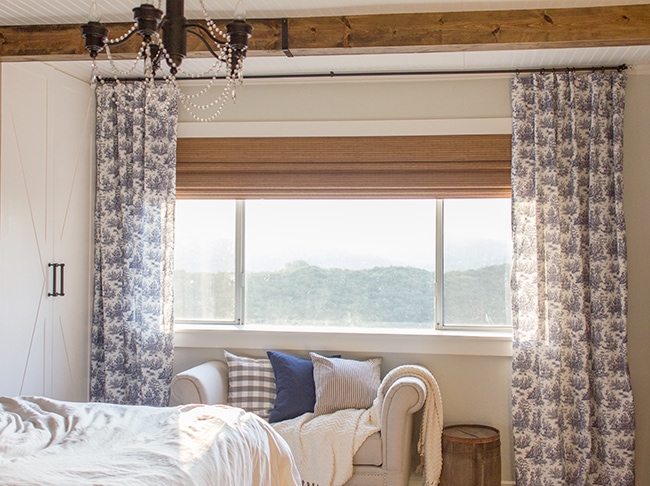
It makes for a nice, clean look when hung. And I’m happy to report that the paint doesn’t chip off when the rings slide across (I think buffing with steel wool helped).
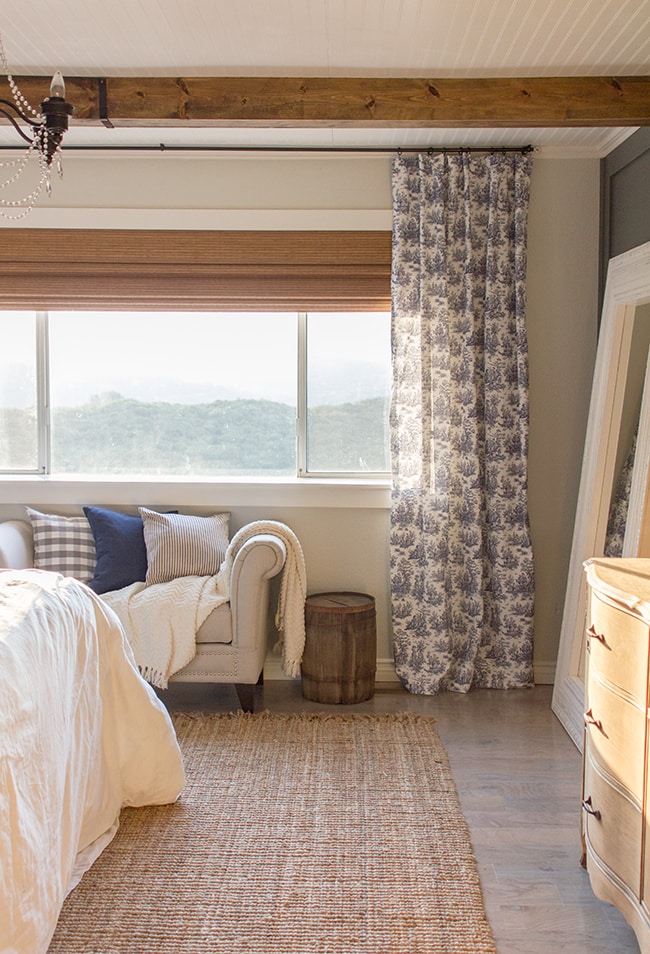
And here they are!
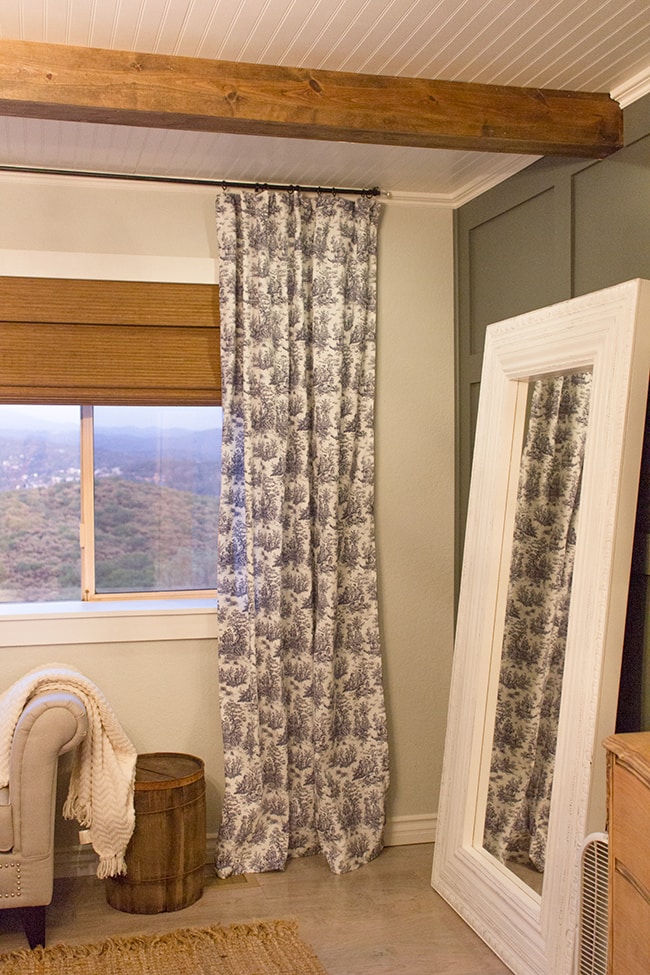
I snapped a couple shots after we finished up as the sun was setting…
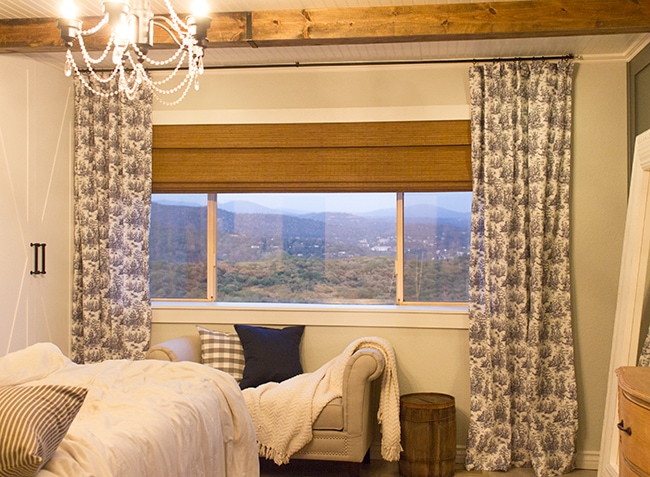
And then a few more this morning at sunrise…
There’s just something about navy and toile…
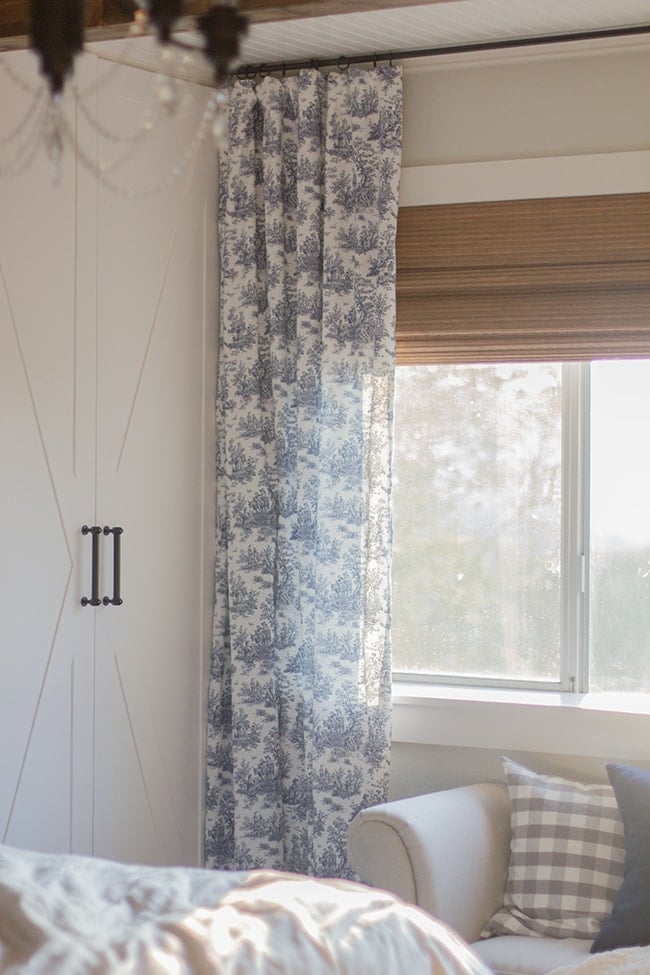
It adds the perfect touch of french farmhouse.
And also a bit of romance next to the chandelier.
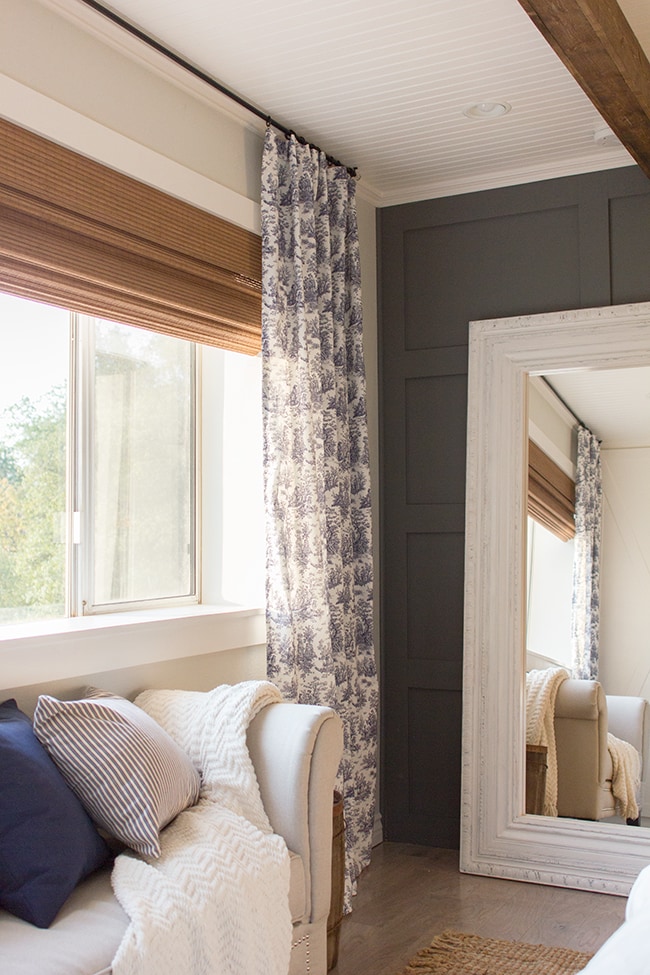
Here’s a shot looking into the mirror…
Sigh. I’m just in love. Curtains make such a difference. Every week this room takes on a slightly different feeling with every change we make. It’s so fun watching it evolve. In less than two weeks it will be complete!


Jenna Sue says
Oh yes, there will definitely be some tables added of course! I considered a sofa table behind the couch but then we'd lose a foot or so of space in an already cramped area so we'll have to see what I can find.
Jeanette Harvey says
I agree with Karen about adding a sofa table somewhere in the mix with keeping the current furniture. Another small side table and a tall plant or some other color pops would bring in a cozy, homey feel. Bringing the couch away from the wall a little bit and (maybe building?) a skinny, long sofa table to put behind it to hold some pretty lamps and picture frames? I think that would look great tied in with your ideas for the new slip covers. Just thoughts! I had the hardest time with my awkward and small living/sitting room. The only way my husband and I finally picked a layout was to just keep moving all the furniture around till we found it! It can be cumbersome, but worth it when you can actually see and feel the difference in the room.
Jennifer Boepple says
I think there's enough symmetry once you switch to matching slip covers that I think it will work. Maybe take that money and put it towards a Bluetooth sound bar or stereo system instead. That would allow you to remove the awkwardness that the TV creates and you could still have the ambiance you crave.
Karen says
If you're going to keep the current arrangement, I'd go with a chaise. I think the symmetry is needed. If you want to keep the chair, I'd move things around. I'd move the sofa where the chair and chaise are and add a sofa table behind it. Then I'd angle the chair in the left corner near the fireplace, angle the chaise in the right corner near the stairs, and add a cabinet or table in between. A rug and coffee table would anchor everything.
Dara says
I like the chaise/chair and ottoman combination as well. It gives some visual interest to have different pieces of furniture, and you can always push the ottoman up to the chair and use it like a chaise on the occasions you want to chaises.
Jenna Sue says
Yep, tried that! It felt empty with only one chair, and I really don't want to eliminate any seating.
Jenna Sue says
(pasting this from another response!): To be honest, I didn't (don't) want a TV in there at all. It's rarely used. Brad wants it to play background music/concerts while guests are over, more for ambiance. I wanted more of a conversational lounging/seating area and this layout suits that best. It really isn't as much of a pain as you'd think to watch TV from that position though—the chairs are roomy and you can easily situate yourself to face it. And if it gets uncomfortable we could always rotate the chairs a bit. The only other option is to rotate everything 90°, which means only half the seating would face the TV!
Jenna Sue says
To be honest, I didn't (don't) want a TV in there at all. It's rarely used. Brad wants it to play background music/concerts while guests are over, more for ambiance. I wanted more of a conversational lounging/seating area and this layout suits that best. It really isn't as much of a pain as you'd think to watch TV from that position though—the chairs are roomy and you can easily situate yourself to face it. And if it gets uncomfortable we could always rotate the chairs a bit. The only other option is to rotate everything 90°, which means only half the seating would face the TV!
Katie Gruber says
I REALLY like the chaise and the chair/ottoman combination. Both of them have similar shapes/sizes that mimic each other very well. I think when you have them slipcovered in the same fabric, it will look very intentional and designed to have the different but similar pieces side by side.
Also, we had a chaise lounge that guests would NEVER sit on in our living room – something about putting their feet up was uncomfortable in someone else's house. It now lives in our den for reading.
Mary says
I would see how it looks with the chair and chaise angled in a little bit for a more casual look. Not sure if you've tried it already but the way I would lay it out is couch facing the fireplace with a console table behind the couch, take out the chaise, and angle the chair in front of the fireplace to the far right.
Heather says
Yes, I'm a fan of symmetry. New chaise all the way!
Jenn(ifer) says
I love symmetry so two chaises would offer that, but this combination looks much more visually interesting…
So to sum it up: I am no help as I think both are great options (in which case I would safe the time and money)
Sarah says
The curtains are so lovely! On the new furniture layout in the living room, if you mount the TV over the fireplace, it would bother me that there isn't a place to watch TV where you don't have to turn your head. Does this bother you or are you fine with it?
Anonymous says
Totally just an opinion here…I would put the chaise back where it was as part of the couch, put a matching love-seat at the back of the railing facing towards the TV, to make an L with the 2 couches and throw the chair kiddy corner from them. As is right now it looks like you could only seat 4 people? And none of the seats even face the TV/Fireplace! The room would be more useable (is that a word?) less head turning and I think you'd still have lots of room to walk around the extra couch. Love the grey/white linen idea…just think you need a little more practical seating 🙂
Sarah
Sugar says
Nope. I like the chair and chase. The chair is easier for guest to sit in – think about a guest holding a drink and trying to sit. I like the combo. Excited to see the slip covers. Love the master.