Truth be told, I was hoping this would be the kitchen reveal post and not another progress update, but this renovation has not been quick and easy (are kitchens ever?) Make sure to check out Part 1, 2 and 3 if you’re just tuning in!
The biggest reason this has taken so long is because we decided to do the majority of the work ourselves (meaning Lucas working mostly by himself there at night while I watch the baby) and there’s a lot of custom details that we’re figuring out as we go.
When we left off in Part 3, the backsplash tile had just been installed, the cabinet doors were in between coats of paint, and we were working on the range hood.
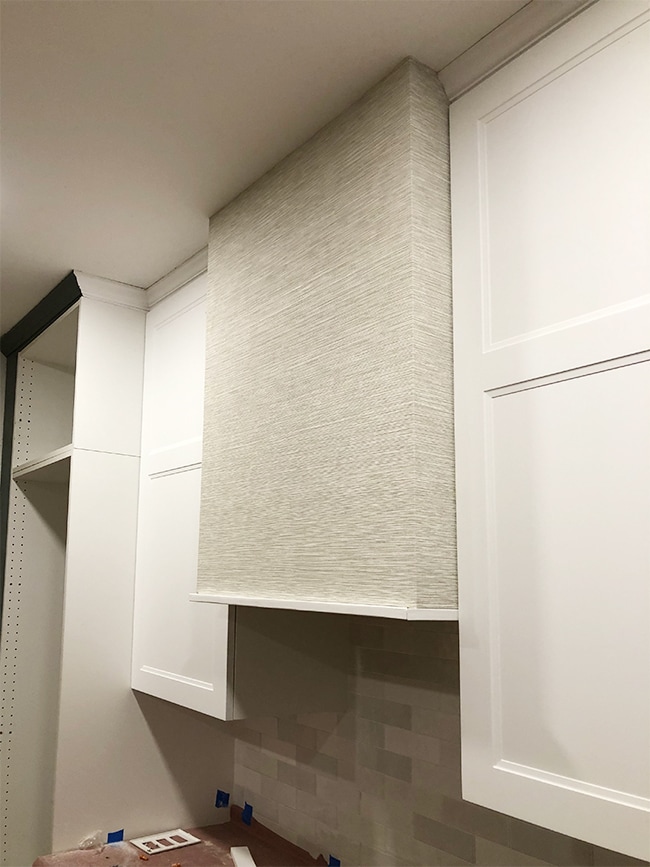
One evening we left Esmé with the grandparents and had ourselves a little wallpaper date night. Remember my crazy idea to wallpaper the range hood with grasscloth?

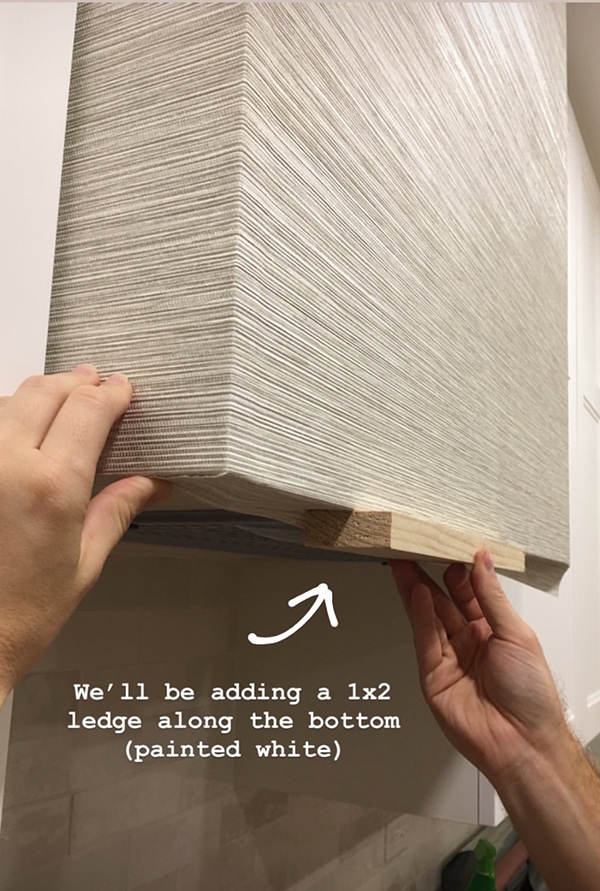
We used finish grade 3/4″ plywood for the build, just in case the wallpaper didn’t work and we’d need to paint it instead.
I shared live updates on Instagram of the process (nothing too detailed—it was only two pieces of wallpaper and the easiest install we’ve ever done!)
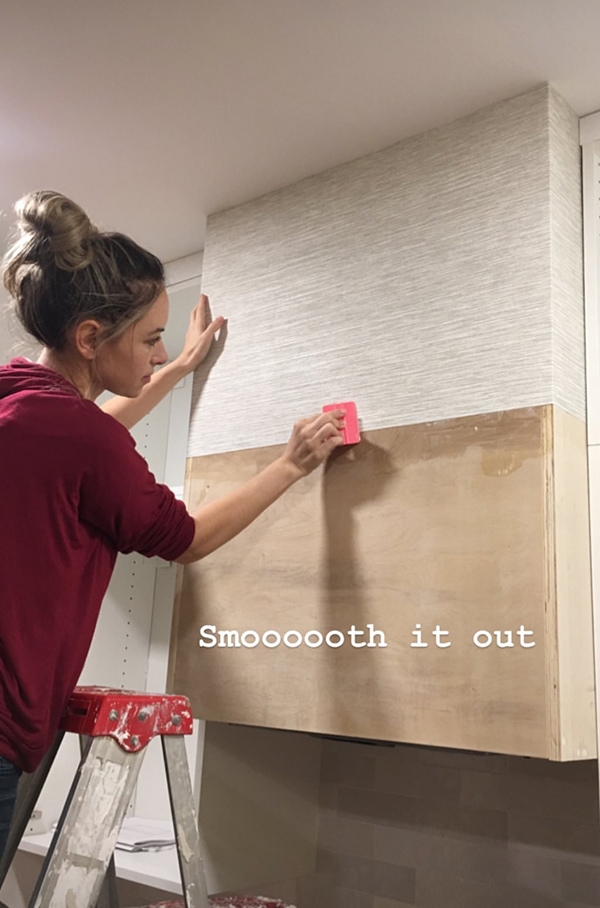
This particular paper is the best because the pattern runs vertically down the roll, which means the joints are horizontal and you don’t see any seams—unlike all the other grasscloth I found! We left a little extra at the bottom to fold under the trim and prevent it from peeling up over time.
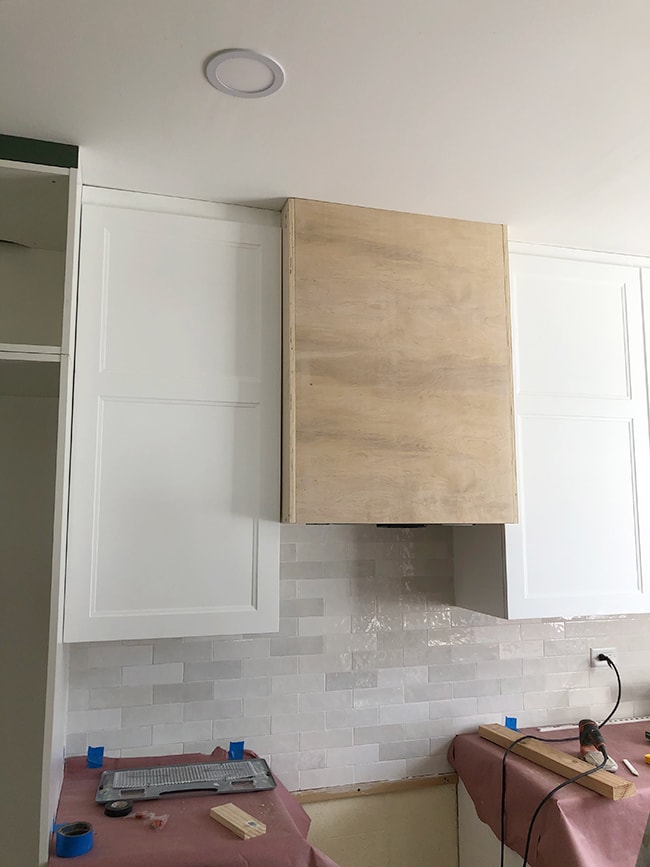
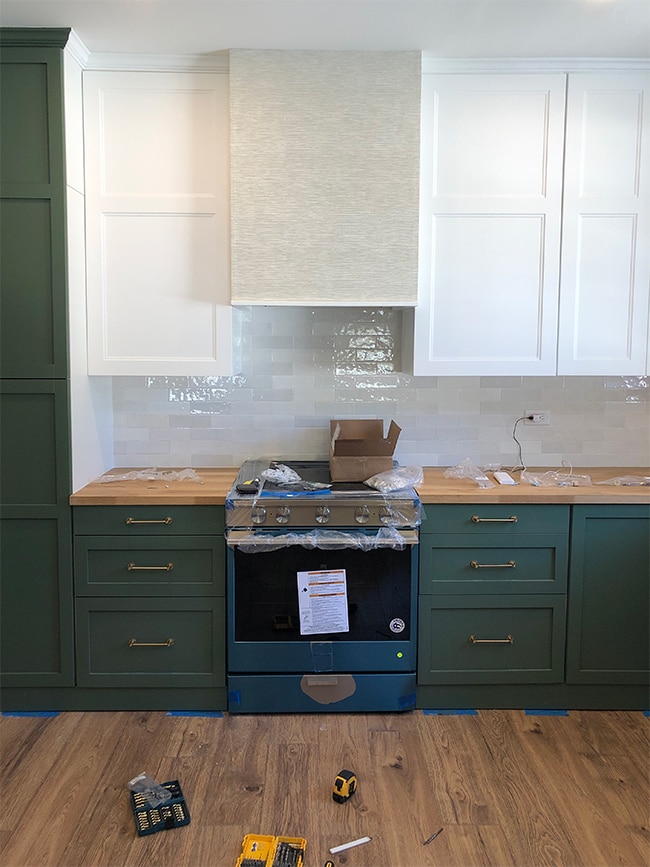
Then we had a decision to make—to crown or not to crown the hood? Most of you were in favor, but I wasn’t convinced we should interrupt the clean top edge with white trim.
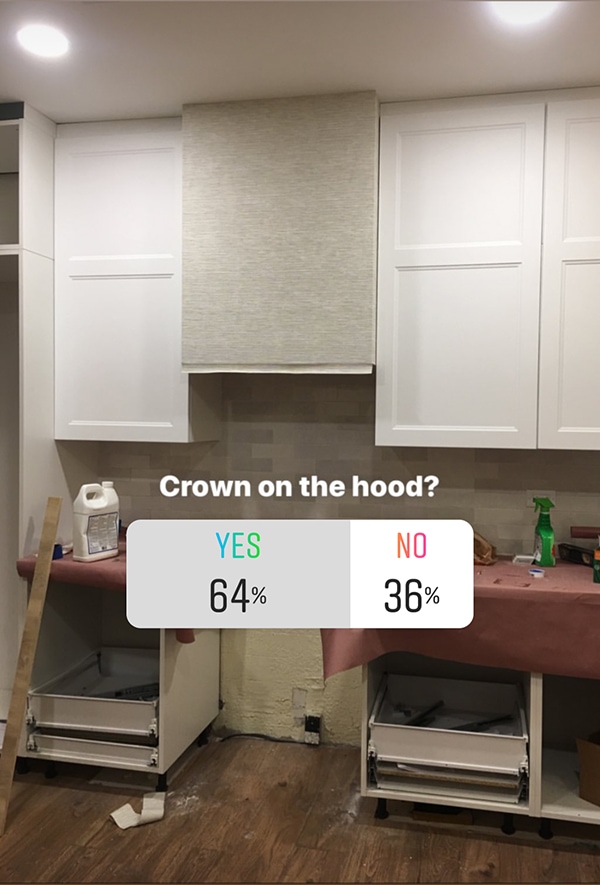
We gave it a shot without the crown, and I think it was the right call!
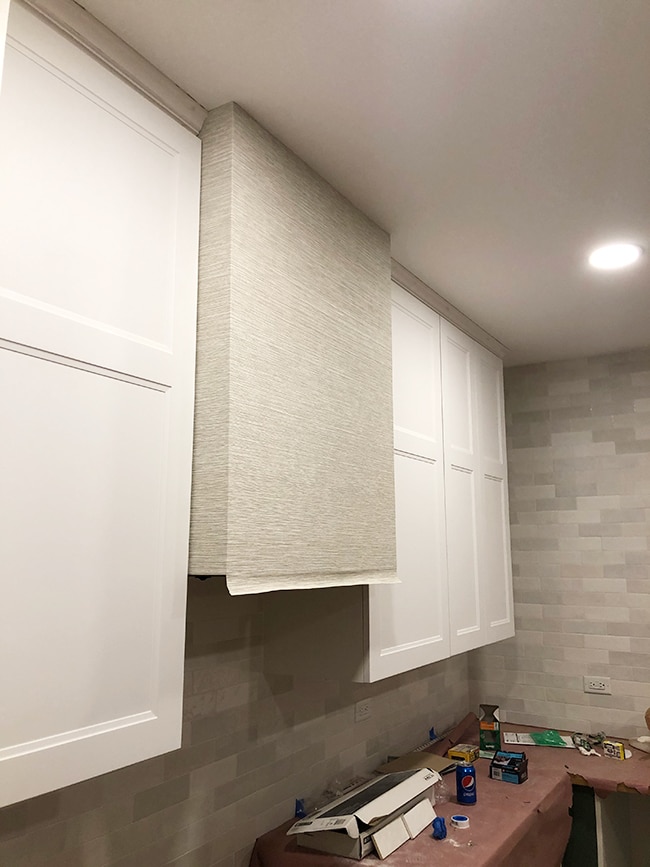
It looks cleaner this way, don’t you think?
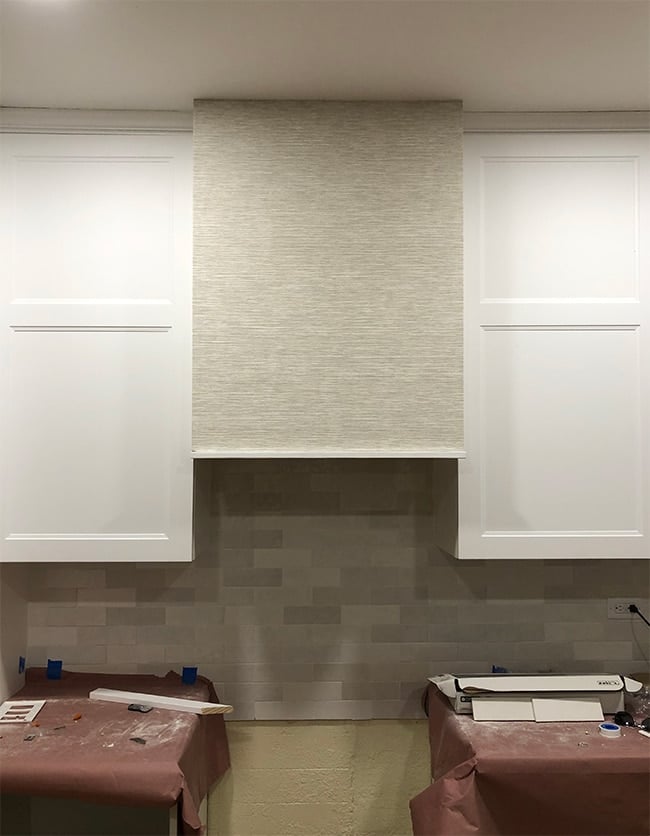
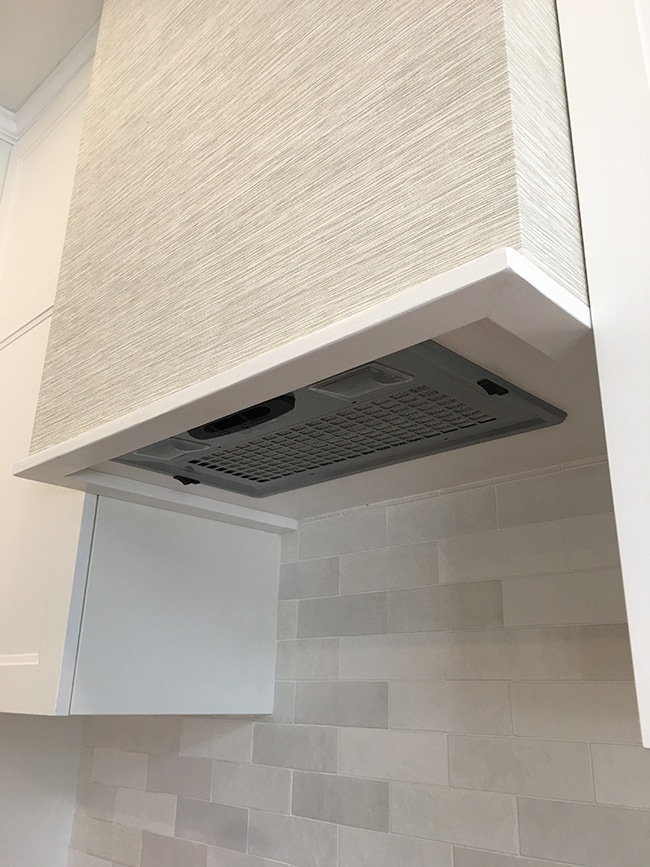
The painted white 1×2’s at the bottom finish it off and add a layer of protection from any steam/grease coming from the stovetop below.
And on that note, the wallpaper is textured but it’s vinyl and super wipeable/easy to clean. I have zero worries about that part—but we’ll see how it holds up over time!
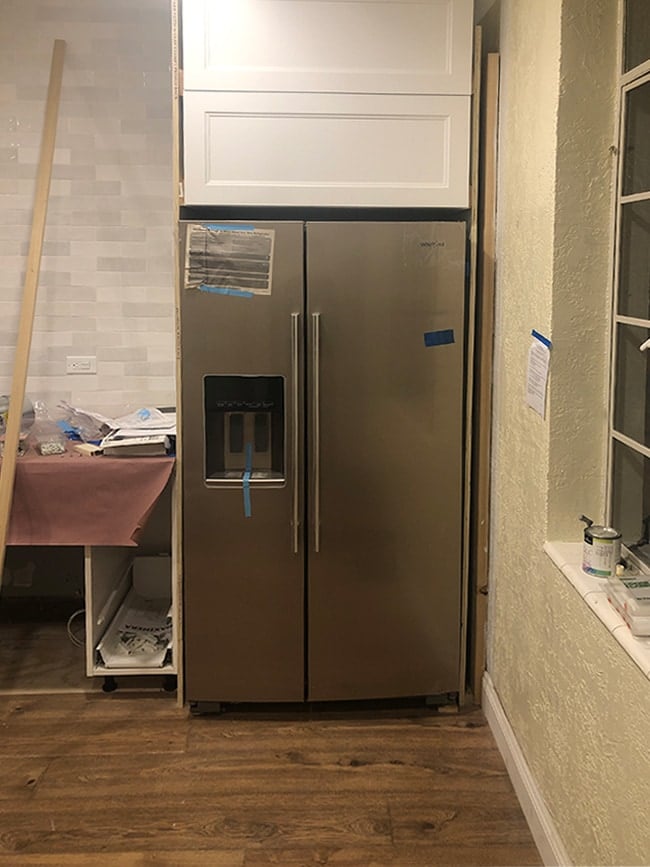
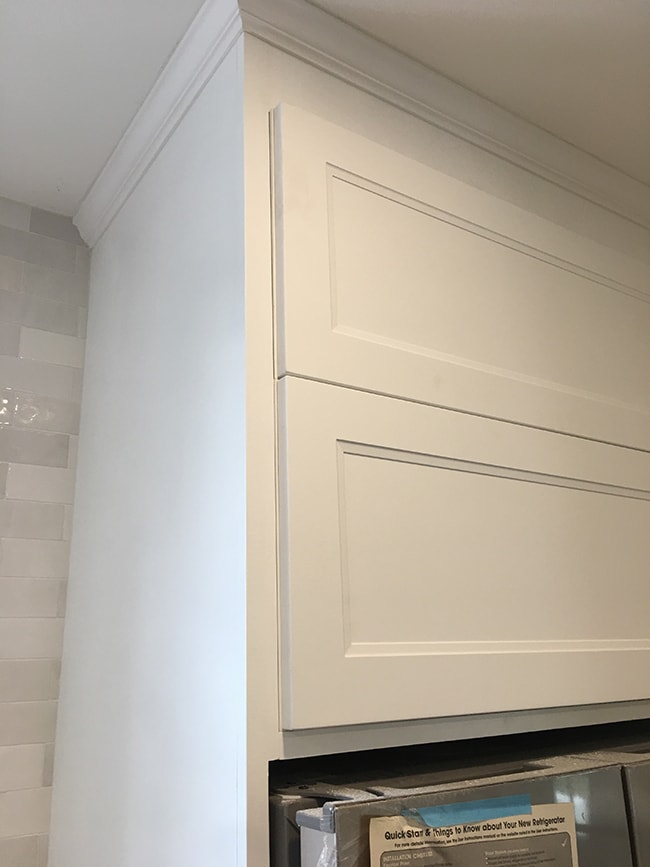
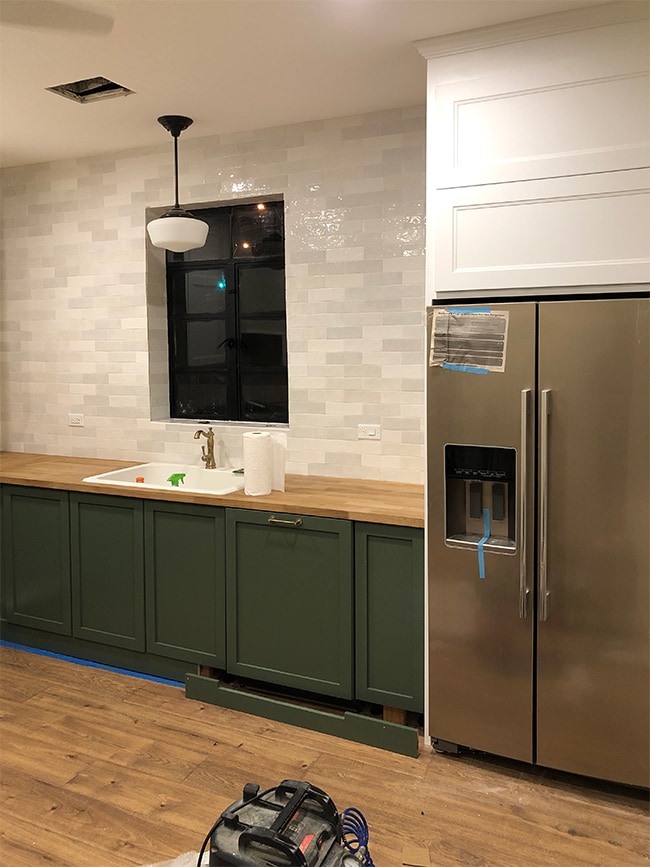
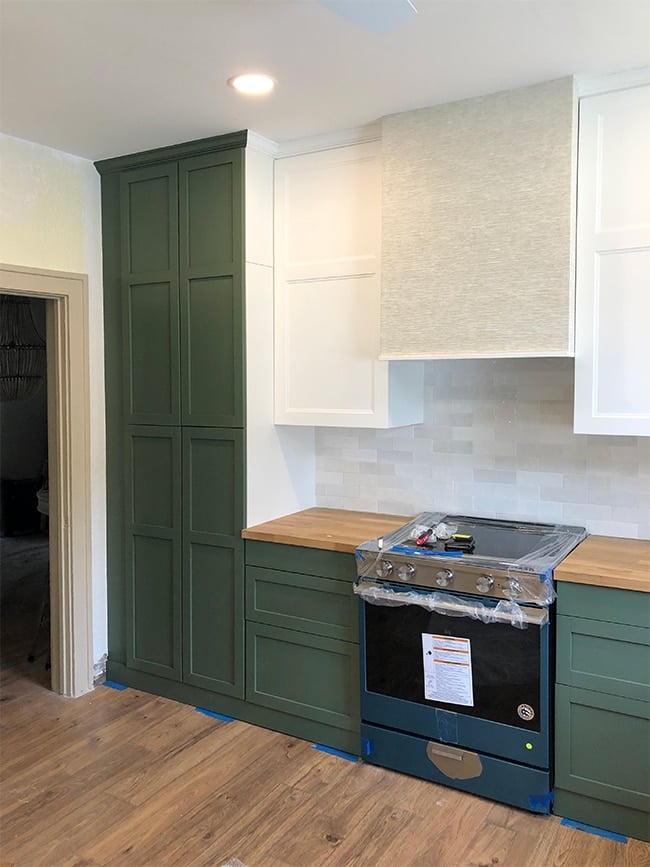
The crown molding was also added to the custom fridge surround. Here’s how it looked after installing the new fridge (which took a lot of shimming to get straight, #oldhouseproblems!)
Another progress shot of the trim. It was essentially just putting pieces of a puzzle together, one by one.

Crown was the finishing touch:
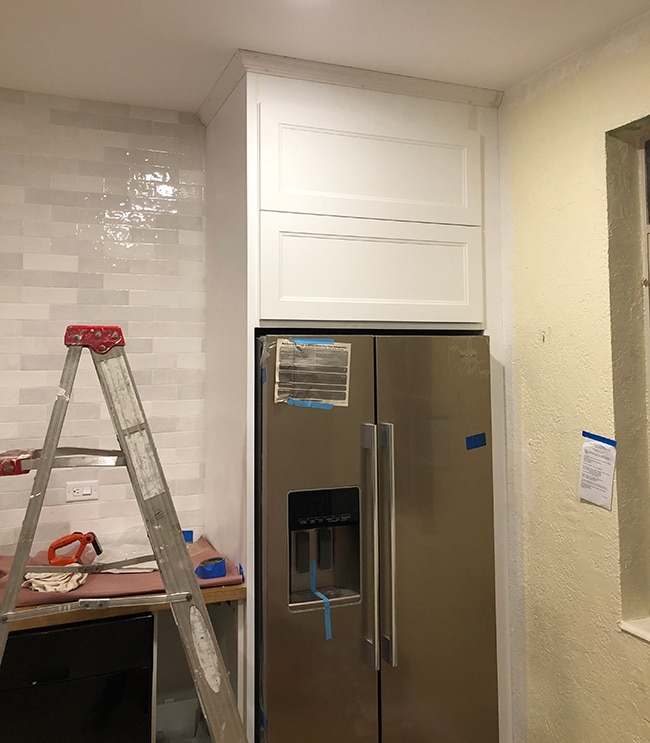
Everything was painted Valspar’s Ultra White in satin (off the shelf white with no color added) which is the closest match I found to the Ikea cabinet doors.
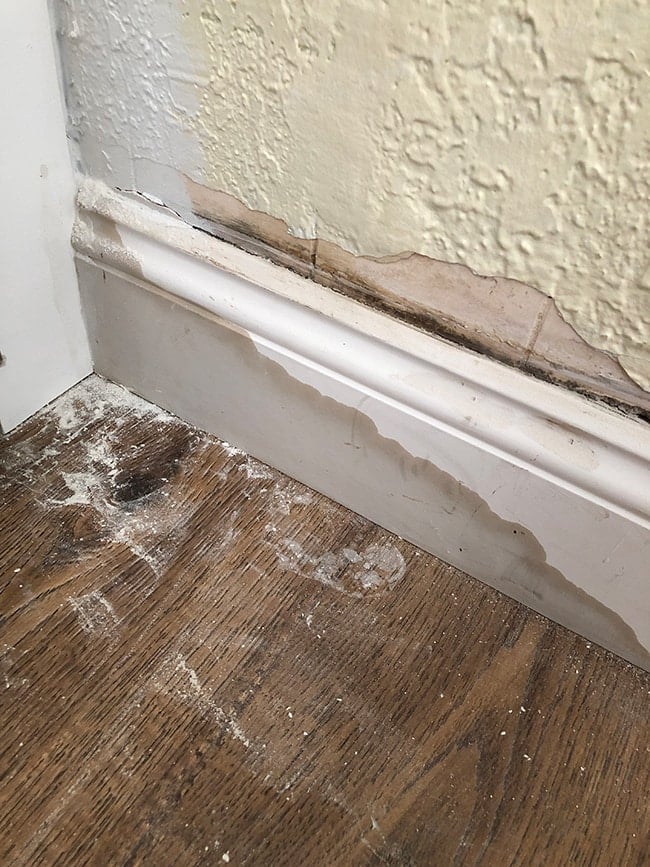
A couple weeks ago Lucas noticed a pretty big leak in the corner by the fridge. He pulled the fridge out to check the water lines and everything was fine (and it’s dry around the fridge), so we think it’s coming from behind the wall. The leak hasn’t spread so it appears to have been a one time occurrence. We’ll be putting this problem on hold until after the reveal, then cutting out a section of the wall to investigate. Oh the joys of renovation!
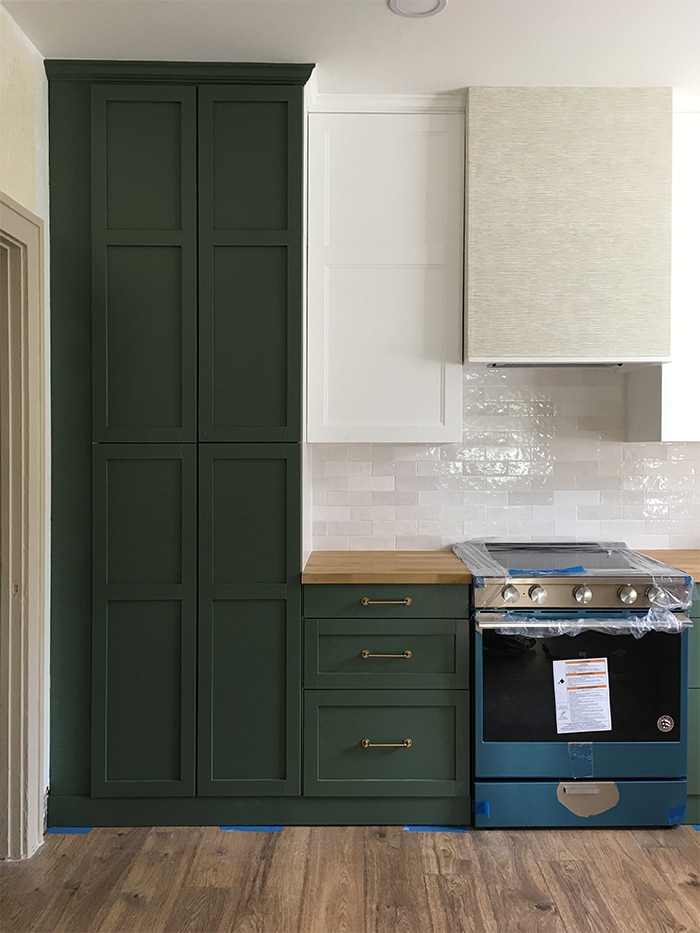
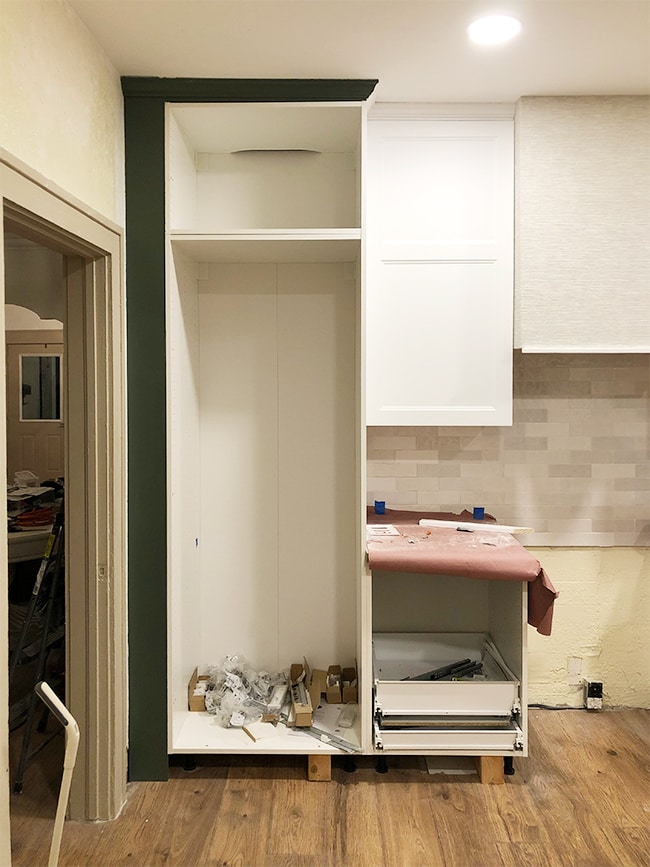
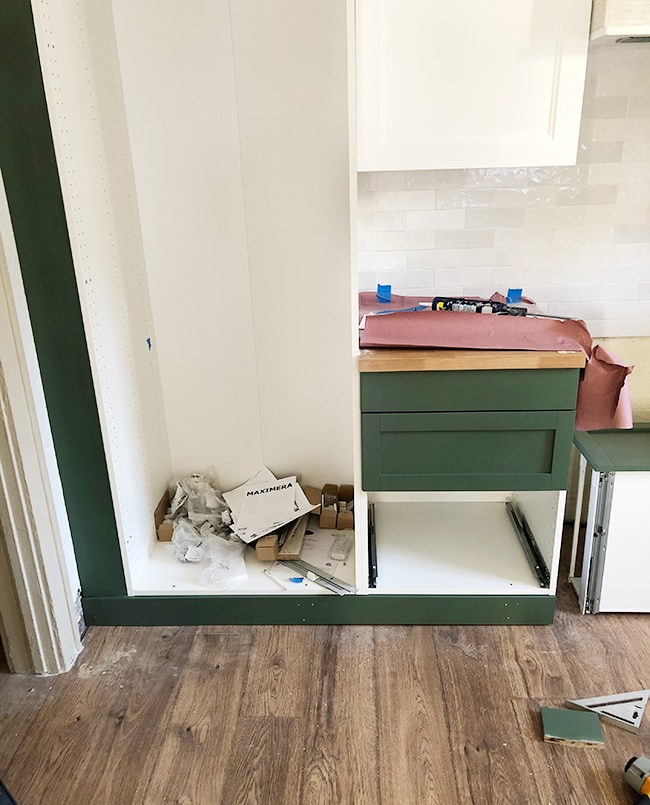
The pantry cabinet was another troublesome area. We had to find the best way to match up the green cabinet to our white upper cabinets, while dealing with crooked ceilings and uneven gaps (that vertical piece of green trim was uninstalled/reinstalled a few times…)
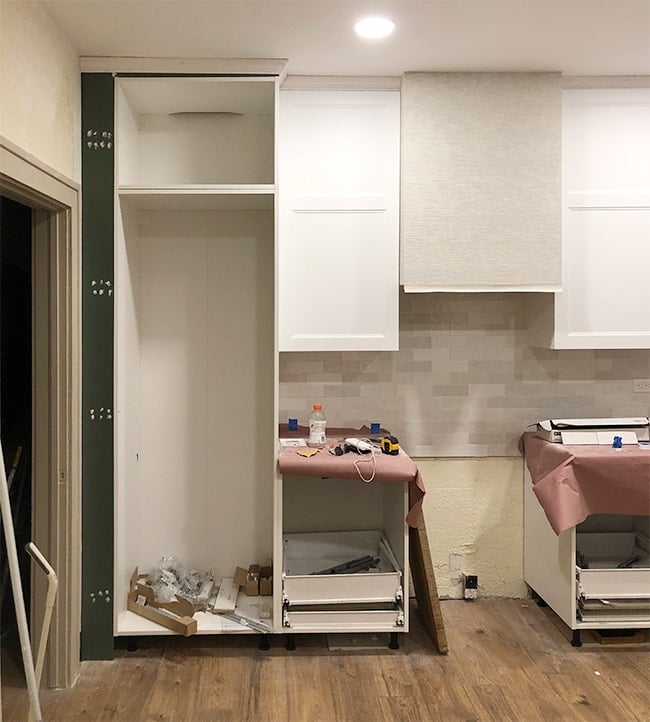
This will be where we keep the microwave and also our broom/mop storage, so we’ll have to customize the shelving to make room for it all.
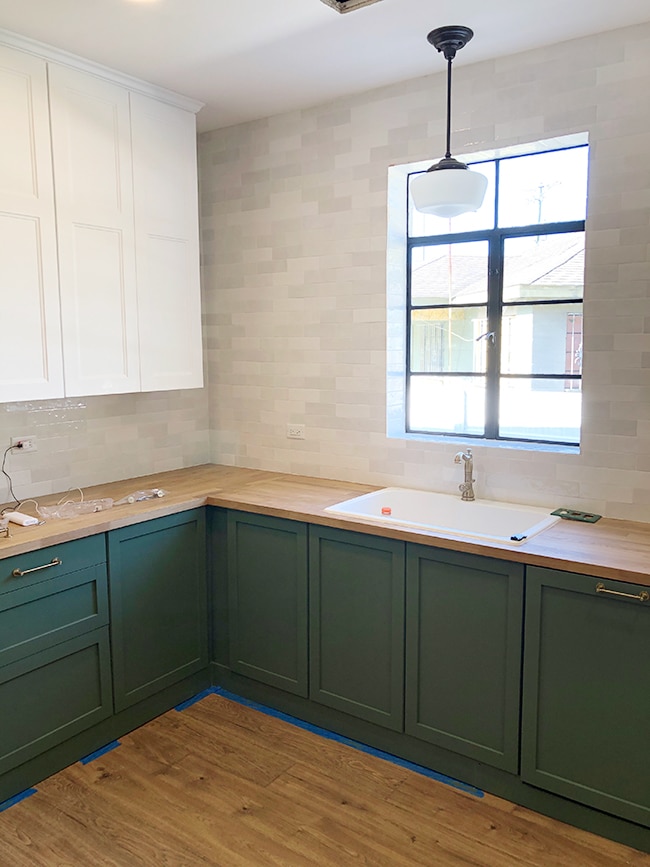
One small success story: the pendant light! Smooth sailing with this install and it looks great (psst, the light is 15% off right now)
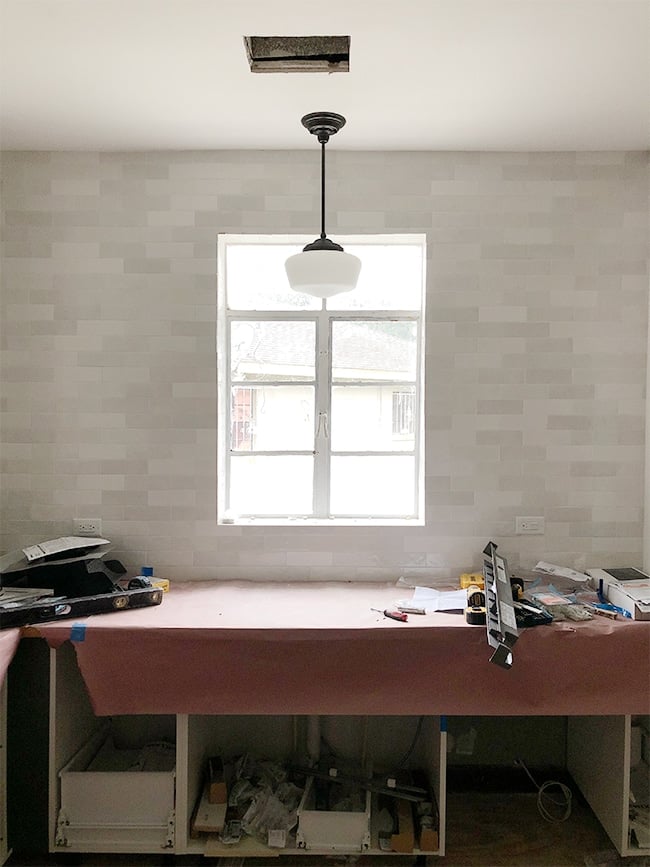
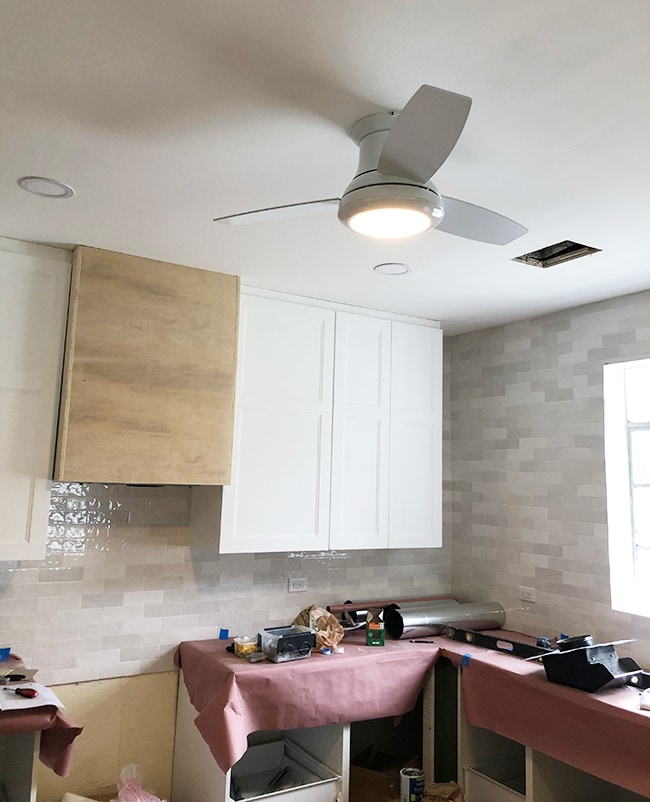
The ceiling fan was another complication-free install. I normally wouldn’t go for a fan in a kitchen, but as explained in previous posts, this house is not the most energy efficient and this room gets extra toasty with the west facing window. A fan was necessary, and it’s small and simple enough that I don’t think it takes away from the aesthetic at all in person (plus the price is so low!)
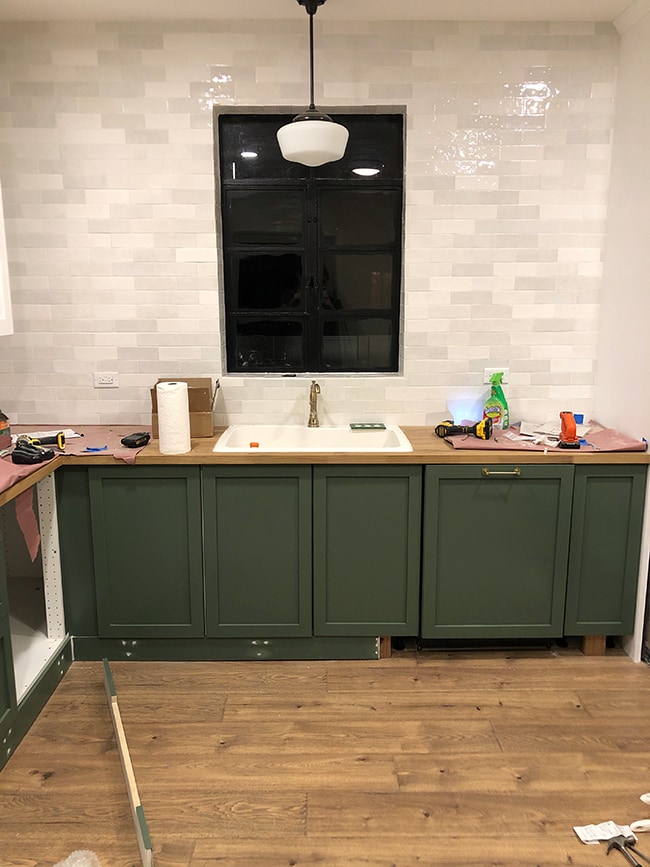
Our sink and faucet went in next… notice something a little off?
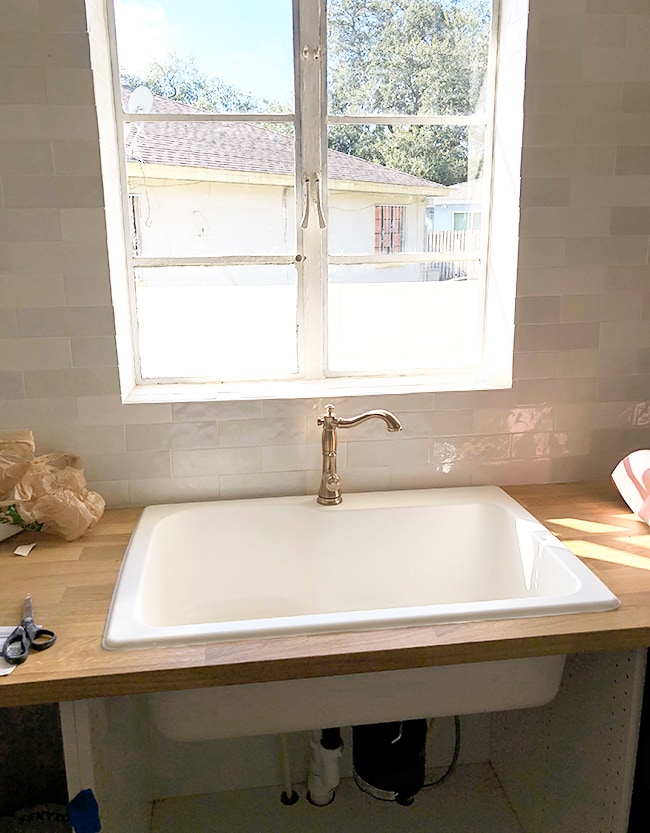
Yeah… that faucet is definitely too small for the 33″ sink. I didn’t look closely enough at the height and assumed it’d be just fine, but I was wrong. I’ve since ordered a more appropriately sized faucet (in the same champagne bronze finish I love so much) so we’ll be swapping that out soon.
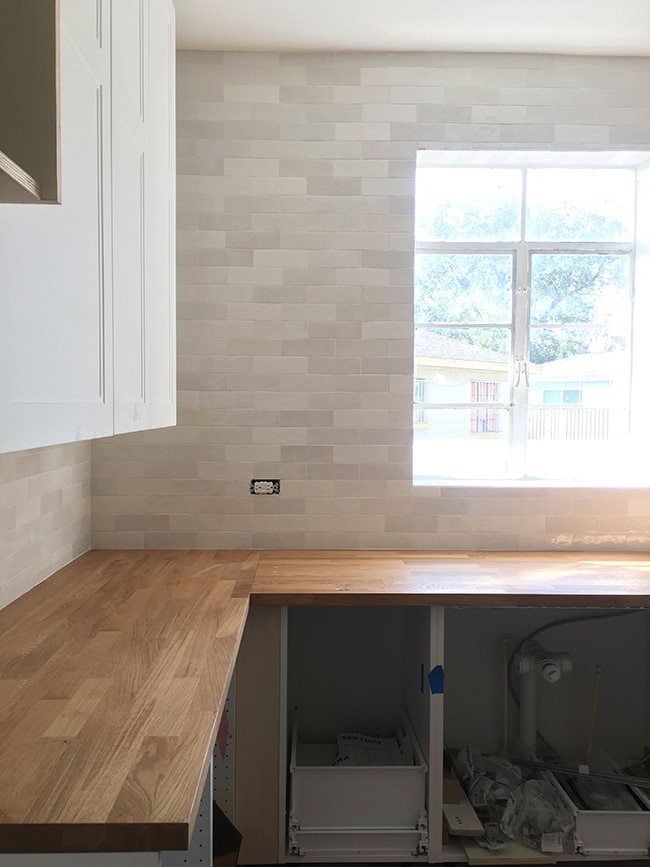
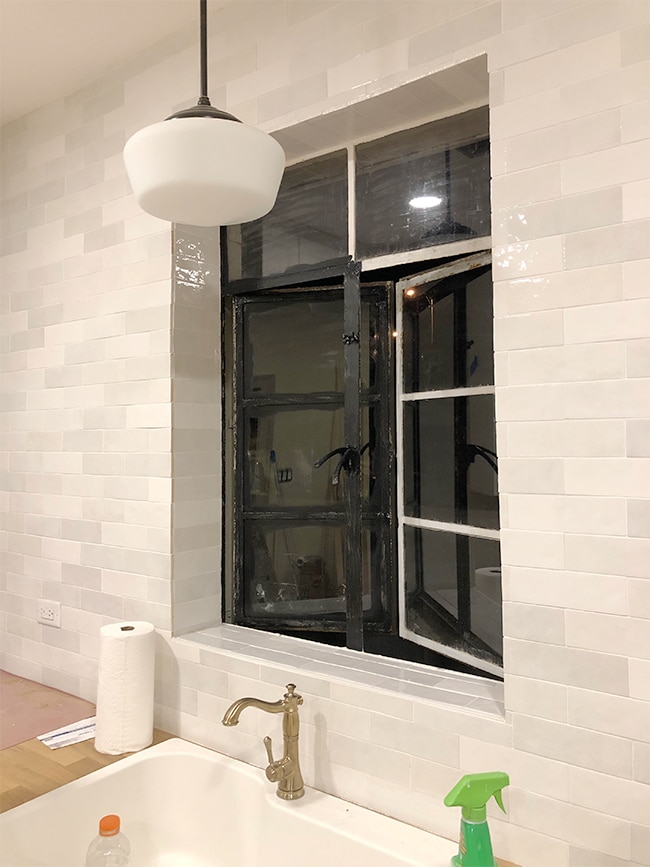
But our new black windows are looking pretty sharp (ignore the unpainted walls and view into the messy laundry room):

These are metal so we used regular latex paint (SW Tricorn Black). They’re the original 70+ year old windows and they aren’t in the best shape, so cleaning them up and a couple fresh coats of paint goes a long way (one day we’ll replace them all as the budget allows).
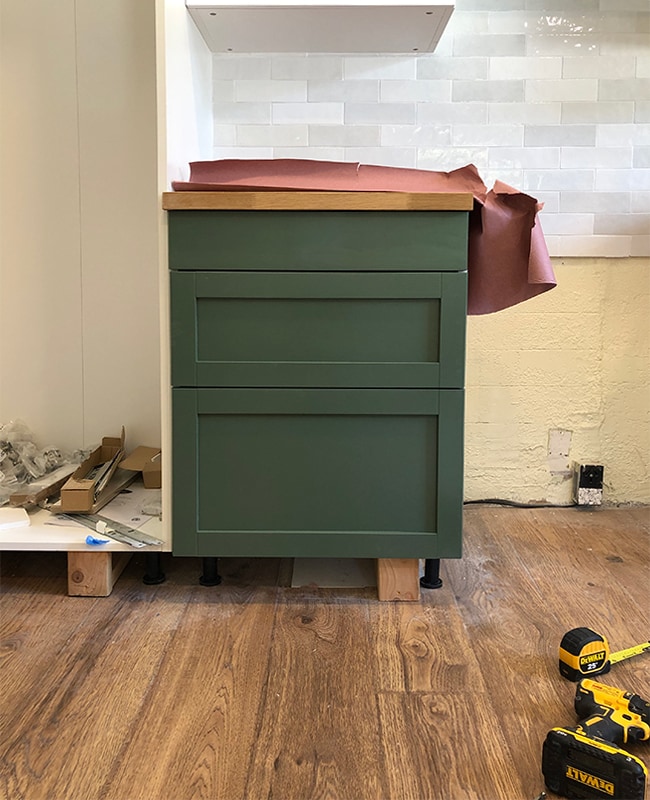
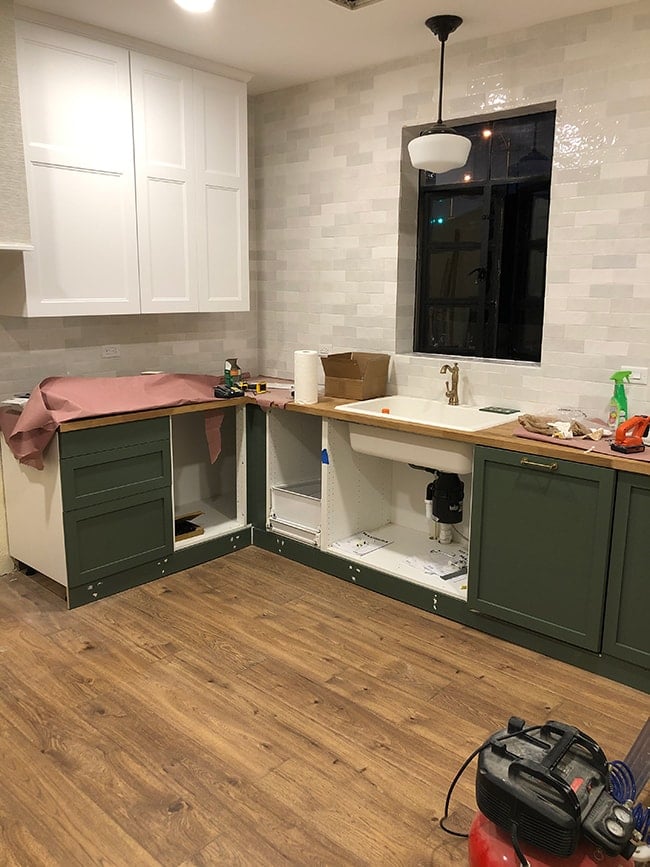
Now is when we start to get to the fun part of putting the kitchen back together! The cabinet doors had ample time to cure—they were upstairs in our bonus room for a few weeks. It took some adjusting to get the spacing right, but here’s the first set of drawers…
Here’s how they look from the inside. So satisfying to finally see these installed!
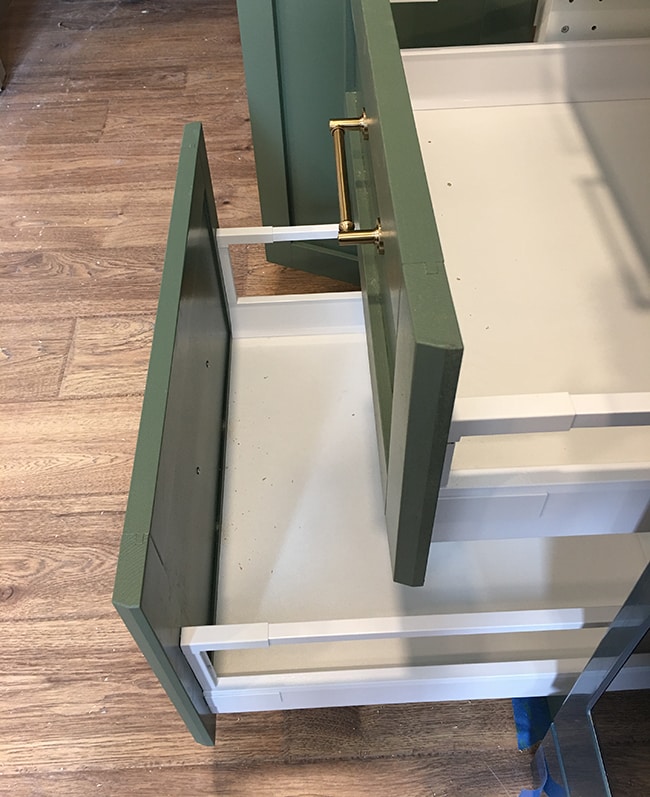
You can see the 2×4 blocks on the floor two photos above—those are braces for our custom toe kicks. I’ve always wanted to try this baseboard style, so we skipped the snap-on Ikea toe kick and added inexpensive primed pine 1×6’s (ripped down to fit) instead.
The floors are not perfectly level and the gap under the cabinets is uneven around the room, so the height of each board had to be measured and ripped down separately.
The gaps still aren’t perfect, so we plan to add base shoe molding along the bottom to finish it off.
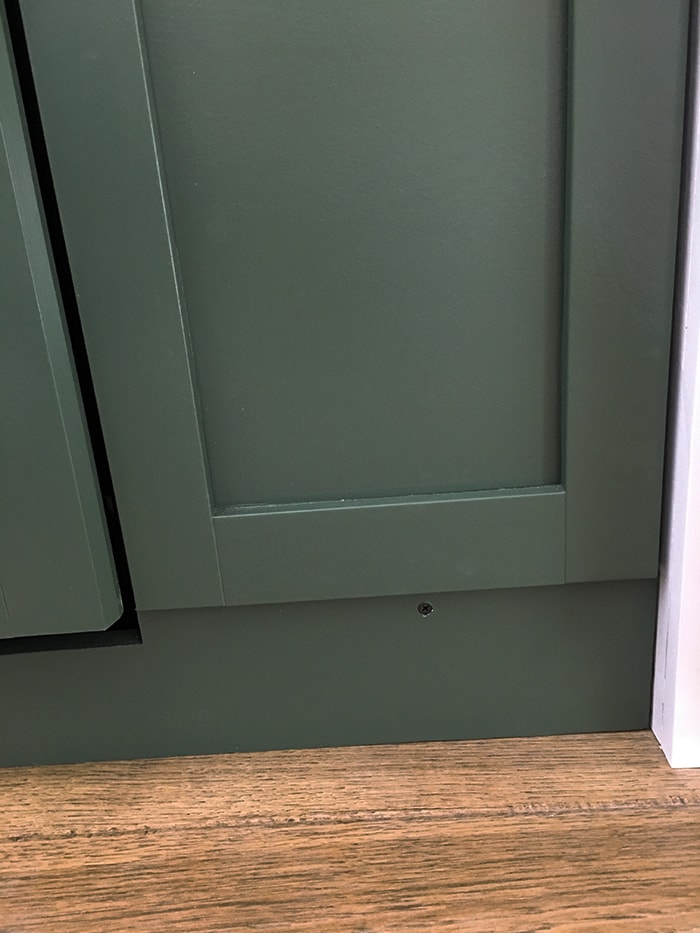
See the dishwasher to the right of the sink? We opted for the panel-ready Ikea Spolad (during their kitchen sale) to minimize the look of appliances and streamline the cabinetry. Sounds nice, right?

Except the dishwasher is deeper than the cabinets so it sticks out about 3/4″ past the other doors. So frustrating! We’re going to Ikea this weekend to ask them WTF. Unfortunately there’s nothing we can do, so I’ll have to be okay with it.
In order to have future access to the dishwasher (in case of any repairs) we decided to split the toe kick into two sections, with two screws to access the dishwasher side.
You can see the screws up close but they aren’t distracting (they still need to be painted green).
While the dishwasher was a fail, the stove is in and looks great—and I just noticed it’s 47% off right now! We paid $1994 so this is a crazy good deal (sale ends tomorrow!)

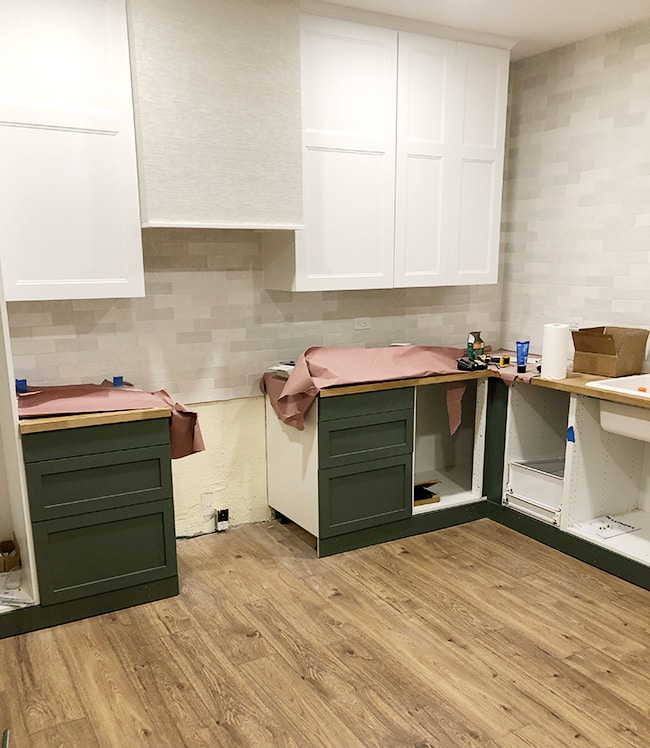
Here’s another angle of this side. Originally I intended to paint the sides of the pantry cabinet green as well, but these are melamine foil Ikea cabinet boxes, not exactly paint-friendly. We could try lightly sanding (maybe?), priming and painting, but there’s still a very high likelihood of the finish scratching off and that would be a nightmare to deal with (especially in a rental). I don’t think it’s worth it in this scenario—especially with how behind we are on our timeline. Plus, it doesn’t look as bad as I thought it would.
In other news, I’m loving the way these handles look (they’re on sale right now, too!)
I’m starting to see the light at the end of the tunnel…

There’s still a handful of things left to do—including installing shelves around the window, replacing the faucet, adding base shoe molding, painting, and fixing that pesky water leak.
Here’s the other side of the kitchen, in case you were wondering. I think we’ll be DIYing a large chalkboard on this empty wall.
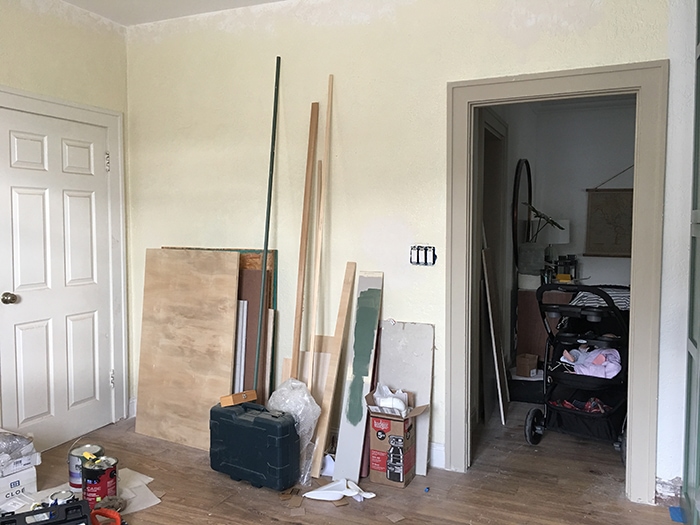
Here’s the fourth wall (with the water leak). We still need to paint the walls and baseboards, and also replace the door to the laundry room to match the rest of the house (this may have to happen after the reveal).
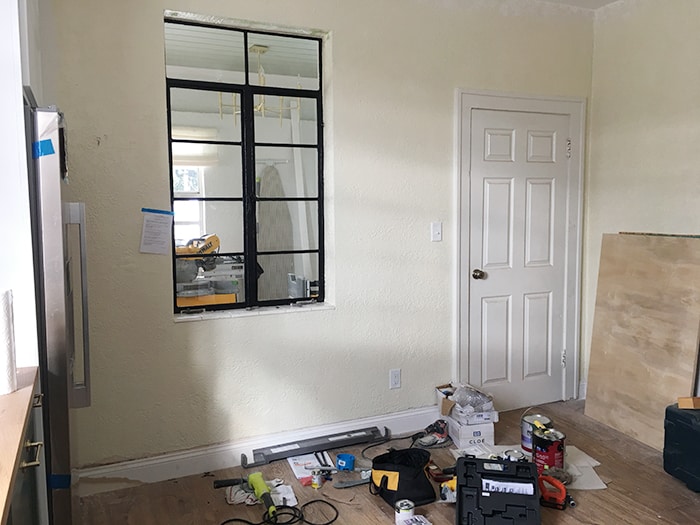
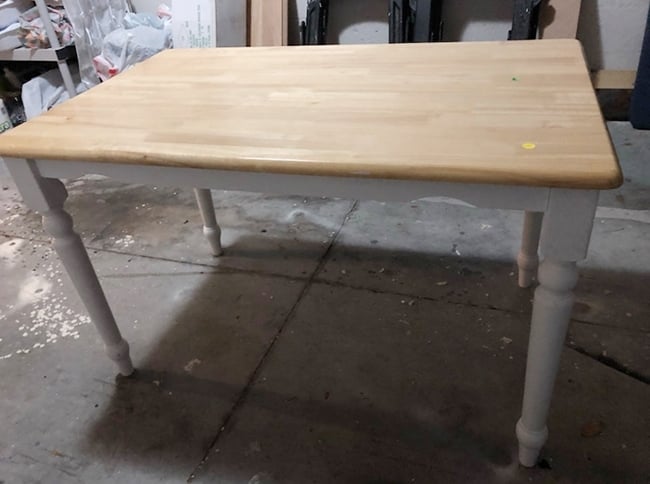
There isn’t much counter space in here so it makes sense to add an island, but it has to be small and most importantly, budget-friendly. After lots of searching and brainstorming, I negotiated this table down to $50 on Letgo.
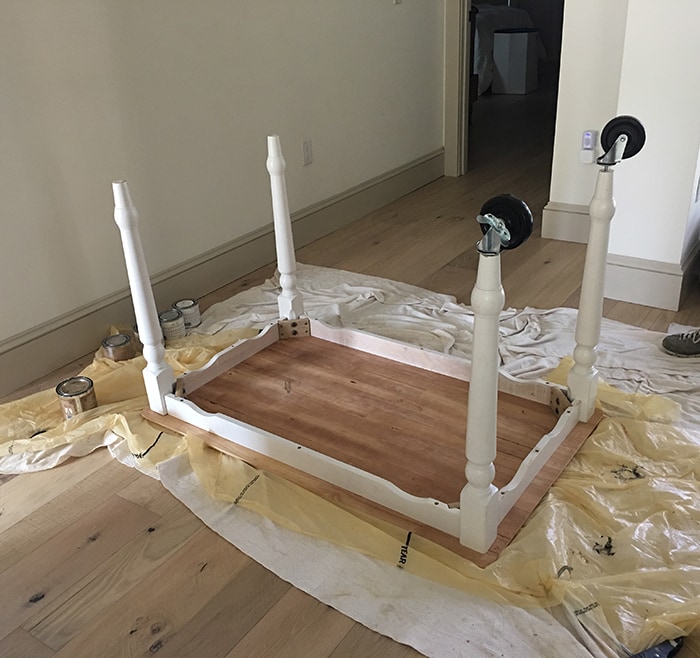
In order for it to be the right height (kitchen islands are typically counter height) I elevated the table by adding 4″ caster wheels:
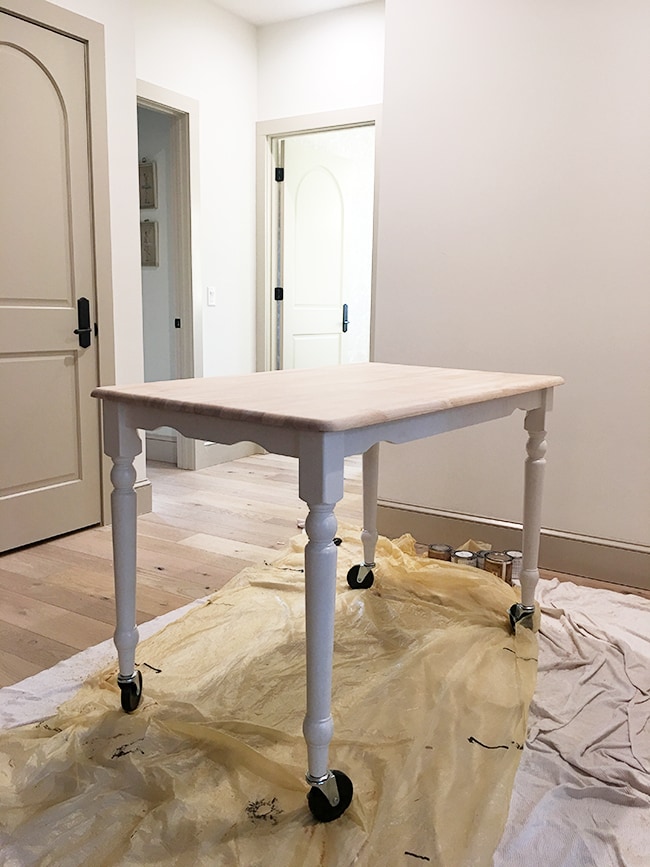
And then painted it my favorite color—black, of course!
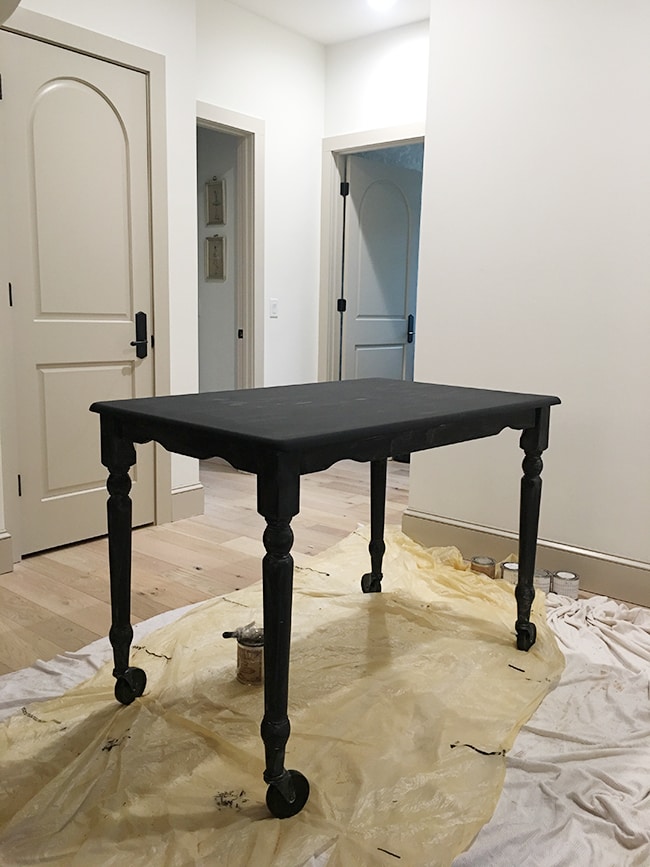
I gave it three coats of Maison Blanche’s Wrought Iron (the same black paint I use on all of my furniture) and will be sealing it with their satin varnish. I’m also eyeing these $50 bar stools to keep underneath for seating. And everything will sit atop my favorite rug of all time, which was just delivered last night. I can’t wait to be done with this renovation already!
And now you’re all up to speed on where we are at. This is the busiest time of year for us between my shop orders, Lucas working longer hours at his day job, Christmas decorating, spending every night and weekend on this kitchen renovation, and full time parenting a three month old who doesn’t sleep through the night. I’m really looking forward to the calm of that last week of the year when the world unplugs to enjoy the holidays.
Hopefully, this will actually be the last kitchen update before the reveal ? We’re like Santa’s elves over here, trying to make it all happen before 2020!
Next up: Christmas at the Heights House, Part 1. If you aren’t already, make sure to follow me on Instagram for live updates as we jump back and forth between projects! ‘Tis the season…


Terri says
Absolutely gorgeous!!! I love every detail and the expert customization!
Kristy says
maybe try to add removable chalkboard wallpaper/ contact paper on the side of the pantry that is white and add a nice saying down the exposed side – i think it would look more intentional and it can always be removed!
Jenna Sue says
That is a good idea! Though we are most likely adding a big chalkboard on another wall so I think two chalkboards would be overkill 🙂
Becky says
I love everything! Nobody is going to notice the dishwasher or the side of the frig is white. Given how cute the house is, you may not get the renters to spend any time outside! If you need an extra hand with Esmé I can be there in 9 hours… Kids can never have too many nanas.
Carly says
Jenna- SO, so great! Dishwasher depth looks fine, paint the screw on base green to minimize it. OK here is my visual input on range hood. Love the design and wallpaper BUT, please oh please…. add another piece of white trim on top the wood piece underneath to widen that look above it. There is not enough trim on top of the single piece wood trim and it looks small, lost and unfinished and frankly could barely see it was there when stepping back to look at it. Add crown or another thicker width of wood on top of that to add width, literally anything would help. That is just my own opinion after doing dozens of hoods of all types and what I think would enhance the beauty. You are doing such a wonderful job, hang in there. This to shall pass!
Jenna Sue says
Thanks Carly! I actually like how the range hood design is simple. I don’t think it needs extra trim added 🙂
Monica says
Interesting. I think the range hood is perfect. It seems to me that if you added some chunky trim to the bottom it would visually fight with it. It seems to be making quite a statement all on its own.
sarah says
Absolutely beautiful! Did you use white grout?
Jenna Sue says
Yes, Alabaster grout 🙂
Alyson Bird says
Looks so good Jenna, Can’t wait to see it all pulled together. I have the Layla rug in my kitchen and am very happy with how it has held up. I did tack mine to the floor with some hot glue on the corners to make it easier to vacuum, lol. Works great. Great update.
Jenna Sue says
Good to know! It’s perfect in our living room and I know it will be great here too.
Monica says
You’re doing a great job Jenna! Hang in there! A couple questions… What color is the stove? And, did you consider painting the pantry white since you can’t paint the side of it? It would then match the tall fridge enclosure. Just a thought. I can’t tell from pics how that would feel in the space but I’m sure you can being there in person. I love the green lowers btw. ?
Jenna Sue says
Hi Monica, the stove is sunset bronze — there’s a link to it in the blog post! I wanted the pantry to stand out and be green. We didn’t think about the fact that the side couldn’t easily be painted until afterwards. I still think just having the front of the pantry green is better than it all white though 🙂
Monica says
Got ya. The green is really beautiful, for sure. I also love how your range hood turned out. So pretty.
Bea says
It looks beautiful!
The dishwasher looks fine- I think this is one of those things that drives you crazy, but others don’t notice. I don’t know how you two keep up this schedule!
Ali says
Love love the green cabinets!! I’ve painted those pesky IKEA box cabinets before and it is not easy!! I sanded, primed, painted, waxed/poly’ed and it really didn’t scratch off after and I did try. Can’t wait to see the big reveal!!
Jenna Sue says
Thanks for sharing your experience! I’m still nervous to try because we won’t be living there and can’t easily/quickly fix it if it does scratch!
Jasmine says
This looks so gorgeous already! We are also doing green lowers and white uppers in our house and have a similar issue with the cabinet around the refrigerator. For yours, I vote leave it! No one but you will know it was *supposed* to be green! We have a 6 week old baby girl and I know how hard it is to make progress with a tiny being who wants to eat nonstop. But you’re so close! Can’t wait to see the reveal!
Lorraine says
The kitchen looks beautiful. Have you considered a window film to cut down on the heat? I know there is a 3M product that will reduce the UVs
Jenna Sue says
Thanks Lorraine! These are individual panes of glass so not easy to add a film, but I do plan to add a roman shade.
Cathy Claus says
another gorgeous job! loving the green cabinets!
Andrea says
What a pity with the dishwasher! I think it happend, because you did’nt install the railing zu hang the lower cabinets. This has to be done, since they swapped to the Method Kitchen.
But it is lovely as everything you do!
Best regards from Austria
Jenna Sue says
The installers did use the railing for the lower cabinets! The dishwasher is still too deep. It doesn’t really make sense.
Arli says
So beautiful! It’s a dream kitchen!
Danna says
Oh my goodness, a lot of work, but it is gorgeous!!
Jenna Sue says
Thanks Danna! Yes, it’s a ton of work, and somehow we keep going back for more ?