Truth be told, I was hoping this would be the kitchen reveal post and not another progress update, but this renovation has not been quick and easy (are kitchens ever?) Make sure to check out Part 1, 2 and 3 if you’re just tuning in!
The biggest reason this has taken so long is because we decided to do the majority of the work ourselves (meaning Lucas working mostly by himself there at night while I watch the baby) and there’s a lot of custom details that we’re figuring out as we go.
When we left off in Part 3, the backsplash tile had just been installed, the cabinet doors were in between coats of paint, and we were working on the range hood.
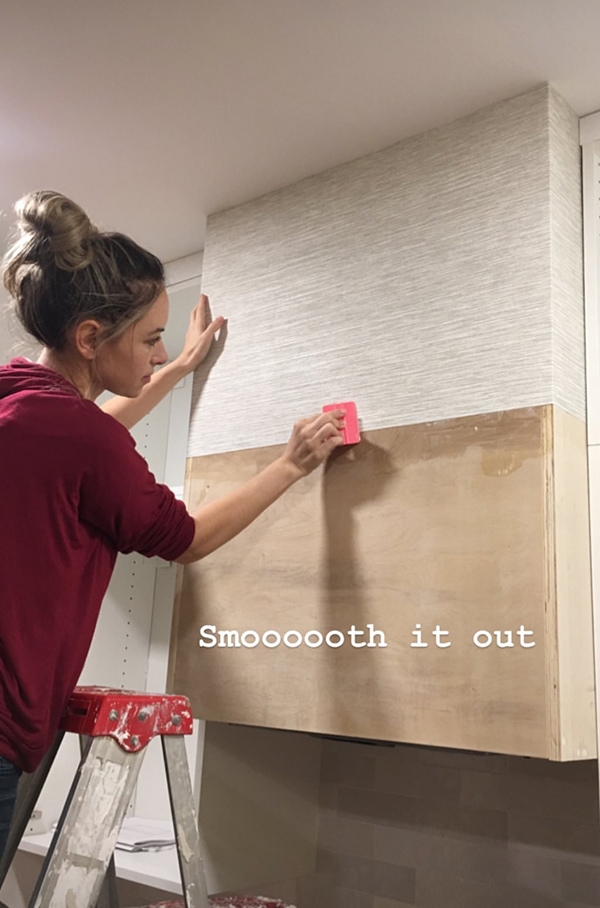
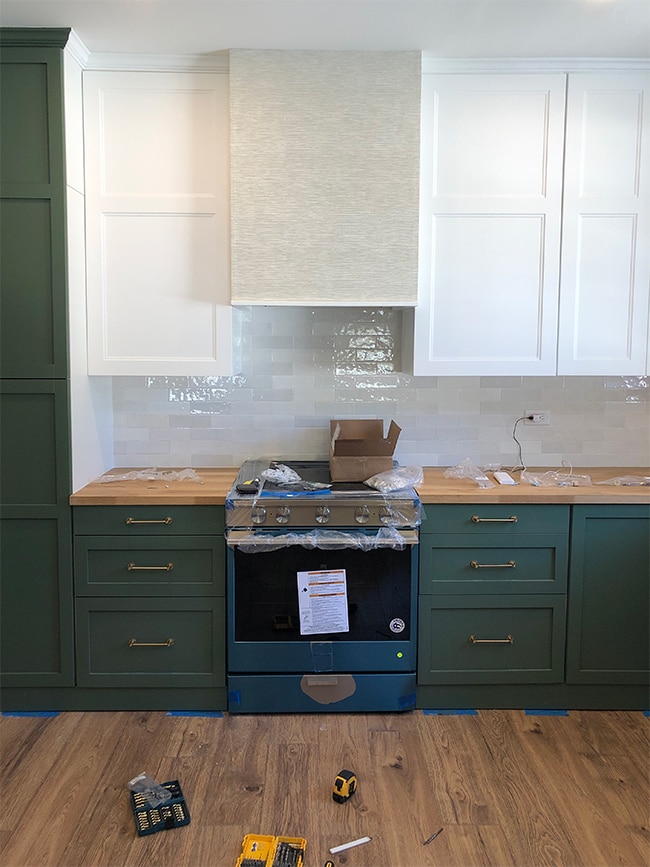
One evening we left Esmé with the grandparents and had ourselves a little wallpaper date night. Remember my crazy idea to wallpaper the range hood with grasscloth?
We used finish grade 3/4″ plywood for the build, just in case the wallpaper didn’t work and we’d need to paint it instead.
I shared live updates on Instagram of the process (nothing too detailed—it was only two pieces of wallpaper and the easiest install we’ve ever done!)
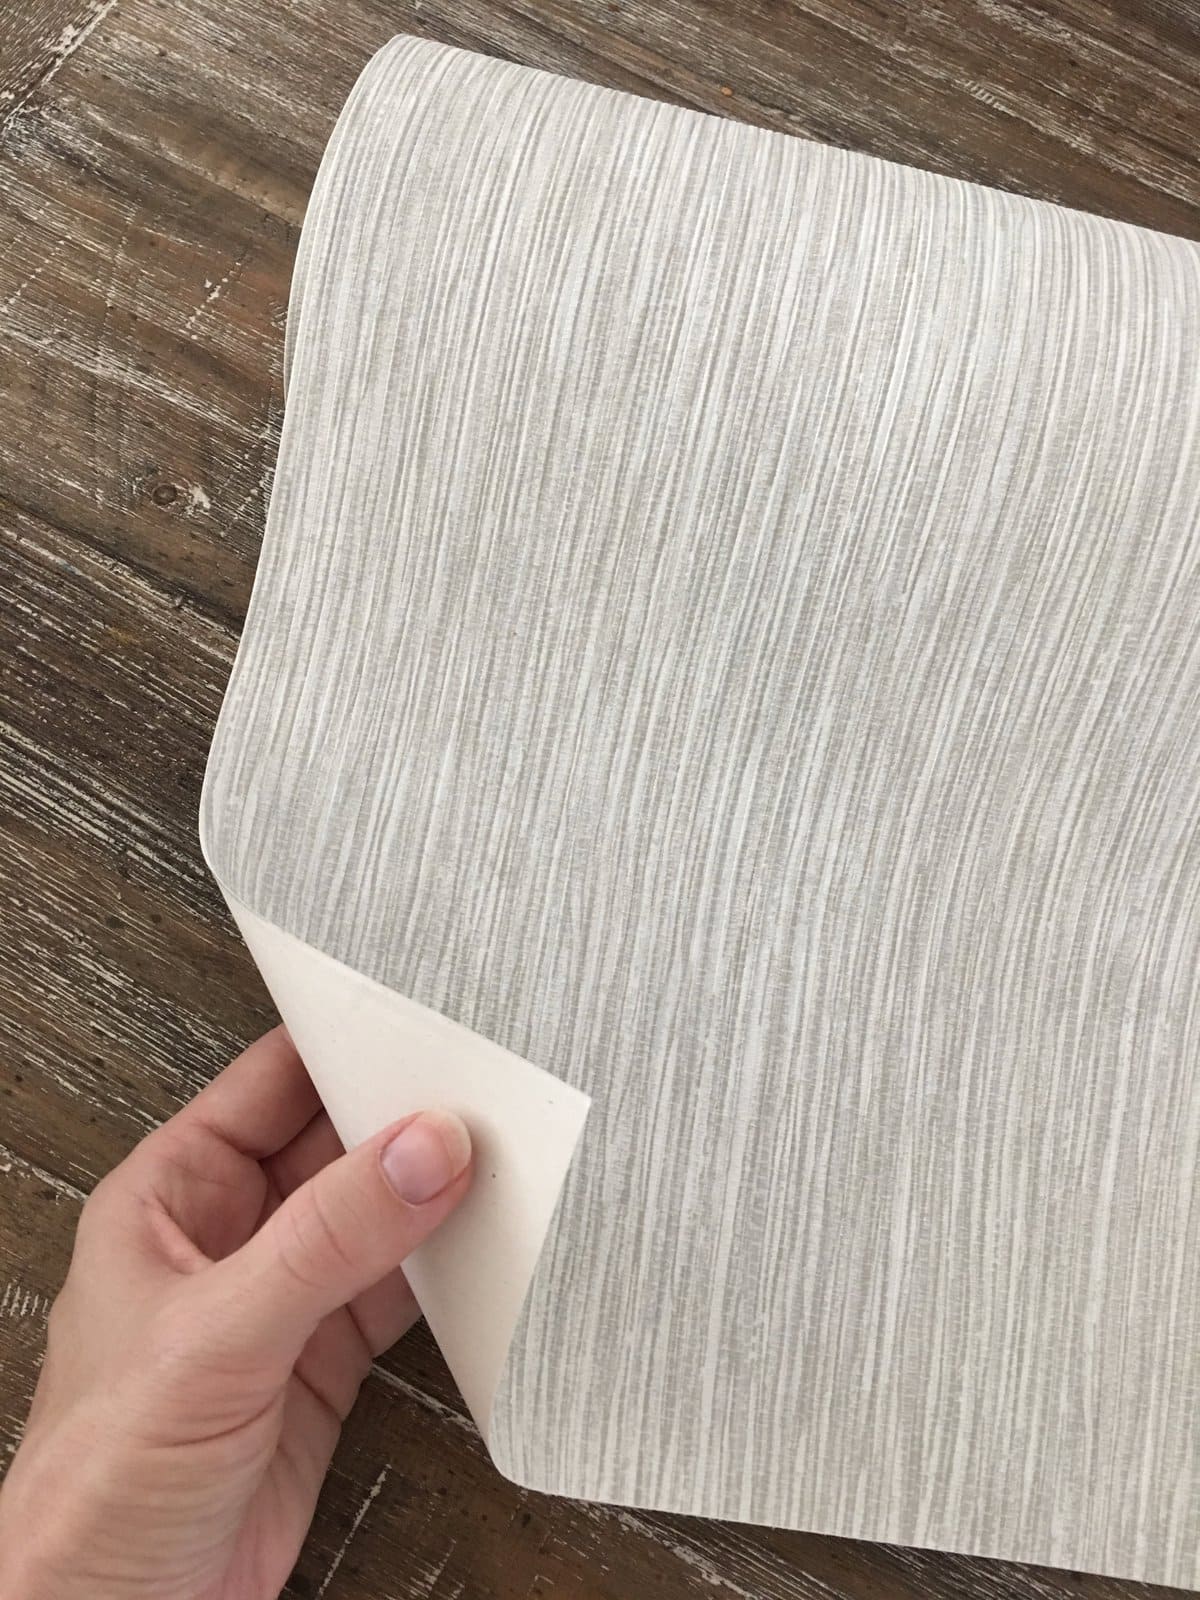
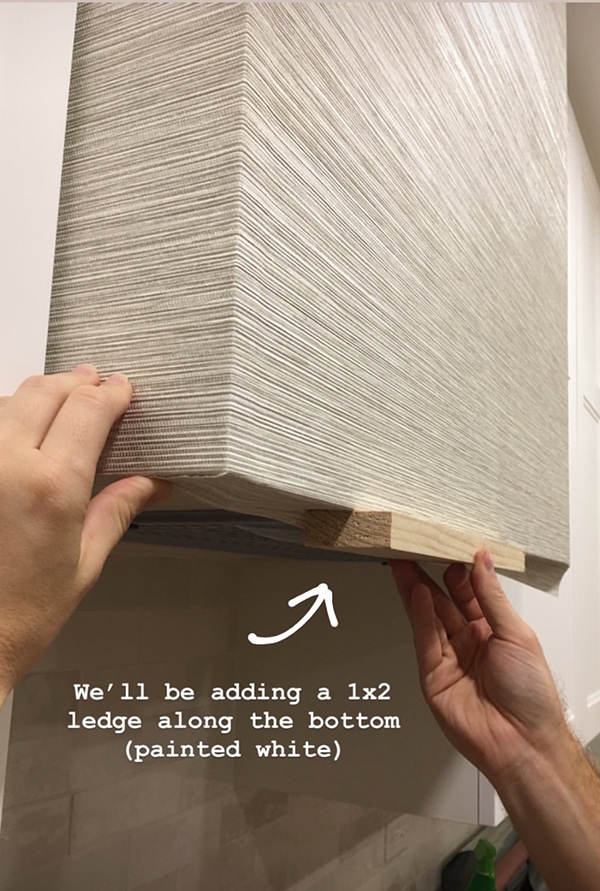
This particular paper is the best because the pattern runs vertically down the roll, which means the joints are horizontal and you don’t see any seams—unlike all the other grasscloth I found! We left a little extra at the bottom to fold under the trim and prevent it from peeling up over time.
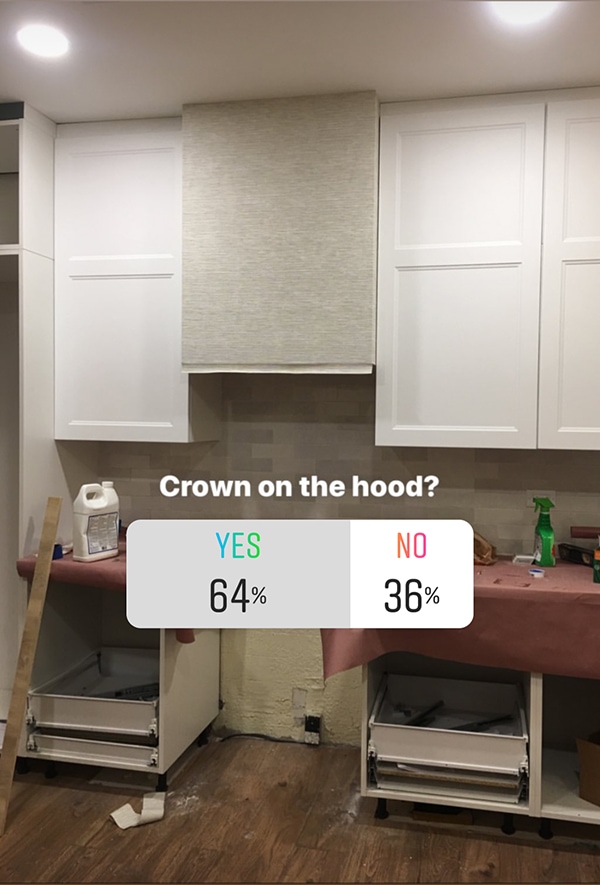
Then we had a decision to make—to crown or not to crown the hood? Most of you were in favor, but I wasn’t convinced we should interrupt the clean top edge with white trim.
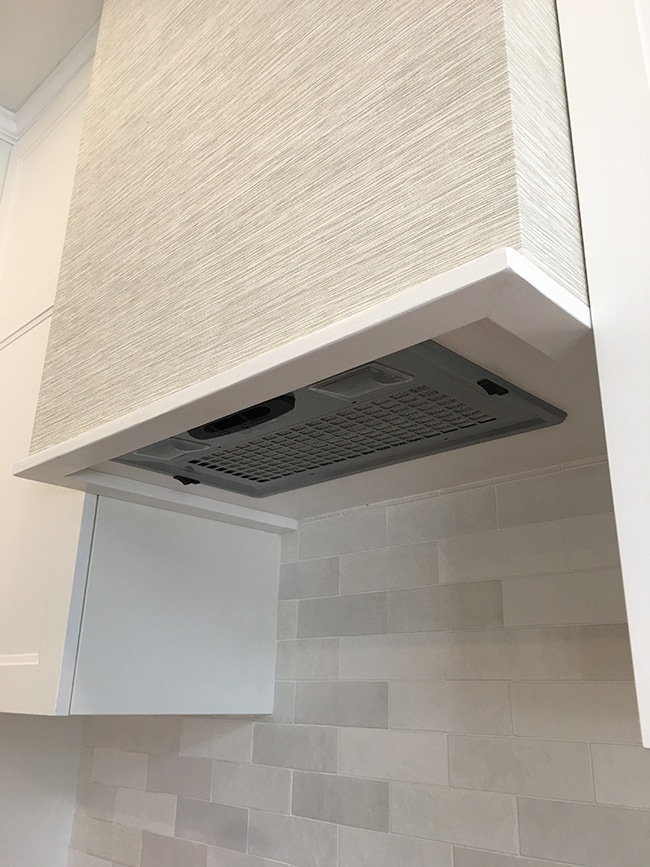
We gave it a shot without the crown, and I think it was the right call!
It looks cleaner this way, don’t you think?
The painted white 1×2’s at the bottom finish it off and add a layer of protection from any steam/grease coming from the stovetop below.
And on that note, the wallpaper is textured but it’s vinyl and super wipeable/easy to clean. I have zero worries about that part—but we’ll see how it holds up over time!
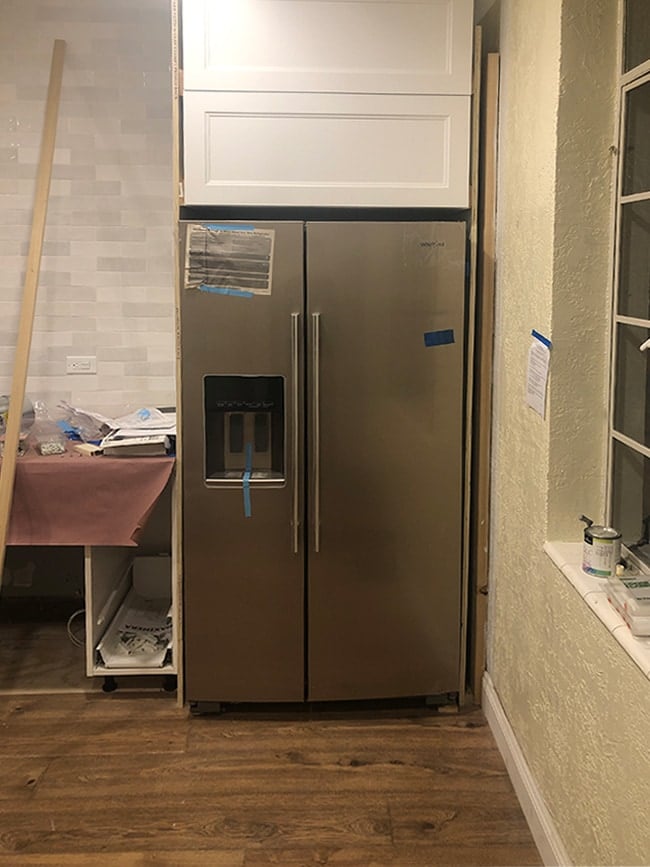
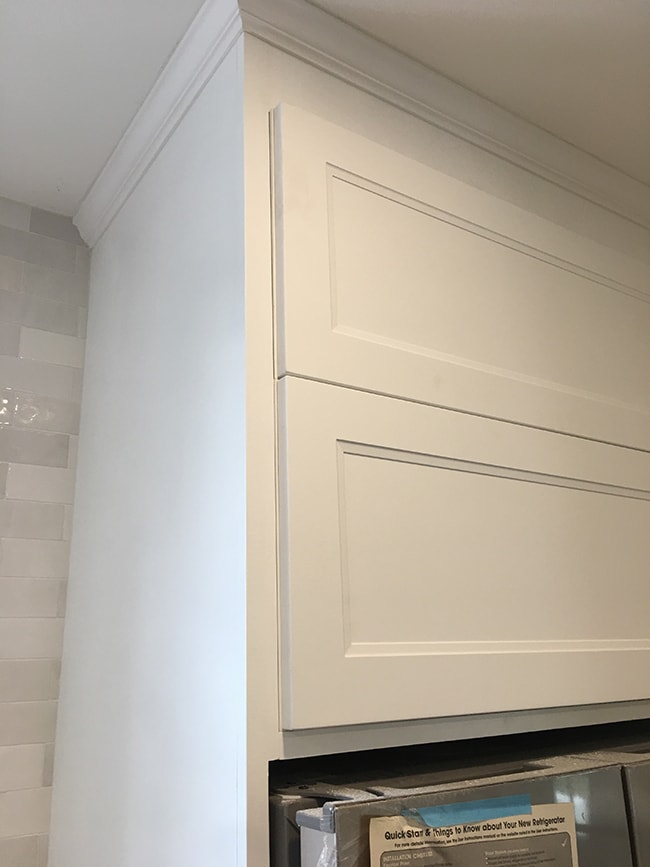
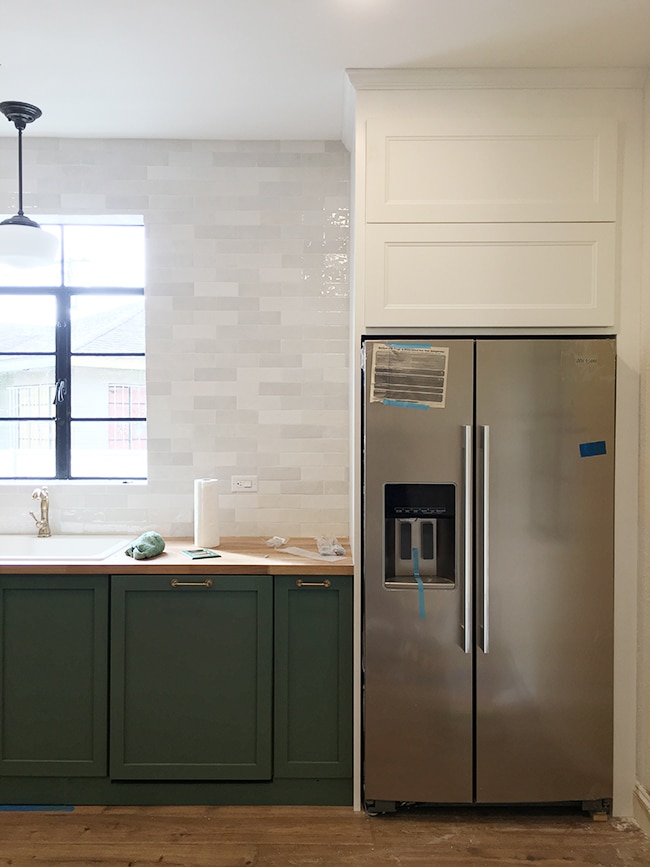
The crown molding was also added to the custom fridge surround. Here’s how it looked after installing the new fridge (which took a lot of shimming to get straight, #oldhouseproblems!)
Another progress shot of the trim. It was essentially just putting pieces of a puzzle together, one by one.
Crown was the finishing touch:
Everything was painted Valspar’s Ultra White in satin (off the shelf white with no color added) which is the closest match I found to the Ikea cabinet doors.
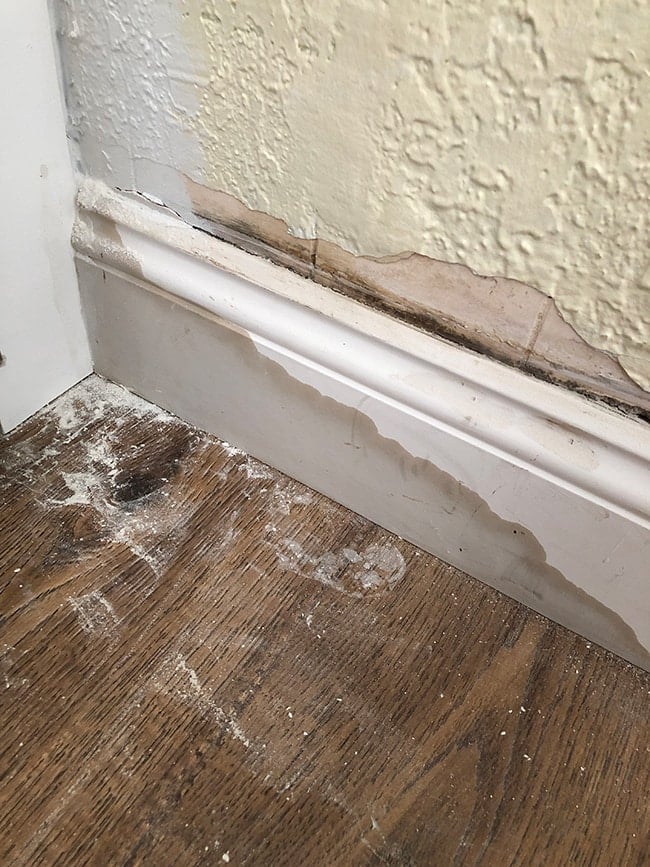
A couple weeks ago Lucas noticed a pretty big leak in the corner by the fridge. He pulled the fridge out to check the water lines and everything was fine (and it’s dry around the fridge), so we think it’s coming from behind the wall. The leak hasn’t spread so it appears to have been a one time occurrence. We’ll be putting this problem on hold until after the reveal, then cutting out a section of the wall to investigate. Oh the joys of renovation!
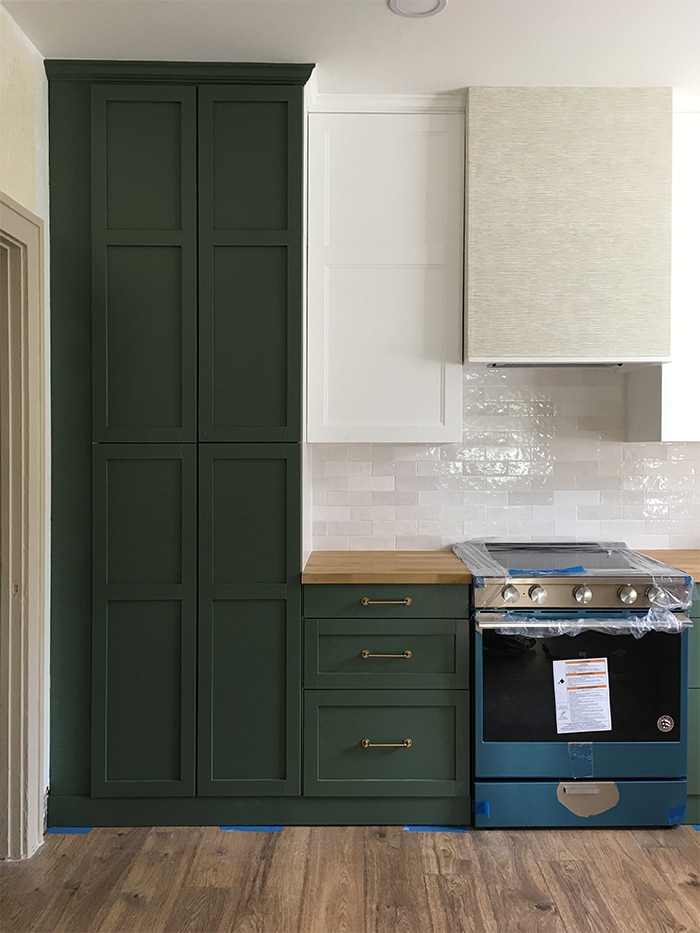
The pantry cabinet was another troublesome area. We had to find the best way to match up the green cabinet to our white upper cabinets, while dealing with crooked ceilings and uneven gaps (that vertical piece of green trim was uninstalled/reinstalled a few times…)
This will be where we keep the microwave and also our broom/mop storage, so we’ll have to customize the shelving to make room for it all.
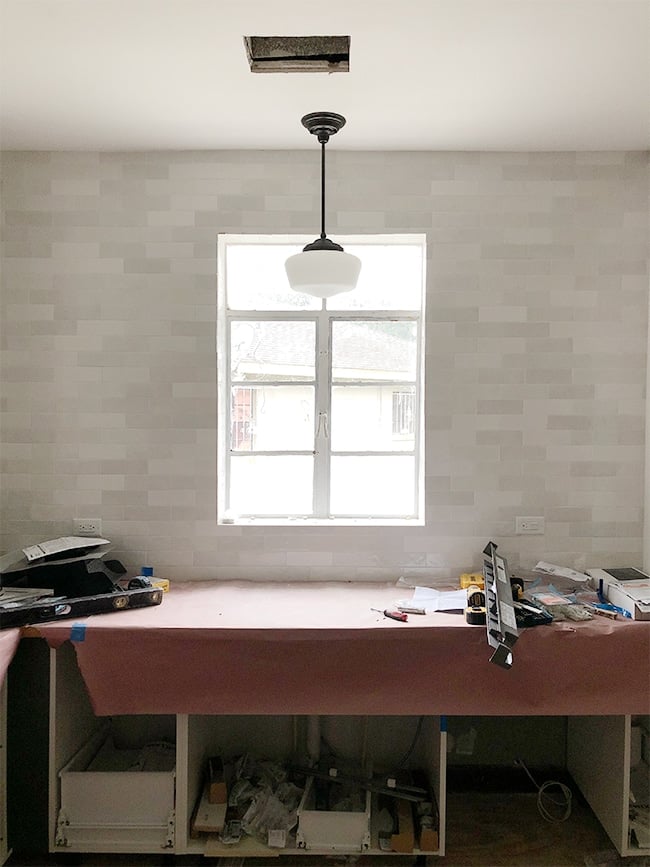
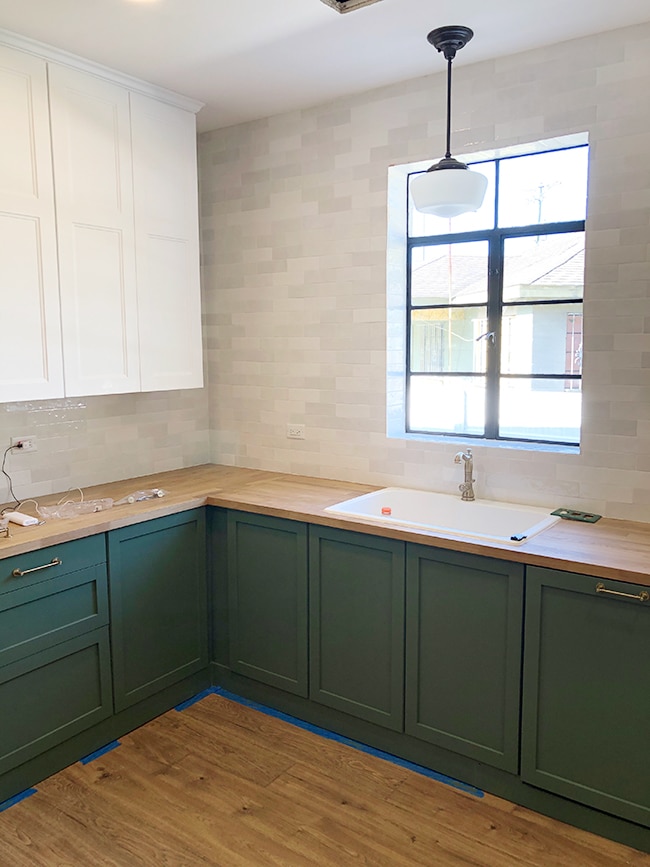
One small success story: the pendant light! Smooth sailing with this install and it looks great (psst, the light is 15% off right now)
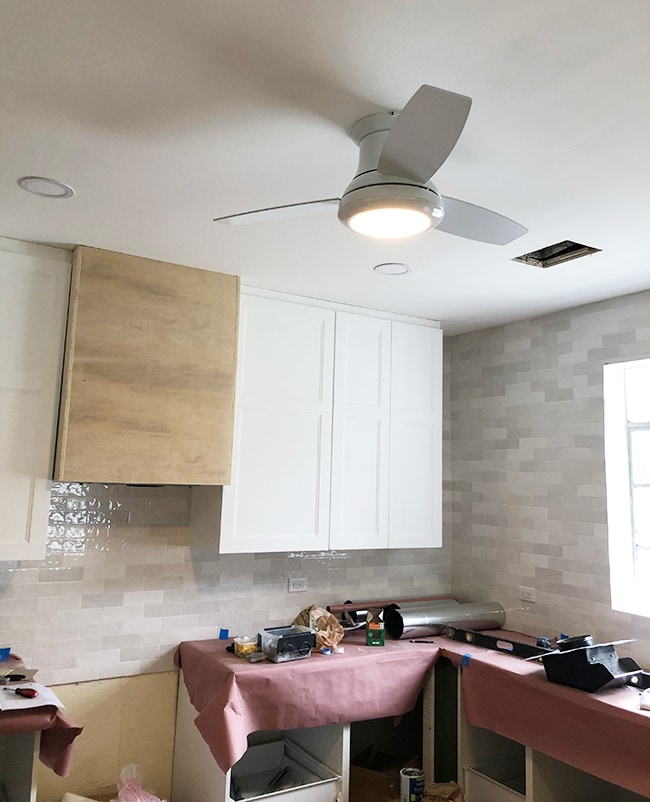
The ceiling fan was another complication-free install. I normally wouldn’t go for a fan in a kitchen, but as explained in previous posts, this house is not the most energy efficient and this room gets extra toasty with the west facing window. A fan was necessary, and it’s small and simple enough that I don’t think it takes away from the aesthetic at all in person (plus the price is so low!)
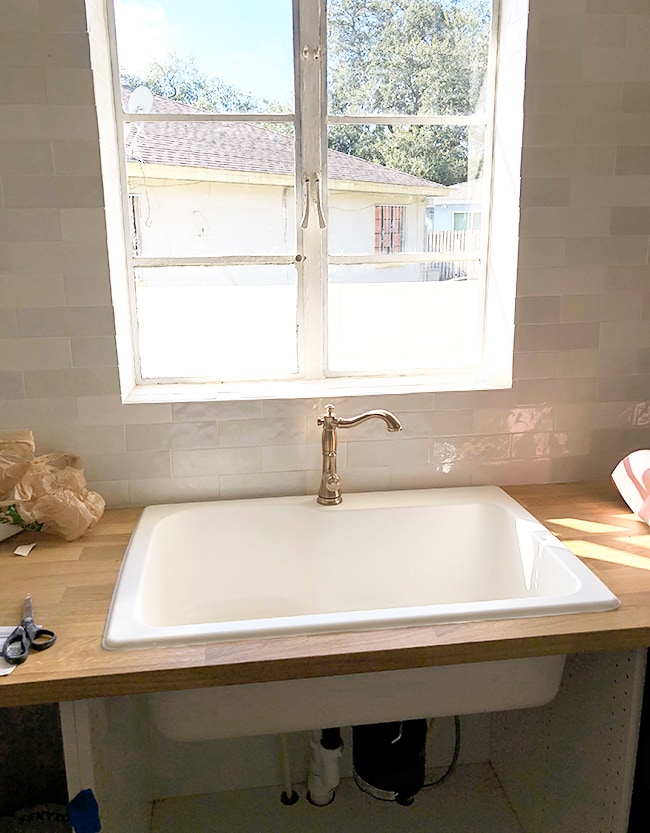
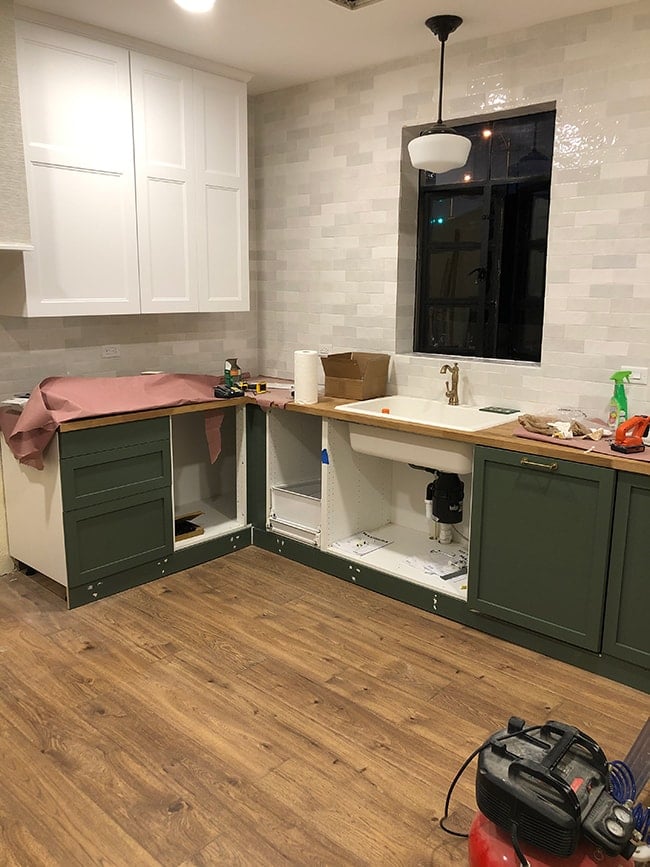
Our sink and faucet went in next… notice something a little off?
Yeah… that faucet is definitely too small for the 33″ sink. I didn’t look closely enough at the height and assumed it’d be just fine, but I was wrong. I’ve since ordered a more appropriately sized faucet (in the same champagne bronze finish I love so much) so we’ll be swapping that out soon.
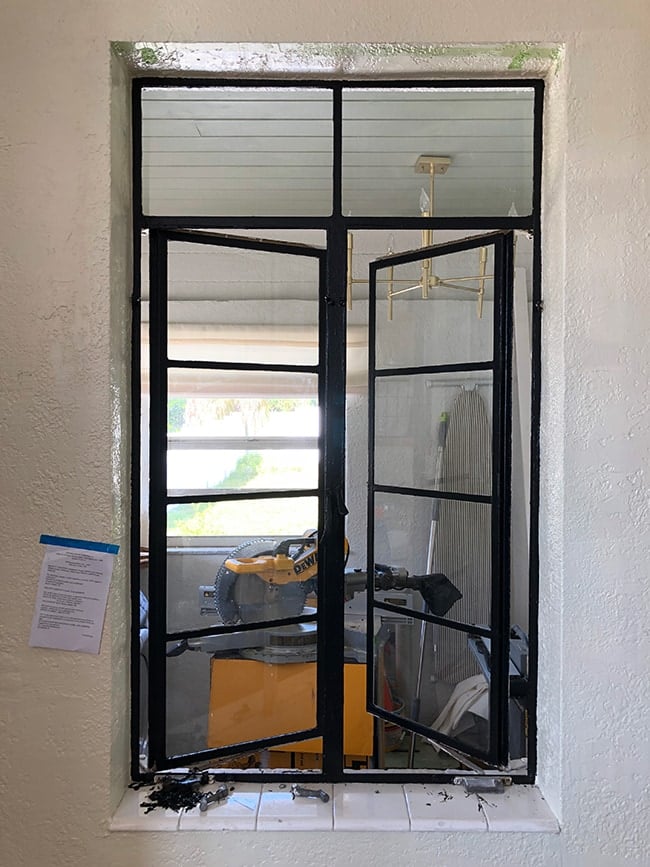
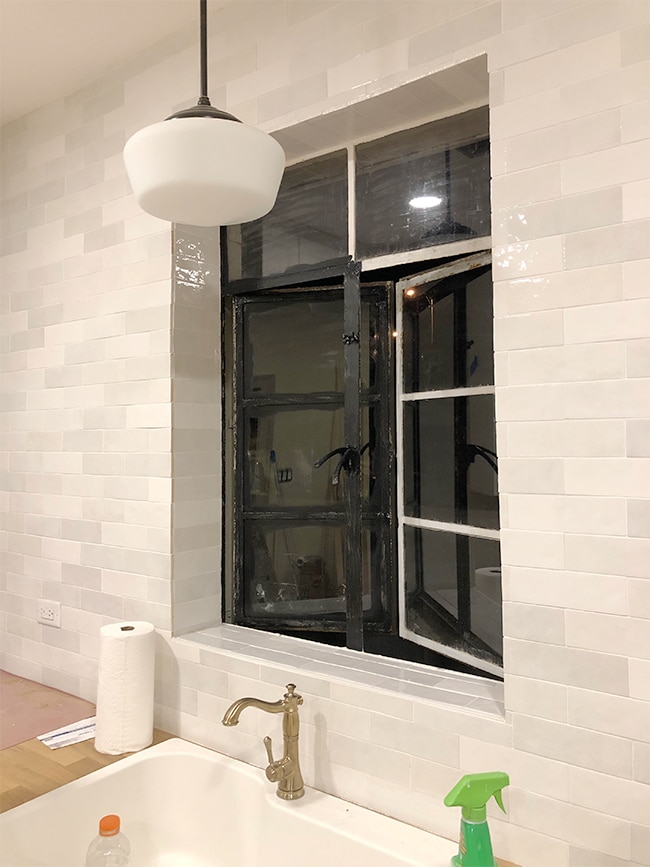
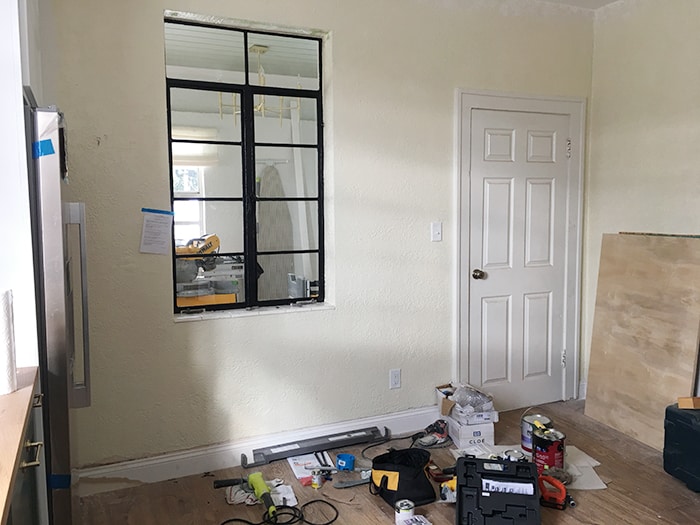
But our new black windows are looking pretty sharp (ignore the unpainted walls and view into the messy laundry room):
These are metal so we used regular latex paint (SW Tricorn Black). They’re the original 70+ year old windows and they aren’t in the best shape, so cleaning them up and a couple fresh coats of paint goes a long way (one day we’ll replace them all as the budget allows).
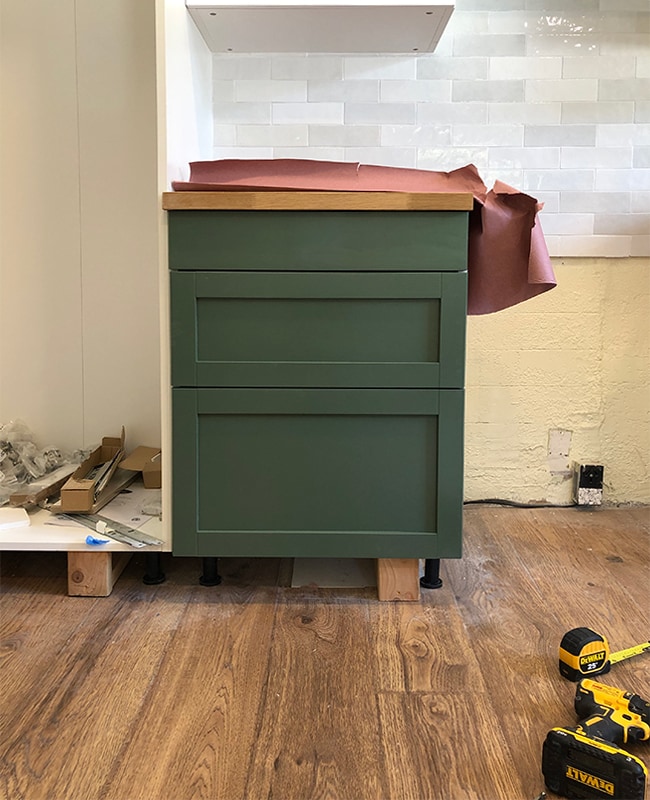
Now is when we start to get to the fun part of putting the kitchen back together! The cabinet doors had ample time to cure—they were upstairs in our bonus room for a few weeks. It took some adjusting to get the spacing right, but here’s the first set of drawers…
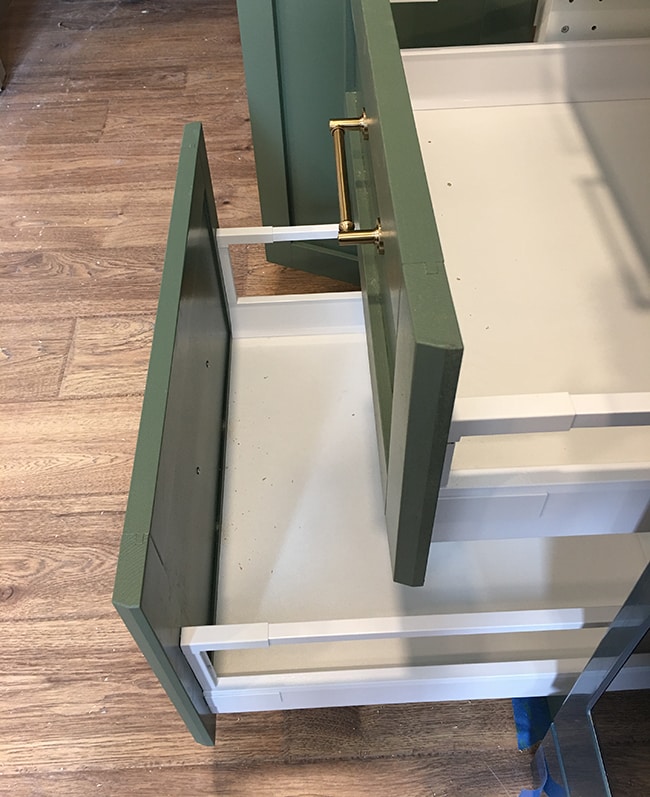
Here’s how they look from the inside. So satisfying to finally see these installed!
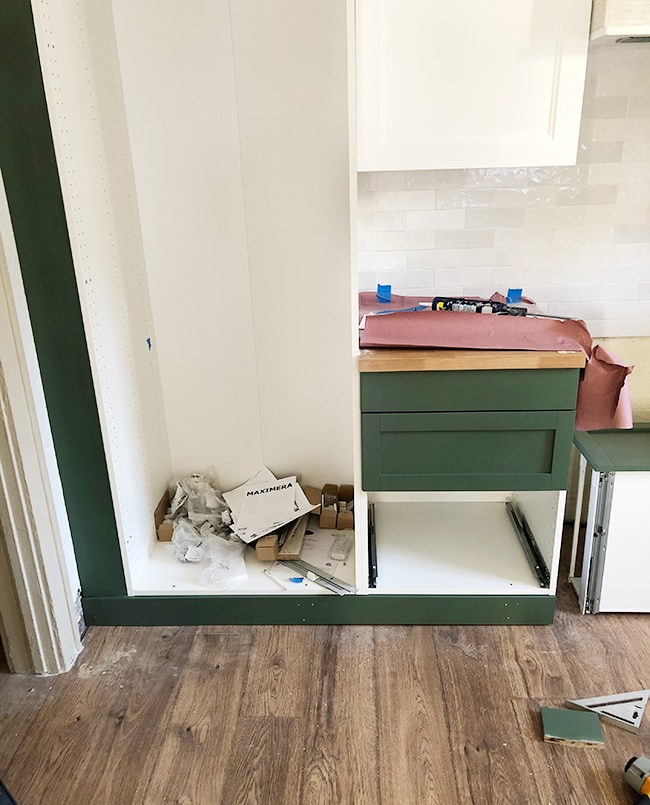
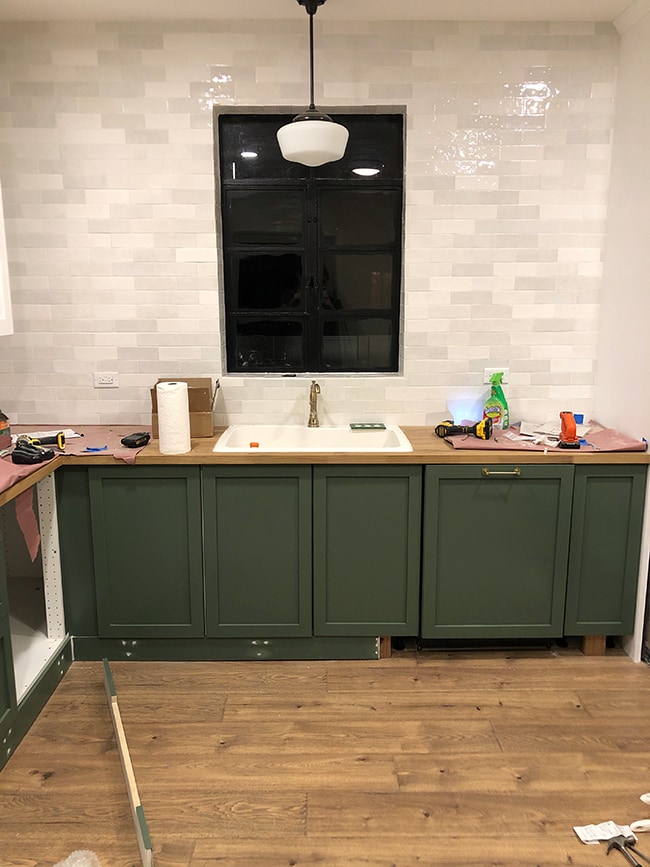
You can see the 2×4 blocks on the floor two photos above—those are braces for our custom toe kicks. I’ve always wanted to try this baseboard style, so we skipped the snap-on Ikea toe kick and added inexpensive primed pine 1×6’s (ripped down to fit) instead.
The floors are not perfectly level and the gap under the cabinets is uneven around the room, so the height of each board had to be measured and ripped down separately.
The gaps still aren’t perfect, so we plan to add base shoe molding along the bottom to finish it off.
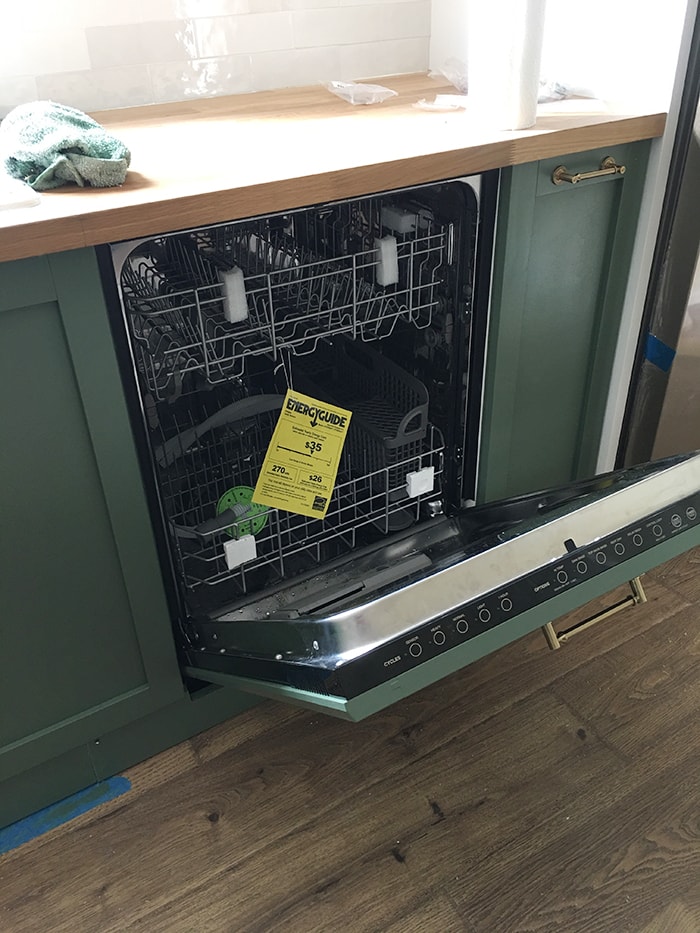
See the dishwasher to the right of the sink? We opted for the panel-ready Ikea Spolad (during their kitchen sale) to minimize the look of appliances and streamline the cabinetry. Sounds nice, right?
Except the dishwasher is deeper than the cabinets so it sticks out about 3/4″ past the other doors. So frustrating! We’re going to Ikea this weekend to ask them WTF. Unfortunately there’s nothing we can do, so I’ll have to be okay with it.
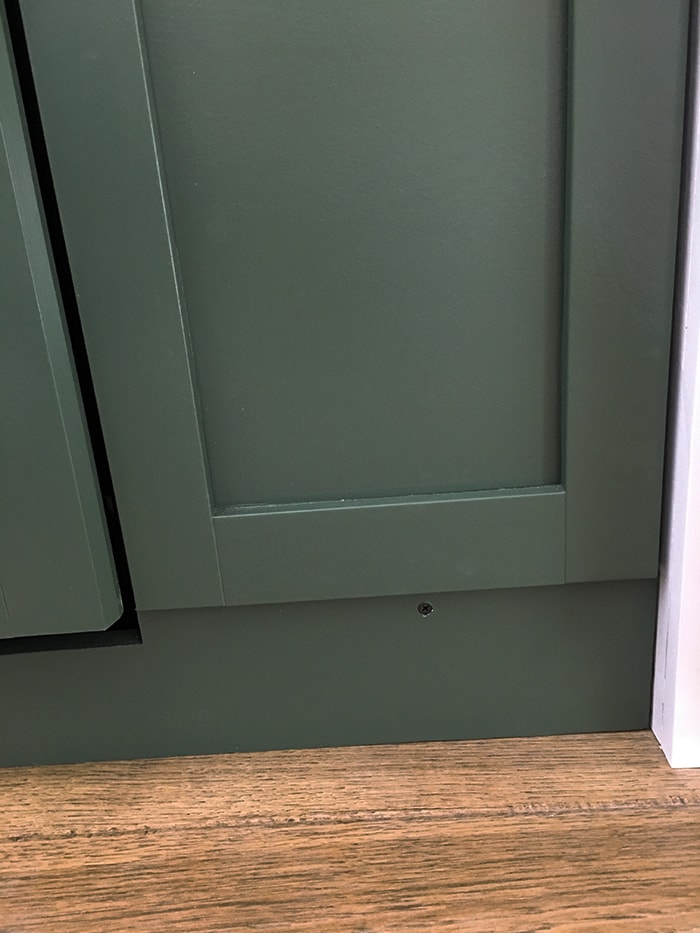
In order to have future access to the dishwasher (in case of any repairs) we decided to split the toe kick into two sections, with two screws to access the dishwasher side.
You can see the screws up close but they aren’t distracting (they still need to be painted green).
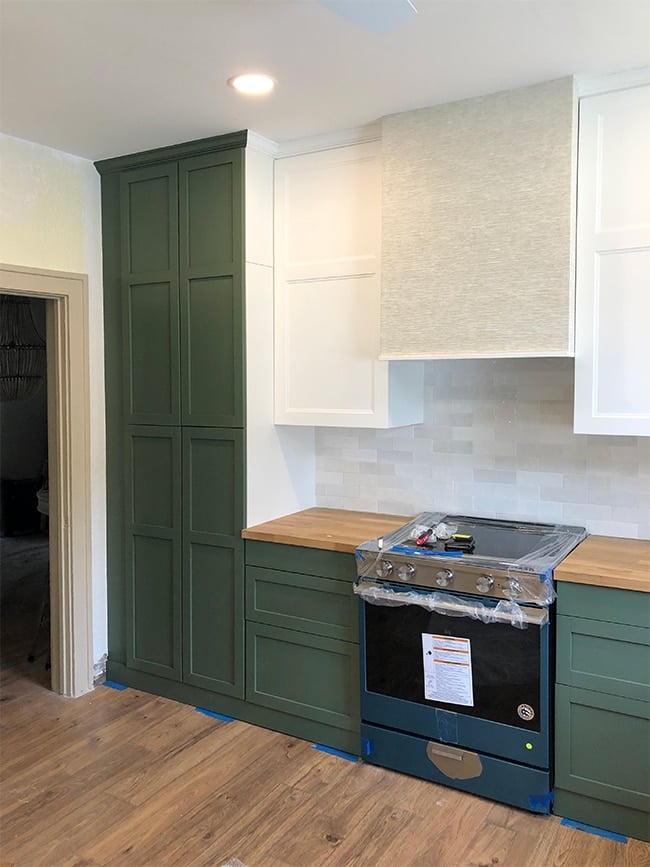
While the dishwasher was a fail, the stove is in and looks great—and I just noticed it’s 47% off right now! We paid $1994 so this is a crazy good deal (sale ends tomorrow!)
Here’s another angle of this side. Originally I intended to paint the sides of the pantry cabinet green as well, but these are melamine foil Ikea cabinet boxes, not exactly paint-friendly. We could try lightly sanding (maybe?), priming and painting, but there’s still a very high likelihood of the finish scratching off and that would be a nightmare to deal with (especially in a rental). I don’t think it’s worth it in this scenario—especially with how behind we are on our timeline. Plus, it doesn’t look as bad as I thought it would.
In other news, I’m loving the way these handles look (they’re on sale right now, too!)
I’m starting to see the light at the end of the tunnel…
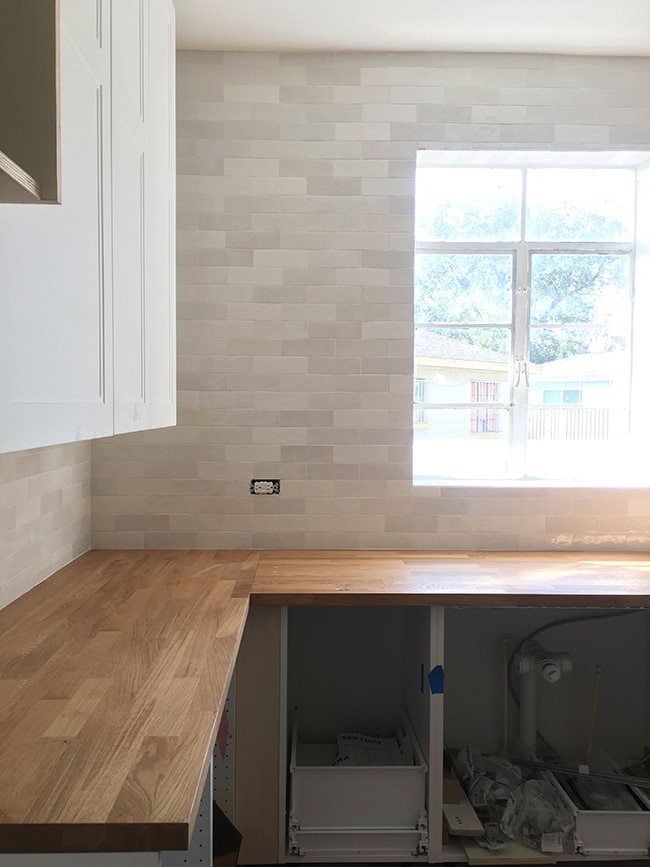
There’s still a handful of things left to do—including installing shelves around the window, replacing the faucet, adding base shoe molding, painting, and fixing that pesky water leak.
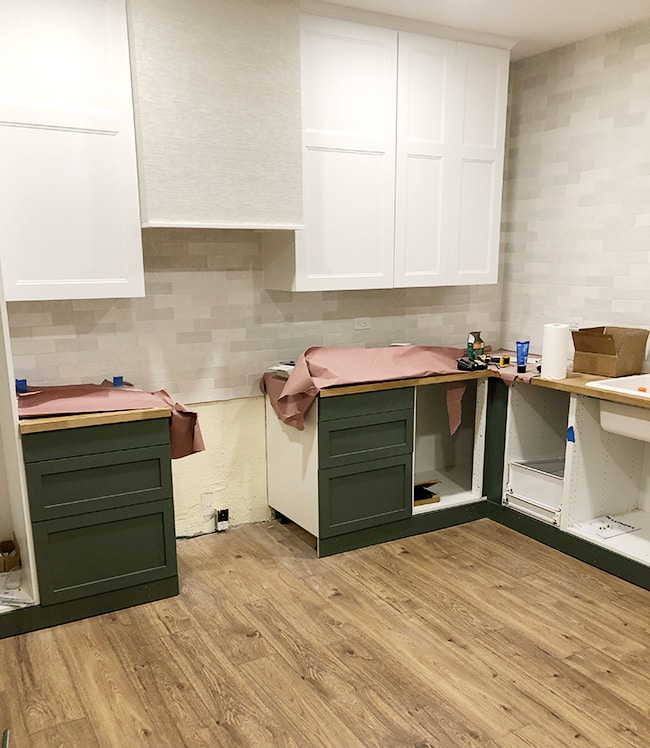
Here’s the other side of the kitchen, in case you were wondering. I think we’ll be DIYing a large chalkboard on this empty wall.
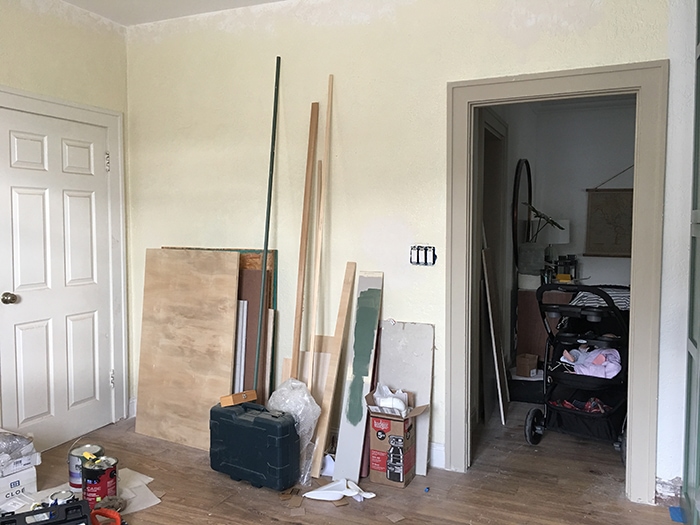
Here’s the fourth wall (with the water leak). We still need to paint the walls and baseboards, and also replace the door to the laundry room to match the rest of the house (this may have to happen after the reveal).
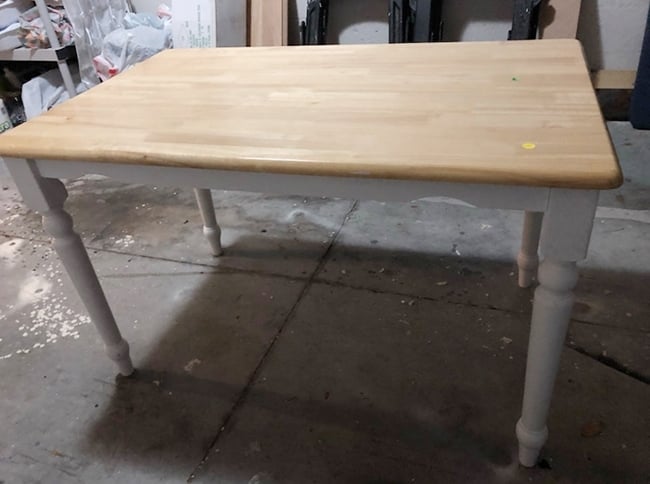
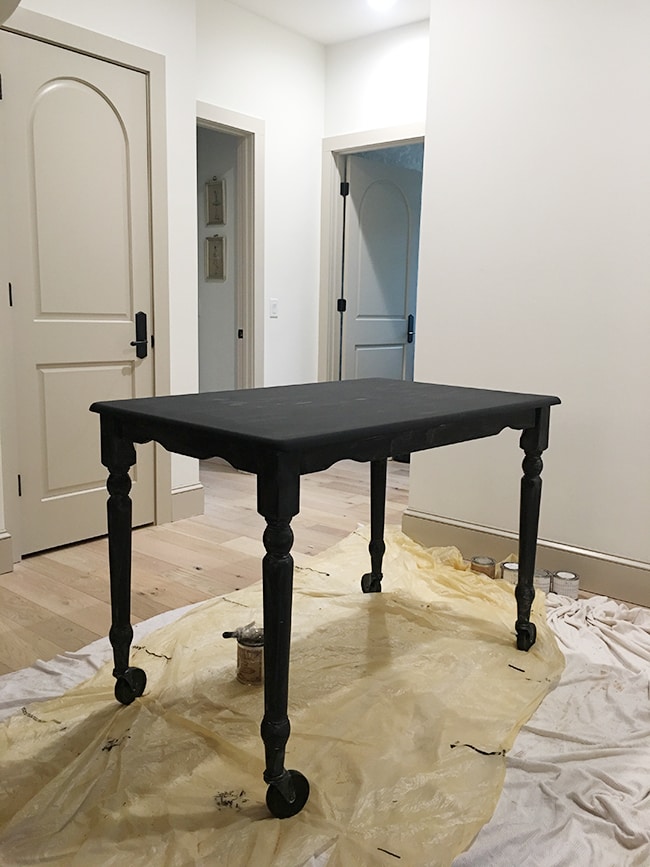
There isn’t much counter space in here so it makes sense to add an island, but it has to be small and most importantly, budget-friendly. After lots of searching and brainstorming, I negotiated this table down to $50 on Letgo.
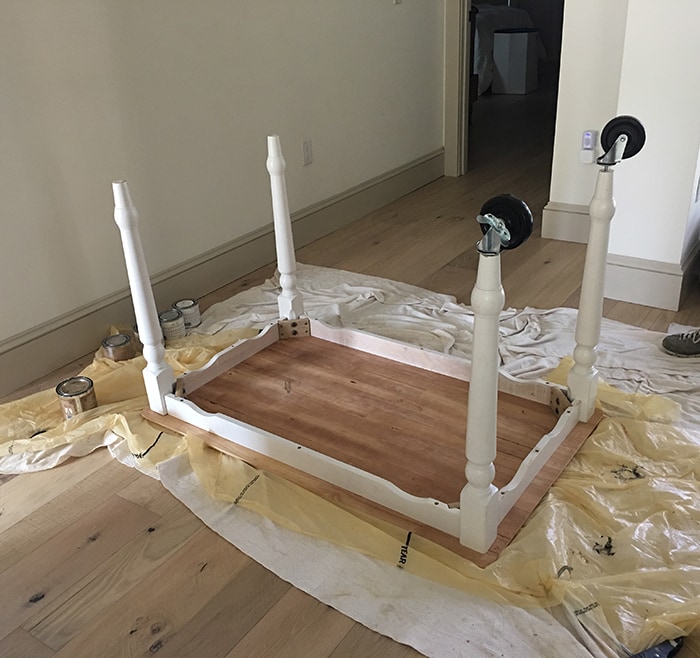
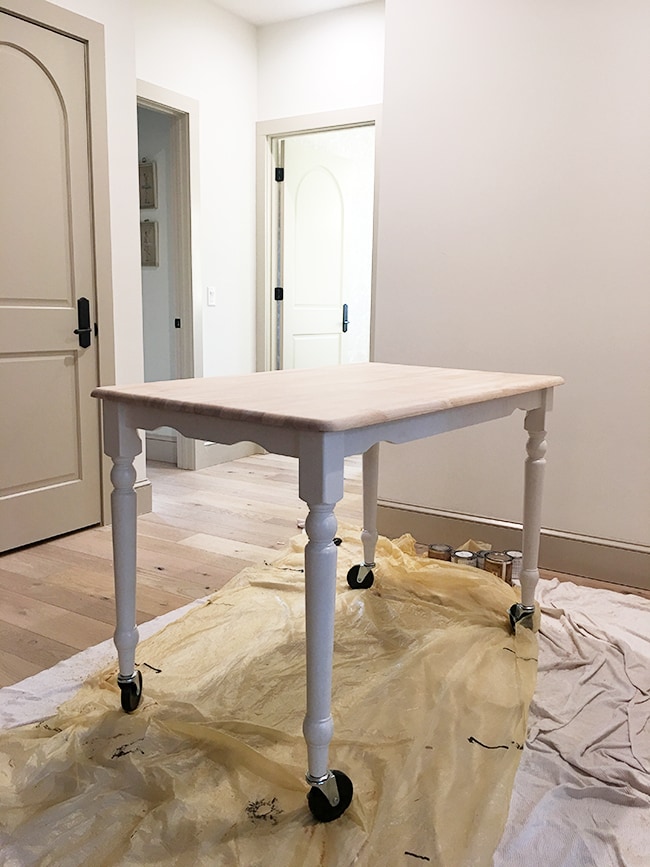
In order for it to be the right height (kitchen islands are typically counter height) I elevated the table by adding 4″ caster wheels:
And then painted it my favorite color—black, of course!
I gave it three coats of Maison Blanche’s Wrought Iron (the same black paint I use on all of my furniture) and will be sealing it with their satin varnish. I’m also eyeing these $50 bar stools to keep underneath for seating. And everything will sit atop my favorite rug of all time, which was just delivered last night. I can’t wait to be done with this renovation already!
And now you’re all up to speed on where we are at. This is the busiest time of year for us between my shop orders, Lucas working longer hours at his day job, Christmas decorating, spending every night and weekend on this kitchen renovation, and full time parenting a three month old who doesn’t sleep through the night. I’m really looking forward to the calm of that last week of the year when the world unplugs to enjoy the holidays.
Hopefully, this will actually be the last kitchen update before the reveal ? We’re like Santa’s elves over here, trying to make it all happen before 2020!
Next up: Christmas at the Heights House, Part 1. If you aren’t already, make sure to follow me on Instagram for live updates as we jump back and forth between projects! ‘Tis the season…












Anne Bauman says
Jenna, saw the reveal and it’s pretty dang incredible. We are currently installing our Ikea kitchen (and customizing the heck out of it as we go) and I AM SO GRATEFUL that you shared about the dishwasher depth. All of the displays at Ikea have it flush?! but when I asked the kitchen designer, she said that yeah, it sticks out the amount of the added cabinet panel. WTF?! So since you shared and we’re now aware, I’m going about the installation differently and will add 3/4″ behind the cabinets all around our Spolad dishwasher so it appears flush (which causes issues with our end panel but I’ll figure that out later…haha). I know it’s sometimes sucky to share the not-fun parts of renovation, but in this case, it really is helping us out and we’re so grateful!
Jenna Sue says
Seriously, that is so messed up of them to falsely advertise! I’m only letting it slide because it’s a rental, but if it were our own kitchen, we’d have a big problem! I’m so glad you found this blog post before installing your cabinets. Sheesh, come on, Ikea!
Margaret Dixon says
The kitchen is gorgeous! You have such an incredible gift. Thank you for sharing it with us. I am always using your recommendations.
Ashley @ Life with Kids Blog says
Jenna!! It looks absolutely beautiful! So crazy about the dishwasher, but thank you for letting us know. We’re thinking about doing an ikea kitchen in our rental and I’ll keep this in mind.
I was remembering that the leaky wall is shared with the laundry room….is the washer on that side? Maybe that could be the culprit?
Jenna Sue says
We checked but it is not! It appears to be some old plumbing from the original house. We decided to just go ahead and replace the entire plumbing system.
Carolyn says
It looks great but you just depressed me.
I think my cabinets are melamine and I’m dying to paint them (pickled oak peachy pink). But if Jennasue is scared to paint melamine I’m discouraged?.
Can’t wait for the reveal!!!!
Mary says
That is such a beautiful green!
pris says
I’ve been enthused about following this kitchen update as we are “considering” ikea cabinets. I’ve had custom cabinets before and nothing beats them so well see..just wanted to see if it was as much of a nightmare for you all as I read on reviews about ordering and the installation of these ikea cabinets.. anyhow you said your 3 month old doesn’t sleep through the night, if anyone tells you that they should, dont listen. All babies are different! My FOUR year old is finally staying in her bed all night FINALLY. And my 10 month old wakes me up anywhere from 4-6 times a night. I depend on prayer to get me thru some days but as much as they say this too shall pass, when you are in it, it feels like it passes like a kidney stone lol Hang in there! Projects are awesome! Been following you for a long time now!
Jenna Sue says
Oh man my heart goes out to you, mama! If you can manage that, surely I can survive my 1-2 night wakings 😉 Ikea cabinets are not the easiest to work with, I’ll be honest, but we did save quite a bit of money and got the custom results we wanted.
Teddee Grace says
This sounds as if it was one of THOSE projects, especially under the circumstances with everything else you have on your plate. I’m worried about the leak. That looks like mold to me. And I think I’d have to figure out how to paint the side of the little broom closet green. Otherwise, I know it will look lovely once you’ve finished. Happy holidays! And try to get some rest!
Abby says
Wow, this is looking so good! I apologize if you covered this elsewhere, but can you talk to me about your decision to use two different, but similar, styles of cabinet doors? I noticed the white ones are different from the green ones. I’m actually really relieved to see that and see that it looks good, because I think we are going to need to do that in our master bathroom renovation…between the linen tower storage and the vanity doors. Also, what color green did you use?
Jenna Sue says
We used the Torhamn (base cabinet) doors because they’re wood and could easily be painted (BM Peale Green). Then I just chose a simple white door style I liked for the uppers. I don’t think they have to match at all! You can see more about the painting process in the previous renovation posts linked in the beginning of the post 🙂