We just conquered a huge milestone in the nursery and I couldn’t wait to share our excitement! If you haven’t been following the progress, make sure to get caught up first:
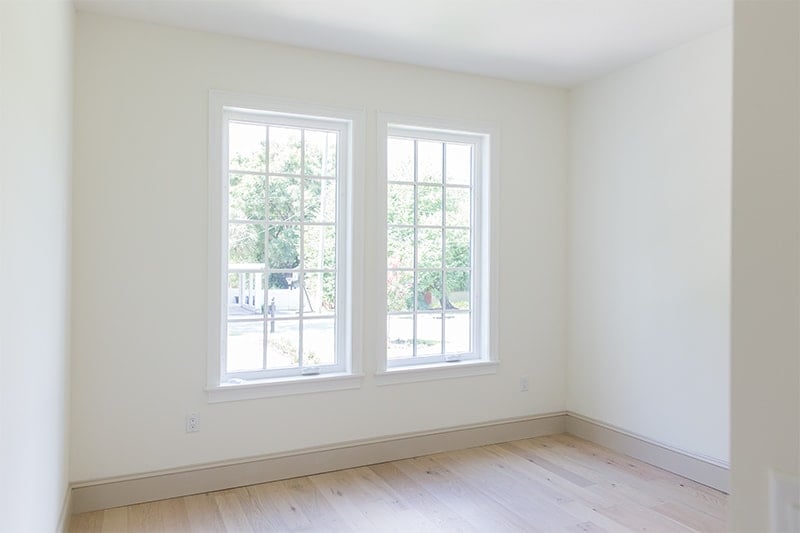
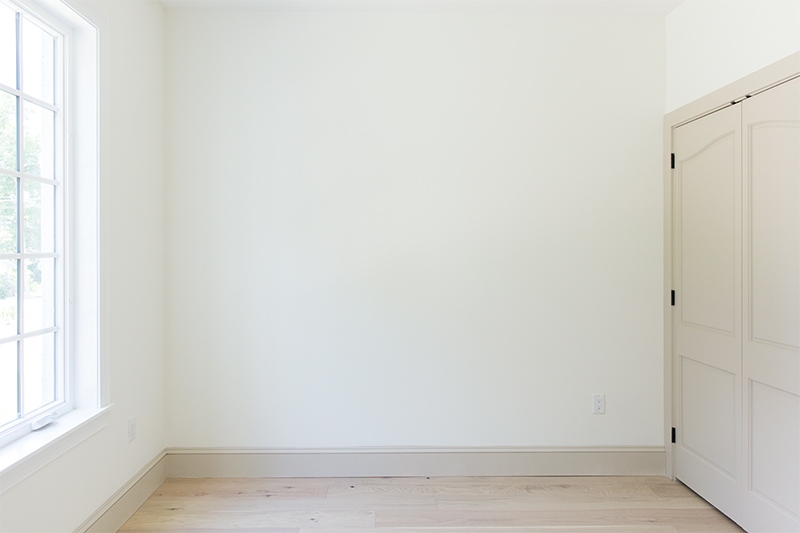
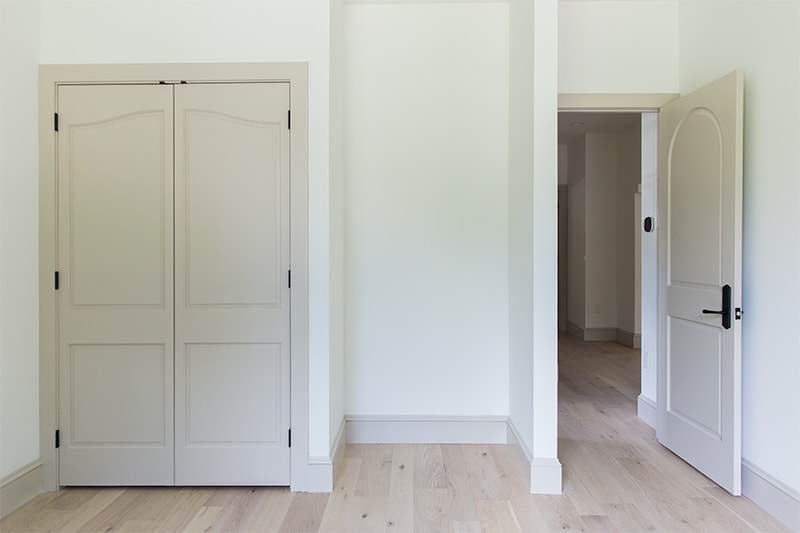
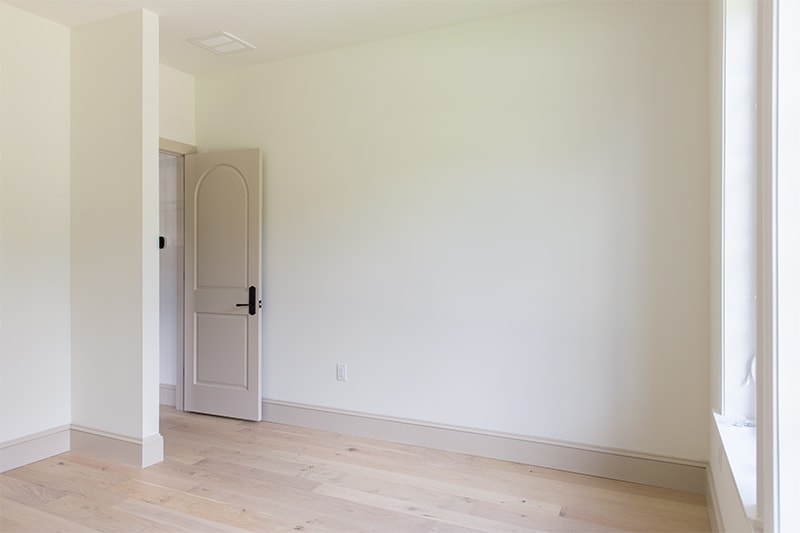
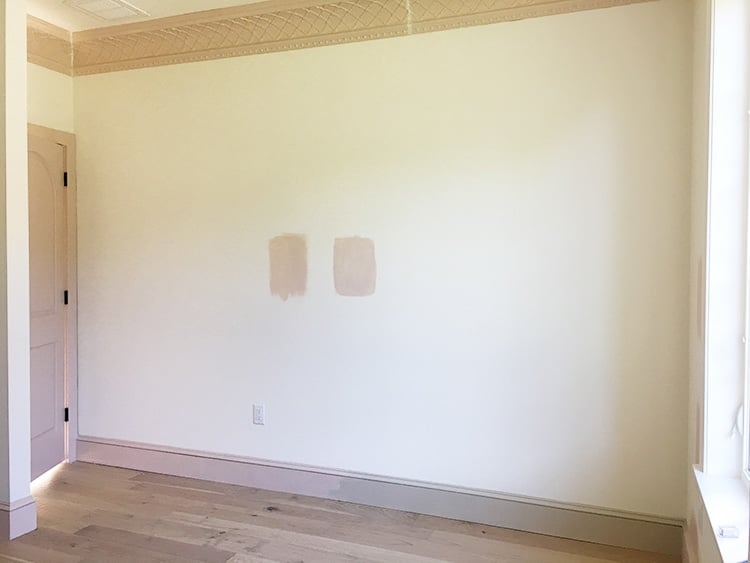
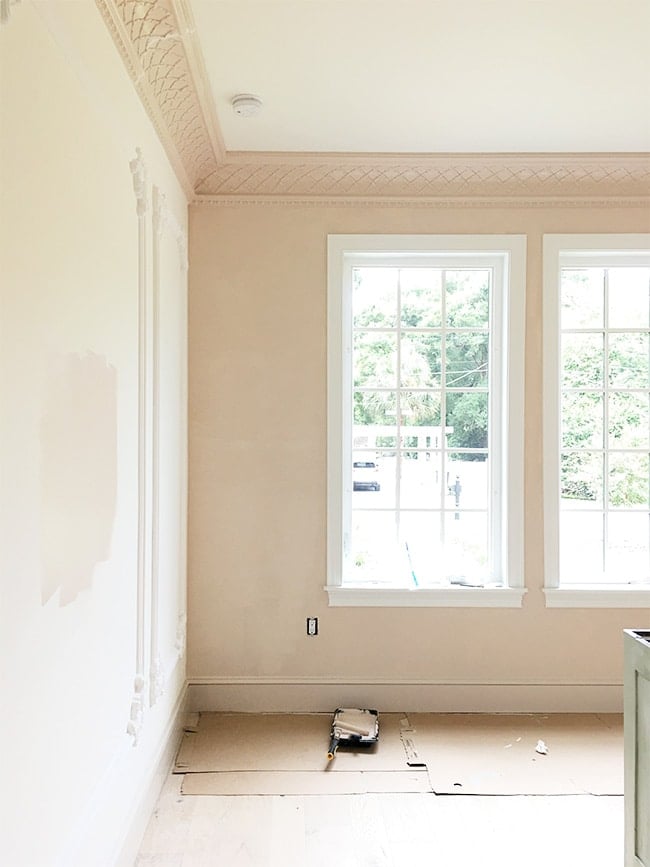
As a reminder, here’s how the room looked a couple months ago:
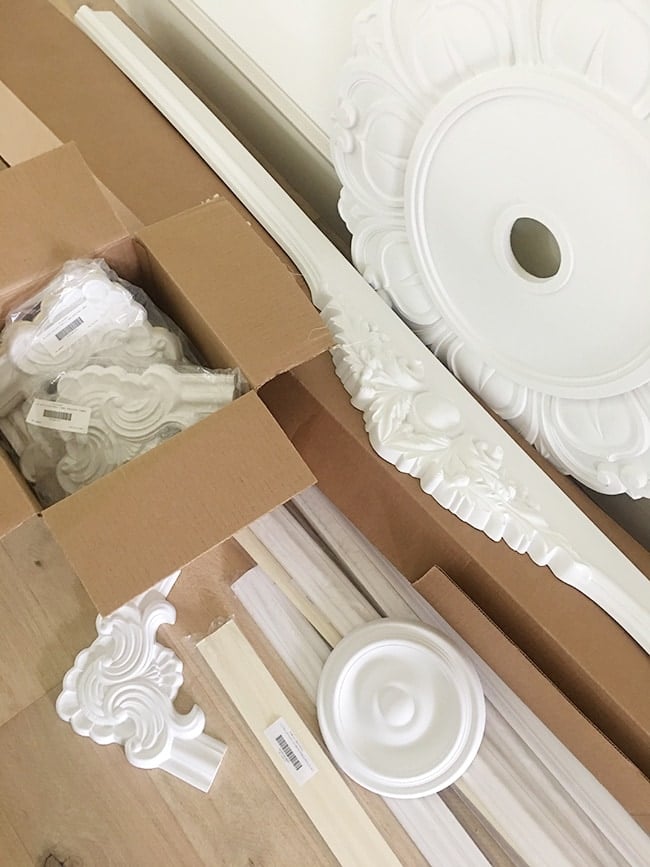
Shortly after completing the closet makeover, a truckload of boxes of fancy molding arrived from Ekena Millwork and we set aside a weekend to tackle as much as possible.
Spoiler alert: I’m not taking a minimalist approach here—I’ve been dreaming about designing this room for years and stockpiling ideas to make it extra special for this sweet girl I’ve waited so long for. Nurseries and kids rooms are one space you can have more creative freedom with and I’m taking full advantage—bring on the decadence!
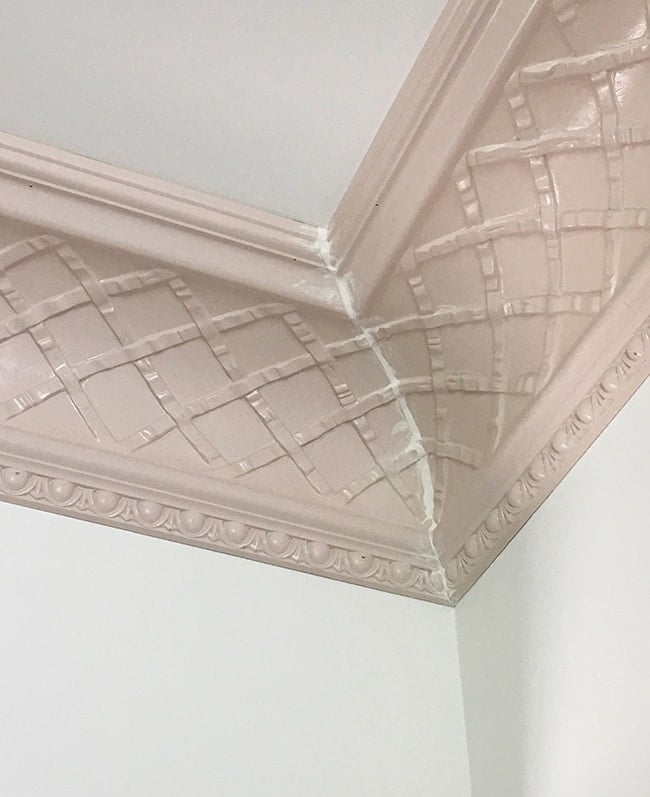
Starting with the crown molding…
I used a tape measure to visualize the size before ordering, but even I was a little taken aback by just how large it was in person. 12″ crown is not something you see every day! Fortunately the size isn’t too overpowering for our 9’4″ ceilings, and makes the room feel even taller.
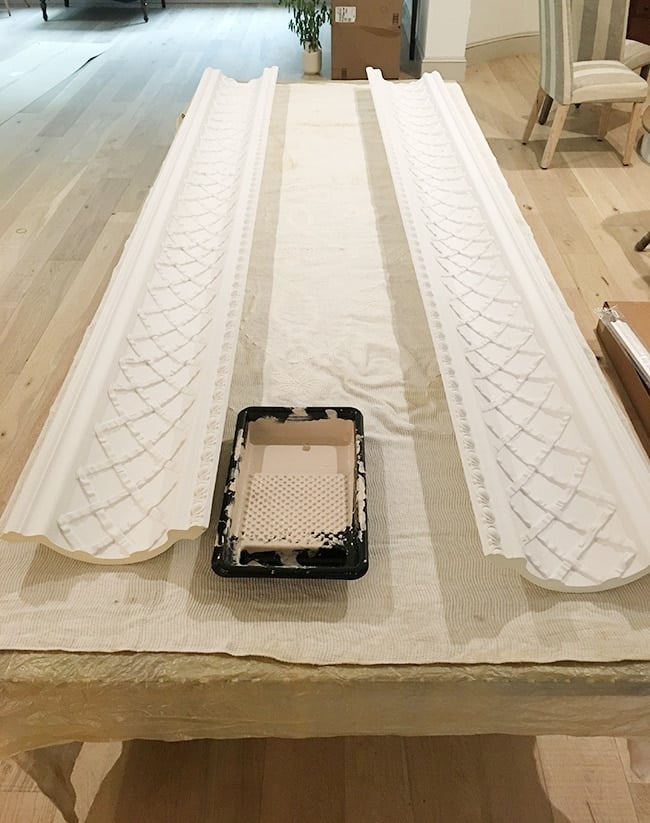
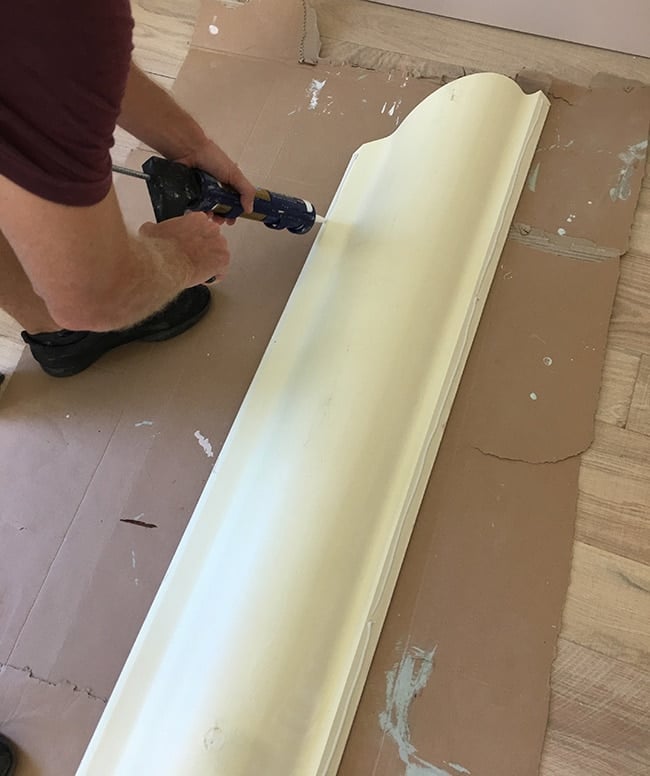
Before installing, we painted all eight 8′ pieces (SW Malted Milk in satin) because it’s easier to do on a table than above your head while standing on a ladder (especially with all those little details!)
We set up our trusty 12″ Dewalt miter saw and attempted to make the first cut the same way we normally install crown molding… then quickly realized we were in over our heads. The crown was too big for the saw, and there’s no way we could clamp or hold it perfectly still while cutting.
There may have been some hormone-induced tears immediately after this attempt, followed by calls to every local master carpenter I could find. Turns out there’s not many qualified carpenters nearby who had the time or capability to do the job, and the one quote we received came in at over $1000. NOPE.
After wasting a week trying to figure out a Plan B, my sweet amazing talented husband said not to worry, and that he’d figure out a way to make it happen. He then spent nearly every evening after work for the next two weeks pulling off a modern day molding miracle.
I can’t even attempt to share a tutorial for this one (you can find my regular crown molding tutorial in this post). Lucas drew up plans and thought he had the angles figured out, but every corner and angle was different (yes, even with new construction walls!)
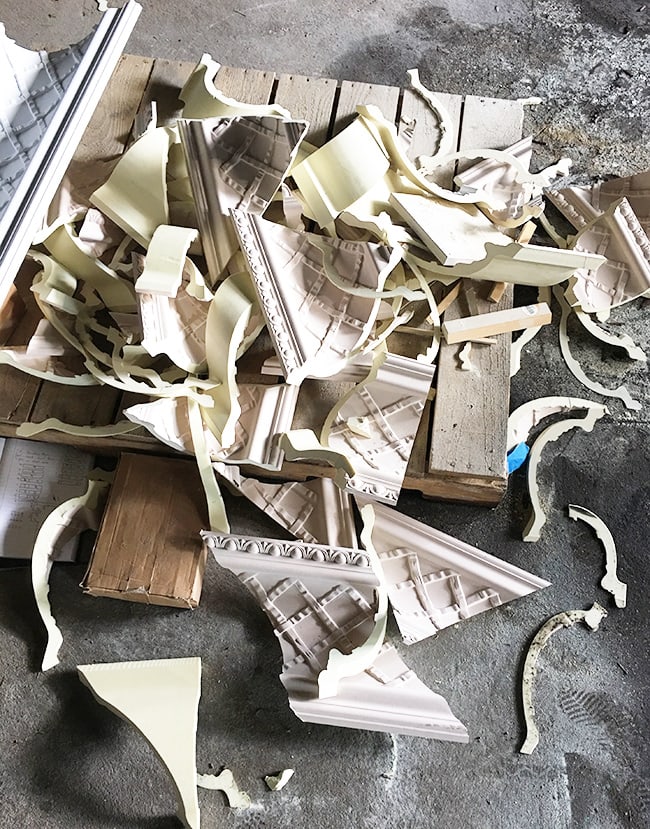
The bad cut graveyard says it all.

Apart from the challenge the sheer size presented, the pattern had to be matched up perfectly as well. This resulted in a good amount of waste, and we ran out at the end and needed to order two more pieces (shout out Ekena for being so prompt and understanding!)
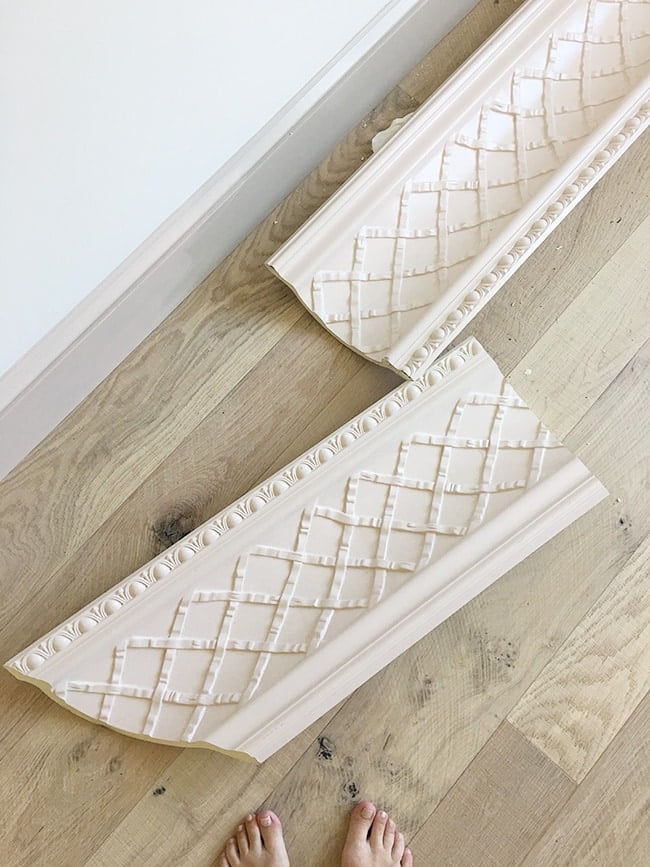
Thankfully, this urethane molding is super lightweight and so easy to work with—we’ve used it for tons of projects over the past year and it’s hard to go back to MDF/wood.
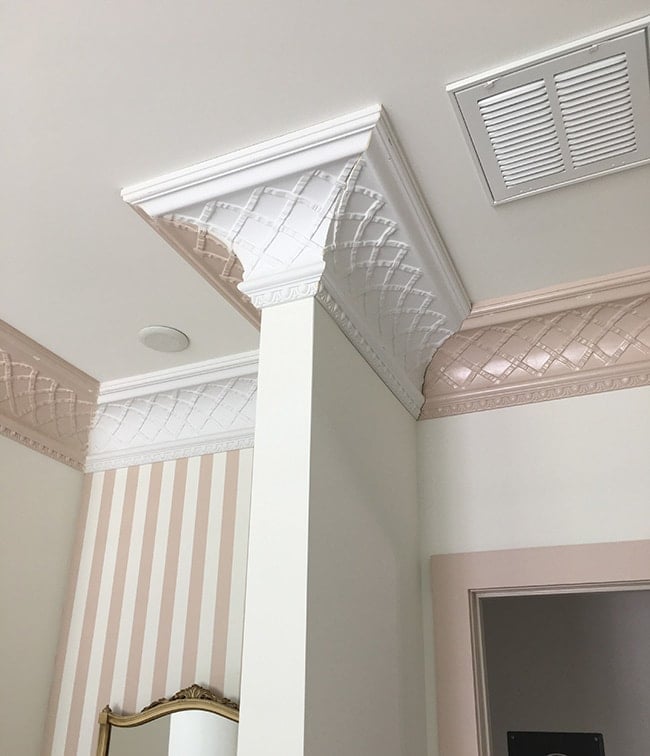
I mean… look at this work of art. These pieces didn’t line up at the corners but Lucas was able to file down around the edges and now you can’t even tell. Try doing that with wood!
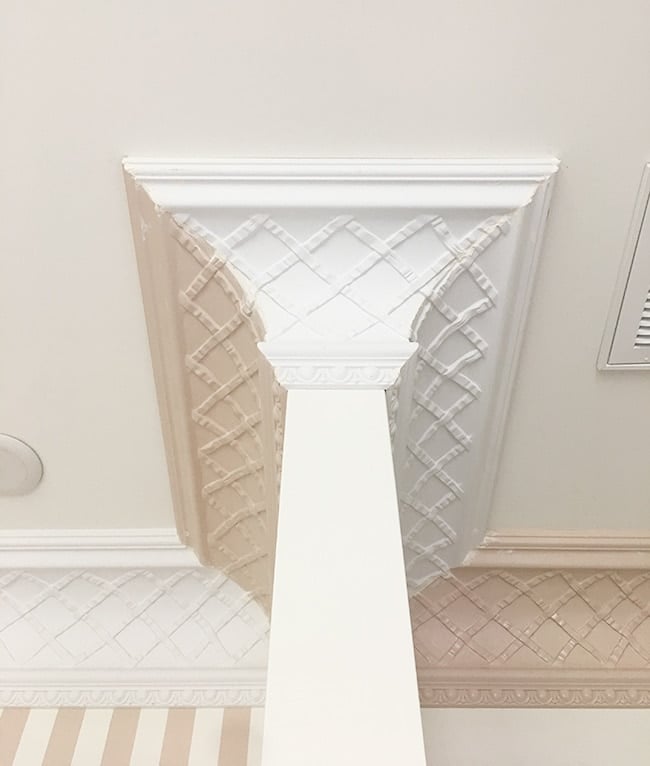
And any gaps disappear with a little spackle. Pro tip: wet your finger when you apply the spackle and it’ll go on super smooth, making it much quicker and easier to sand later!
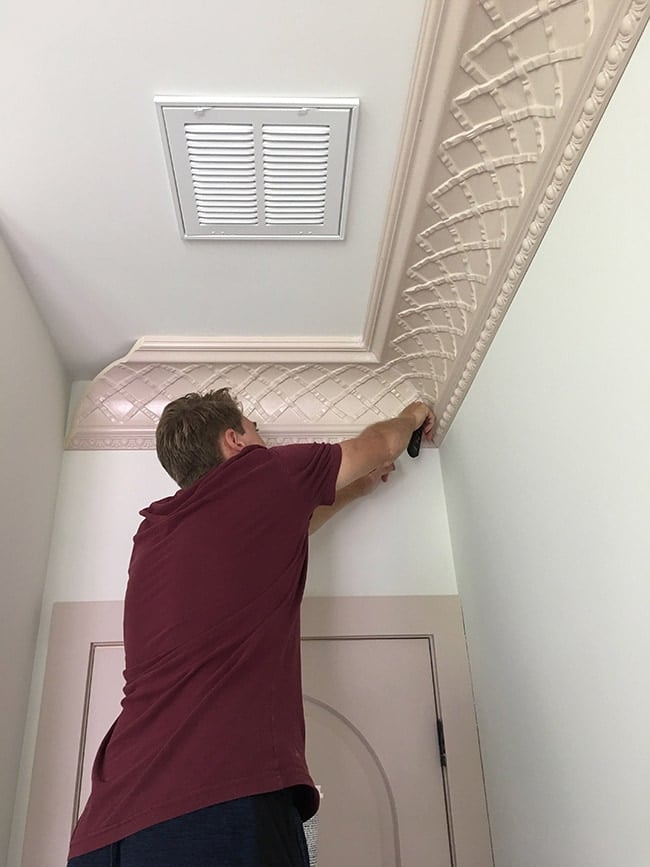
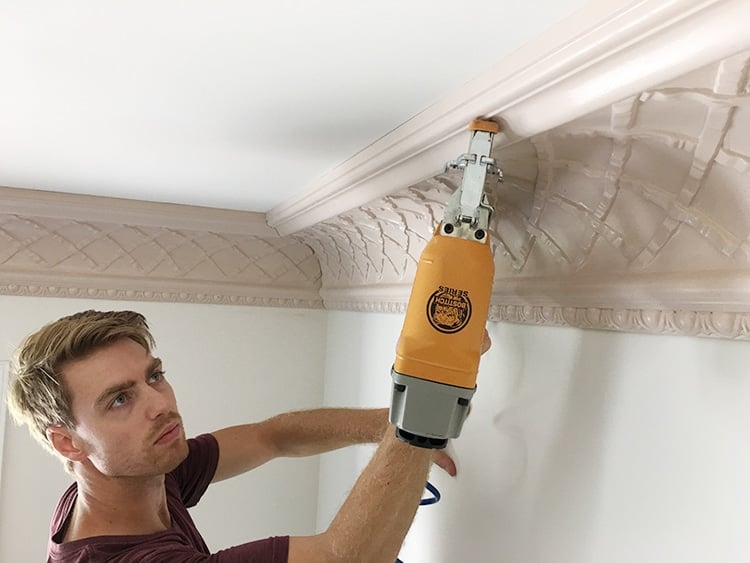
A bit of liquid nails on the back…
Followed by a few finish nails is all it takes to secure it.
You can bet we were happy dancing all over the room once the last piece was in. Crown molding expert level status unlocked, VICTORY IS OURS!
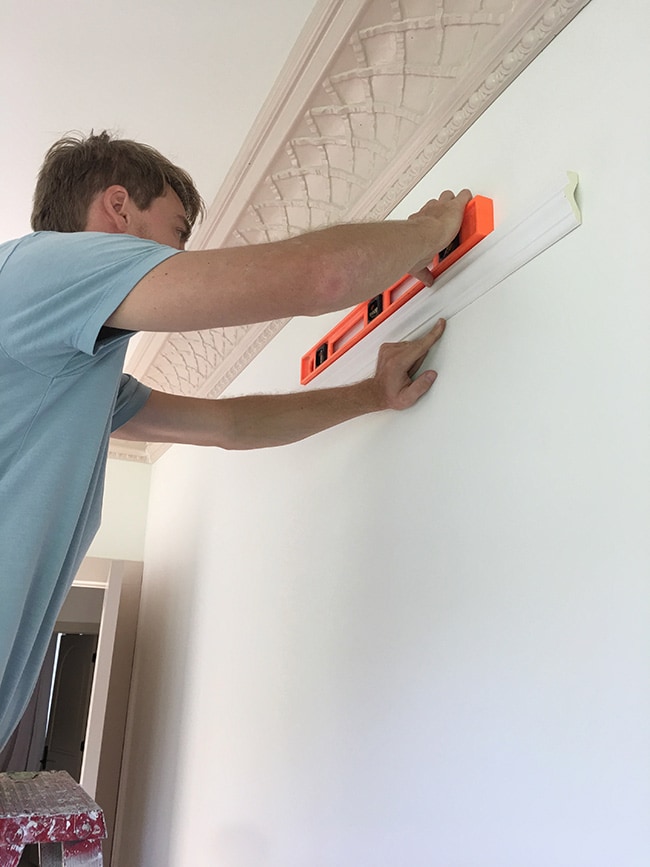
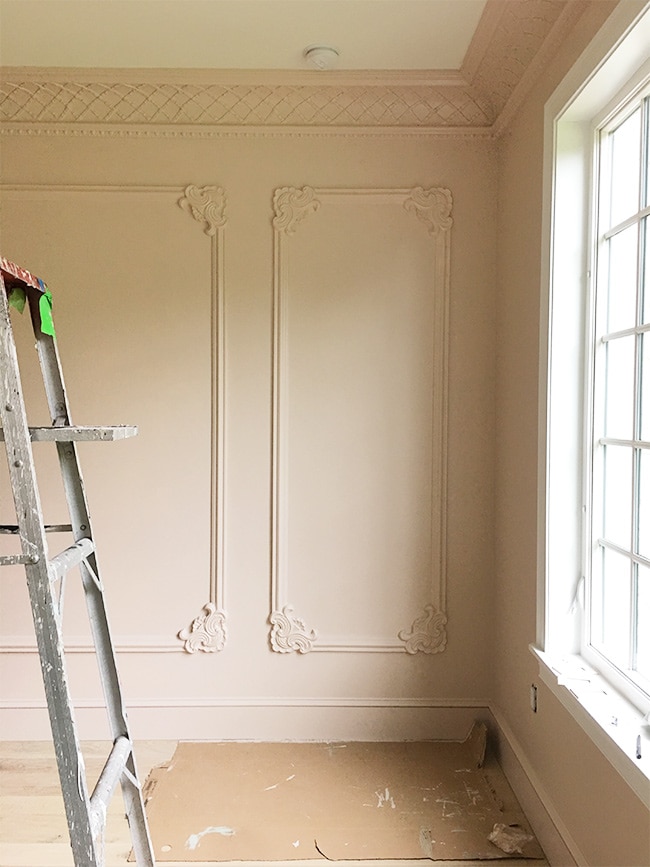
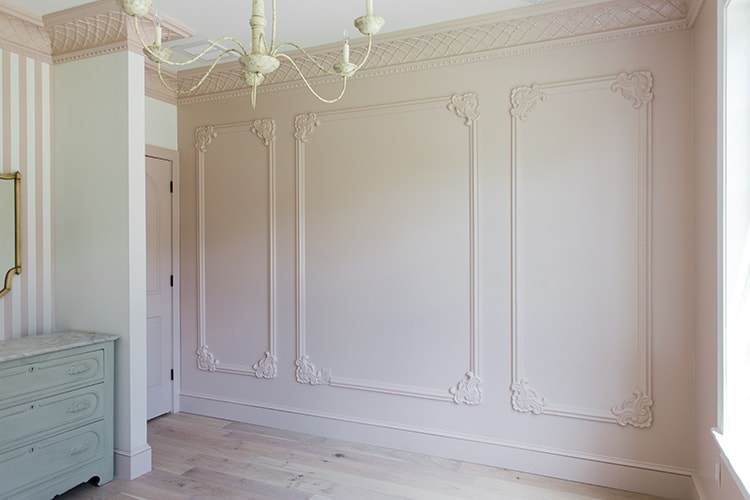
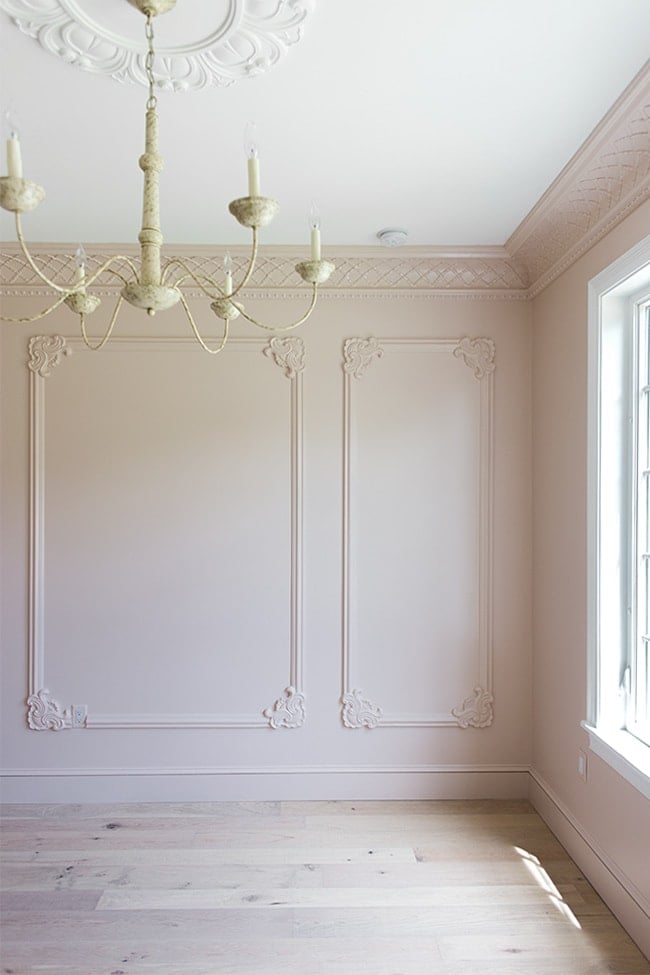
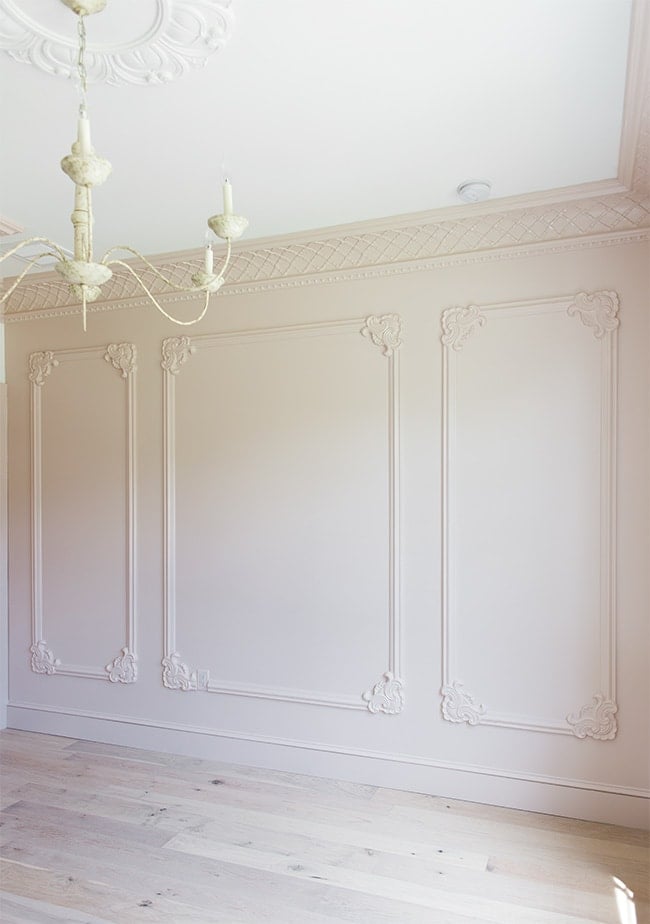
With the biggest challenge out of the way, we moved onto the wall molding. I came up with the idea of transforming this wall with classic French inspired wainscoting using panel molding:
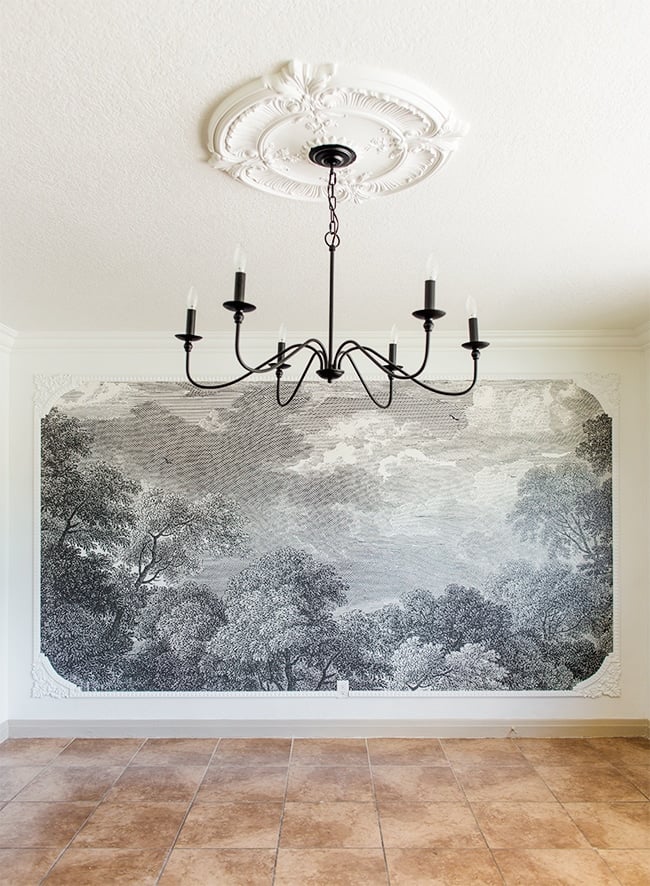
I love this option because it requires no modifications of your existing baseboard/trim, and the process is pretty straightforward! This is the same technique we used to frame our wall mural in the Riverside Retreat so I won’t go into detail again as you can find that tutorial here.
This time I chose a simpler trim style, using the Pompeii panel molding and matching corners.
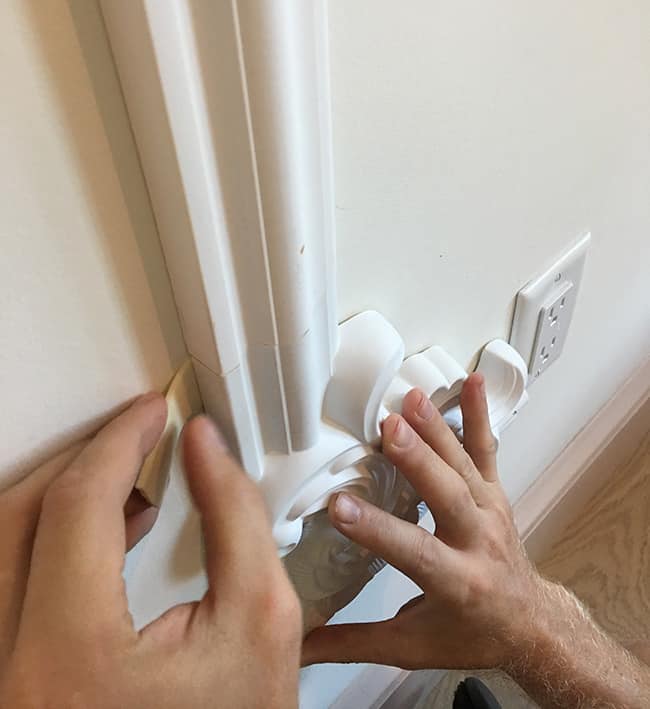
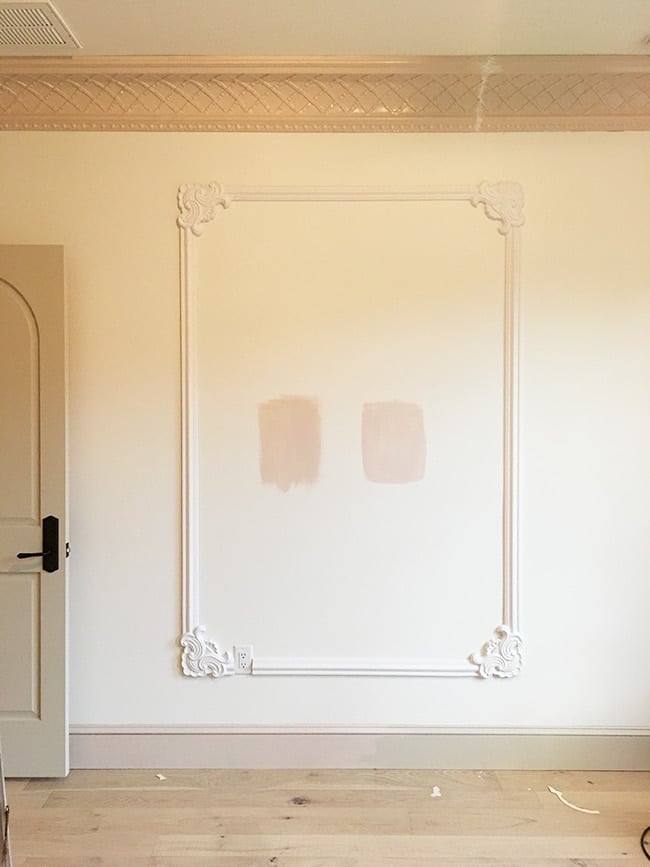
After drawing out the measurements and layout on the computer, we cut the molding to size and started with our center rectangle first.
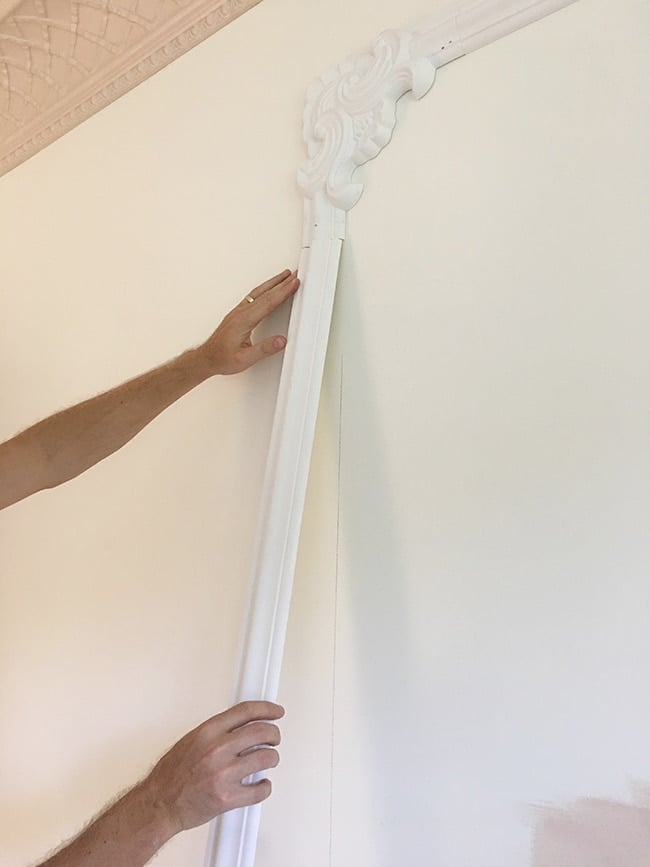
These pieces are the same lightweight urethane material and attach to the wall just as easy, with a bit of liquid nails and finish nails. The only tricky part is making sure they line up as seamlessly as possible, which means adding shims sometimes since the pattern doesn’t always match up perfectly between pieces.
I really enjoyed this part of the molding process (especially after the crown!) and it didn’t take us long to get our first panel up.
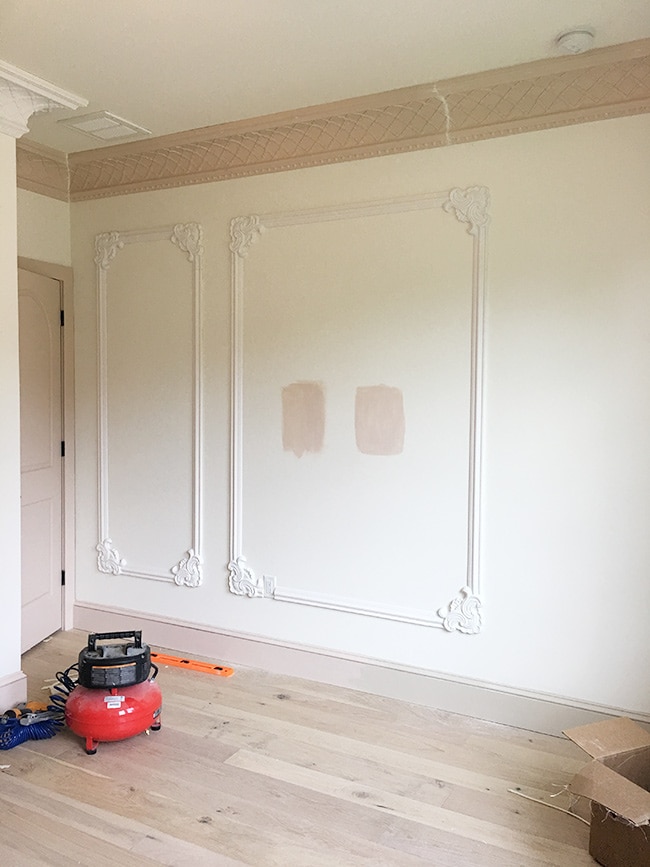
Next one up…
Last but not least!
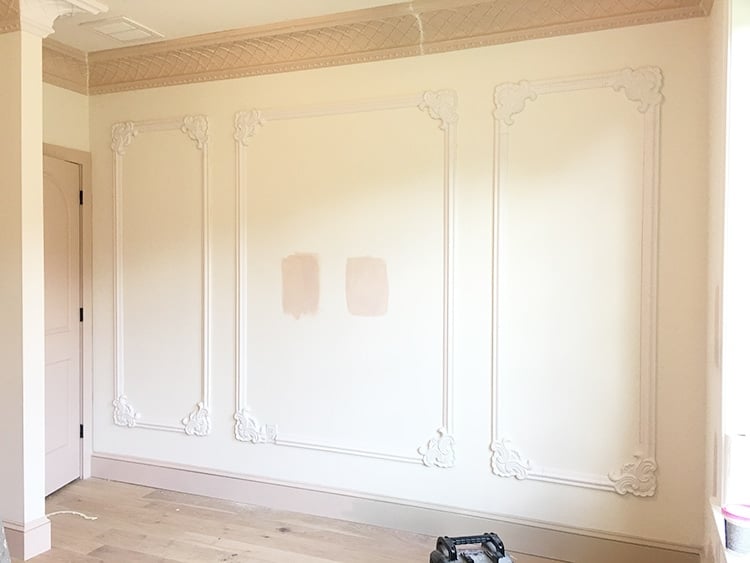
I spent all day Wednesday painting (whew, that’s an exhausting job at 8.5 months pregnant) but well worth the effort…
Isn’t Malted Milk the dreamiest color?
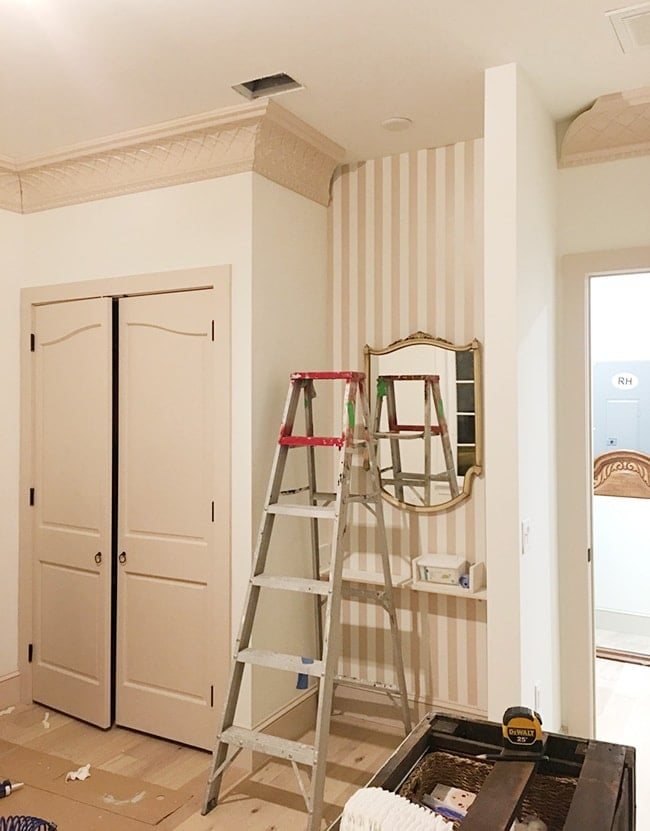
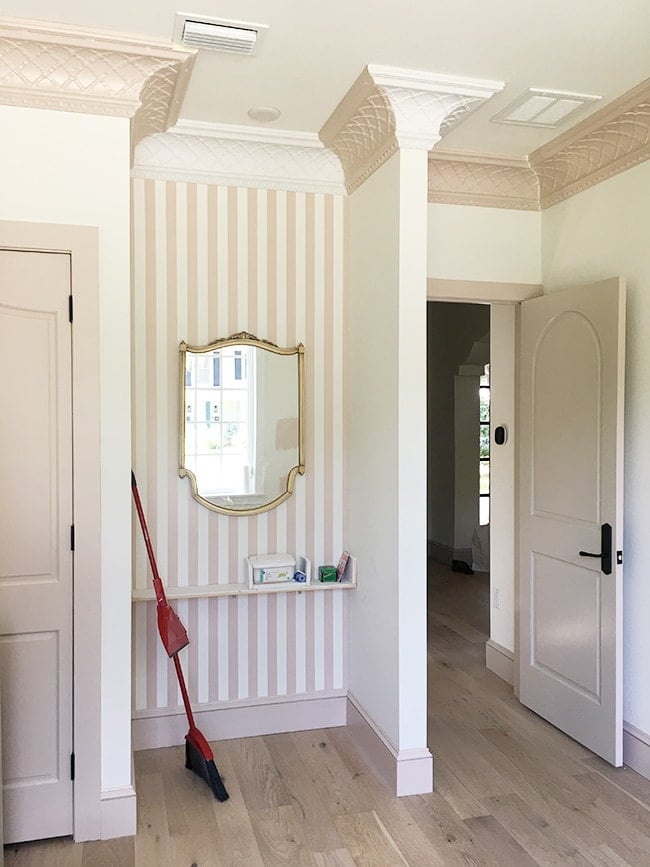
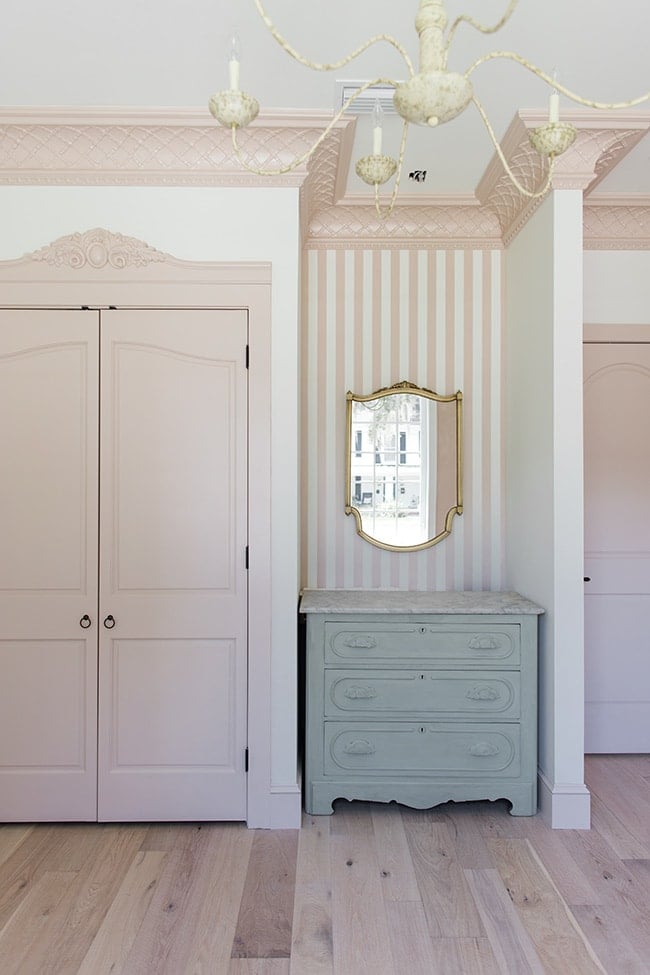
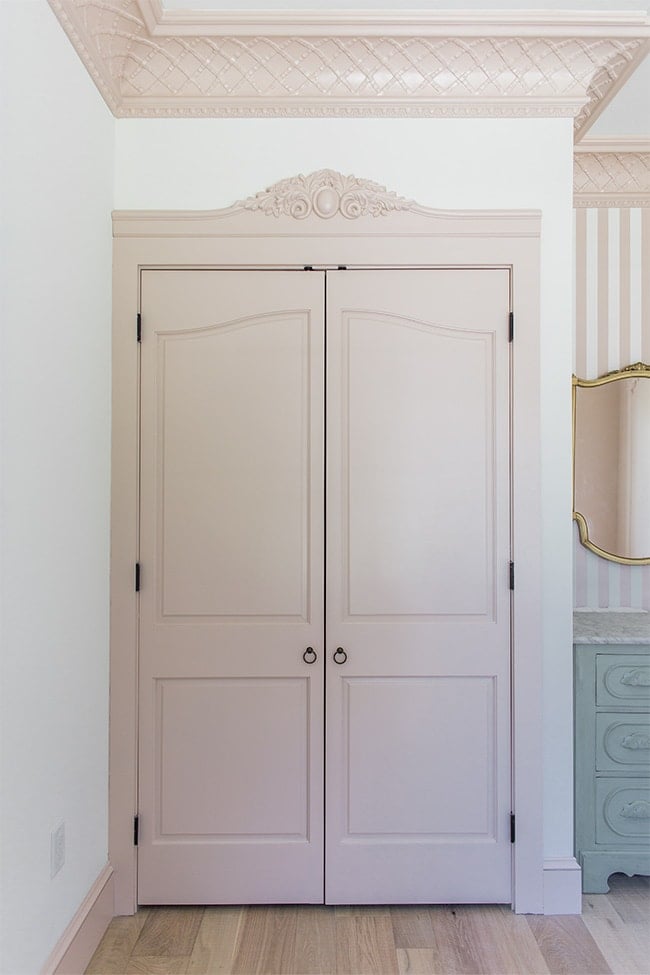
Moving right along… I wanted to do something fun above the nursery closet door, and found this gorgeous fascia in Ekena’s catalog. I knew it’d be perfect…
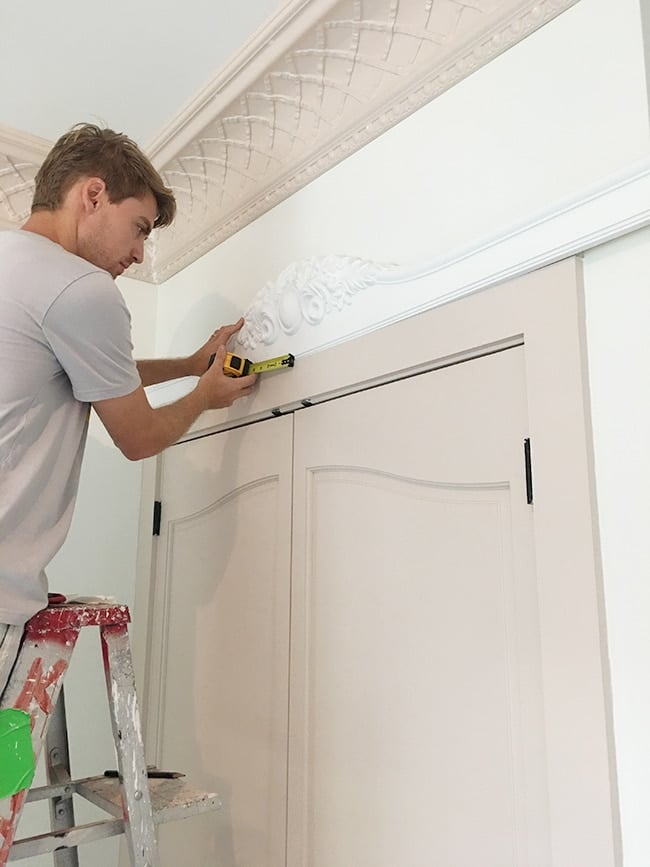
We cut it down to size, nailed it up and gave it a couple coats of paint…
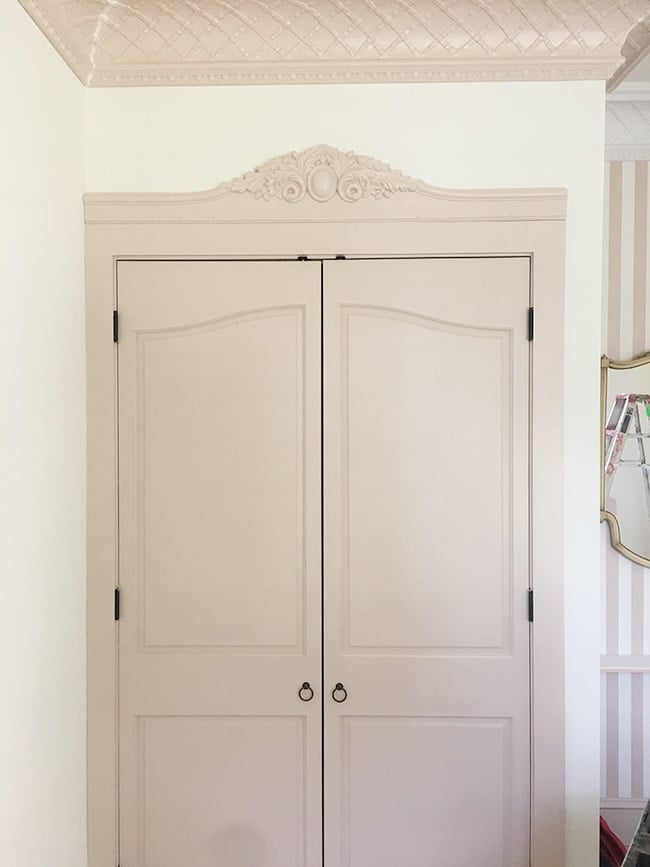
OBSESSED. Doesn’t it make the closet look like an armoire? I knew it’d be good but this might be my favorite piece of trim in the whole room.
Finally, it was time for the crowning jewel—the ceiling medallion:
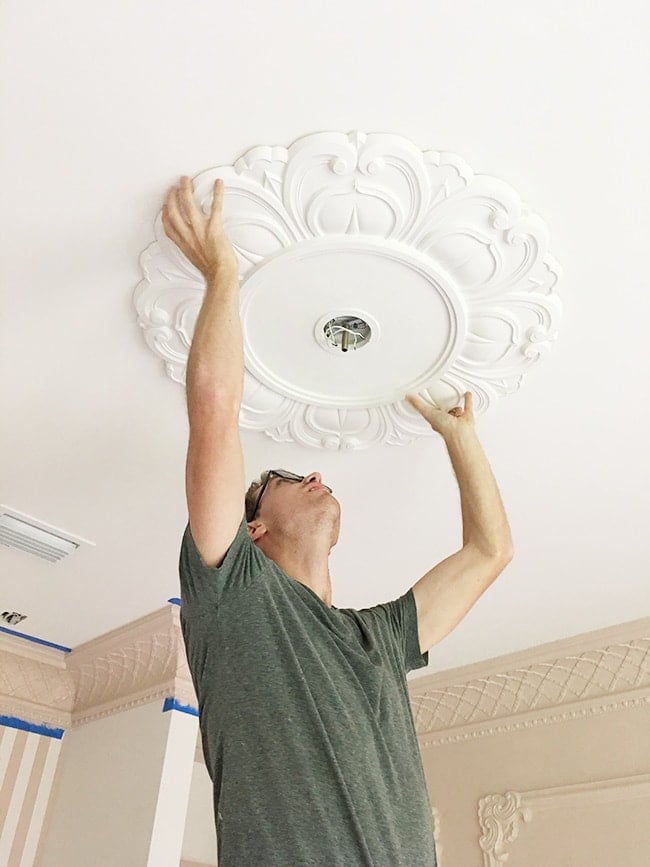
32″ of pure feminine gorgeousness! I painted it white to match the ceiling so it wouldn’t compete with the wall molding. And next came the chandelier—I ended up choosing the budget-friendly Wayfair option after everyone’s input in my Design Plans post!
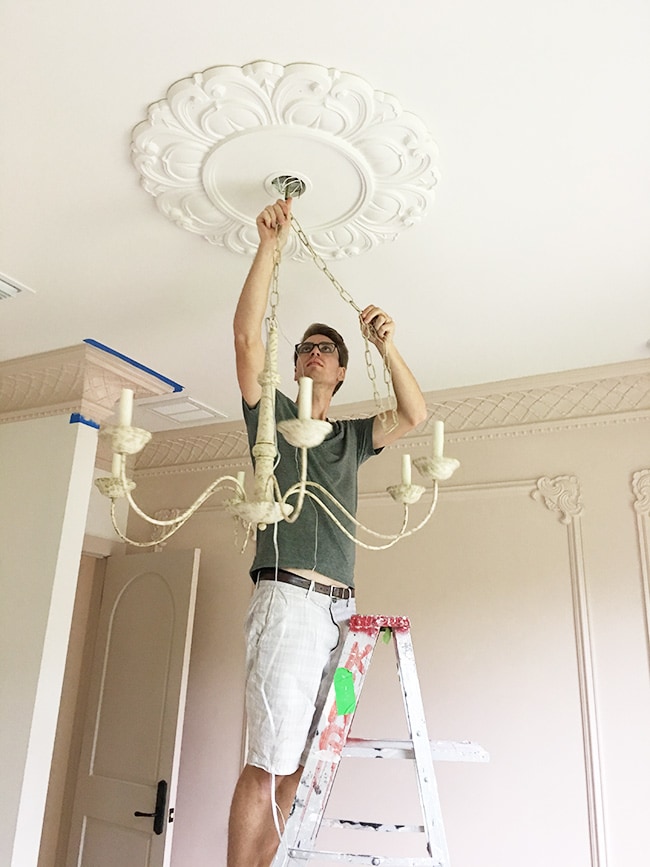
I like the rustic finish, but may coat it with a bit of gold paint to make it a little more glamorous. We’ll see how it looks when the rest of the room comes together.
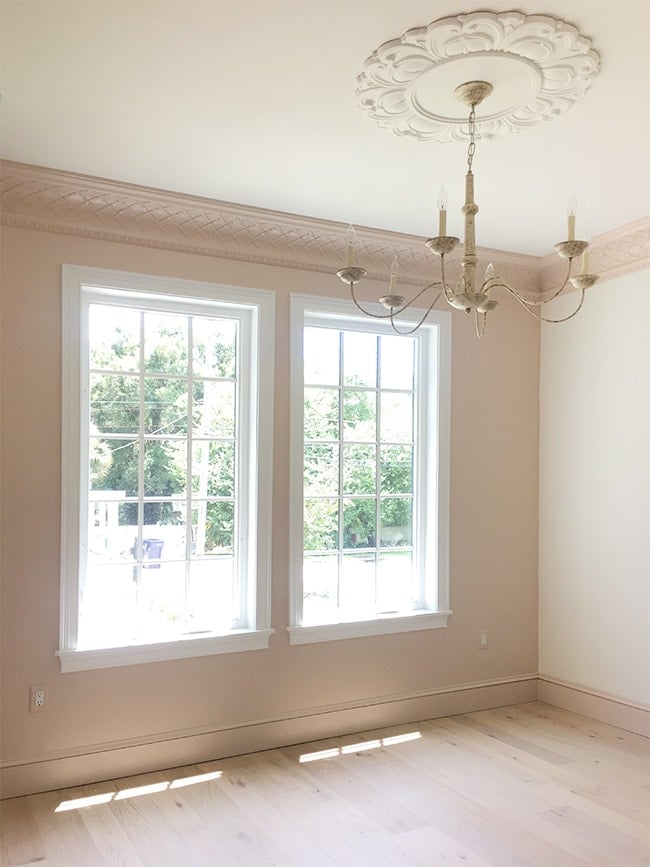
Here’s how the room looks right this minute. We’re 75% of the way there!
Our next big project is putting up a wall mural on the back wall, which will happen this weekend.
Then it’s a matter of bringing in the bassinet, rug, glider, curtains, table, mobile, artwork and hooks.

Hoping to get this room photo-ready by mid-next week!
Really cutting it close with this due date here, but I have a feeling baby girl is in no hurry to arrive.

Fingers crossed she stays put two more weeks so we can wrap up a few more projects and maybe relax for a day before she gets here. One can only hope for the perfect timing, right?
One day at a time… tune in next week for the Riverside Retreat bathroom reveal!


Michelle says
So gorgeous and so inventive, as always! Your eye for detail is unsurpassed, Jenna. And I saw the mural on IG and swooned all over again! Wow is this room so so completely designed and thought out for every detail. She’s a lucky girl!
Jessie says
So beautifully done! You are both are very talented. I’m telling you, you guys should have your own TV show?.
Angie says
I am blown away by your vision for this nursery. It is gorgeous! I can’t wait to see it finished.
Gina says
Wow! Another beautiful room! That is one lucky baby girl.
Nancy says
This room takes my breath away. It’s so beautiful! I wish it was my room! What a soothing space for your baby girl.
Margery says
I’m enchanted by the room and admiring of the talent and skills that brought it forth. Cheers to the two of you!
janet says
You really did meet your PERFECT match!! What beautiful work ya’ll do!
Teddee Grace says
I know you do your share of the work, but you must have the most devoted, understanding husband in the world! All the best to both of you and your new arrival. This project was something to behold.
Nadine says
Wow – This room is fit for a princess (I am sure she will be a diy princess and will be holding her first paint brush at an early age). Amazing job! Can’t wait for you to reveal her name.
Faith Warfield says
This is gorgeous as is everything you do. Y’all have a real talent. Congrats on y’all’s sweet baby girl! ?
Terianne says
I love everything that you do, but this has to be one of my favourites! It’s SO good ? I can’t wait to see the finished room!
Liz Snider says
Everything you have done in this room is absolutely beautiful!!!!
Vicki says
OMG Lucas is a STAR! What an amazing room. Lucky girl. Now lets all hope she doesn’t turn out to be a tom boy! 🙂
Marcia says
Simply gorgeous
karen says
Holy Bat Cakes!!!! Fantastic.