I don’t think I’ve ever been more excited about anything house related (and that’s saying a lot) than this latest and greatest undertaking of ours.
If you’re just joining the party, here’s the deal: back in February, we bought a modest little house in a great neighborhood, a month after moving to Tampa.
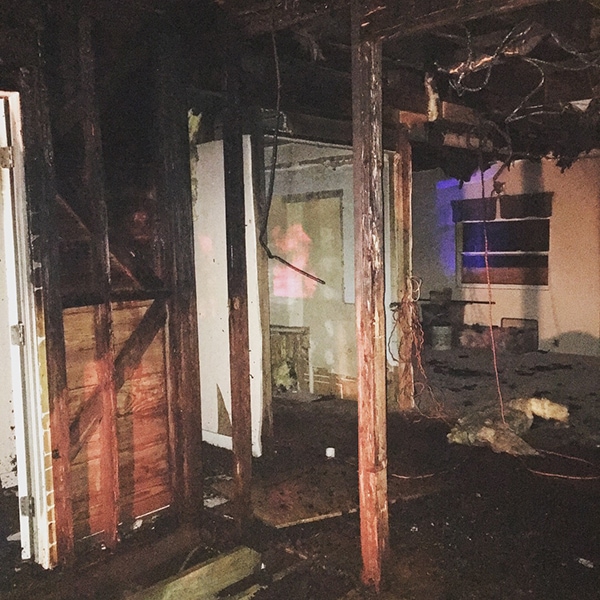
It was going to be our primary residence, and we had big plans for a major transformation. Five weeks into the renovation, it caught on fire.
Insurance couldn’t pinpoint a cause and declared most of it to be a loss. We were faced with a major decision: try to salvage what was left, or tear it down and build new?
After crunching the numbers, we determined that financially we’d be much better off to start fresh. Insurance would cover a good portion and we’d pay out of pocket for the rest, but in the end we’ll have a significant amount of equity since the neighborhood can support it. The median price per square foot is $230 in this area, and we expect to see a near 50% ROI, which is pretty much unheard of in any market. Just to clarify, there is no mortgage on this property (I explained more about financing in this post) so we will be refinancing once the new house is built, paying back our investors and using the equity towards more investments. This is a very common wealth building strategy used by investors.
This is also a perfect example of why you should buy the worst house on the block. Our house was the neighborhood eyesore, surrounded by homes triple the value. Because of this, we won’t have to worry about over-spending, since we’ll get every dollar back (and then some).
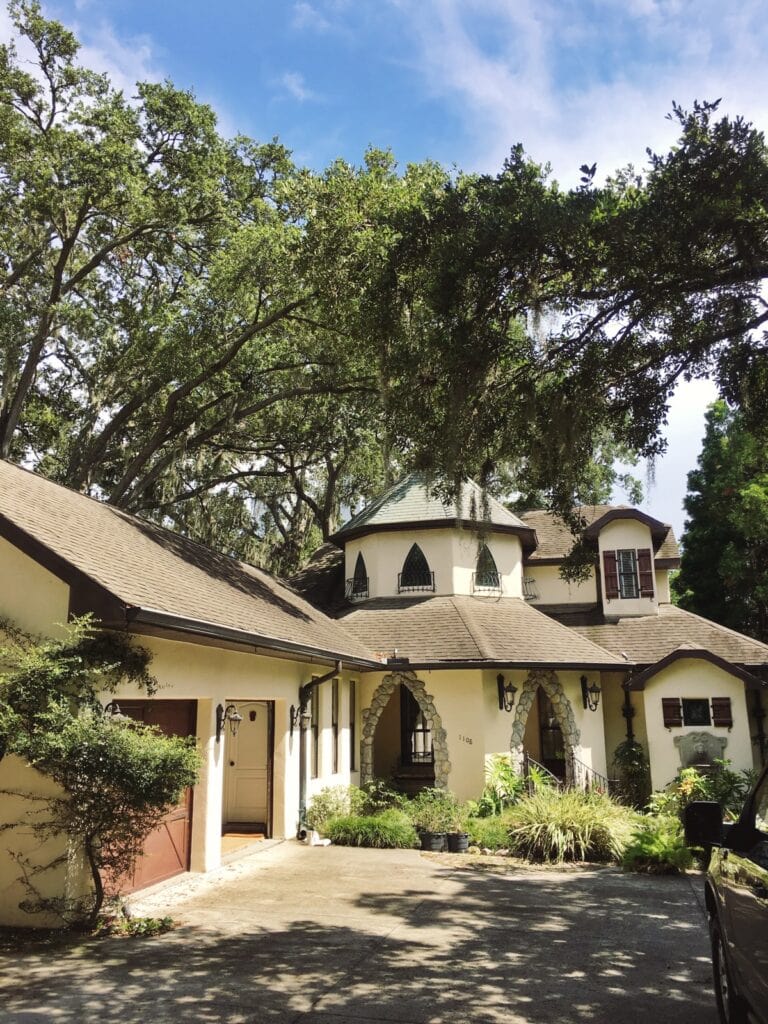
Speaking of the neighborhood, there’s a lot of custom homes in a range of architectural styles which is what makes it so unique. Like this medieval castle across the street…
We don’t have to worry about sticking to a specific design style to ‘fit in’ with the neighborhood, although ours does share some characteristics with the castle across the street. A friend who we met at a local real estate meetup is a custom home builder in Tampa, and offered to take on this project for us after hearing about the house fire. Juan is a great guy with a hardworking team and attention to detail, and we couldn’t be more excited to work with him! He’ll be documenting our build on his Instagram so make sure to follow him there for a behind the scenes look.
Let’s talk design, shall we?!
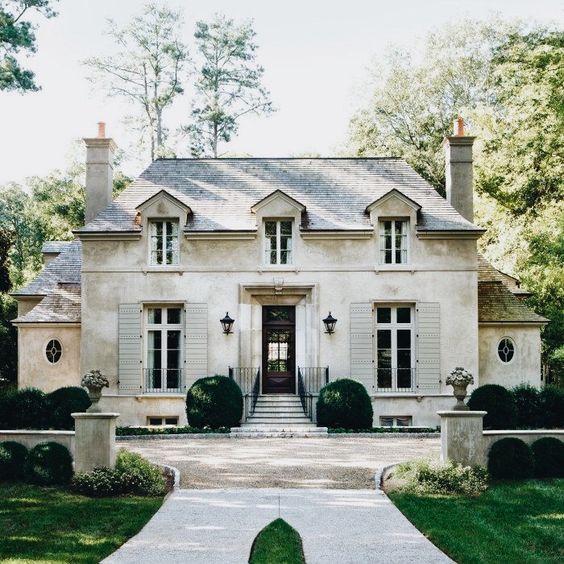
Months ago, this photo popped up on Instagram and it was love at first sight:
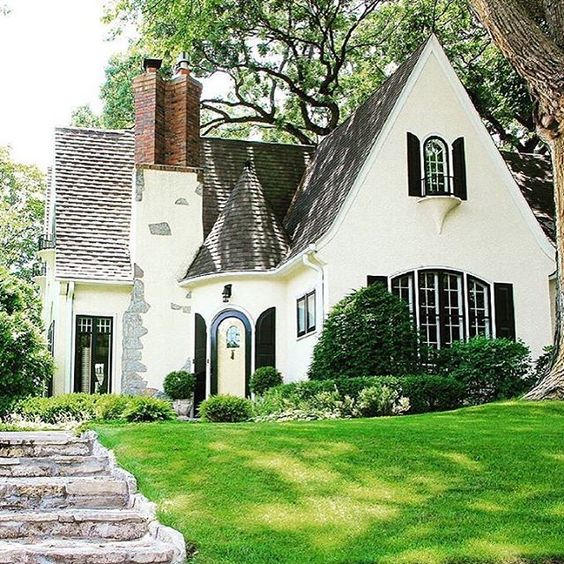
This to me is pure perfection. I wanted to scoop it up, exactly the way it is, and plop it right down onto our lot.
If only it were that easy. Throughout the weeks of meetings with our builder and architect, my bubble would get burst, little by little, as we ran through the details. That extra steep gable roof? Not hurricane-friendly, and that pitch costs exponentially more than your common 8/12 roof (I’ve learned a whole lot about roofs throughout this process). A fireplace in Florida? Forget it, not worth the expense and maintenance. Arched windows? How about tripling your window budget.
We did our best to strike a balance between design and practicality, and had to make a lot of tough decisions about where to cut costs. Let me tell you, designing a custom home from scratch is a daunting and overwhelming task—especially if you’re not an architect and have no idea what you’re doing.
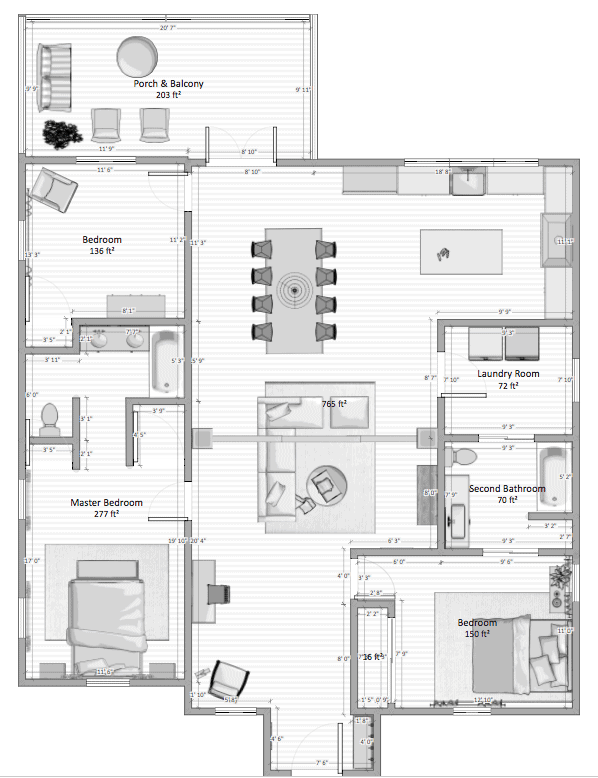
Before we began renovating the original house, we took measurements and mocked up the floor plan using the free Homestyler software to help visualize the new design. Below are those original plans—you can read more about it in the Before Tour post:
We liked a lot of things about this floor plan, so we decided to use it as our starting point for the new house. Specifically, we kept the location and layout of the kitchen facing the backyard, an open dining area just off the kitchen, living room near the front entrance, and two bedrooms separated by a bathroom on the left side of the house. The biggest change we made was adding a second story, and going in a completely different direction with the exterior façade and architectural style.
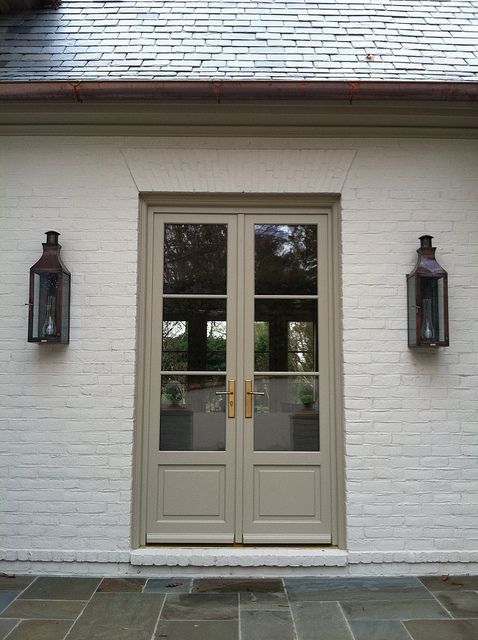
We presented our updated floor plan to our architect, who then made the necessary adjustments for the house to be structurally sound, code compliant, and fit within our budget. The quaint cottage tudor I had originally envisioned morphed into more of a French country style since we had to compromise on the roofline and add a second story, and this photo became our second main source of exterior inspiration:
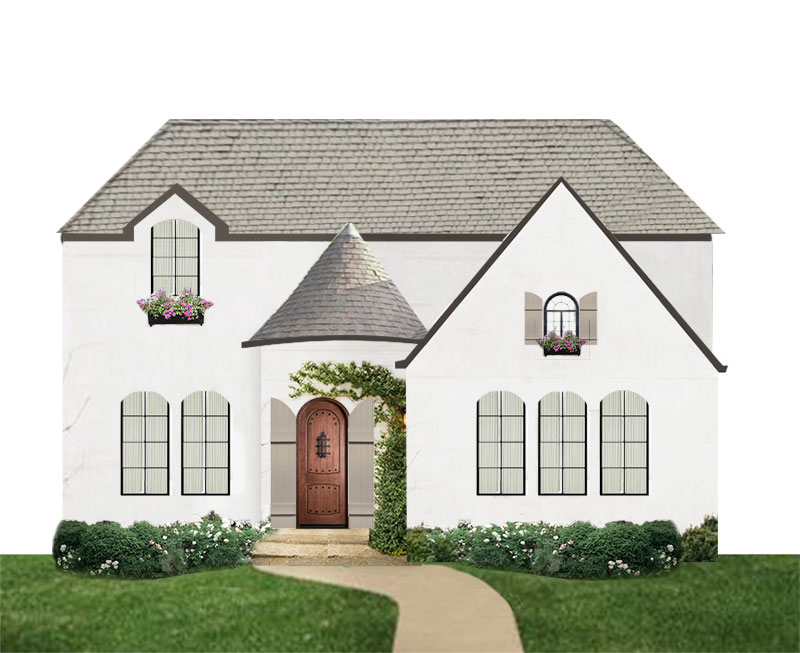
And what we ended up with was a love child of our two inspiration photos (if their baby had to live in Florida on a budget).
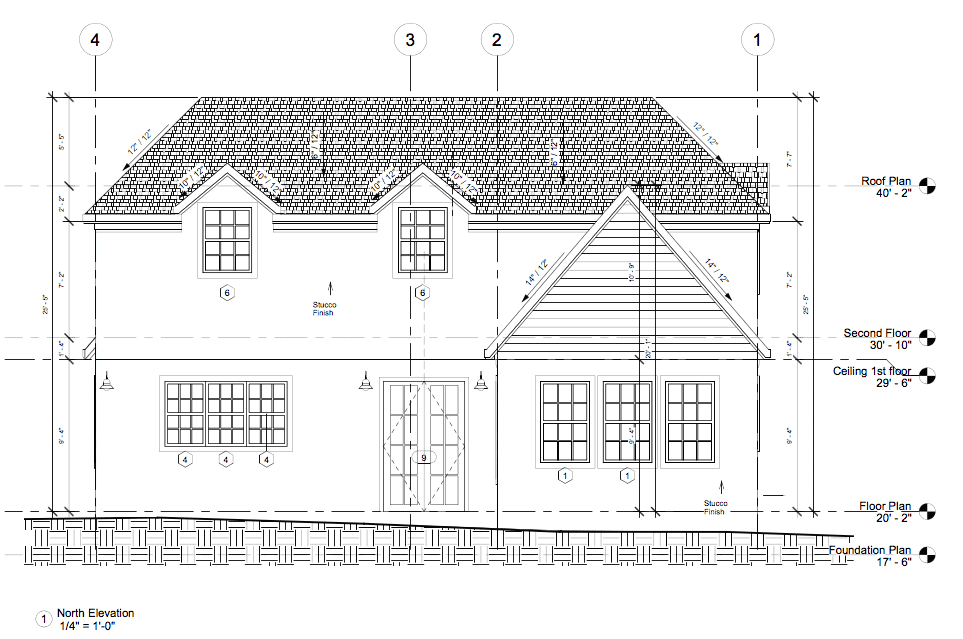
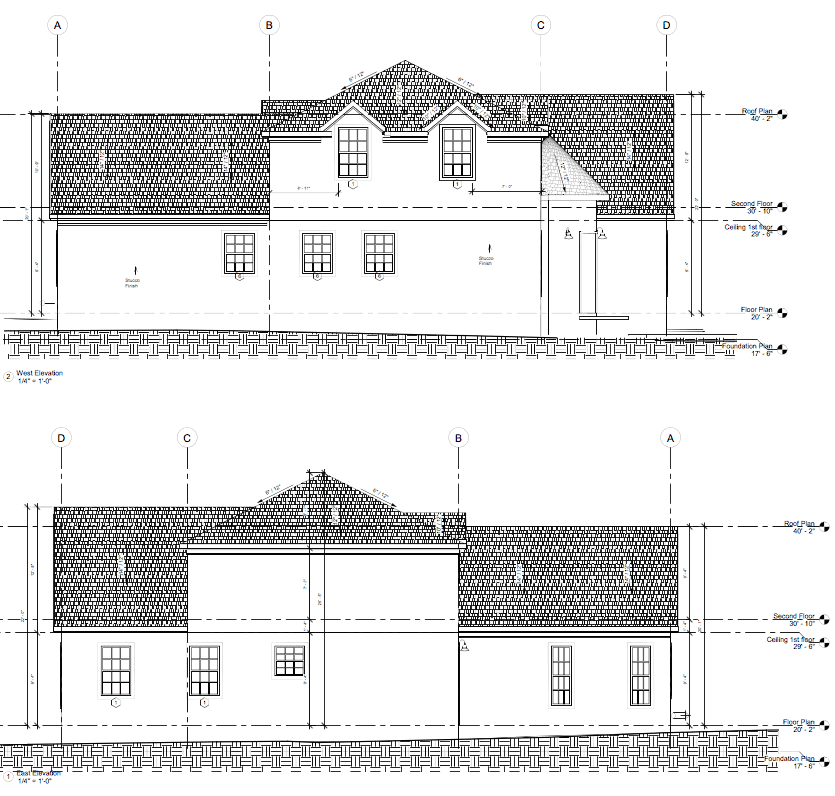
Okay, you ready to see these plans?! Drumroll please…..
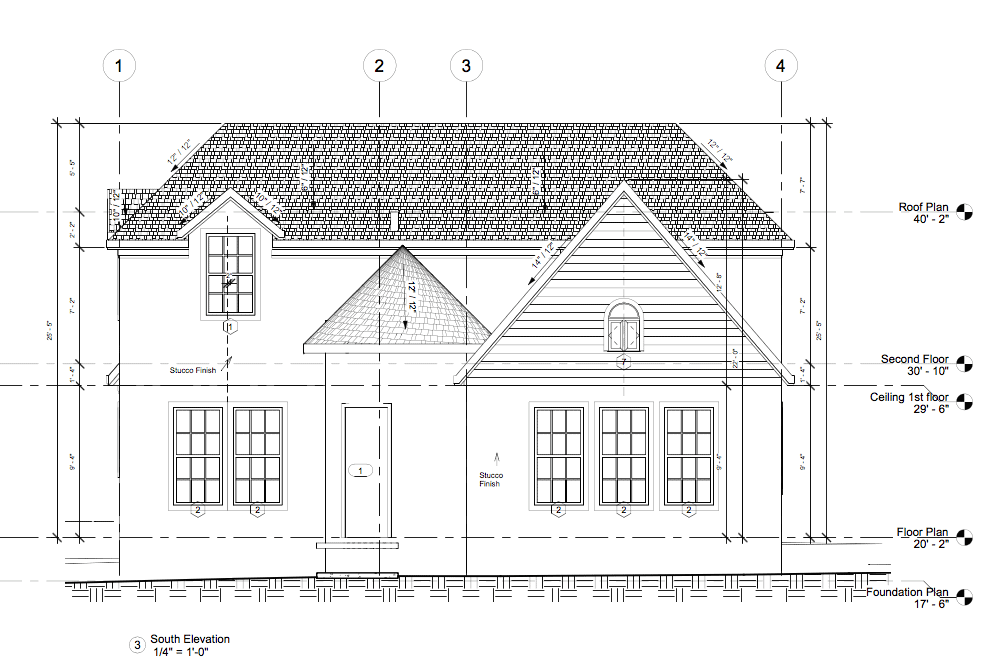
Front:
Back:
Left and right side:
These technical drawings are hard to visualize, so I did a little photoshop magic to the front…
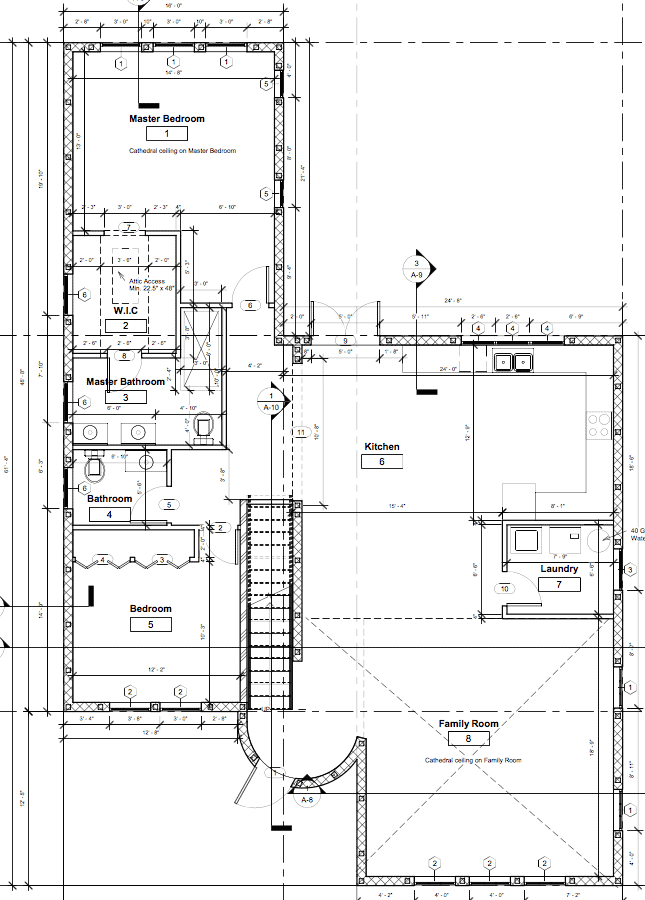
Much better! Let’s take a peek inside the first level:
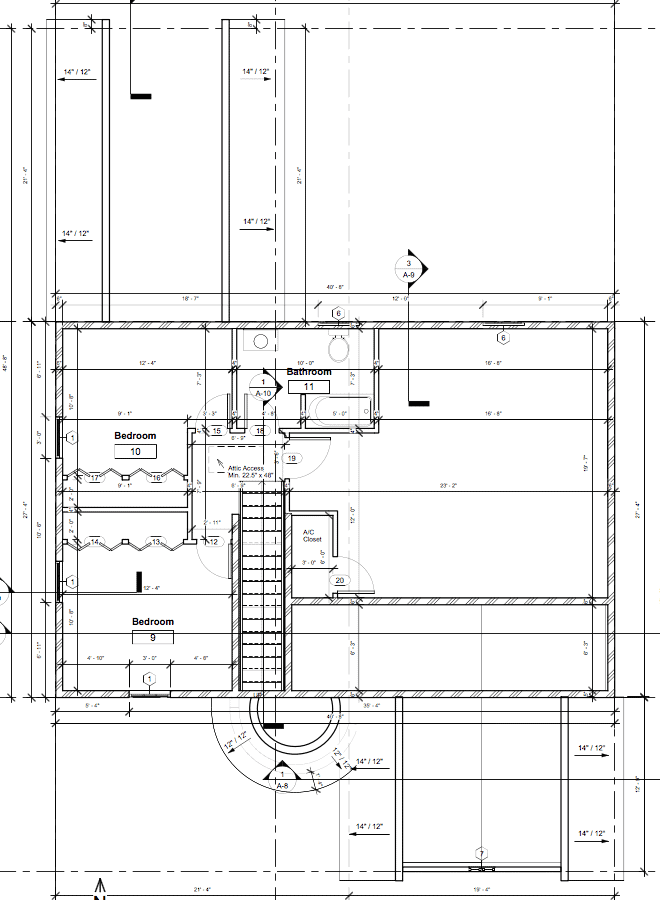
And the second level:
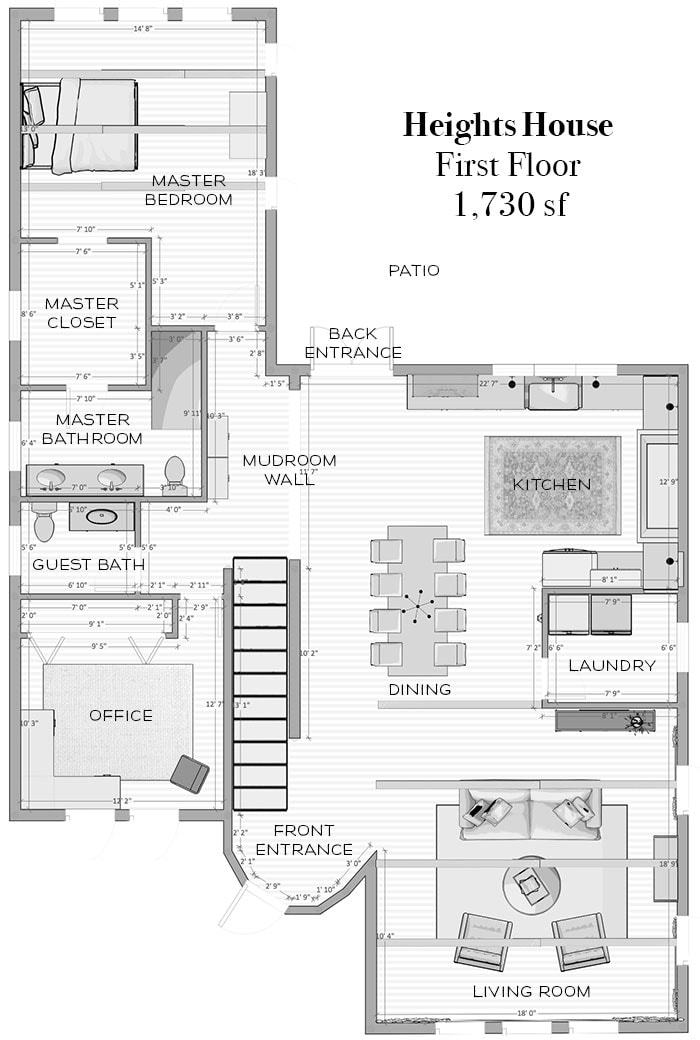
Again, these plans aren’t the easiest to read, so here’s the Homestyler version we mocked up (not 100% accurate but close enough):
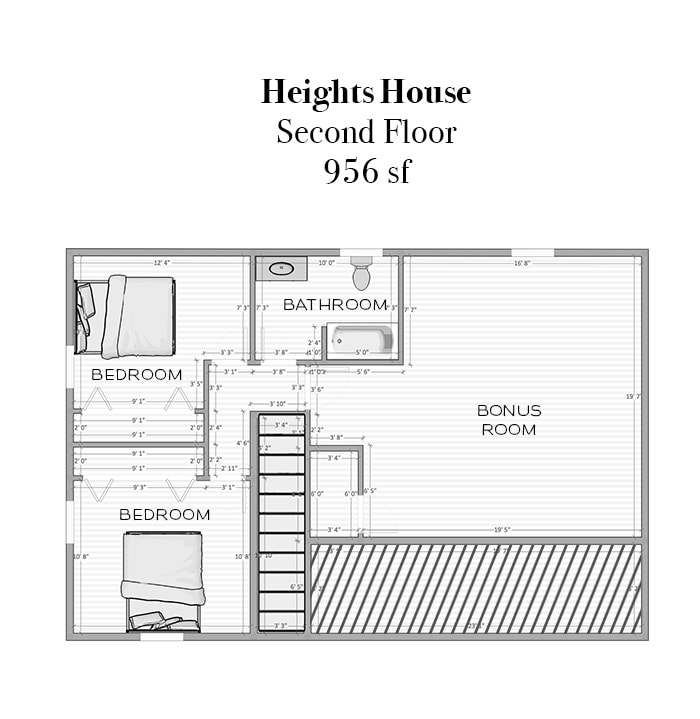
Second floor:
So much to talk about! I’ll be breaking down the details and design plans for each room over the coming months, so for now let’s just get the basics out of the way. The floor plans are pretty self explanatory, but one thing they don’t show (that I’m most excited about) are the cathedral ceilings in the living room and master bedroom. Those horizontal rectangles indicate the (faux) beams we’ll be adding to both of those rooms—though the sizes/positions shown are not accurate, they’re just there for reference. The ceilings throughout the rest of the house will be 9’4″—NO MORE SHORT CEILINGS FOR ME!!! After living with so many sub-8′ ceilings, I’m over the moon about this.
There is no garage in the plans because we have an existing detached garage in the back (it was not harmed in the fire). The back door entrance by the kitchen will therefore be the entrance we use regularly. Eventually we’ll build a big patio back there, but that won’t be until after the house is complete.
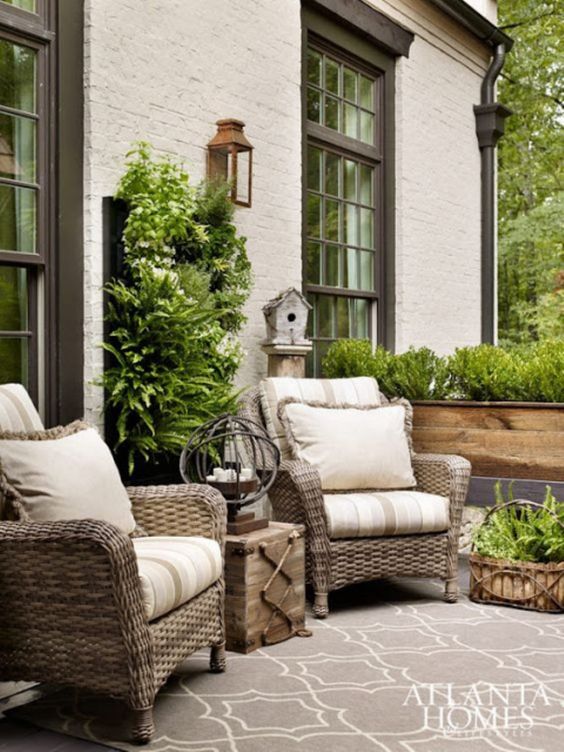
Originally we planned to add two small bedrooms and a bathroom upstairs and keep the house closer to 2,000 square feet. We don’t need any more space than that, and we certainly didn’t want to pay to build extra square footage we didn’t need. We later found out that building code would not allow us to leave half of the upstairs unfinished, and we were required to build it out as if it were livable space—it was either that or eliminate the second floor entirely. So, now we have a 2,700 square foot house with a big bonus room. I’m sure I’ll find a use for it someday 🙂
The exterior will be smooth stucco (I wanted to do painted brick but it’s insanely more expensive) painted in a soft white. I’d love to clad the turret in stone (like the fireplace in the photo below) but haven’t priced that out… it might have to wait until later. I also haven’t chosen a paint color yet, but I’d love an earthy tone like this:
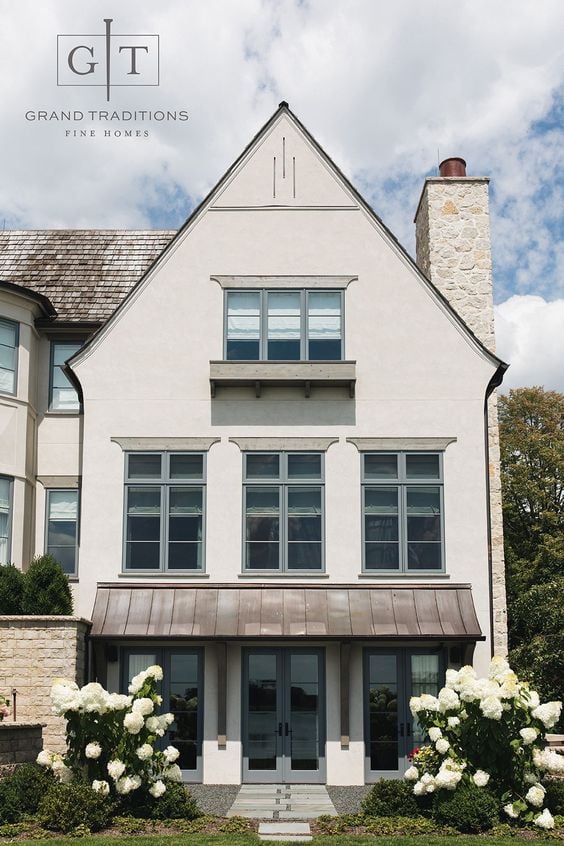
The accents (shutters & trim) will be a taupe/greige color (haven’t chosen that yet either) and the windows and potentially gutters and roofline detail will be bronze/black. More color palette inspiration…
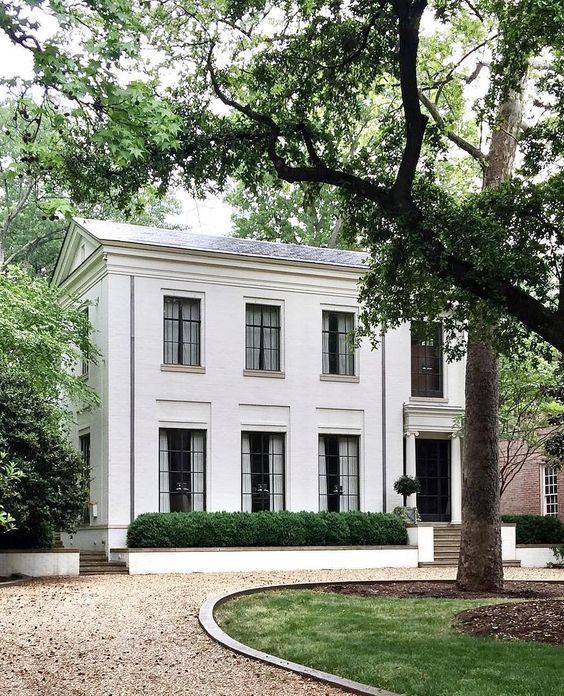
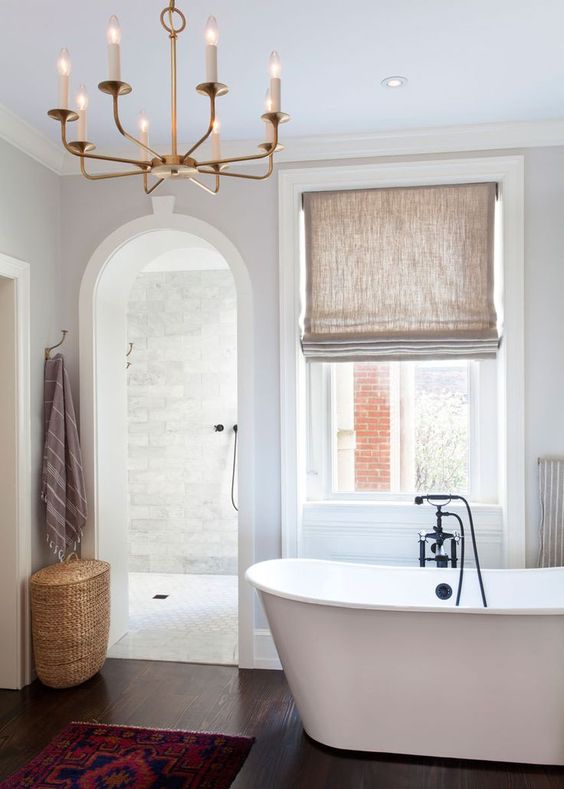
We’re calling the overall style ‘French country cottage tudor’ and it will be heavily inspired by our travels through Europe last year. The plan as of now is to use light wood floors, white walls, some shade of greige for the doors and trim throughout. Here’s a glimpse into overall plans and the inspiration for each room (don’t take the photos too literally, they’re just representations of the overall feel I want for each space).
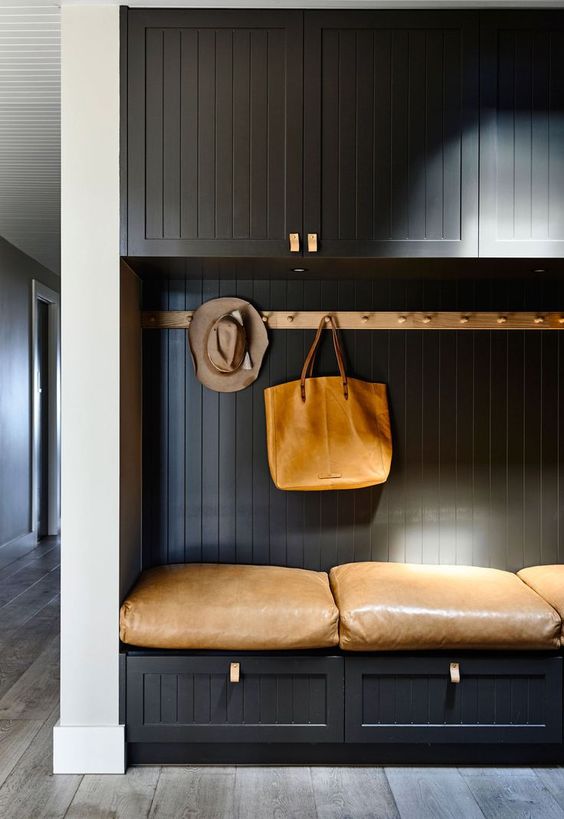
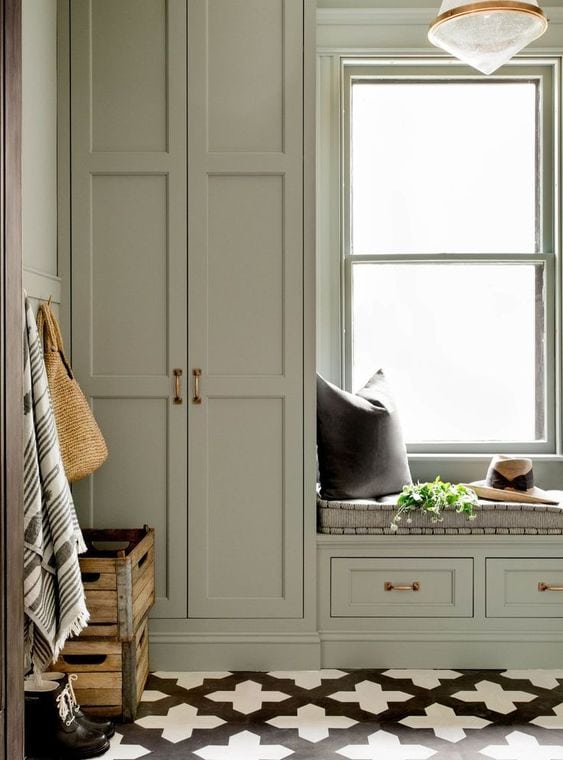
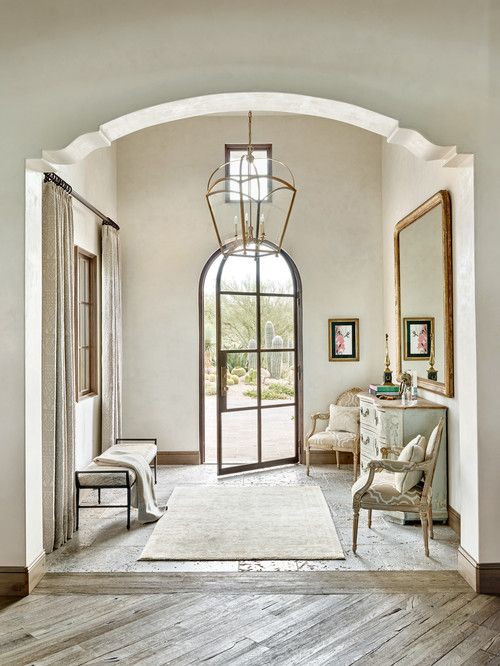
Foyer: we’ll add custom built-ins to a wall next to the back entrance near the kitchen. I’m thinking either black, dark gray, or some shade of green for the cabinets.
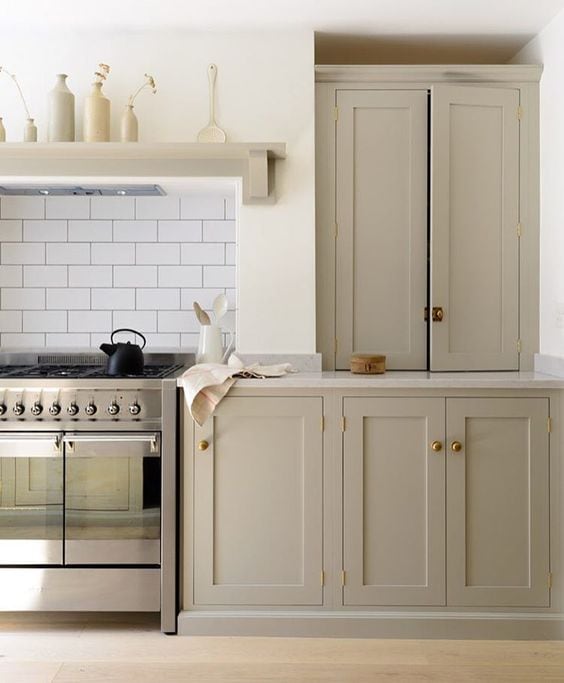
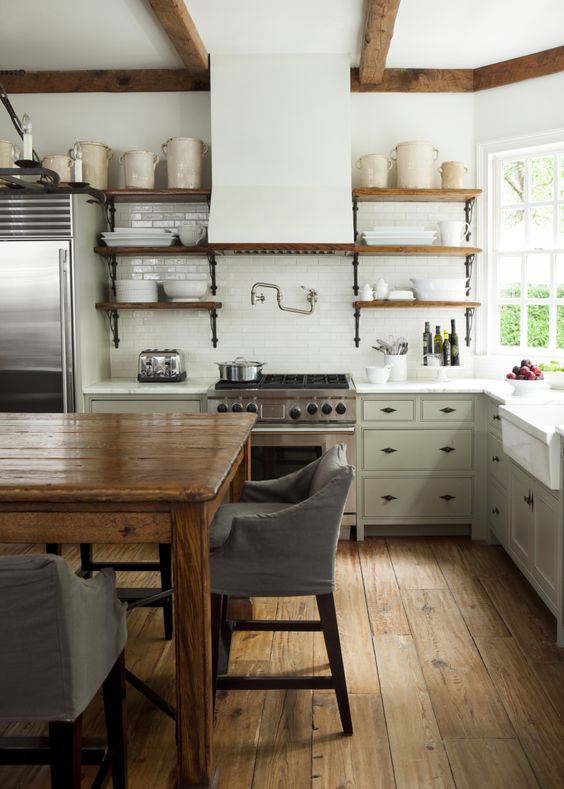
Kitchen: The focal point will be an extra large custom range hood surrounding a 48″ gas range with a matching white fridge. No uppers, mushroom colored lower cabinets (still deciding on color), marble-looking quartz counters, a large bank of windows above the sink, an antique wood armoire to hold barware.
Dining room: This will be an open area between the living room & kitchen. I picture a large table with plenty of seating, cozy chairs and a statement chandelier (the next photo shows the style of beams we’ll be using in the living room & master):

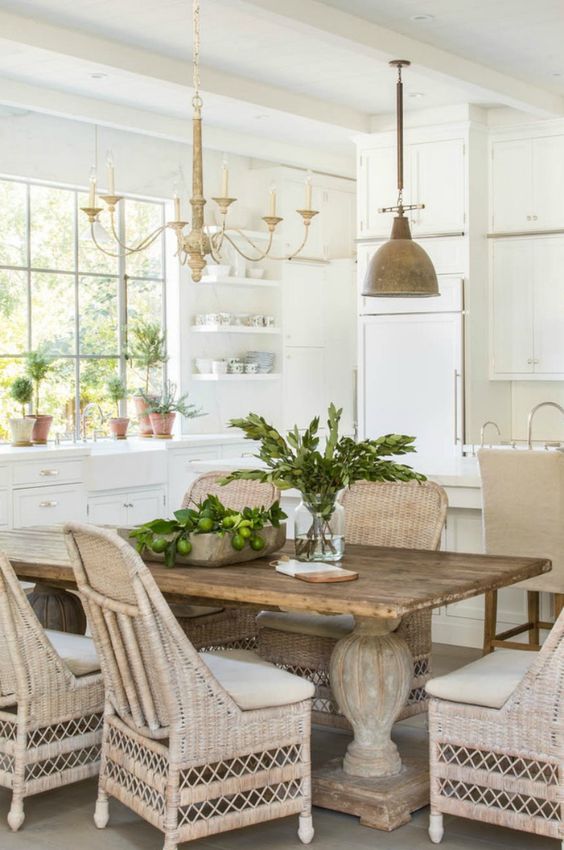
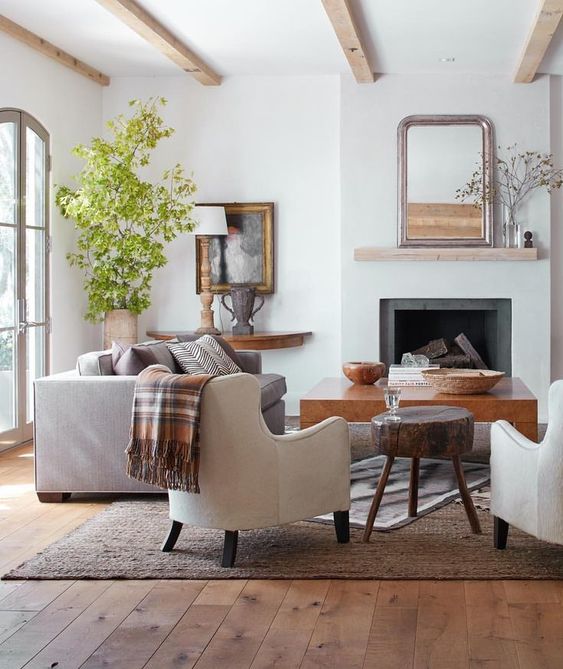
Living room: The star of this show will be wood beams stretching across vaulted ceilings, lots of windows and light, an earthy/subdued color palette with a California-meets-European feel.
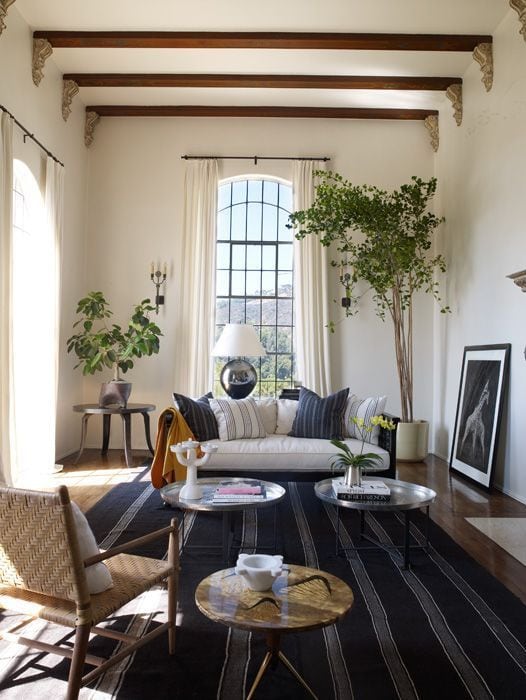
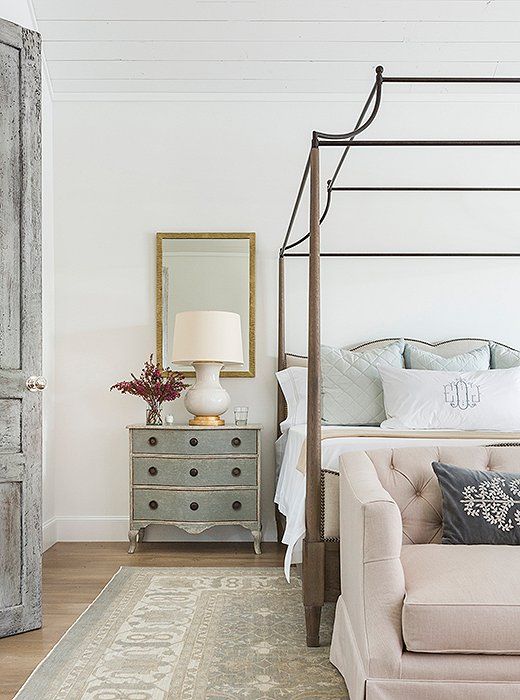
Master Bedroom: More vaulted ceilings & beams, a canopy bed, tall windows and curtains, lush fabrics and textures, statement chandelier. Peaceful and calm.
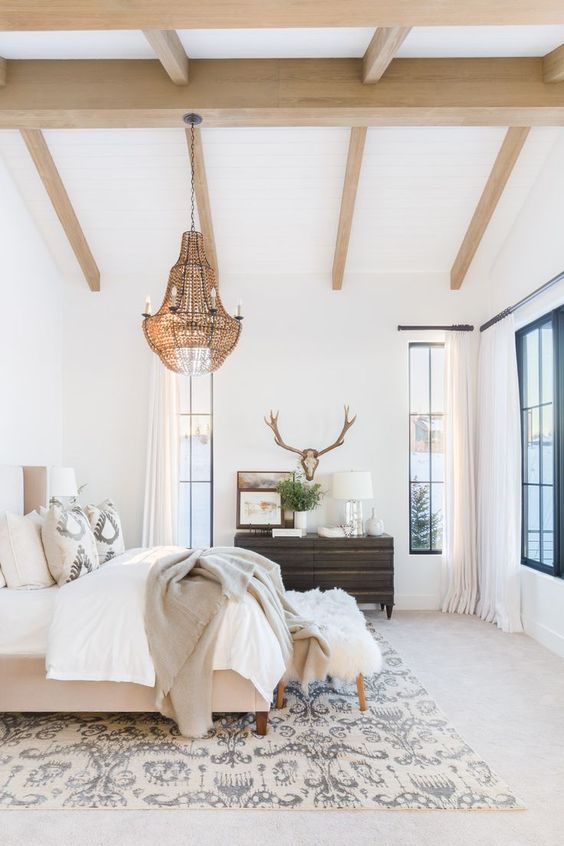
And… that’s pretty much all I’ve figured out. I hate rushing room designs, especially when the house hasn’t even been built yet and I haven’t had a chance to walk around and get a feel for the space.
I thought renovating an entire house on a deadline was a lot of pressure, but this is a whole new level. You have to make decisions about things you didn’t even know existed, and if you mess up, it’s all on you. There will undoubtedly be a lot of mistakes and regrets throughout this process, and things we’ll have to go back and change later—either because we didn’t realize it before it was too late, or we didn’t have the immediate budget to make it exactly the way we wanted.
Right now our goal is simply to get the house built and stay (reasonably) within our budget, which means we won’t get everything we want—far from it, actually. I wish we could build an empty shell and slowly complete the rooms over time, but a lot has to be finished and functional for it to pass inspections, and also to appraise at full value for the refinance. Normally it takes me weeks or even months to work out the design for a single room (I’m all about those details) but that’s not possible with this house. To be honest, I’ve been so consumed with projects at our current house, the Bungalow, work, client e-design and planning our wedding (in 2 weeks!) that I haven’t had one day to dedicate to planning our new build. Eek.
Okay, rant over! Just trying to keep it real over here. We feel so blessed to have this opportunity that I didn’t think we’d get for years, but with it comes a lot of pressure. If you’ve ever built a house before, I’d love to hear any tips/advice you may have! We really need all the help we can get.
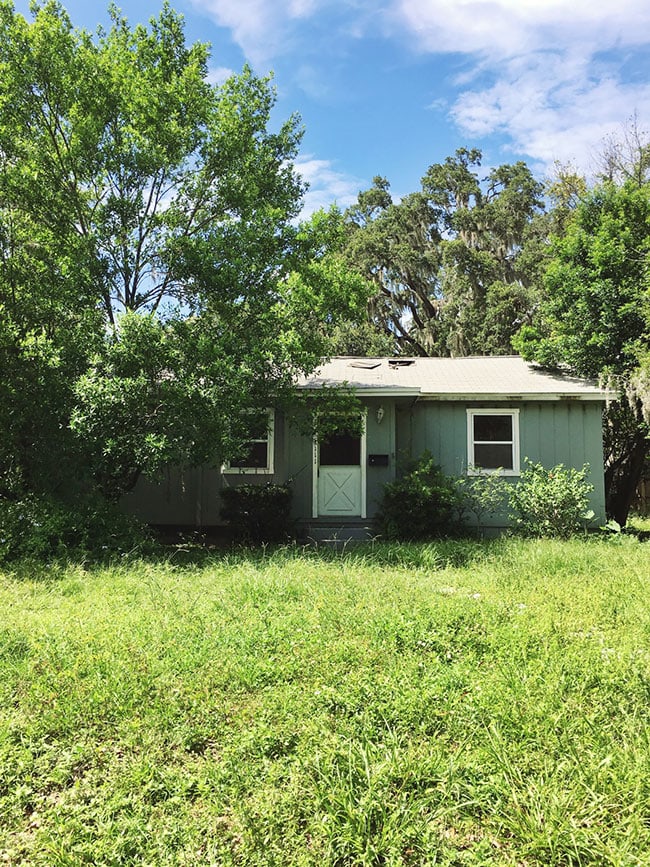
Let’s now remember what the house looked like after sitting vacant all summer…
And then as it was being demolished last month…
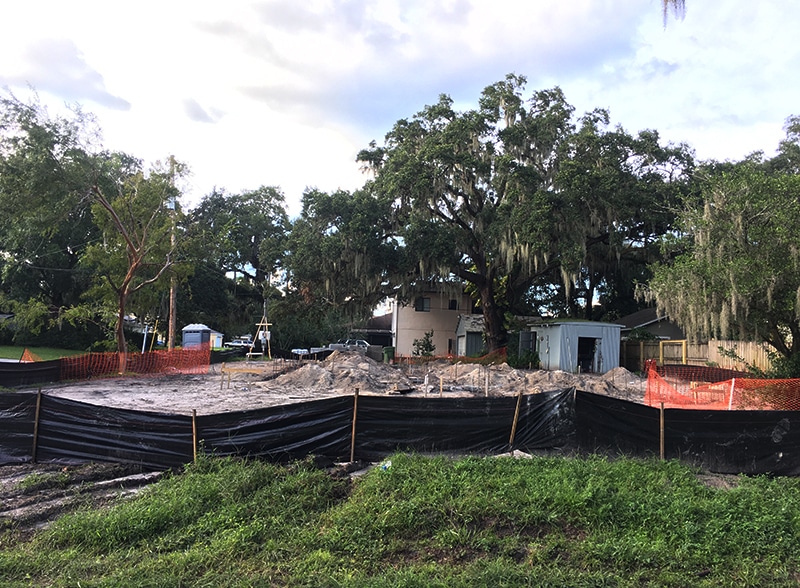
And last week, right before we broke ground…
Here’s how it looks today:
We can already see the outline of our future home as the concrete footers have been poured:
Let’s hope hurricane season is kind to us and we stay on track to finish by April!
I’ll be sure to document and share on this blog as much as time allows, including everything we learn that could be helpful to others in the same boat (I’ve got a big post all about choosing windows, coming up next!) In the meantime you can see what’s been inspiring me lately on Pinterest, and stay up to date on Instagram & Facebook. And go follow my builder to watch the construction progress and make sure he stays on top of our timeline 😉







Valerie says
We built our current house 4 years ago. We had to use one of the builder plans, but got to modify things within reason. I was trying so hard to stay on budget that I nixed a $150 pocket door into the master closet and $750 vaulted ceiling in the living room and master. I regret not doing those ALL the time. So my advice is: if it’s structural, don’t cut it from the plan – if it can be easily added later, cut that from the plan for budget’s sake.
jennasuedesign says
Great point Valerie! We’re trying to think of every architectural detail we could want up front and make sure those are included!
Allison says
SO excited to follow along. I appreciate your honesty about what is practical and affordable for you (as I’ve made decisions that rely more on that than aesthetic) and your willingness to put in the time to source PERFECT yet affordable fixtures to create stunning results. I remember early on that you said this was a great neighborhood, and I’m so glad you have the opportunity to give it a house worthy of the lot. Everyone will be stunned to see what rises out of the ashes.
jennasuedesign says
Thanks Allison, I’m looking forward to sharing some new ideas & finds I have lined up for the new build!
Lilly says
I absolutely love everything you do and have been following you for years!!! Please, please don’t take this the wrong way..it’s just a suggestion and probably has something to do with my inability to visualise plans. But….can the laundry be moved anywhere else. I’m just seems to impose on your dining and living space…….??? I hesitate to ask the q given you are pouring footings …but I do it with concern and the best of wishes for you to have the beautiful home you deserve x
jennasuedesign says
Thanks Lilly! We wanted the laundry room on the main level and couldn’t find a place to put it that wouldn’t take away from bathroom, bedroom or closet space which we definitely didn’t want to give up. The laundry room will double as a pantry for the kitchen so it makes sense to put it there, and we wanted the kitchen separate from the living room. We’re happy with the layout!
Carly says
Great exterior design! FYI round wood front doors are extremely pricey. You can check out a wood fiberglass look round door and they are less in $ and hold up better to sun, etc. than wood. On the interior plans a few suggestions. We have built 17 homes/10 states all price points. Currently building a custom home 50 miles from you. You need storage, no pantry in kitchen and a real negative for me in resale. I passed on every home that had no pantry. In the laundry room do 2 things. Pre plumb area next to washer/dryer for future sink. Across from washer/dryer if you have even 9 inches depth on that wall do a built in cabinet pantry/storage area. If you don’t have depth for cabinet, use the stud wall’s empty space and use as pantry and face frame cabinet door fronts into stud walls for storage. If none of that works for you. Rethink the mudroom bench and enlarge it to do storage for pantry. Electrical needs floor outlets in living room, ?office, bonus space and also in kitchen floor area(under the rug) for a future island(hope you do one), also add outlet in the mudroom bench for phone charging etc. needs. Don’t forget wall outlets for charging Dyson cordless vac, electronics, etc. I usually always add electrical outlets low into closet walls for printer, vac, etc charging needs. If this is a forever house, you could pre plumb into the closet in the office an area should you ever want to add a shower and cut into the space in the office and change powder room to add small shower. Just some random thoughts, love all your doing and can’t wait to follow along. Great job, timeless style, and will sell well even 50 years from now!
Jeanine says
Wow, love the design and lay-out of the new home. Great job! I live in europe and can definitely see some inspiration there
Can’t wait to see what else you come up with
We built our last house ourselves and added some empty pvc pipes inside walls, underneath the floor and in the ceilings: this was super helpfull in later projects, when we added things like exterior lighting and plumbing. And we didn’t have to open up any of the walls or ceilings for speaker cables and internet lines
jennasuedesign says
That’s a smart idea… thanks for sharing, Jeanine!
Chad says
If stone on parts of the facade are too expensive, why not go back to the inspiration photo’s stuccoed over stone look? Is it feasible to mount a few pieces of stone veneer and then convincingly stucco around them? Here’s a French-Tudor-Arts and Crafts house near where I grew up with a similar look for you to drool over, and I know that the same type of stone on this house is available in a laser-cut thin veneer. https://goo.gl/maps/tKpJpqbyFVS2
And I’m glad that you’re going back to more French looking windows in your mockup than the architect used. I think if you get rectangular casements with larger panes of glass and no vertical muntins it will look French enough without blowing the budget too much, but do go long and low on the first floor if you can! Also, something amazing might turn up at a salvage yard.
jennasuedesign says
Oh wow, that house is goooorgeous! I’ll talk with my builder to see if he has ideas/sources to get the look on a budget. The windows I mocked up in Photoshop are a little deceiving — we are using rectangular windows, but I want to recess them with an arched header so they have the illusion of being arched. Might be trickier to do with block construction but it’s something I still need to work out with my builder.
Chad says
The problem I could imagine with it is that you want it to look like the house is made out of stone and was stuccoed over with just a bit peeking through. You don’t want stones to stick way out from the stucco, unless it’s on lintels or quoins.
I can also snap pictures of stucco built out to look uneven as if it was applied over rubble stone if you think that would be worth seeing/showing the builder. 3 of my parents’ neighbors have some of that on their houses.
Chad says
Oh, and here are some more early 20th Century French houses to drool over and maybe get inspired by. Maybe the protruding carved stone could be imitated in stucco, or you could again do just stone around the front door, on window sills, maybe as quoins/corners: https://www.phillylovenotes.com/love-note-30-get-lost-in-the-french-village-on-gate-lane-in-w-mt-airy/
jennasuedesign says
Thanks for sharing Chad, those homes are to die for! I wish recreating that was in our budget 🙂
I showed an inspiration photo of the stone to my builder and he said his guy can do it, so I may get my rustic French turret after all!
Chad says
One more to look at too, this one is all done in stucco and more formal than your inspiration phtoos but very French. https://www.google.com/maps/place/7003+Lincoln+Dr,+Philadelphia,+PA+19119/@40.0506165,-75.1943589,3a,50y,83.4h,87.58t/data=!3m6!1e1!3m4!1sDlE1yORken56Pzu6T7UBIA!2e0!7i13312!8i6656!4m5!3m4!1s0x89c6b9aedc5b4a5d:0xf3394615b3080e1d!8m2!3d40.0506753!4d-75.1941739
jennasuedesign says
Umm that is amazing! I want to do the exact same thing above the exterior windows with the arch. I love all the French details. Thanks for sharing again!
Chad says
And I could see it being easy to do the arches in false-cut-stone stucco on a background of rustic stucco
Sandra says
And…your house fire turned out to be a blessing…
Your plan and design are gorgeous, amazing and lovely. Can’t wait to see the build process!
jennasuedesign says
Thank you Sandra! Making lemons out of lemonade seems to be my life’s motto 🙂
Karina says
Looks like you have beautiful plans, and I can’t wait to see how it turns out. We are two years into living in the first house we designed from scratch. We had a beautiful lot with a strange building footprint, so we also had to go completely custom on our design. It was a crazy process, but it has mostly been great living in it.
I would second the comment about taking pictures of the plumbing and wiring before the drywall goes up. We have actually referred back to those pictures several times since moving in. You have done so many design things that you are probably way more on top of these things than we were, but staying on the contractors and subs is also so crucial. In one instance, during our build, I had a fairly simple, shiplap-clad fireplace planned. I gave the contractor three pictures showing exactly what I wanted. The subs had it put up in less than a day, and what they put up was the most bizarre design possible for such a thing. I had to have them tear the whole thing out and start over. I had a neighbor who would go over for me every day and take pictures of anything new, so I could run out there and get on top of any weirdness they tried to sneak in!
And finally, this is a list of the things I fought hard for in my house plan, and they are the things I have appreciated having the most…a true pantry, built-in shoe cubbies in the mudroom, an out-of-sight place specifically for my taller cleaning supplies (dustmop for hardwoods, wet mop, and plug-in stick vacuum). Both my husband and my contractor tried to talk me out of the last one, but I knew if it wasn’t specifically designed into the plan it would be really hard to hide those cleaning supplies and would drive me crazy. These are the unglamorous parts of the house plan that allow you to later clean your house to a more glamorous state!
Good luck with the build! I used several of your pictures for inspiration when building my house!
jennasuedesign says
Noted on the rough plumbing/electric photos, thanks! Luckily our builder is awesome and very much on top of things, but we purposefully moved right down the street so that we could check in every day! I don’t feel comfortable letting other people make all these decisions 😉 I hear you on the tall pantry closet, we’re dealing with that now and trying to find a solution for this current house. That’s 100% part of the plan for our laundry room.