Stopping in today with one last quick and easy DIY project before the final budget boy’s room makeover reveal tomorrow!
So far I’ve completed a handful of significant upgrades to the space (roman shades, rustic wood headboard, shelf and desk, teepee) but I also wanted to add a small, personalized touch and had the perfect blank wall in mind…
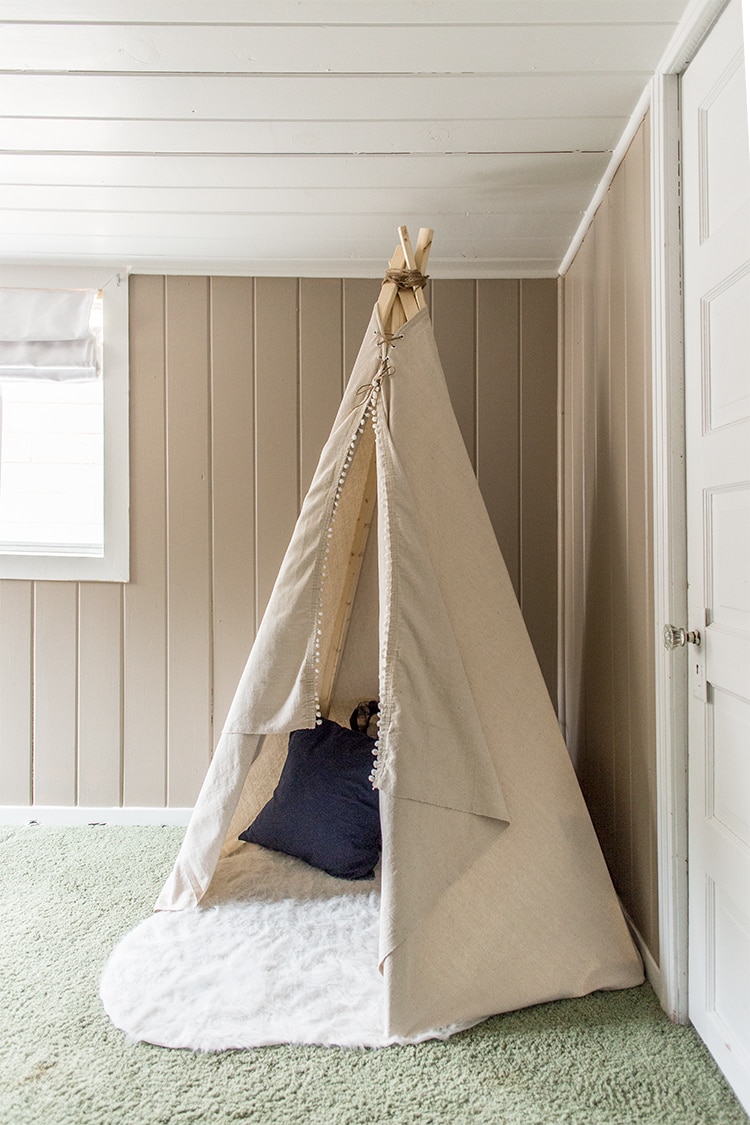 It’s the first thing you see when you walk into the room and I thought something cute and simple would be nice behind the teepee. Since we’re going with a woodland/camping/outdoorsy theme, I couldn’t get these vintage style pennant flags out of my head…

As this is a budget makeover, buying one was not an option and I knew it could be a super easy and cheap DIY.
I stopped by Joann’s and found sheets of felt that were perfect. They carry mostly 9×12″s but there were a few 12×18″s that were stiffer, perfect for the flag size and easier for cutting letters. So I bought one in dark green and one in white at $2.5/ea, and a 9×12″ in dark brown for the edge for 50 cents. After a 30% off coupon, my total came in at under $4!
 The only other tools needed were scissors (and/or an Xacto knife) and hot glue.
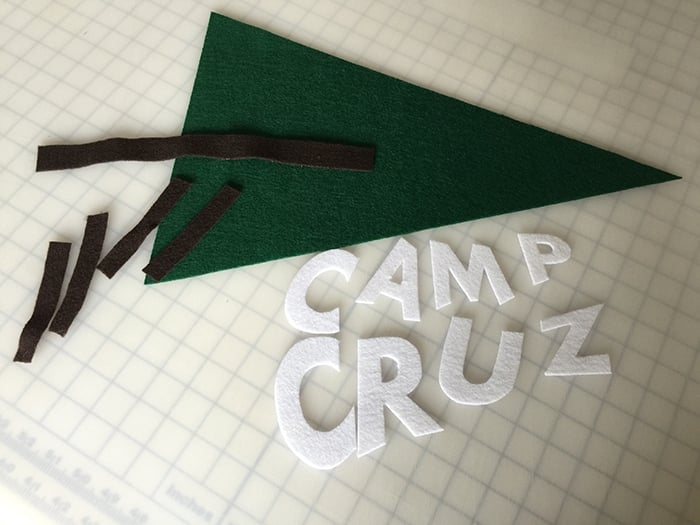
Step 1: Cut your 12×18″ sheet into a triangle for your flag.
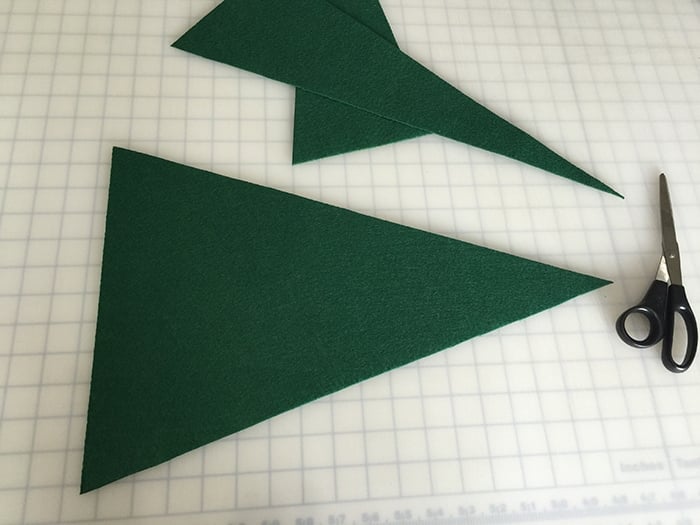
Step 2: Cut strips for your border and ties.
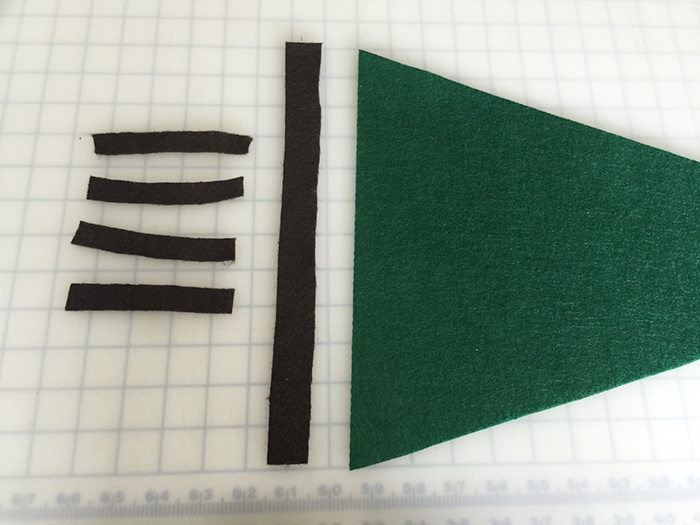 Step 3: Measure your flag and decide on your lettering.
I set up a quick template in Illustrator and chose a bold font for easy cutting.
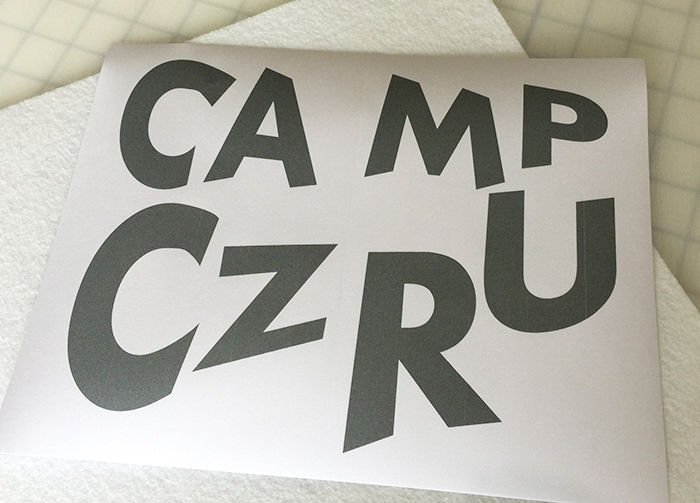
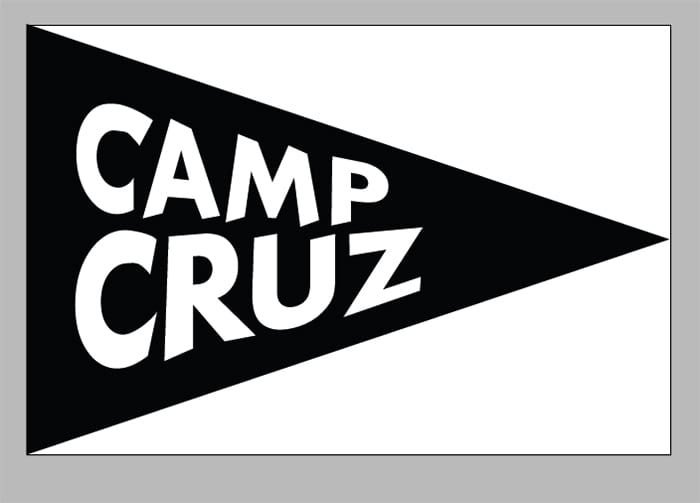 Once I had my letters to scale, I arranged them on an 8.5×11″ sheet and printed them on adhesive backed paper:
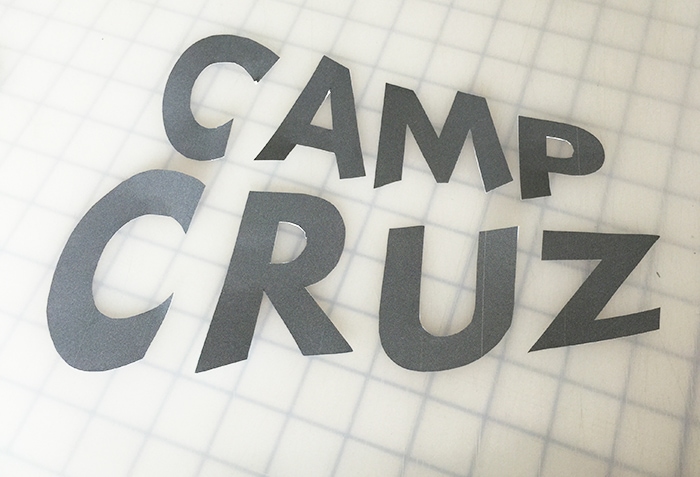
 Step 4: Cut out your letters (I found an Xacto knife to be much easier).
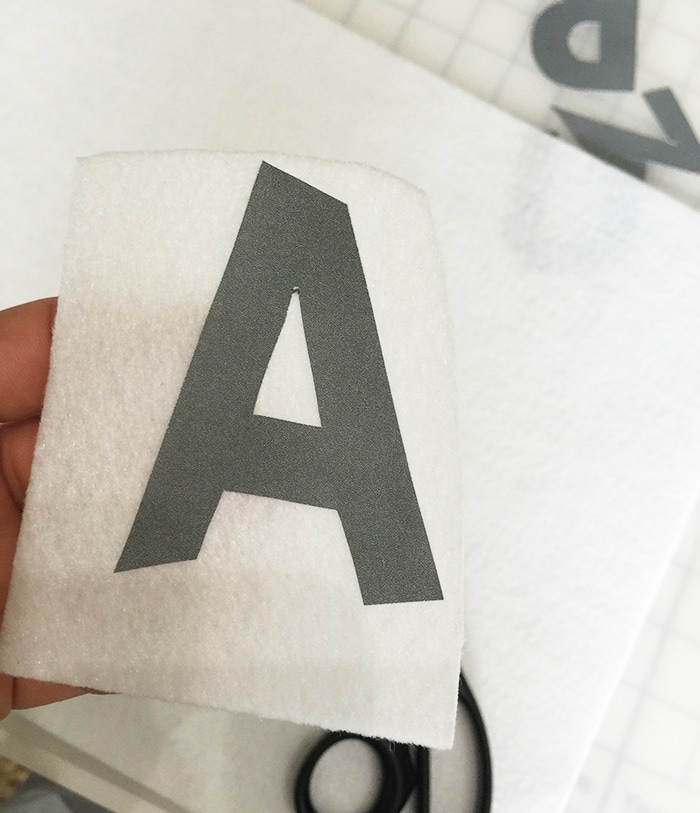
 Step 5: Peel the adhesive backing off and position each letter on your felt (or pin them down, trace the letters, or use temporary adhesive).
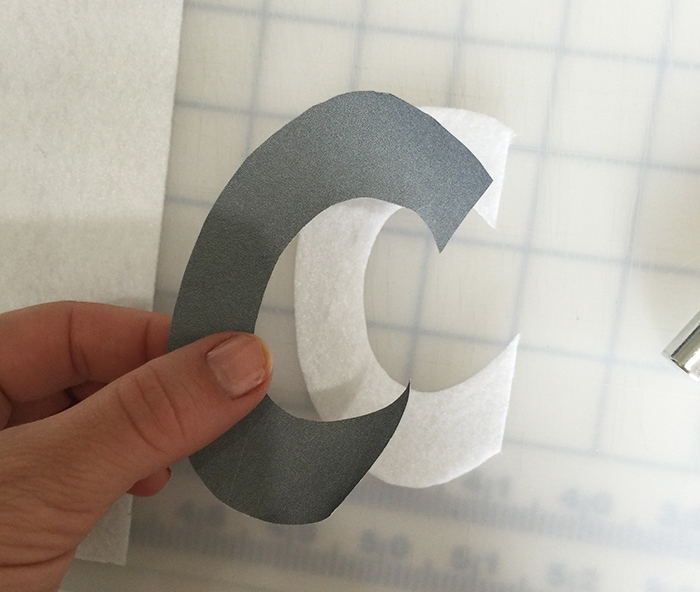
Step 6: Cut the letters out of your felt.
Now you have all of your pieces ready to assemble.
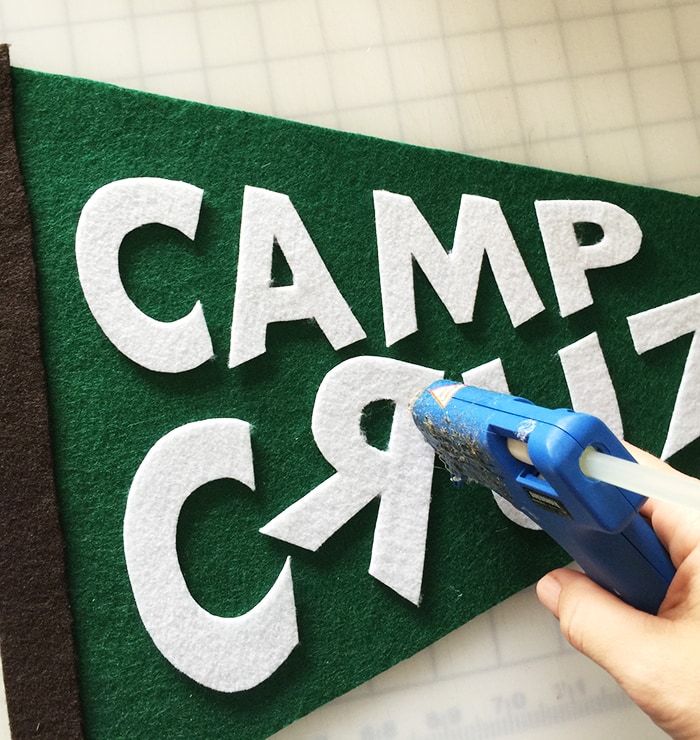
 Step 7: Hot glue everything together.
Step 8: Step back and admire your creation:
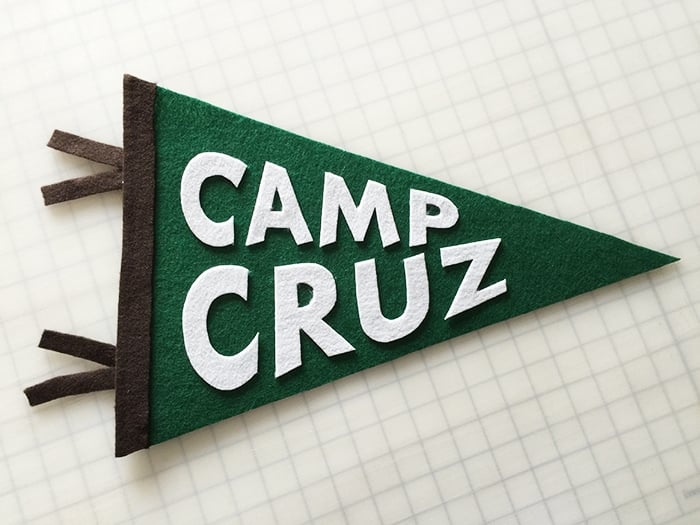
For less than five bucks, you really can’t go wrong here. To mount to the wall, I used a couple staples (with my hand stapler) hidden underneath the felt.
Here’s a sneak peek from tomorrow’s reveal…
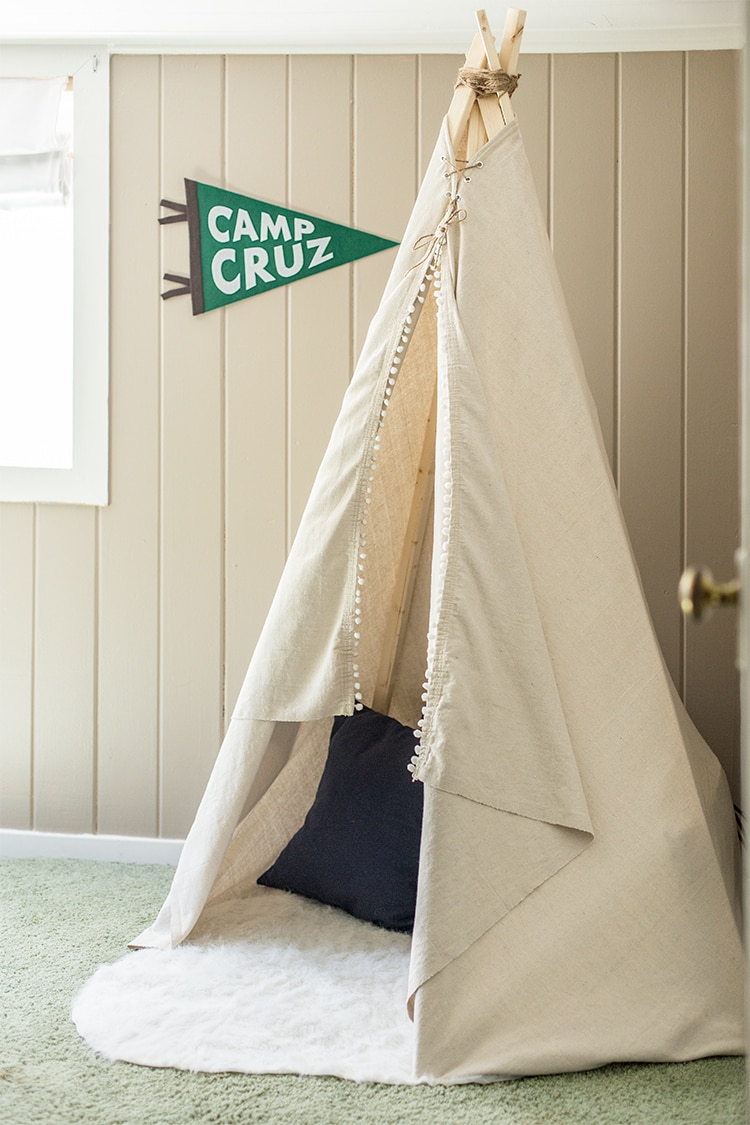
I can’t wait to share more! Editing those photos now. Stay tuned for the After photos along with a complete budget breakdown, grand total and source list!


Nat @ This Little Yellow House says
So cute. I made my own pennants like that for my boys rooms a few years ago. They turned out so well and such a great DIY project.